How to Create a Multi-Column Mega Menu in Elementor
This tutorial uncovers the way of creating a multi-columned mega menu with several columns in Elementor using the JetMenu plugin.
Before you start, check the tutorial requirements:
- Elementor (Free version)
- JetMenu plugin installed and activated
JetMenu plugin is a tool that allows customizing a website’s menu and building a mega menu with Elementor and Gutenberg.
You can create a mega menu with the needed structure, including a desired number of columns, inner sections, and widgets.
In this tutorial, we will learn how to create a mega menu with several columns in Elementor.
Create a Main Menu and its Submenus
Initially, you should create a main menu if you haven’t built it yet.
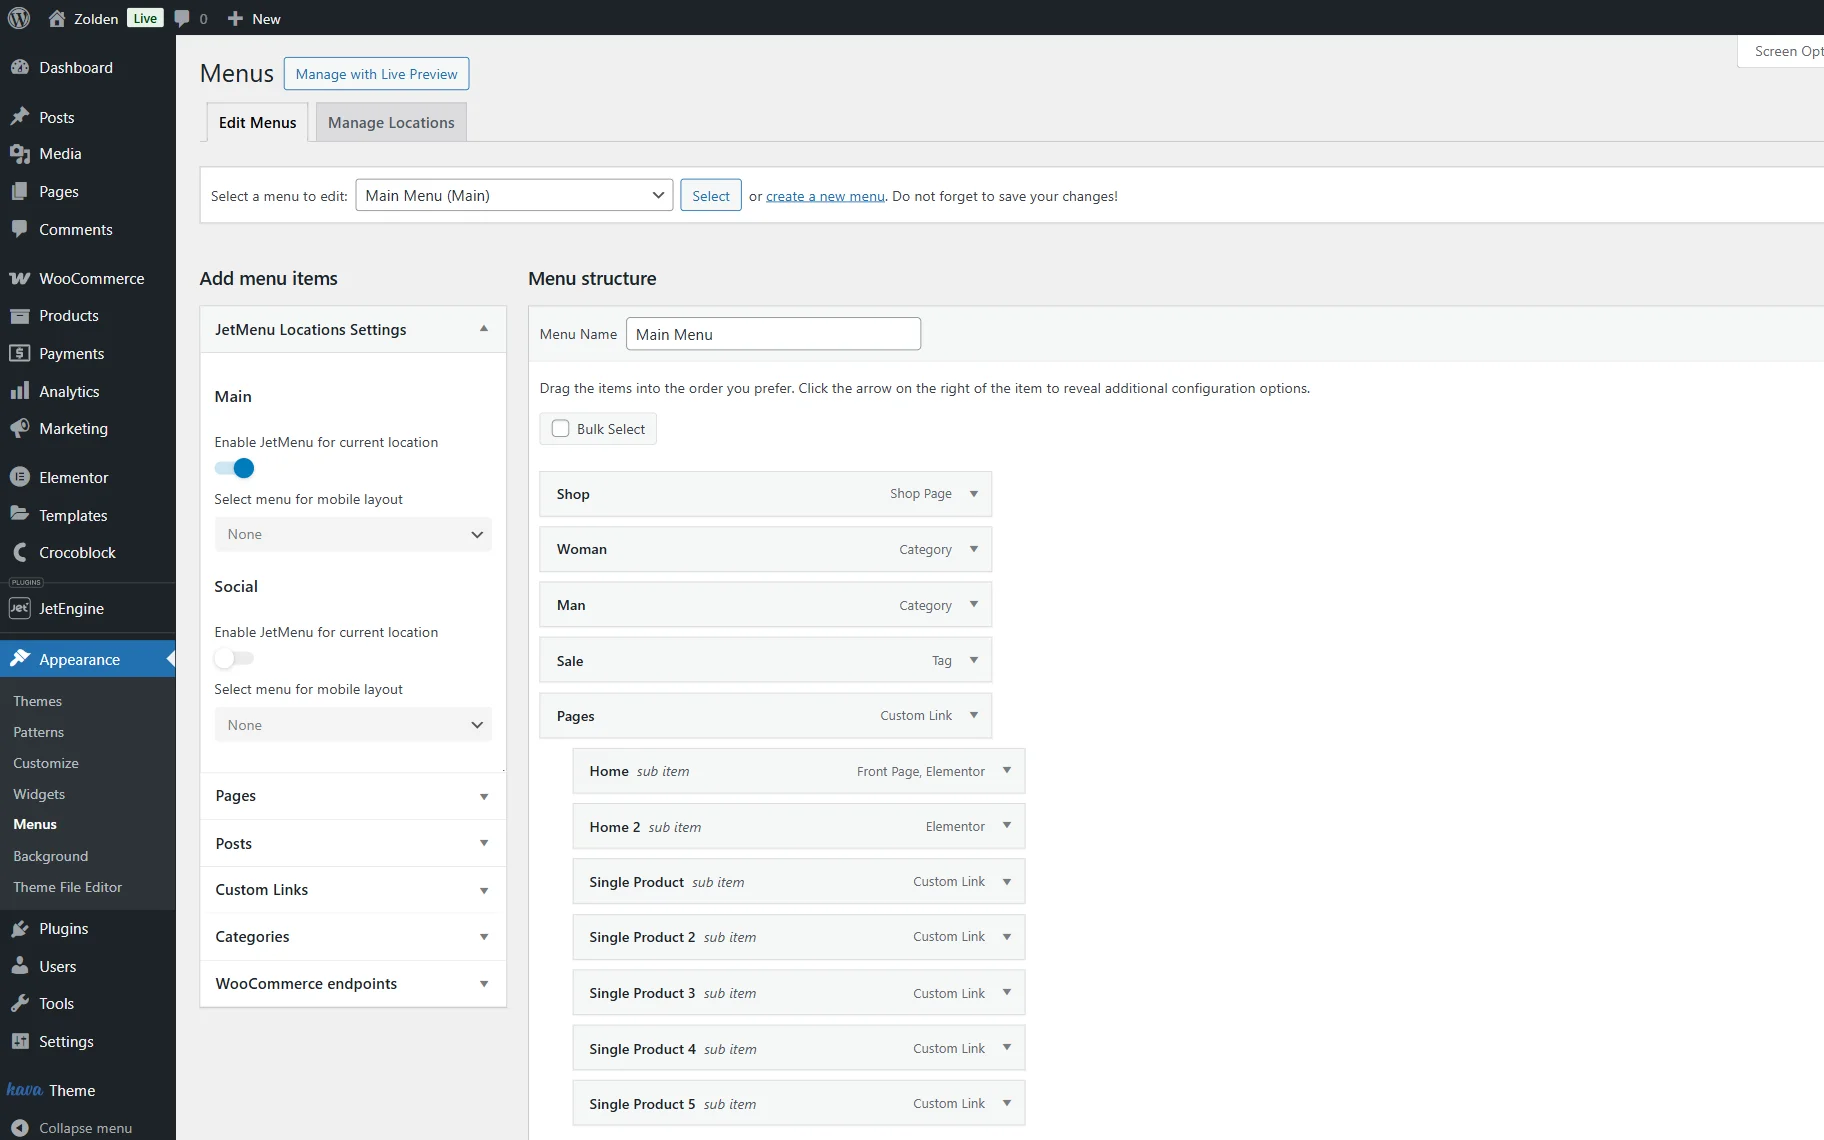
To build a menu, go to WordPress Dashboard > Appearance > Menus and press the “create a new menu“ button. You can find more information about the menu creation process in the How to Create a Mega Menu in Elementor tutorial.
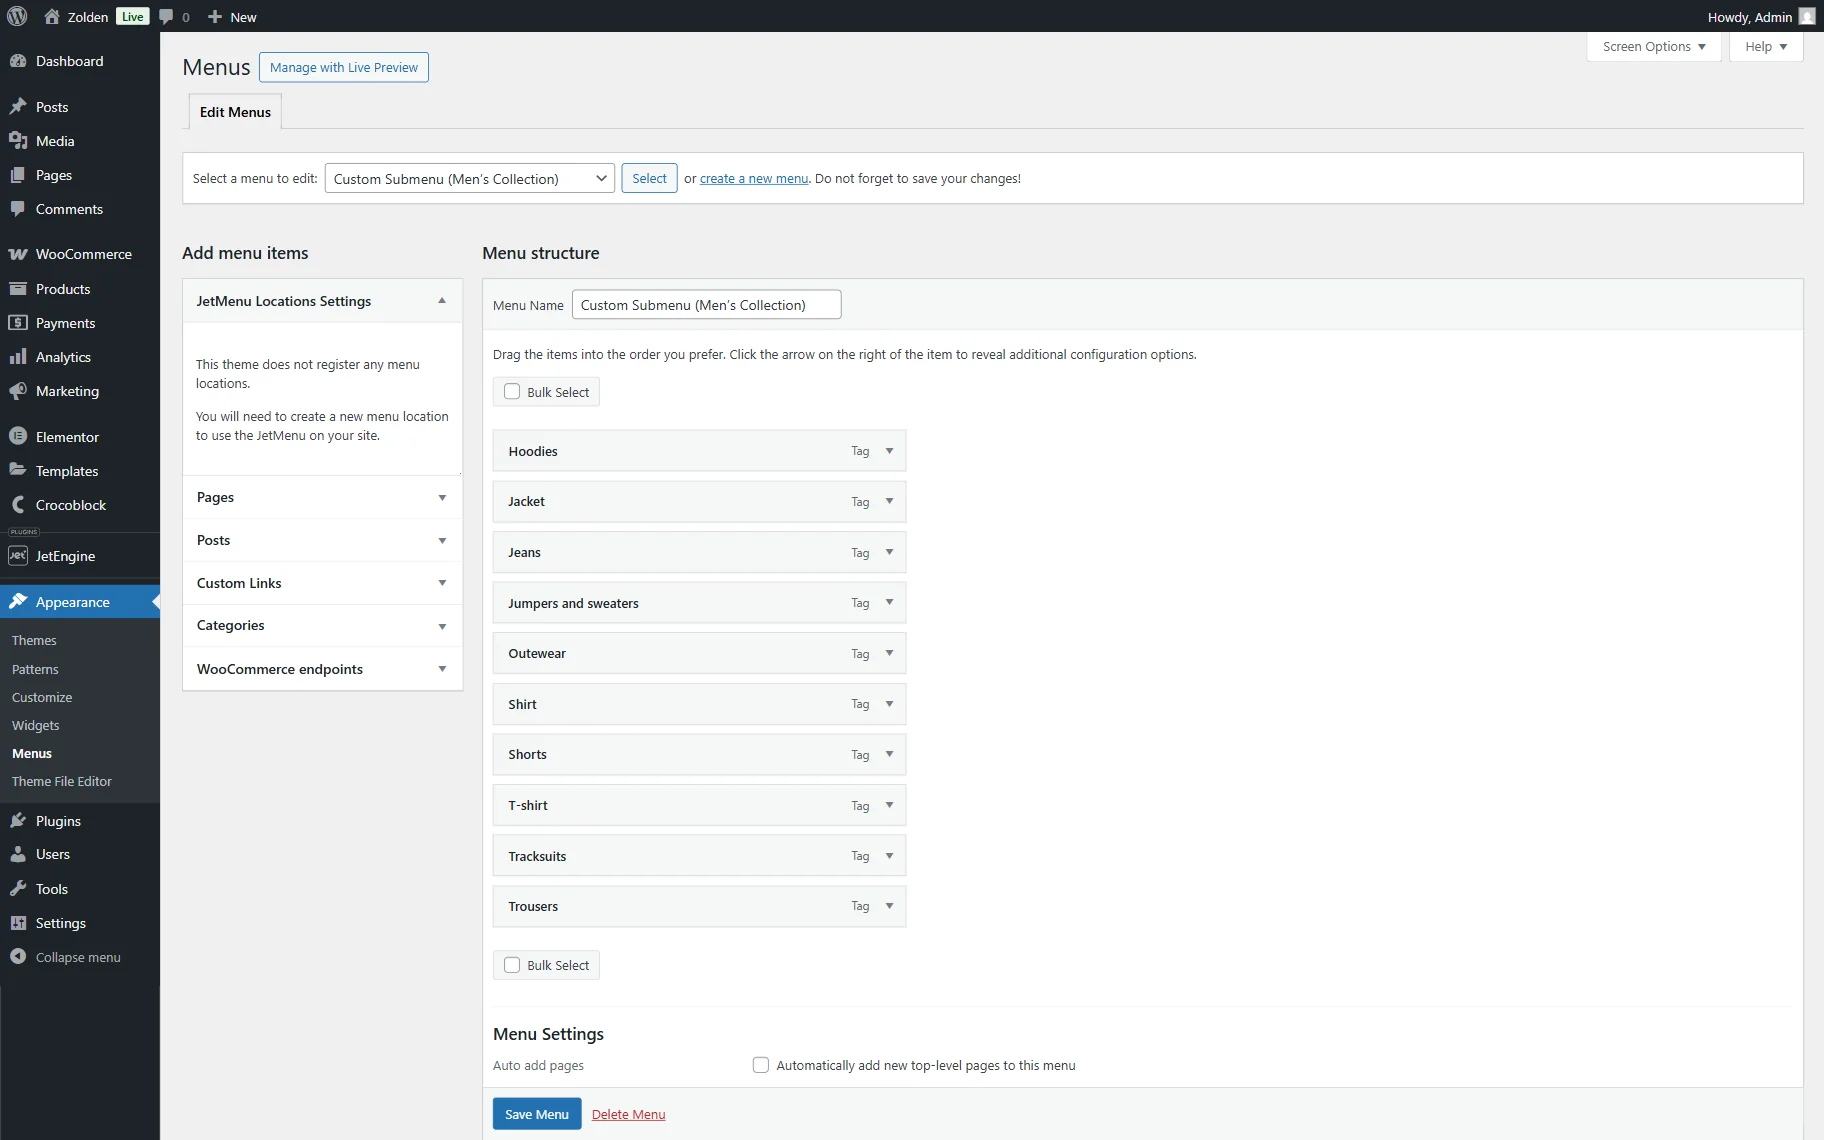
Now, you should create several menus that will be displayed in different columns. To do it, press the “create a new menu“ button.
Complete a Menu Name field and add the needed elements to the menu structure (pages, categories, custom links, etc.). In the Menu Settings (at the end of this page), enable the needed location in the Display location field, and remember to press the “Save Menu” button.
Add other needed submenus to be displayed in the columns the same way.
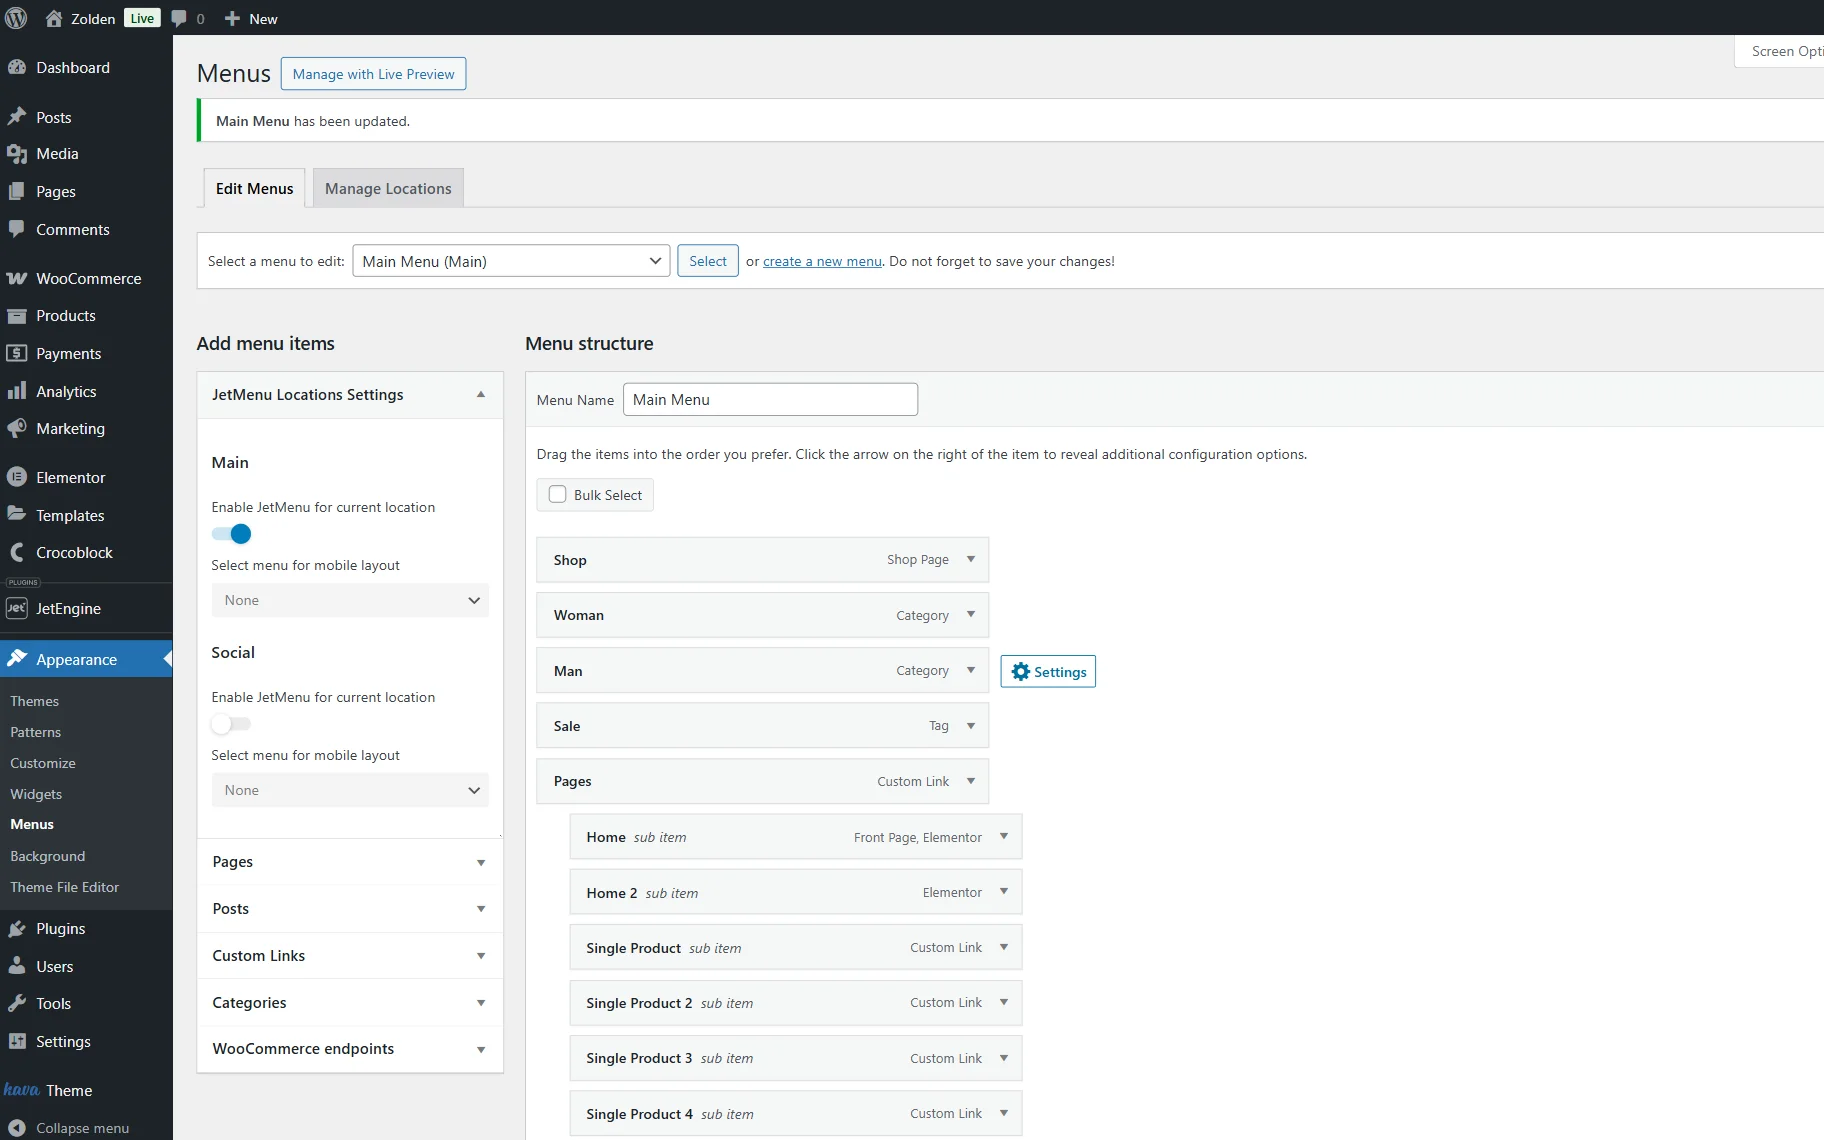
Now, return to the main menu by selecting it in the Select a menu to edit dropdown list.
Hover over the needed menu item and press the “Settings” button to add a mega content to it.
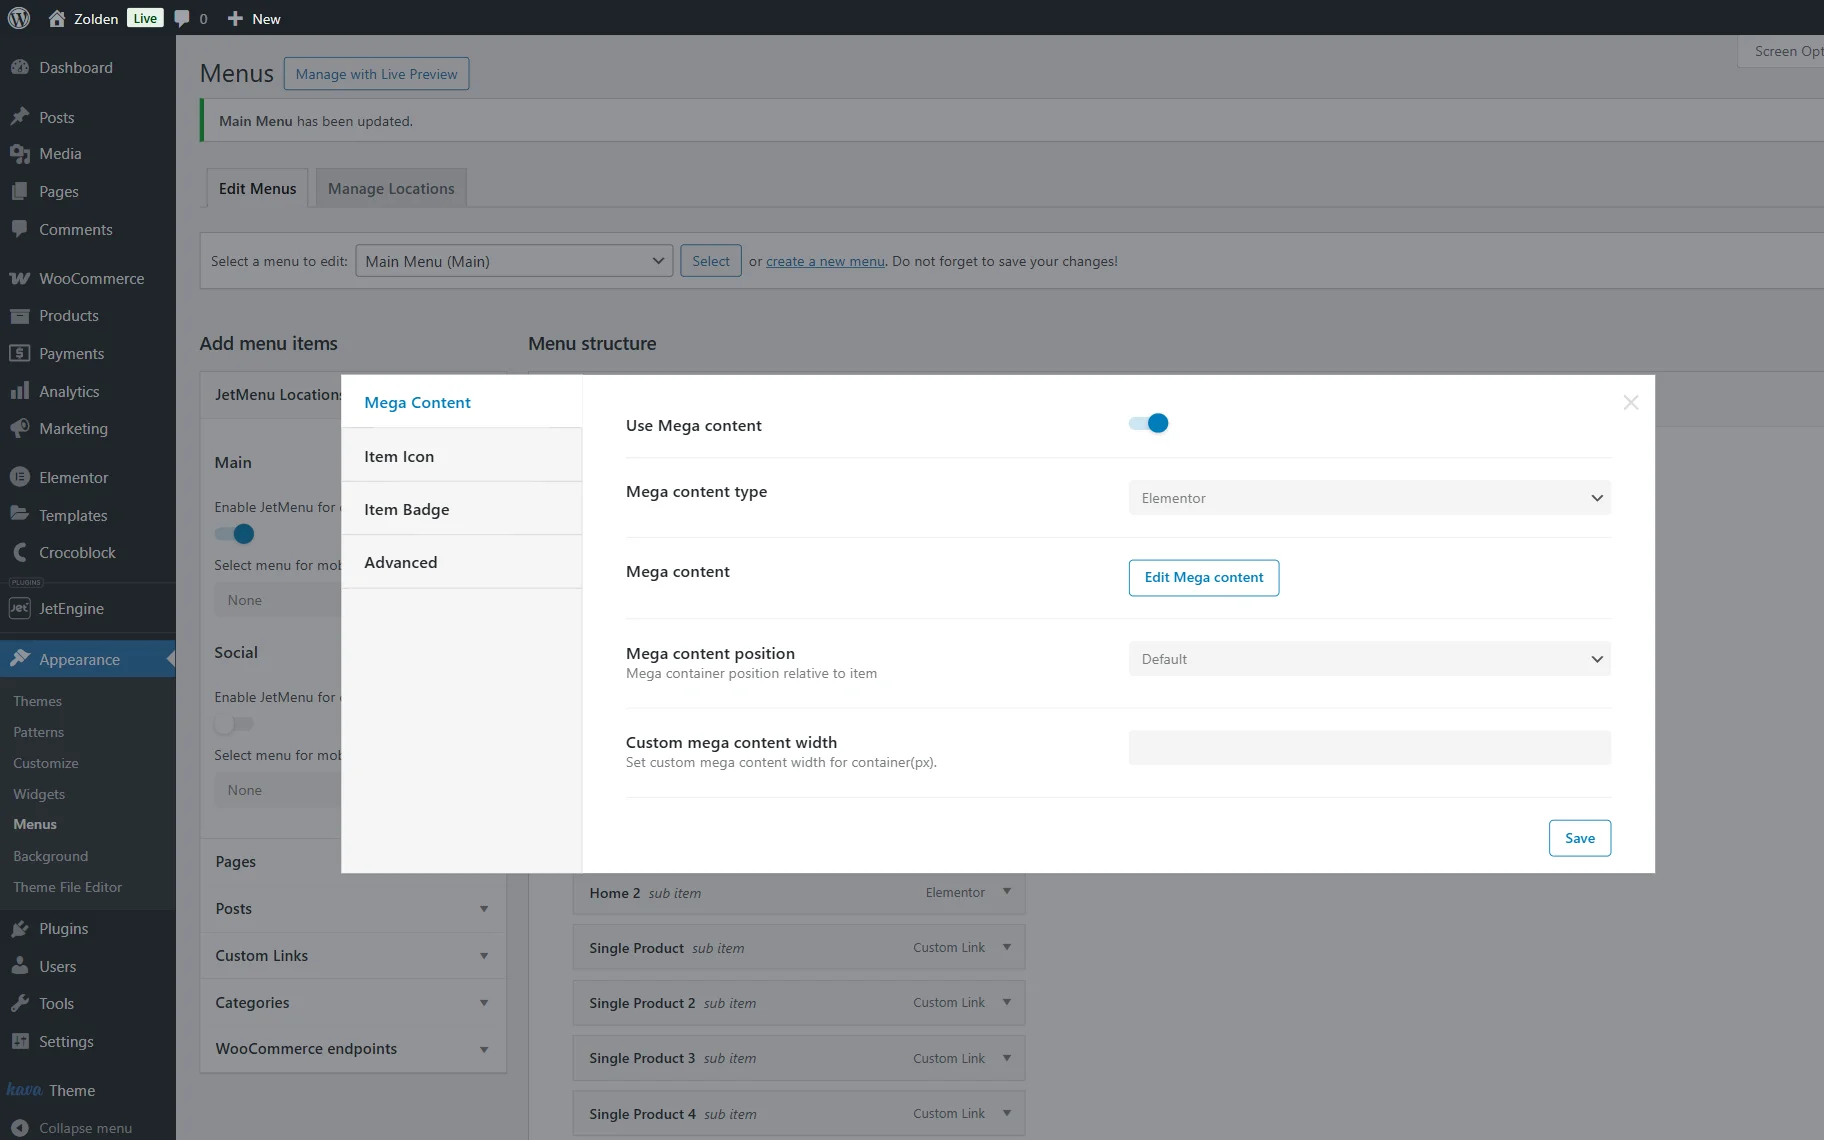
In the opened pop-up, activate the Use Mega content toggle. Make sure that the Mega content type is set to “Elementor” and press the “Edit Mega content” button.
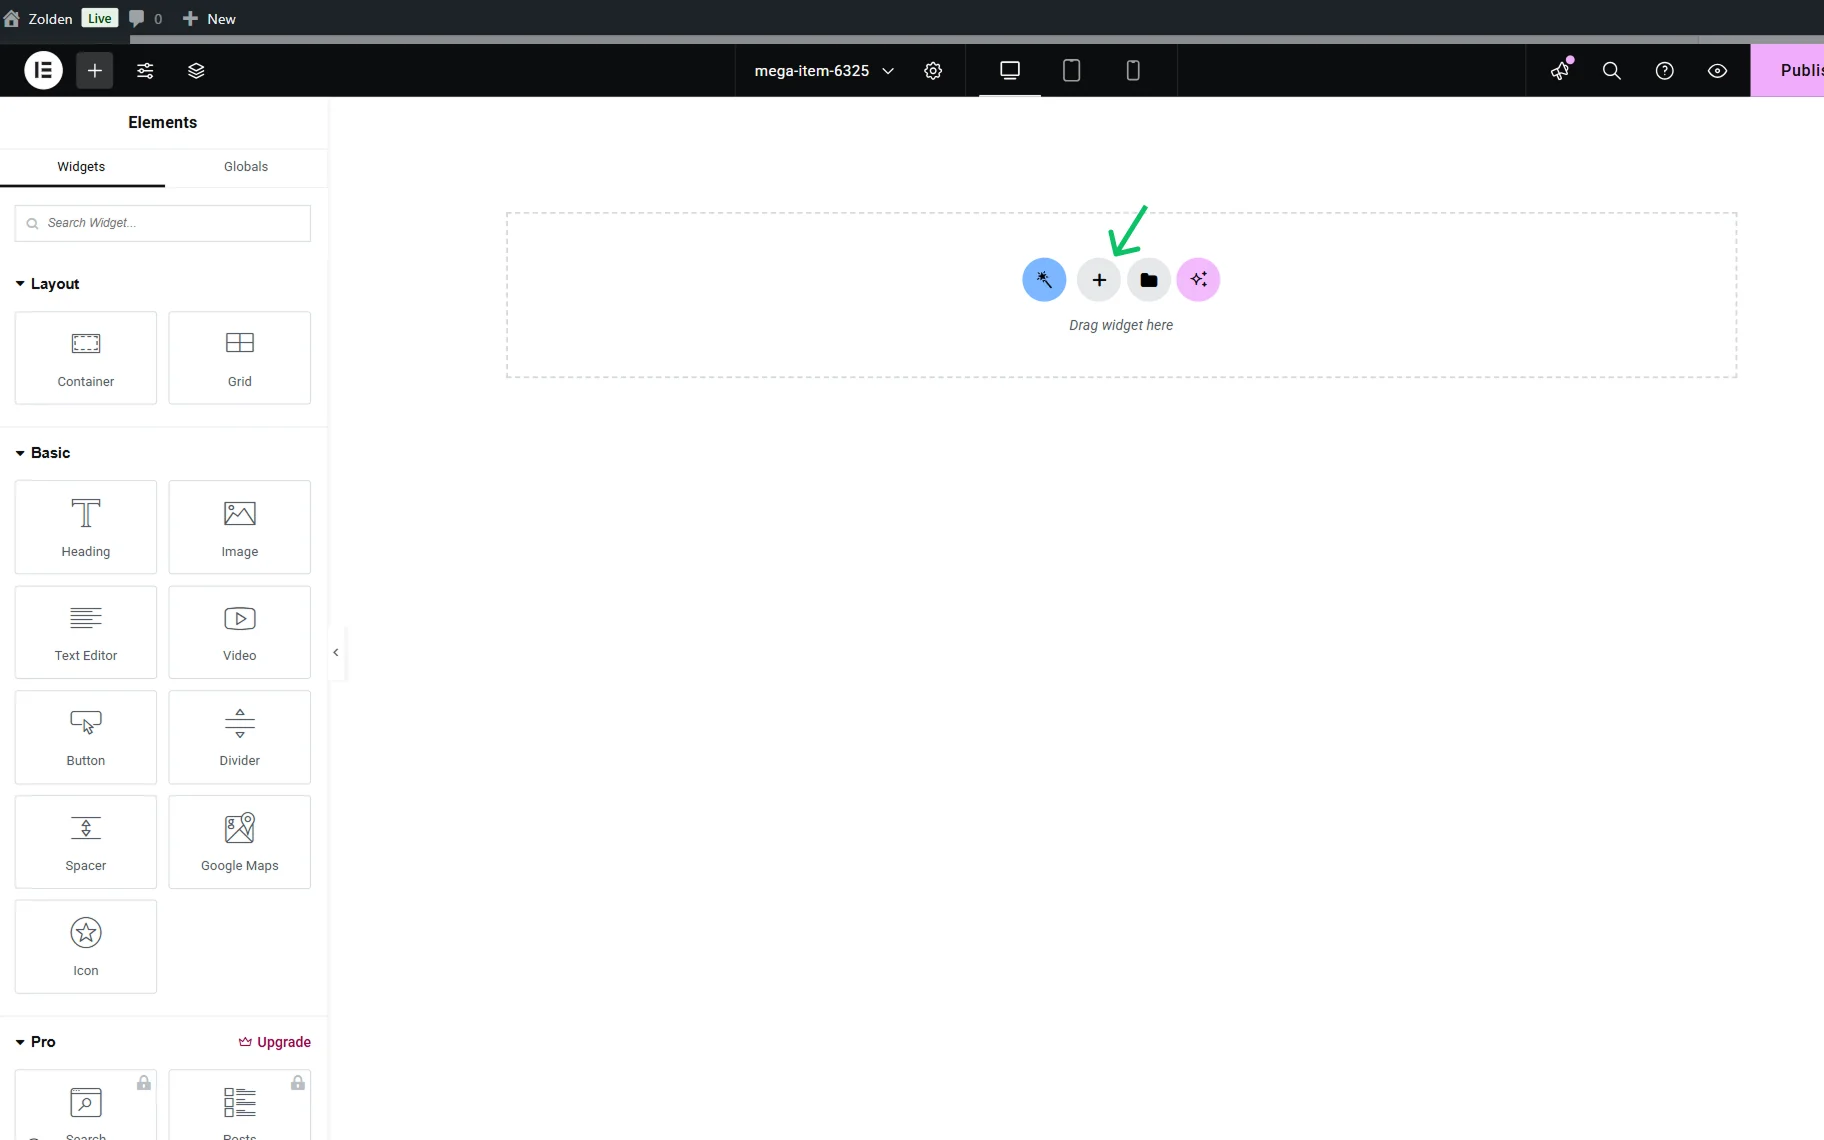
Once the Elementor template is opened, press the “+” button in the center of the editing area to start building a multi-column layout.
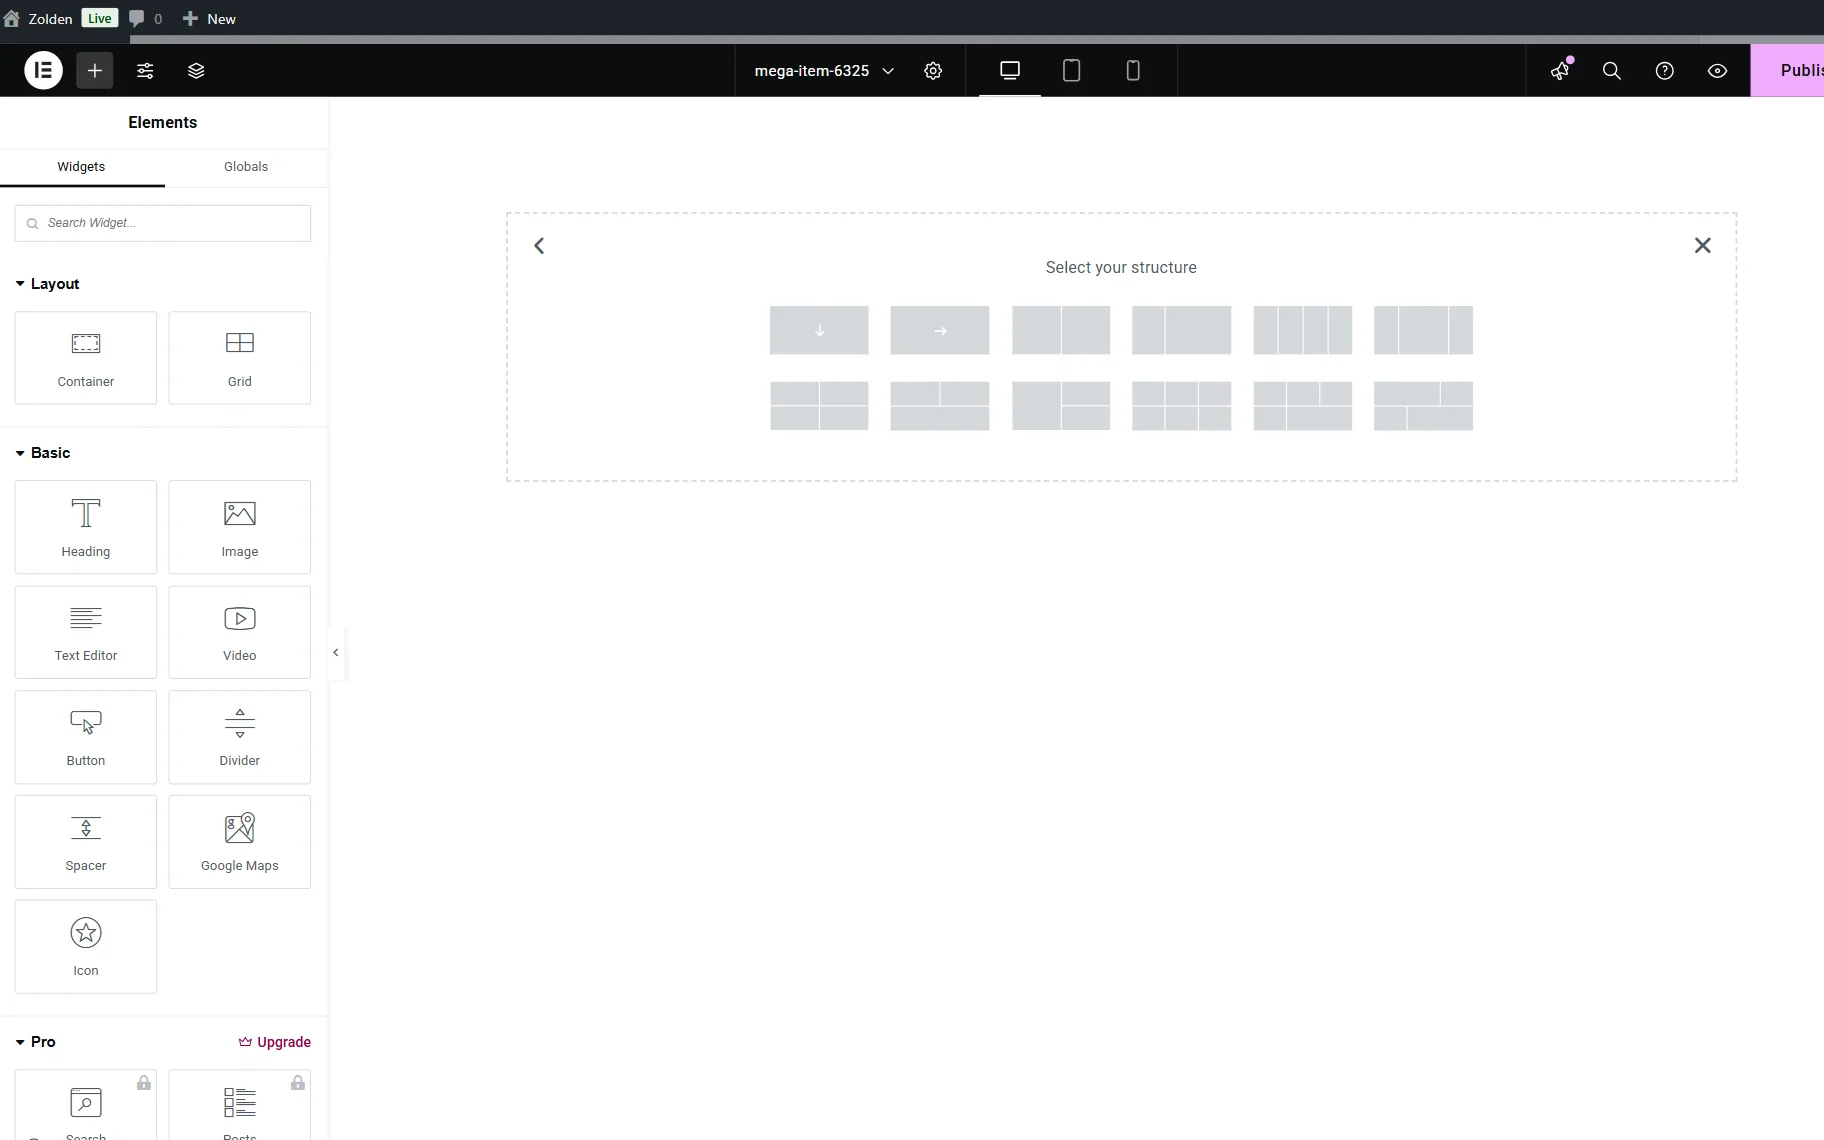
Select the preferred layout among the presented options. For instance, we pick the four-column option.
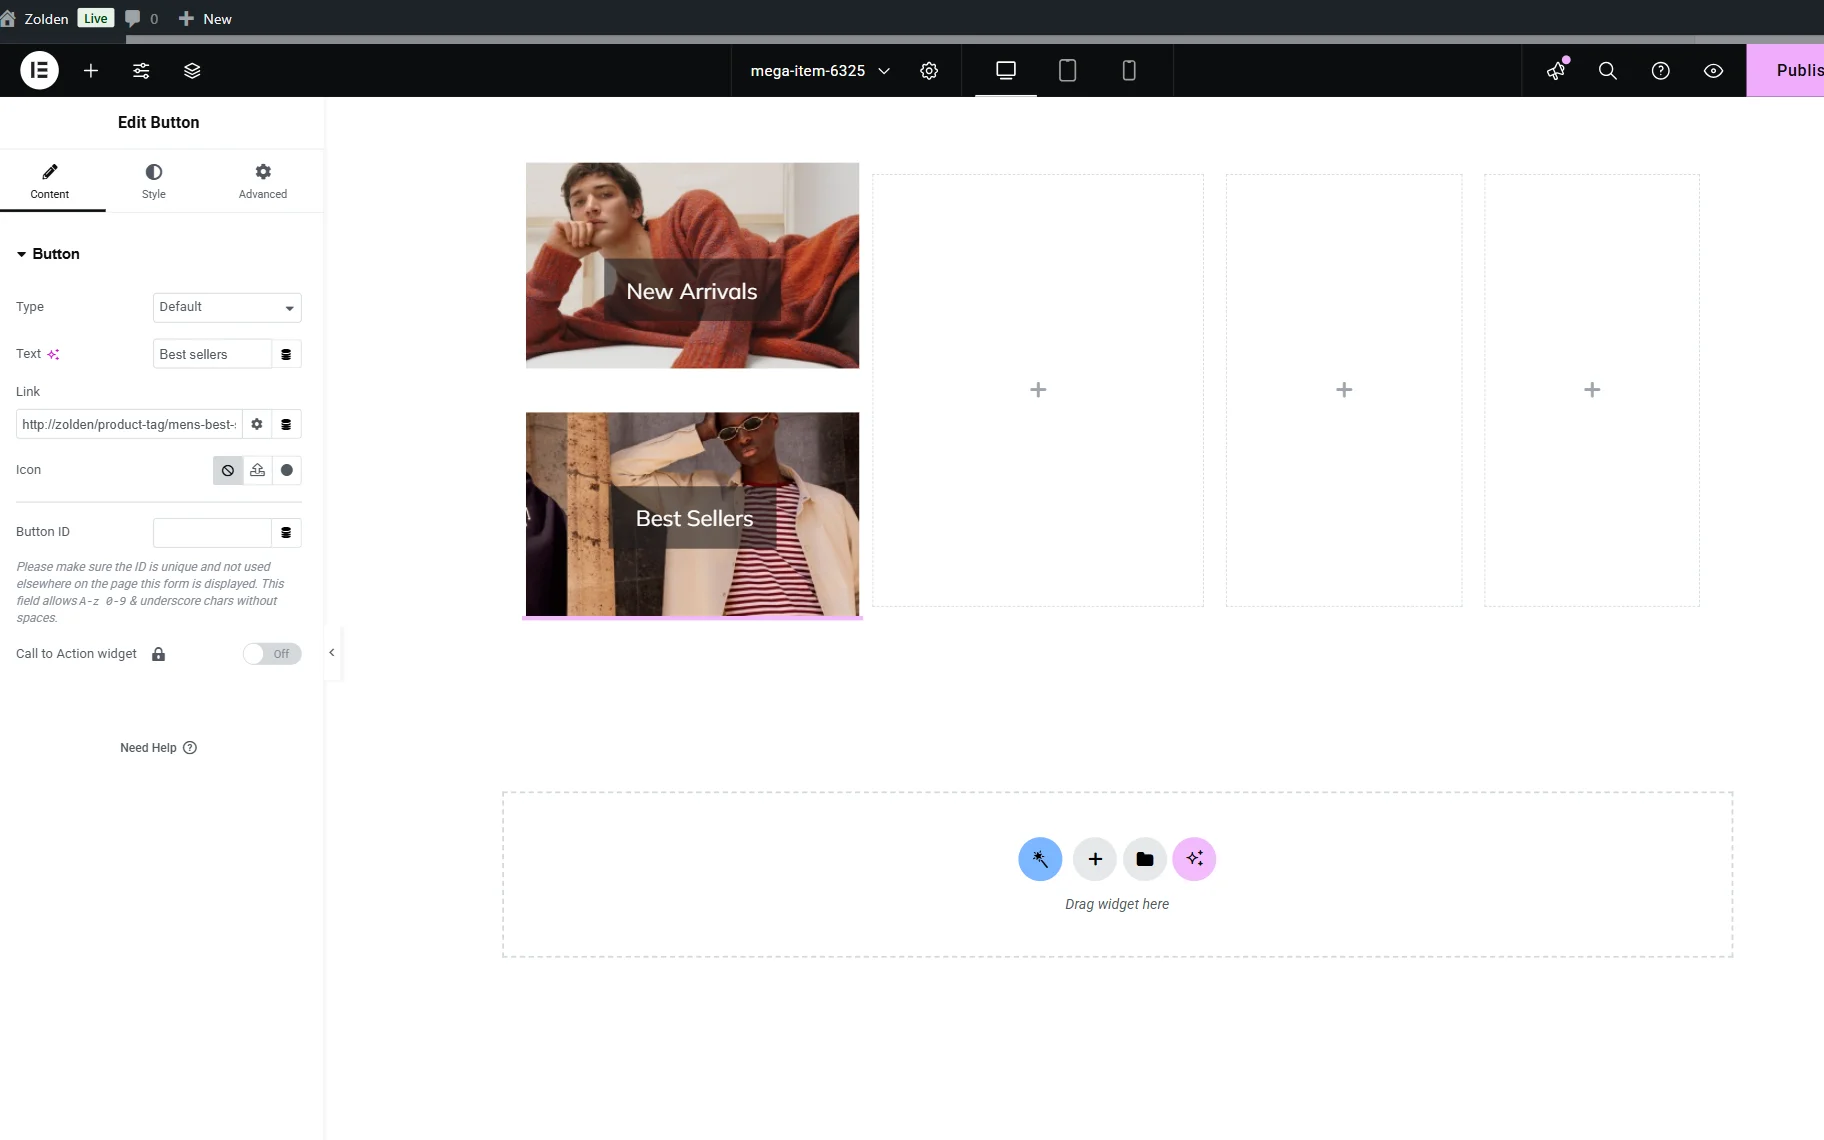
You are free to add any desired content in the columns. Now, we will describe an example template we have created.
In the first column, we add two Images and two Buttons. One button links to the “New Arrivals” page and the other to the Best Sellers page.
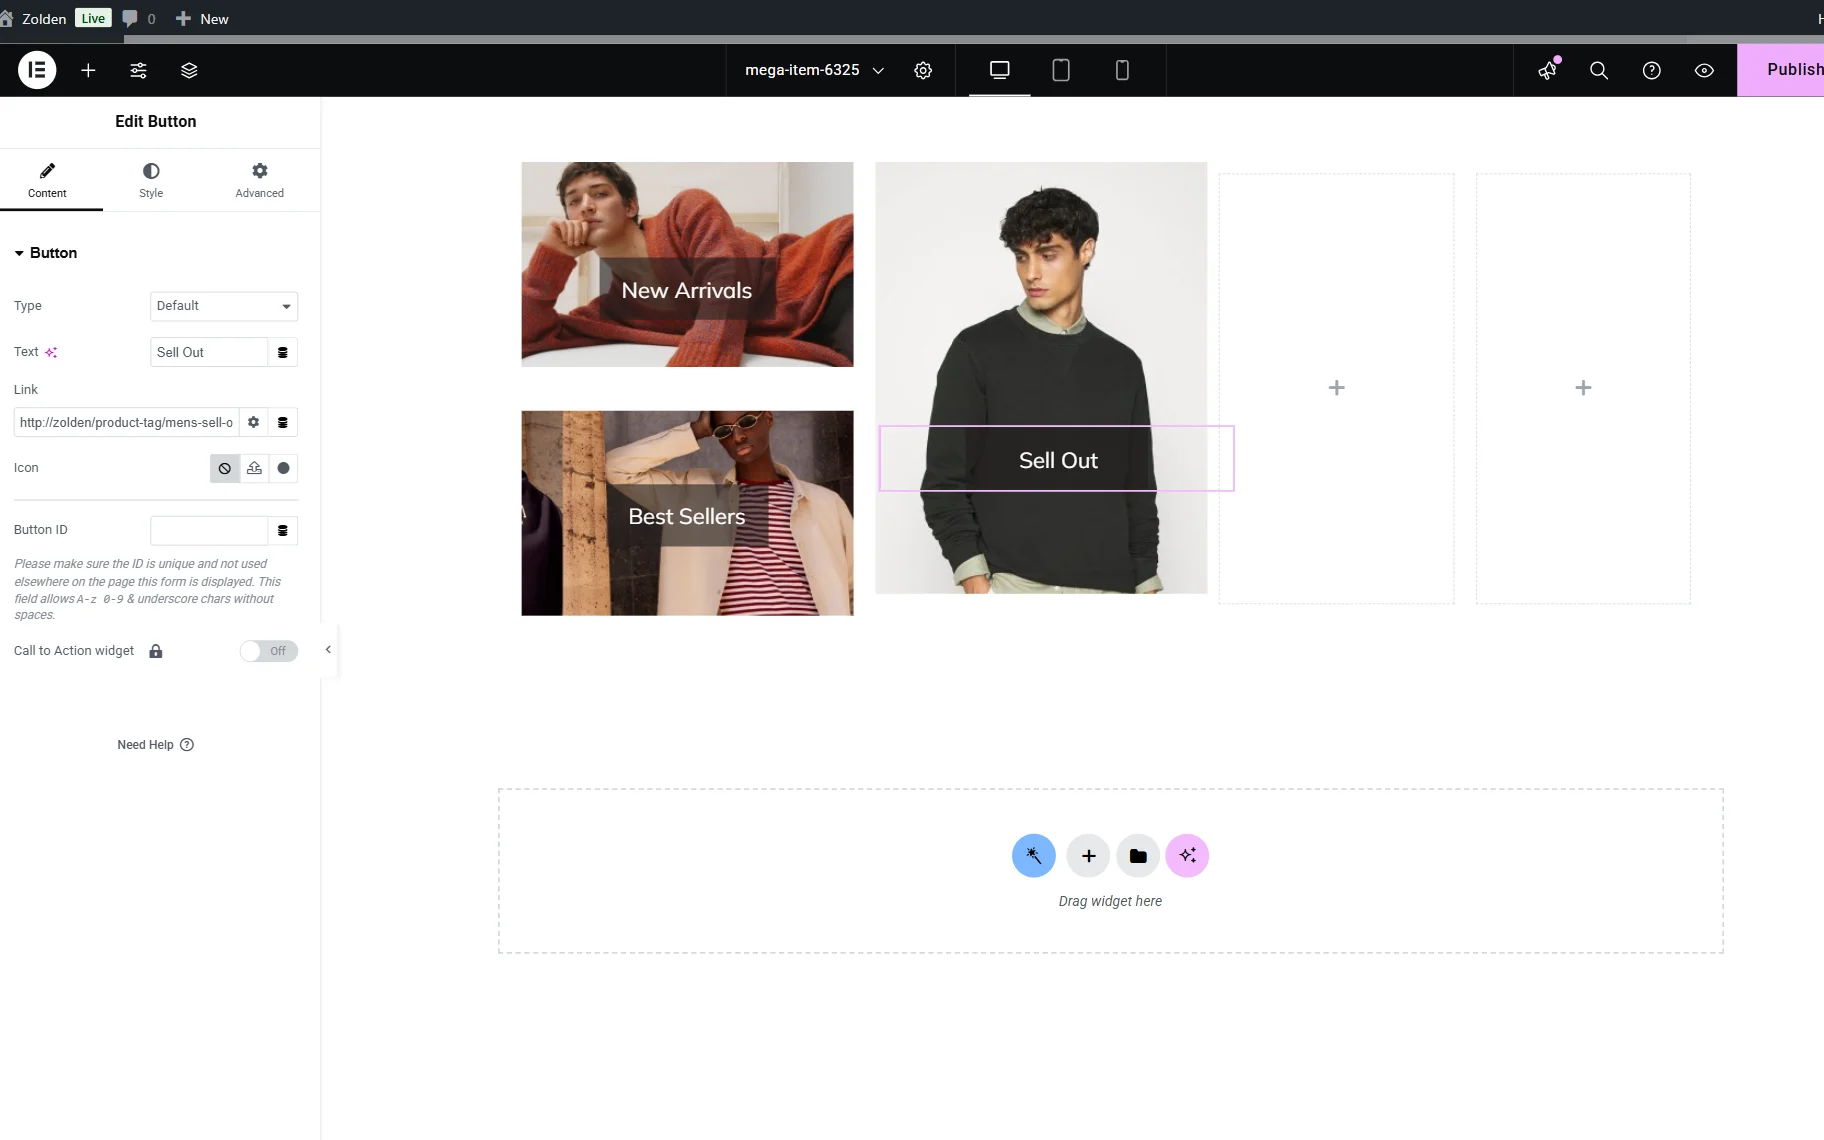
In the second column, we add one more Image and one more Button widget that links to the “Sell Out” page.
Proceeding to the third column, we first add a “Collections” Heading and then find and drop the Vertical Mega Menu widget on the page.
In its Menu settings, we choose the first submenu we created in the Select Menu field. Adjust other settings of the menu if needed.
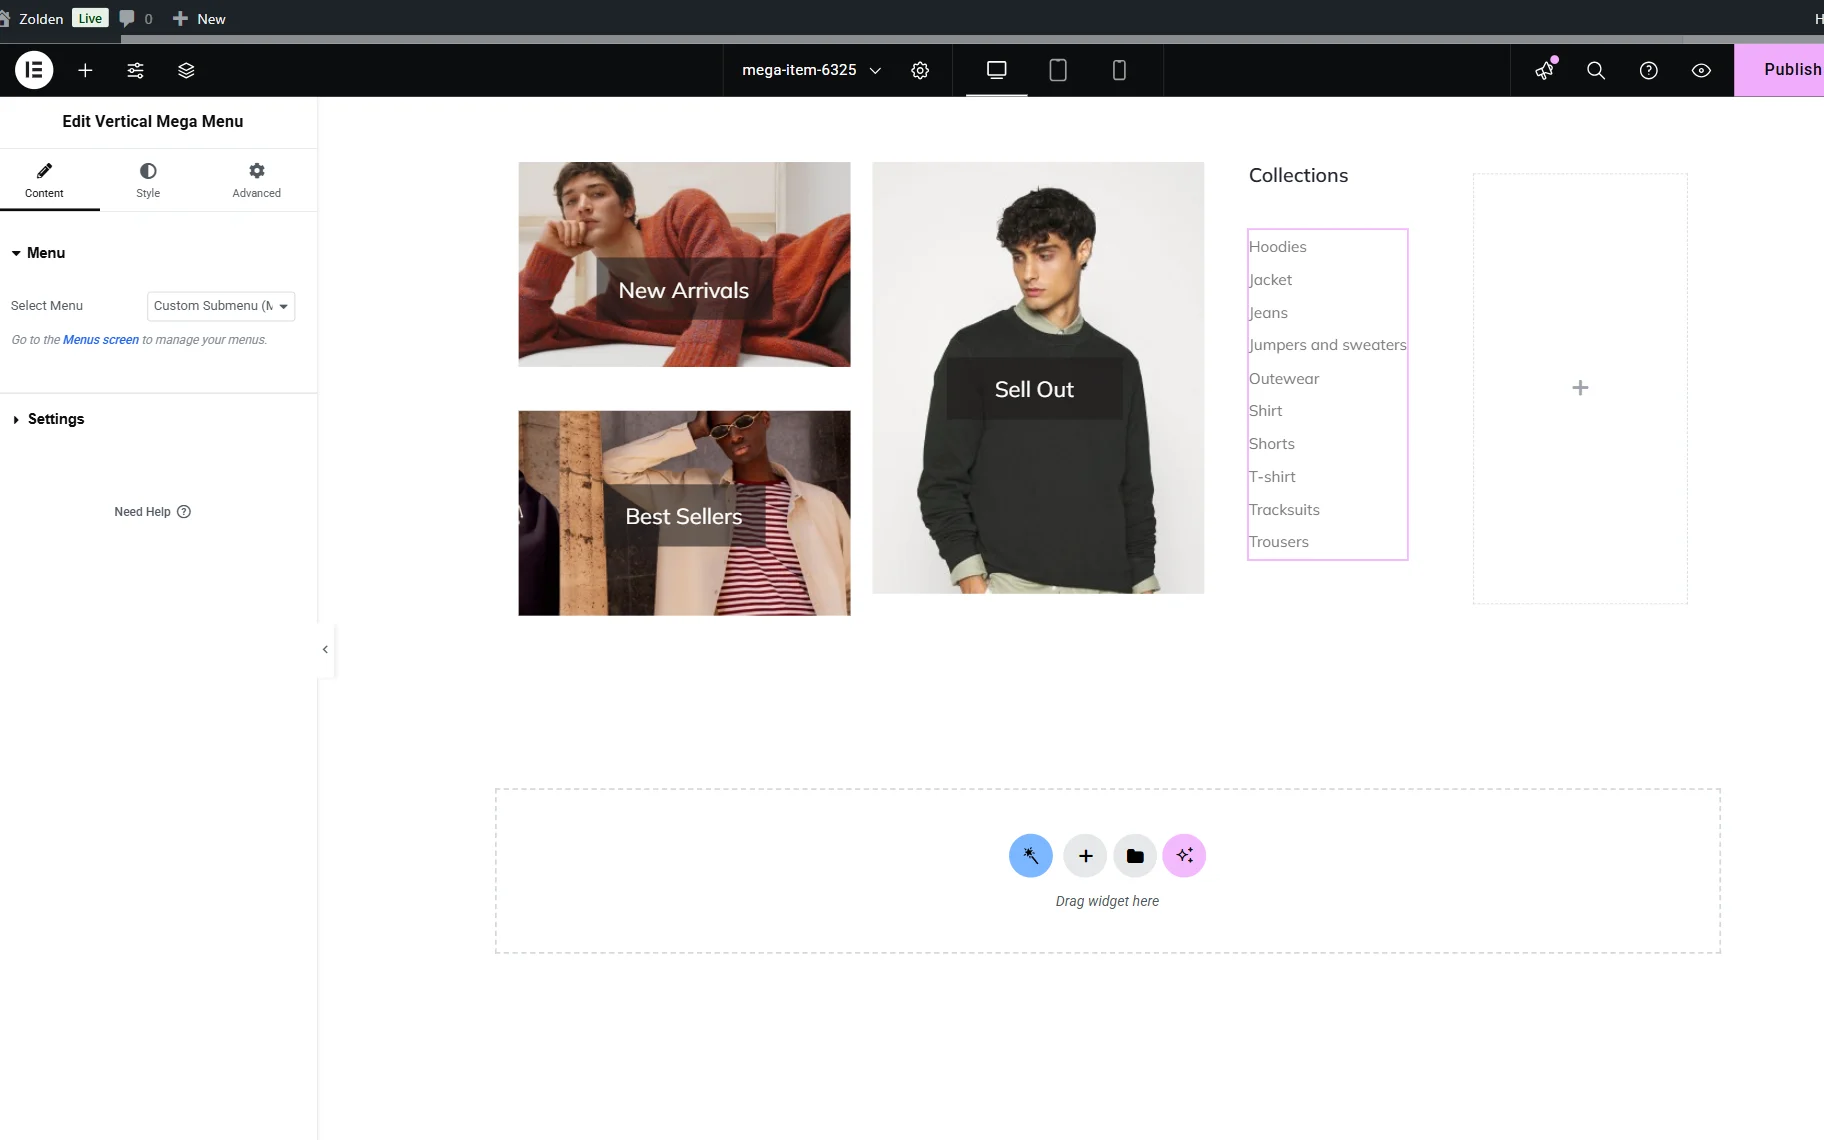
In the fourth column, we also put a Heading widget (“Accessories”) and a Vertical Mega Menu widget. This time, we pick the second submenu we have created in the Select Menu field.

Once you have adjusted the template, press the “Publish” button.
Add Main Menu to the Page/Template
Head to the page or template where you want to place the mega menu. In the described tutorial, we want to add it to the header already built beforehand with JetThemeCore.
So, we proceed to WordPress Dashboard > Crocoblock > Theme Templates and open the header in the editor.
Find and add the Mega Menu widget to the page.
Select the built menu in the Menu dropdown and adjust other settings if needed.
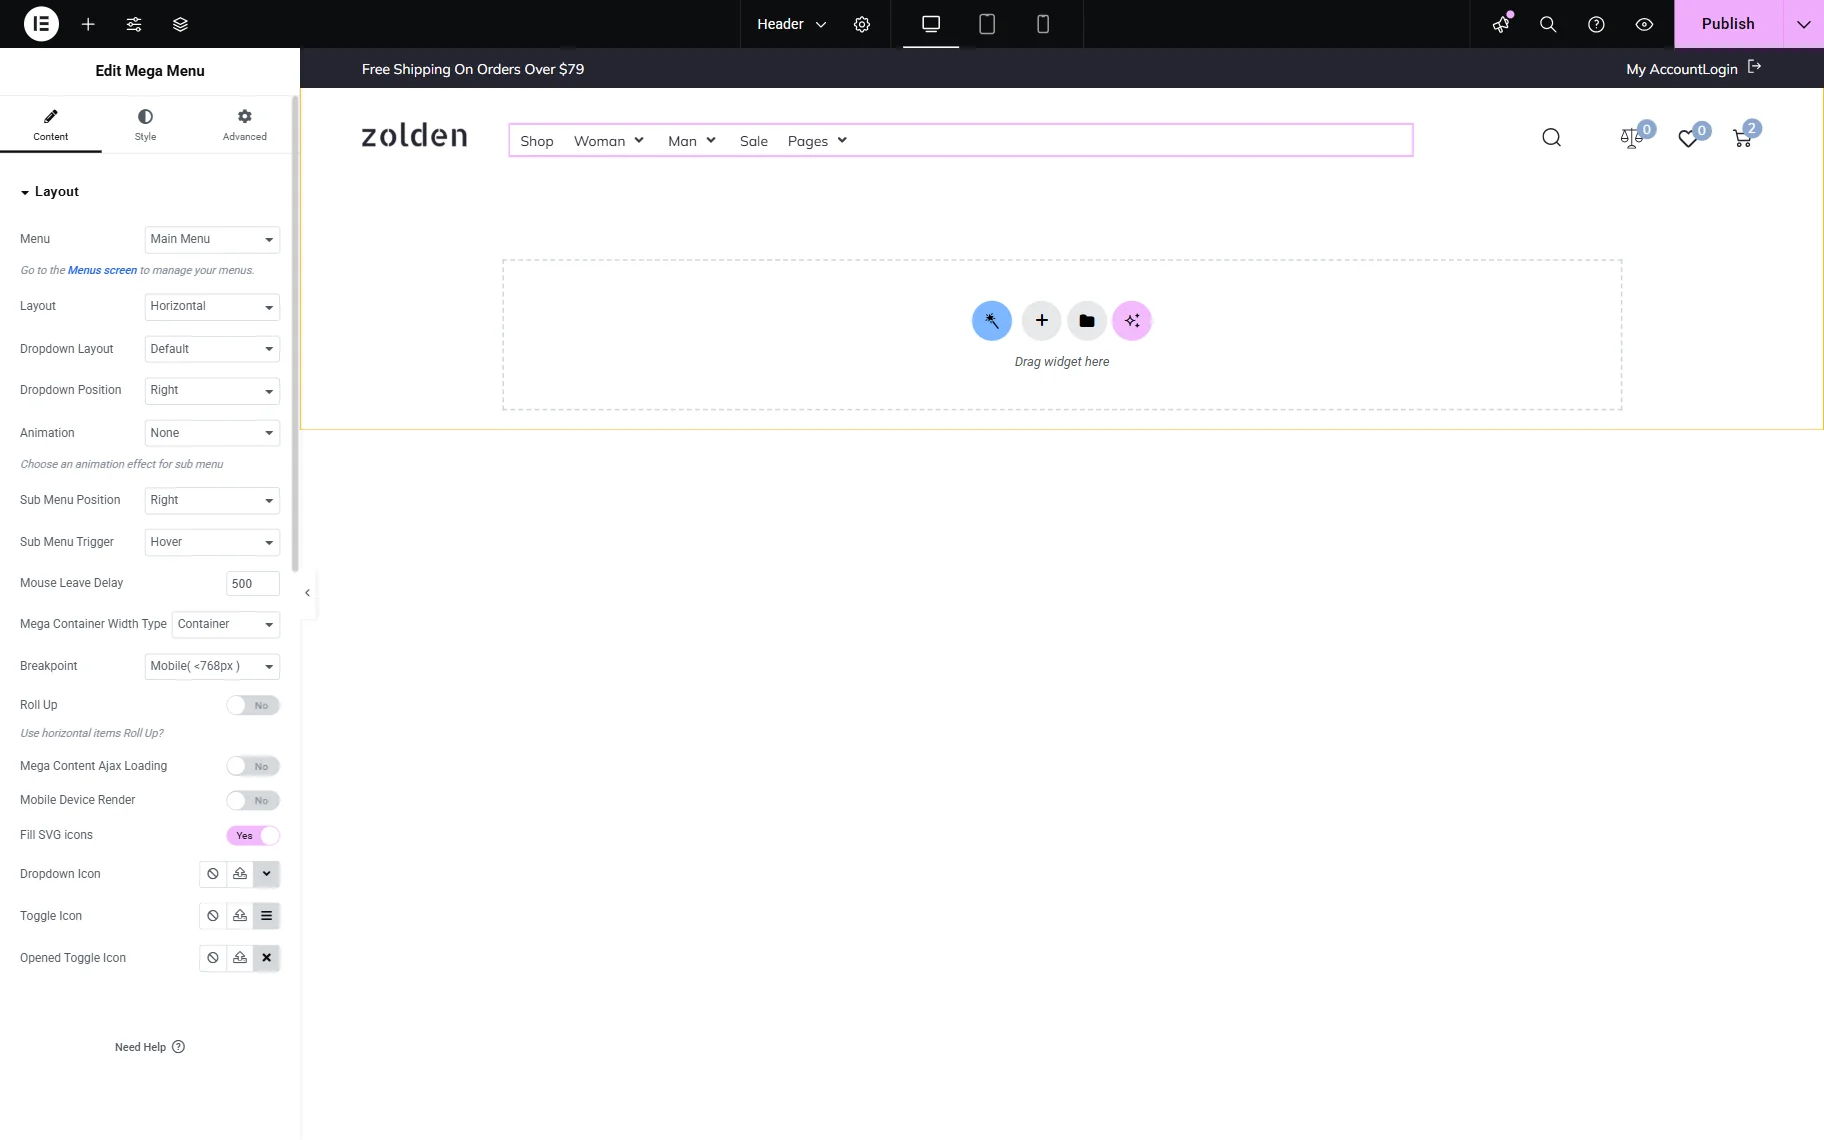
Save the changes by pressing the “Publish” button.
Check the Result
Head to the page where the menu is located. In our case, it’s the home page where the header with the menu is located.
If you hover over the main menu item, for which you have mega content, you will observe the multi-column layout you have built earlier.

That’s all; now, you know how to build a multi-column mega menu in Elementor with the help of the JetMenu plugin for WordPress.