How to Add Reviews to the Post in Gutenberg
Learn how to customize WordPress reviews with the help of JetReviews and Gutenberg (Block Editor).
Before you start, check the tutorial requirements:
- Block editor (Gutenberg)
- JetReviews plugin installed and activated
- JetThemeCore plugin installed and activated with the single page of the needed post type created
- JetEngine plugin installed and activated with several Custom Post Types created
From this tutorial, you will find out more about the JetReviews settings and the Reviews Listings block for Gutenberg available with this plugin.
Adjust JetReviews Settings
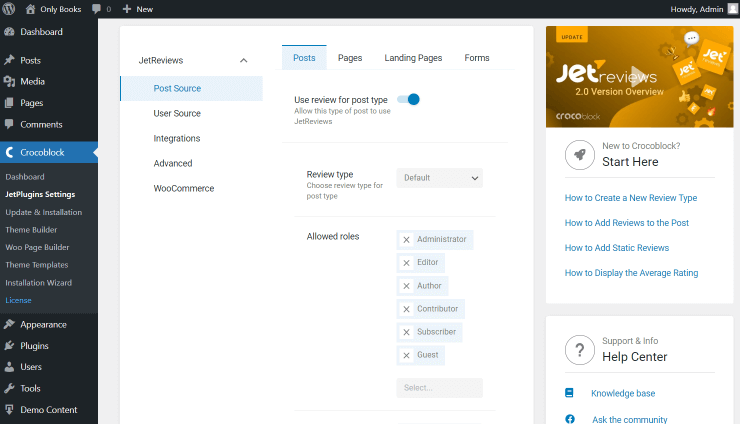
Go to WordPress Dashboard > JetReviews > Settings and open the Post Source tab.
Among the available tabs, choose the source for which you want to add reviews. Now we will work with default WordPress posts, so open the similarly named tab.
Activate the Use review for post type toggle and head to the following setting.
The one we will observe more precisely is the Review type; now, the only available option is “Default.” So, let’s check how to create another custom review type.
Create a Custom Review Type
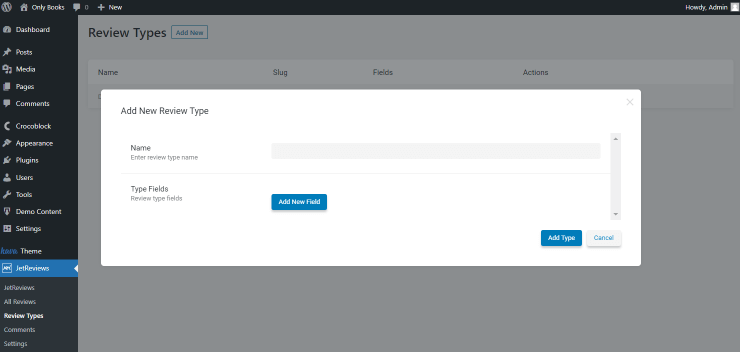
Navigate to WordPress Dashboard > JetReviews > Review Types and press the “Add New” button.
Give a Name to the review type and click the “Add New Field” button next to the Type fields.
Complete the Label and set the Step and Max Value in the corresponding fields.
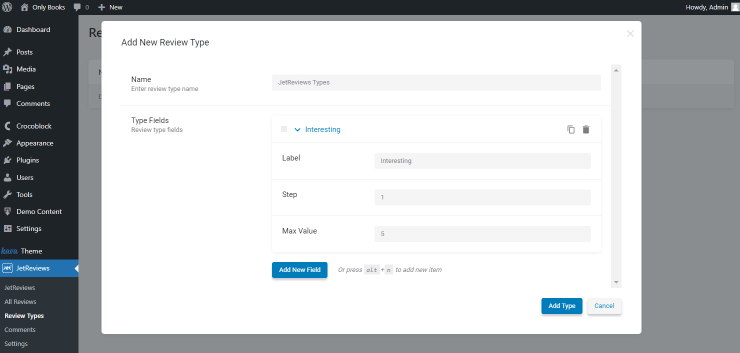
Once you want to create a new review criterium, click the “Add New Field” button one more time. After everything is set, press “Add Type” to save the changes.
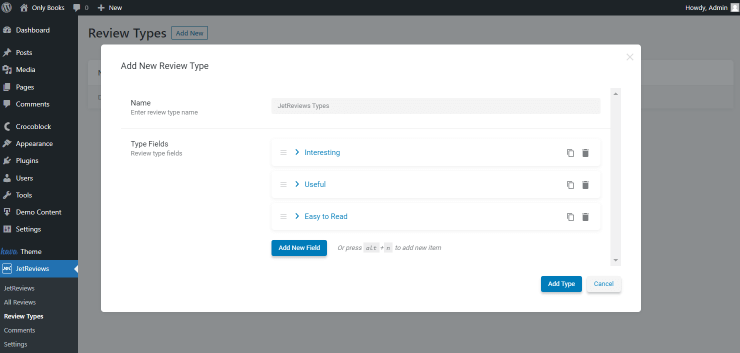
Set the Review Type
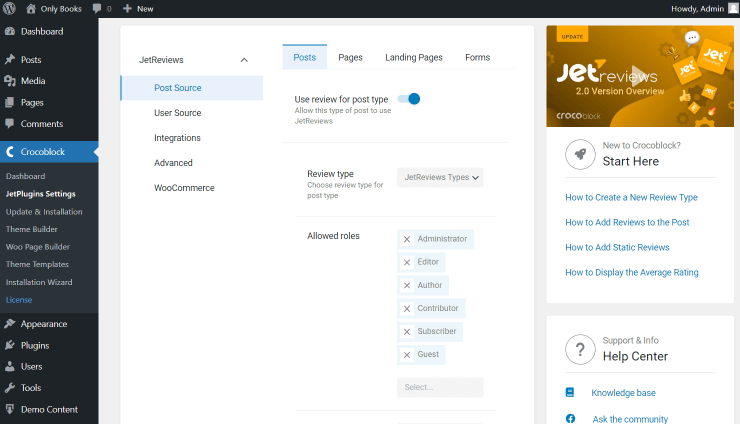
Return to WordPress Dashboard > JetReviews > Review Types. Now the new option you have just created is available.
Adjust the following JetReviews settings as you need. Don’t worry about pressing any buttons; the changes will be saved automatically.

Customize the Single Post
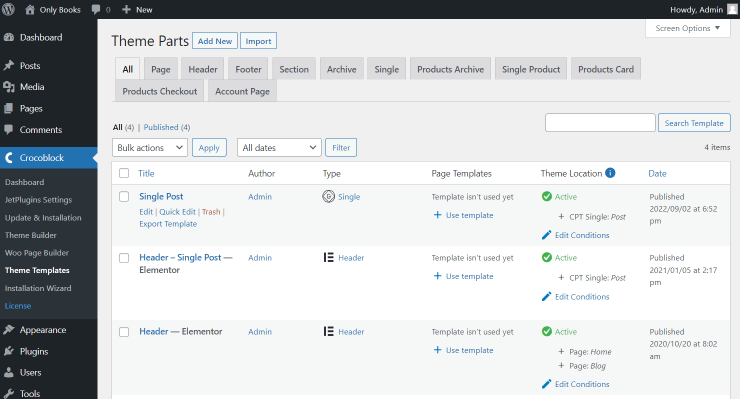
Work with the settings is done; head to WordPress Dashboard > Crocoblock > Theme Templates and open the editor of the single post template built beforehand.
Or, repeat the same step in WordPress Dashboard > Crocoblock > Theme Builder if your single template is set up there.
Here, find the Reviews Listing block and look through its settings.
Settings
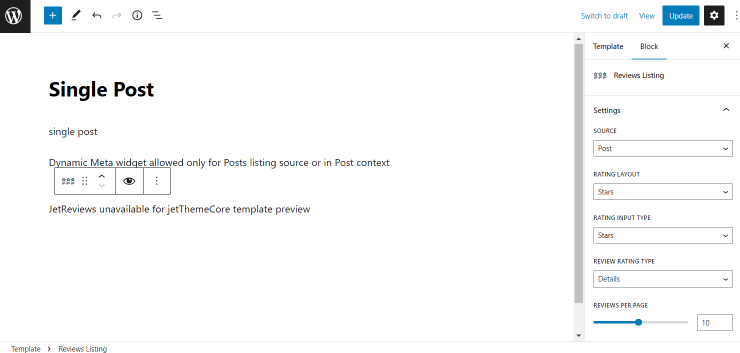
- Source — define the desired source of reviews. Now we pick the “Post” option;
- Rating Layout — select the desired layout; it can be either “Stars” or “Points”;
- Rating Input Type — choose how the user can set the rating by dragging a slider or setting stars;
- Review Rating Type — pick whether you want to show a “Details” or “Average” rating. If the first option is selected, all the review fields will be shown in the completed review, and in the case of the second option, only the average value of all set fields rating will be displayed;
- Reviews per Page — set the number of reviews shown on the page;
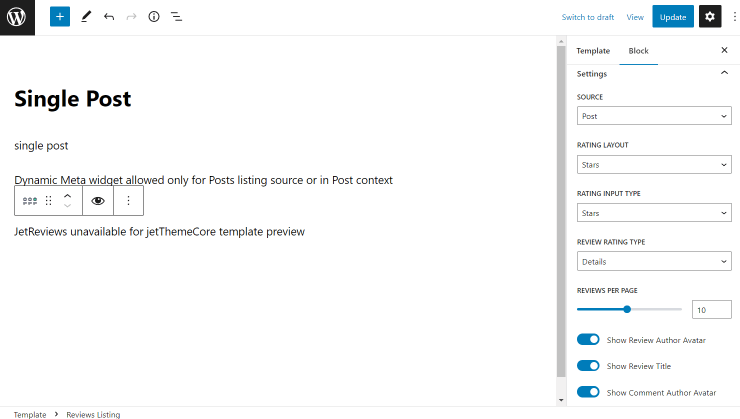
- Show Review Author Avatar — enable to display the avatar of the user that does a review;
- Show Review Title — leave activated to ensure the title of the review will be shown;
- Show Comment Author Avatar — enable to show the author’s avatar next to the comment following the review.
Icons
Here, you can also select the icons for various sources, e.g., stars and buttons.
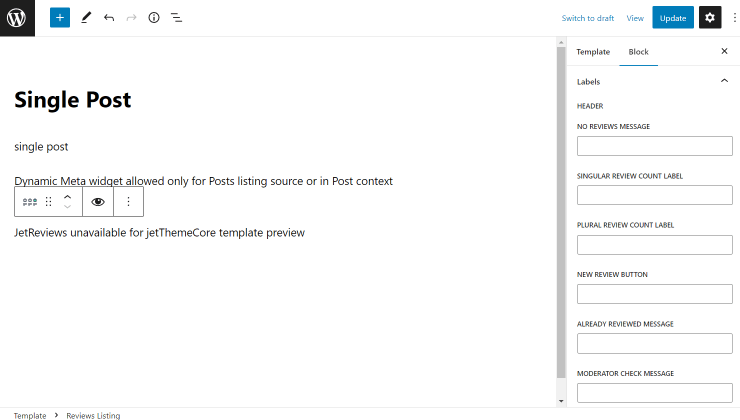
Labels
Set the notifications shown to the user in different cases.
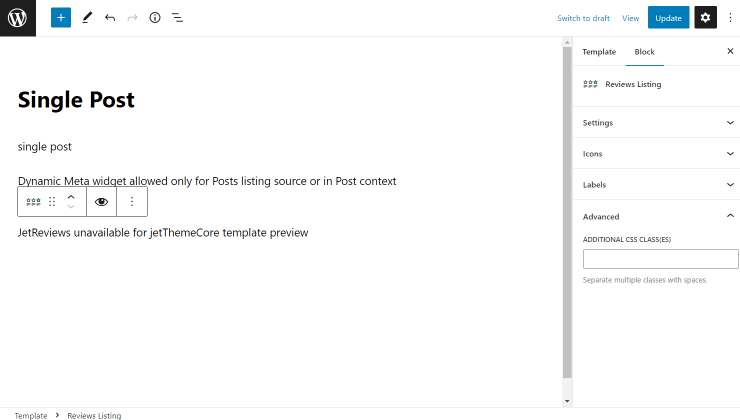
Advanced
Furthermore, you can paste the CSS code into the Additional CSS Class(es) field to style the block.
Press the “Update” button to save the changes made on the single page.
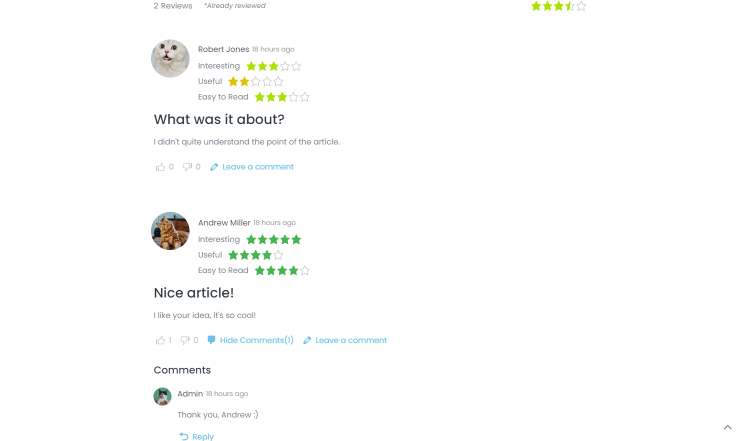
Now you can check the result; open any desired post. Once the reviews are left, they will be displayed similarly to the presented example (depending on the adjustments you have made.)
This is it; now you know how to attach reviews to WordPress posts, both default and custom ones, with the help of the JetReviews plugin.