How to Create a Custom WordPress Search Form
Learn how to create a custom WordPress search form and manage its settings using the JetSearch plugin.
Before you start, check the tutorial requirements:
- Elementor (Free version), Block editor (Gutenberg), or the Bricks theme
- JetSearch plugin installed and activated
- A page or a post created previously
Adjust the JetSearch Settings
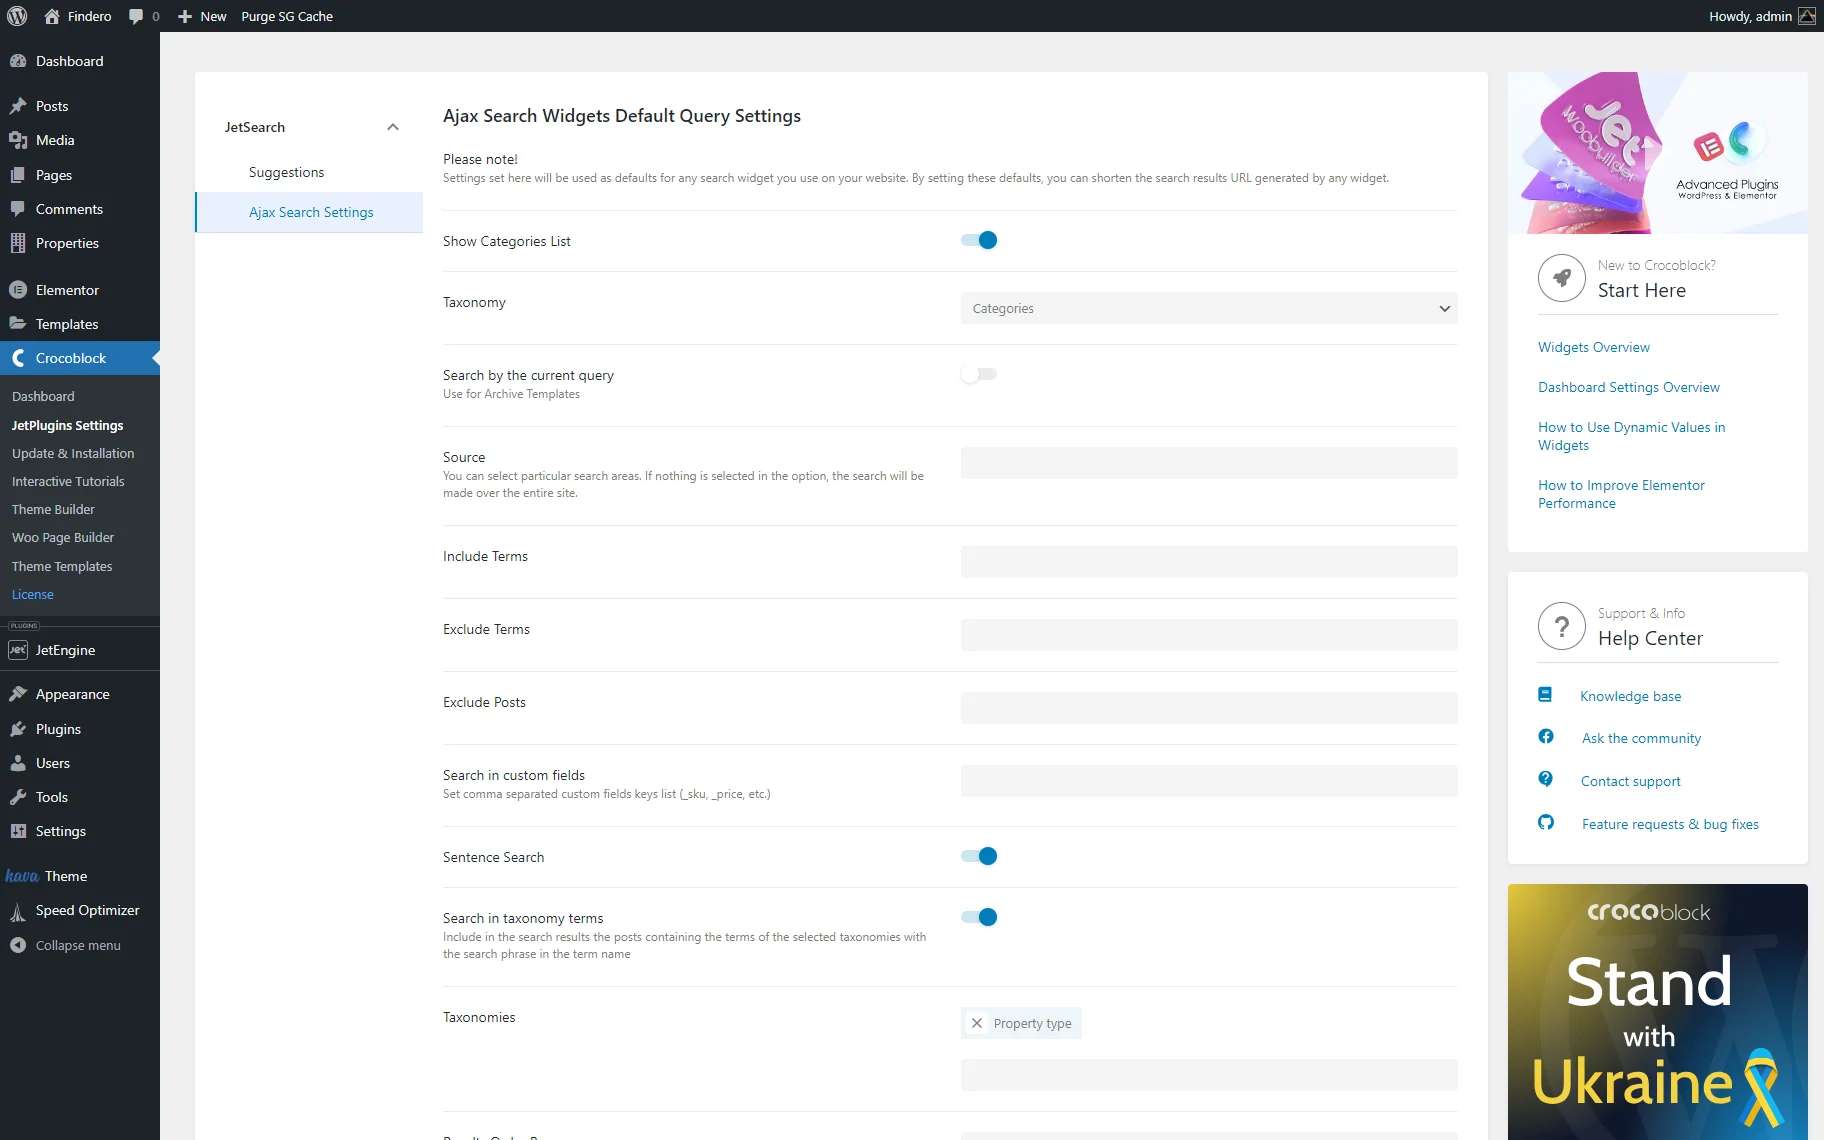
Navigate to WordPress Dashboard > Crocoblock > JetPlugins Settings > JetSearch > Ajax Search Settings.
In this case, we intend to search over the site and additionally display a category list in the search results. Therefore, we enabled the Show Categories List toggle and kept the default “Categories” option in the Taxonomy drop-down. We left the Source drop-down list empty to search the entire site. Then, we scrolled down the tab and enabled the Sentence Search and Search in taxonomy terms toggles.
In the next stage, we picked the needed taxonomy in the Taxonomies field (the “Property type” in this case), scrolled the tab down, and kept the default “Relevance” option selected in the Results Order By drop-down list and “ASC” Results Order.
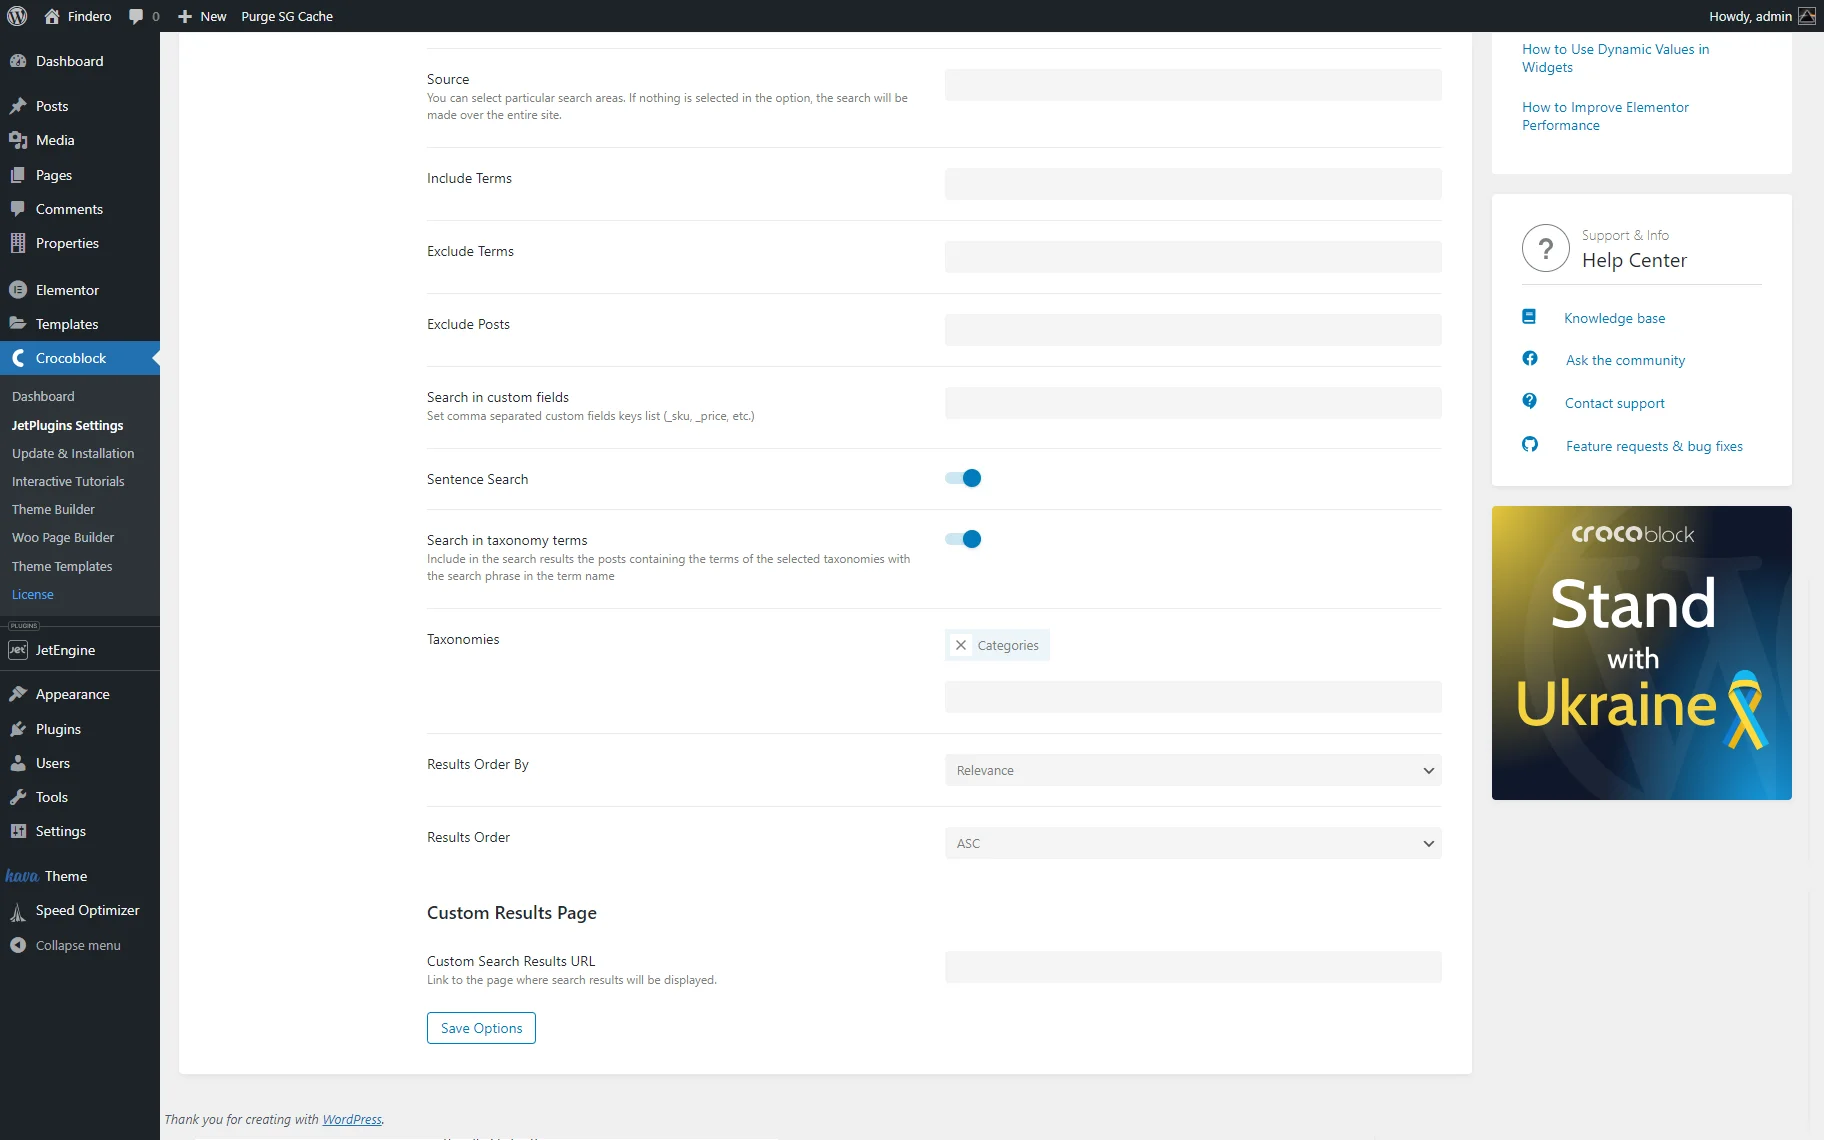
Finally, we scrolled the settings tab to the end and pressed the “Save Options” button.
Add the Ajax Search Widget/Block/Element
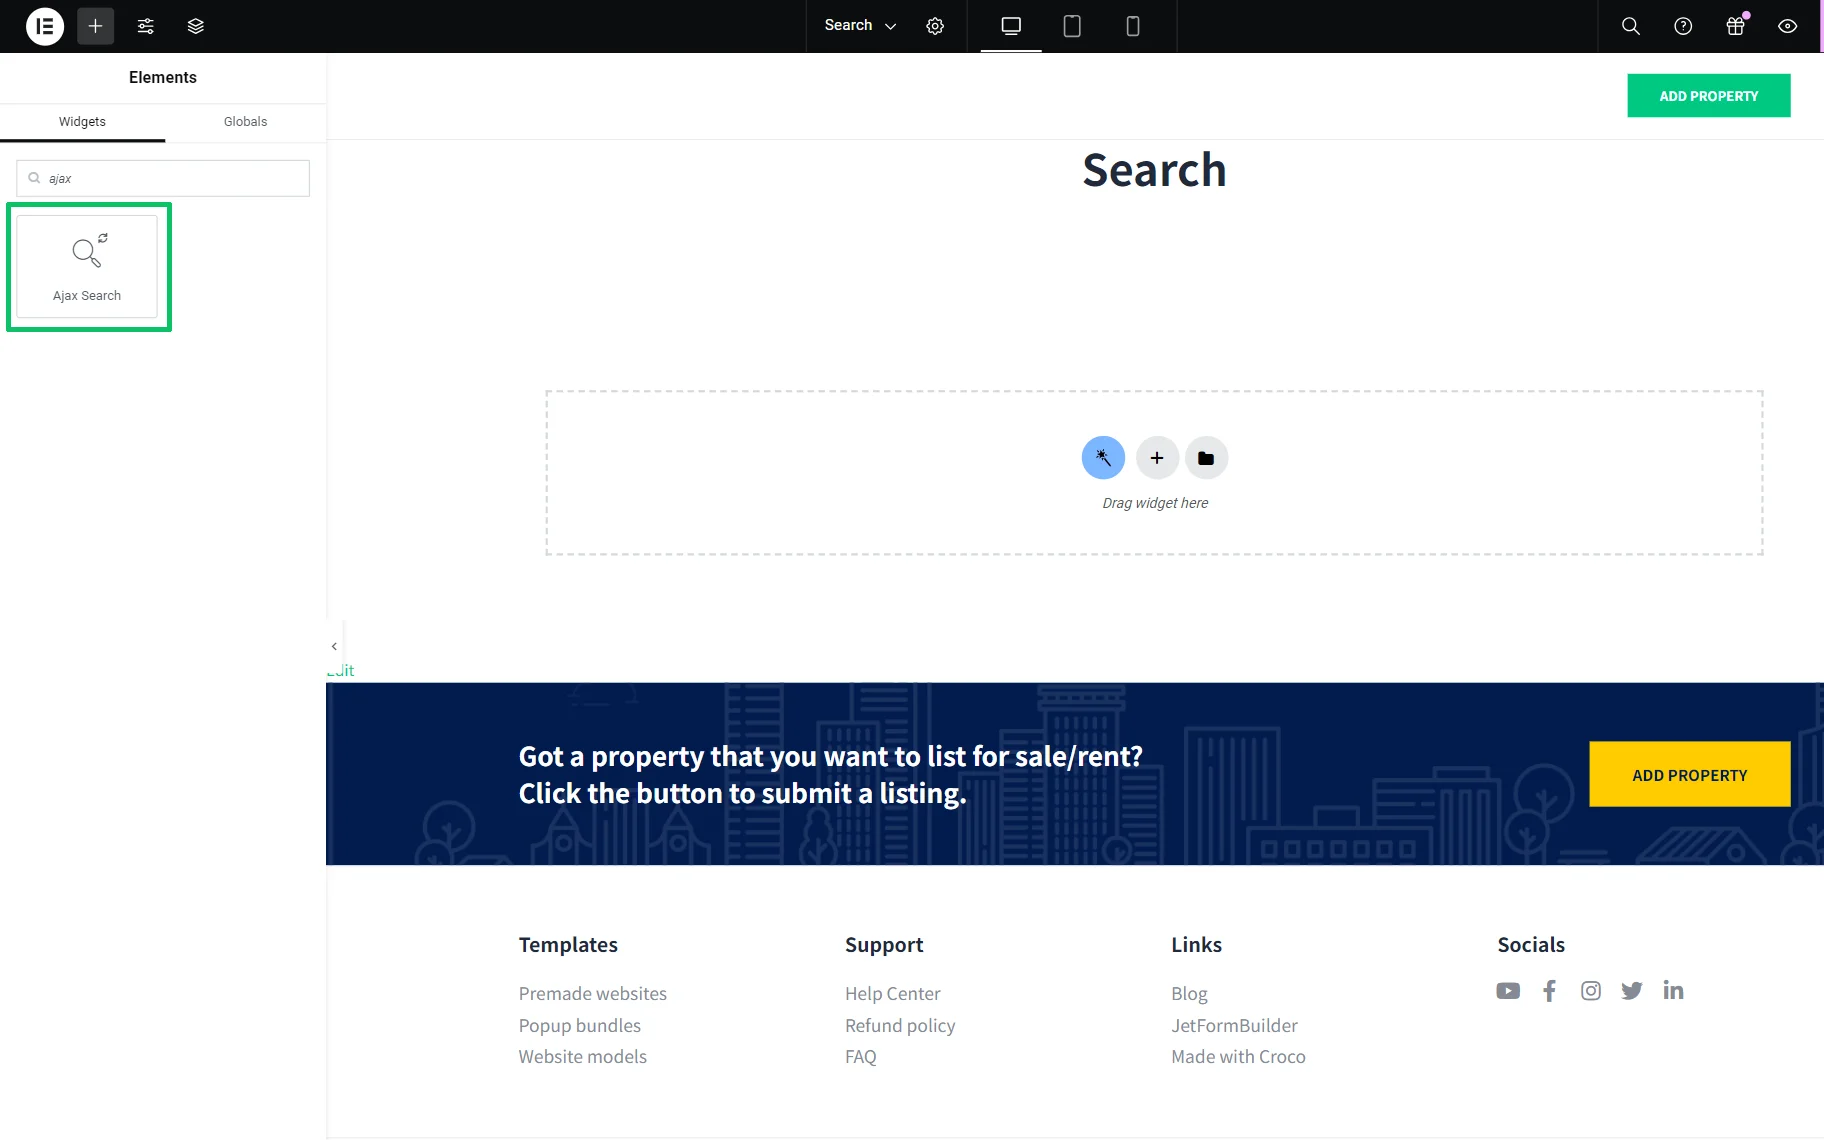
Open a page or post in the editor you prefer. In this case, we used Elementor.
Find the Ajax Search widget in the search bar and drag and drop it to the page.
Customize the Search Form
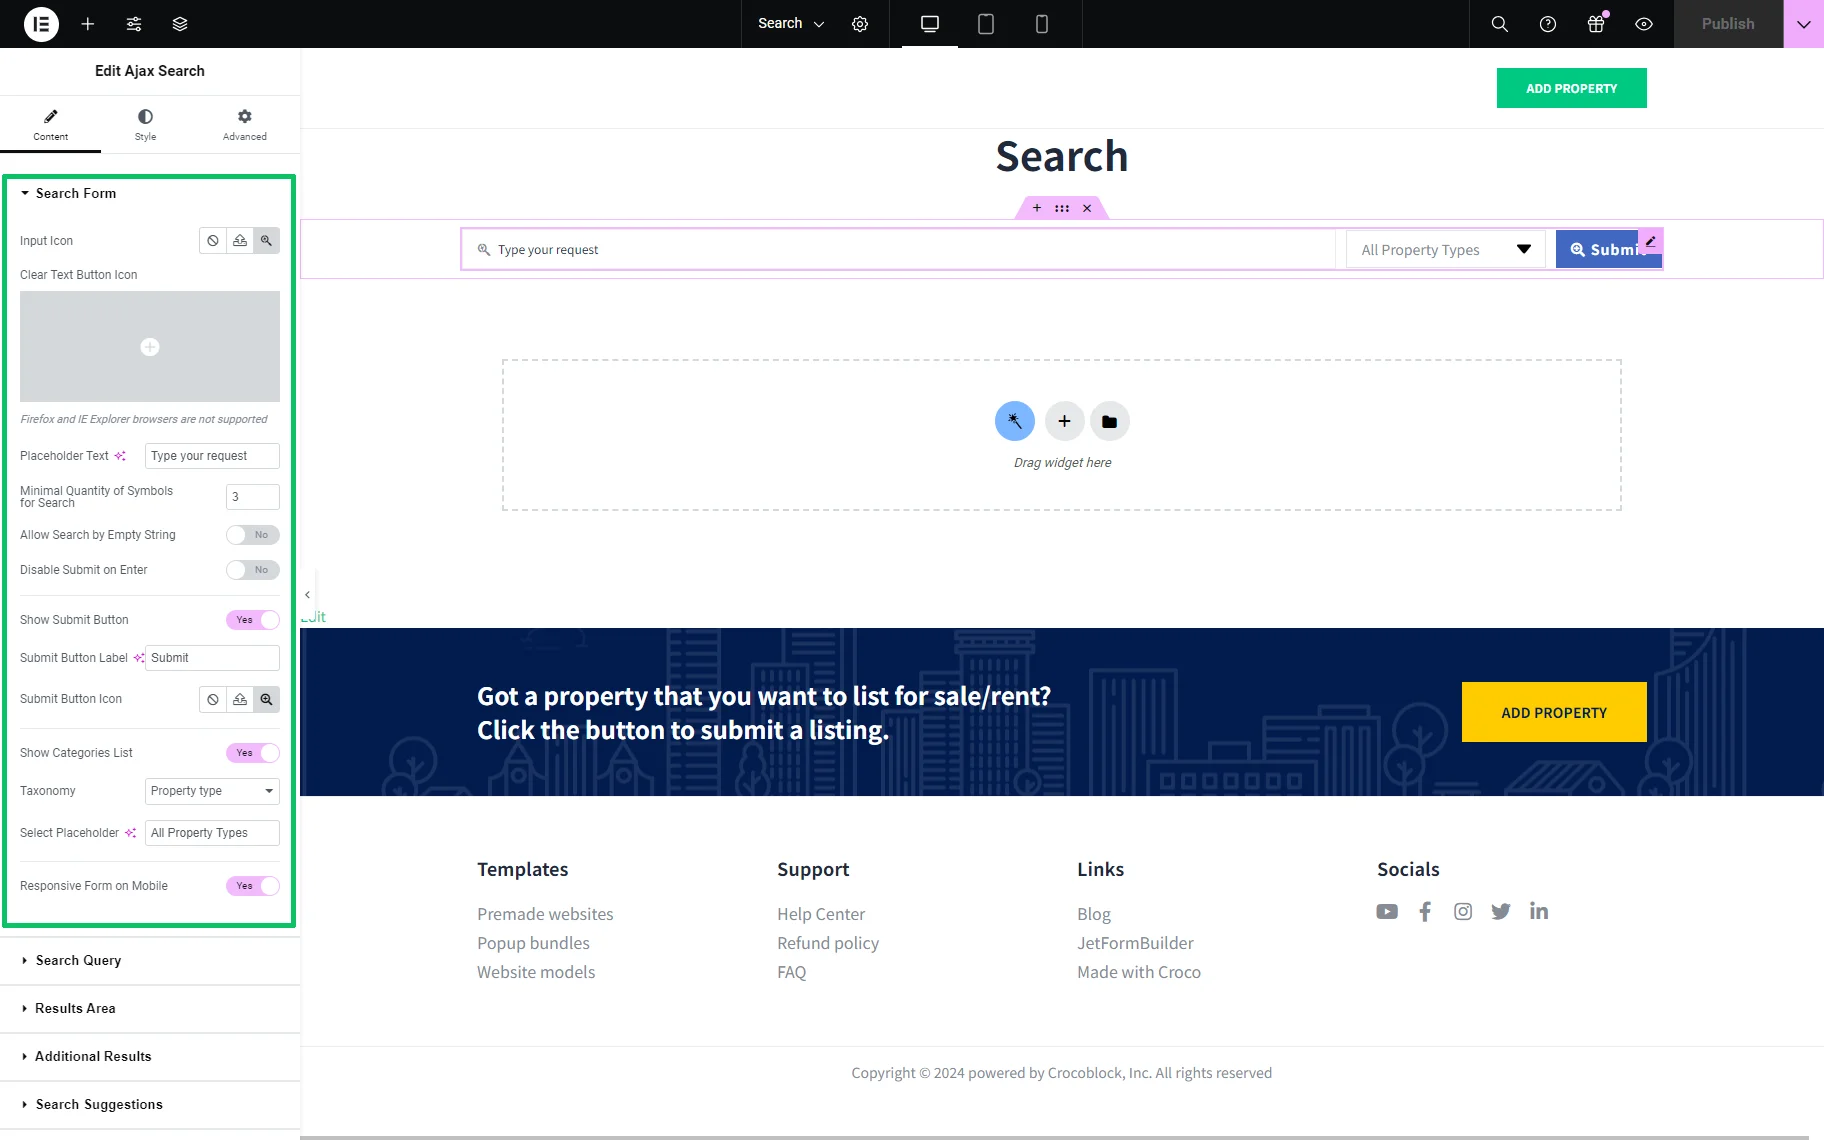
Unroll the Ajax Search widget settings and move to the Content > Search Form tab.
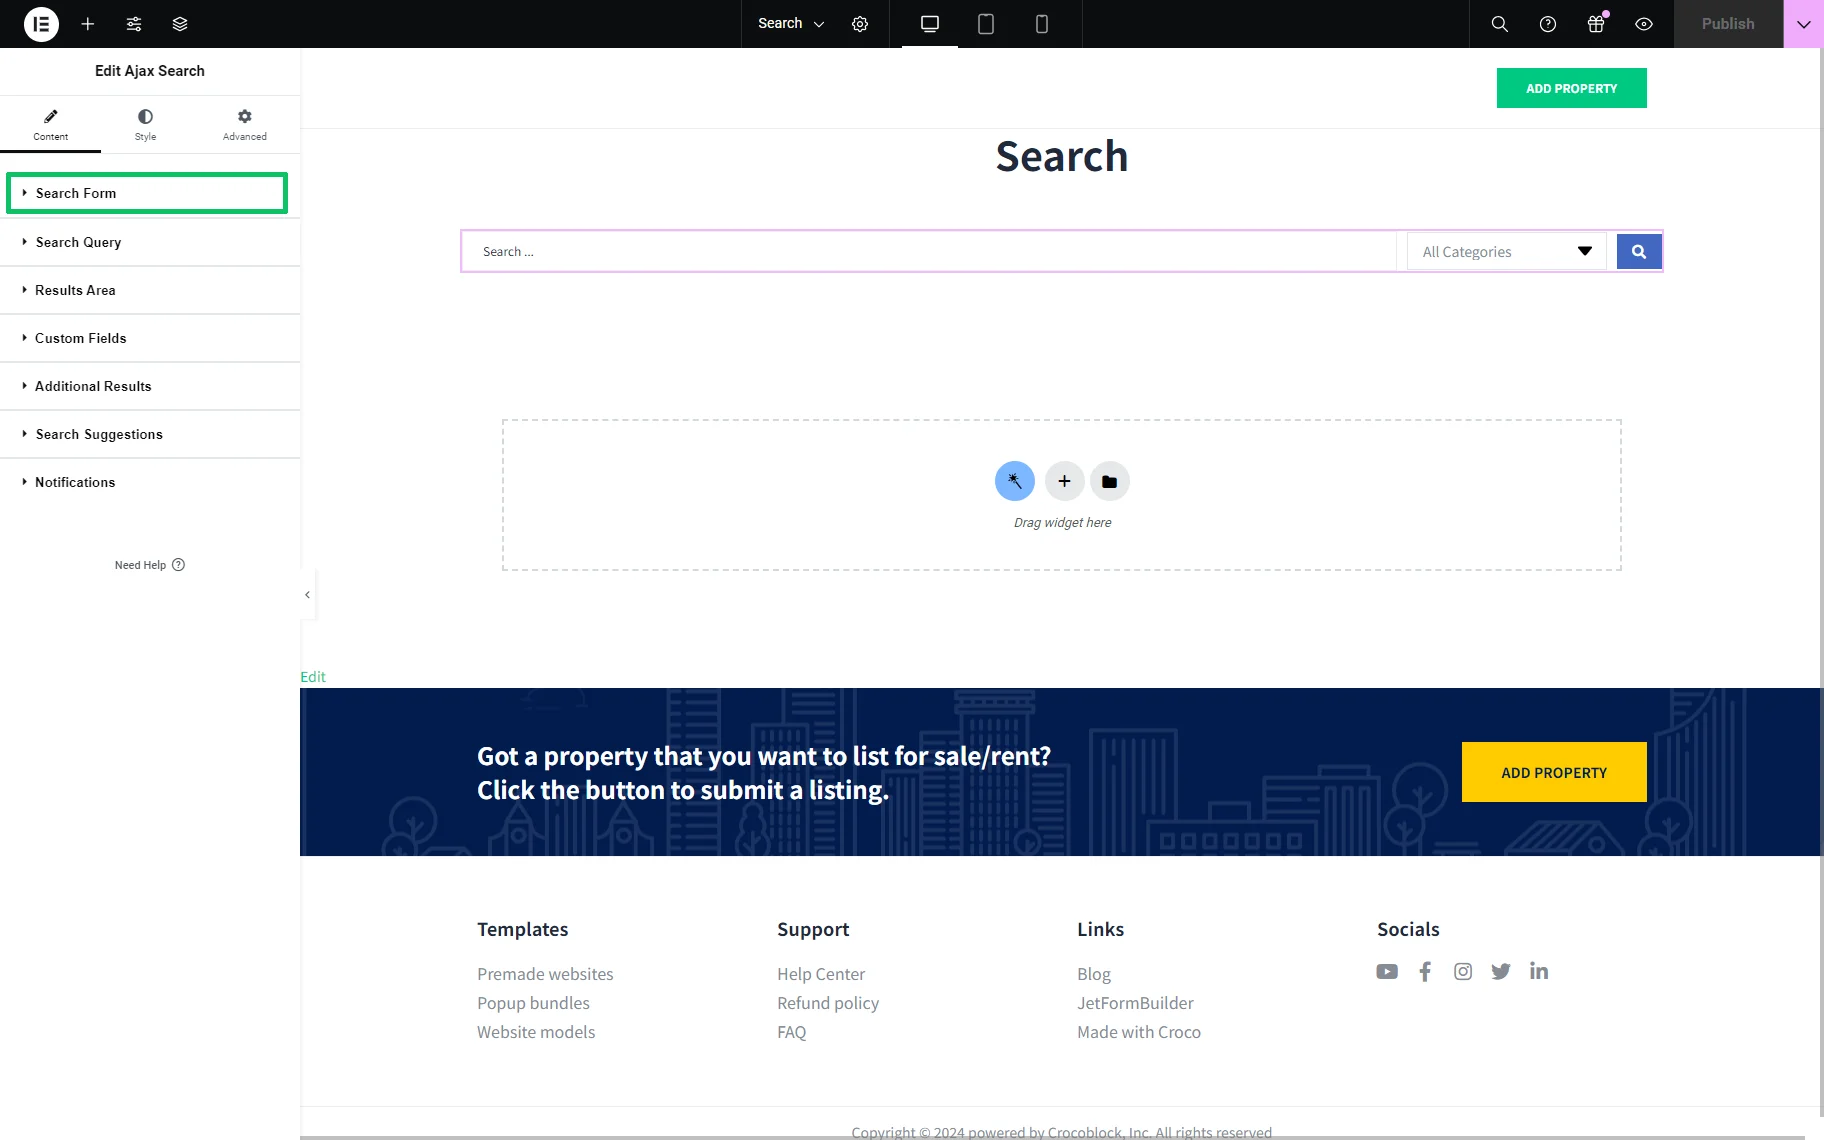
Here, we adjust the following settings. First, we picked an icon from the Media Library in the Input Icon field. Then, we added the “Type your request” text instead of the default “Search…” in the Placeholder Text field and set the Minimal Quantity of Symbols for Search to three characters instead of two default ones.
In the next step, we enabled the Show Submit Button toggle and typed the “Submit” text in the appeared Submit Button Label field. Then, we selected an icon for this button in the Submit Button Icon field.
We activated the Show Categories List toggle and chose the needed Taxonomy (the “Property type” taxonomy in the given case), as well as typed the “All Property Types” in the Select Placeholder field. Finally, we activated the Responsive Form on Mobile toggle.
Save the changes by pressing the “Publish/Update” button.
Check the Results
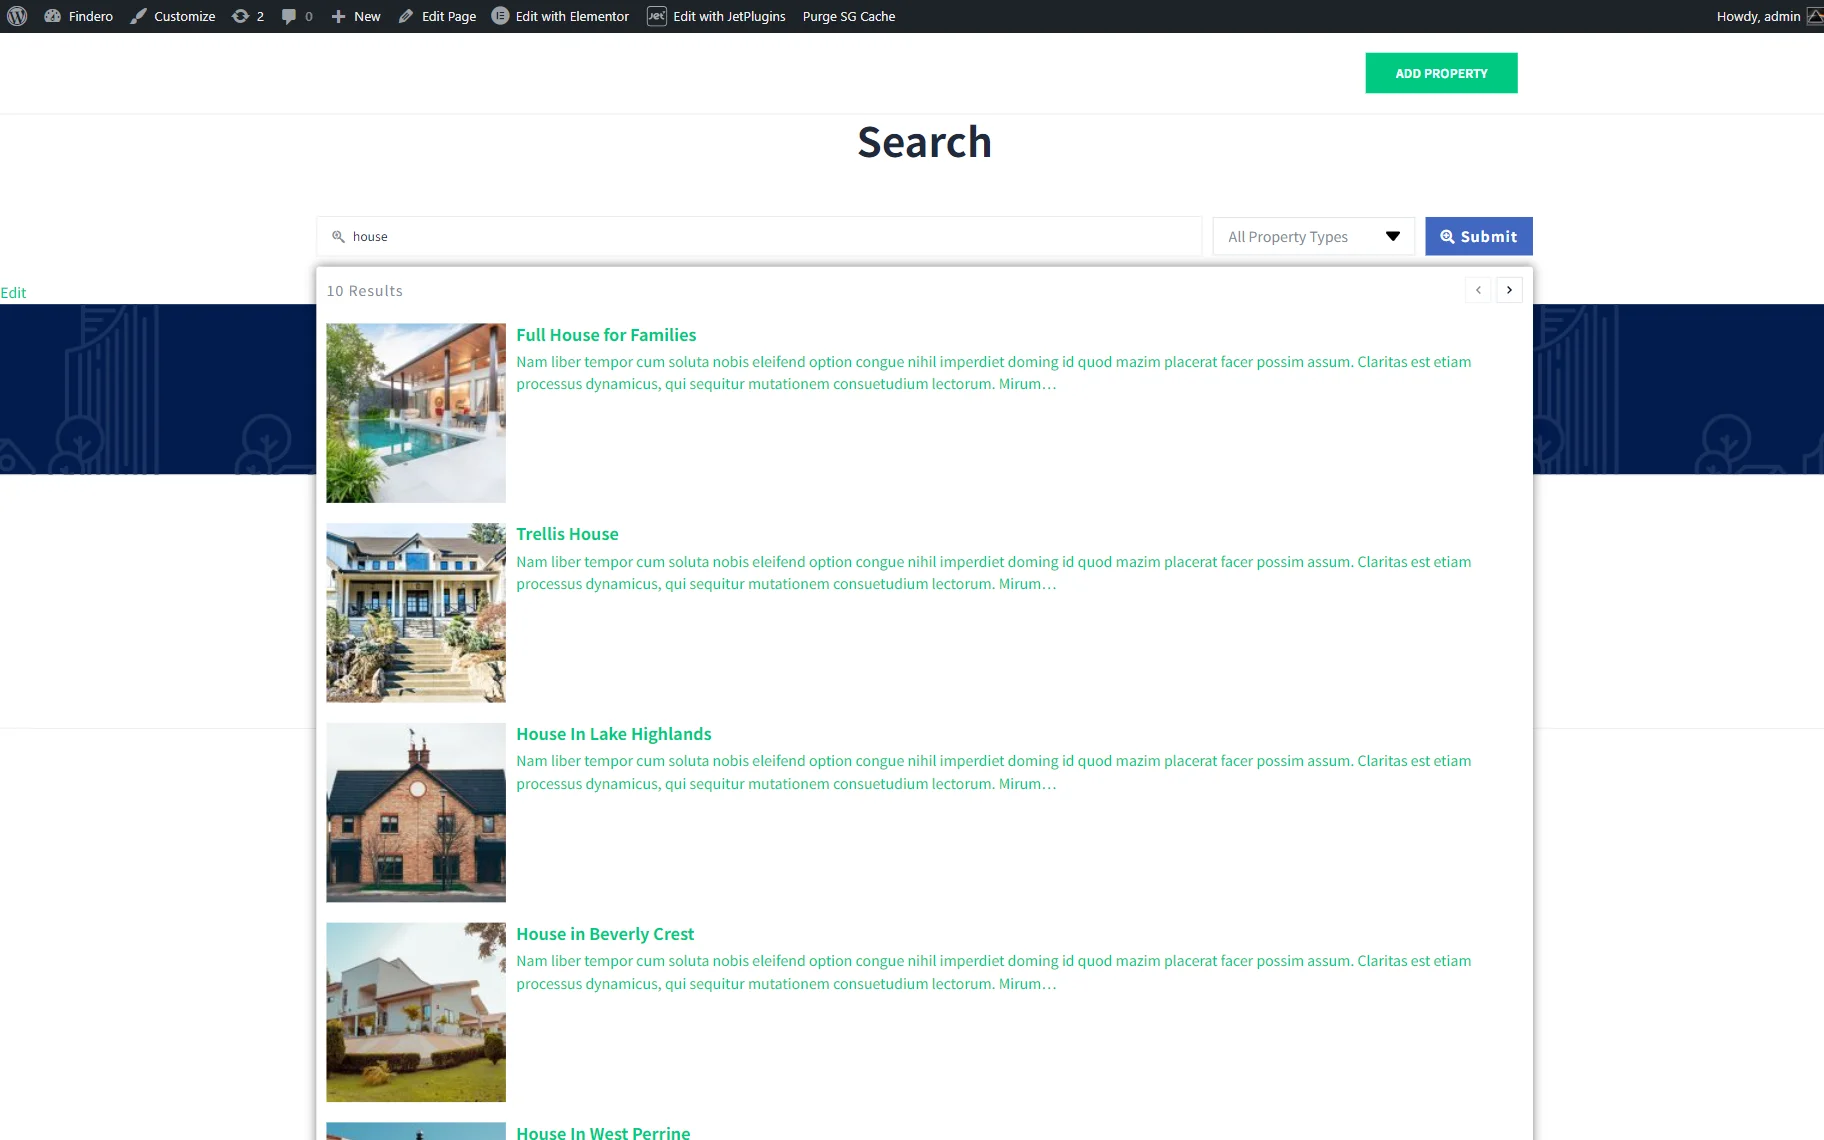
Move to the front end and type your request, which should be at least three characters long (according to the specified settings). In this case, we typed the “house” text.
Additionally, we selected the “Duplex” Property Type in the drop-down menu with categories.
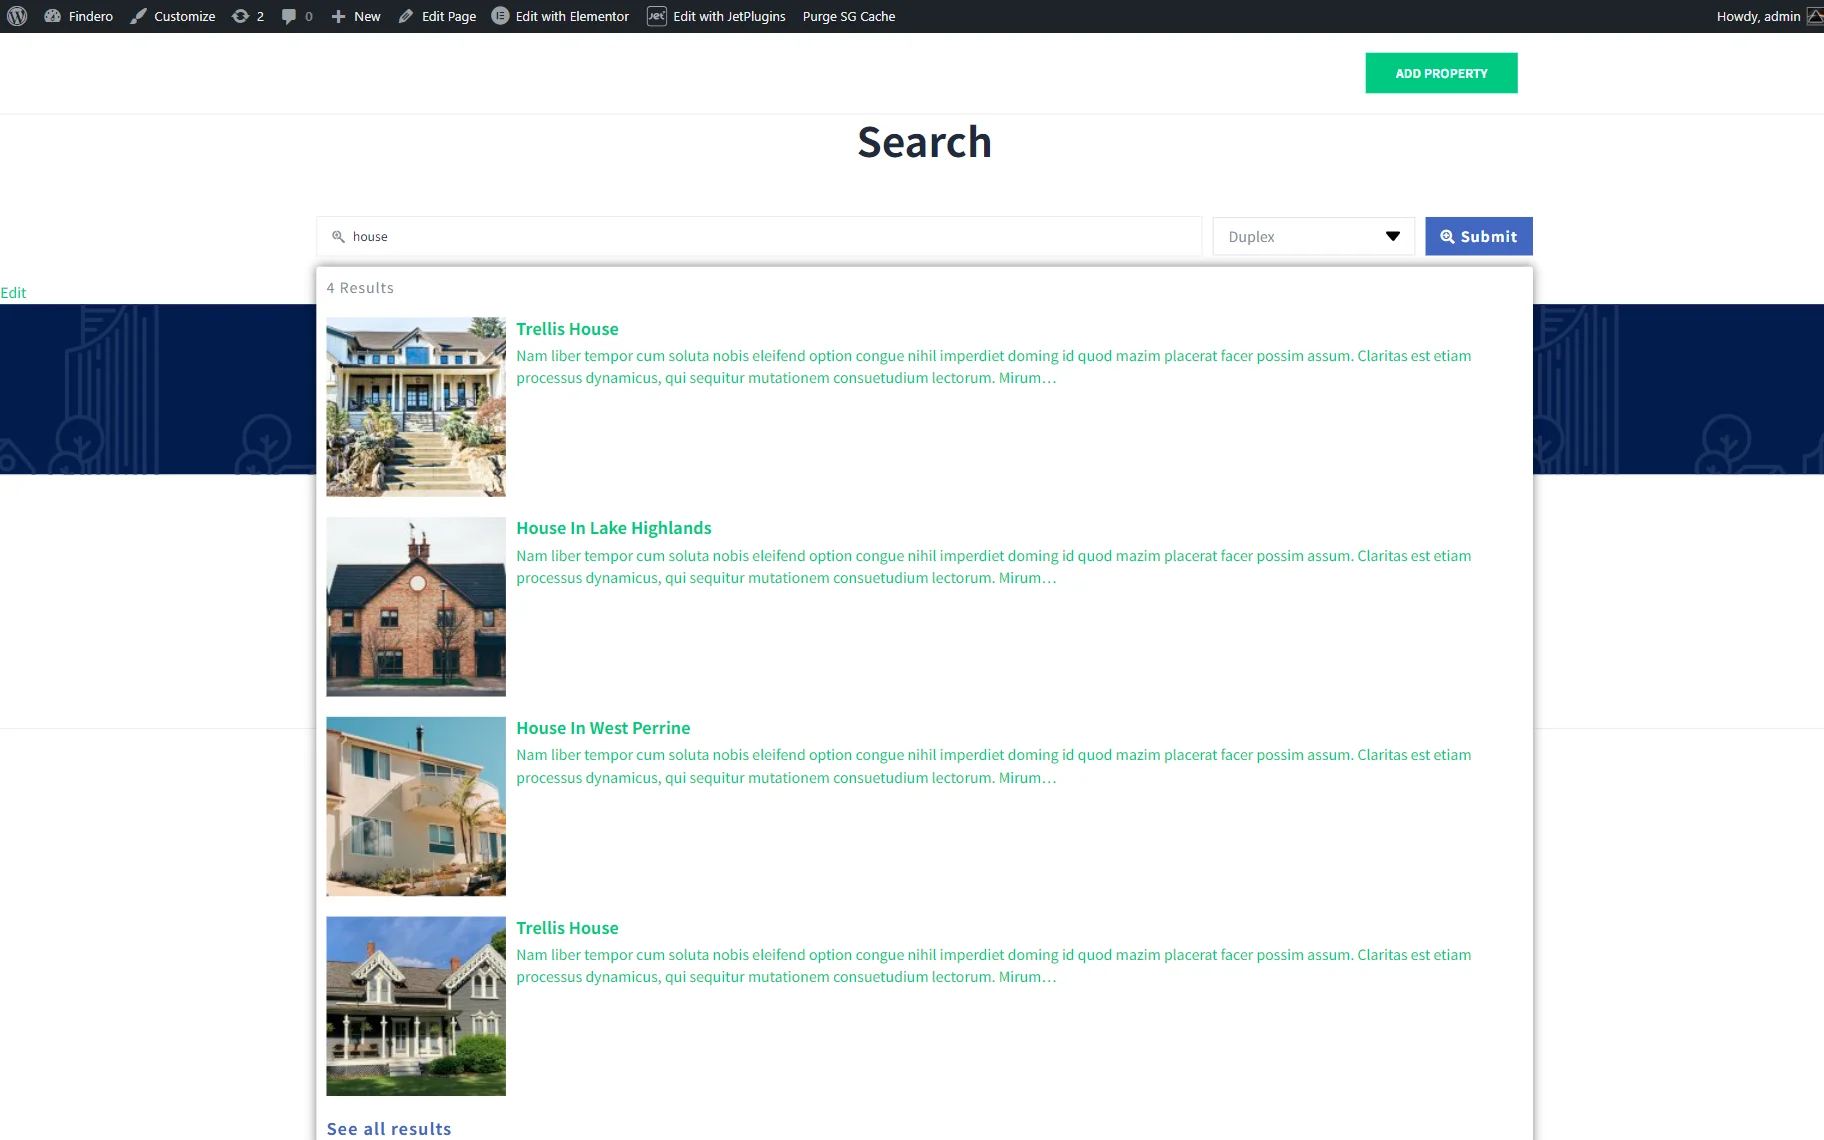
Finally, we pressed the “Submit” button and got the search results.
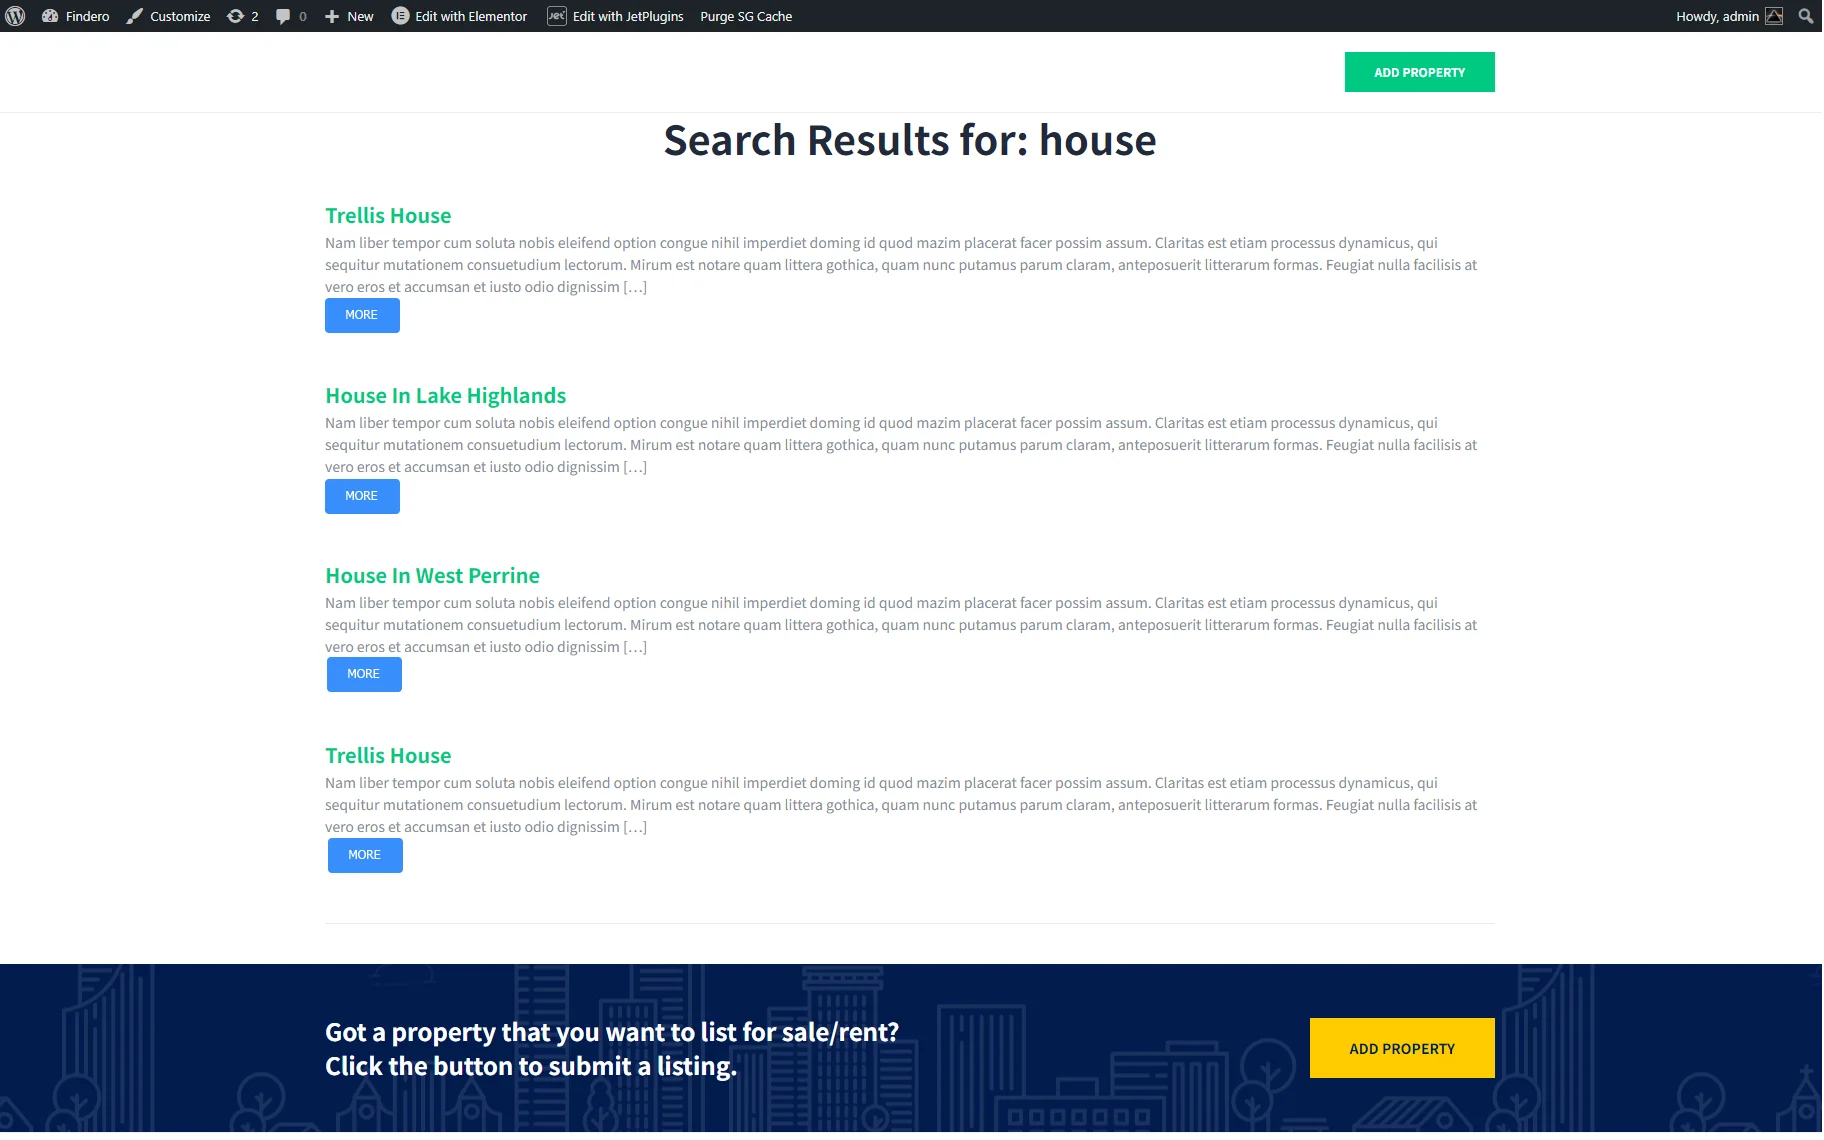
That’s it. Now you know how to create a custom WordPress search form and manage its settings using the JetSearch plugin.