How to Customize the Content Shown in the Search Results
This tutorial explains how to manage the appearance of the search results with the Ajax Search widget, block, or element provided by the JetSearch WordPress plugin.
Before you start, check the tutorial requirements:
- Elementor (Free version), Block editor (Gutenberg), or Bricks
- JetSearch plugin installed and activated
Adjusting the Search Results Content in Elementor
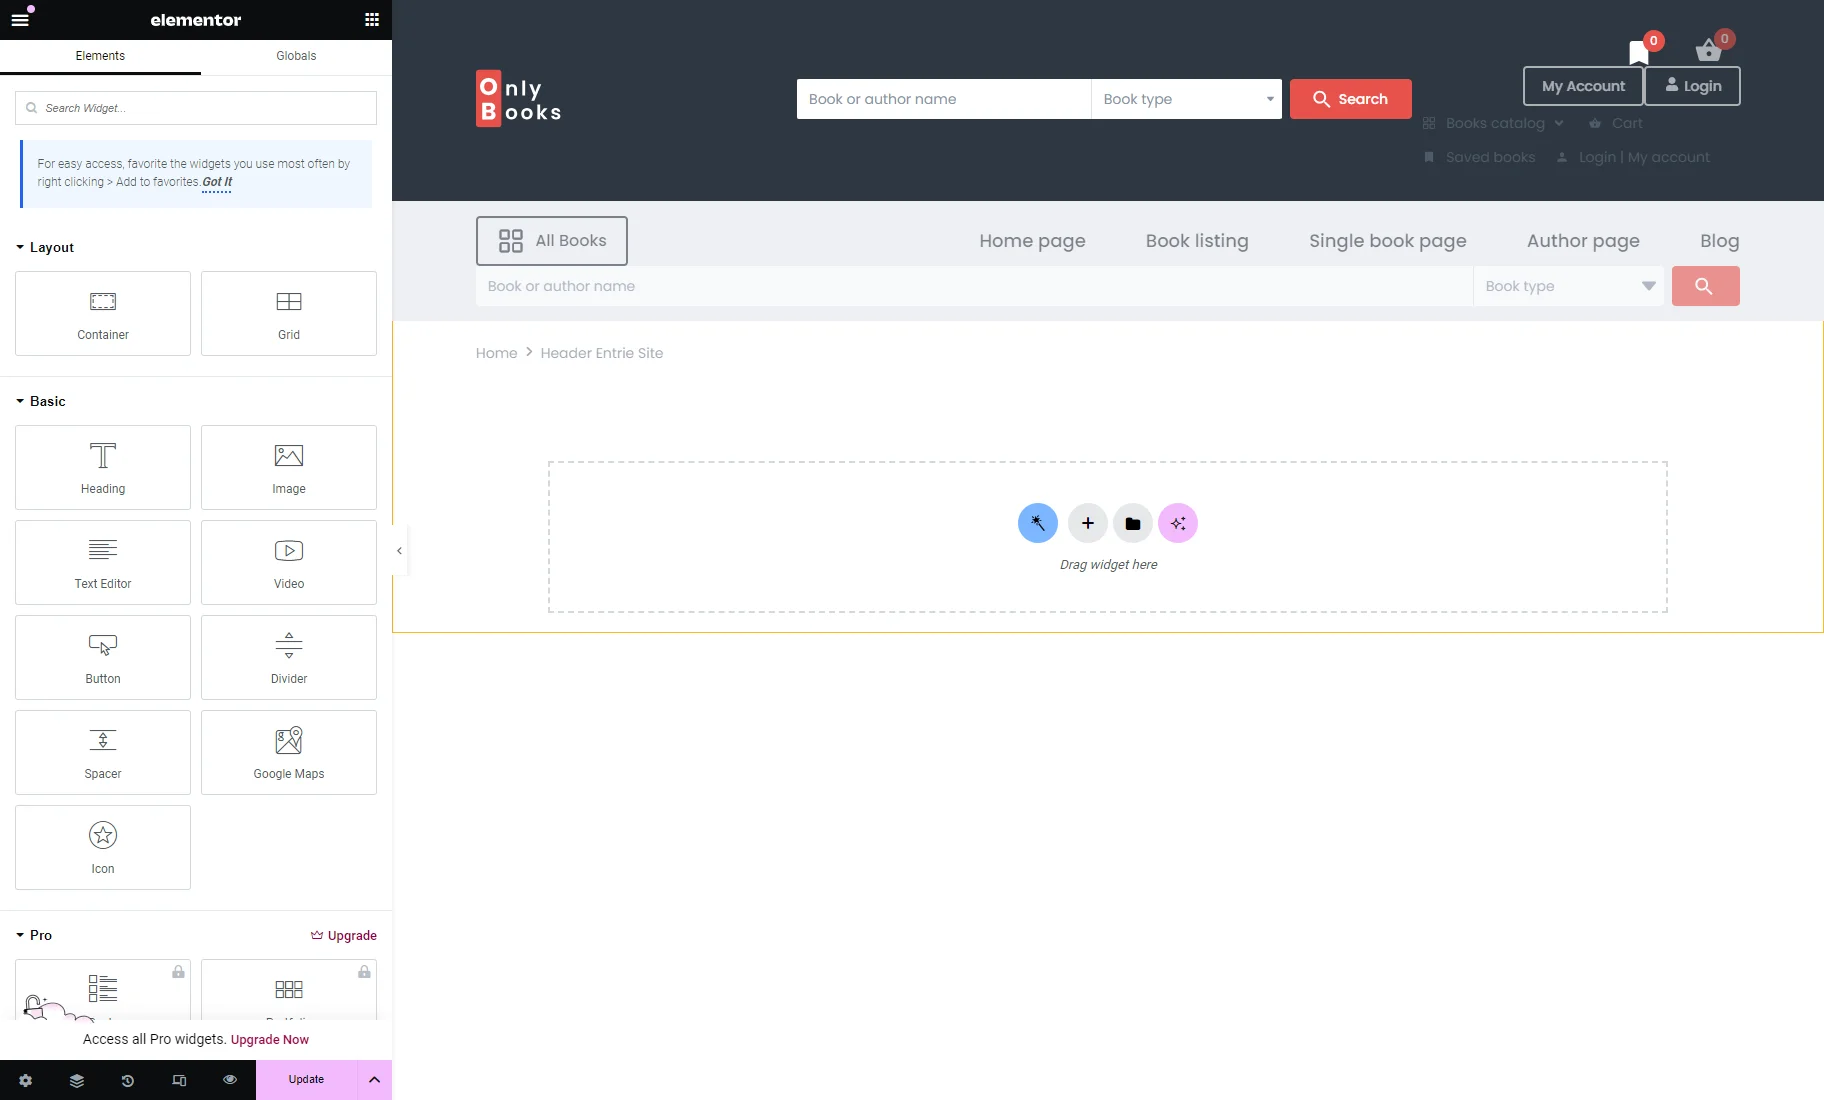
Open the page where you added the Ajax Search widget with the Elementor editor. For example, it can be a header template.
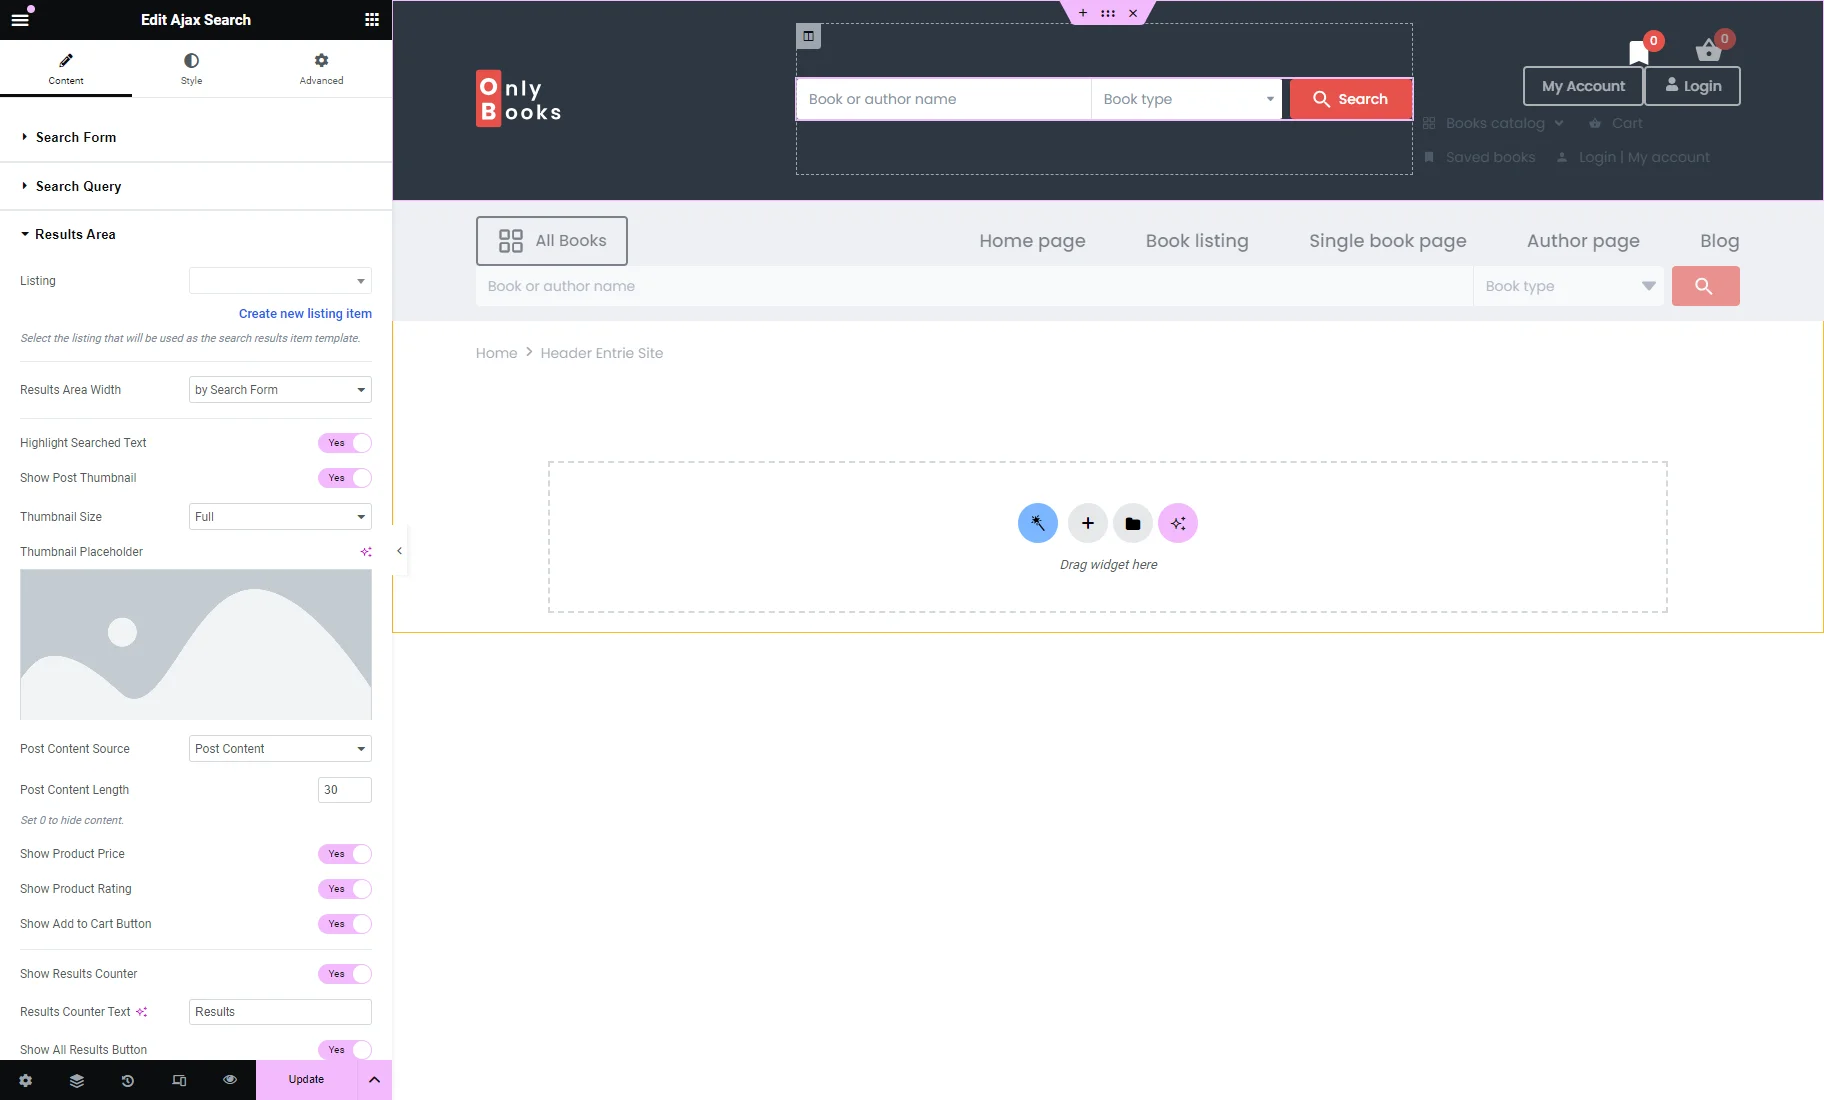
Place the Ajax Search widget, proceed to the Content tab, and unfold the Results Area section.
Now, we are going to explore each option in detail.
Options for customization
If you install and activate the JetEngine plugin, you can create a custom listing template to display search results. For this tutorial, we kept the Listing field empty to present how to customize the search results using only the Ajax Search widget settings.
Firstly, you can set the Results Area Width and choose one of three available options:
- “by Search Form”;
- “by Input Box and Categories List”;
- “Custom.”
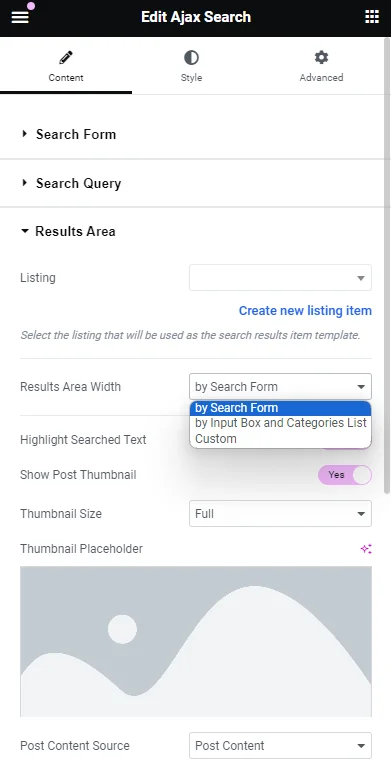
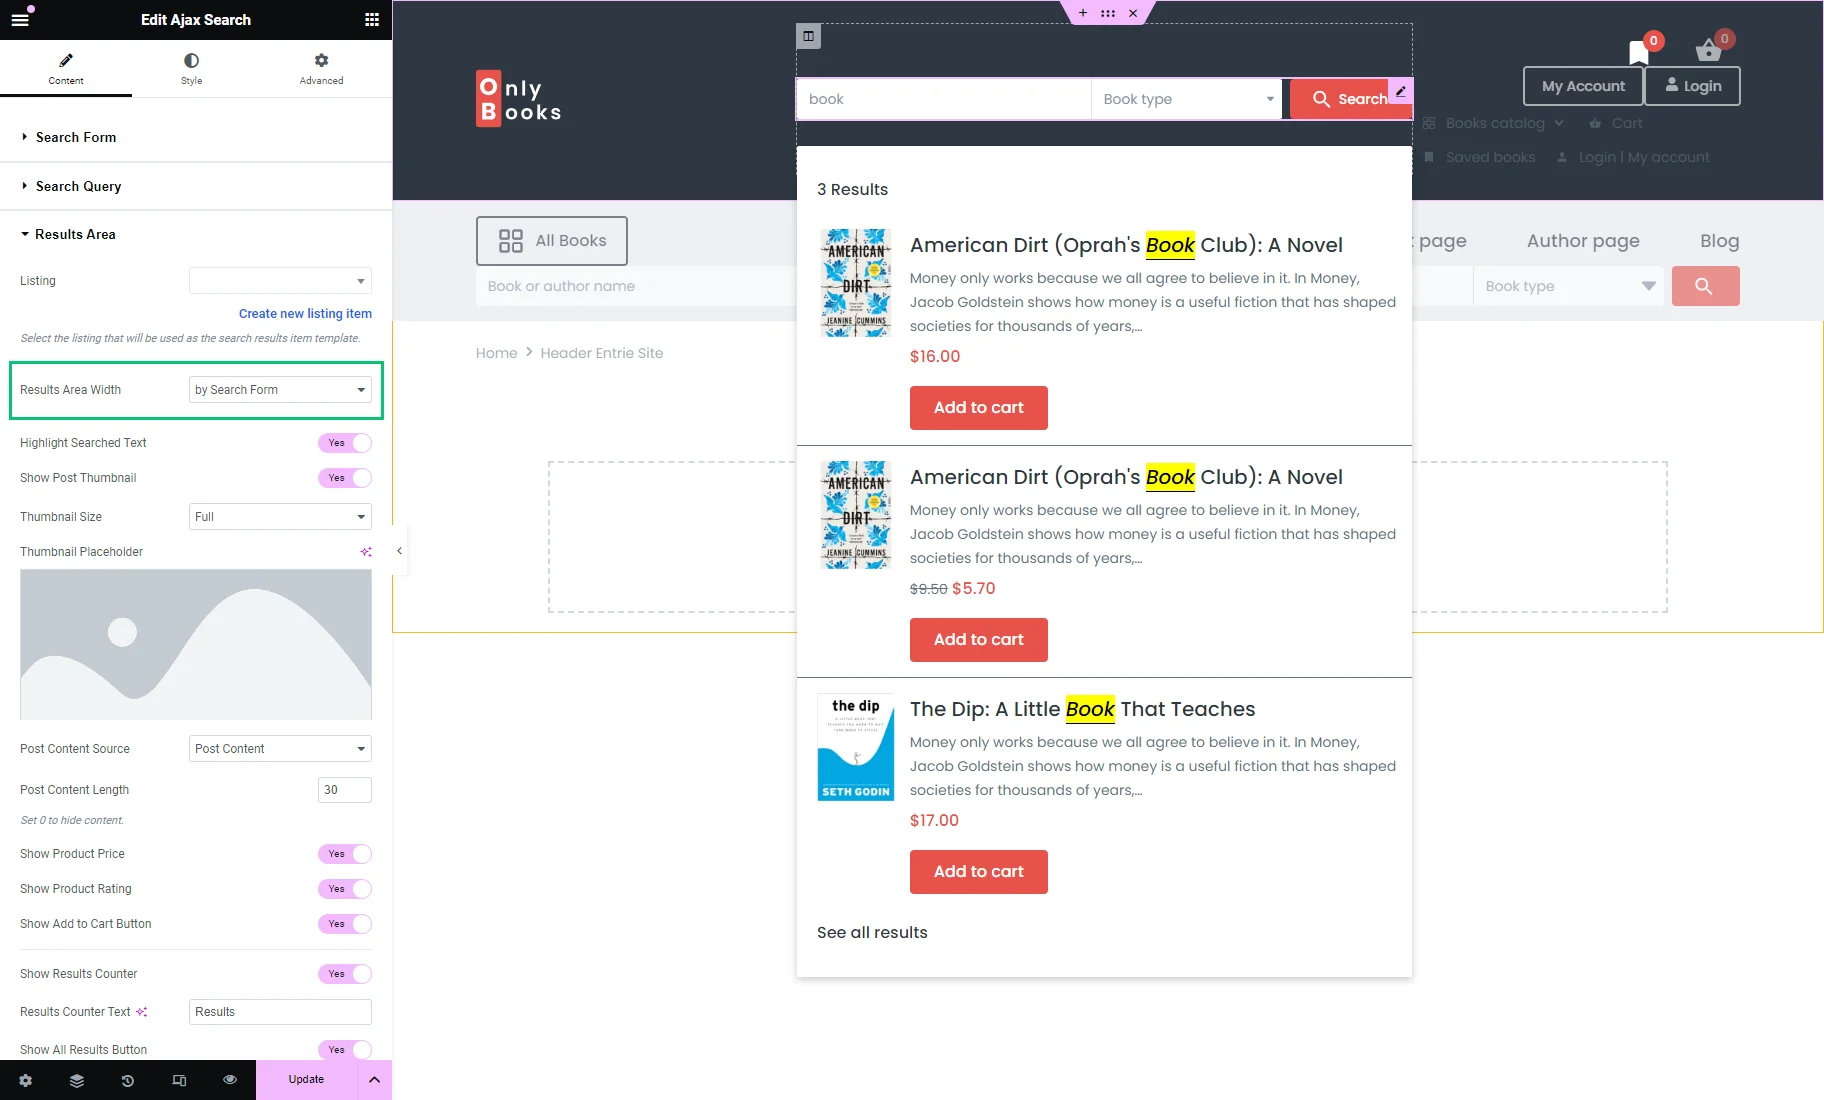
When set to “by Search Form,” the results area width will correspond to the widget’s general width.
If the second option, “by Input Box and Categories List,” is selected, the results area width will cover only the width of the input box.
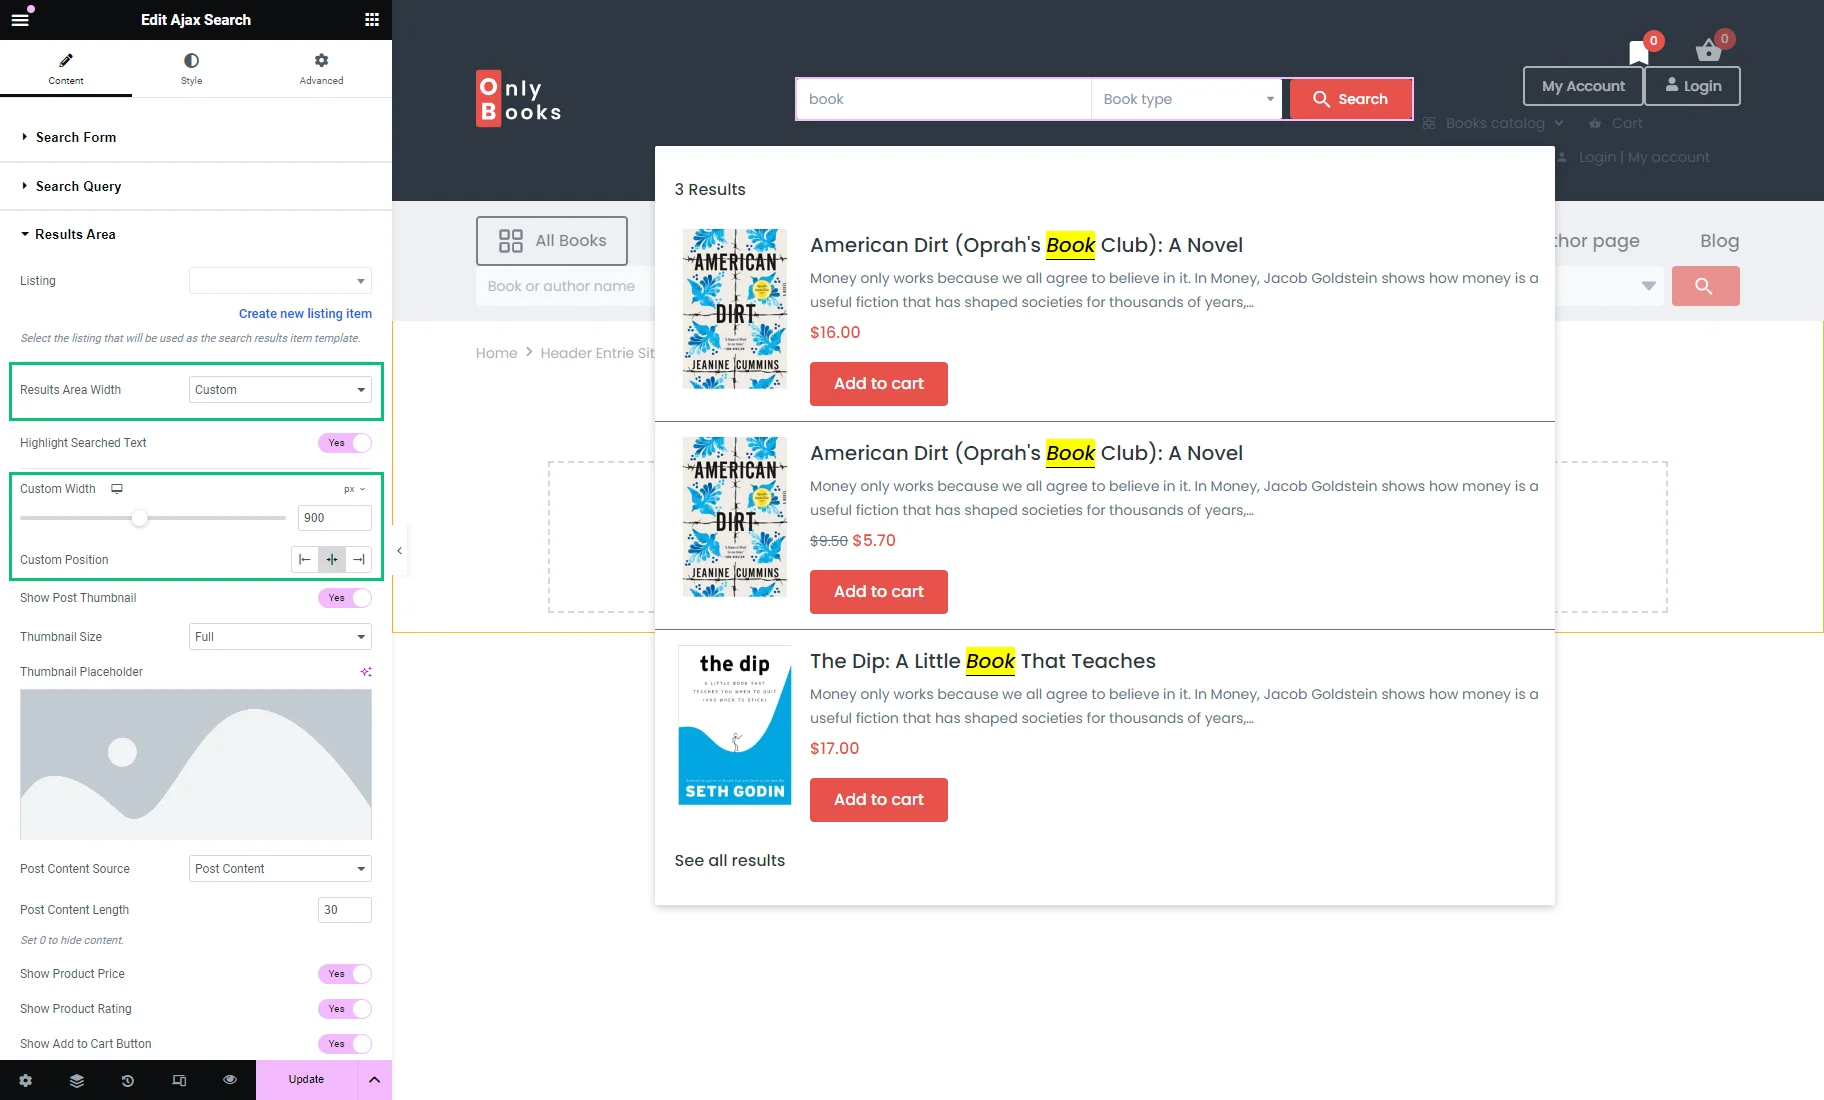
Moreover, you can set a custom width by selecting the last option and entering the needed number into the Custom Width box.
In this case, Custom Position can be changed to left, right, or center.
The Highlight Searched Text option, if activated, highlights the text that matches your input into the search bar.
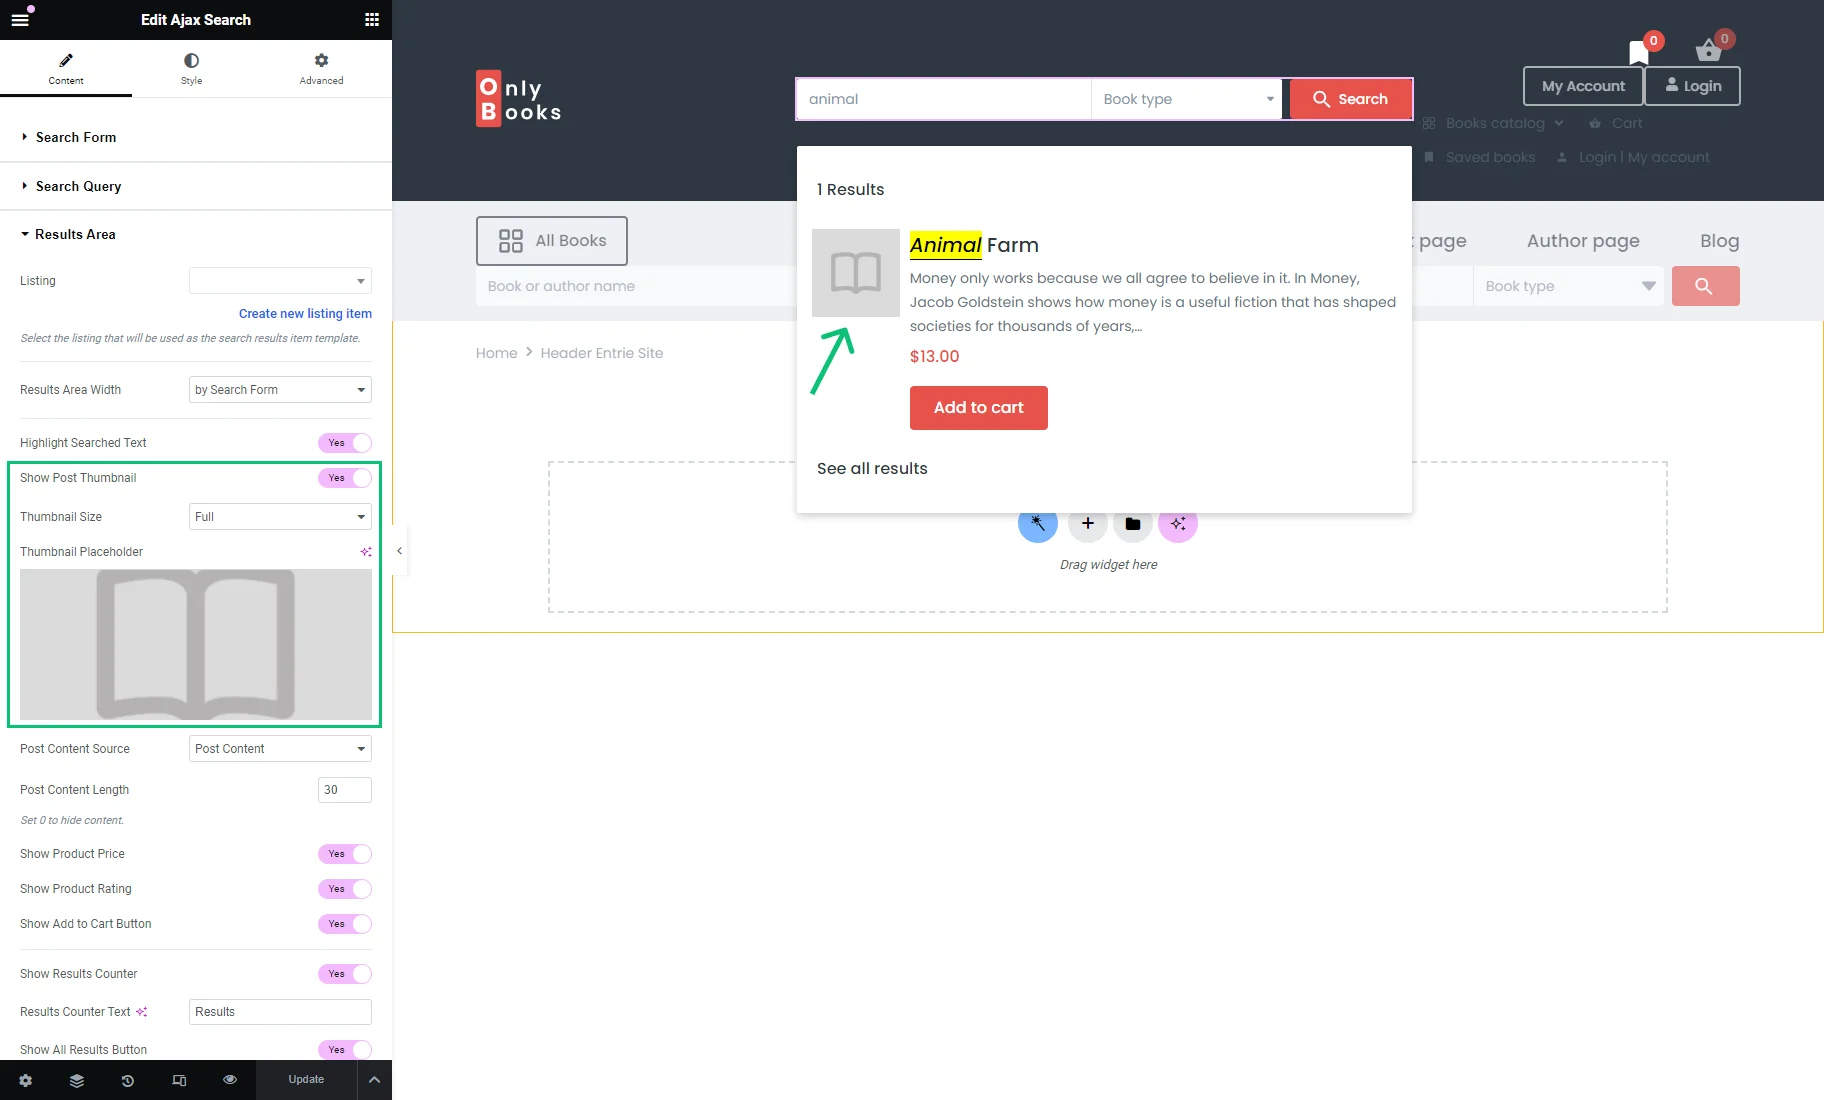
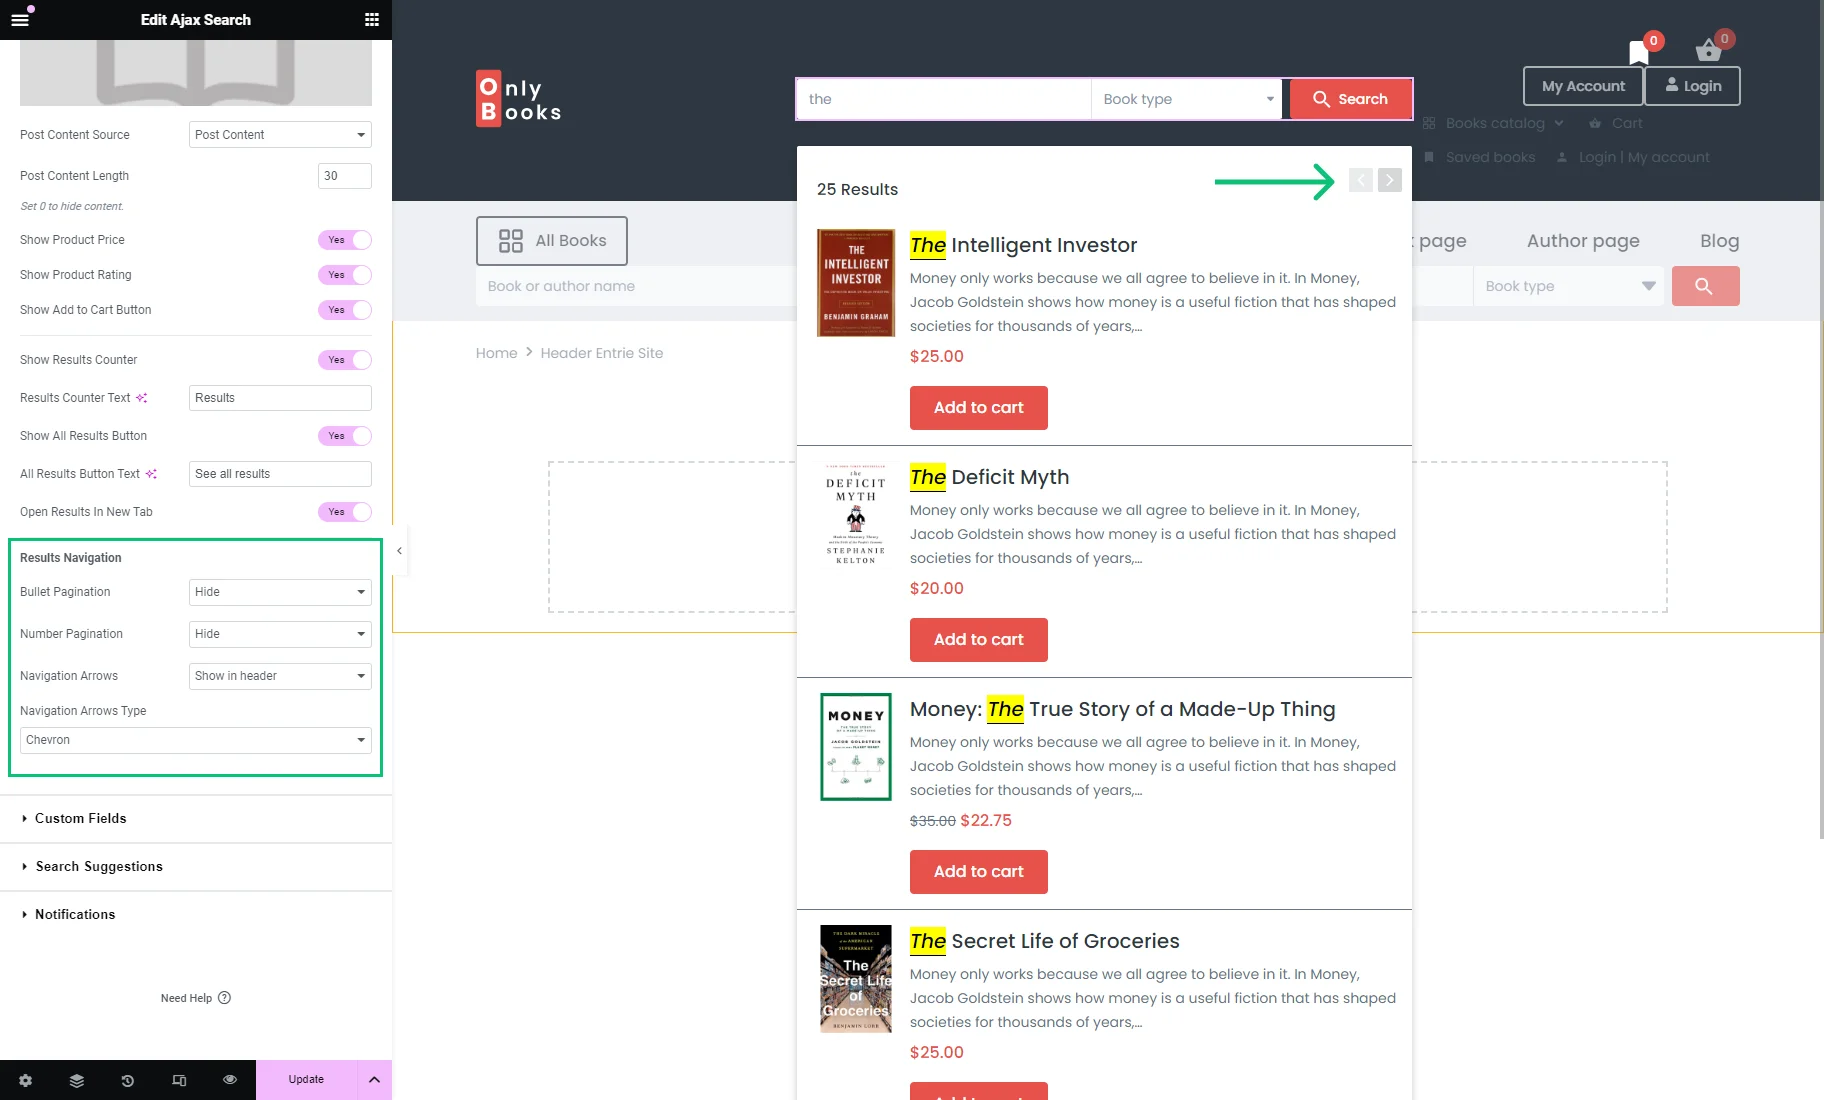
If your posts or items have thumbnails, you can turn on the Show Post Thumbnail option and select Thumbnail Size.
The Thumbnail Placeholder setting allows you to set a universal picture that will be used when the product or post thumbnail is absent or not selected.
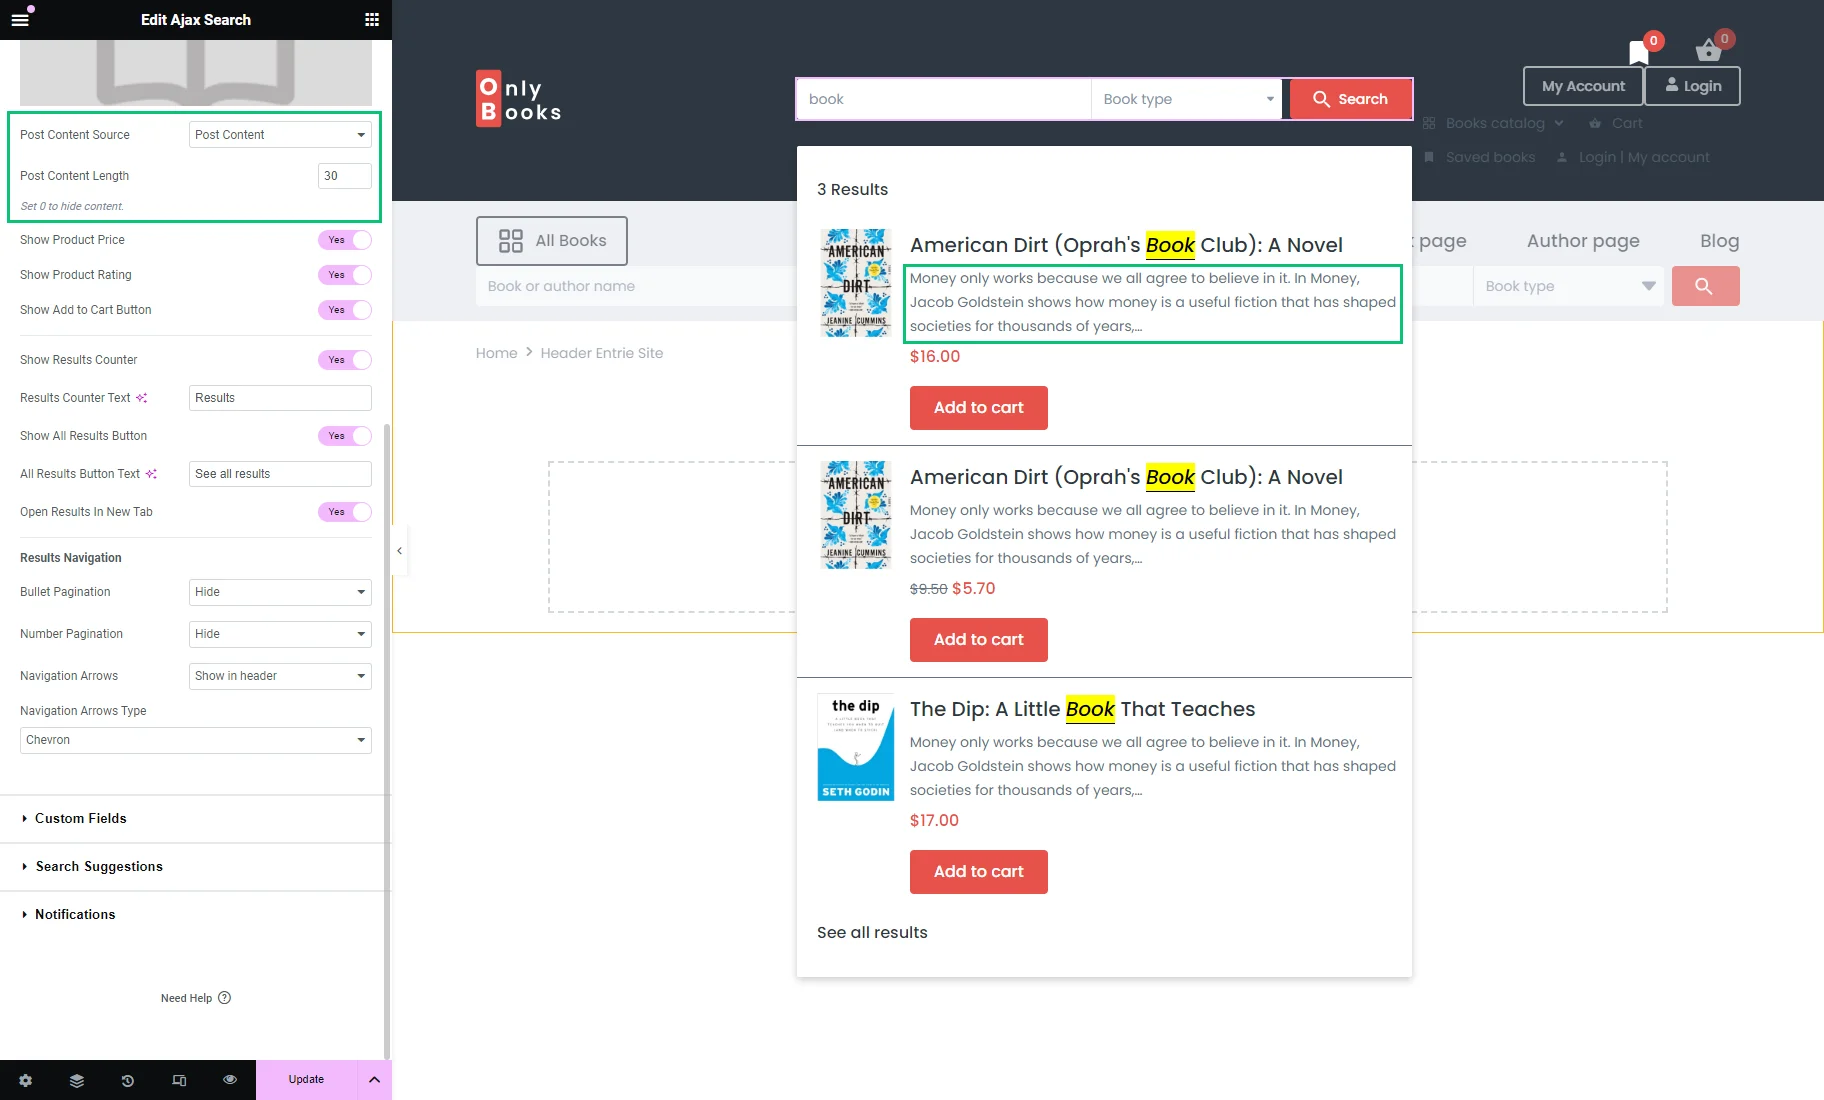
There is a short description under the post or product title that you can easily customize.
The Post Content Source option allows you to select the kind of data to be displayed there.
It can be set to “Post Content,” “Post Excerpt,” or “Custom Field.”
If you select the “Custom Field,” you need to specify the field name in the Custom Field Key.
Post Content Length limits the number of words in the post content.
Set it to “0” to hide the content.
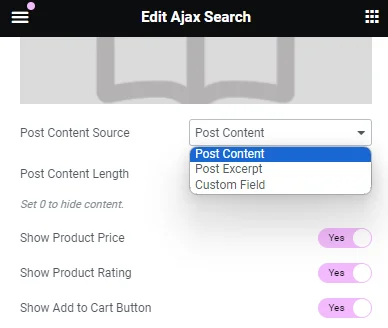
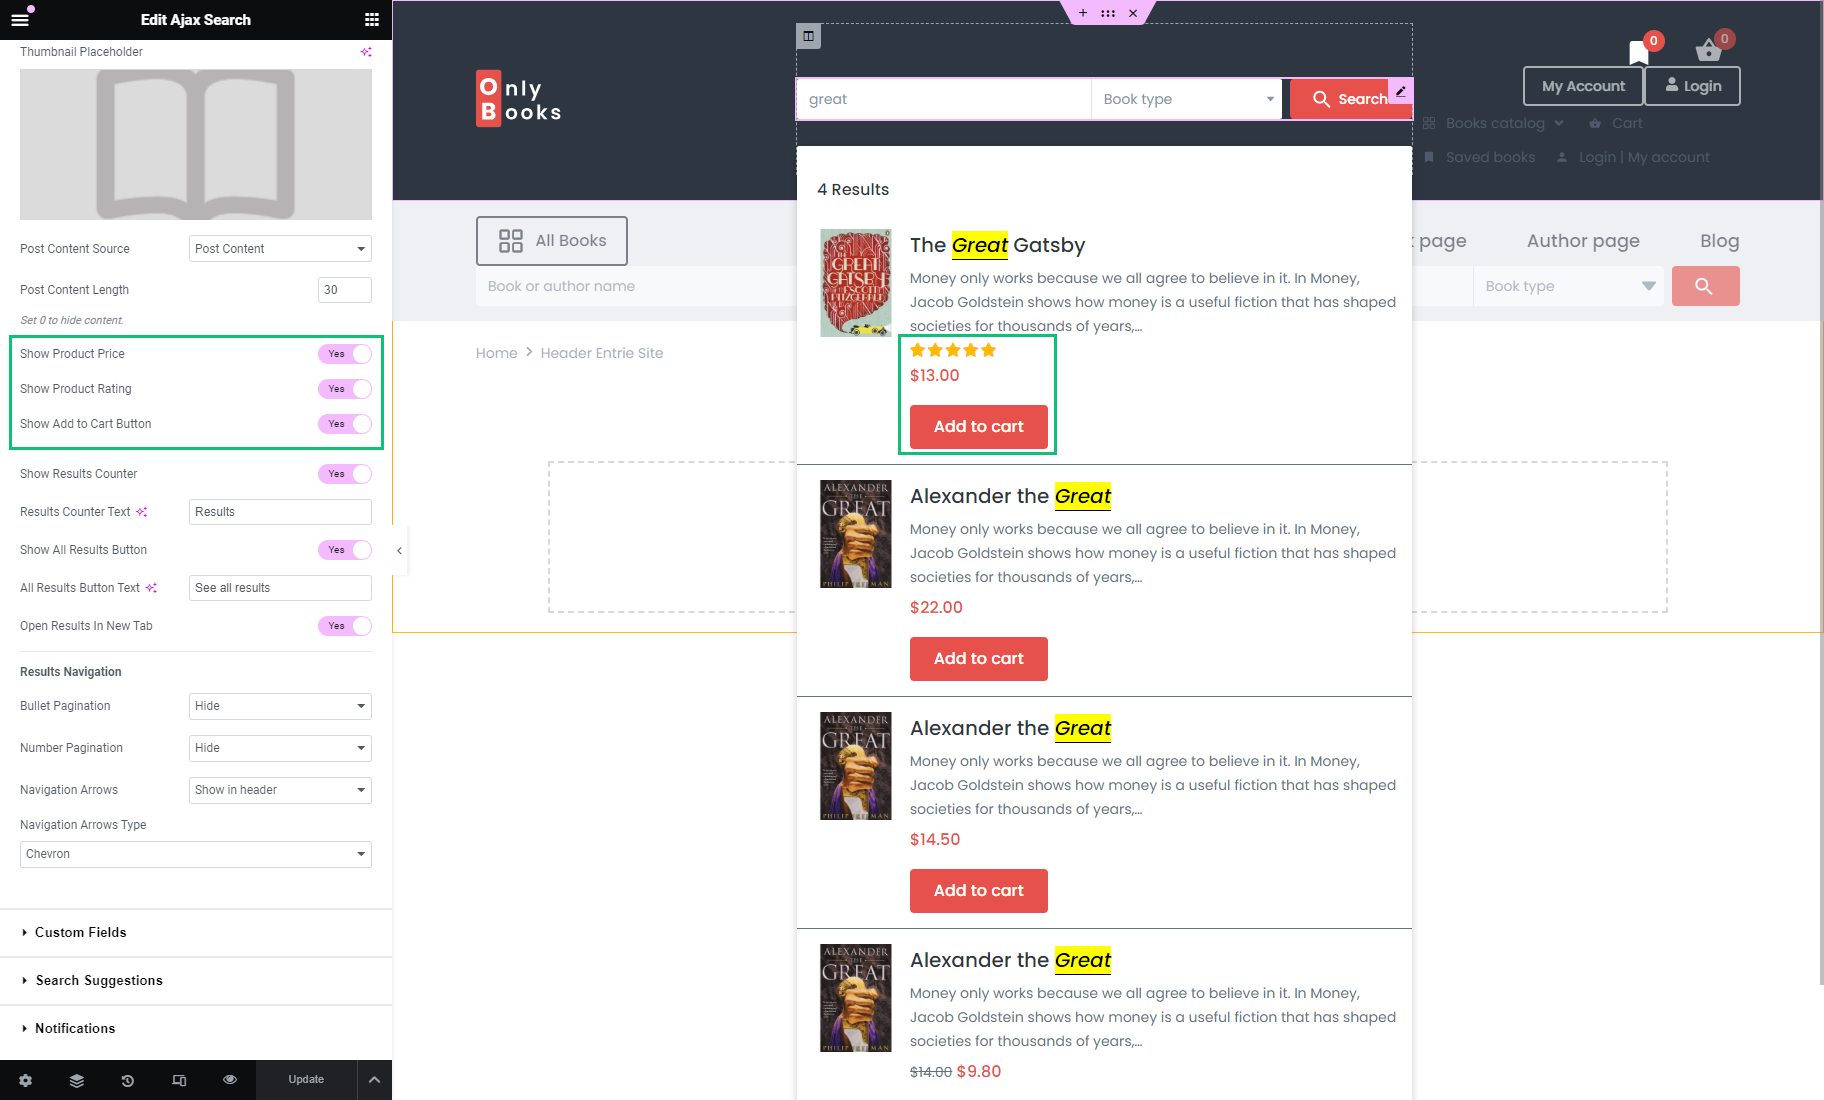
Turn on the Show Product Price and Show Product Rating toggles if you want to display such WooCommerce product data in the search results.
If the Show Add to Cart Button toggle is enabled, the “Add to Cart” button appears, which customers can click to add the product to their shopping cart.
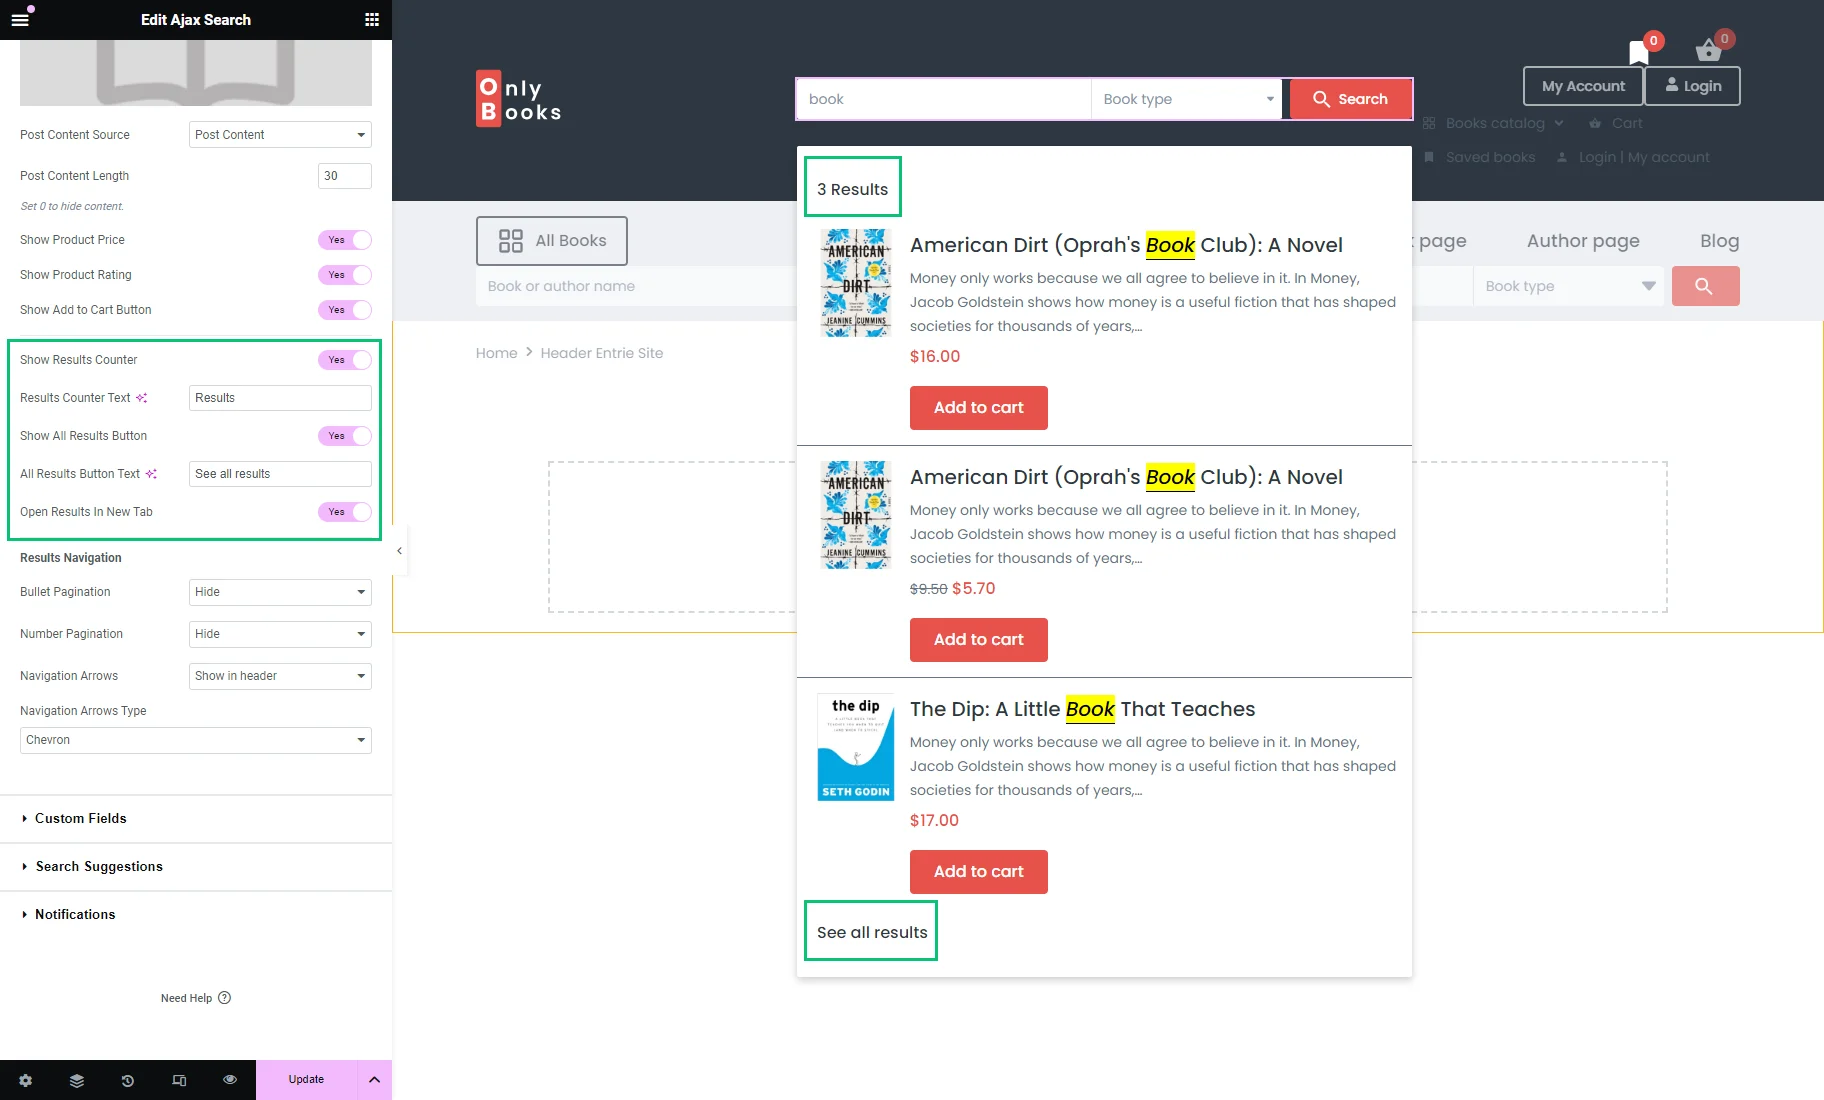
To display the total number of results, enable the Show Results Counter.
The Results Counter Text changes the text next to the total number of results.
Moreover, you can enable the Show All Results Button and set its text.
By default, if the user hits the “See all results” button, they will be redirected to the Search Results Archive template that can be customized. To learn more, proceed to the How to Create an Archive Template to Display the Search Results tutorial.
You can also enable the Open Results In New Tab option. This will open the rest of the results in a new tab.
Setting the Navigation
In the Results Navigation block, you can choose the essential navigation type.
The results box can contain Bullet Pagination, Number Pagination, and Navigation Arrows.
You can set it to “Hide,” “Show in header,” “Show in footer,” or “Show in header and footer” among the display options for each element.
Note that if you select Navigation Arrows, you can choose the type of navigation arrows from the drop-down list.
For example, we hid the bullet and number navigation and chose to “Show in header” Navigation Arrows.
Styling Results Area
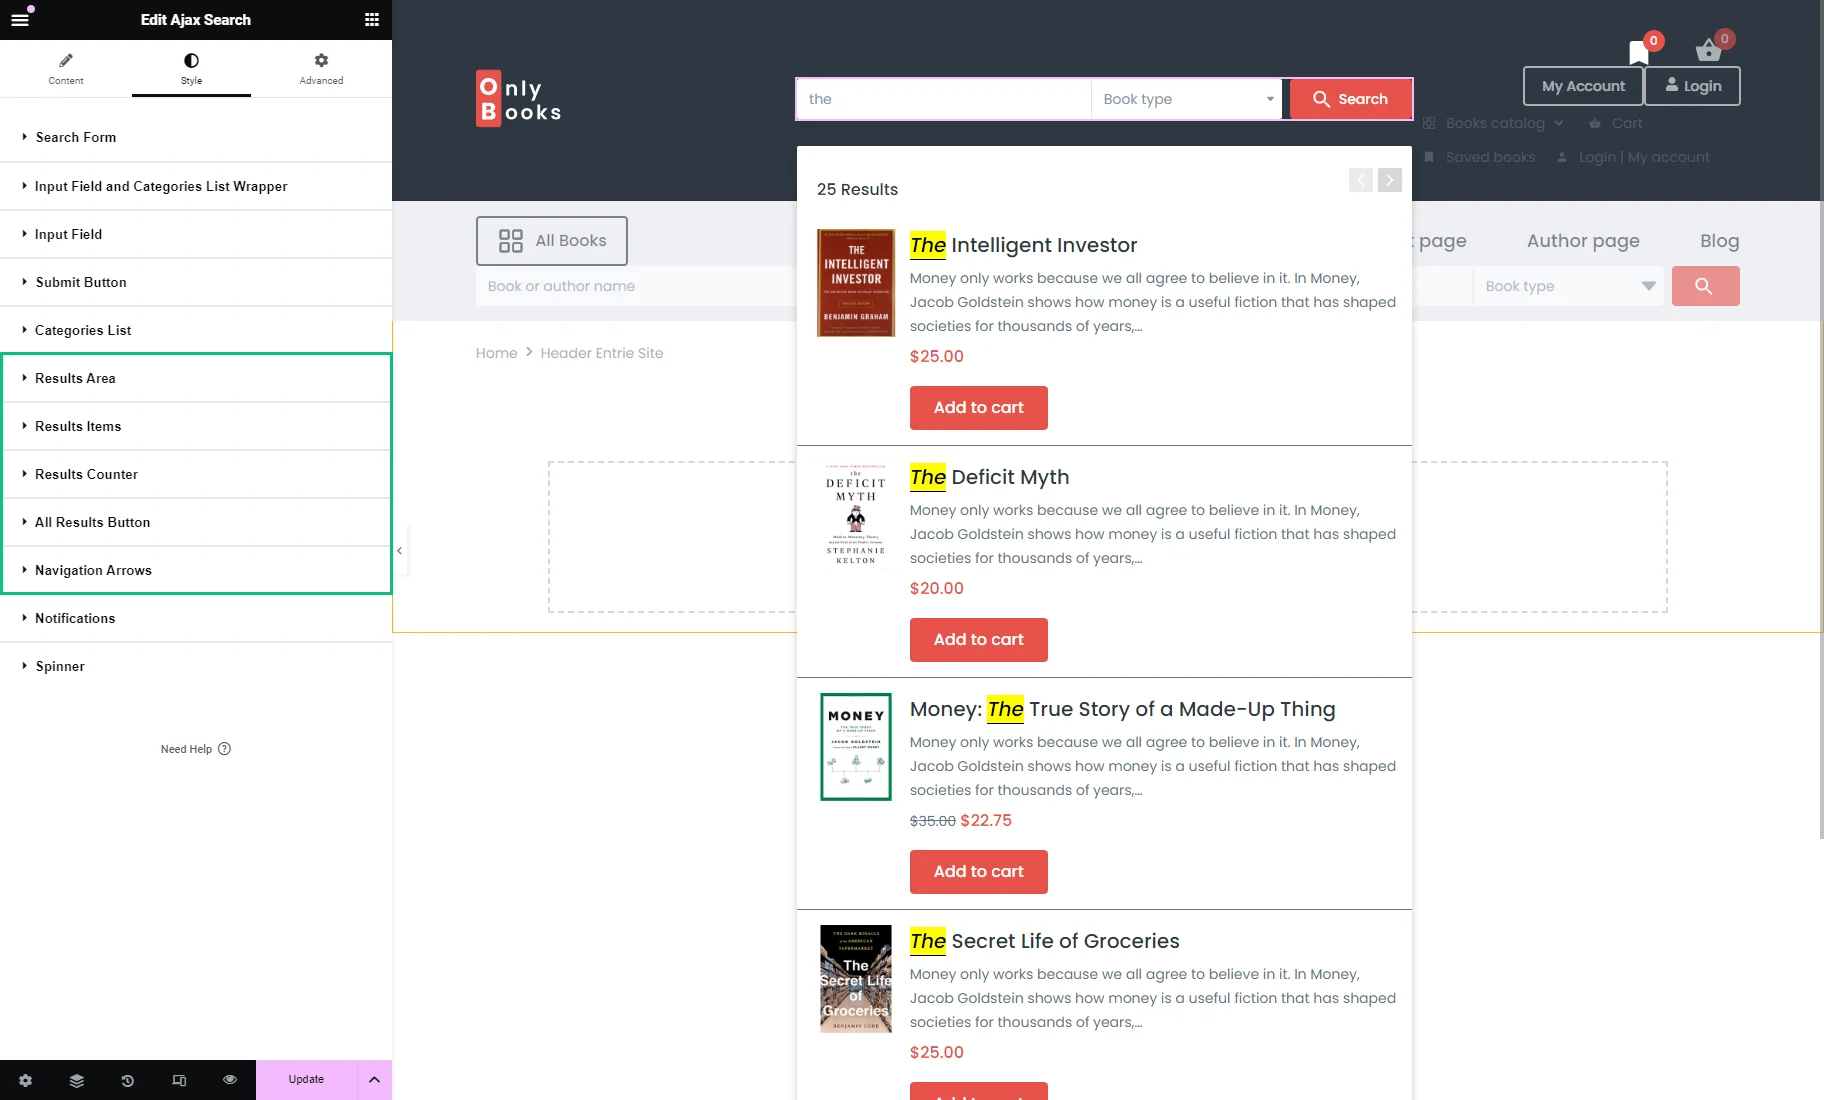
The Ajax Search widget has many styling options to customize each content element.
For example, you can customize the Results Area, Result Items, Result Counter (if the Show Results Counter option is activated), and All Results Button (if the Show All Results Button toggle is enabled). If you set the Bullet Pagination, Number Pagination, or Navigation Arrows, you can also style them.
Results on the front end
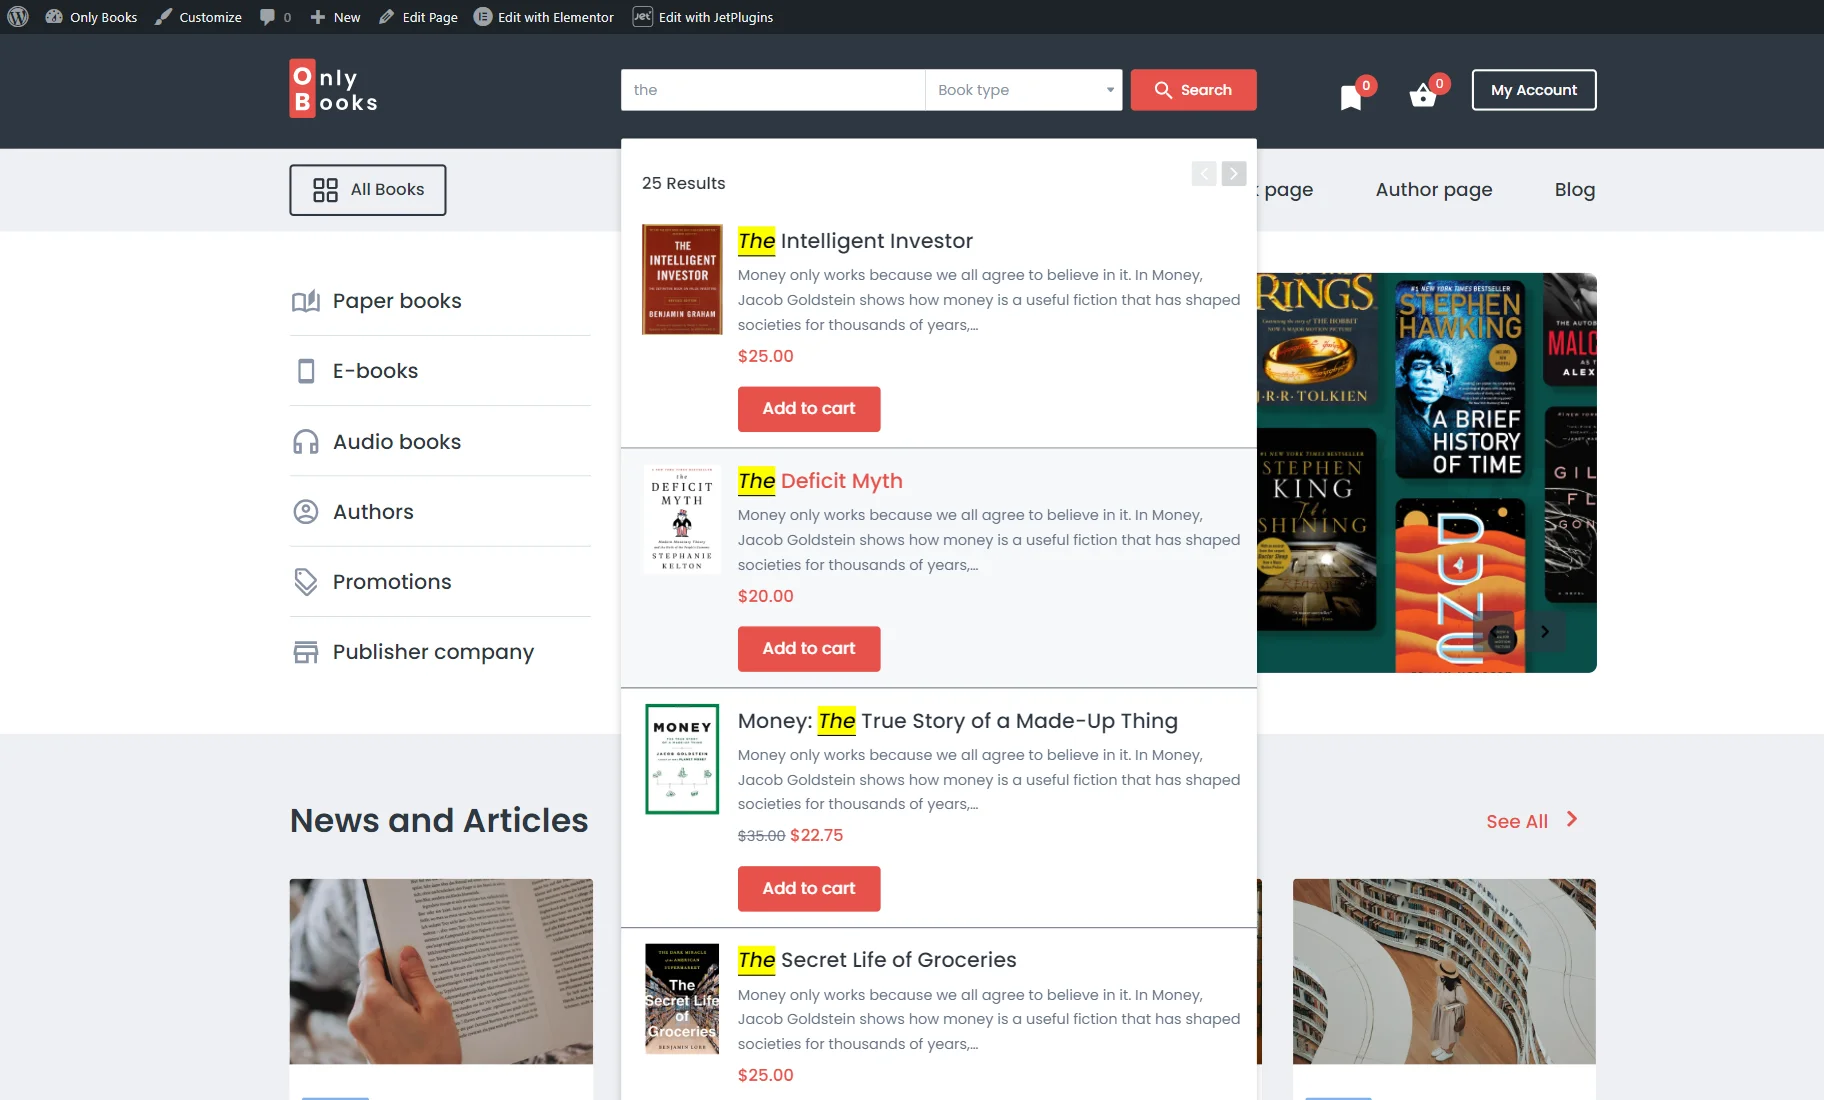
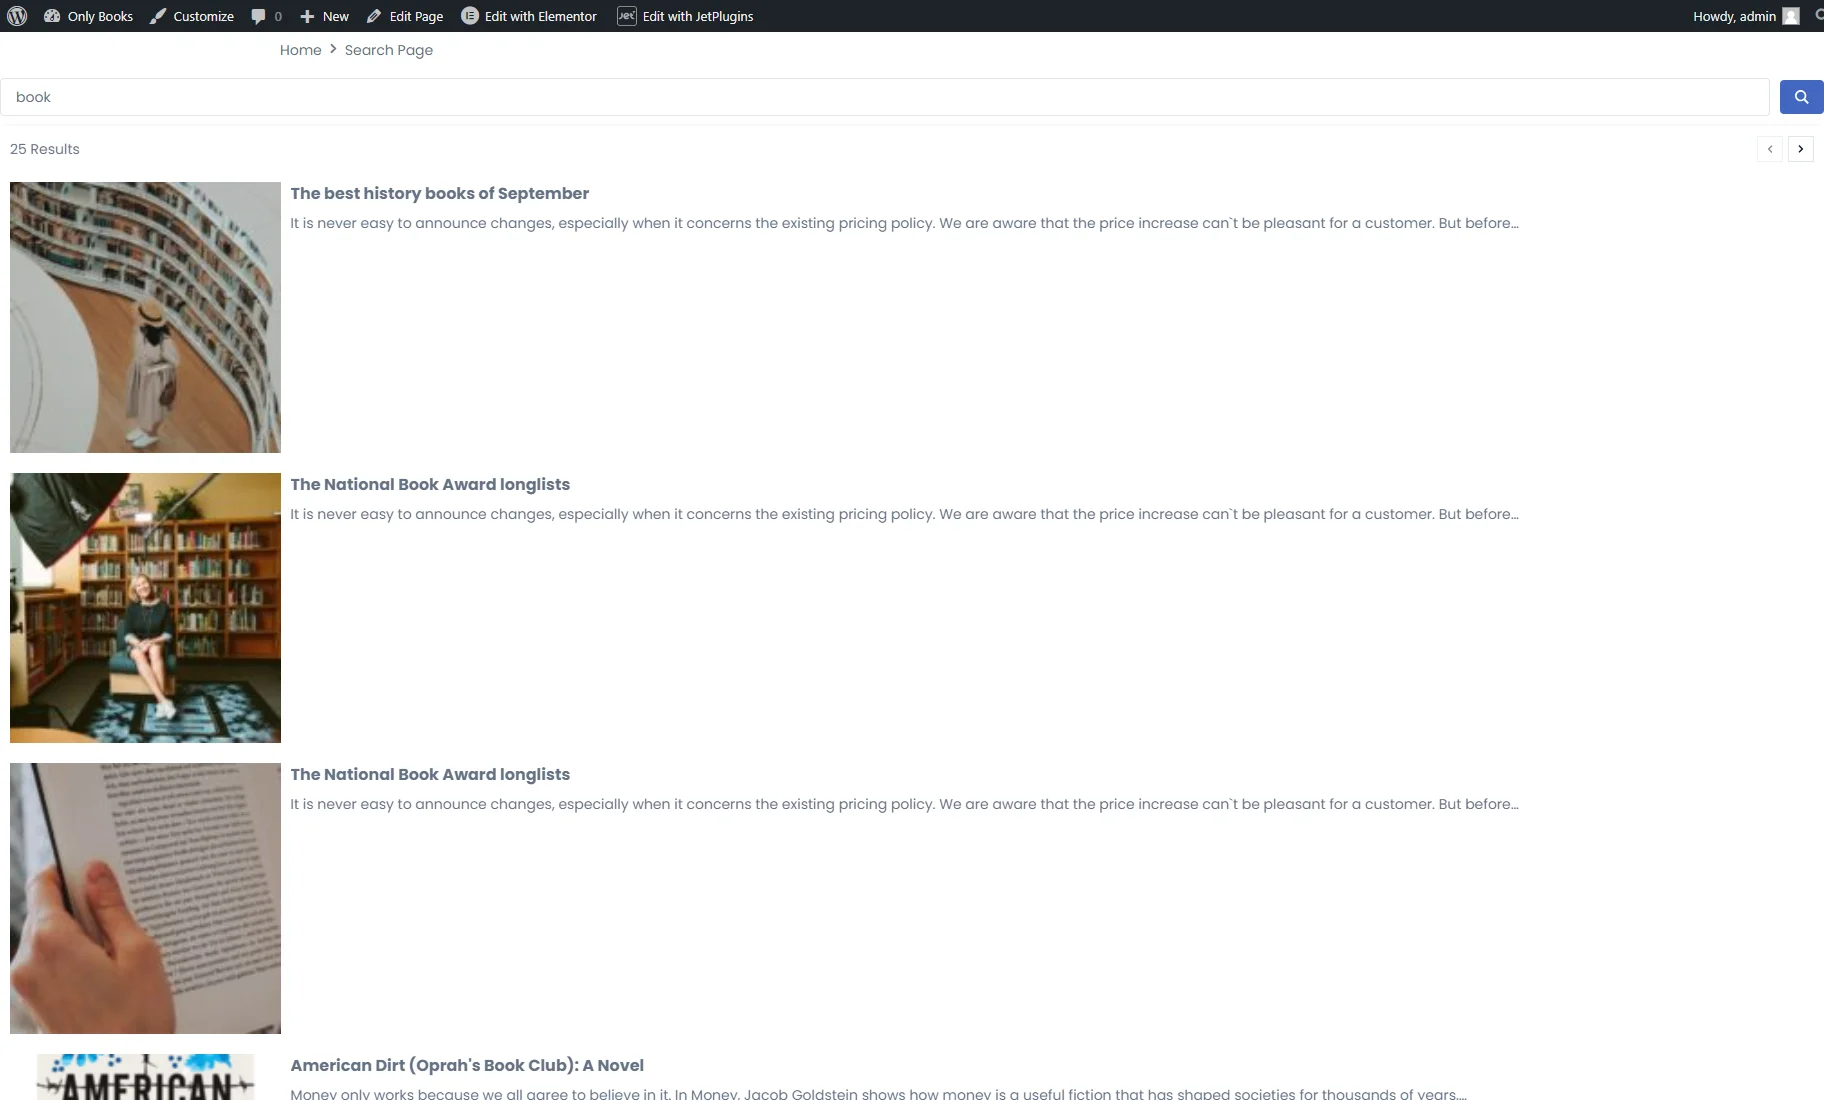
After completing all customizations, click the “Publish/Update” button, open the page on the front end, and check the search results.
How to Change the Search Results Content in Gutenberg
JetSearch works not only with the Elementor page builder. This plugin allows the application of a search block using Gutenberg as well.
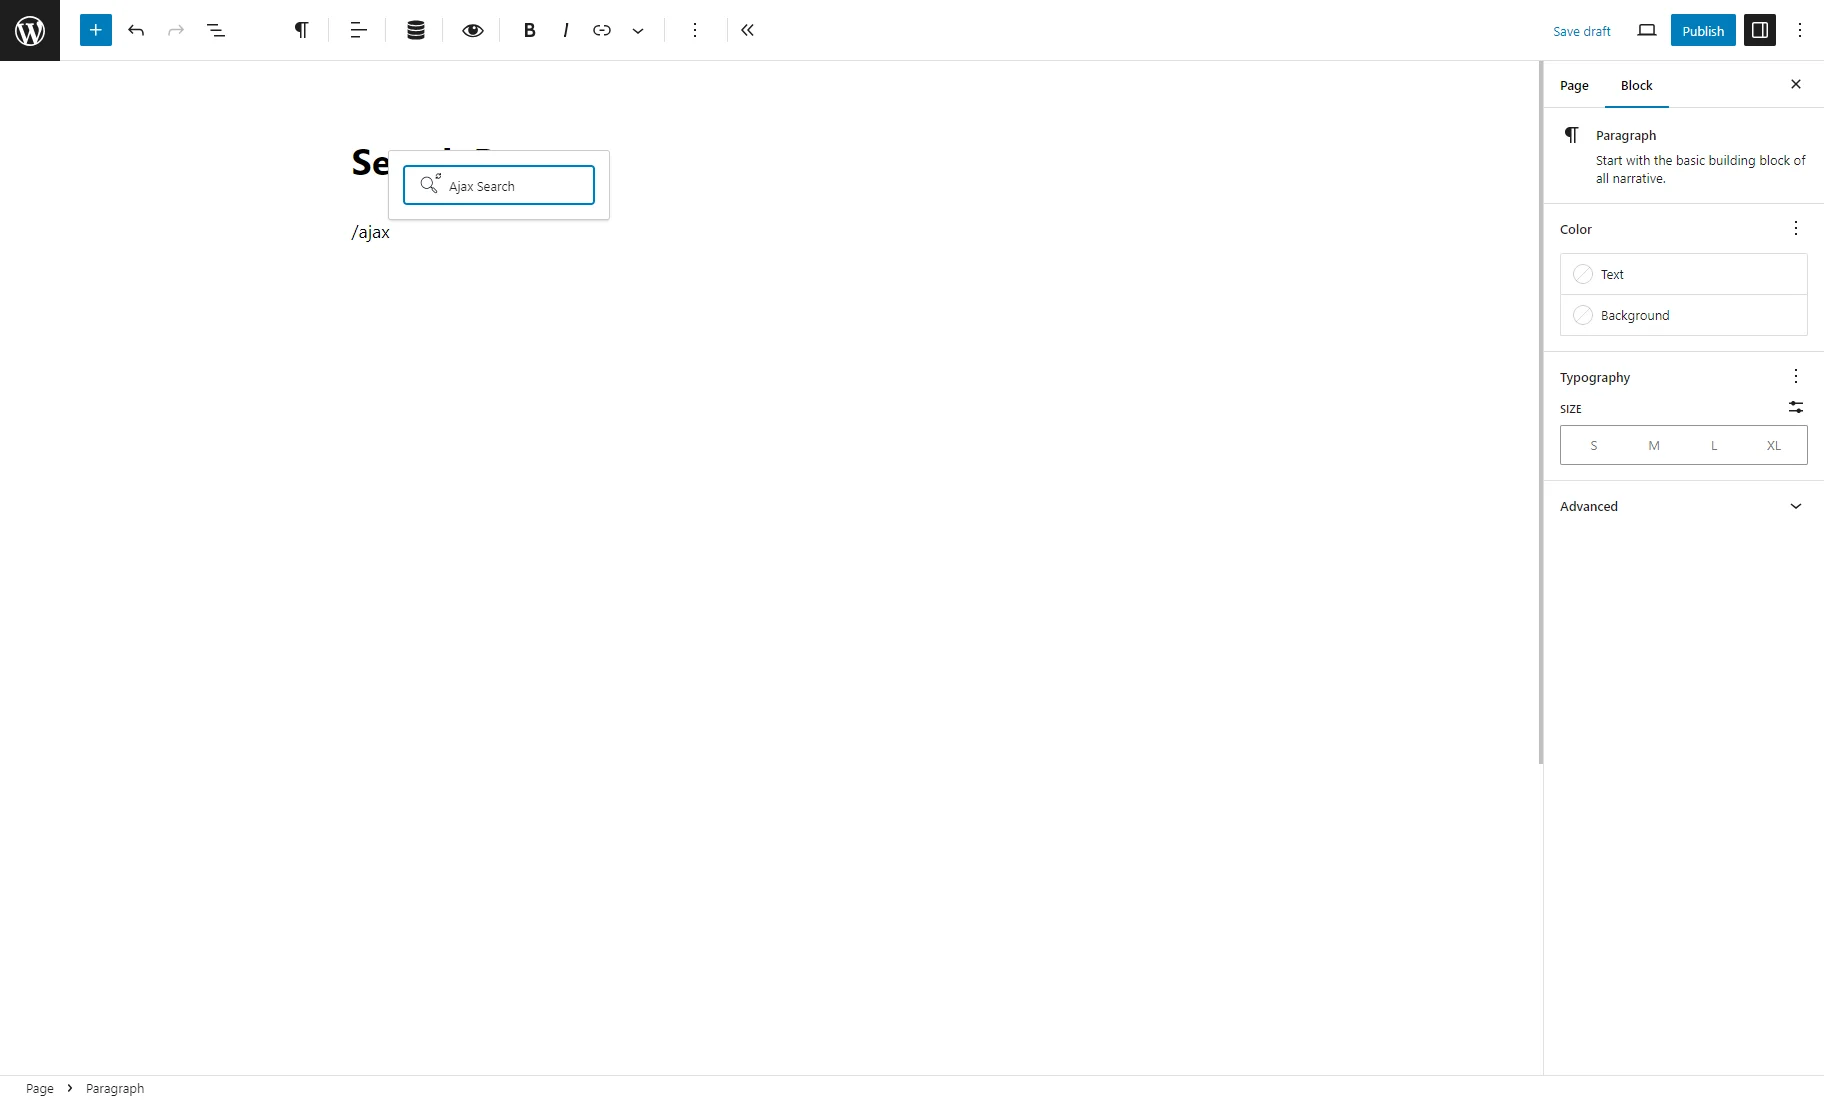
Open the page using the WordPress editor and place the Ajax Search block.
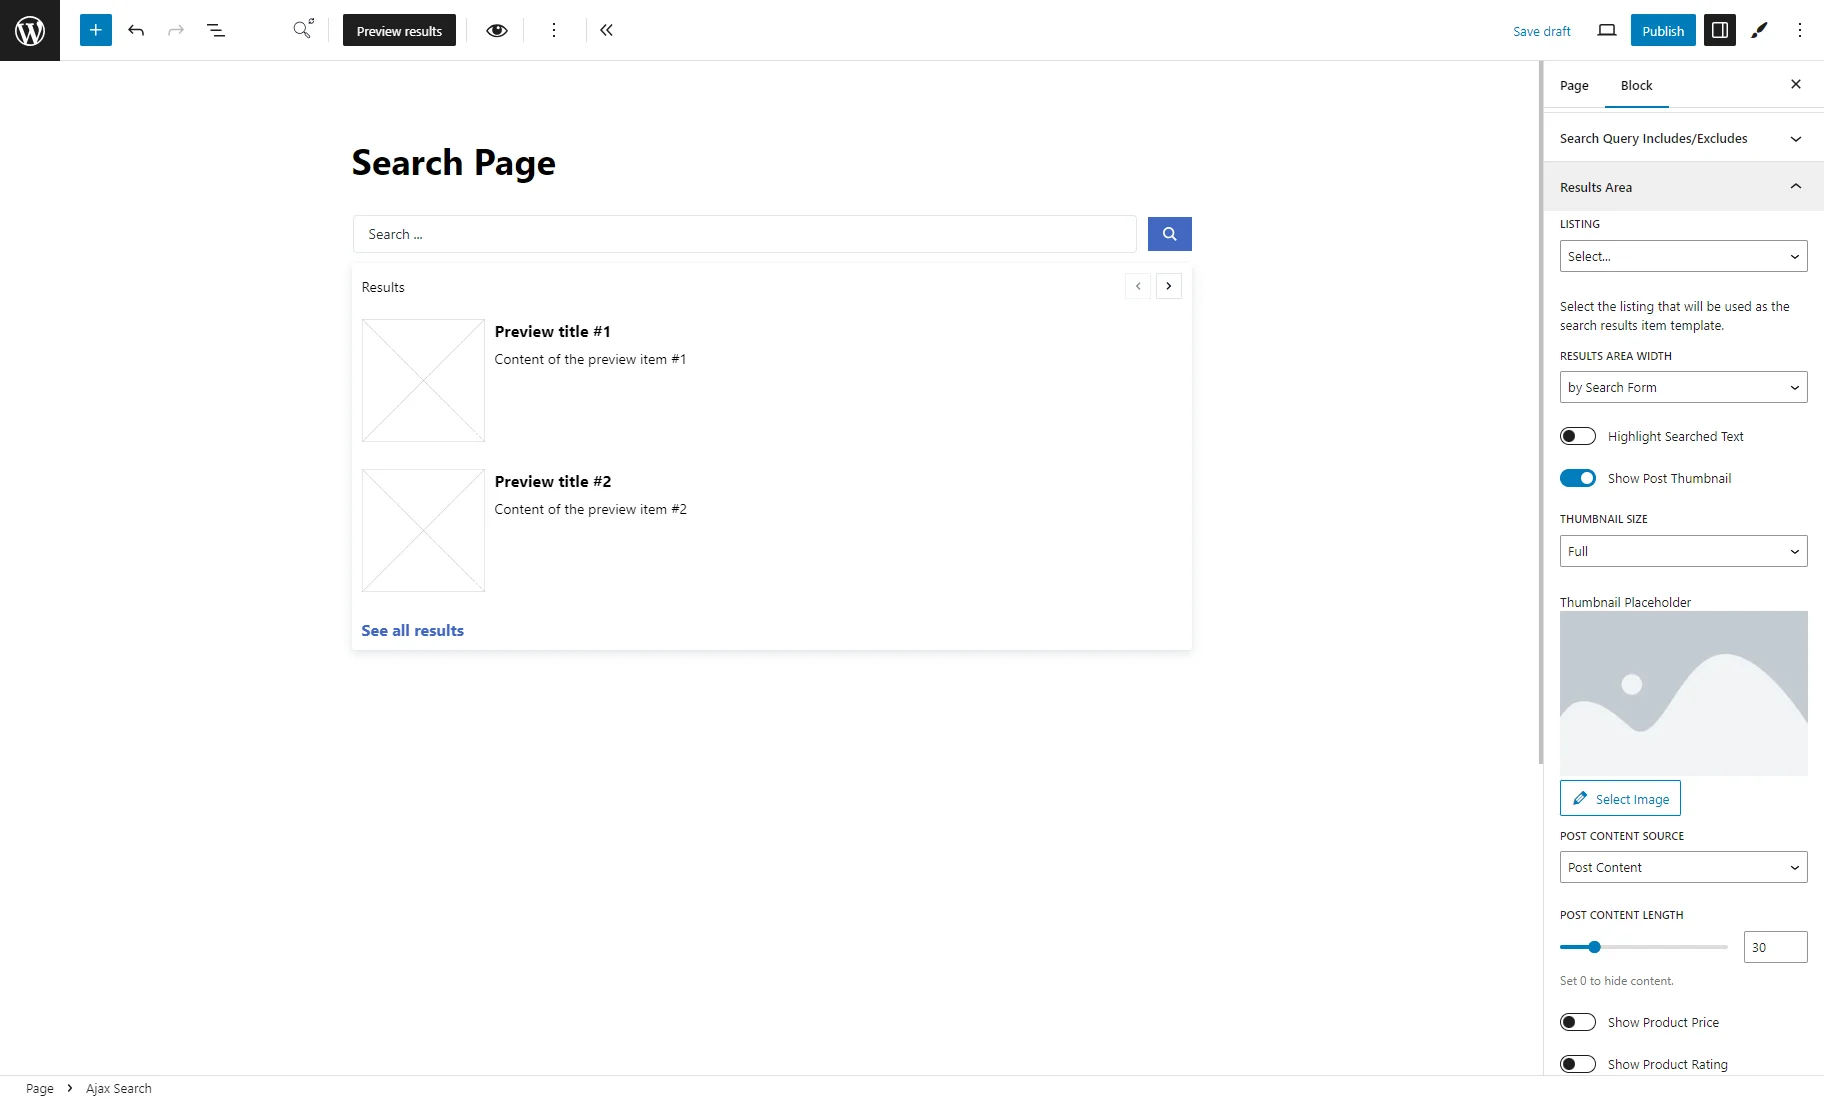
Unfold the Results Area section to customize the content of the search results.
The AJAX Search block for Gutenberg has the same settings as the Ajax Search widget for Elementor described above.
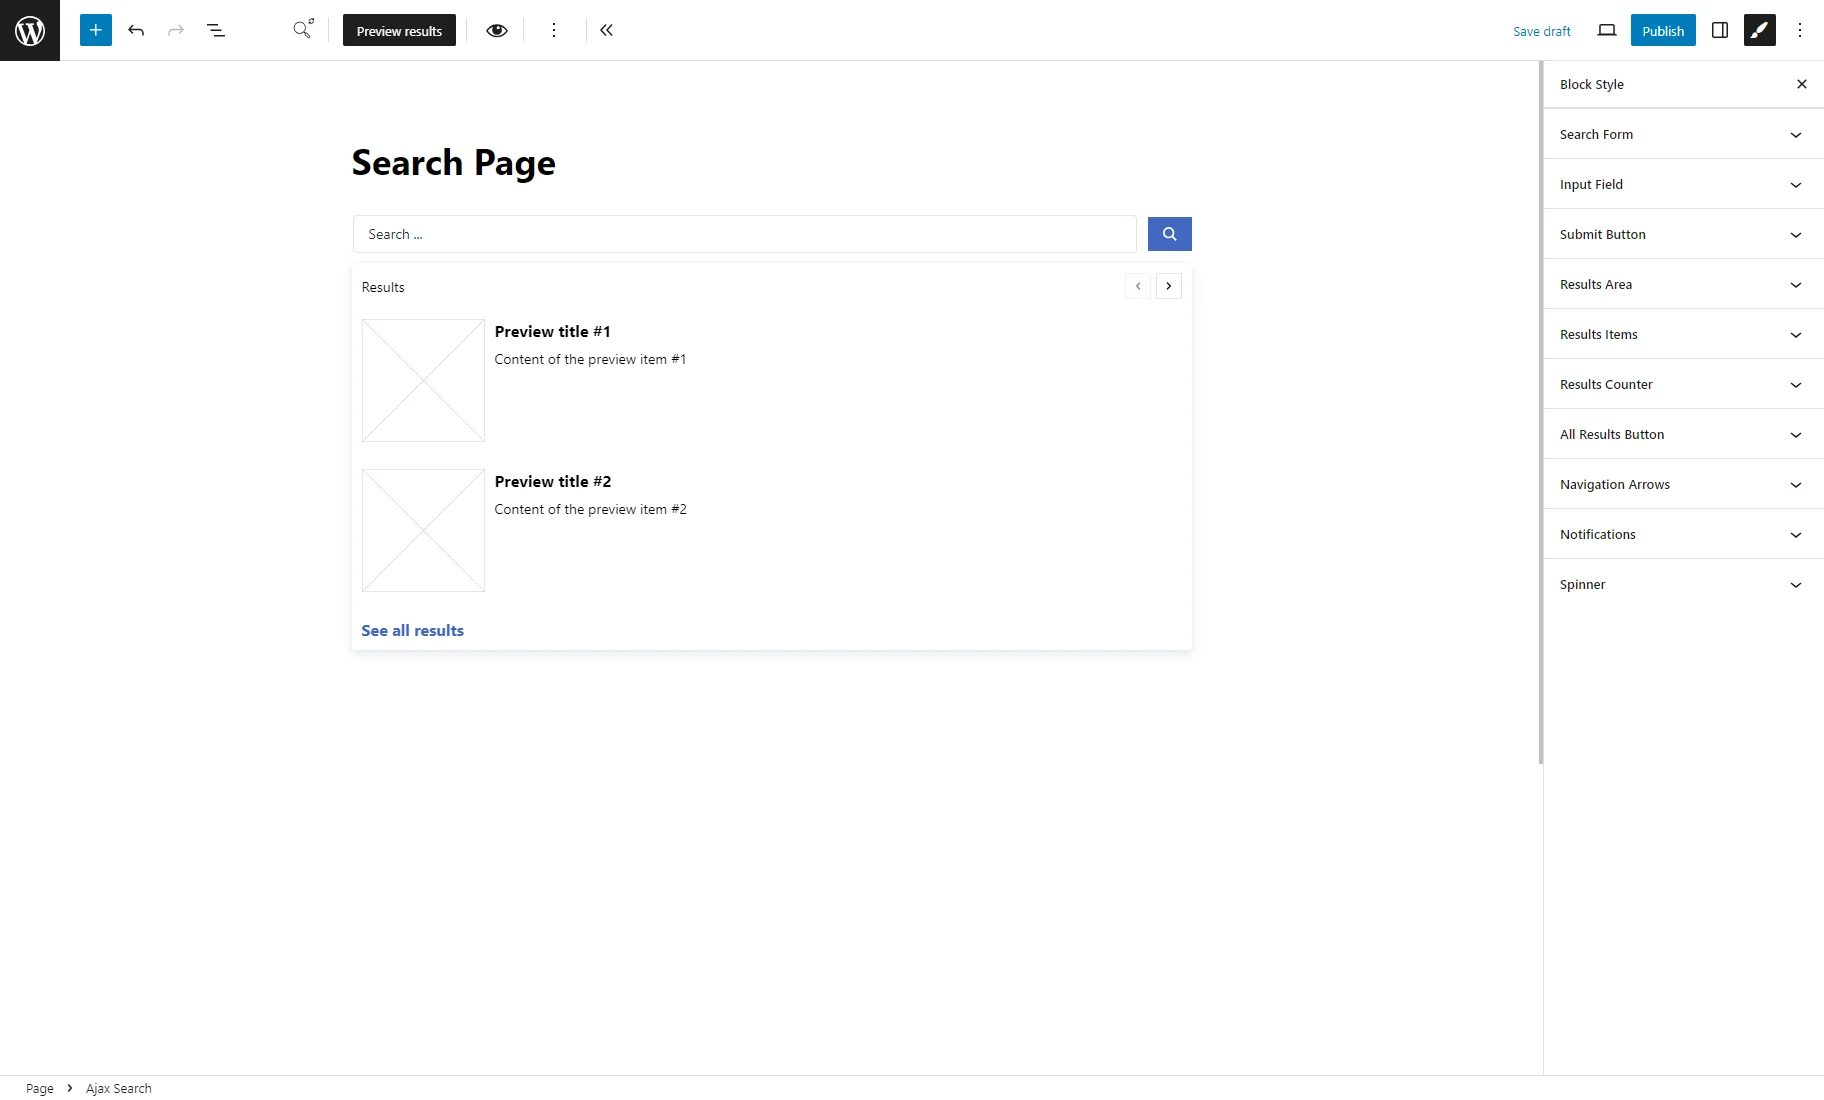
You can style the Ajax Search block with the help of the free JetStyleManager plugin.
Click the “Block Style” button in the upper right corner of the editing window.
After completing all customizations, click the “Publish/Update” button, open the page on the front end, and check the search results.
How to Change the Search Results Content in Bricks
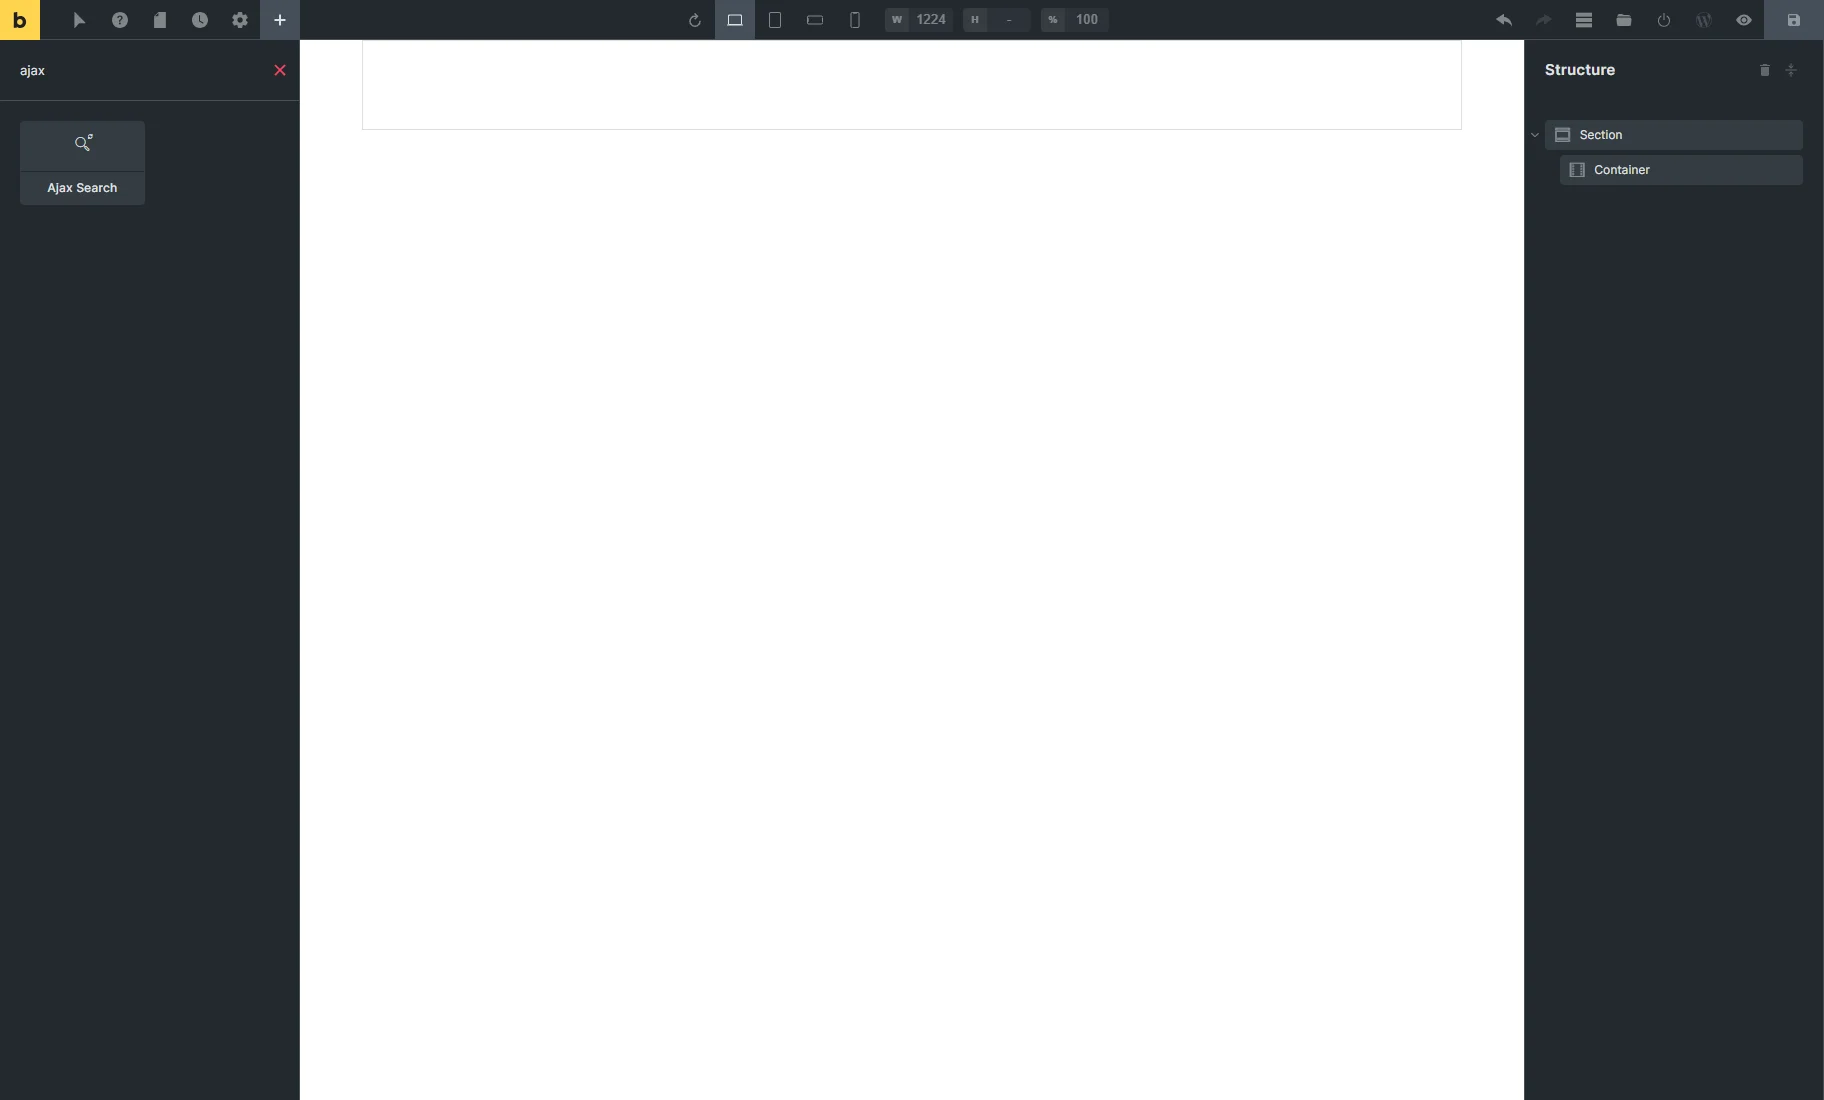
Open the page in the Bricks editor and place the Ajax Search element.
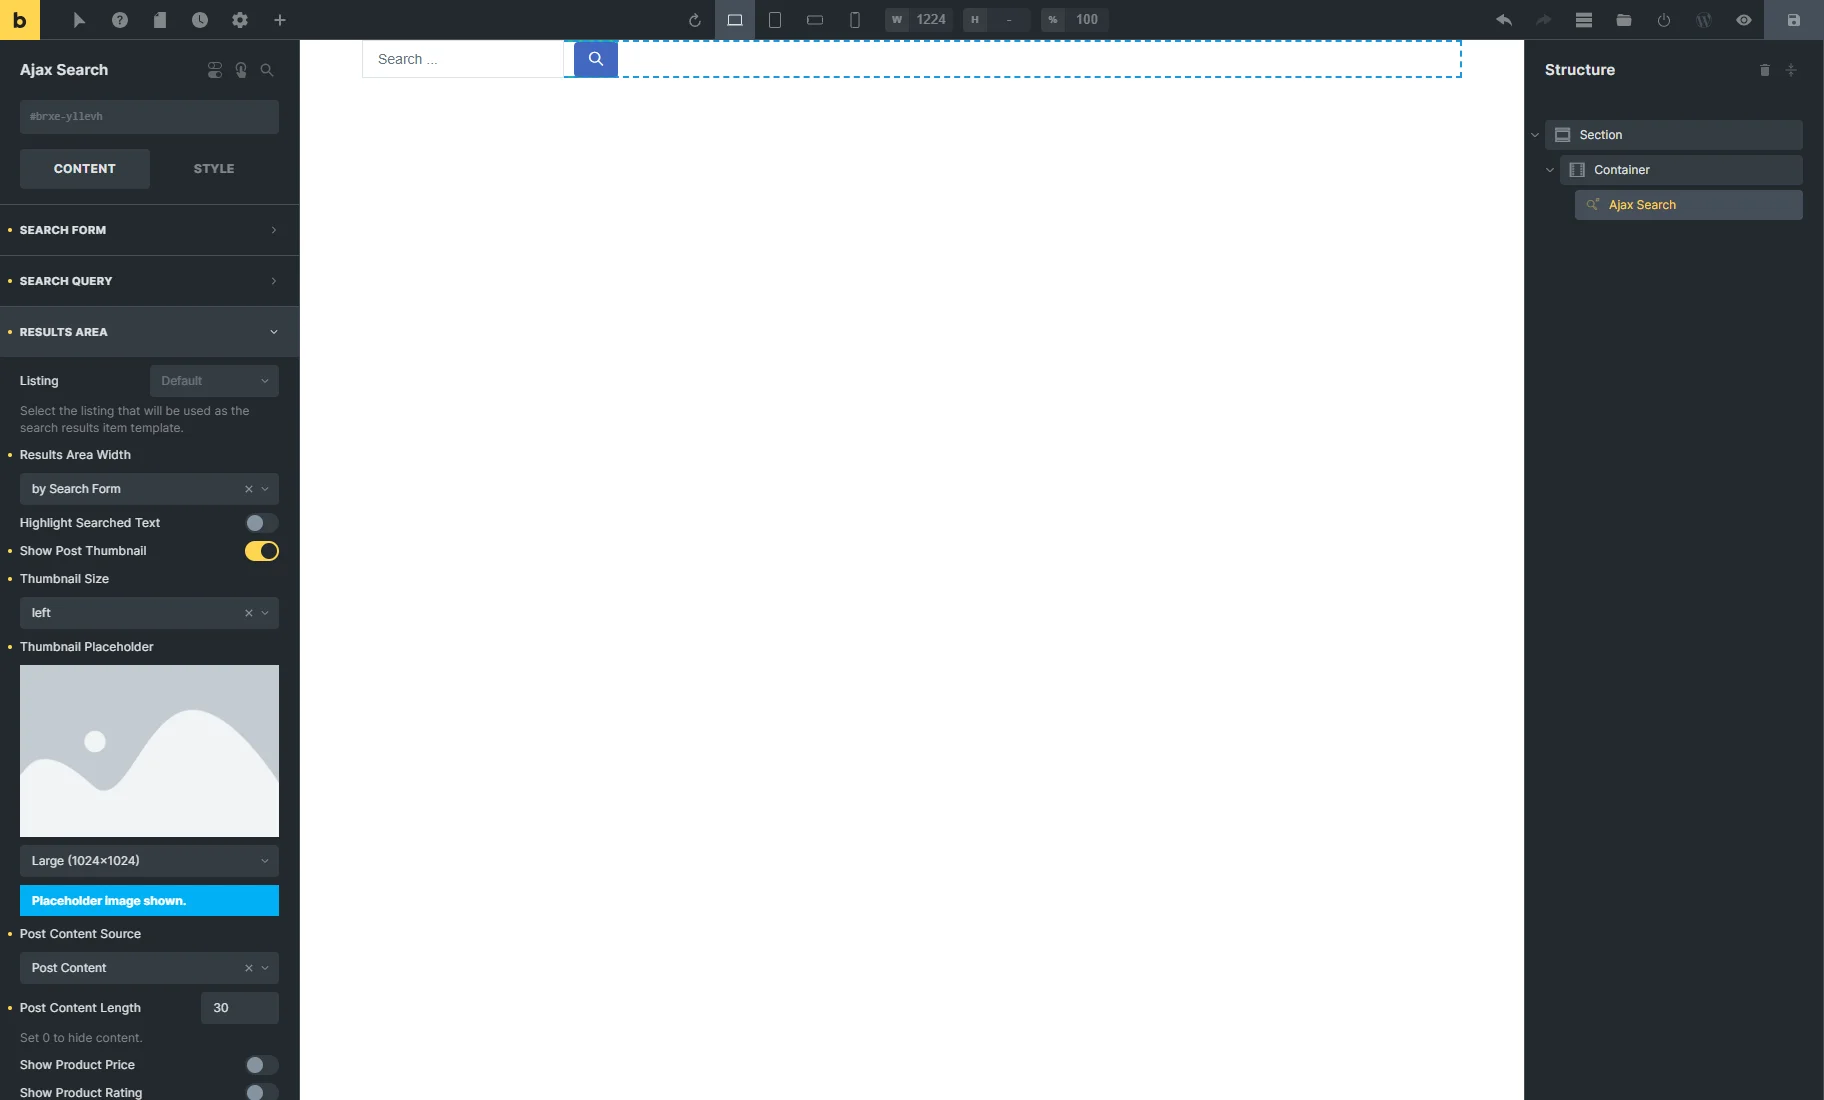
Unfold the RESULTS AREA section to customize the content of the search results.
The Ajax Search element for Bricks has the same settings as the Ajax Search widget for Elementor described above.
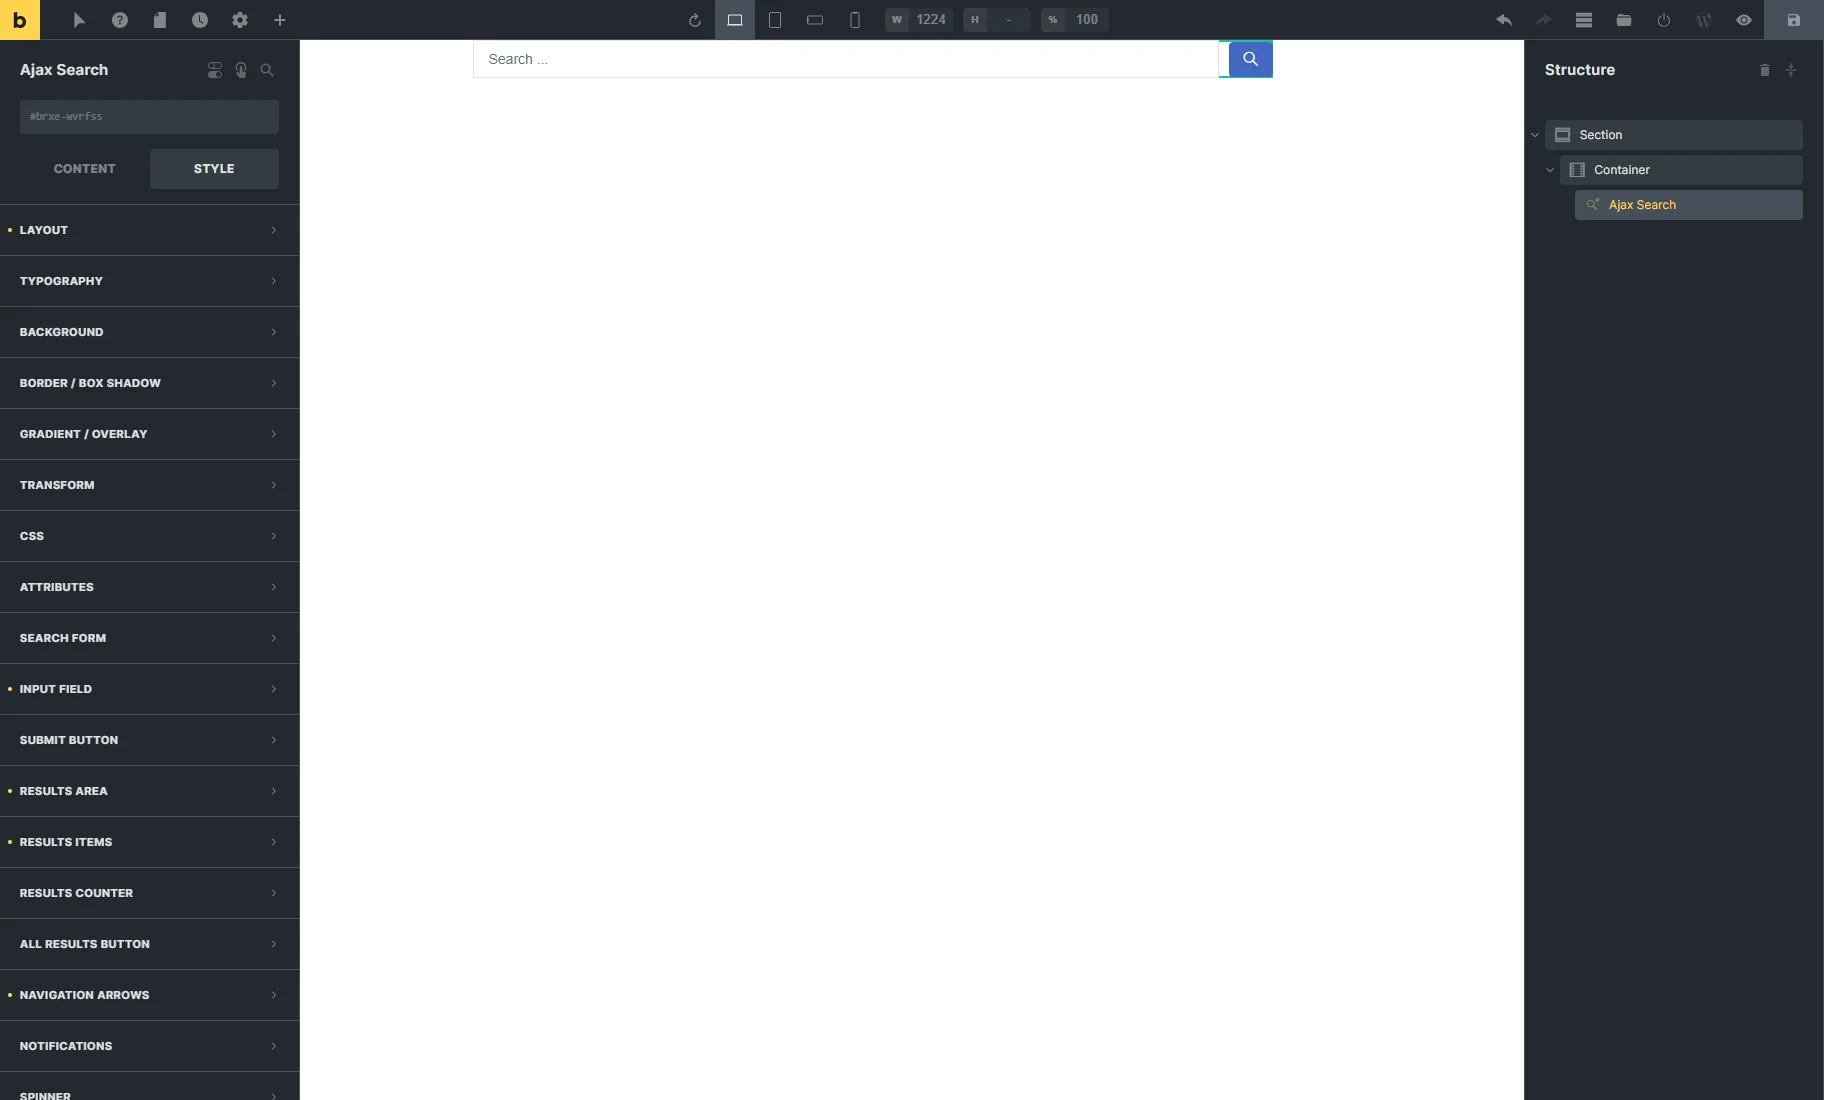
To customize the element style settings, open the STYLE tab.
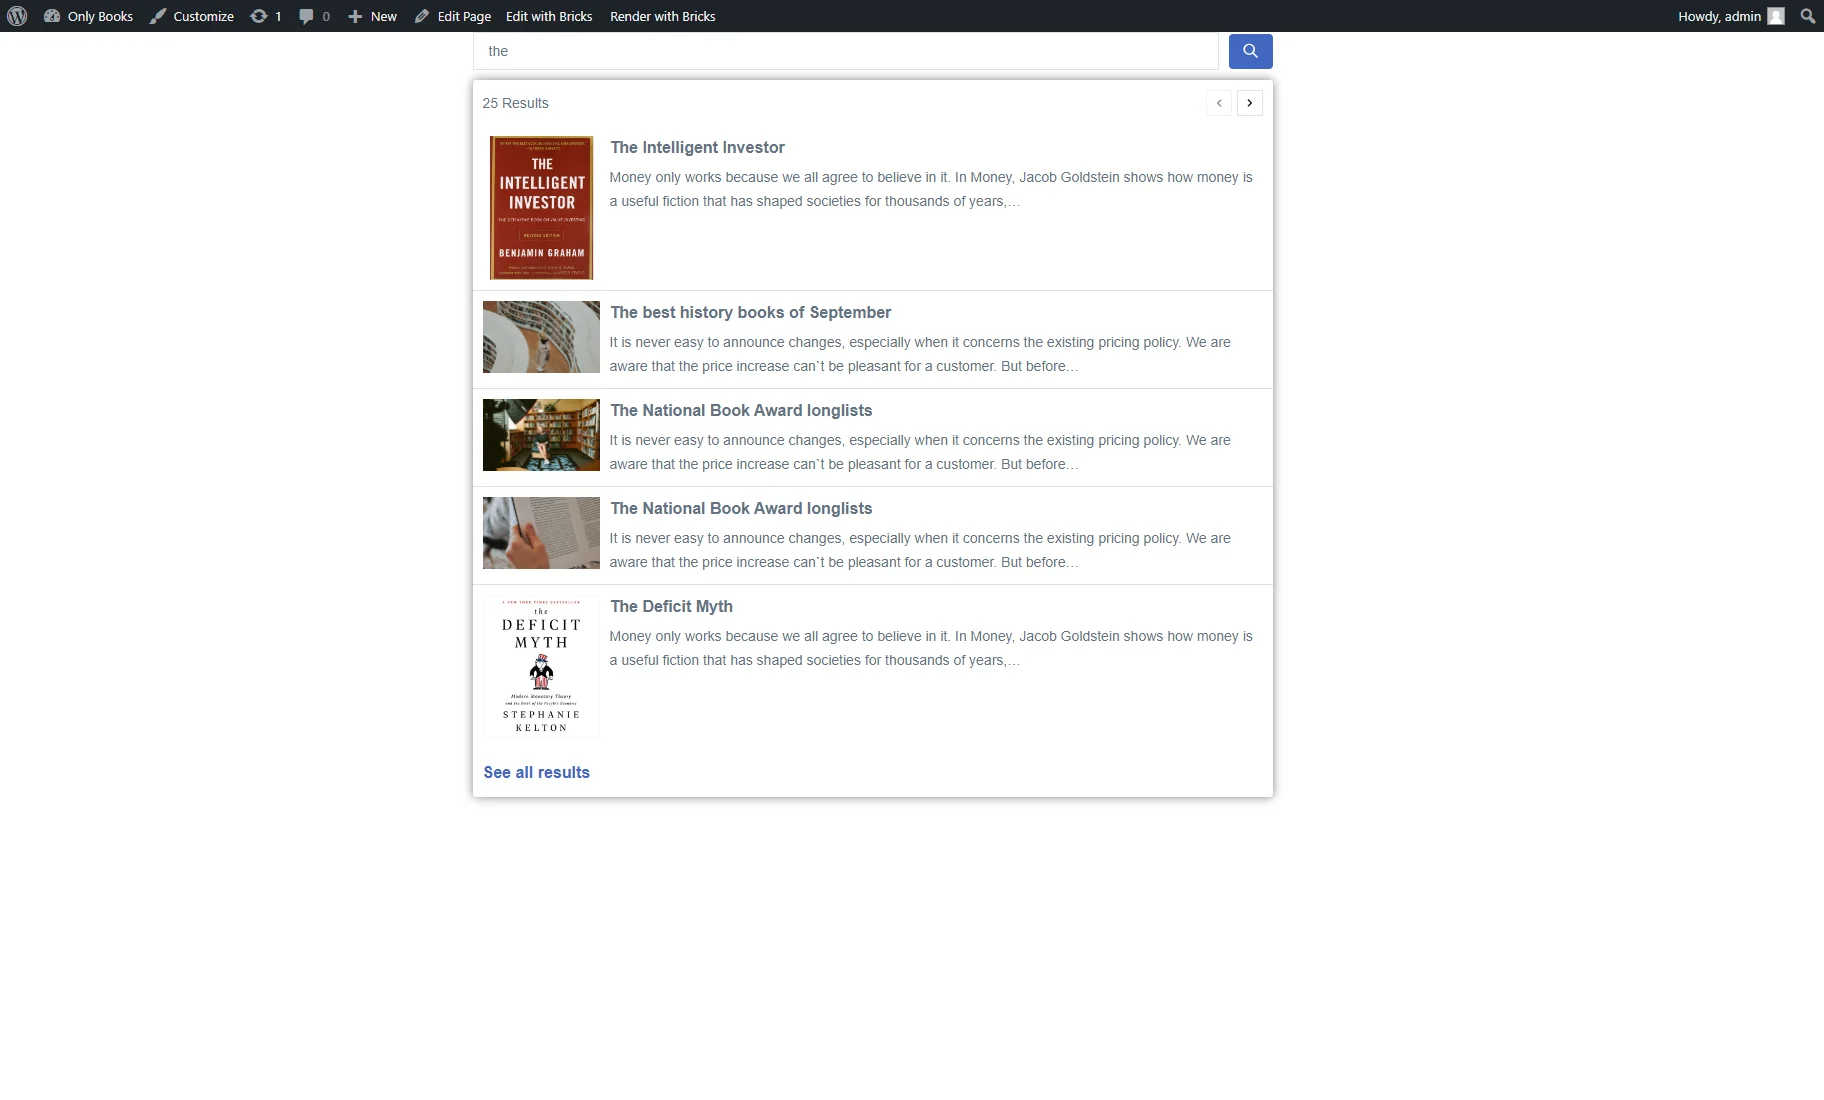
After completing all customizations, save the page, open the page on the front end, and check the search results.
That’s all. You now know how to change and style the search results content using the JetSearch plugin.
