How to Display User Profiles in the Search Results Area
Learn how to adjust the Ajax Search widget settings to display the users and CPT posts in the same search area and to show the results on different listings.
Before you start, check the tutorial requirements:
- Elementor (Free version), Block editor (Gutenberg), or Bricks
- JetSearch plugin installed and activated
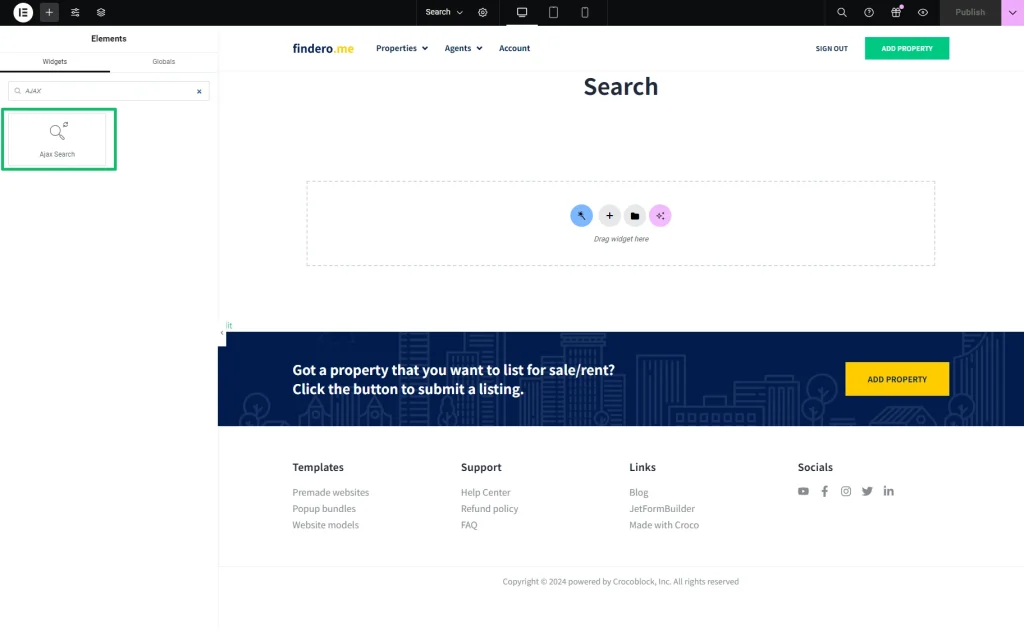
Create a Page and Add the Search Widget
Adjust the Widget Settings
Set the needed options in the widget’s settings. To learn how to manage other Ajax Search widget settings, read the Ajax Search Settings Overview.
Enable the Users Search Source Toggle
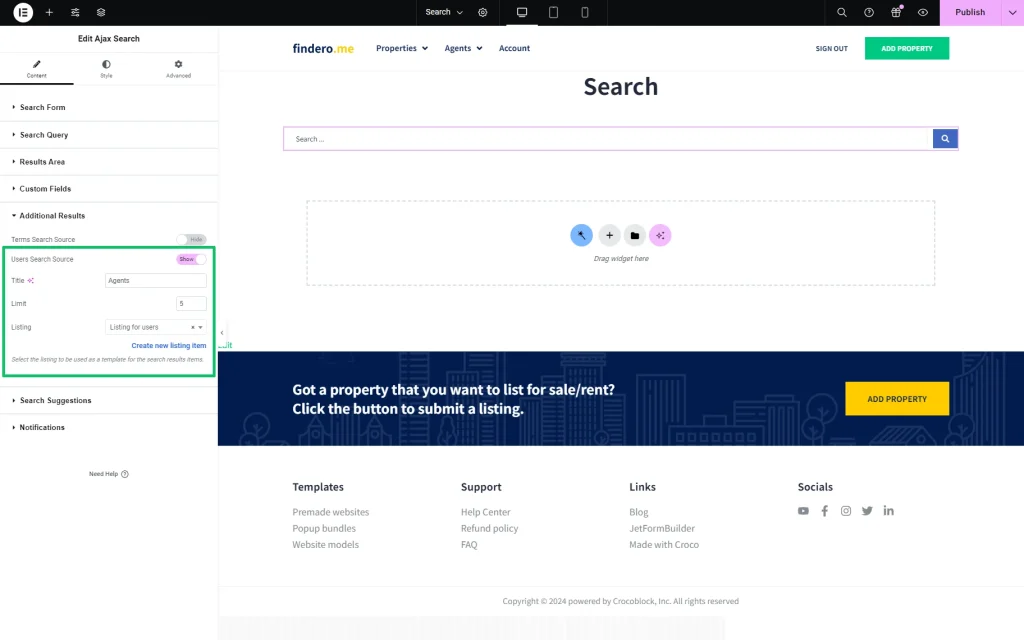
Unroll the Additional Results tab of the Content settings.
Then, activate the Users Search Source toggle.
Here, we set the following in the fields and drop-down lists that appeared:
- typed the listing’s title in the Title field (the “Agents” listing, in the given case);
- picked the Listing to display the found user (the “Listing for users” listing in this tutorial);
- left the default value in the Limit field.
Once completed, press the “Publish” button.
Check the Result
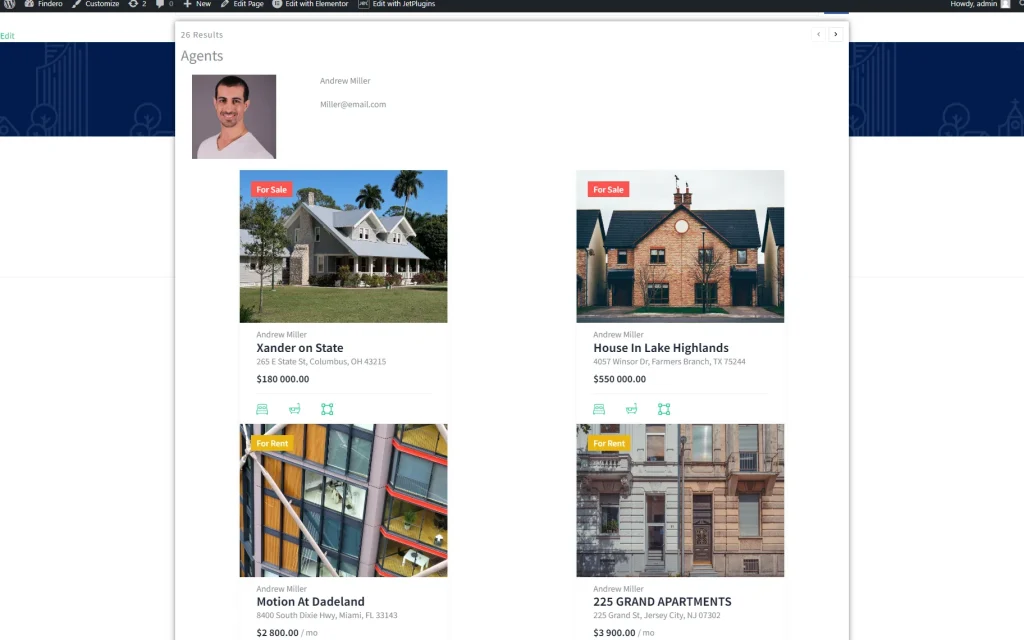
Navigate to the front end to observe how the widget works.
In the search bar, we typed the first three characters of the agent’s name. Then, the widget returns the user profile data and the CPT posts that contain a request in their title or content.
The tutorial How to Create Custom Post Types in WordPress explains how to manage the CPT post settings.
That’s it. You now know how to adjust the Ajax Search widget settings to display users and CPT posts in the same search area and to show the results on different listings with the help of the JetSearch plugin for WordPress.


