How to Create a Listing Template for Post Types in Elementor
Learn how to use the Listing template functionality from the JetEngine WordPress plugin to create listing templates for dynamic content.
Before you start, check the tutorial requirements:
- Elementor (Free version)
- JetEngine plugin installed and activated
With the JetEngine plugin, you can dynamically pull the content from the backend to the Elementor page builder to display it on the front end. This tutorial uncovers how to create a listing template to display the content in the Listing Grid widget.
A listing template can be created for the WordPress default posts, but you can build a custom post type (CPT) as well. For example, we will use the “Country” CPT for this tutorial.
Listing Creation
Add a new listing item
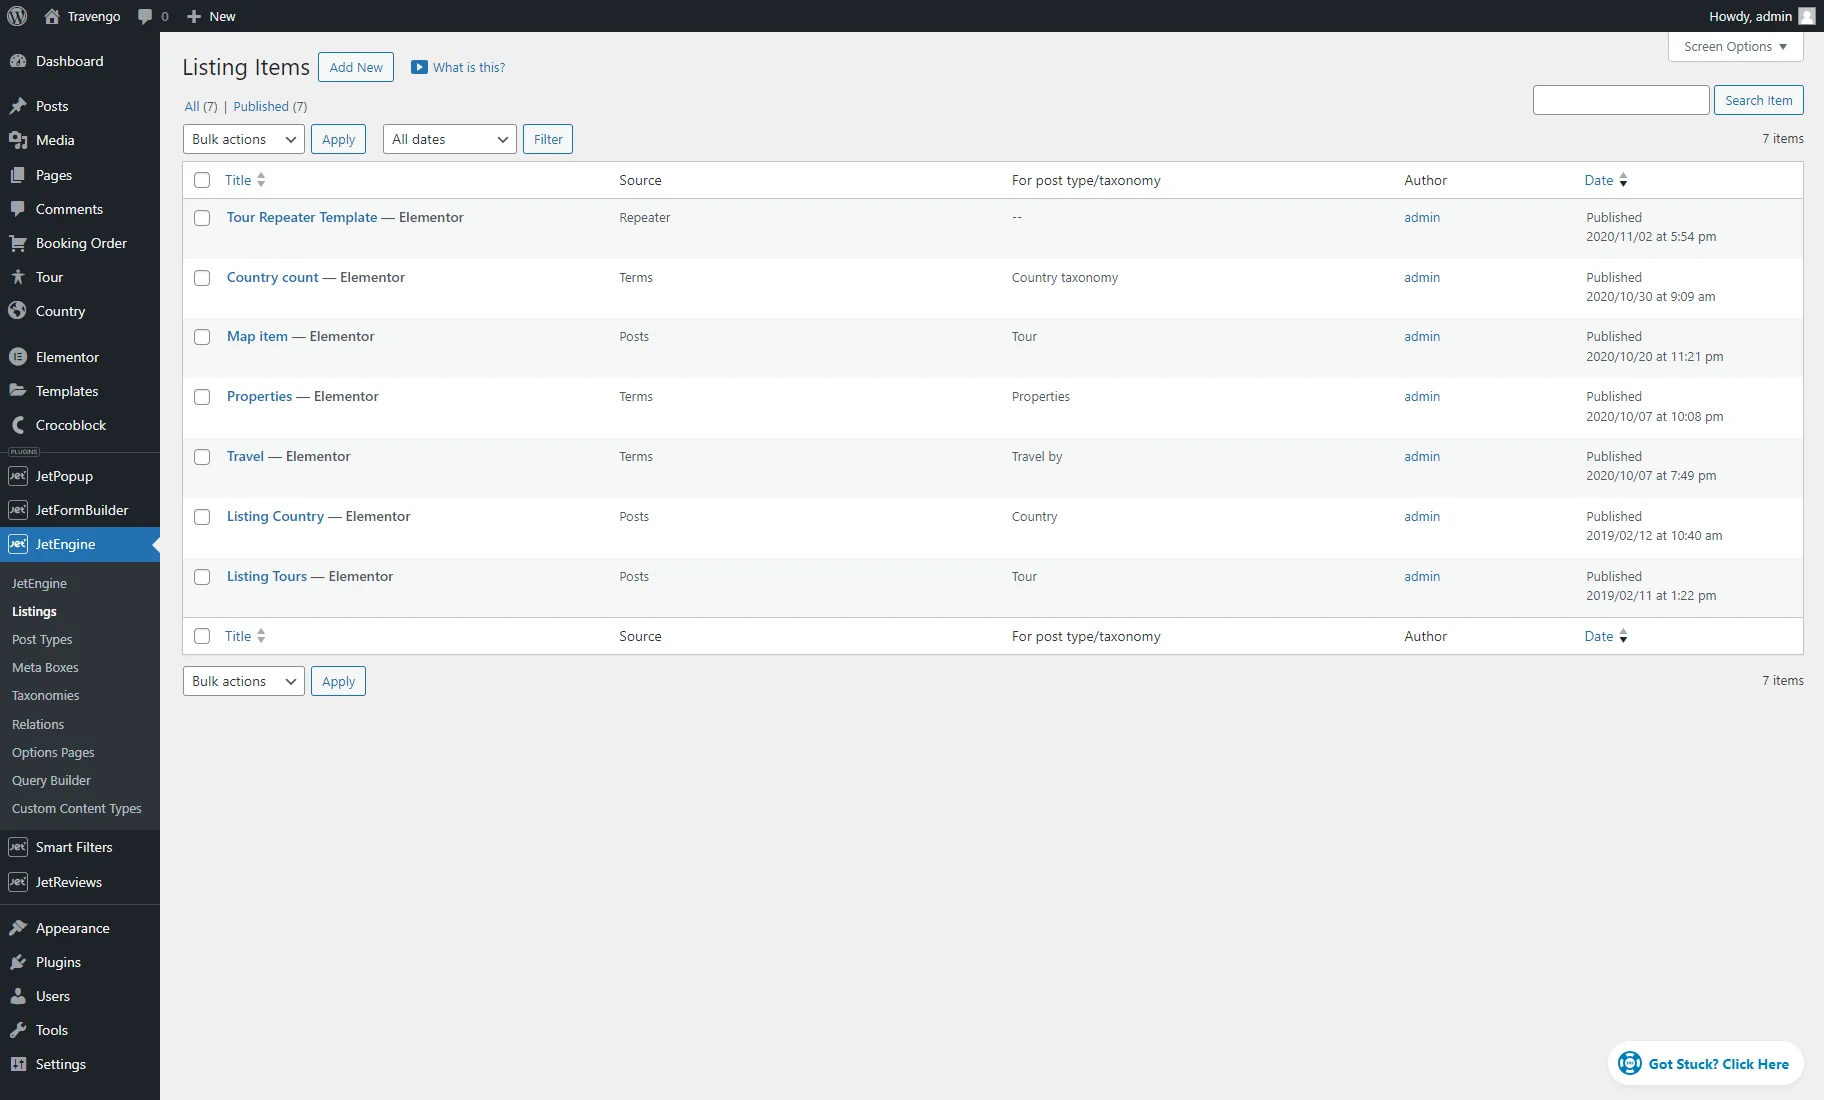
Proceed to the WordPress Dashboard > JetEngine > Listings tab and press the “Add New” button.
Set up listing item
Once the Setup Listing Item window has opened, these fields should be set:
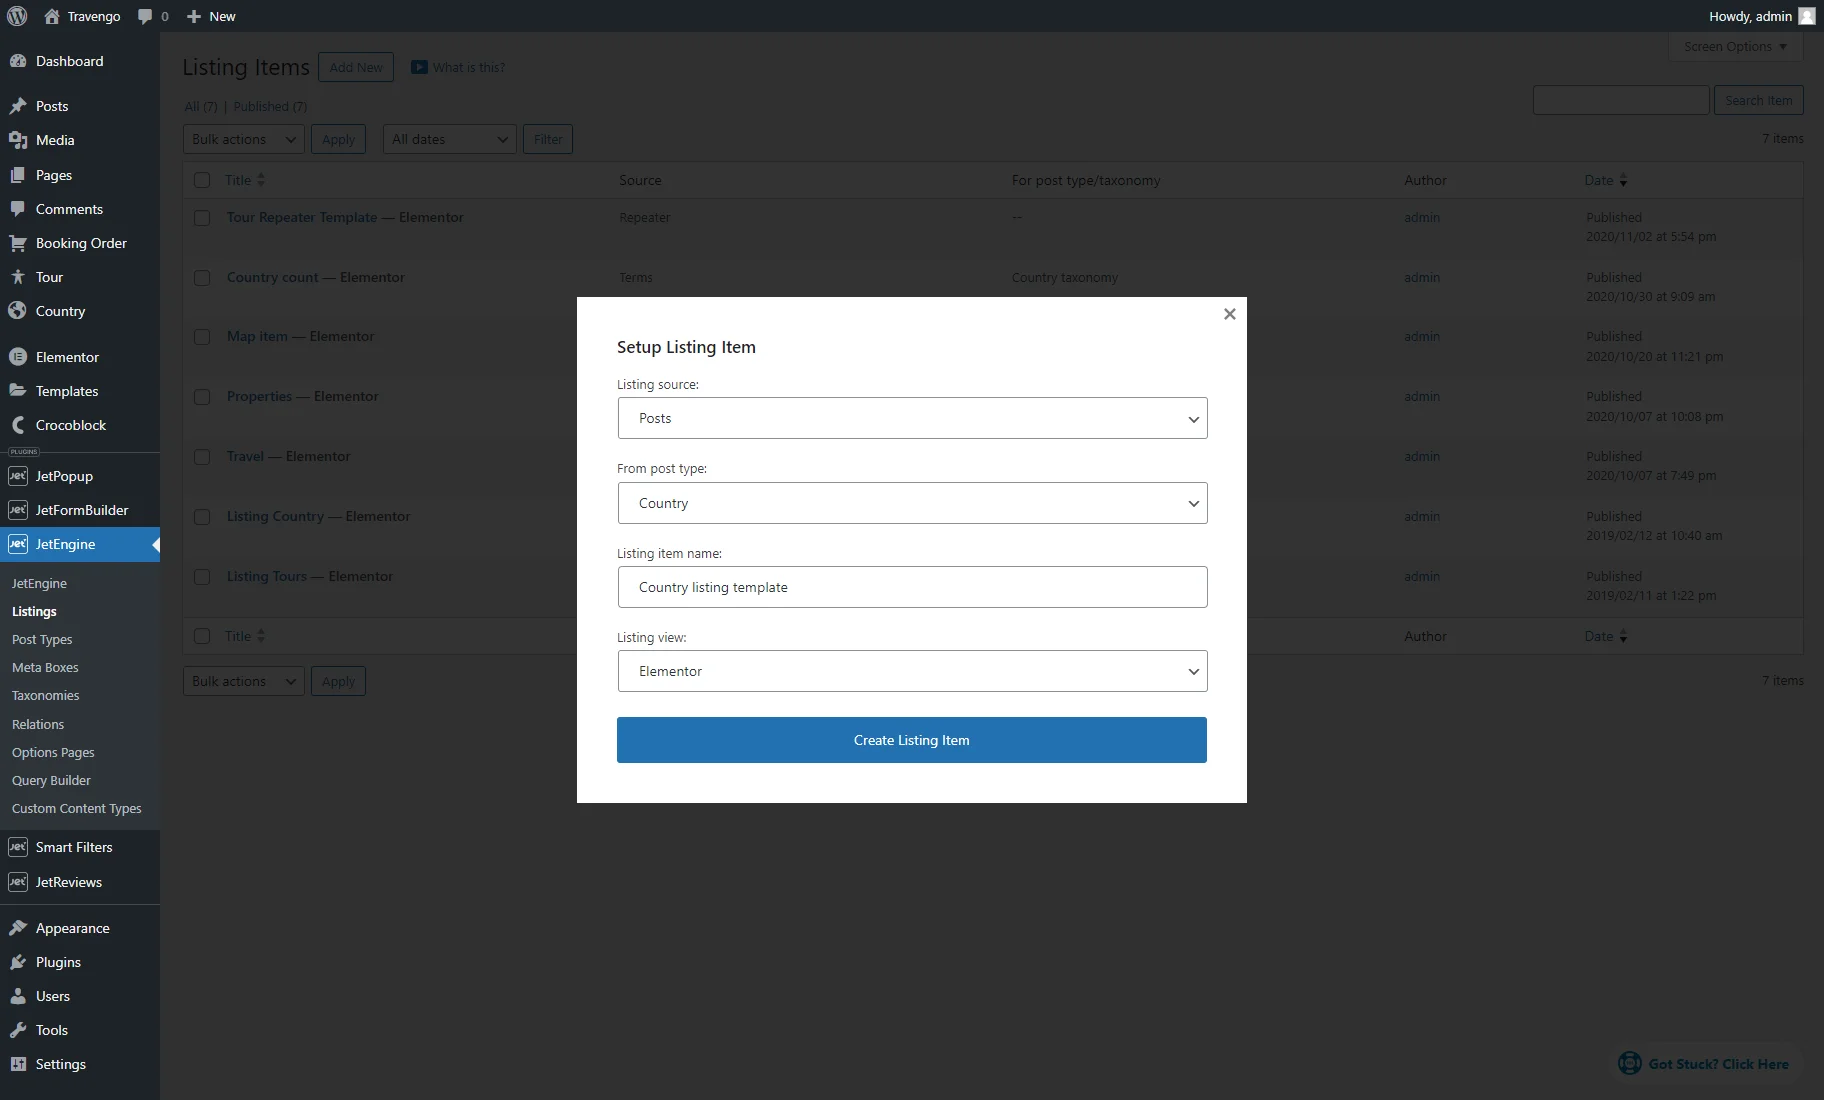
- Listing source — we are now talking about the listing template for the posts, so choose the “Posts” option in this drop-down menu;
- From post type — here, you should select the post type from which the content will be pulled. For example, it can be named “Country.” Take into consideration that you can create a listing template for the default WordPress post types as well;
- Listing Item Name — type the name for the listing here;
- Listing View — in this drop-down menu, you can choose to create the listing using Elementor, Gutenberg, or Bricks. For now, we select the “Elementor” option.
Afterward, click the “Create Listing Item” button.
Fill Listing with Content
Adjust listing item settings
First, you can click the “gear” icon in the bottom left corner to open the Listing Item Settings and unfold the Listing Settings tab. There are such options:
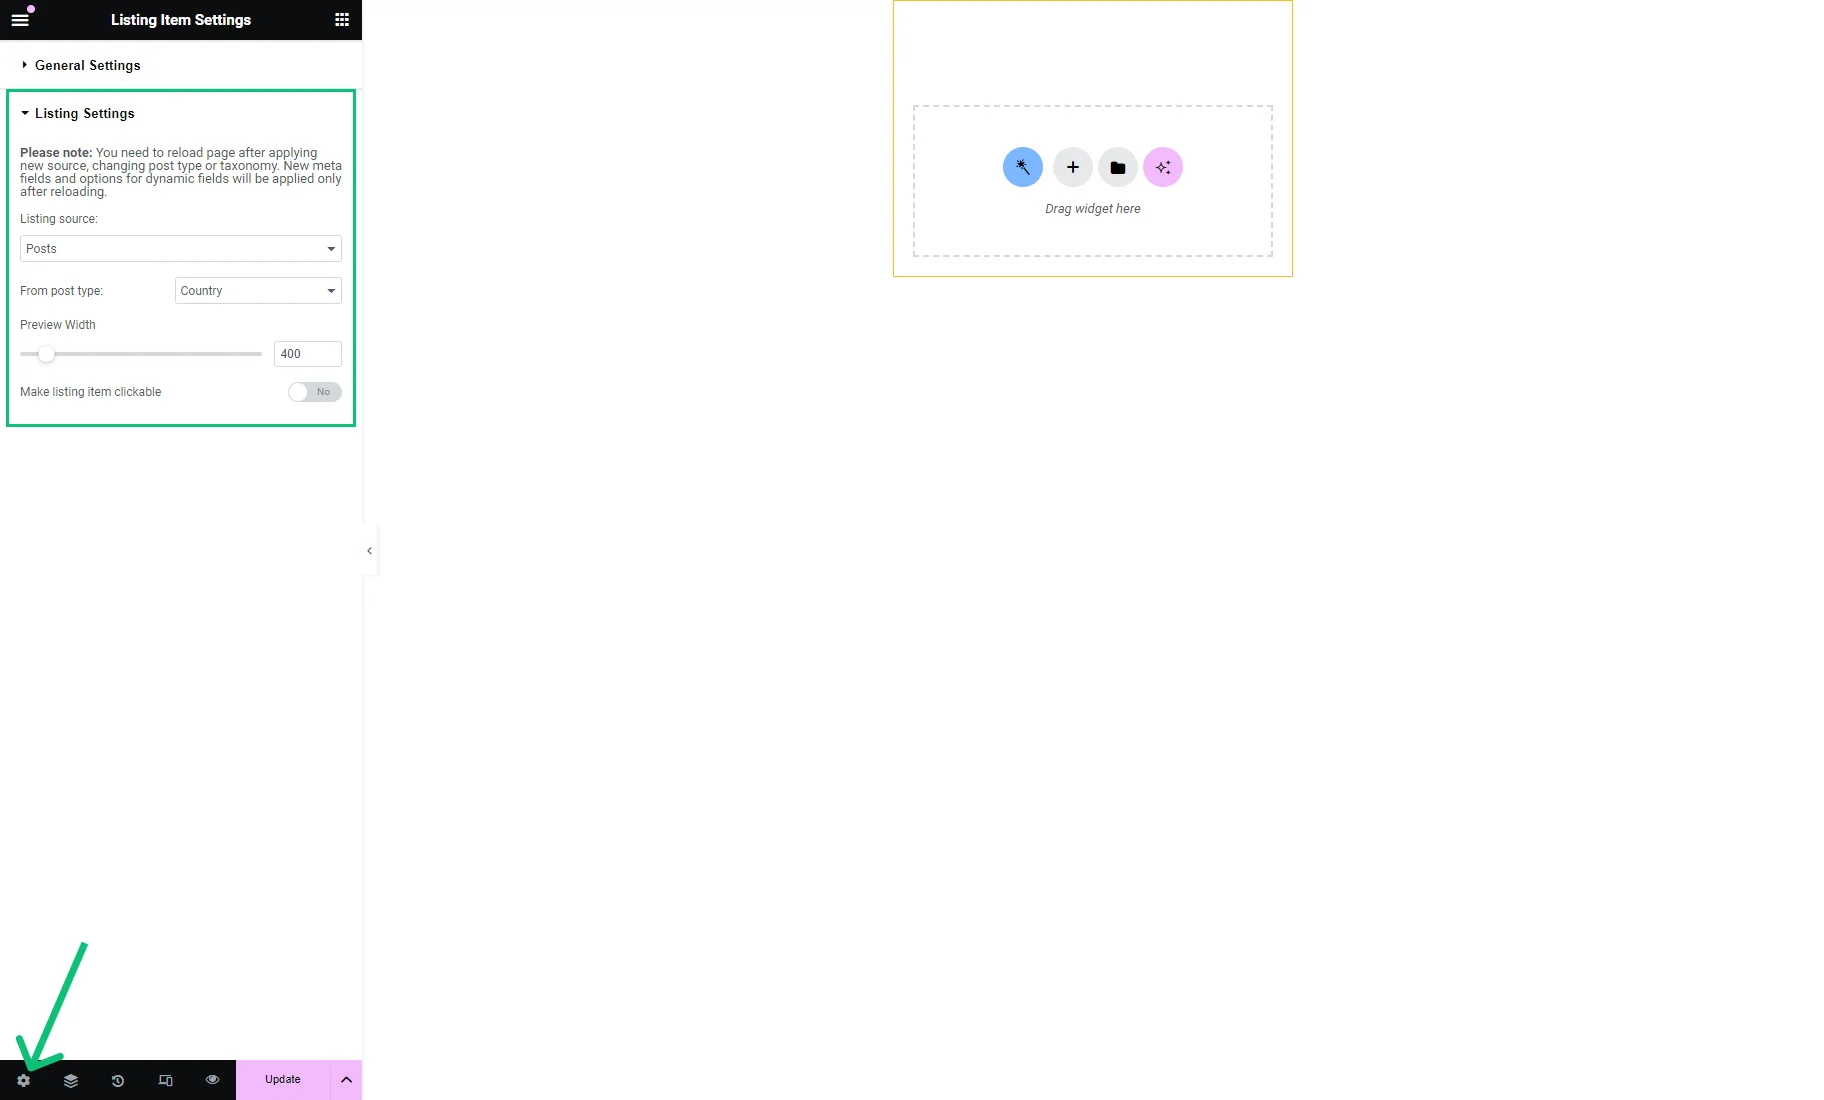
- Listing source and From post type — check if the source is set correctly. If you want to set other options for these fields — reload the page afterward to be able to reach the appropriate meta field options for dynamic widgets;
- Preview width — here, you can set the width of the listing card by moving the slider indicator or typing the needed number of pixels. For example, we set “400” width;
- Make listing item clickable — if enabled, users can proceed to another page with the post details after clicking. Learn more from the Listing Template Overview.
Display content with Dynamic Widgets
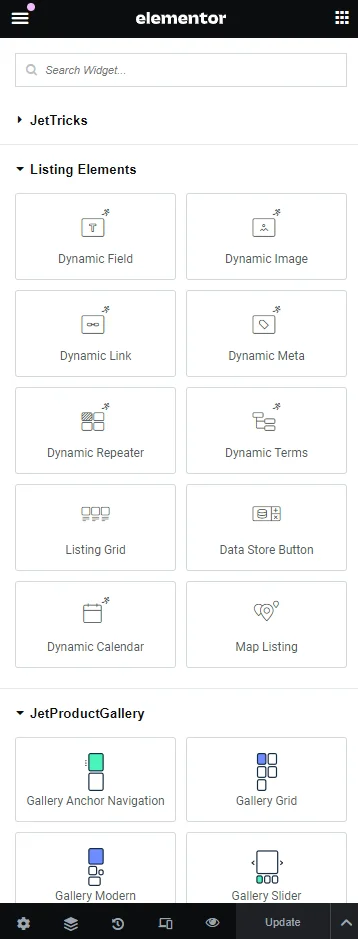
The listing item can be customized with any widgets you find handy. For this tutorial, we will display dynamic post data with Dynamic Widgets found in the Listing Elements tab of the Elementor Editor panel.
First, we placed the Dynamic Image widget to show the post featured image. The “Post thumbnail” option is set by default in the Source field.

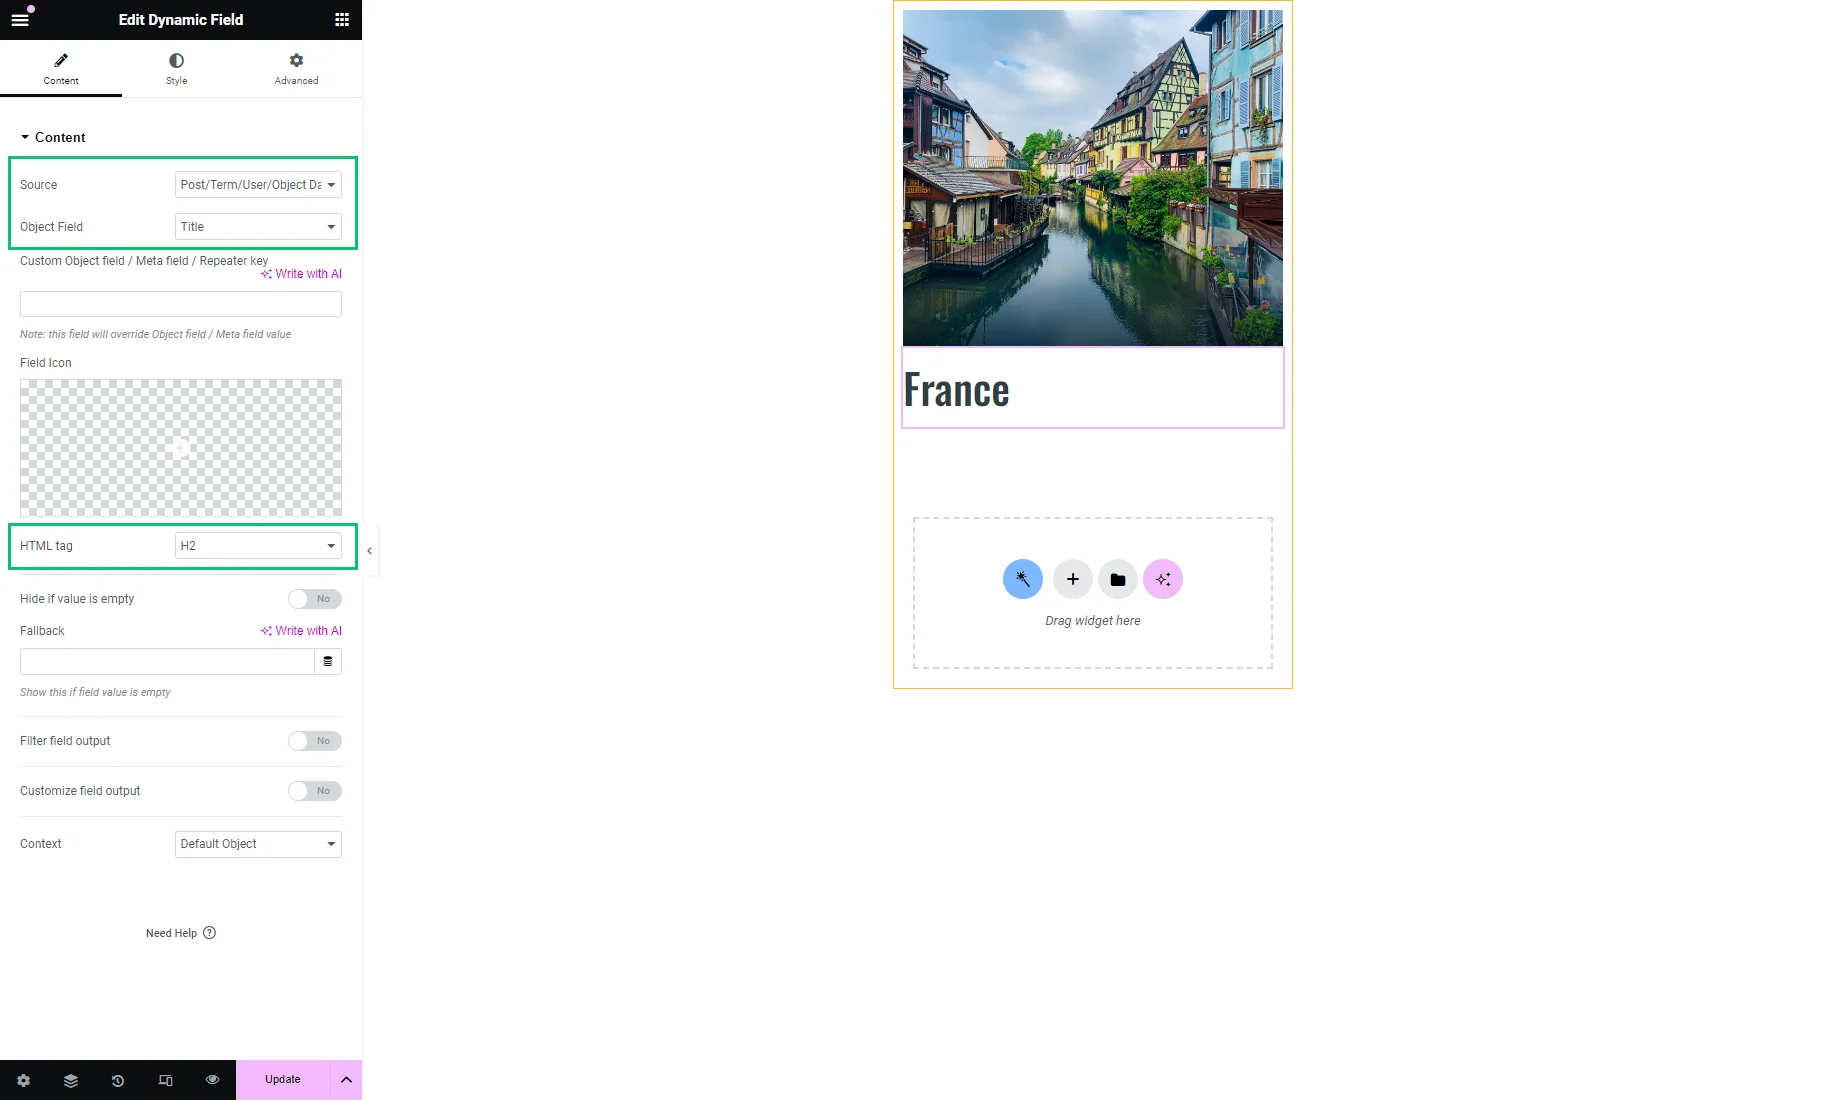
Then, we dragged and dropped the Dynamic Field widget to present the post title. We kept the default settings: “Post/Term/User/Object Data” Source and “Title” Object Field.
We also set the HTML tag to “H2.”
Afterward, we added the Dynamic Meta widget, which displays the post date, author, and comments.
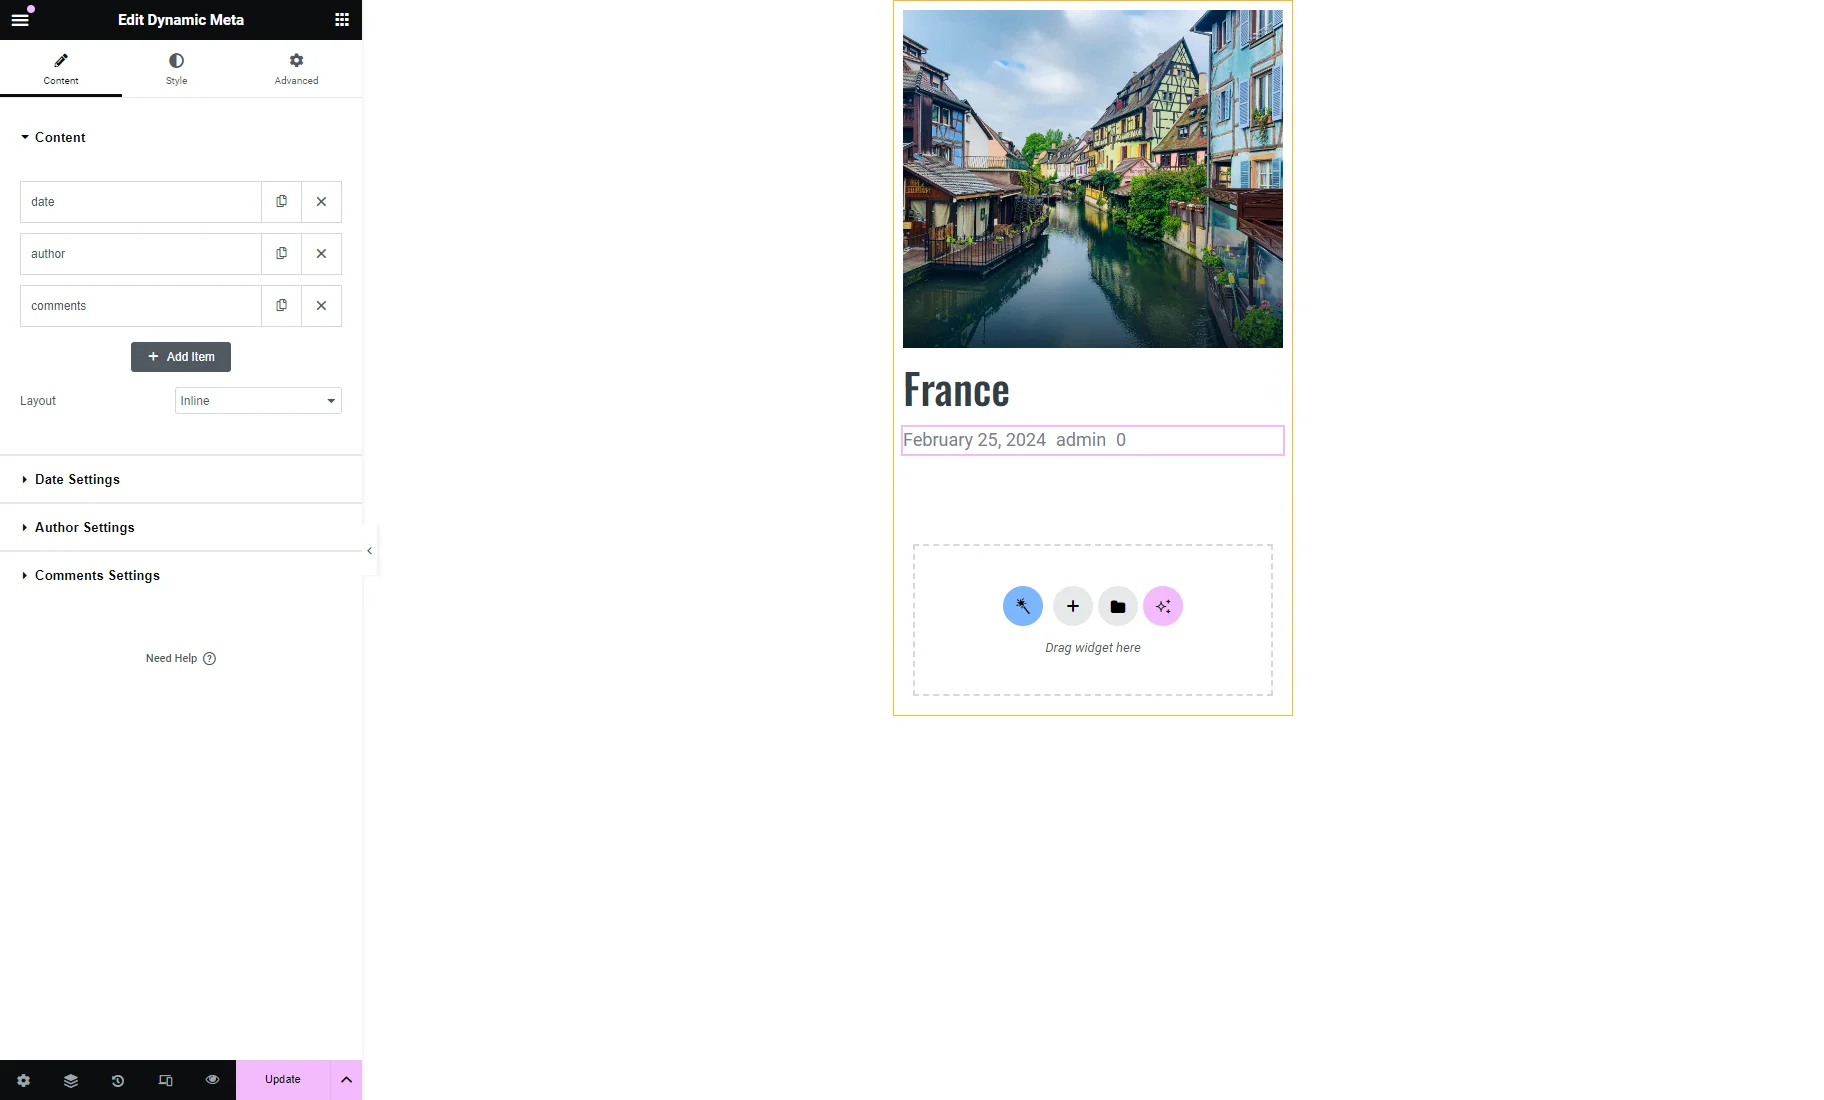
If some tab is unnecessary, it can be deleted (e.g., “comments”).
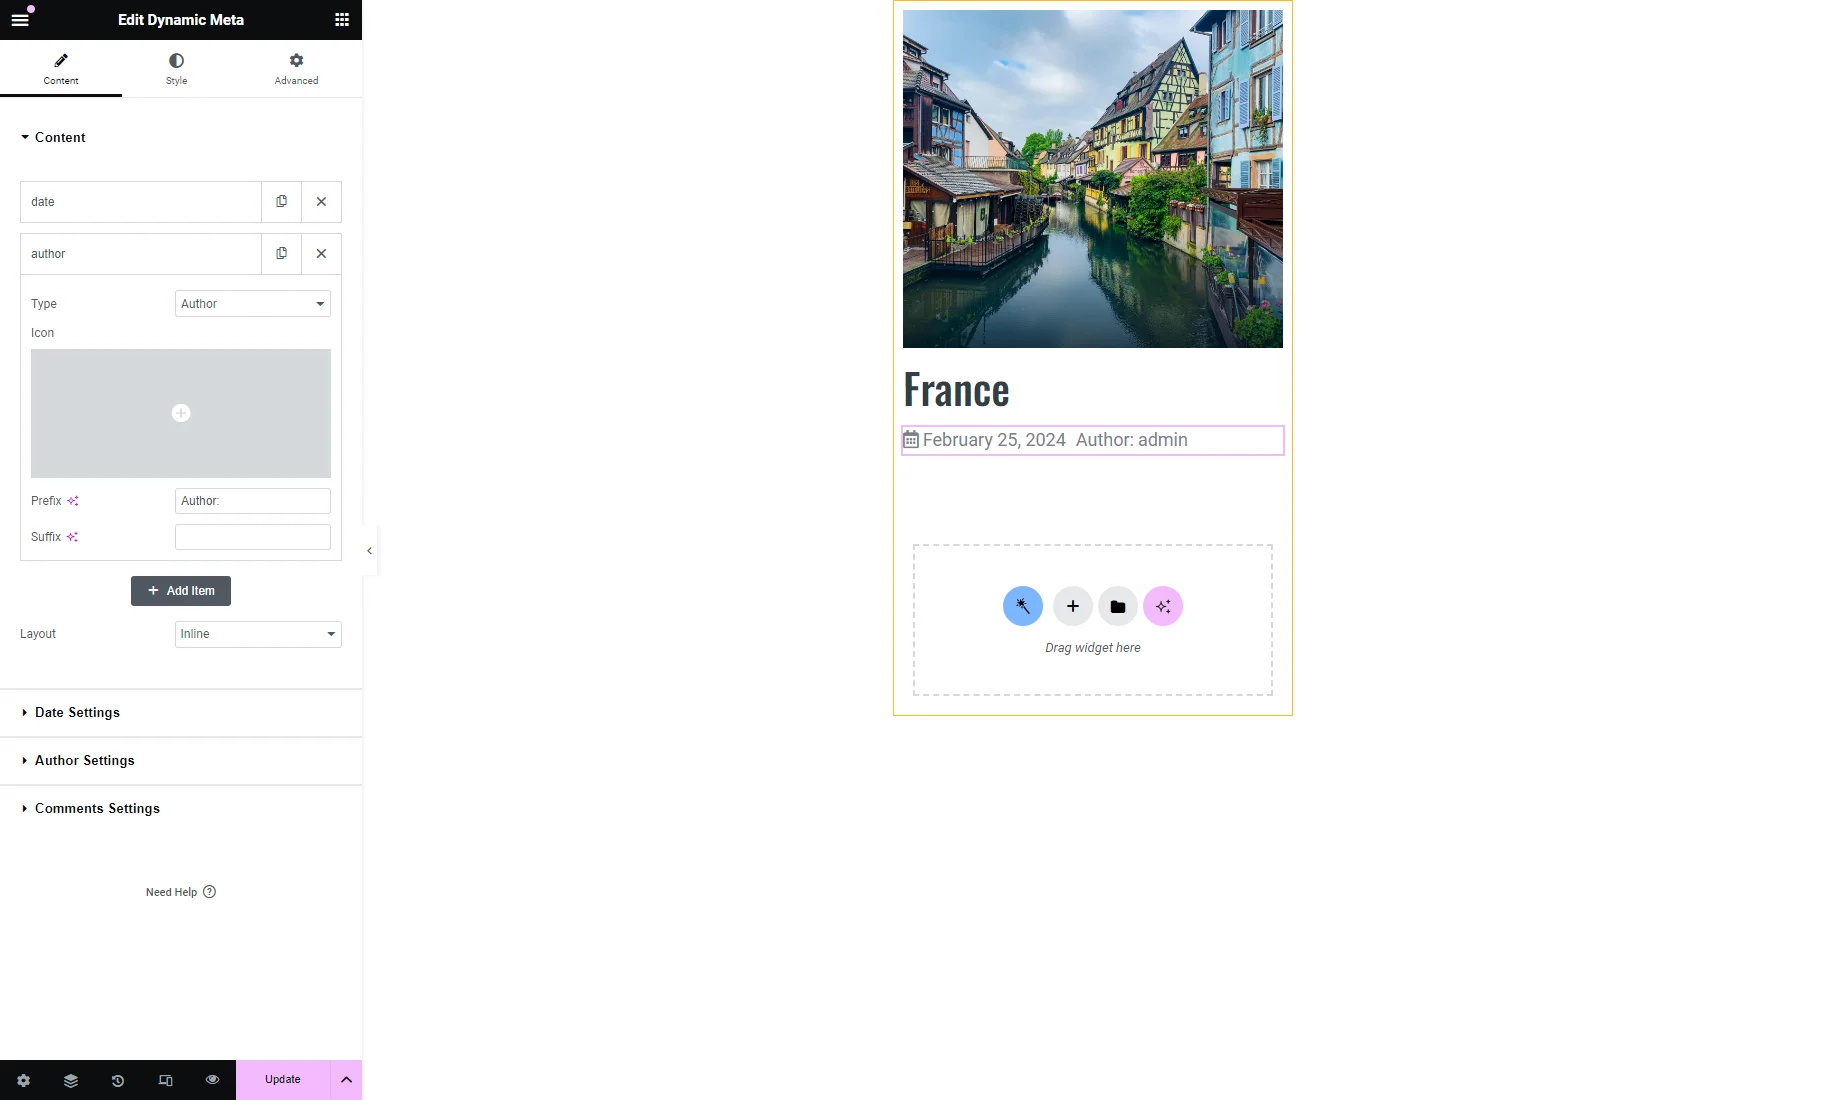
The unfolding tab opens its settings, where an icon, prefix, and suffix can be modified.
For instance, we set the Icon for the “date” tab.
For the “author” tab, we set the Prefix.
More settings are presented in the Date Settings, Author Settings, and Comments Settings of the Content widget section.
For example, the Format can be altered in the Date Settings tab.

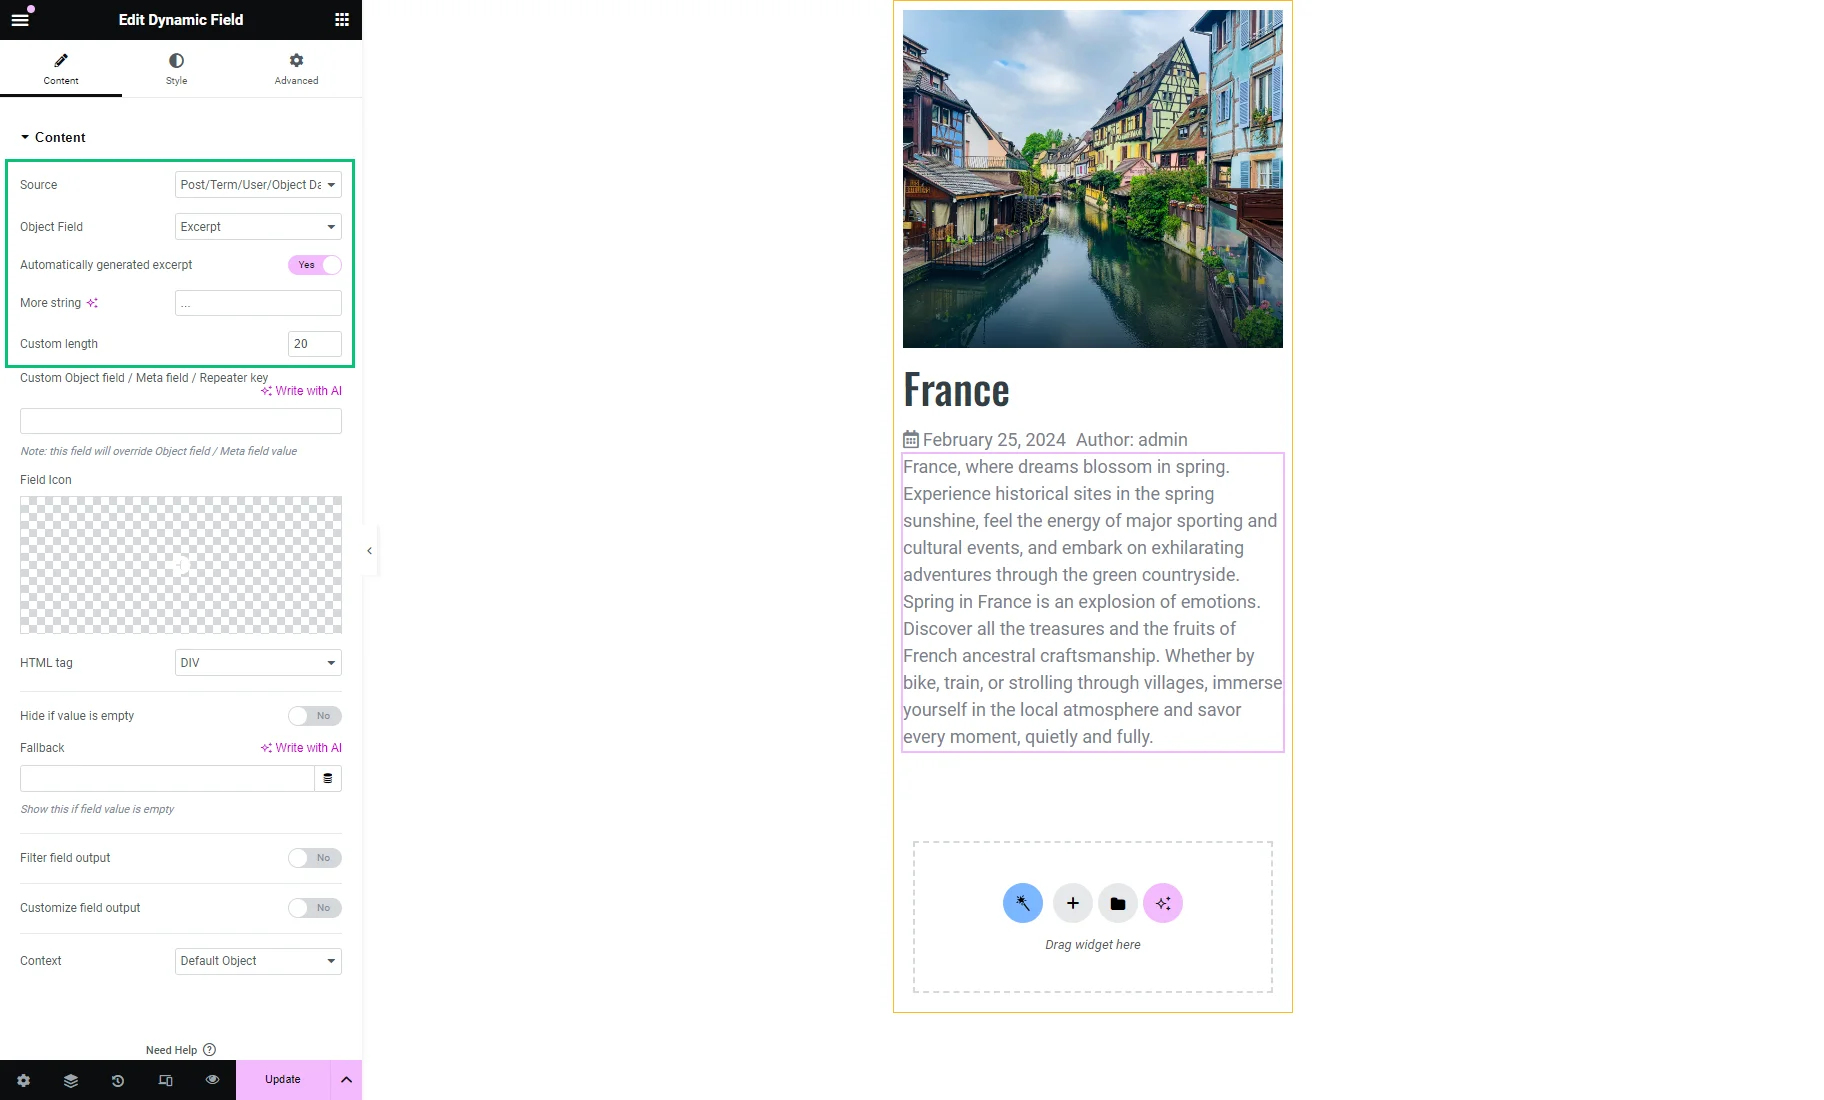
To show the post excerpt, we inputted the Dynamic Field widget again, kept the “Post/Term/User/Object Data” Source, and picked the “Excerpt” Object Field.
We enabled the Automatically generated excerpt toggle and set the Custom length to “20.”
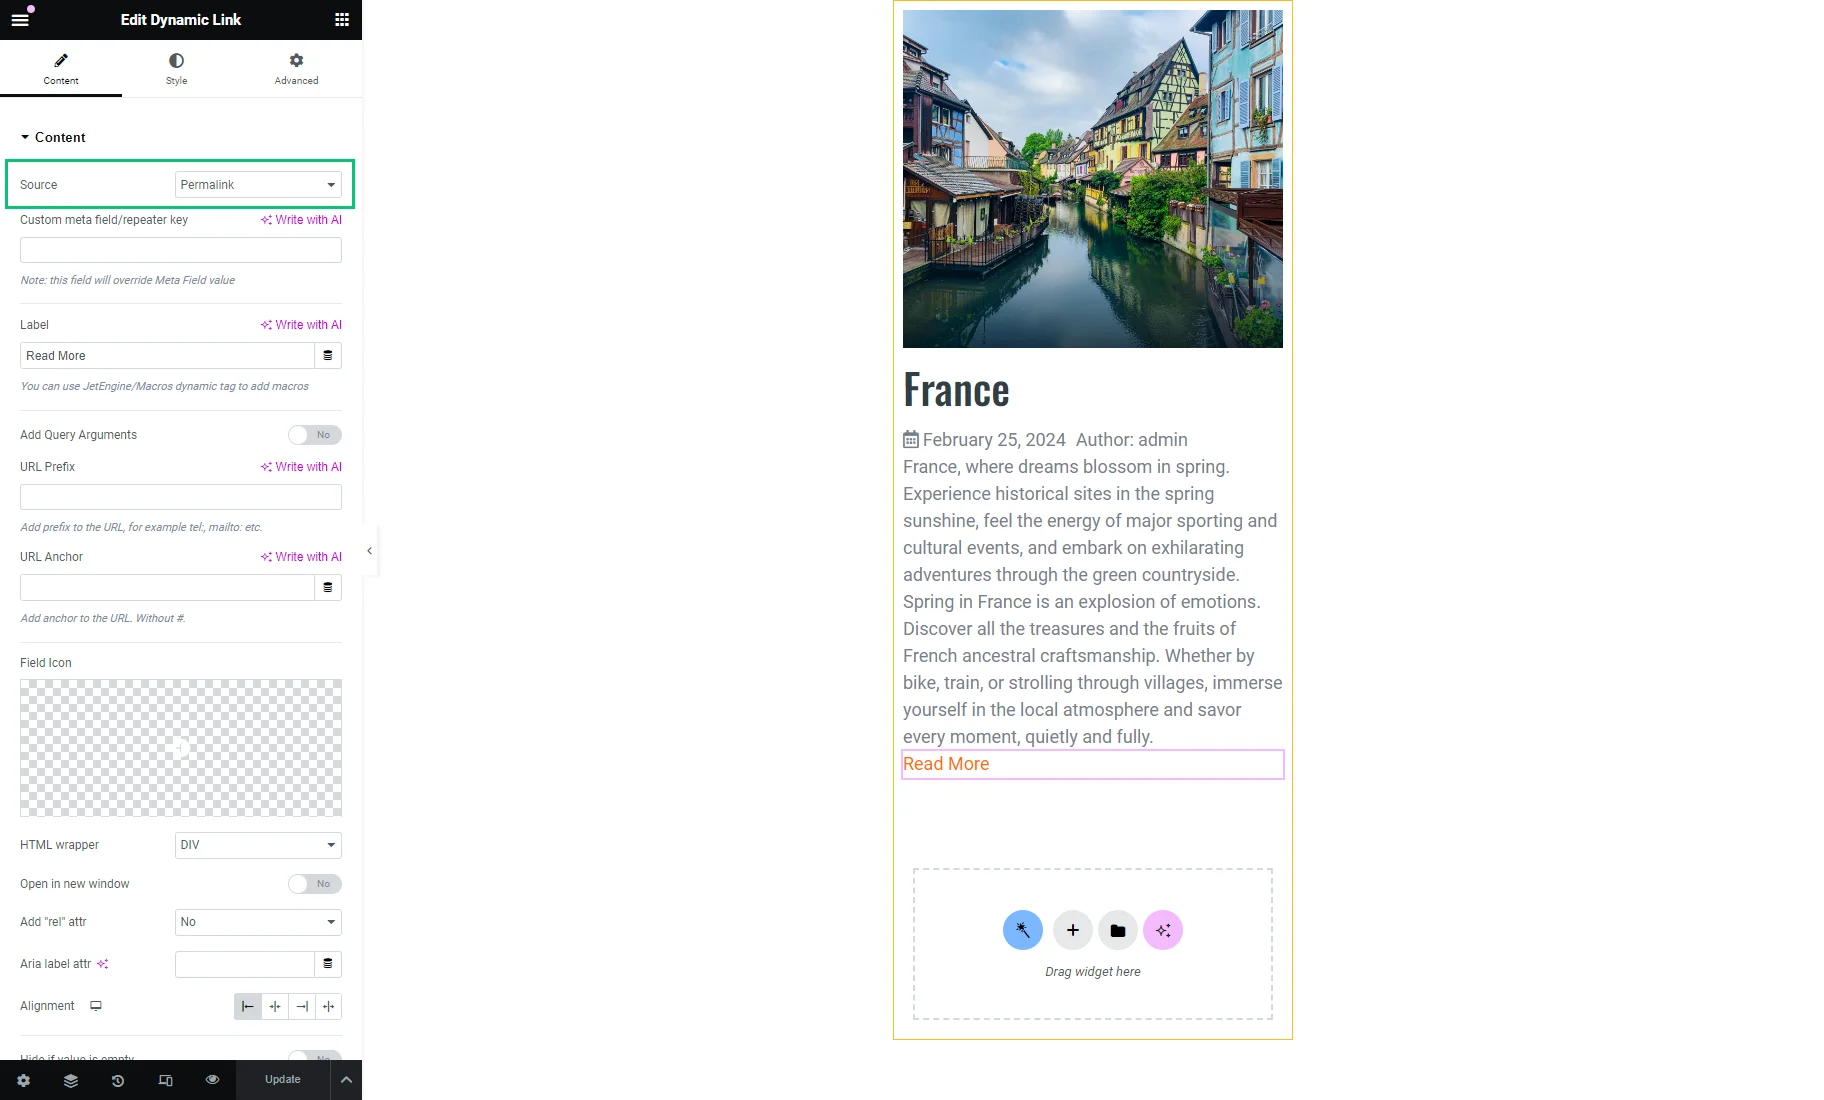
Eventually, we placed the Dynamic Link widget with the “Permalink” Source. If this option is set, users can proceed to the post single page after clicking the link.
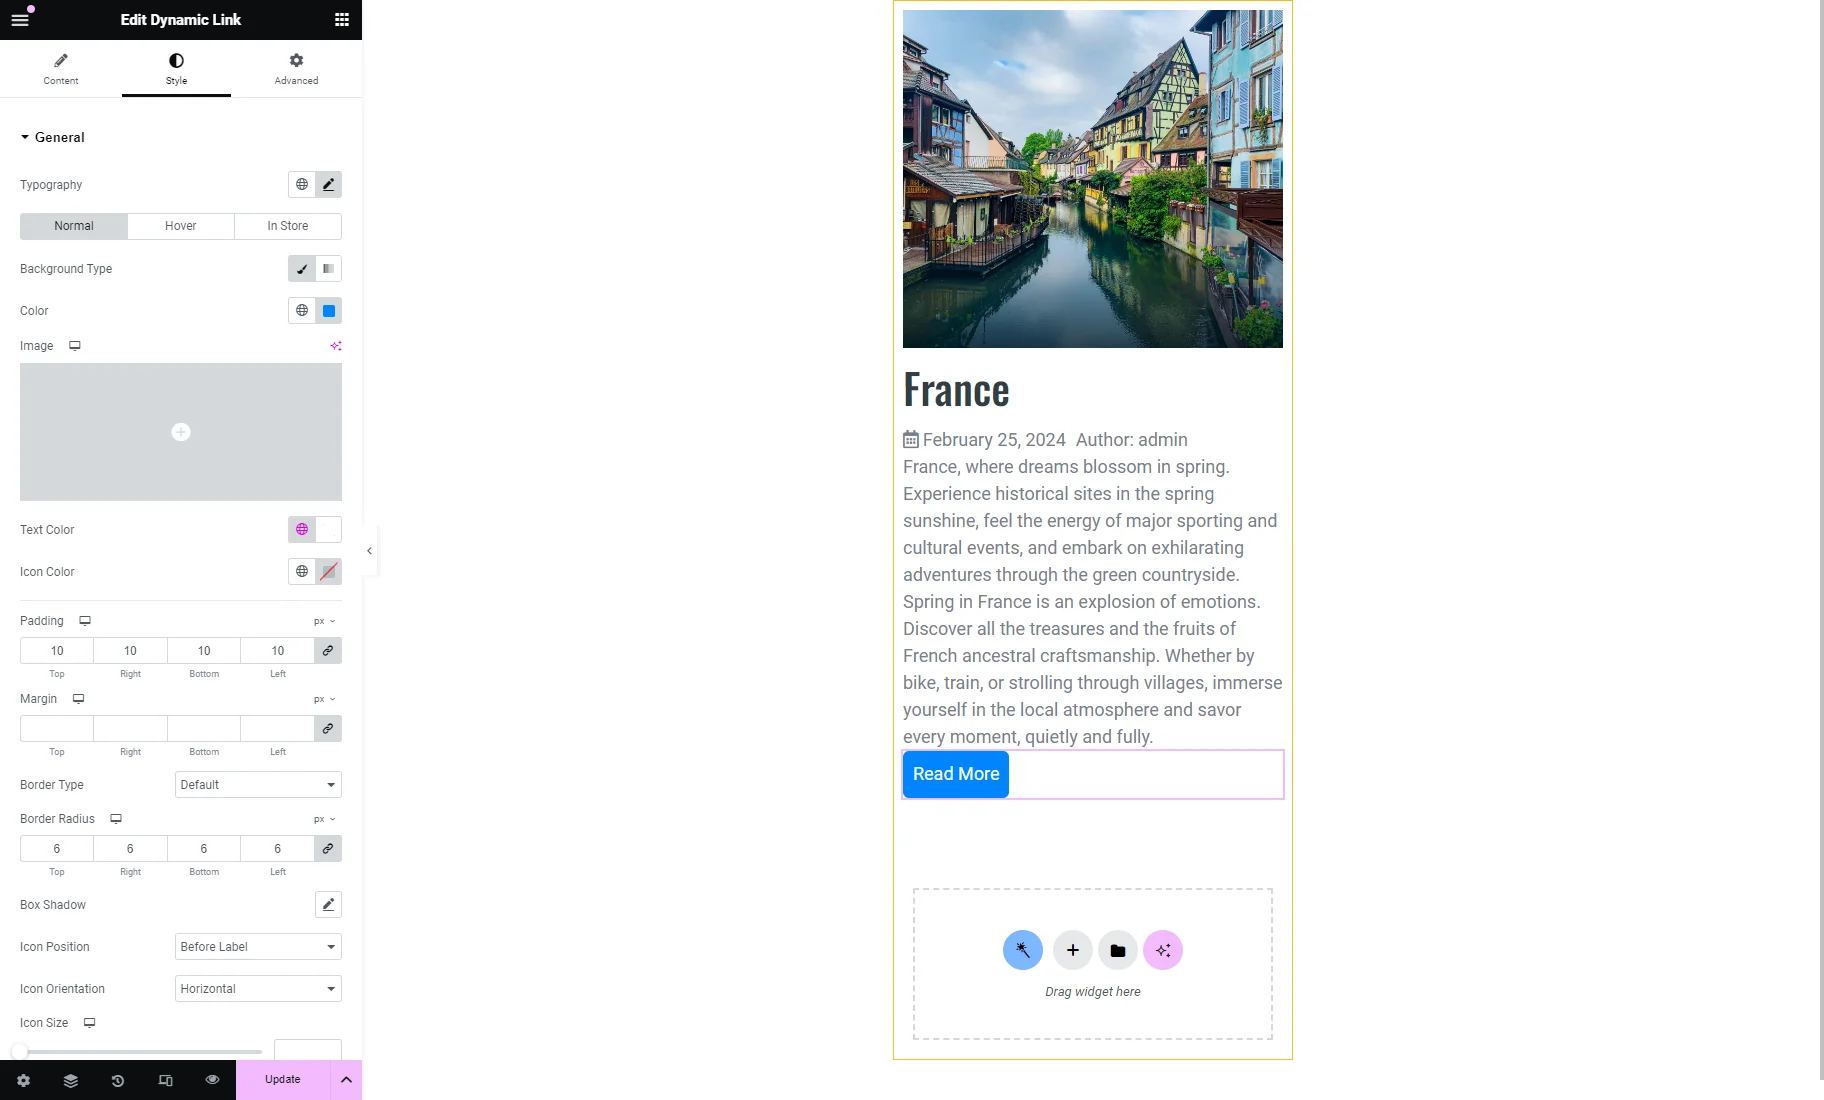
Customize style settings
Style settings can be configured for widgets in the Elementor Editor. For example, we set the background and text color, padding, and border radius for the Dynamic Link widget.
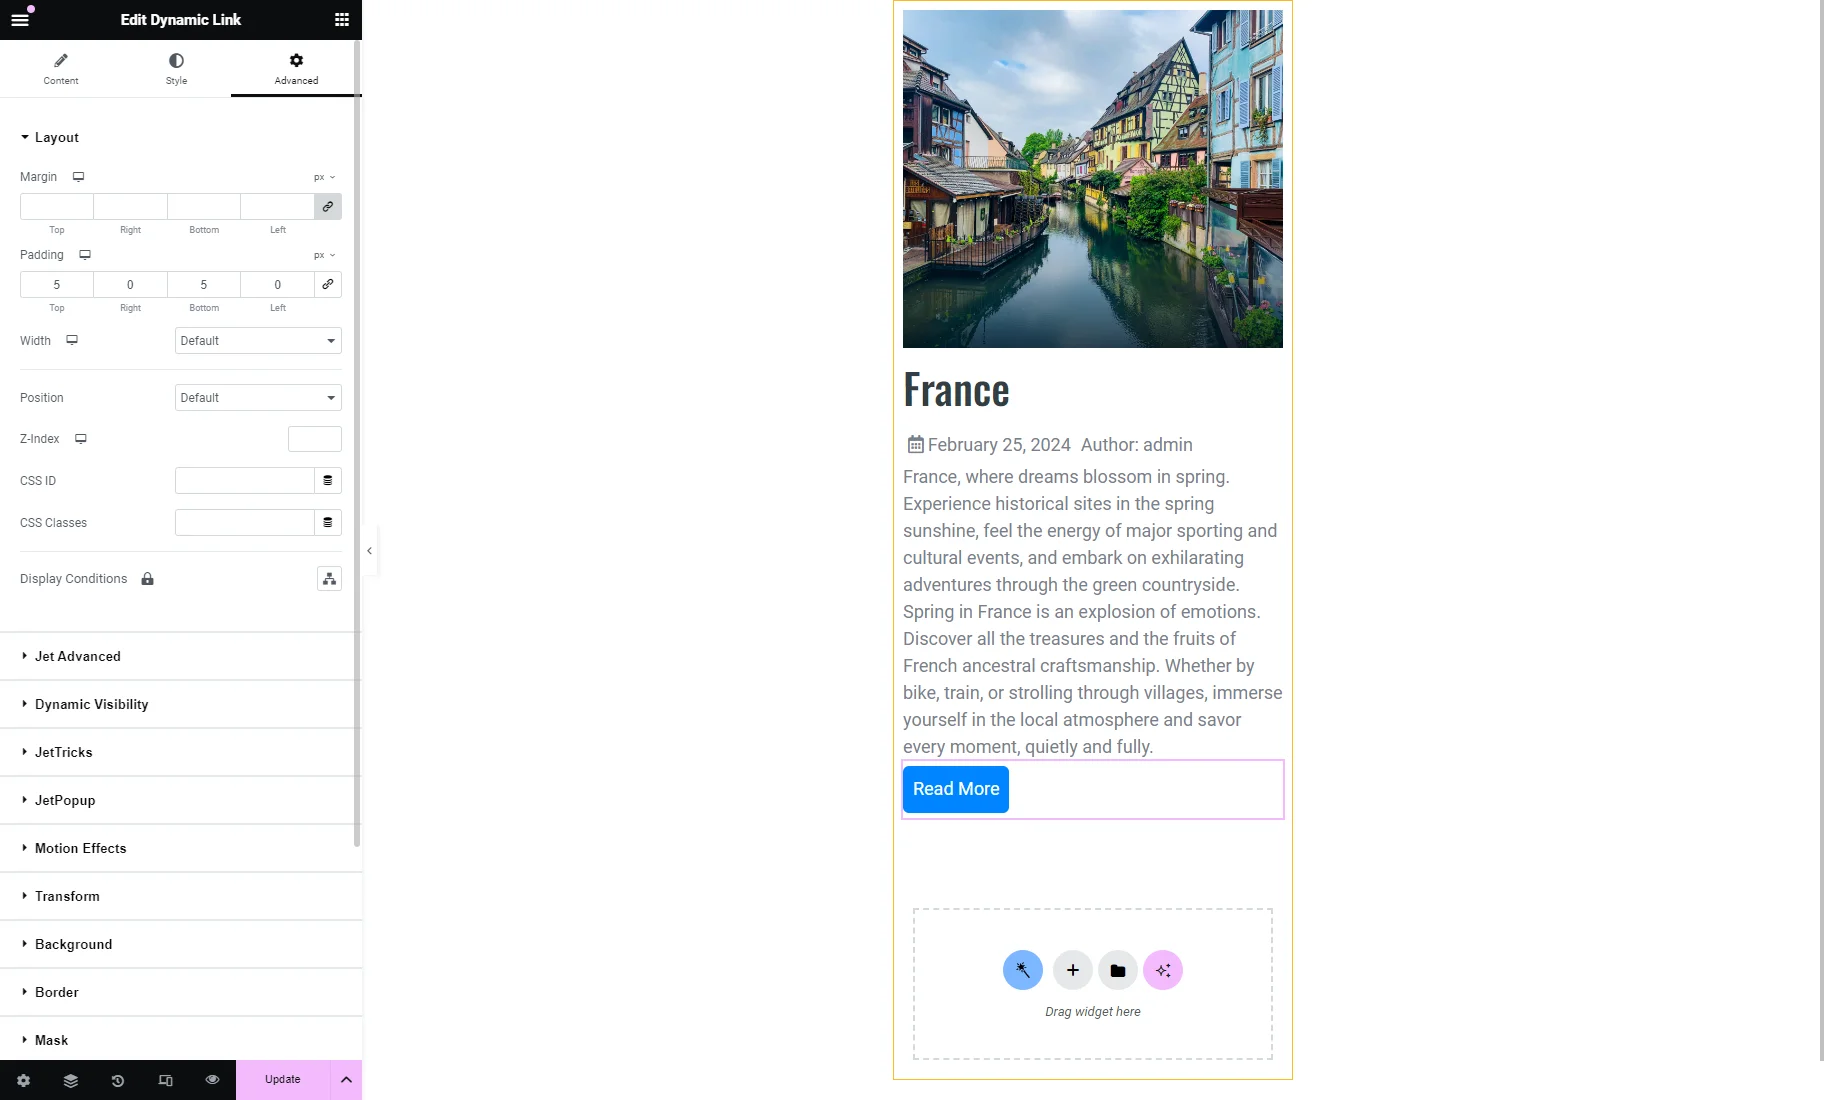
The Advanced settings can also be tuned. For example, you can set gaps between widgets by adjusting the Padding.
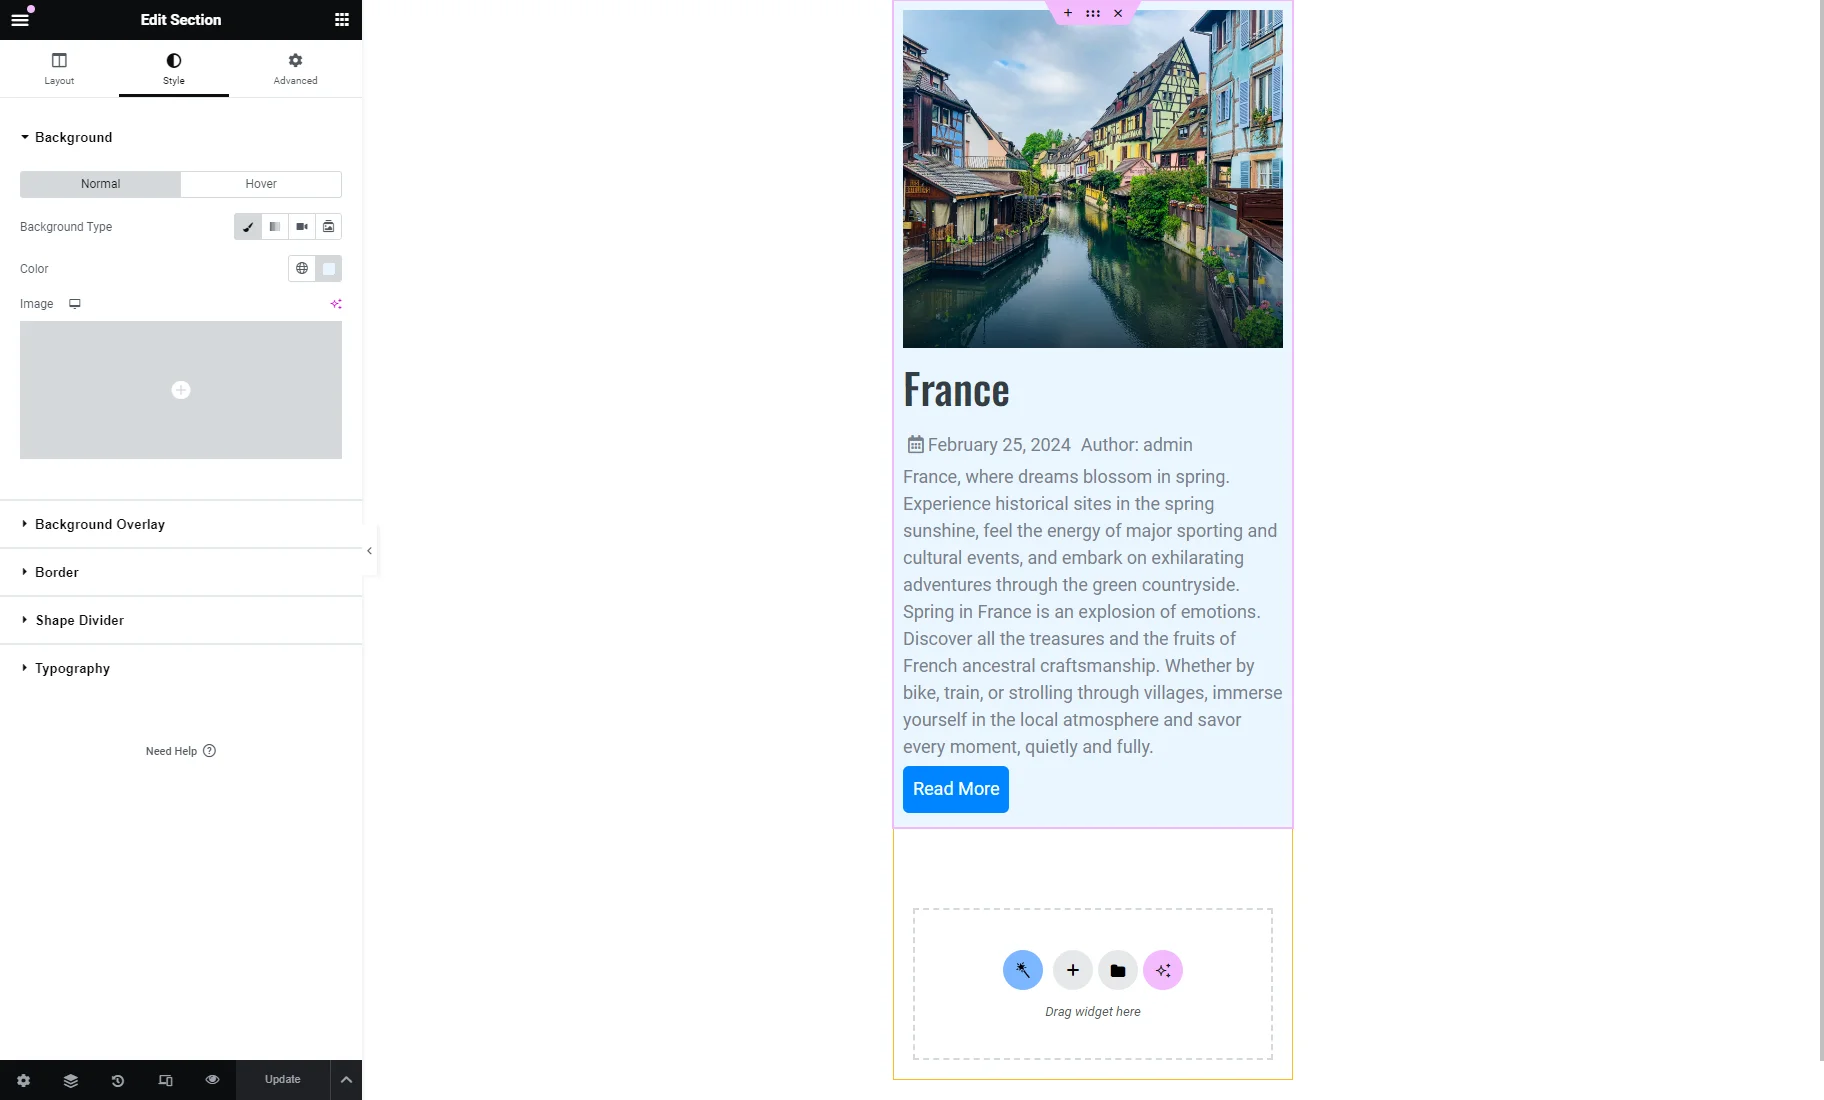
As the final touch, we set the background color in the Style settings tab for the Section.
The listing template design created here will be applied to the entire Listing Grid on the page. To learn how to combine different listing designs, such as creating different item background colors in a grid, refer to the How to Use Alternative Listing Template Injections in Listing Grid Widget tutorial.
To save changes, we hit the “Update” button.
Place the Listing Grid Widget on a Page
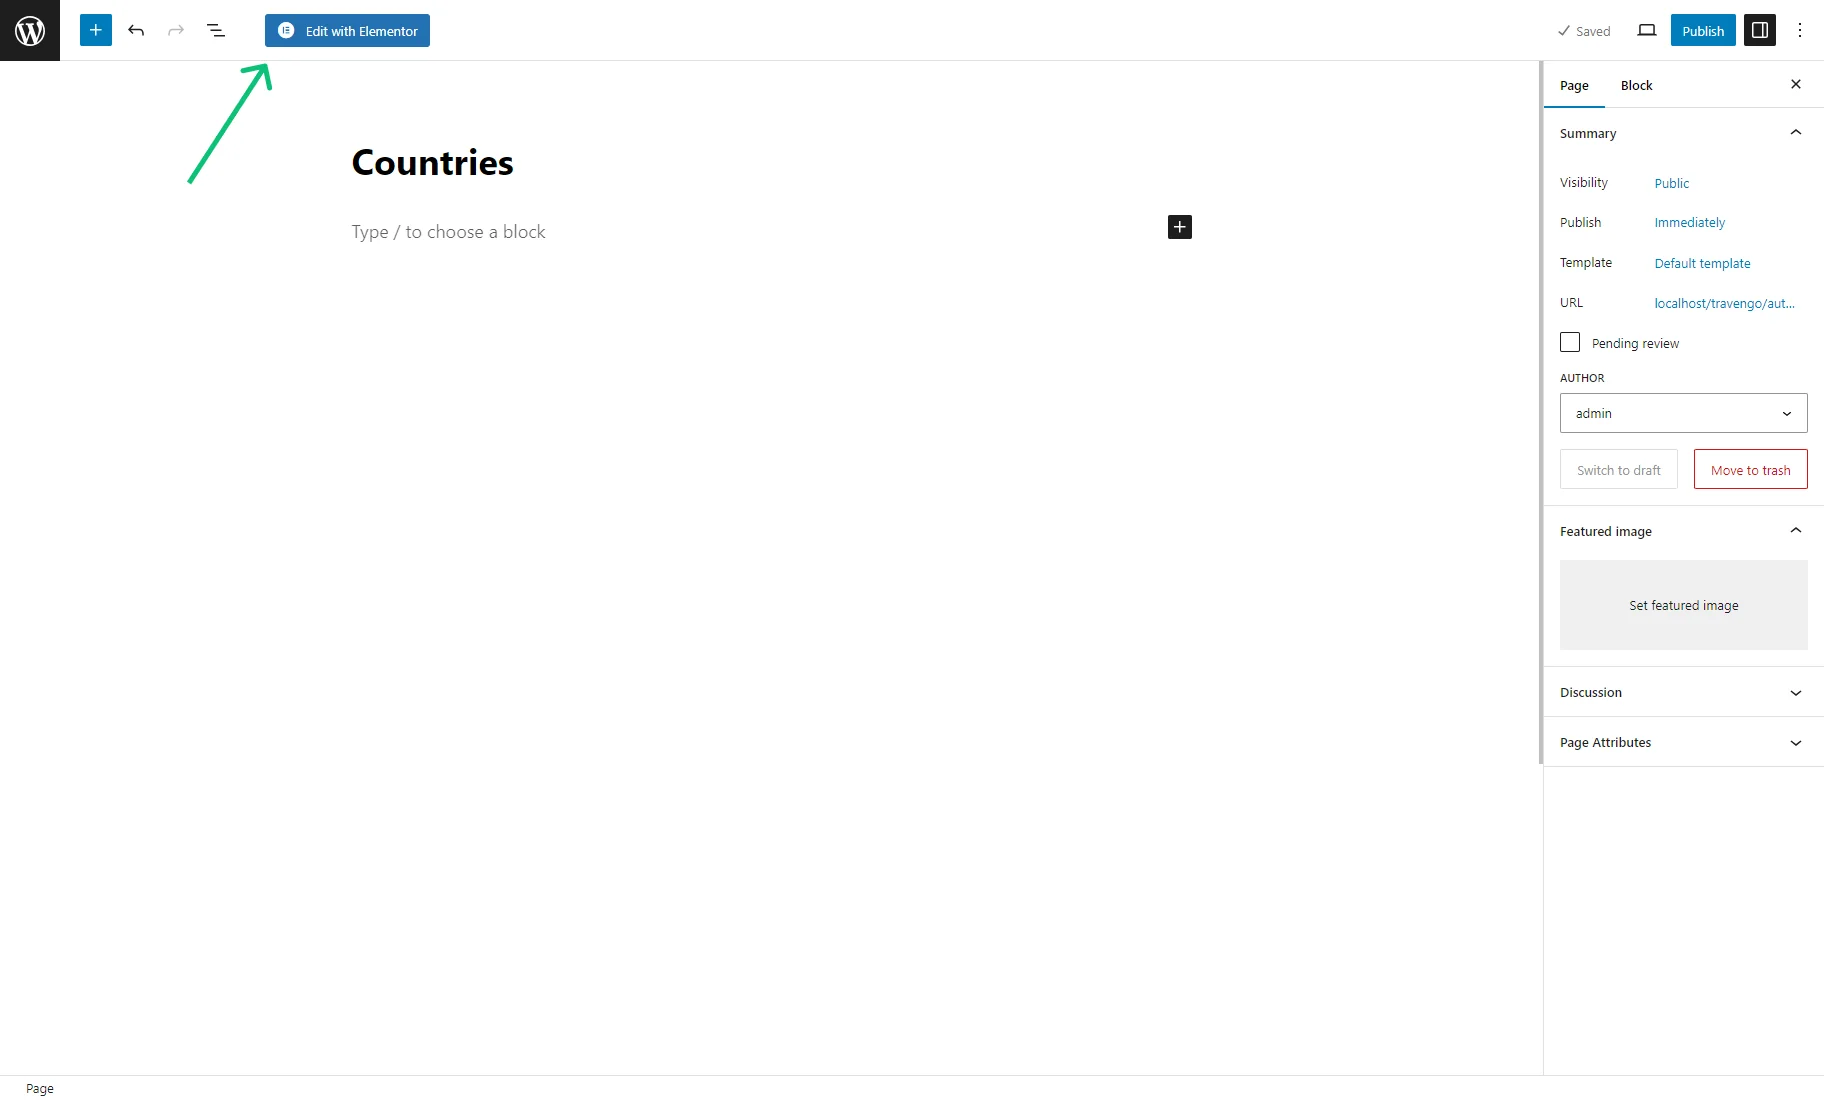
Listing items can be displayed with the Listing Grid widget placed on a page, post, or template. We headed to the WordPress Dashboard > Pages > Add New Page tab, entered the new page title, and hit the “Edit with Elementor” button.
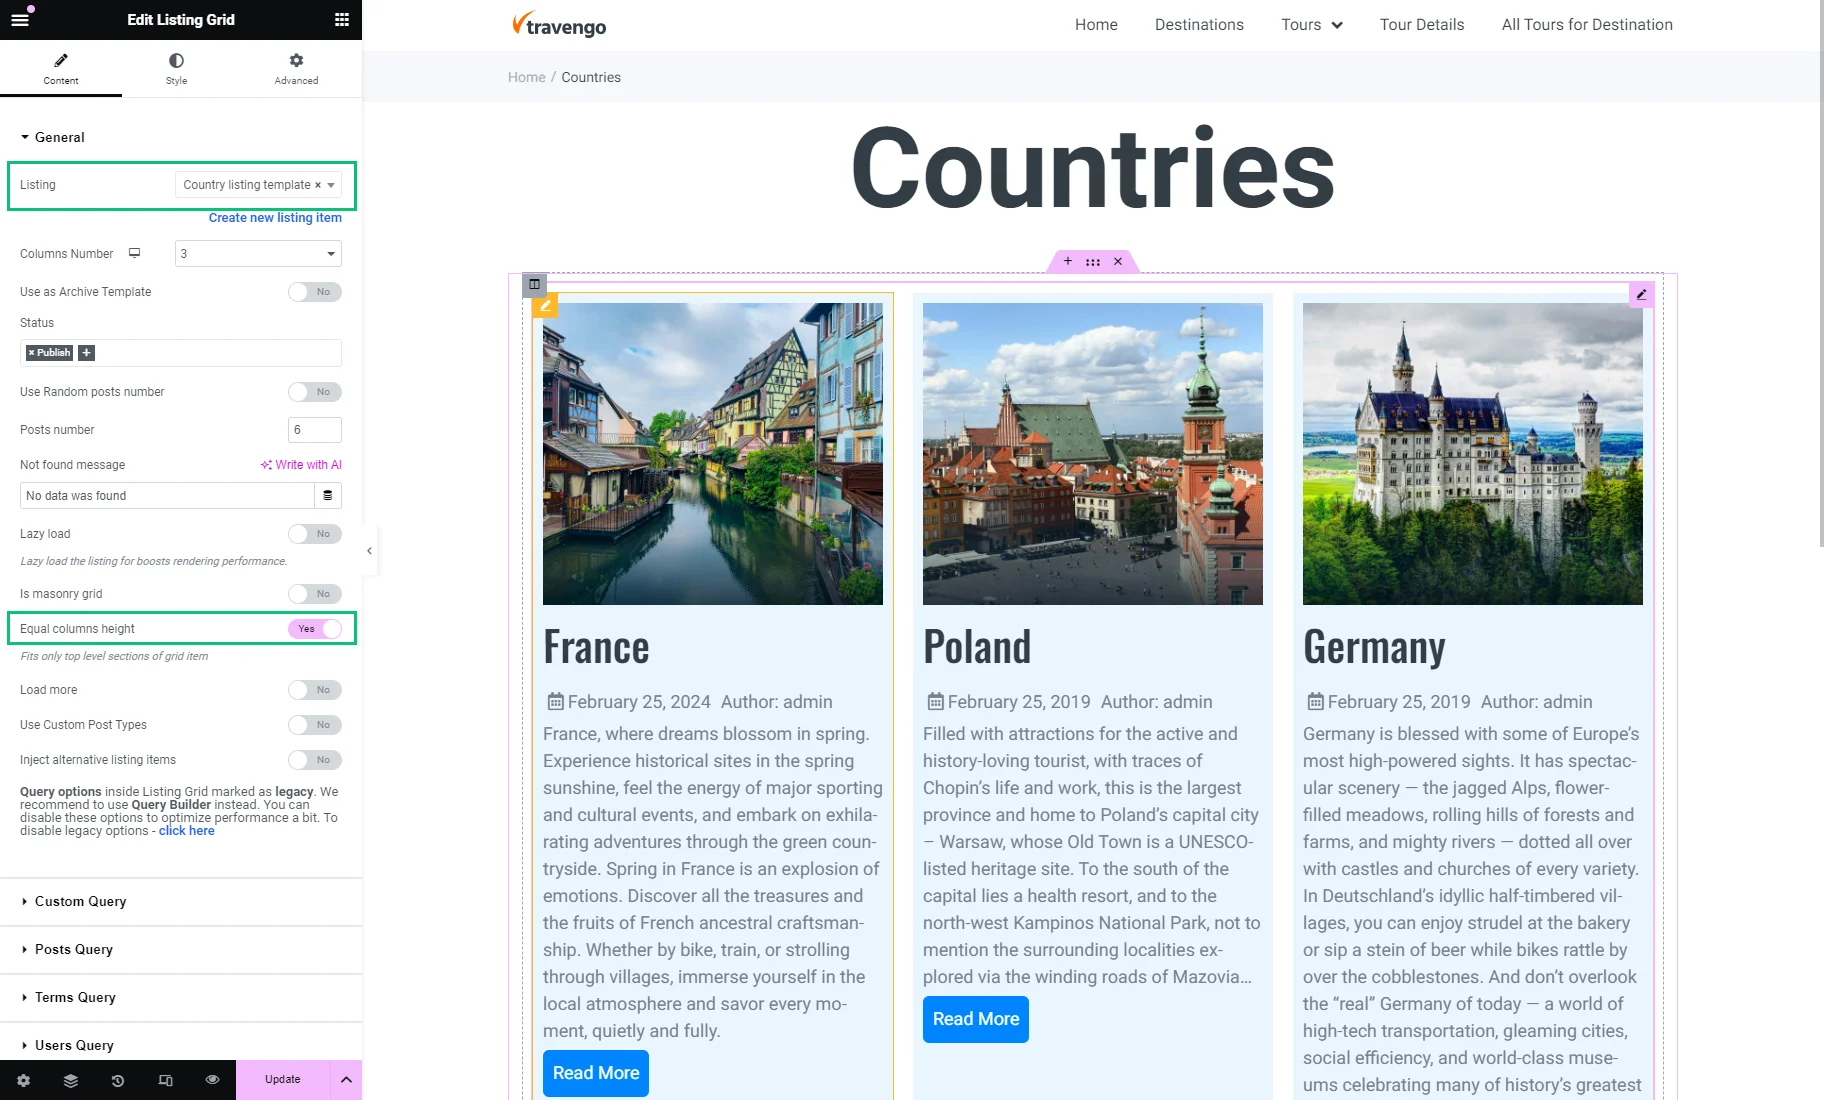
In Elementor Editor, we drag-n-dropped the Listing Grid widget and chose the recently created Listing. We also enabled the Equal columns height toggle to make listing item height equal in the grid.
After modifying the content and style settings, we pressed the “Publish/Update” button.
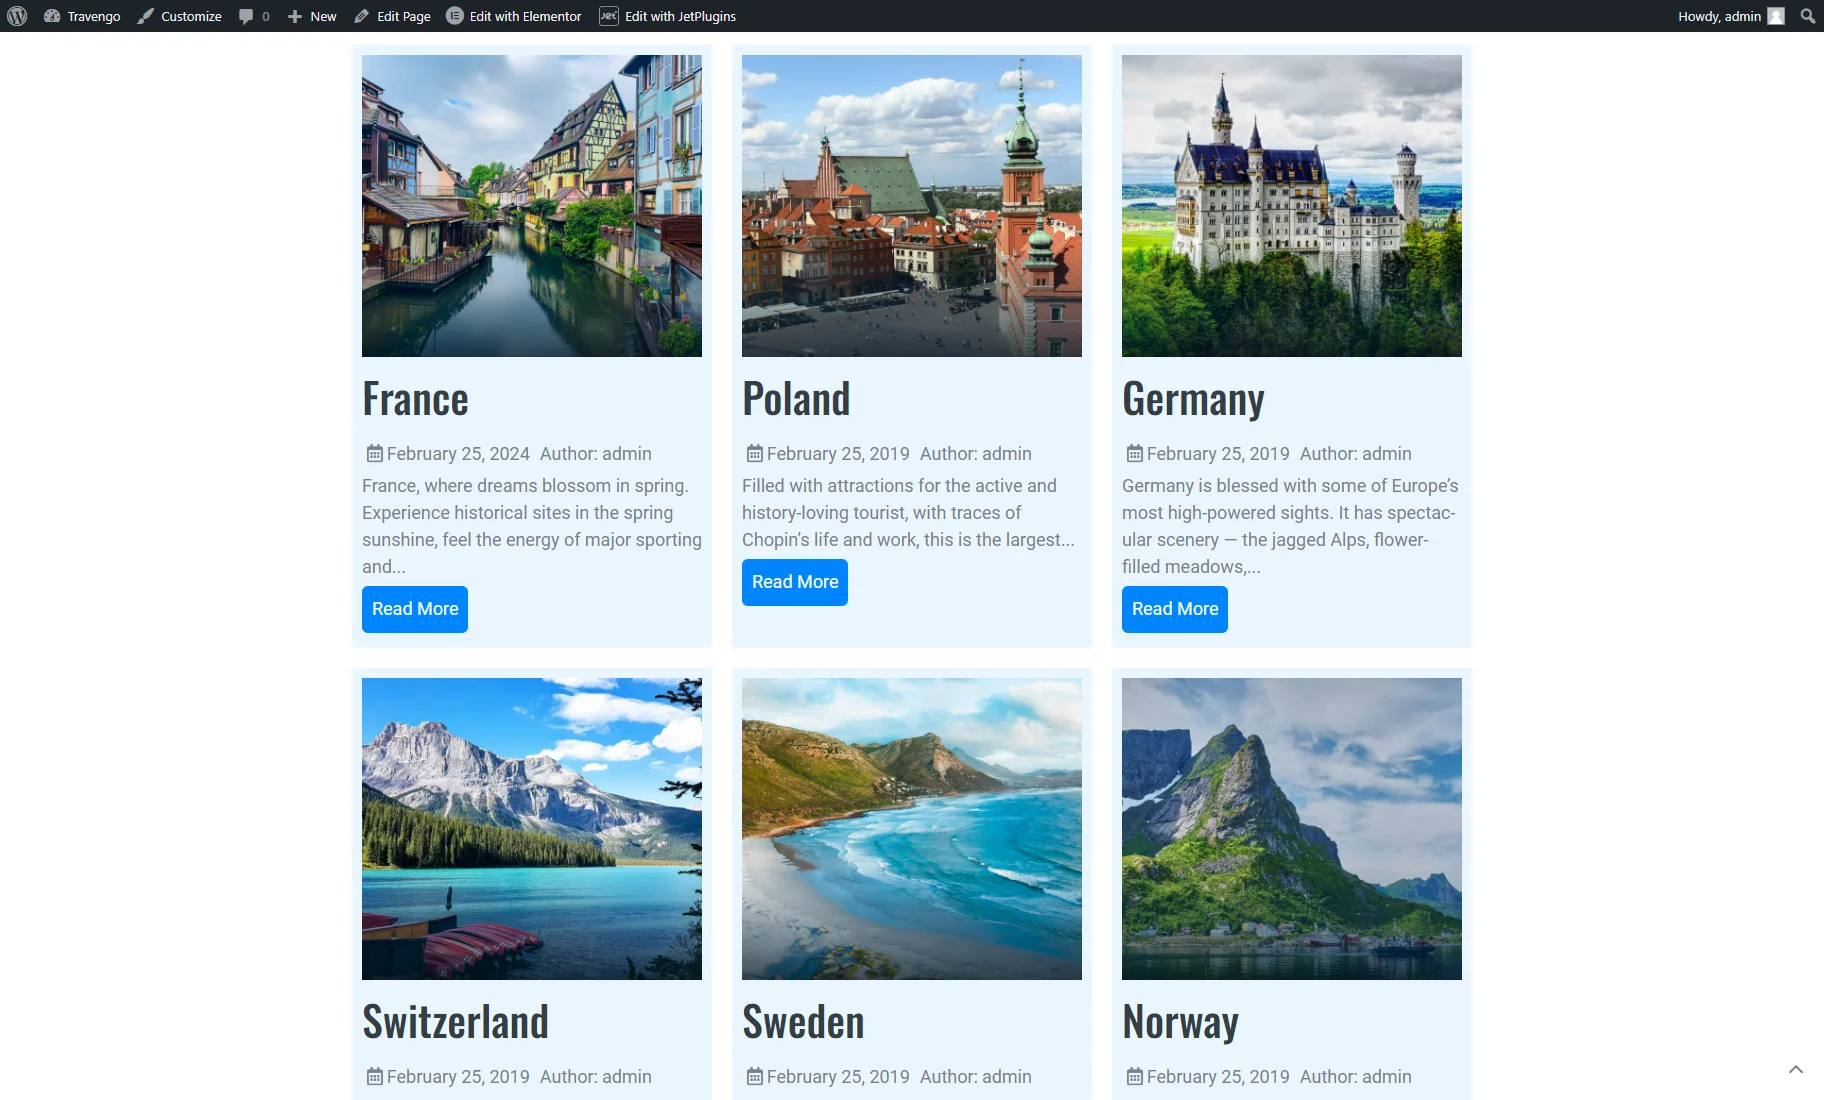
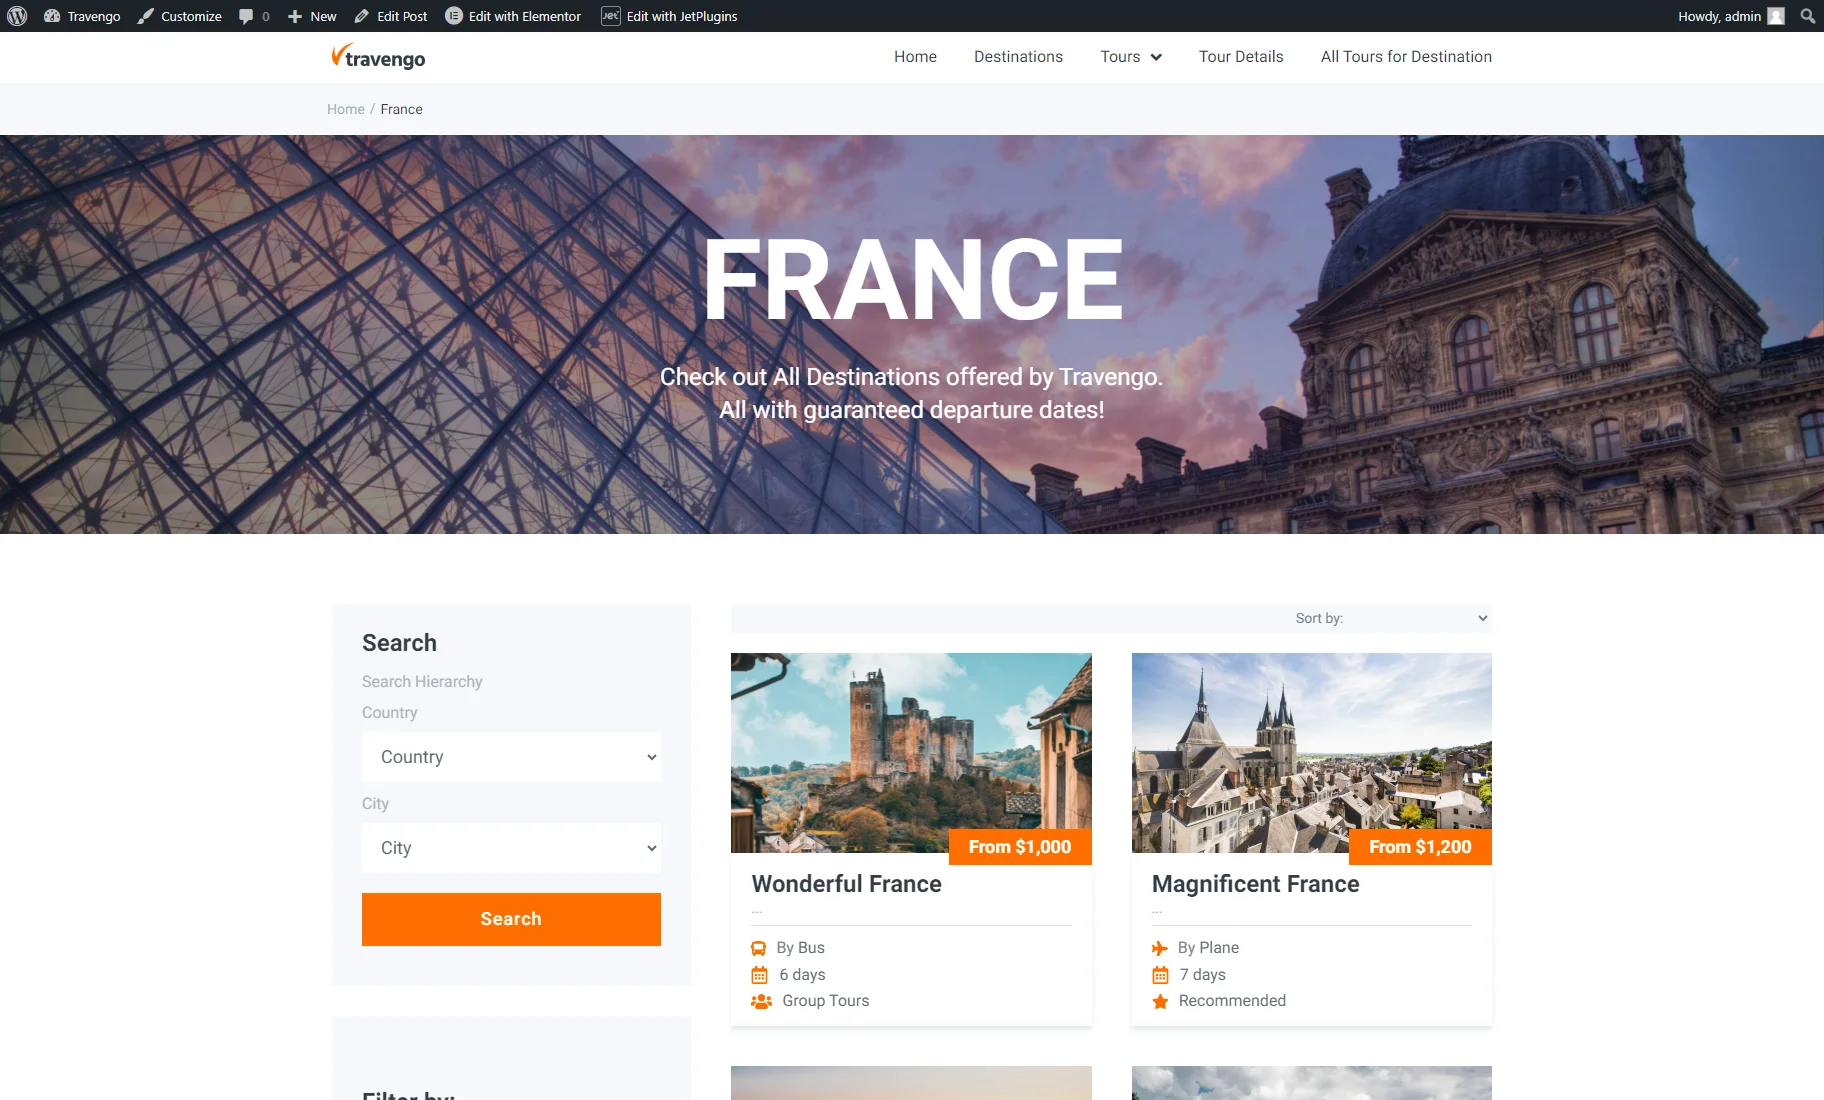
Check the Result
Open the page on the front end and check the results.
After clicking the “Read More” button, we were redirected to the post single page. Learn how to craft a custom single page from the How to Create a WordPress Single Post Page Template tutorial.
That’s all. Now you know how to create listing templates for posts, pulling dynamic content for your WordPress website with the JetEngine plugin.