How to Set a Listing Template for Live Search Results Area
Learn how to use a custom listing template to make the Live results area of the Ajax Search widget more stylish and user-friendly.
Add the Ajax Search Widget to a Page
Create a page in Elementor, Block Editor, or the Bricks theme. For instance, in this tutorial, we use Elementor.
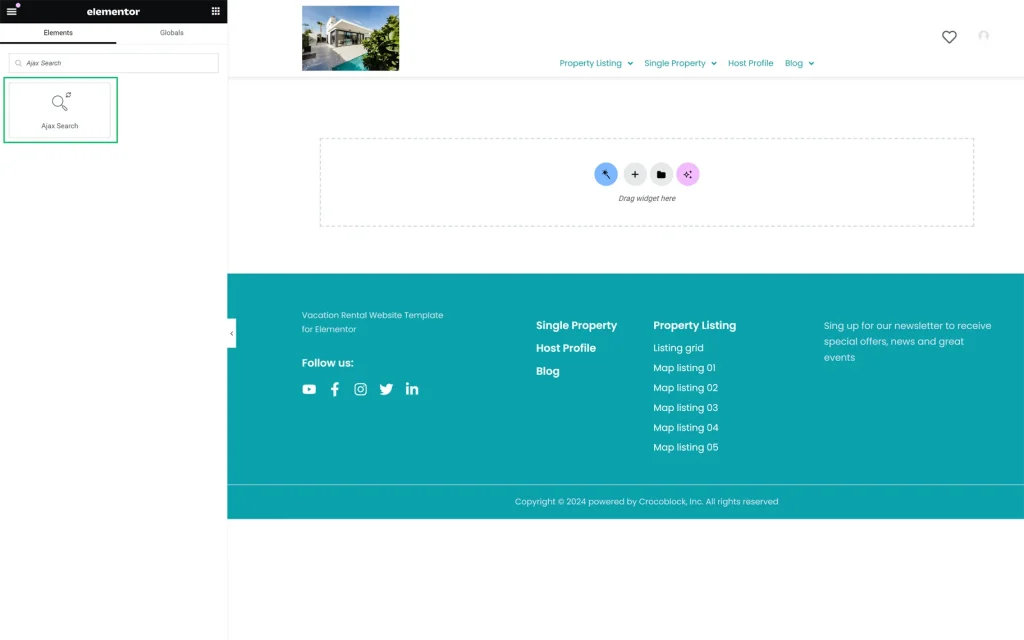
Find the Ajax Search widget and drop it onto the page.
Learn more about this settings tab in the AJAX Search Form Overview tutorial.
Select the Listing in the Ajax Search Widget’s Settings
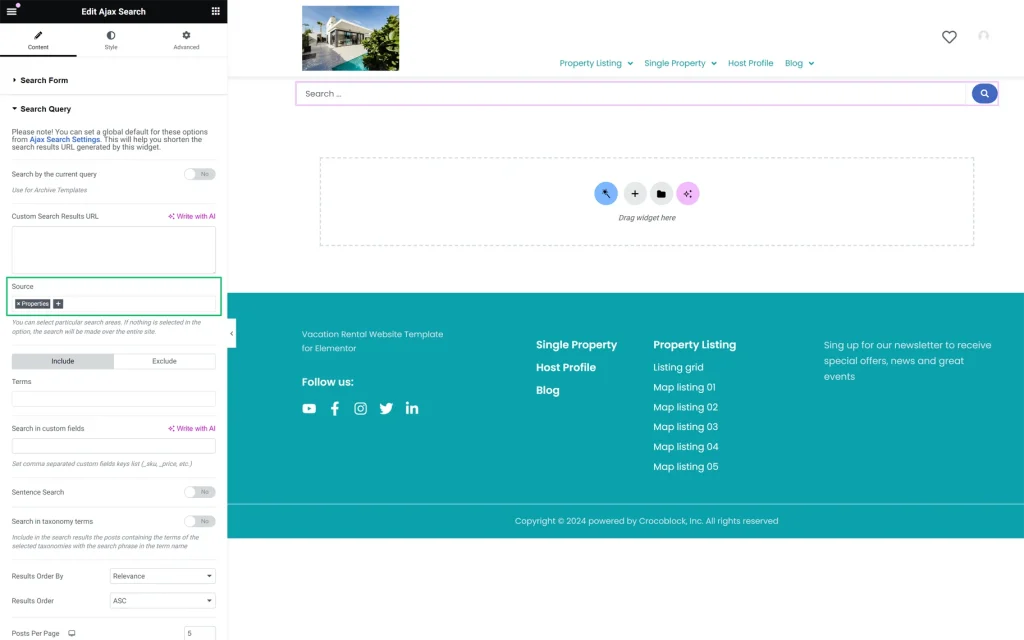
Unroll the Search Query tab of the Content settings.
The tutorial AJAX Search Query Overview explains how to manage this tab.
Navigate to the Source field and specify the needed source for the search (in this case, we added the “Properties” Custom Post Type, which was used to build the listing and will be displayed in the results area).
The following tutorial details How to Set the Source in AJAX Search in the Ajax Search widget.
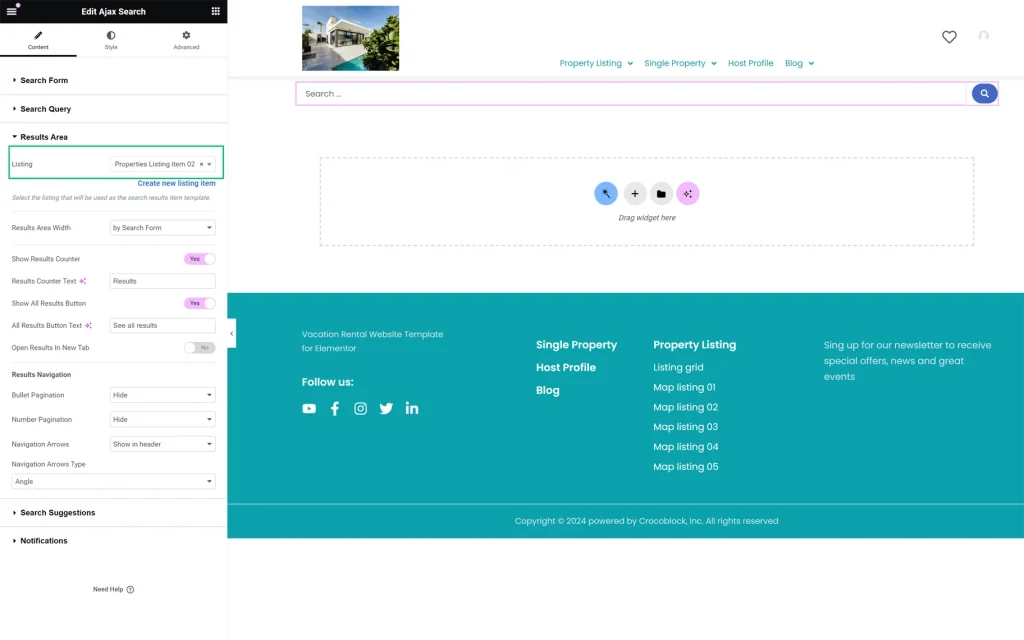
Unroll the Results Area settings of the Ajax Search widget.
In the Listing drop-down list, select the needed listing (this listing should have the same source as the one selected in the Source field of the Search Query tab).
If needed, customize the search results area. You can also learn how to manage these settings from the AJAX Search Results Area tutorial.
Press the “Publish/Update” button to save the page.
Check the Front-End View of the Custom Listing
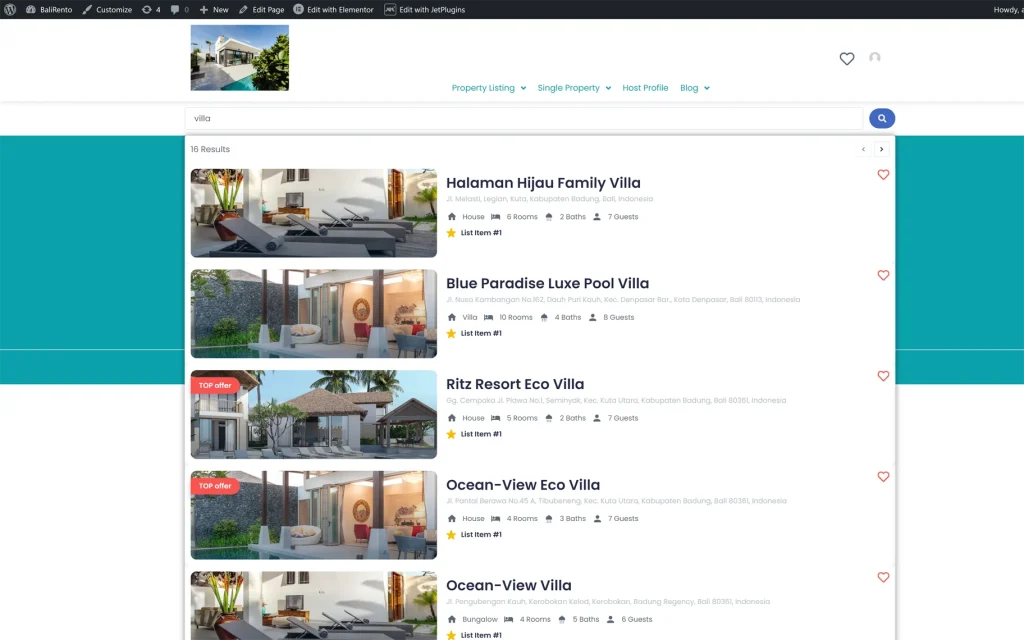
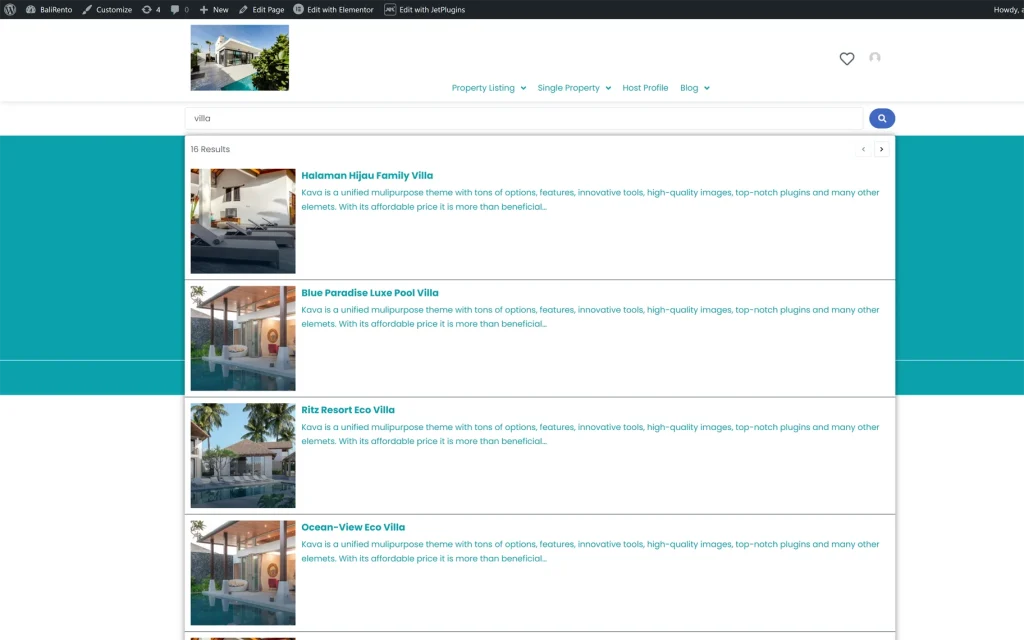
Navigate to the front end to see how the widget displays the listing in the live search results area.
In contrast, if the listing is not selected in the Listing drop-down list, the widget displays only data specified in settings (such as post thumbnails, post titles, and post contents) in the search results area.
That’s all about adding the custom listing template to the live results area of the Ajax Search widget of the JetSearch plugin.
