How to Use JetSearch with WPML
This tutorial uncovers how to combine JetSearch with WPML to make the search bar on the WordPress website translatable.
Before you start, check the tutorial requirements:
- Elementor (Free version) or Block editor (Gutenberg)
- WPML Multilingual CMS and WPML String Translation plugins installed and activated
- JetSearch plugin installed and activated
In this guide, we will show how to make the JetSearch AJAX search bar fully translatable with WPML. This way, users can switch between different languages using the WPML language switcher.
Adjust WPML Settings
Before starting, make sure that you have set up WPML.
Then, go to WordPress Dashboard > WPML > Settings and ensure that all necessary features are activated. As you want to make JetSearch work with WPML, activate the post types for which the search will be conducted in the Post Types Translation settings.
The default WordPress “Posts” and “Pages” are already activated. We will work with JetEngine’s Custom Post Type, so it should be activated as well.
There are three radio buttons displayed next to each post type option to activate the following translation modes:
- Translatable (only show translated items);
- Translatable (use translation if available or fallback to default language);
- Not translatable.
We will activate the “Translatable (only show translated items)” mode for the post type we want to translate (“Books”) and press the “Save” button.

Navigate to the Custom Fields Translation section and activate the custom fields that you want to translate. Here, options differ:
- Don’t translate;
- Copy;
- Copy once;
- Translate.
So, now we set the meta fields of the used CPT to “Translate” and click “Save.”
This ensures that all necessary meta fields can be translated later and appear in all required languages.

In the Taxonomies Translation section, activate the taxonomies you need to translate. Our choice is the taxonomy attached to the CPT we work with, called “Book Type,” so we set it to “Translatable (only show translated item).”
Press the “Save” button.

Translate Posts and Their Taxonomies
To display the translation of the search bar, all its components should be translated separately. Therefore, you should translate the posts of the CPT you will conduct a search for, along with their categories.
Go to WordPress Dashboard > WPML > Translation Dashboard, find the post type tab you are working with, and click it to reveal its posts. Select all the posts you want to translate by ticking the checkboxes next to them, and press the “Translate your content” button.
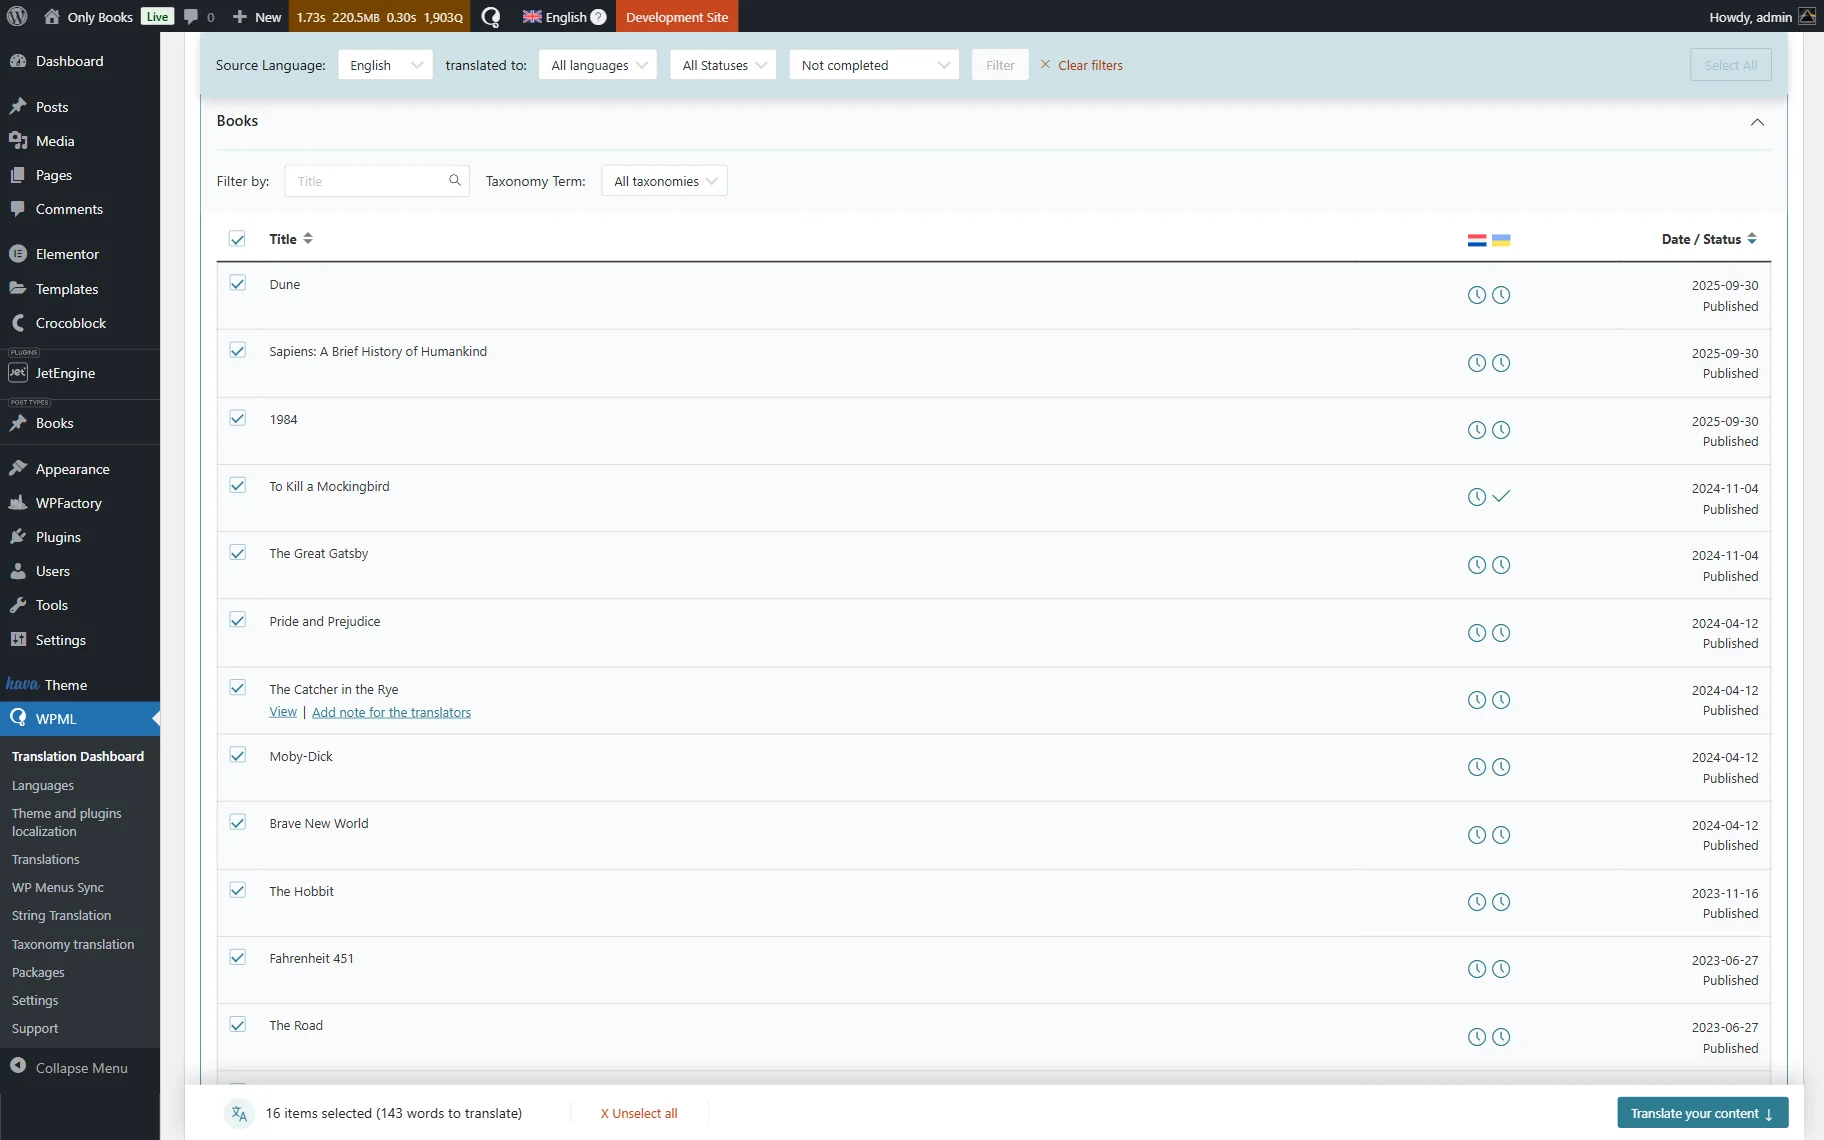
The page will be scrolled to the Translate your content section. Select the way of translation and press “Translate content.”

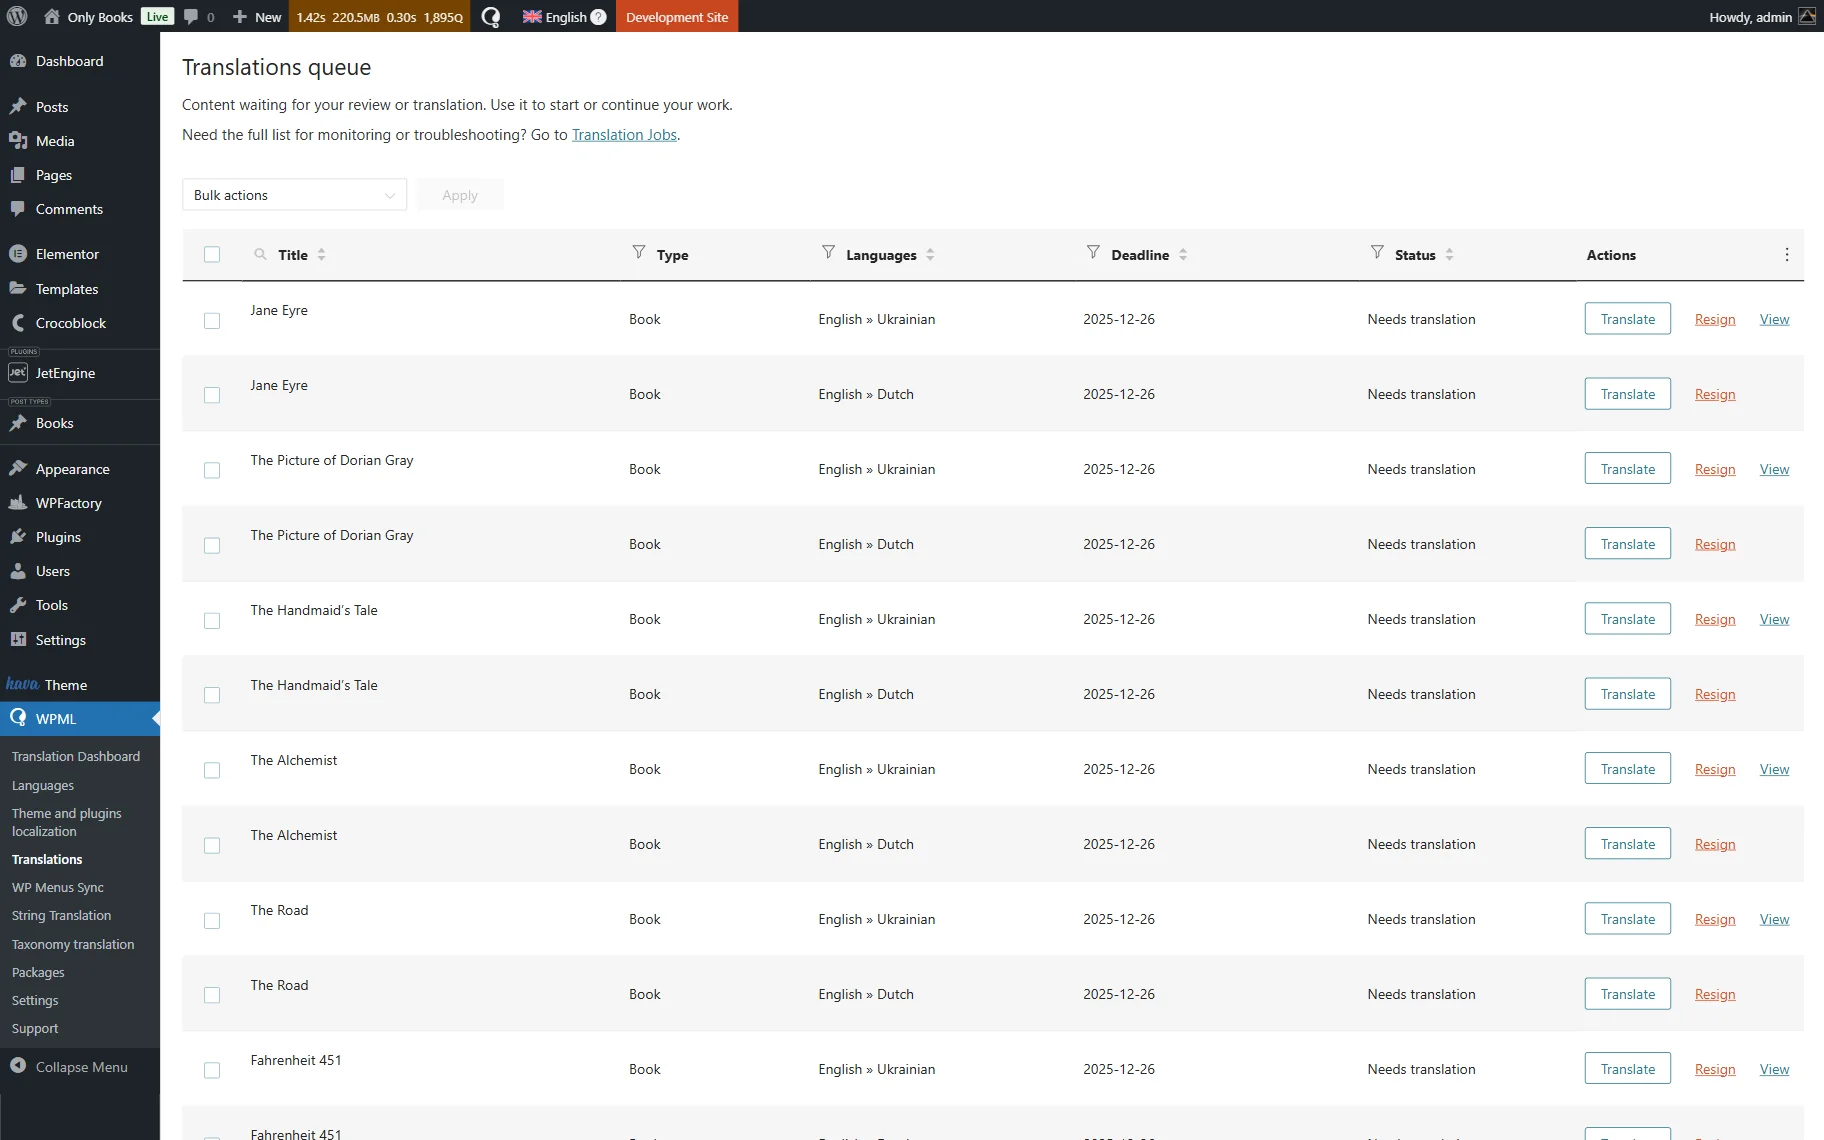
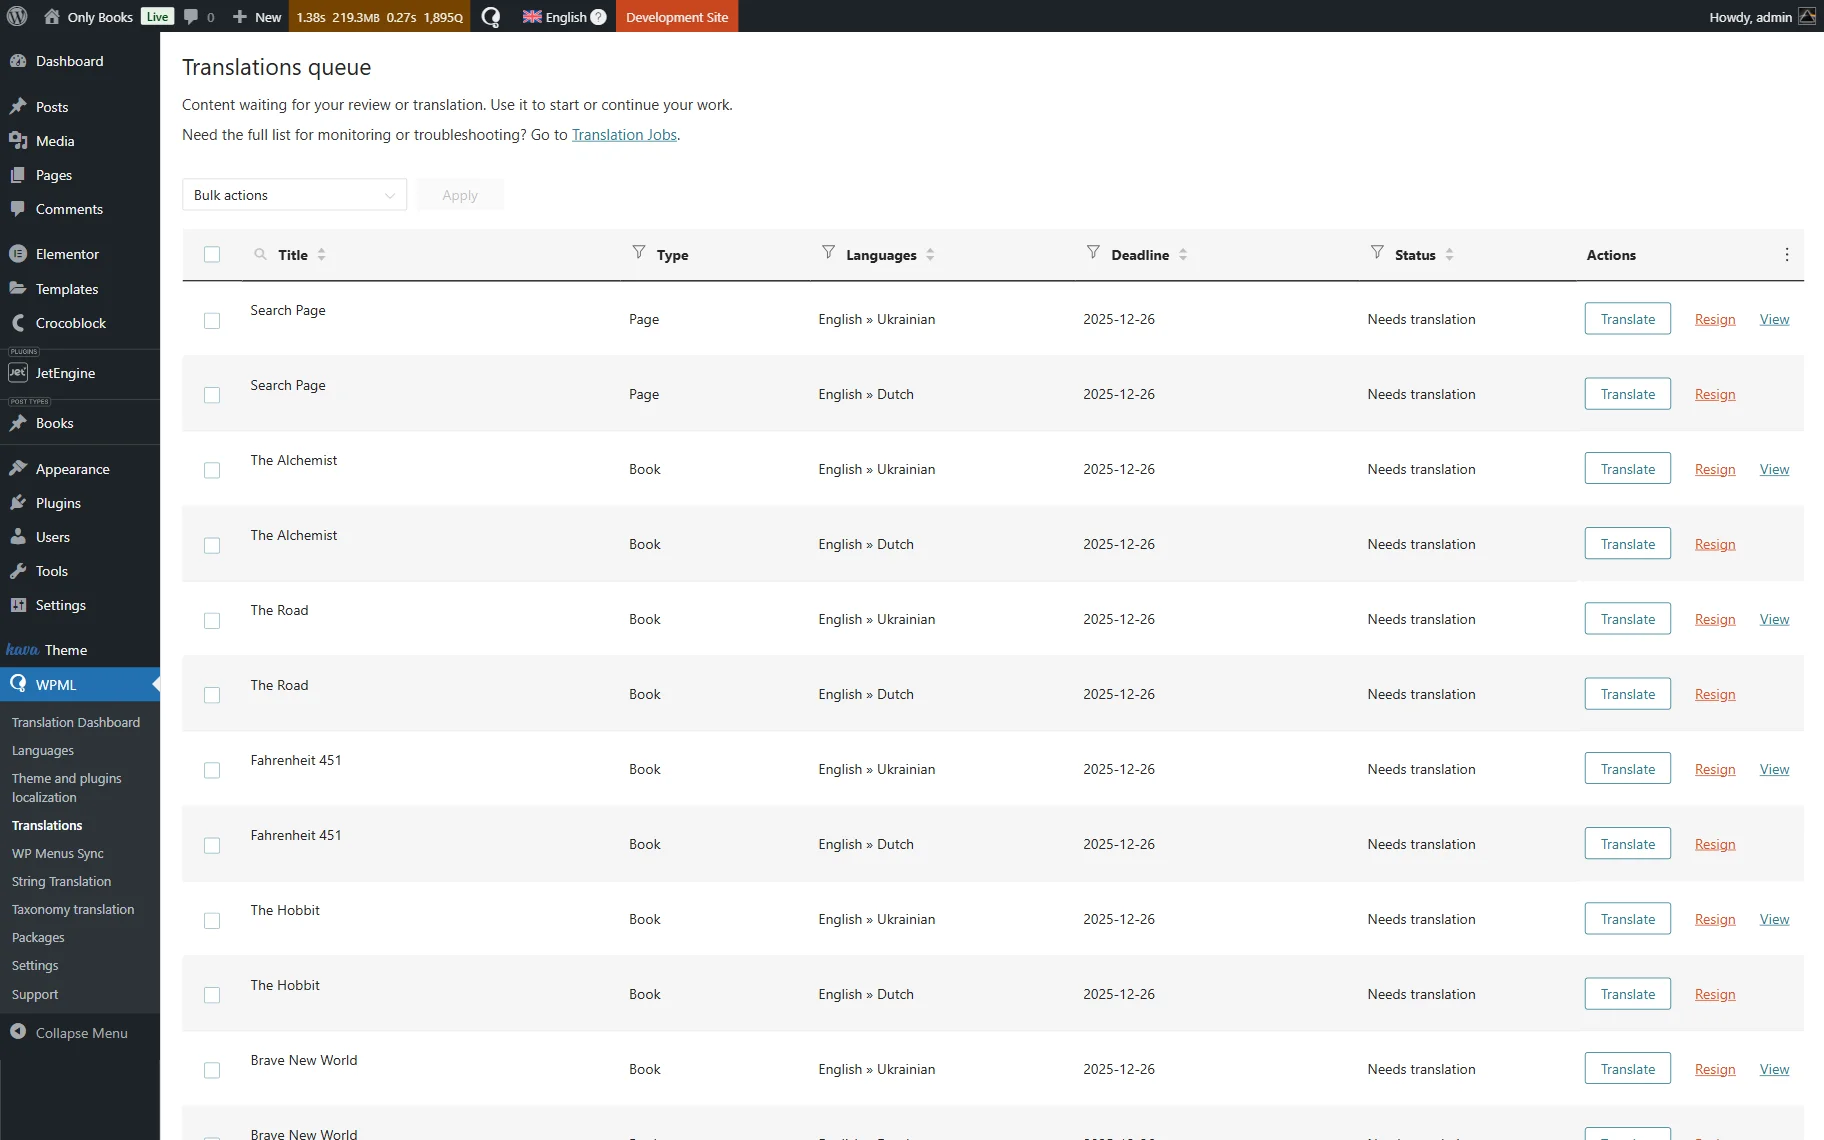
If you have selected the manual translation, navigate to WordPress Dashboard > WPML > Translations to see that the posts list is now available for translation.
Click the “Translate” button next to any post to open the translation editor.
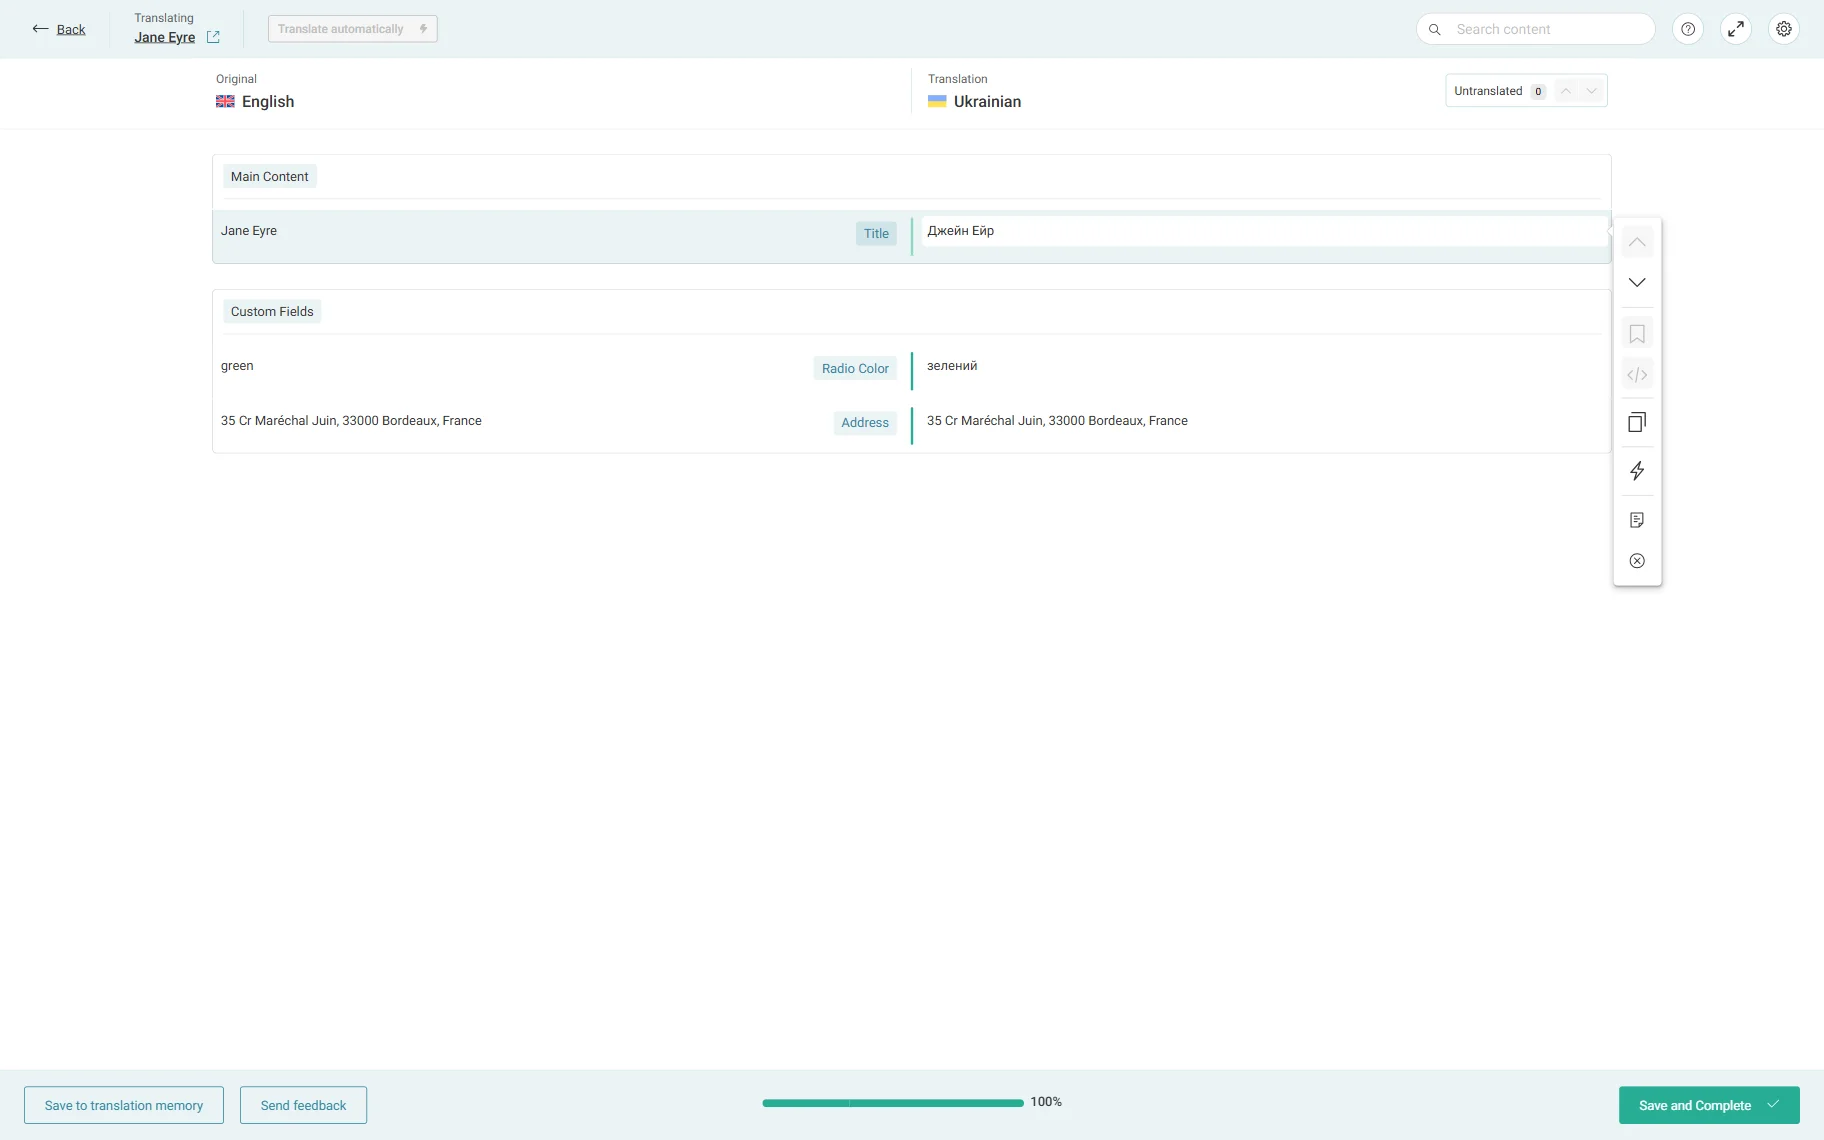
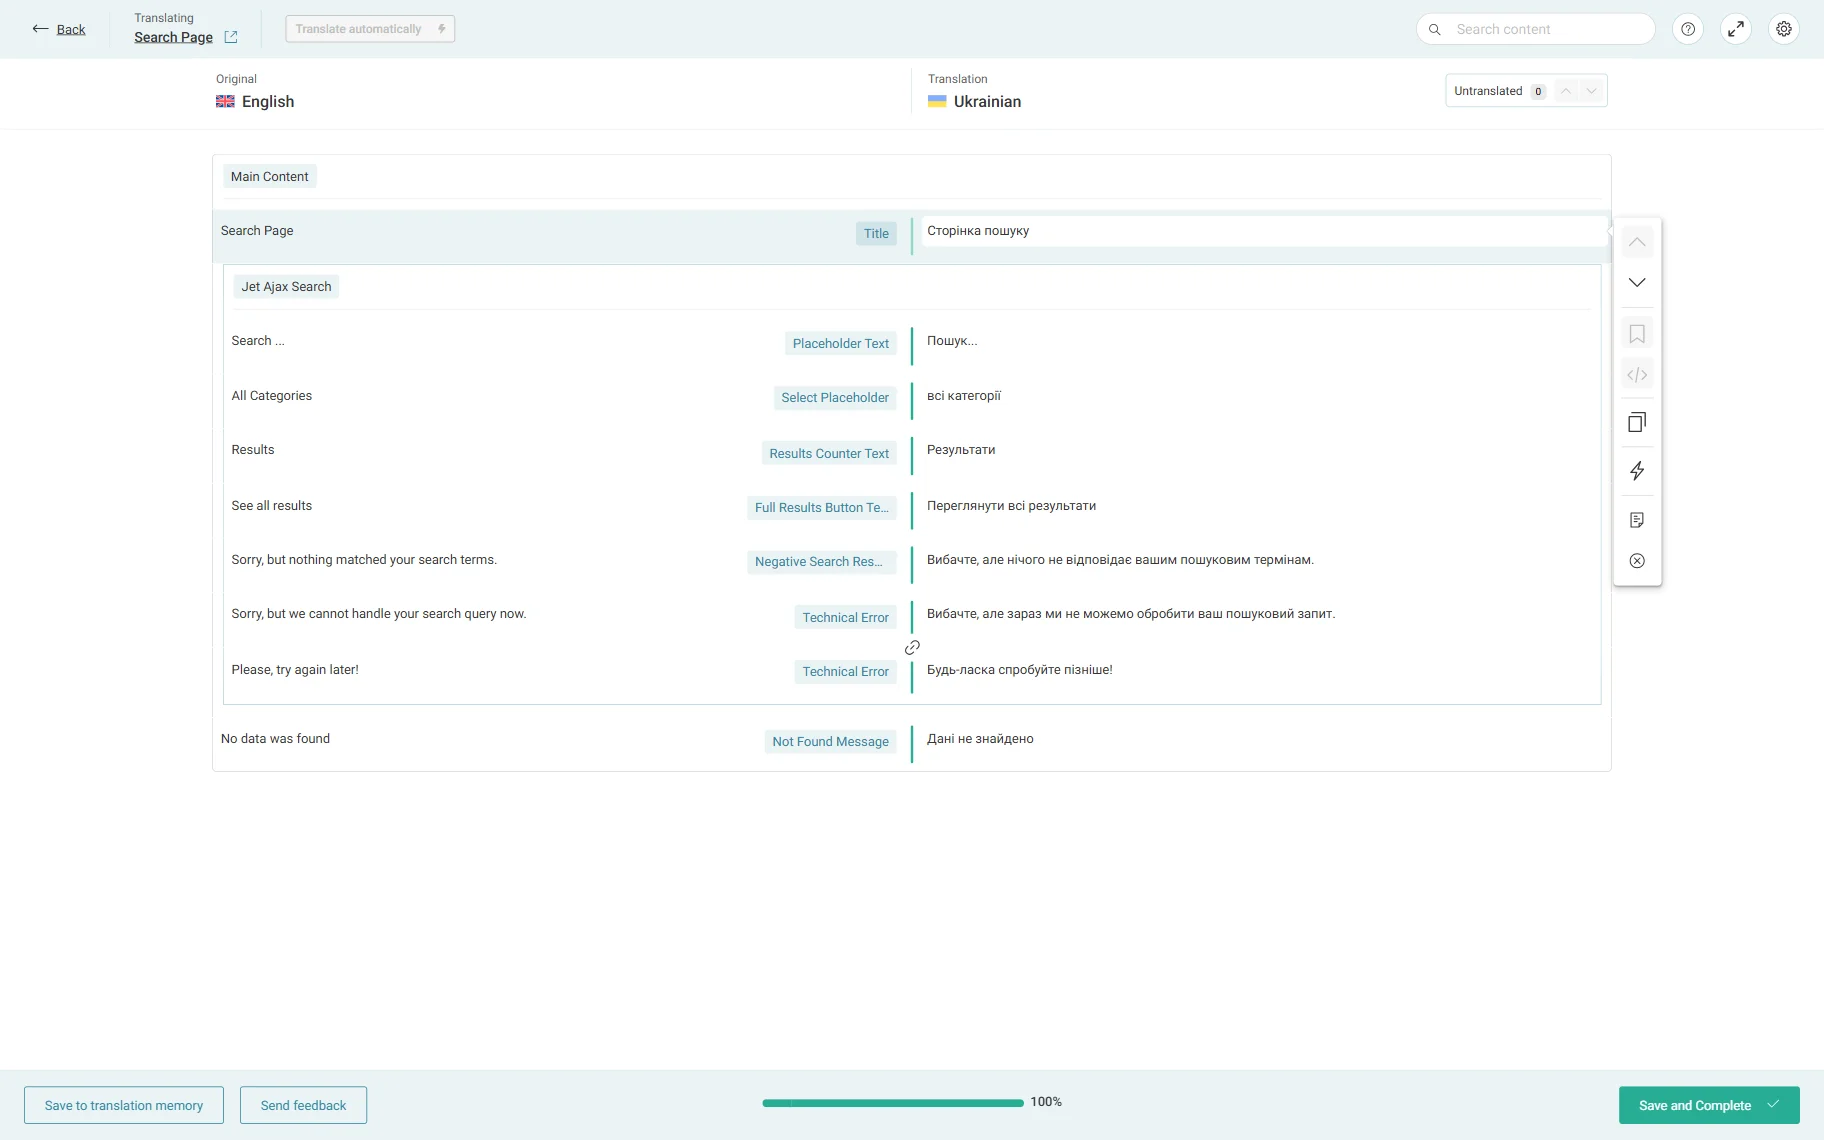
We have selected the manual translation mode (Advanced Translation Editor) during setup, so we add the translations that a plugin requests.
When ready, press the “Save and Complete” button and repeat this procedure for all necessary posts.
Then, proceed to the taxonomy that is meant to be used in the search bar to make the search more precise. In our case, we go to WordPress Dashboard > Books > Book Type.
Click on the “{Your Taxonomy Name} Translation” button to proceed to the Taxonomy Translation dashboard.

In the Taxonomy Translation page, all the taxonomy terms are presented.
Hit the plus-shaped button (or “pencil”) next to each item and translate them into the target language.

Push the “Save” button to save the translation.

Add Search Functionality to the Page Builder
Head to the WordPress Dashboard > Pages or to the location where you want to place the search bar.
Press the “Add New” button to build a new page. The Ajax Search widget can be added via Elementor and the Ajax Search block in Block Editor. First, we will look at the Elementor view.
Adjust the settings as wished. For instance, we have activated the Show Categories List toggle to display a specific taxonomy as the selector, in addition to the search bar. We attached the necessary Taxonomy once the toggle was activated.

Then, we go to the Search Query tab and select the Source for the search, the “Books” CPT in our case.

Additionally, add the WPML Language Switcher widget for users to switch between languages.

We also added a JetEngine’s Listing Grid widget to have the content for the search bar.
There, we select the Listing with the books built beforehand. Its content should also be translated beforehand. To find out how to do this, check our guide on how to Translate Custom Post Types & Listing Items/Components.

Don’t forget to press the “Publish” button to save the content.
Alternatively, you can use the Block Editor to add search functionality to the page. Here, the block names and settings are identical to those in Elementor.
After you finish the content adjustments in the Block Editor, press the “Publish” button.

Add the Search Results Template
Now, we want to build a Search Results Template. We will do this using the JetThemeCore plugin.
Learn more about creating this template in the How to Create an Archive Template to Display the Search Results tutorial.
We will add here the same content as on the search page.

Once the page is ready, press the “Publish” button.
Translate the Page
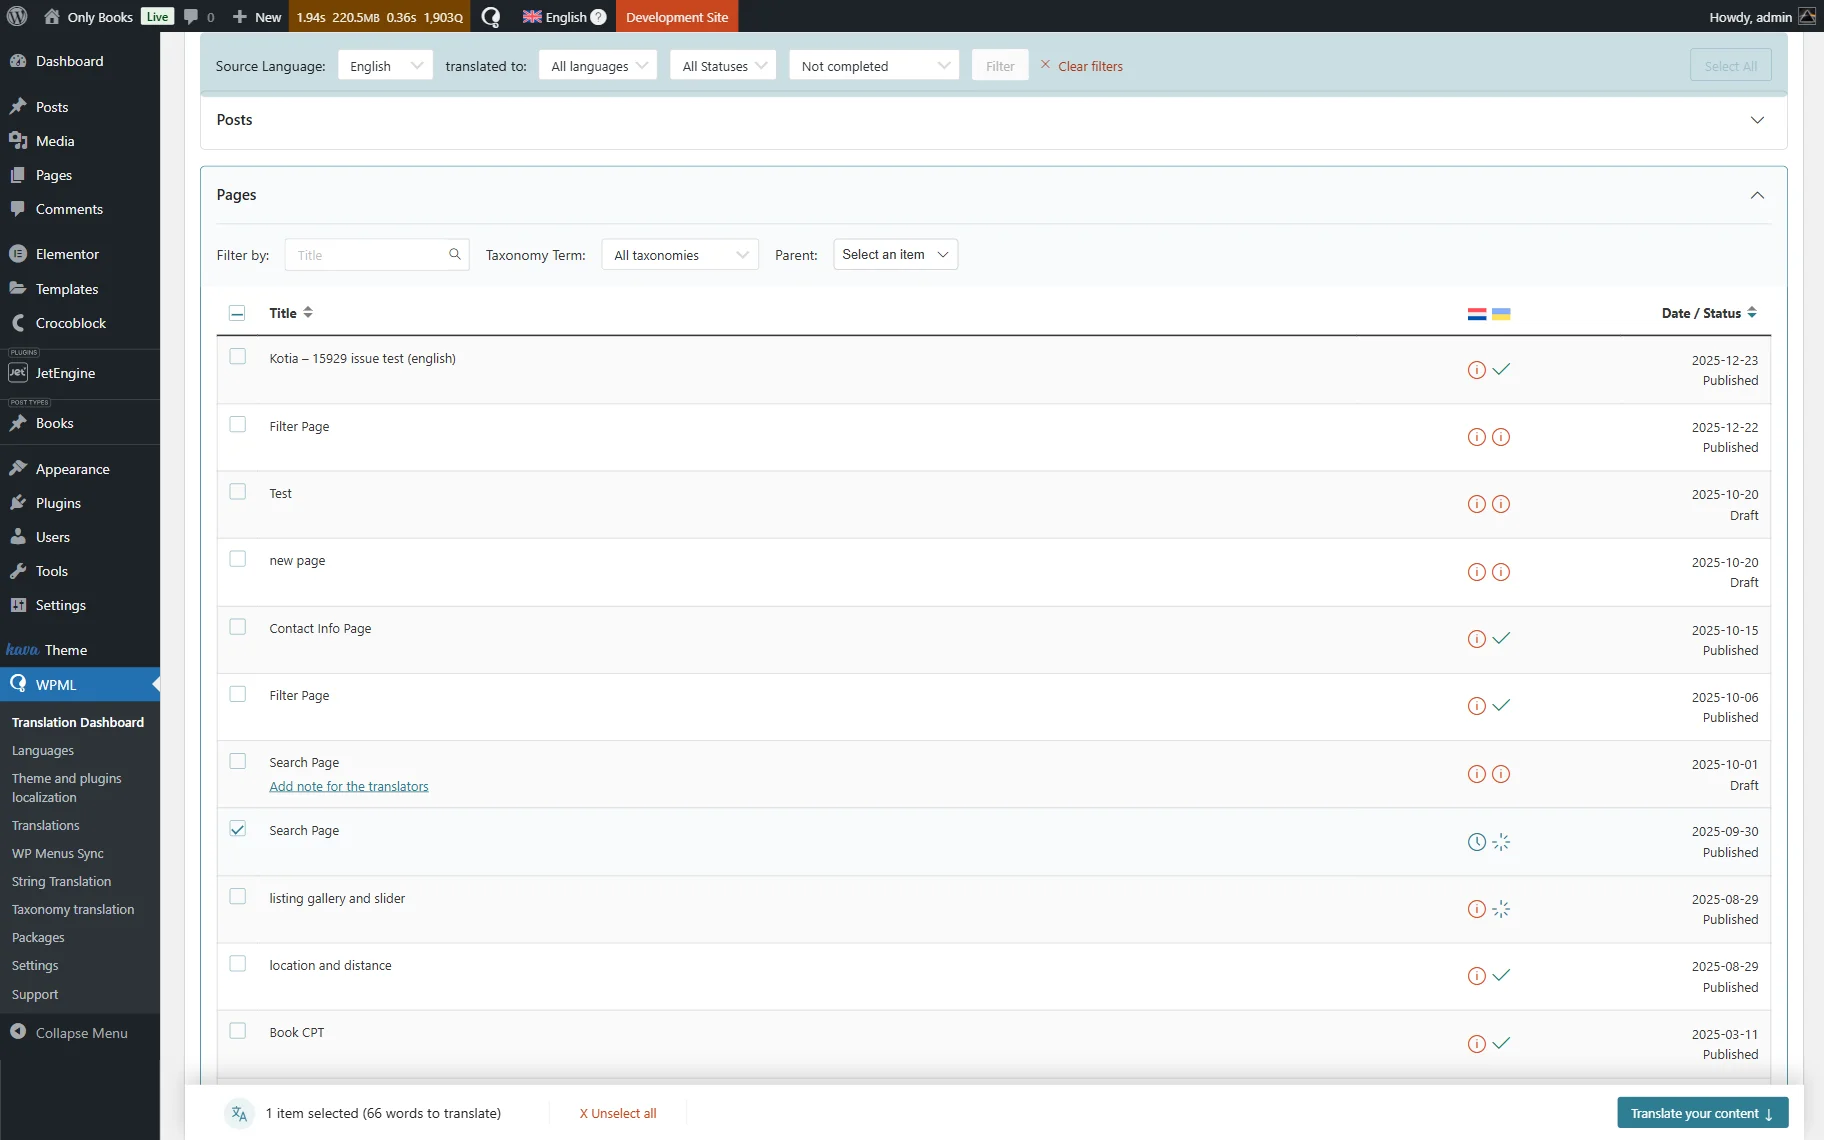
Go back to WordPress Dashboard > WPML > Translation Dashboard and press the Pages tab. Select the needed page and press “Translate your content.”
You will be scrolled to the Translate your content section. Here, select the translation method and press the “Translate content” button.
If you have selected the manual translation, go to WordPress Dashboard > WPML > Translations.
Click the “Translate” button next to the page you need to open in the translation editor.
Complete the presented fields with translation in the editor and press the “Save and Complete” button to save the translation.
Then, switch the language from the original to the translatable one. You can do it with the switcher on the upper WordPress panel or by clicking the language name above the posts.
The page you have just translated is now displayed in the WordPress Dashboard > Pages list.
Check the Result
Now, proceed to the front end of the page and check the result. Click on the desired language to switch to it from the original language.
As you can see, the content is now translated.

If you search for an item, the page will be redirected to the search results page.

That’s all about using WPML for translating JetSearch functionality on your WordPress website.