How to Apply Filters to Several Widgets on a Page
This tutorial gives detailed information on applying a filter to different widgets using the WordPress JetSmartFilters plugin.
Before you start, check the tutorial requirements:
- Elementor (Free version), Block editor (Gutenberg), or Bricks
- JetSmartFilters plugin installed and activated
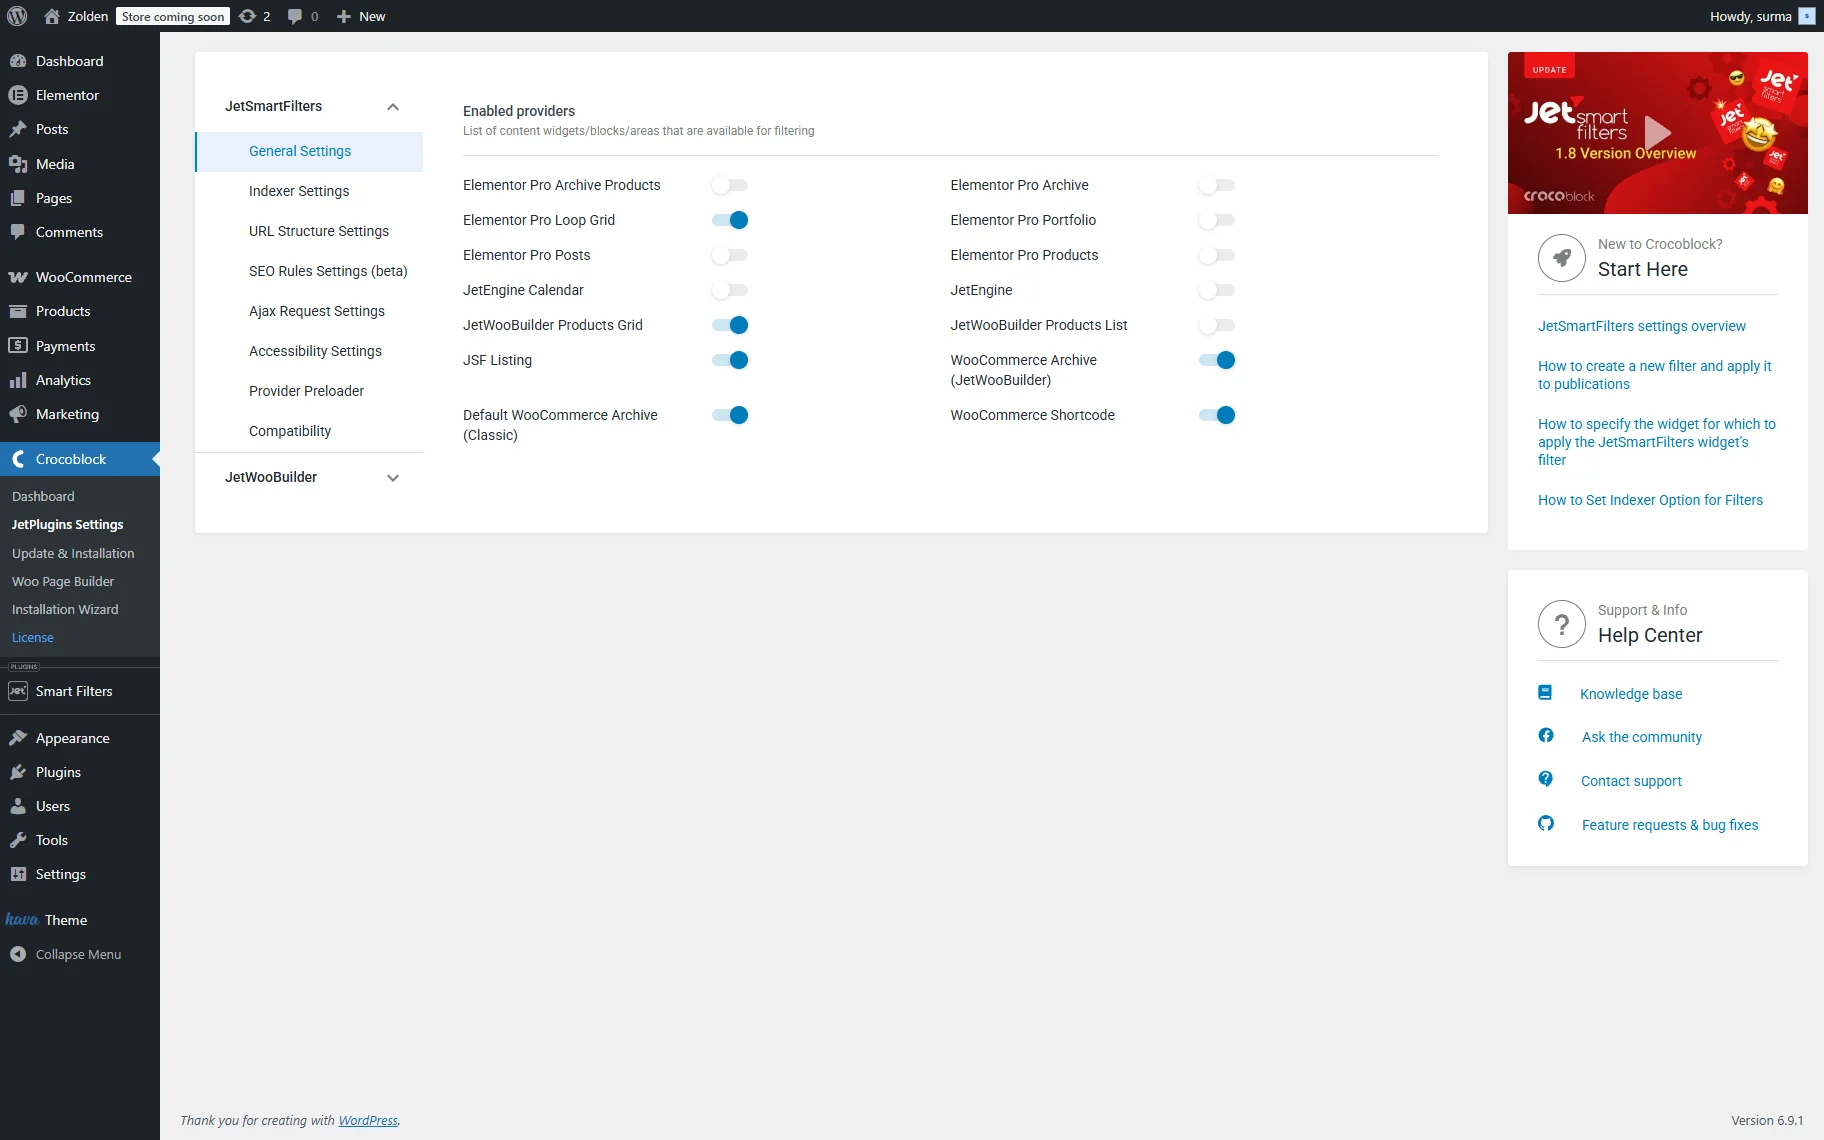
This tutorial is focused on applying one filter to multiple widgets on a page at the same time using the Additional Provider setting in JetSmartFilters. In this case, we are using the JetEngine’s widgets: Listing Grid and Maps Listing. You can use any other available providers — ensure you have them enabled in WordPress Dashboard > Smart Filters > Settings > General Settings.
In this guide, we assume you know how to set up the filters and how to get the posts or products for the providers. Here we are focusing on connecting filters to providers to avoid many troubles with the filters’ work.
This setup works only when the posts displayed via two widgets on one page (i.e., Listing Grid and Map Listings) belong to one Custom Post Type.
Adding Widgets to the Page
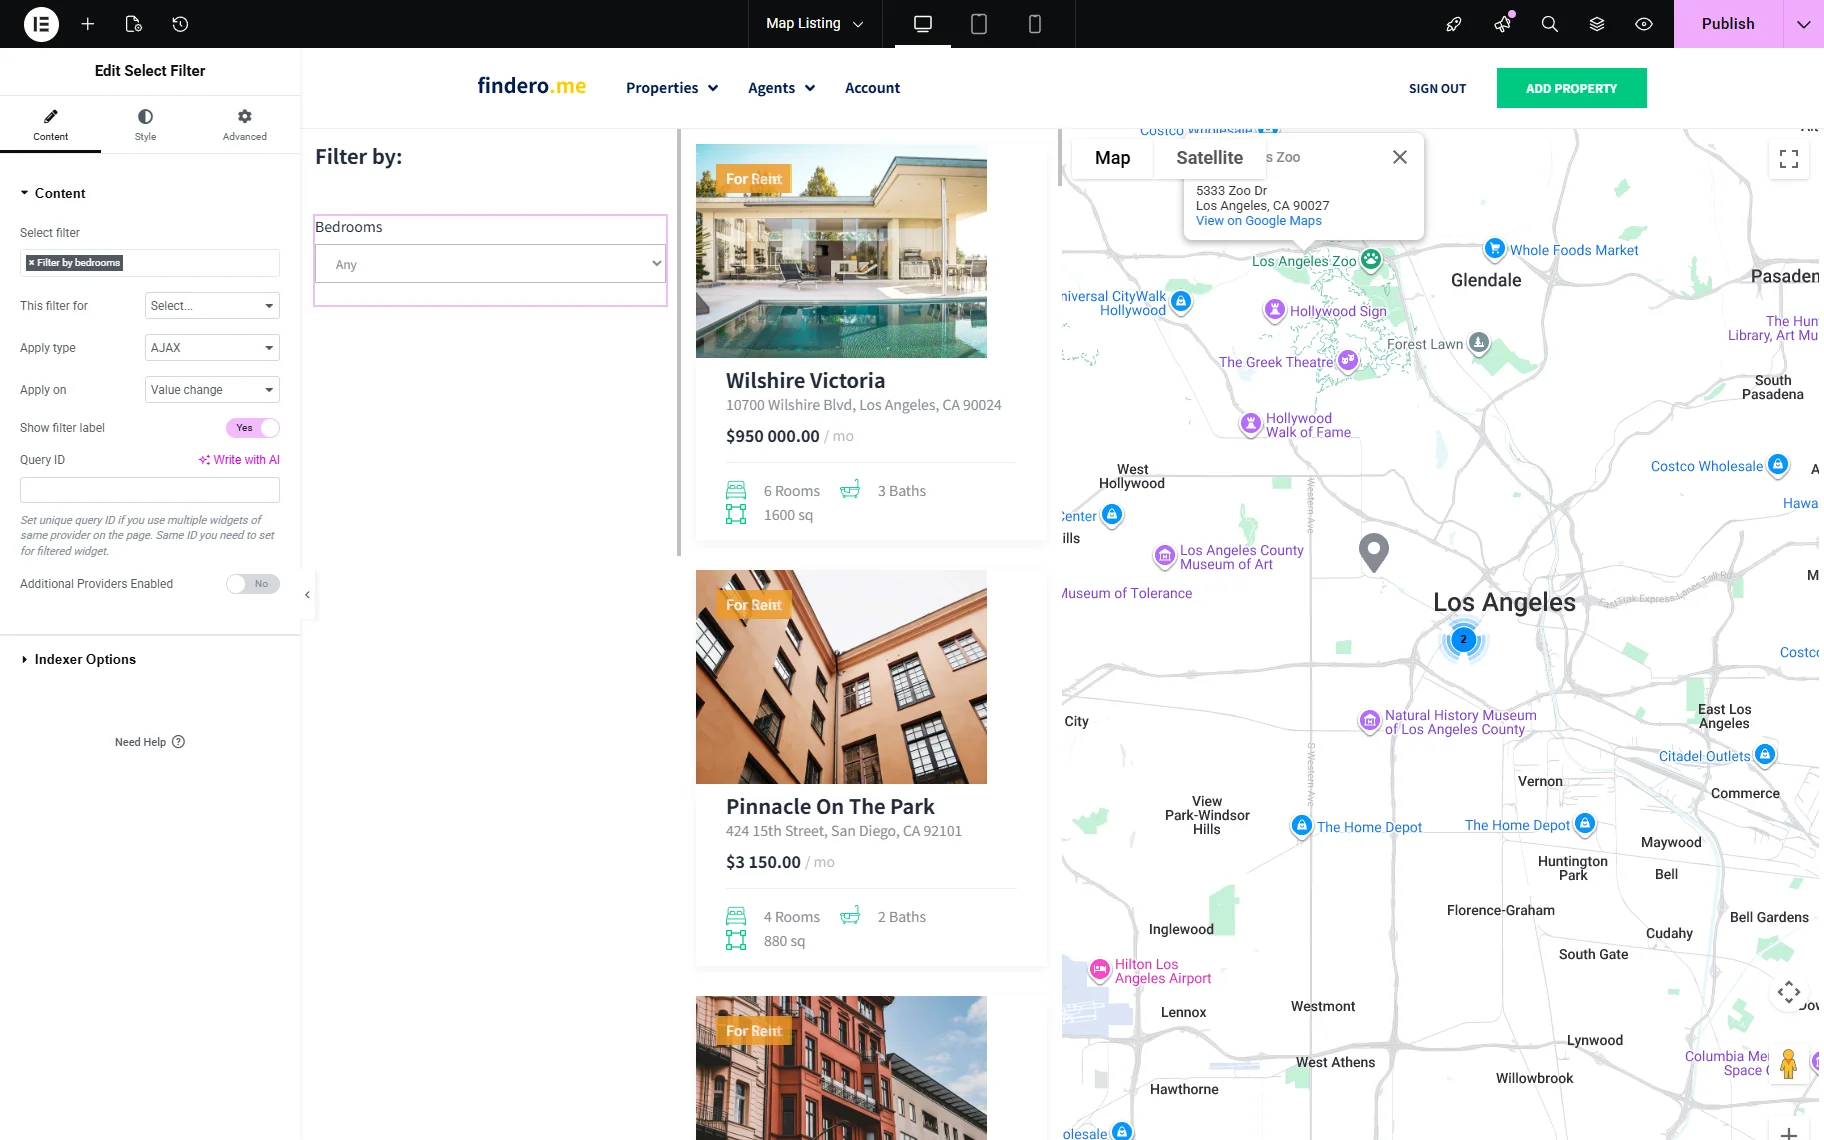
Proceed to the page where you need the filter to work. We add widgets in three columns. In the first column, add the required filter widget (in our case, it is the Select Filter). In the second and third columns, add the Listing Grid widget and the Maps Listing.
In the filter settings, select the required filter and keep it for now.
For the Listing Grid, choose the needed Listing template. Add other settings to make your listing appealing.

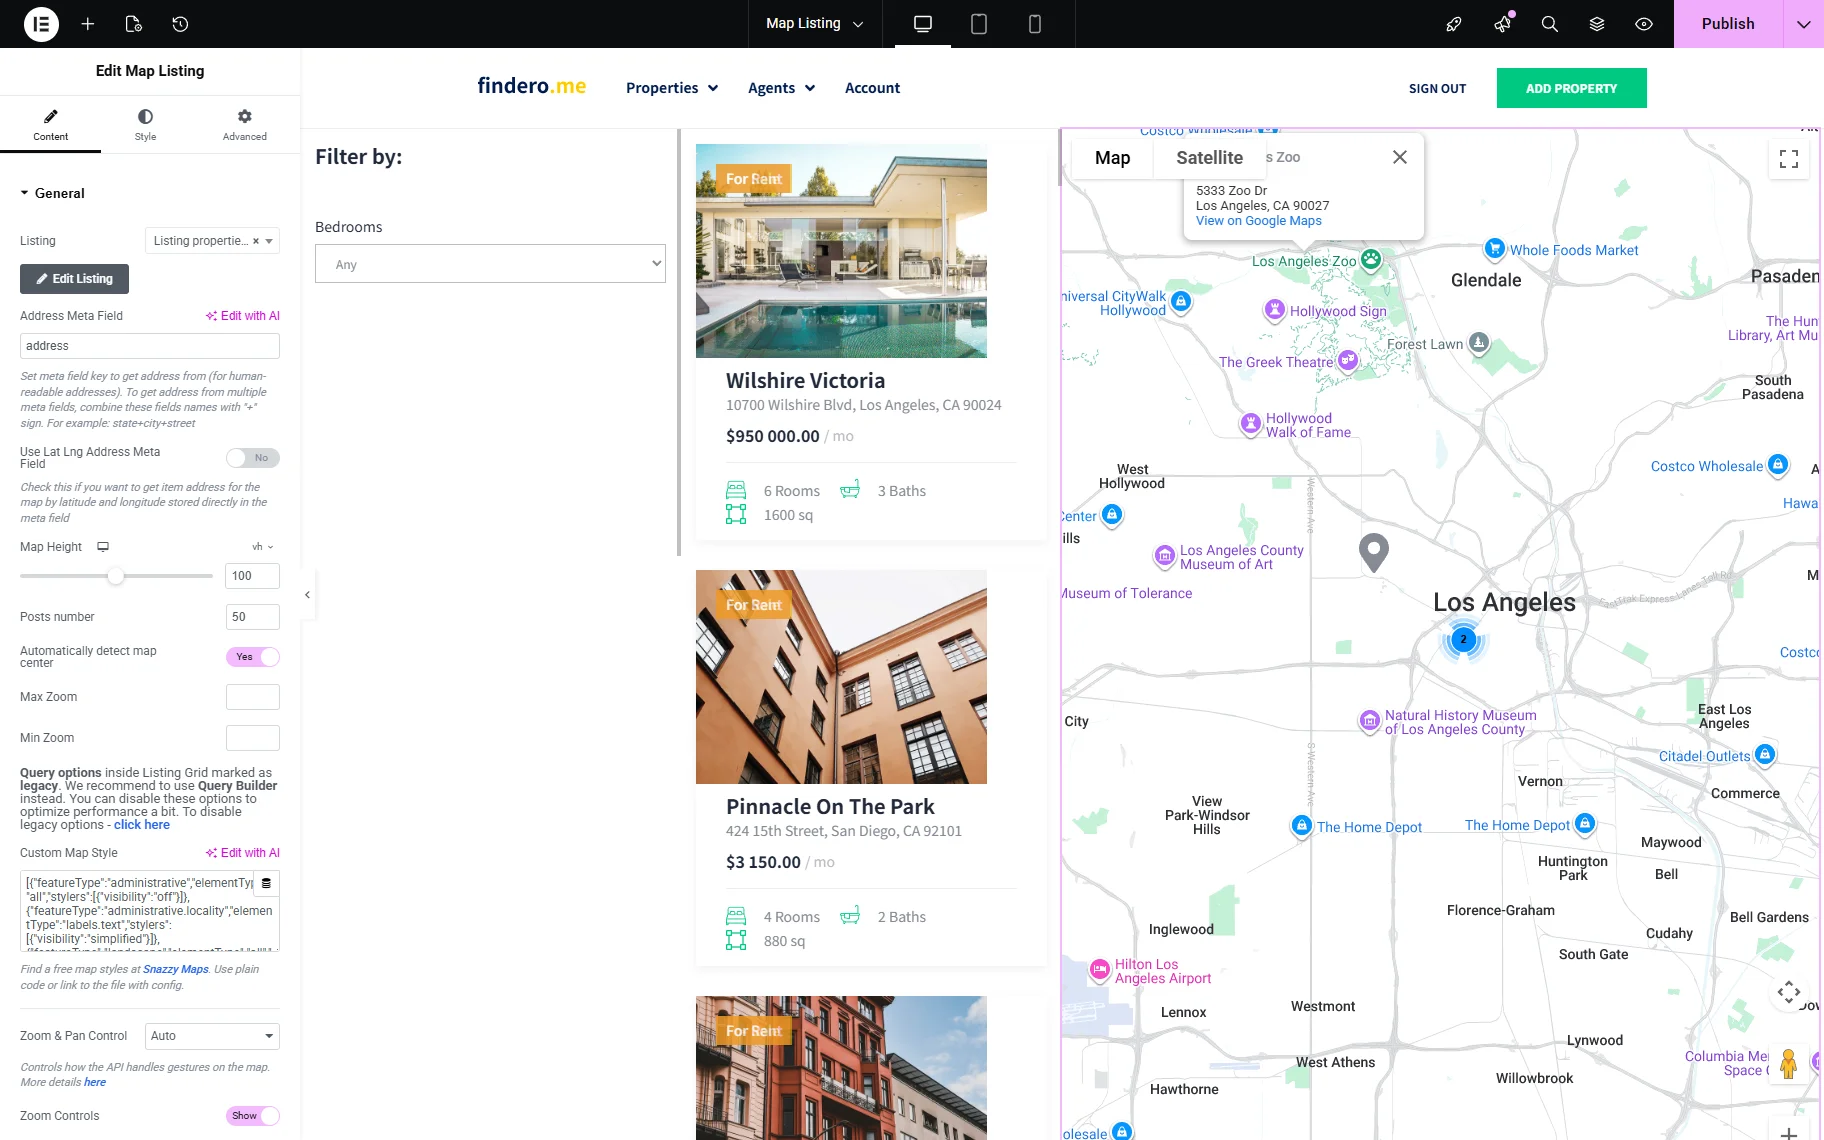
In the Map Listing widget, select the needed Listing template. In the Address Meta Field Name field, enter the address’s custom field name. Adjust other desired settings.
Applying Filters to the Widgets
By default, JetSmartFilters can work with several widgets on the page without using Query IDs. It is enough to set the Providers correctly.
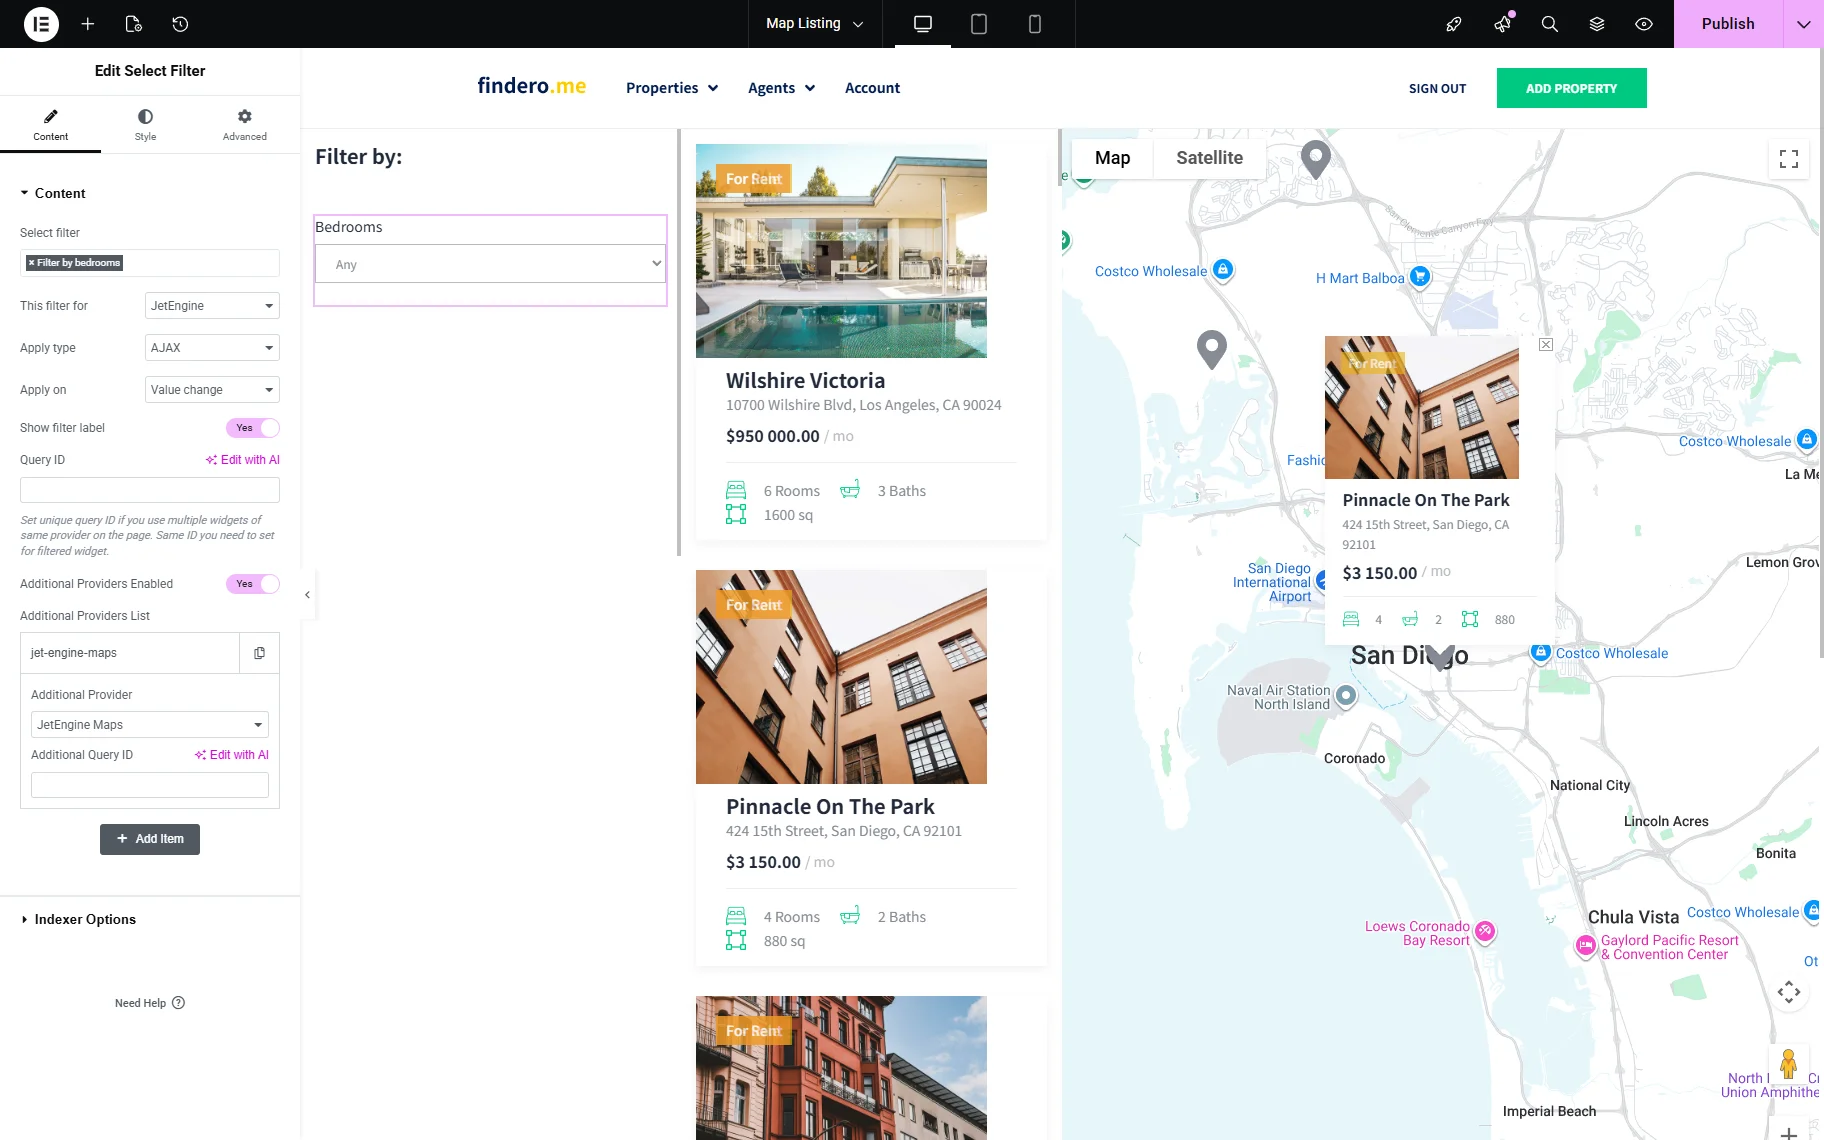
Return to the filter’s settings. In the This filter for dropdown, choose the “JetEngine” option.
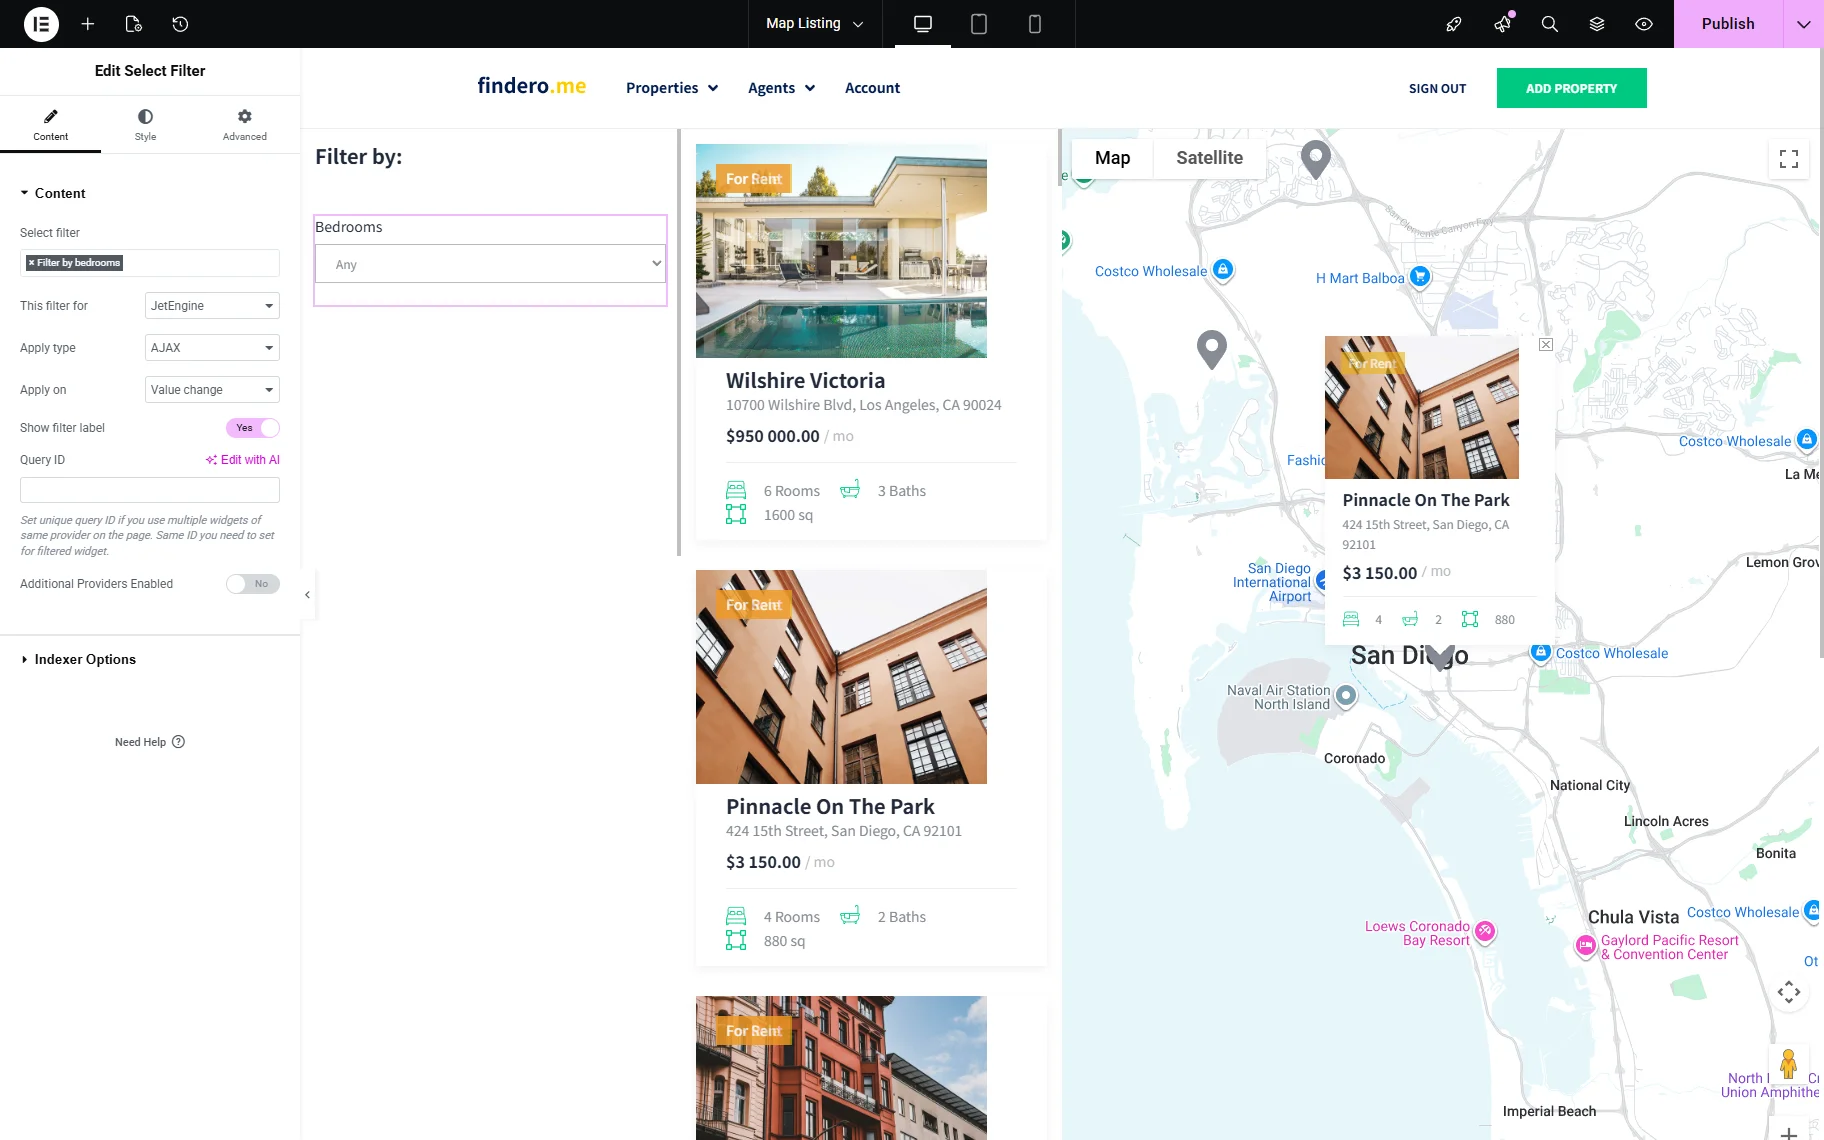
Next, turn on the Additional Providers Enabled toggle. In the newly appeared popup, select the “JetEngine Maps” options for the Additional Provider.
Usage of Query IDs
Filter can additionally be applied with the Query IDs. You only need them if:
- you want to connect the filter to a specific widget;
- you have several similar widgets on the same page;
- you need more precise control over which widget the filter should affect.
In such cases, follow the steps below.
To correctly apply the Query ID, open the filter widget’s settings and in the Query ID field, add the unique ID.

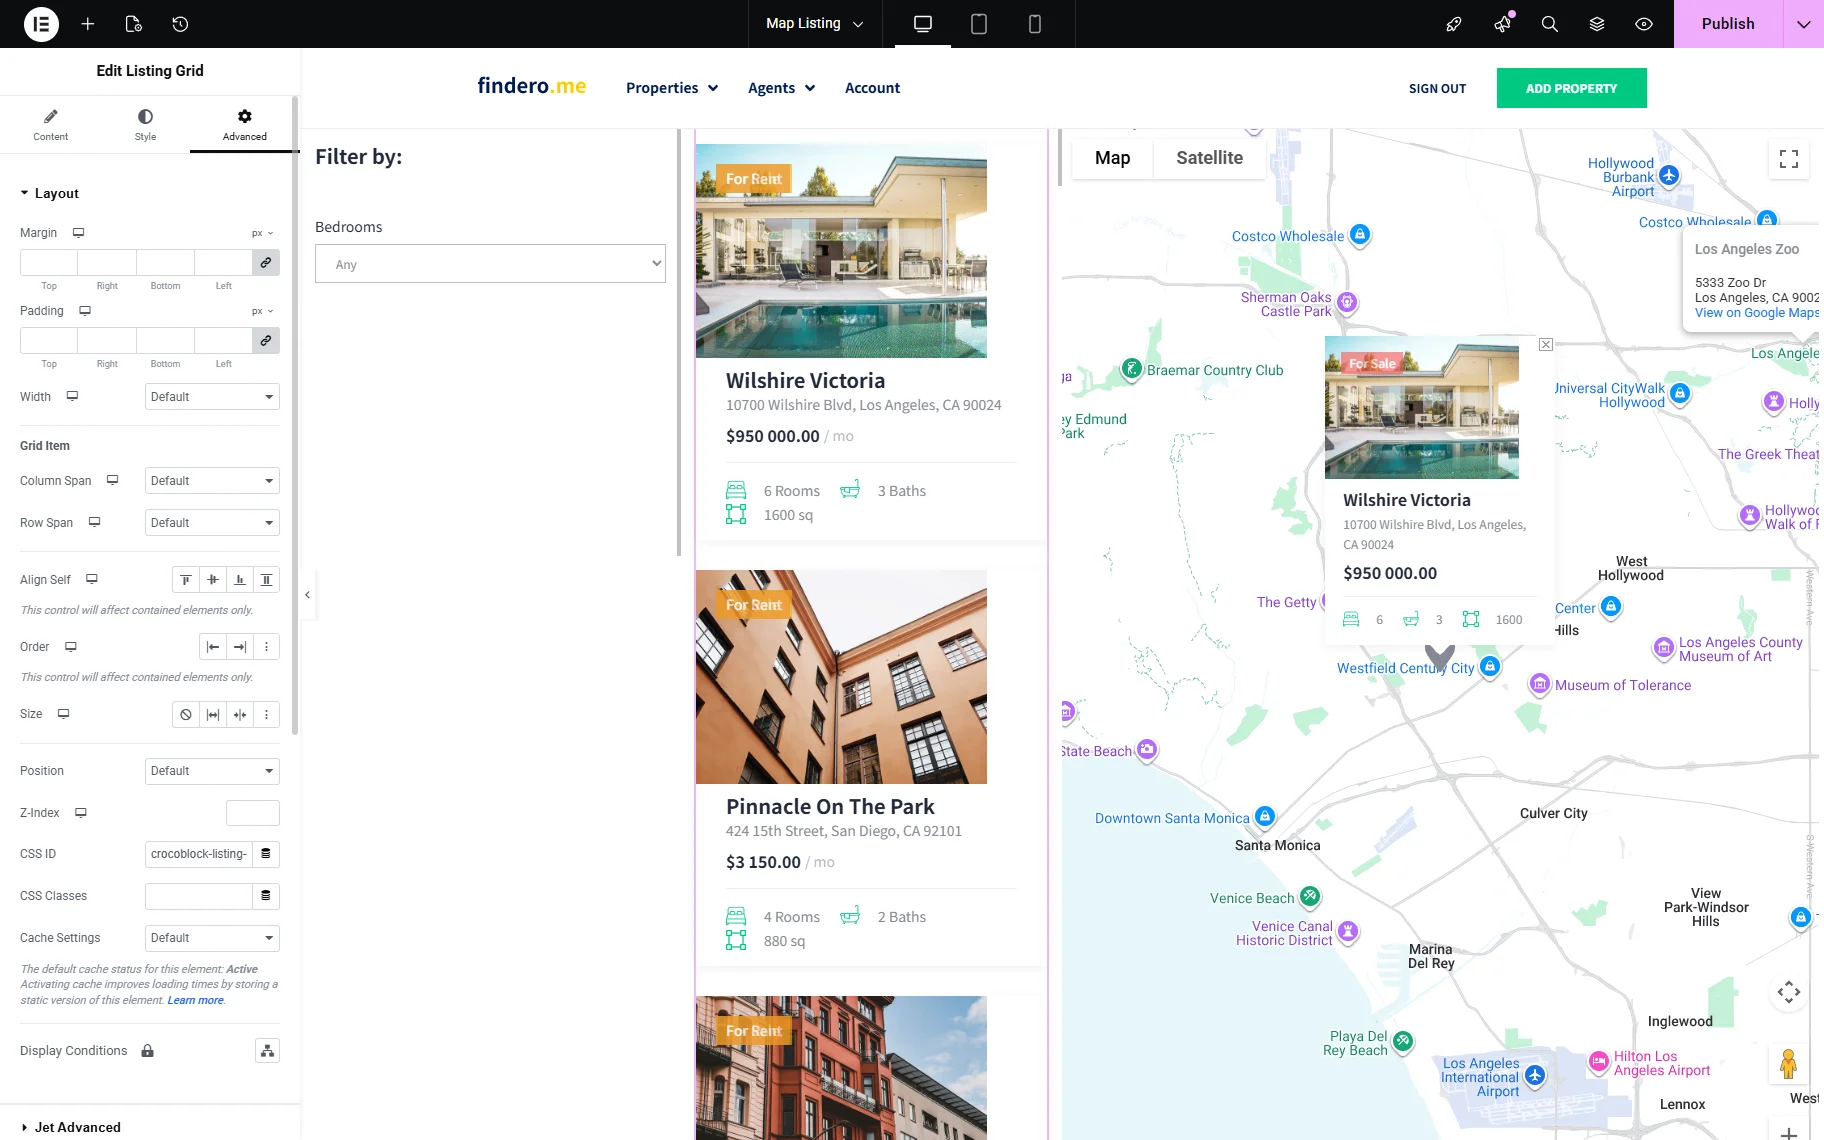
Copy the Query ID you added and proceed to the Advanced tab of the provider widget (Listing Grid in this case). Paste the copied Query ID you used for the filter in the CSS ID field.
If you have more providers enabled, set another unique Query ID in the Additional Query ID field for each required provider.

The same Query ID should be added to the CSS ID field in the Advanced tab of the Maps Listing widget.

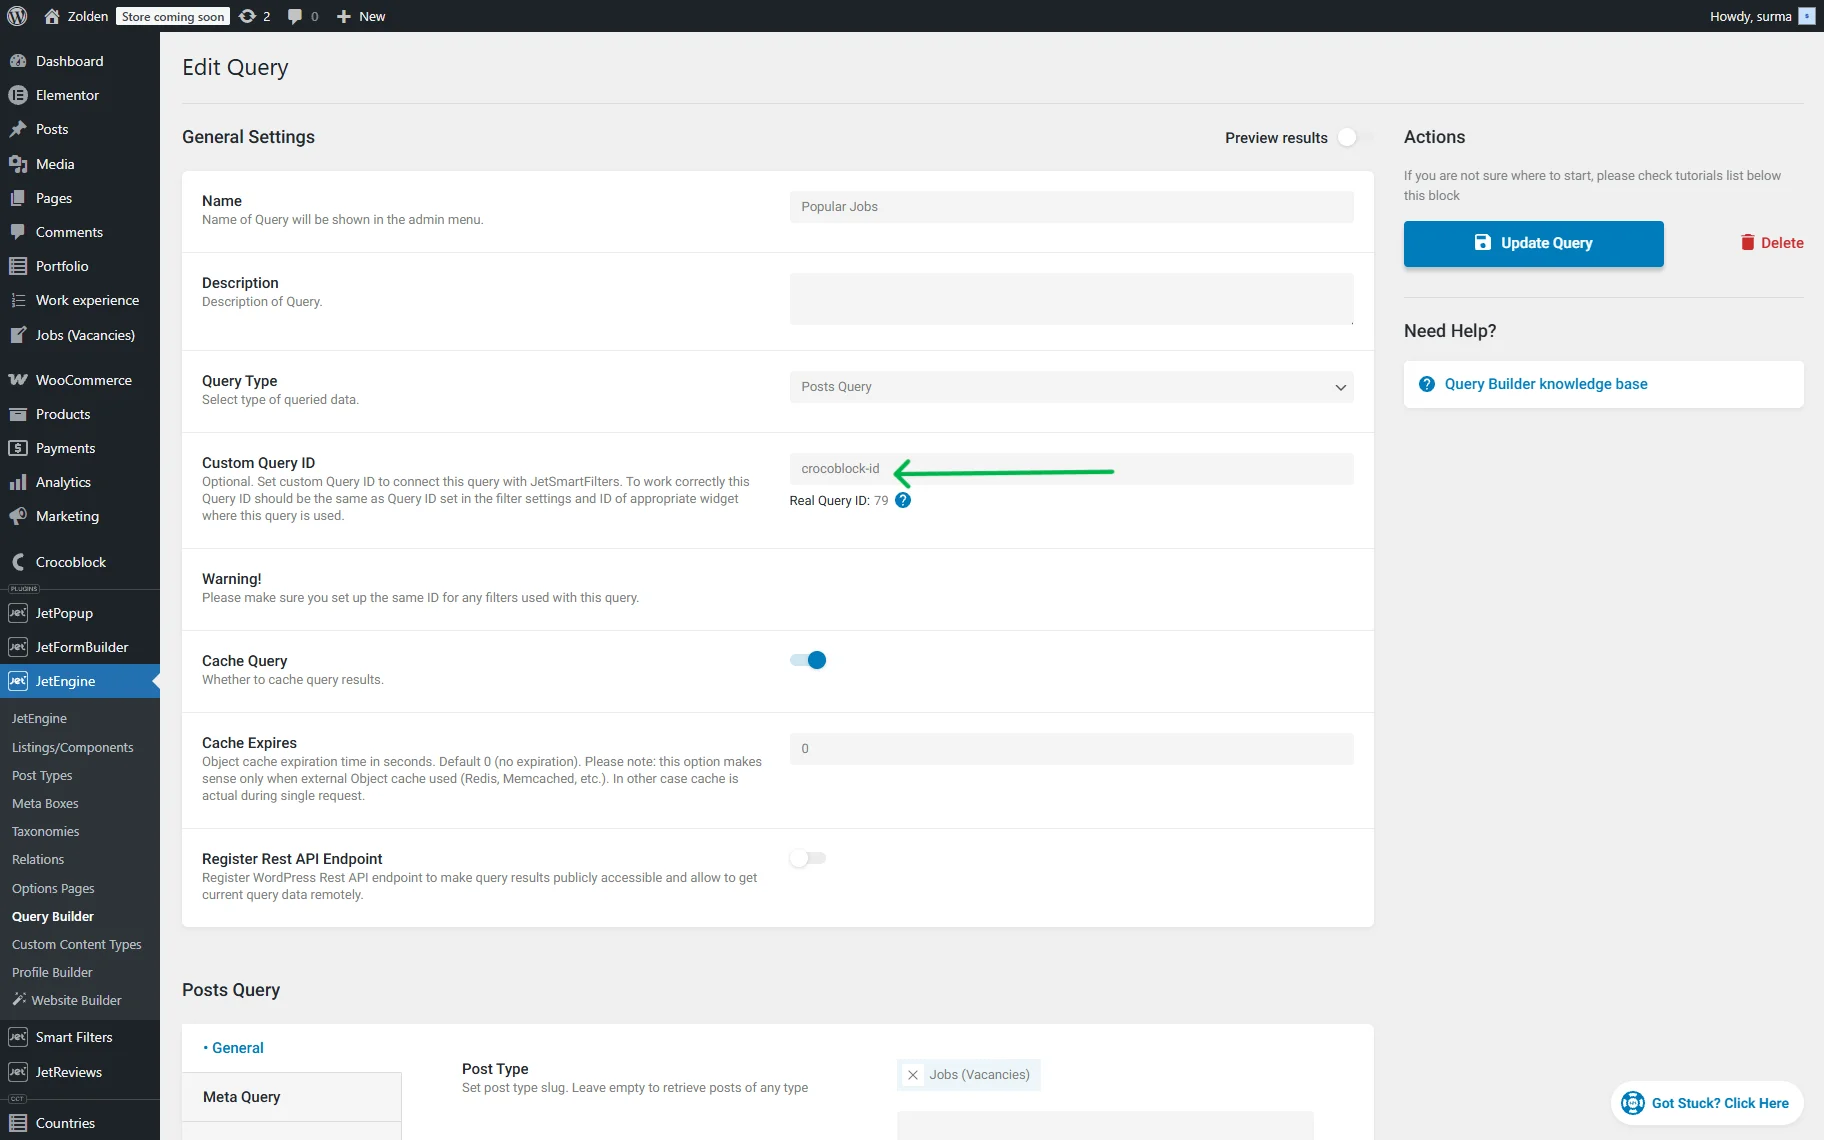
Additionally, when more than one query is used on the same page, it is recommended to apply different Custom Query IDs to all the queries on the page.
Click the “Publish” button once you are ready.
Check the Result
Proceed to the frontend and apply the filter. Here, we see that the filter is applied to both providers.
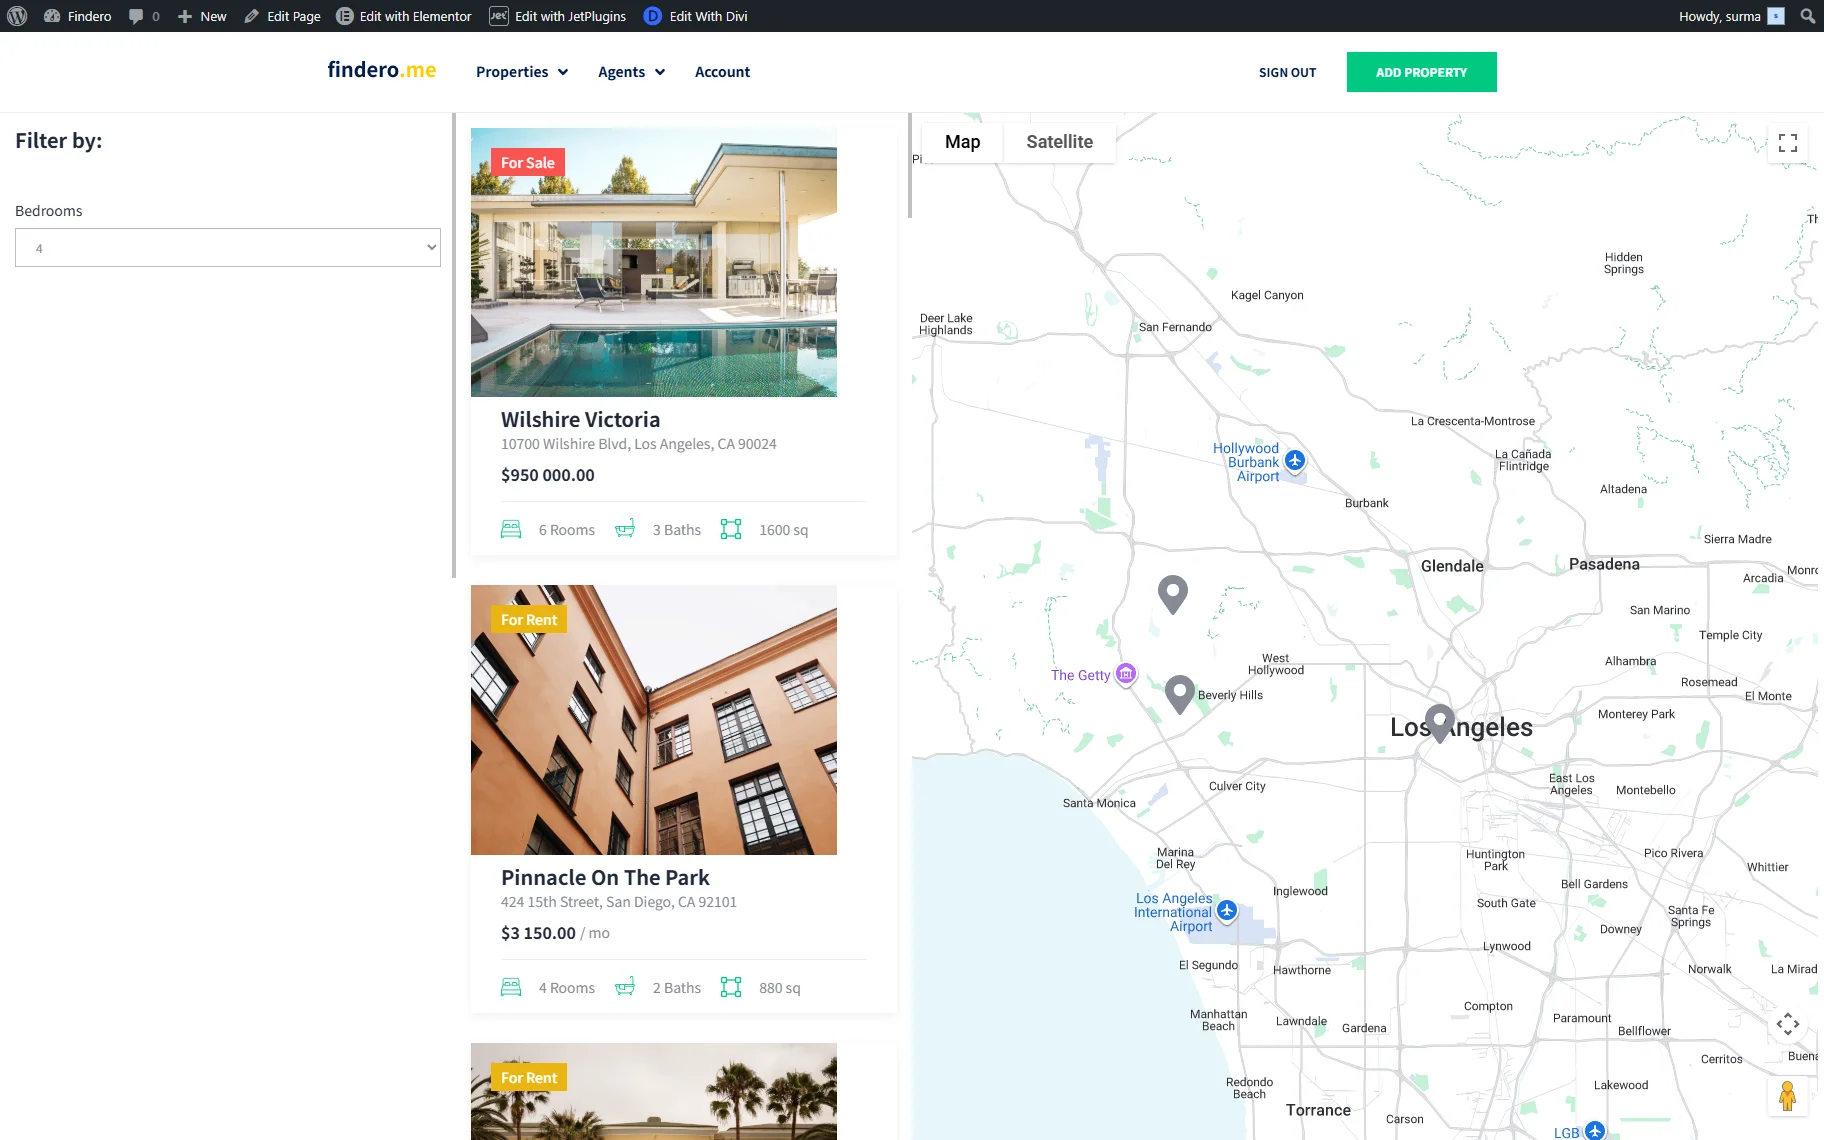
That’s all. Now you know how to use the additional provider function and filter several widgets equally with one filter with the help of the WordPress JetSmartFilters plugin.