How to Use Filters with WooCommerce Shortcodes
This tutorial explains how to apply filters created with the JetSmartFilters plugin to WooCommerce Shortcodes to filter WooCommerce products.
Before you start, check the tutorial requirements:
- Elementor (Free version) or Block editor (Gutenberg)
- WooCommerce plugin installed and activated
- JetSmartFilters plugin installed and activated
Enable Filters for WooCommerce Shortcodes
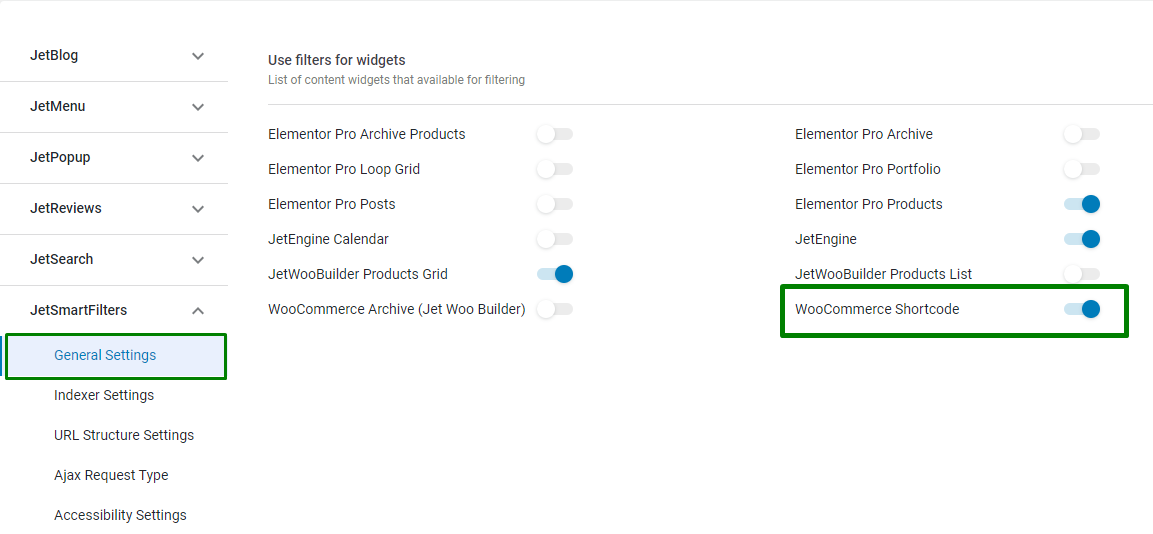
Start with activating the filters for the needed provider — the WooCommerce Shortcode.
Go to WordPress Dashboard > Crocoblock > JetPlugins Settings > JetSmartFilters. Open the General Settings tab and turn on the WooCommerce Shortcode toggle.
Now the filters can work with the WooCommerce Shortcodes.
Create Filters in JetSmartFilters
Filter by products price
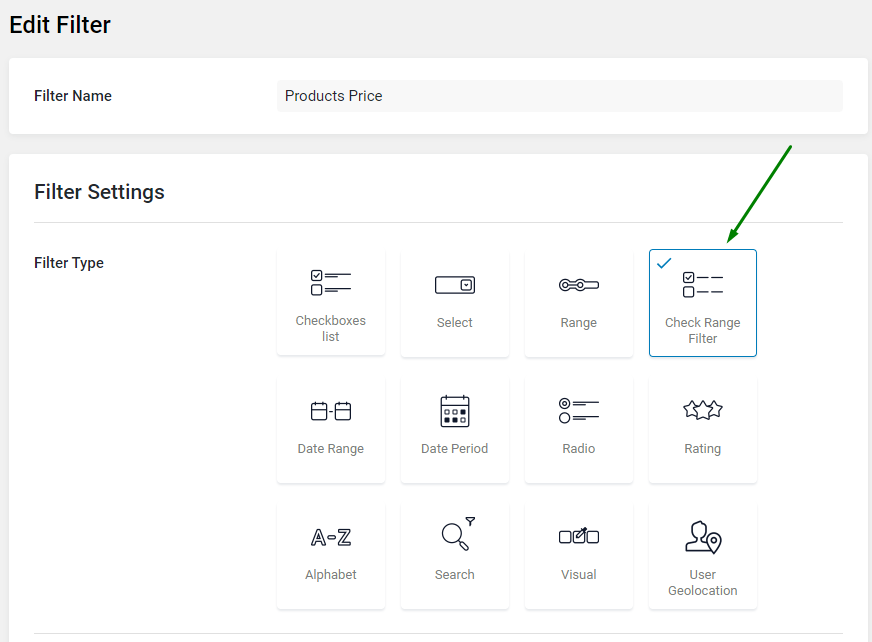
Go to WordPress Dashboard > Smart Filters > Add New. Pick the “Check Range Filter” Filter Type for a filter by product price.
Add as many options as required in the Options List section. In the described case, the “1-100,” “101-200,” and “201-300” options are used.
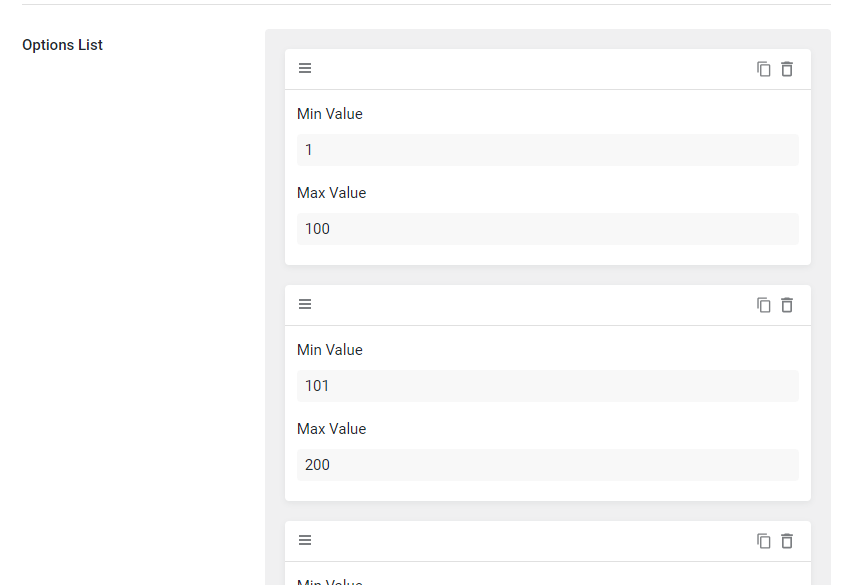
Fill in the other settings according to your preference. For example, we added a dollar sign as a Values suffix.
In the Query Variable, a “_price” field name was entered.
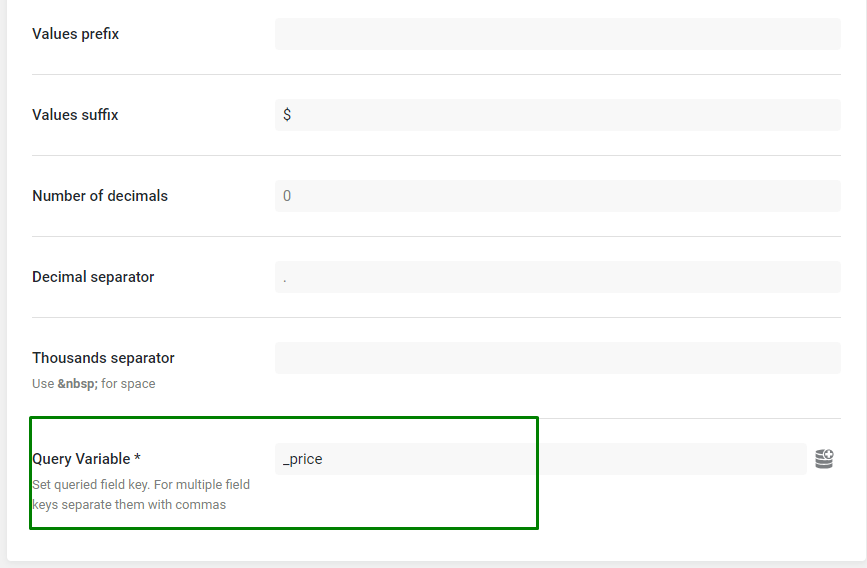
The filter is completed and can be saved.
Filter by product tags
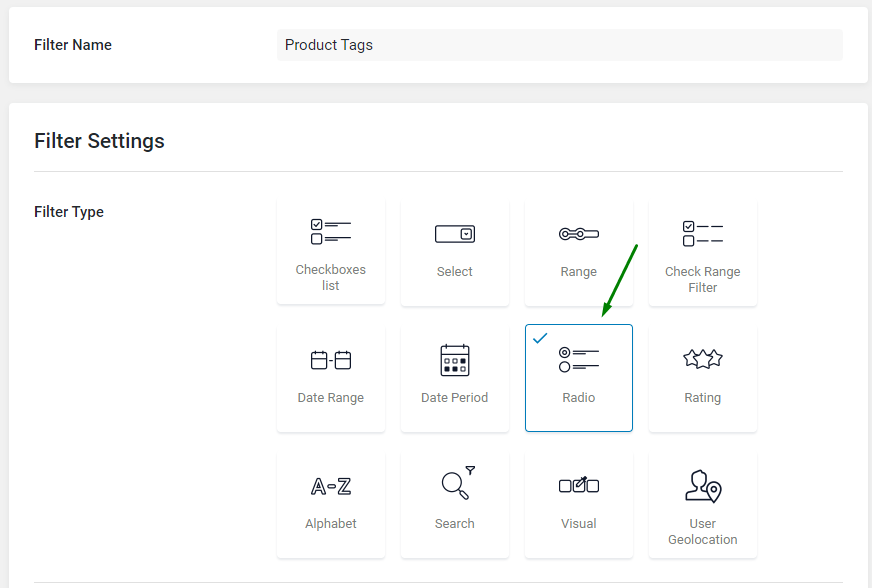
Now, we build another filter using the product tags as a source.
We selected a “Radio” Filter Type.
We selected “Taxonomies” as a Data Source and “Product tags” as the Taxonomy. You can also configure all other options as per your requirements.
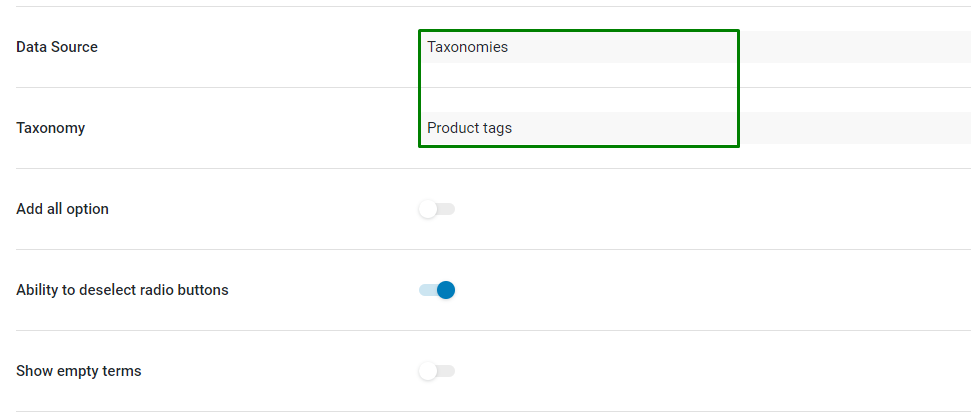
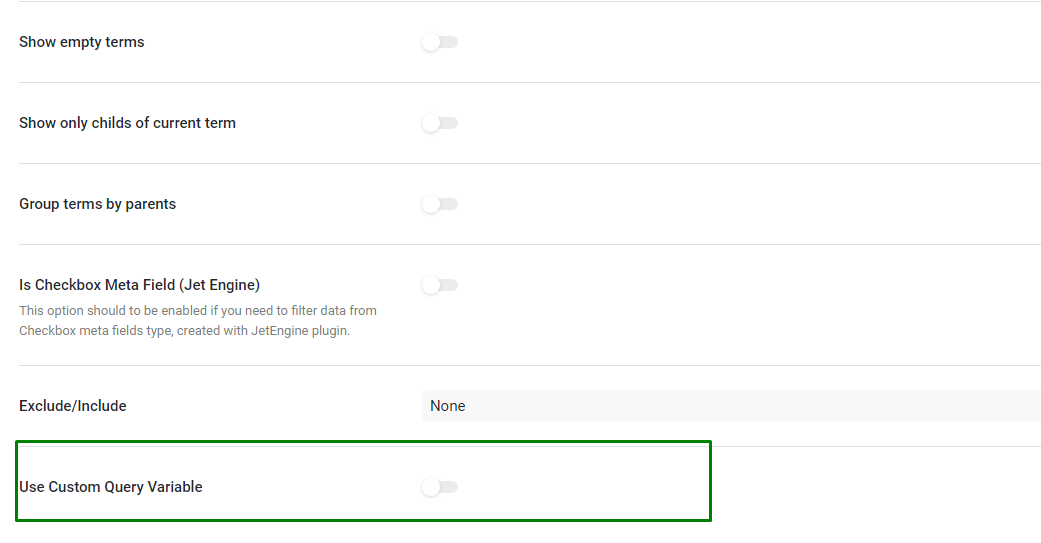
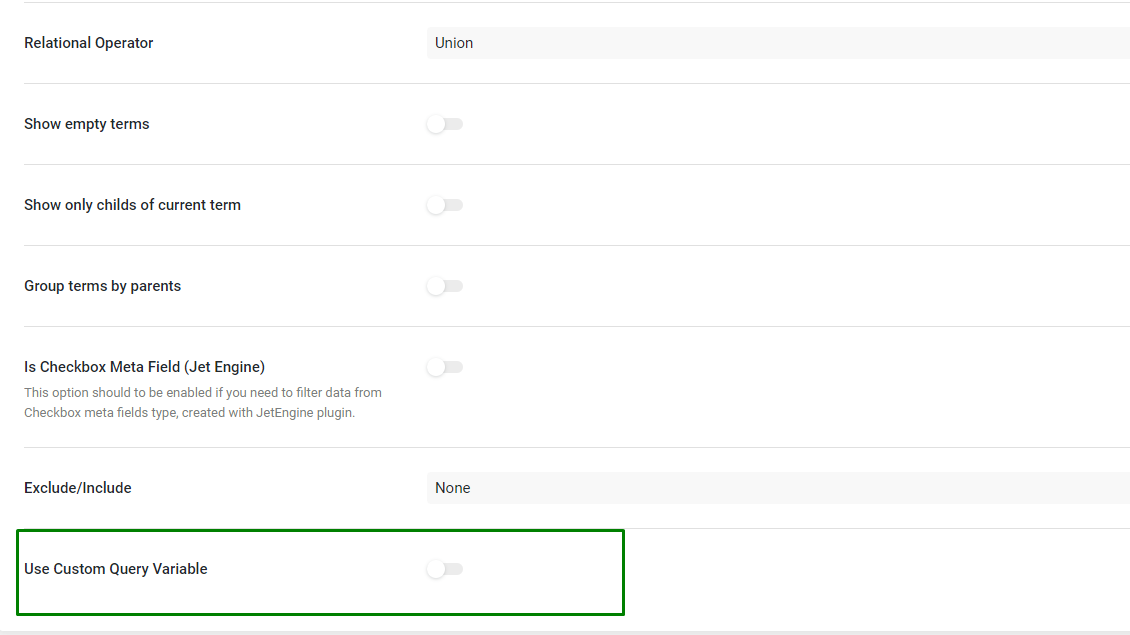
Remember that the Query Variable field does not need to be filled in if the Data Source is a taxonomy. Therefore, we keep the Use Custom Query Variable switcher disabled.
At this point, the filter can be saved.
Filter by product attributes
We can move on to creating another filter by product attributes. Add a new filter and pick the “Checkboxes list” Filter Type.
WooCommerce creates the product attributes as a taxonomy, so we select “Taxonomies” as a Data Source. And the Taxonomy is a “Product Color.” You can choose any product attribute according to your needs.
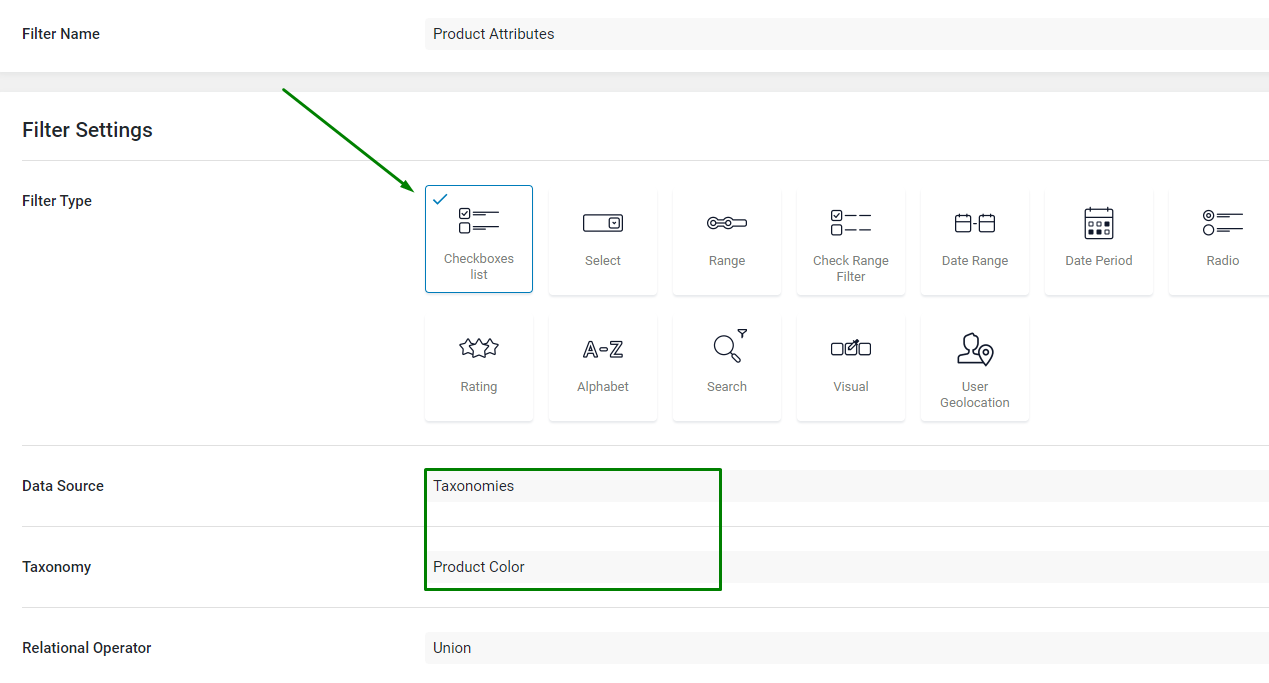
Apply other settings according to your needs. Remember that the “Taxonomy” source does not need a Query Variable selected, so we keep the switcher disabled.
This filter can also be saved now.
Filter by product ratings
Lastly, let us create another filter that uses product ratings as a source.
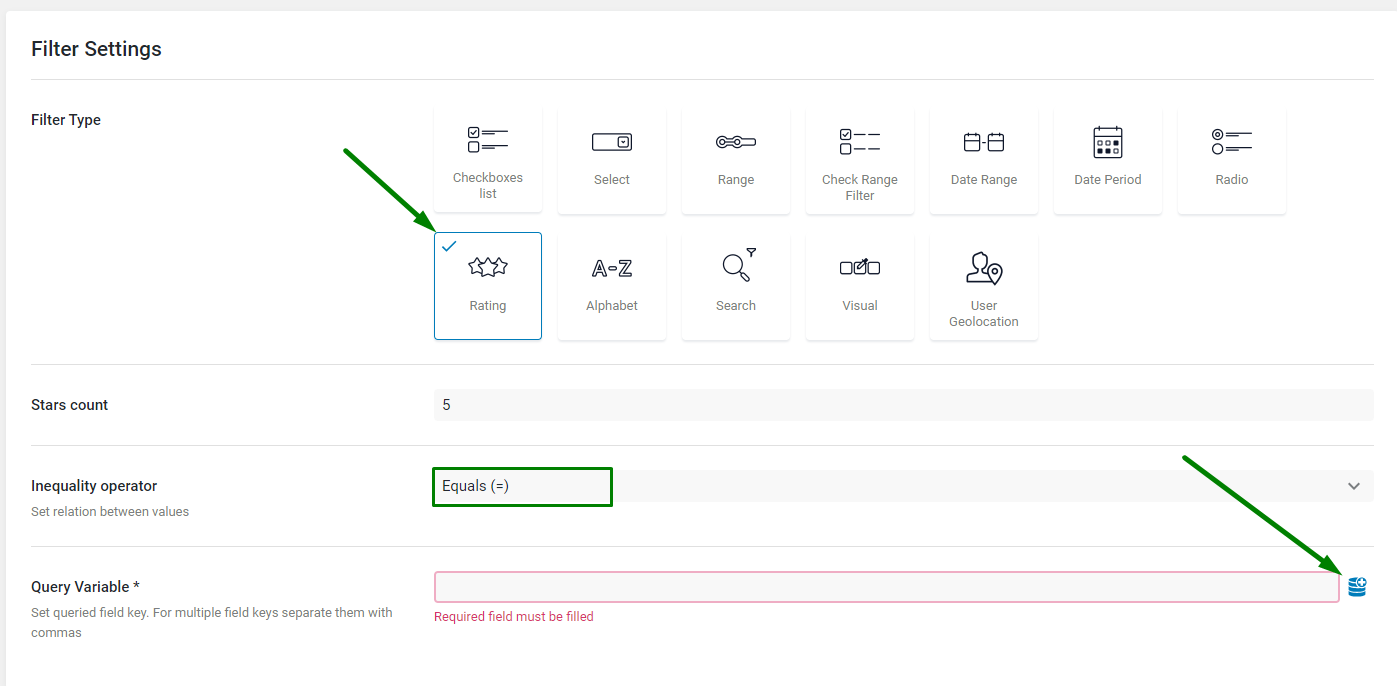
Therefore, we select a “Rating” Filter Type. You can edit the Stars count and select the needed Inequality operator.
To add a Query Variable, click on the “Dynamic Tag” icon on the right side of the field.
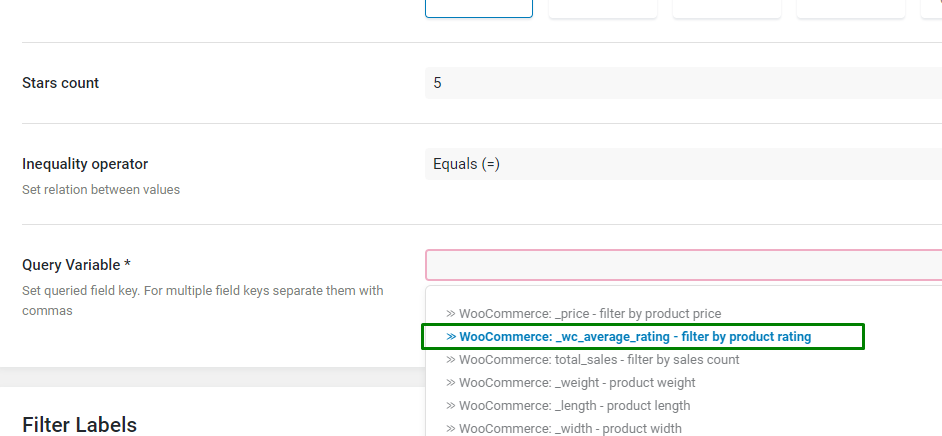
Choose the “_wc_average_rating” field. After selecting the rating field, the filter can be saved.
Add Woocommerce Shortcode to Page
At this point, create a new page or edit an existing one to add the WooCommerce Shortcode.
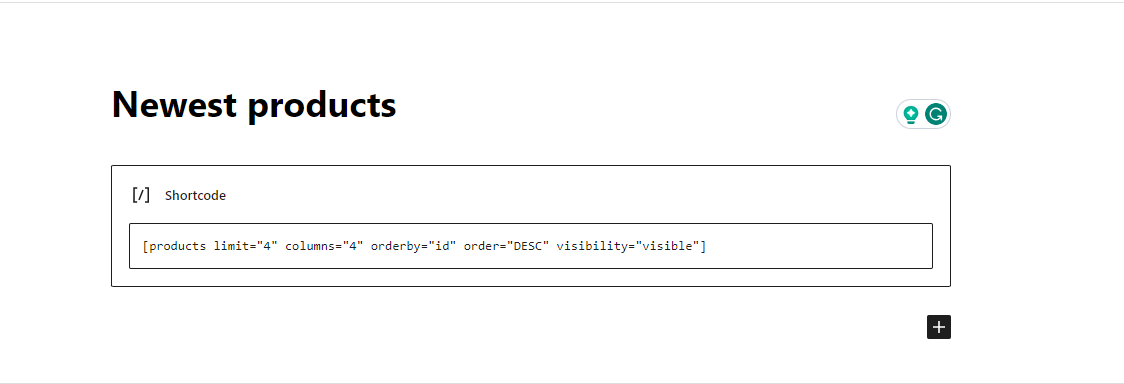
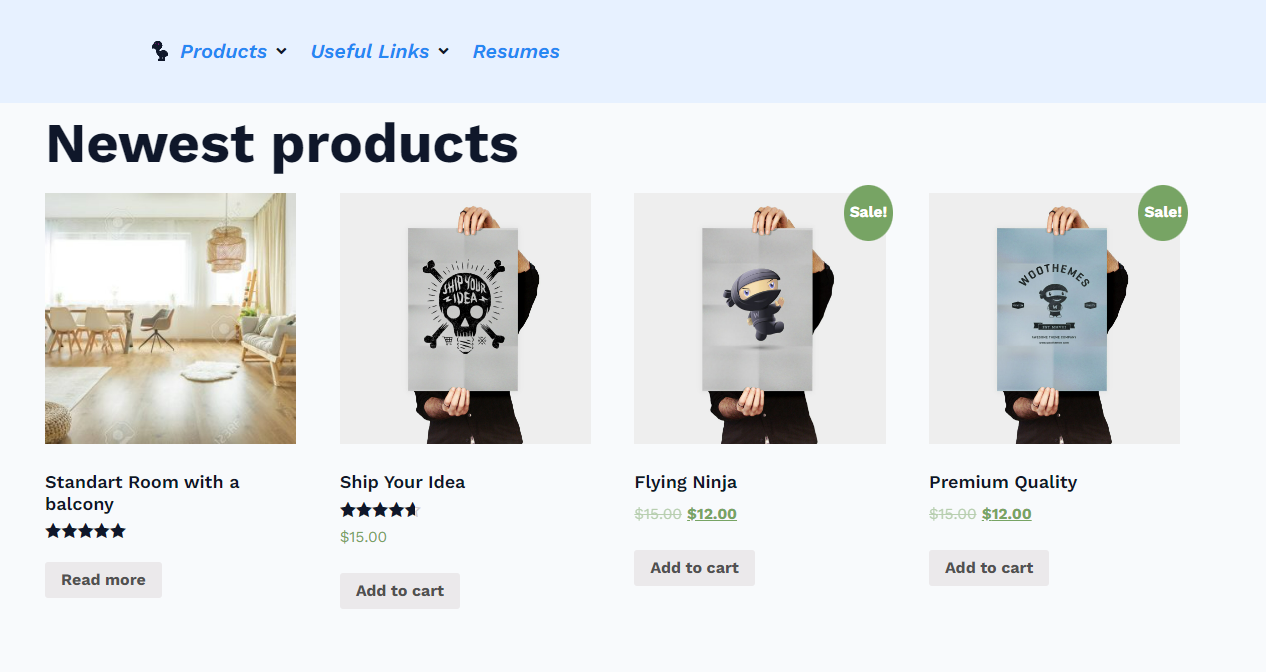
In this example, we want to show the most recent products for which the following shortcode can be used:
[products limit=”4″ columns=”4″ orderby=”id” order=”DESC” visibility=”visible”]
Various shortcodes can be created to display the products according to any need.
See the complete list of Woocommerce Product Shortcodes in the WooCommerce Documentation.
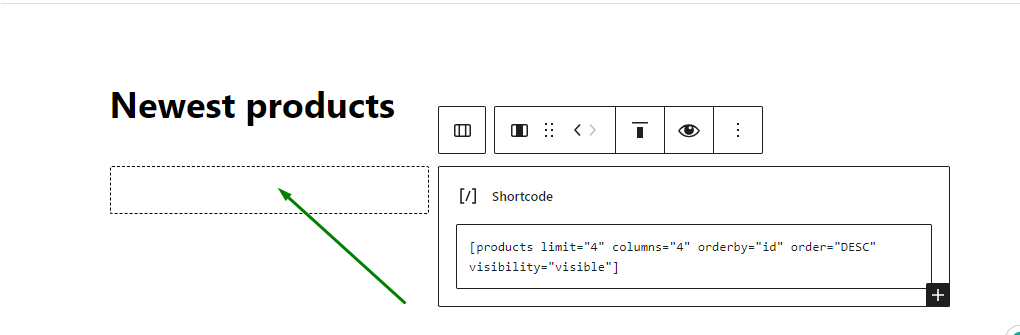
Add a Shortcode block to the page and insert the needed WooCommerce Shortcode there.
If we check the page on the front end, the newest products can be seen now.
Set Up Filters for Woocommerce Shortcode
Move on to adding the filters.
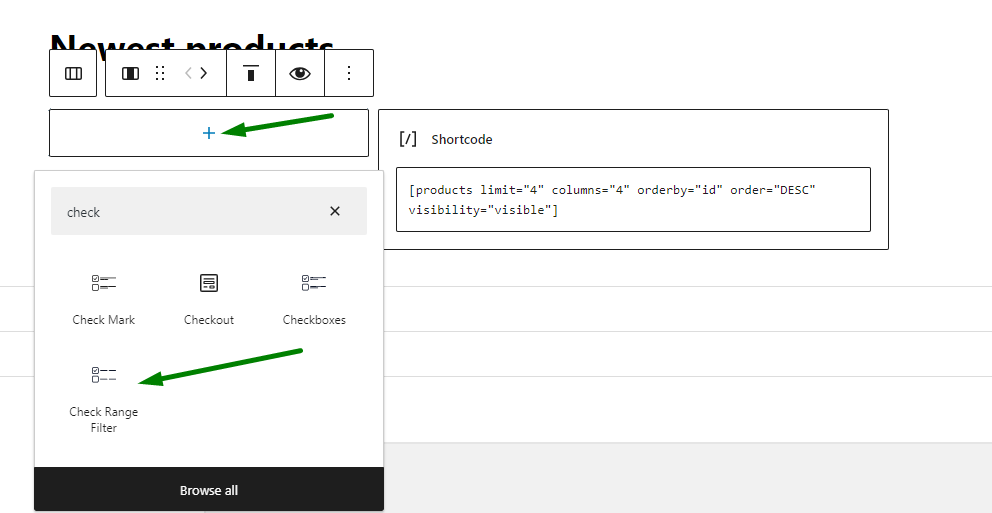
Firstly, add a column where the filters will be displayed.
We add the Check Range Filter block in this new column by clicking the plus icon.
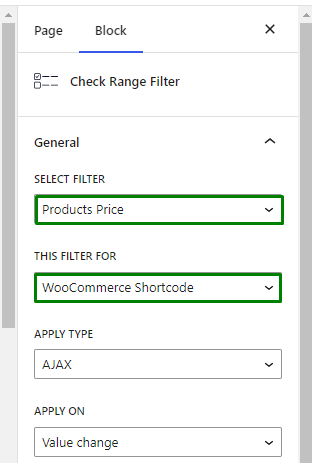
In the filter settings, we pick the “Products Price” filter and select the “Woocommerce Shortcode” option as a filter provider in the This Filter For field.
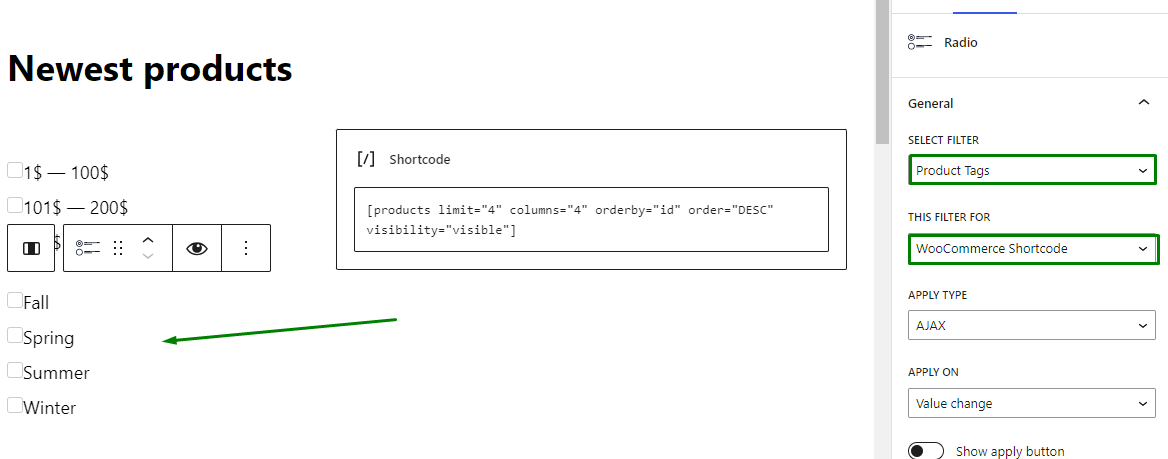
Next, we can add a block of a Radio filter to output the filter by product tags.
We select the “Product Tags” filter and the “Woocommerce Shortcode” as a provider (This Filter For field).
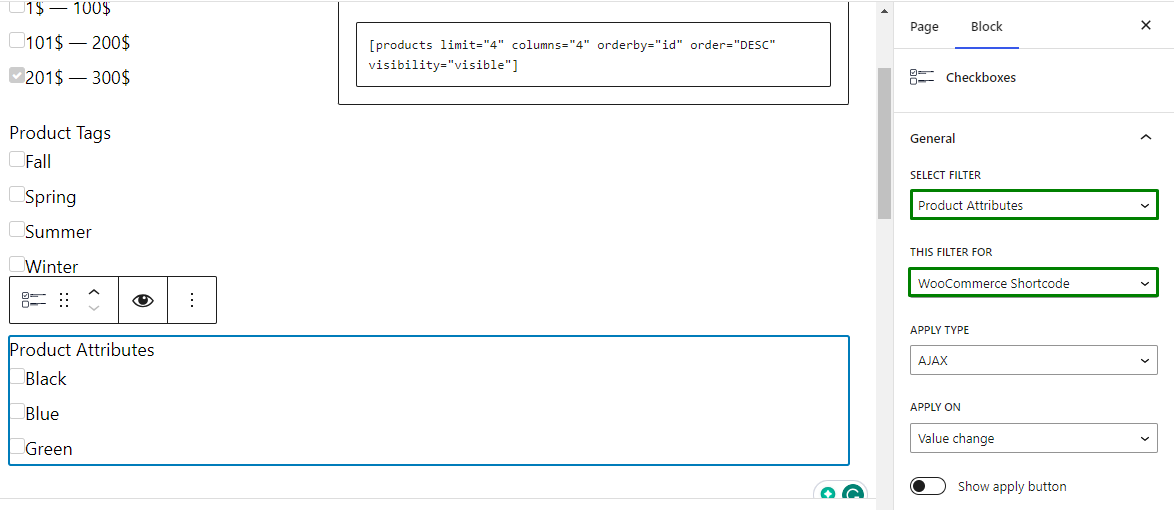
The next block to be added is Checkboxes. We pick the filter by “Product Attributes” and select the “WooCommerce Shortcode” in the This Filter For field.
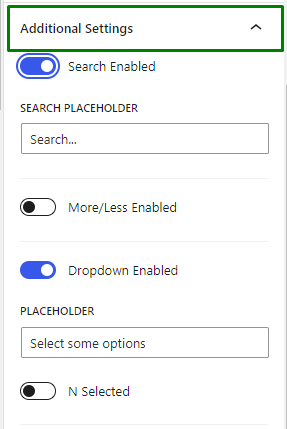
Do not forget that in the Additional Settings tab of the Checkboxes or Radio filter blocks, you can manage the layout of the filter.
For this filter, the Search Enabled and Dropdown Enabled features were activated.
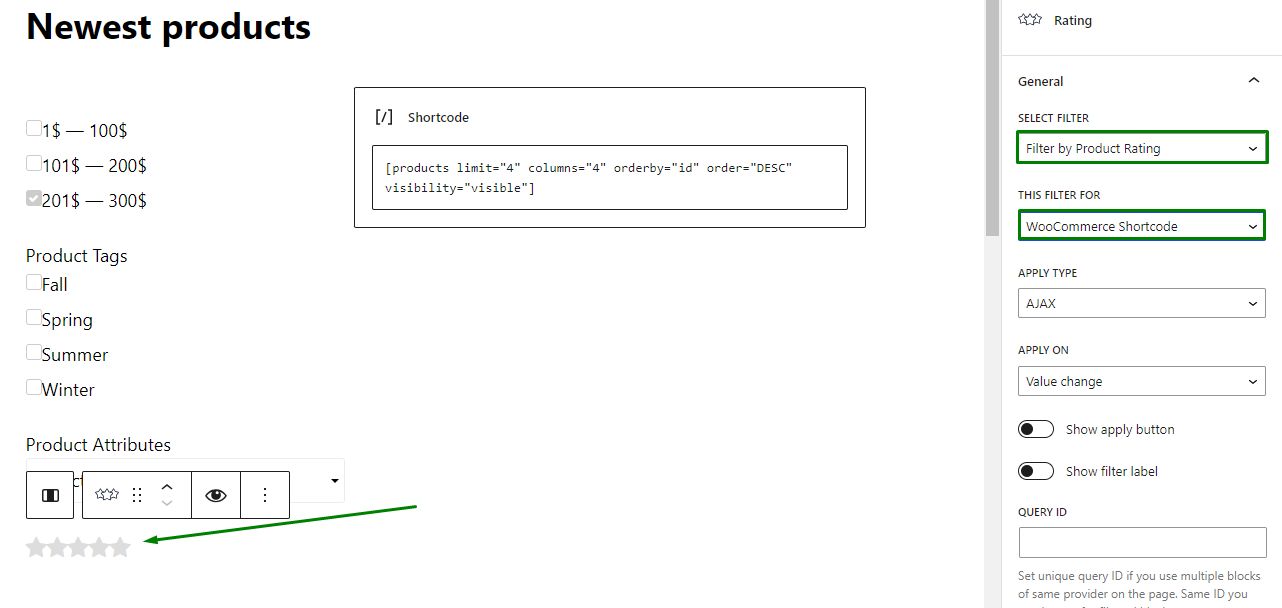
Lastly, we can add the Rating block to the page.
We pick the filter by product rating and select the “Woocommecre Shortcode” as a provider in the This Filter For field.
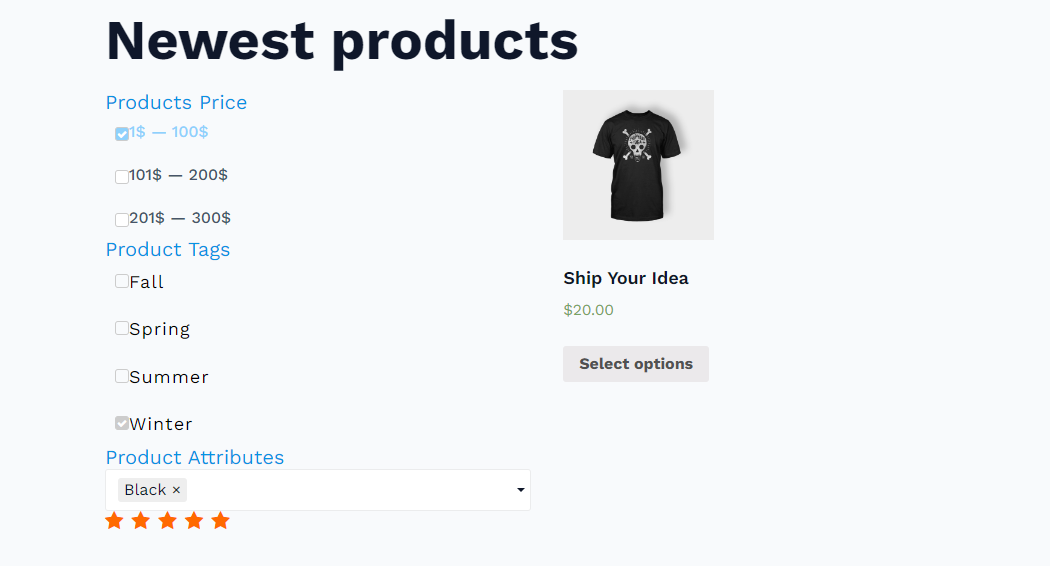
Now the page can be saved and checked on the front end.
Select some filter options, and the relevant product is now displayed.
That’s all about filtering the WooCommerce products output using the WooCommerce Shortcode with the JetSmartFilters plugin.