How to Create a WordPress Single Post Page Template
From this tutorial, you will learn how to create a WordPress Single Post page with the JetThemeCore plugin that provides theme builder functionality and hundreds of templates
Before you start, check the tutorial requirements:
- Elementor (Free version) or Block editor (Gutenberg)
- JetThemeCore installed and activated
- JetEngine plugin installed and activated
When you use a theme for the website, it already has a post template by default. It consists of different elements: a title, the content block, a featured image, metadata, comments, etc.
Whenever you publish a new post, it automatically has the layout and design configured in the theme’s template.
Create Single Post Page Template in Elementor
Let’s explore how to build a single post page template with Elementor. Mind that you can repeat the same using Block Editor as the building process will be similar to the described one.
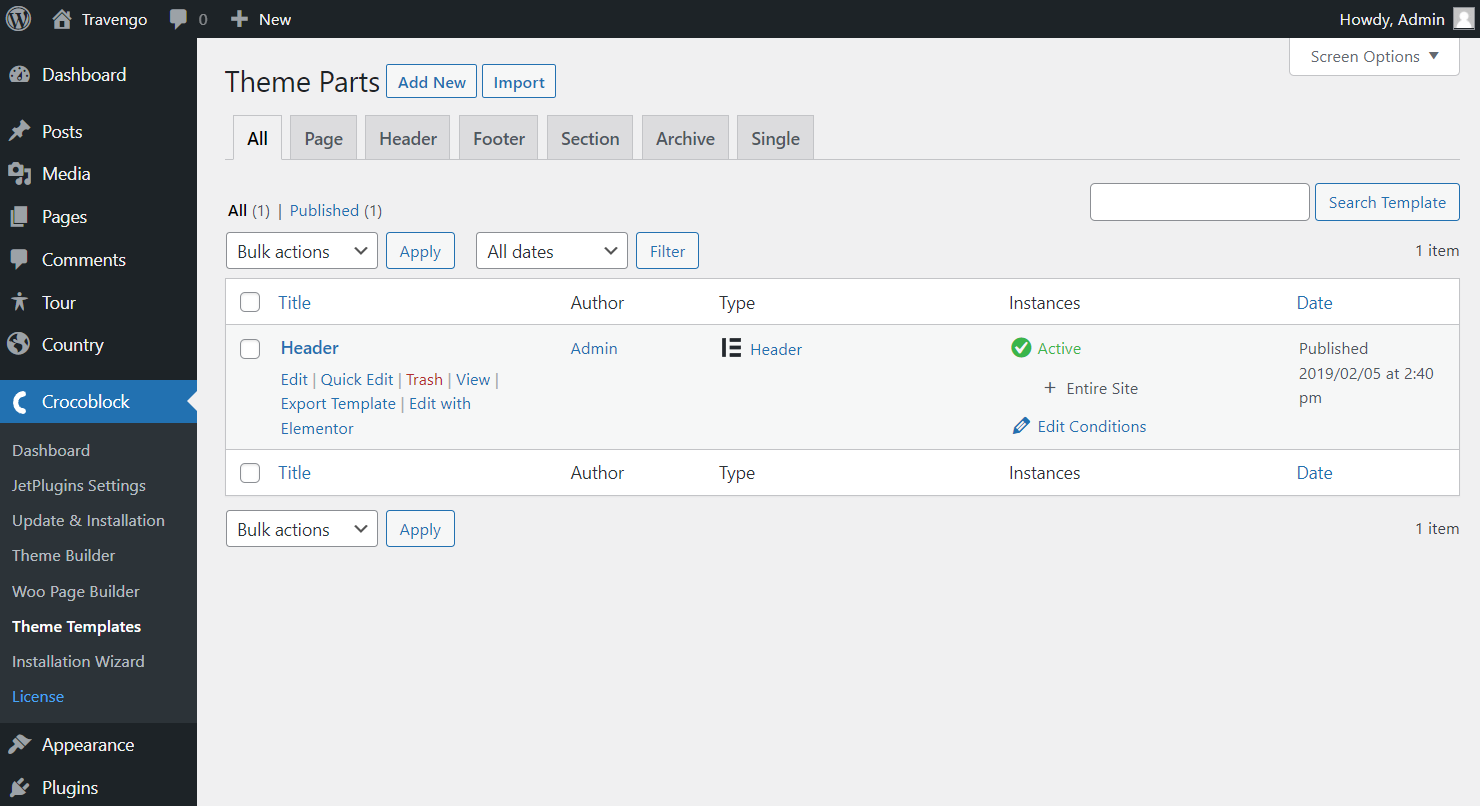
Navigate to WordPress Dashboard > Crocoblock > Theme Templates and press the “Add New” button.
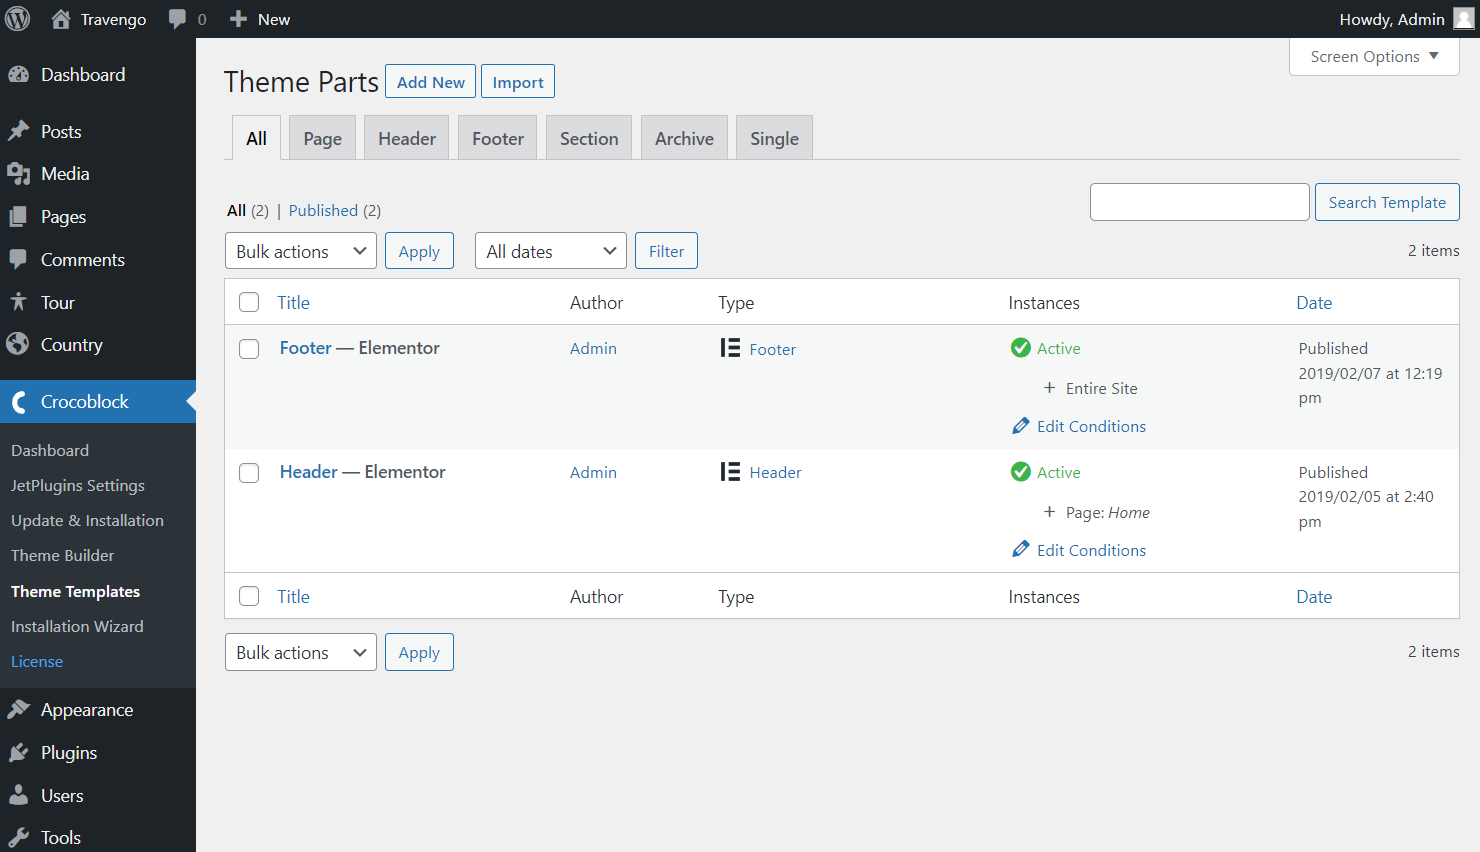
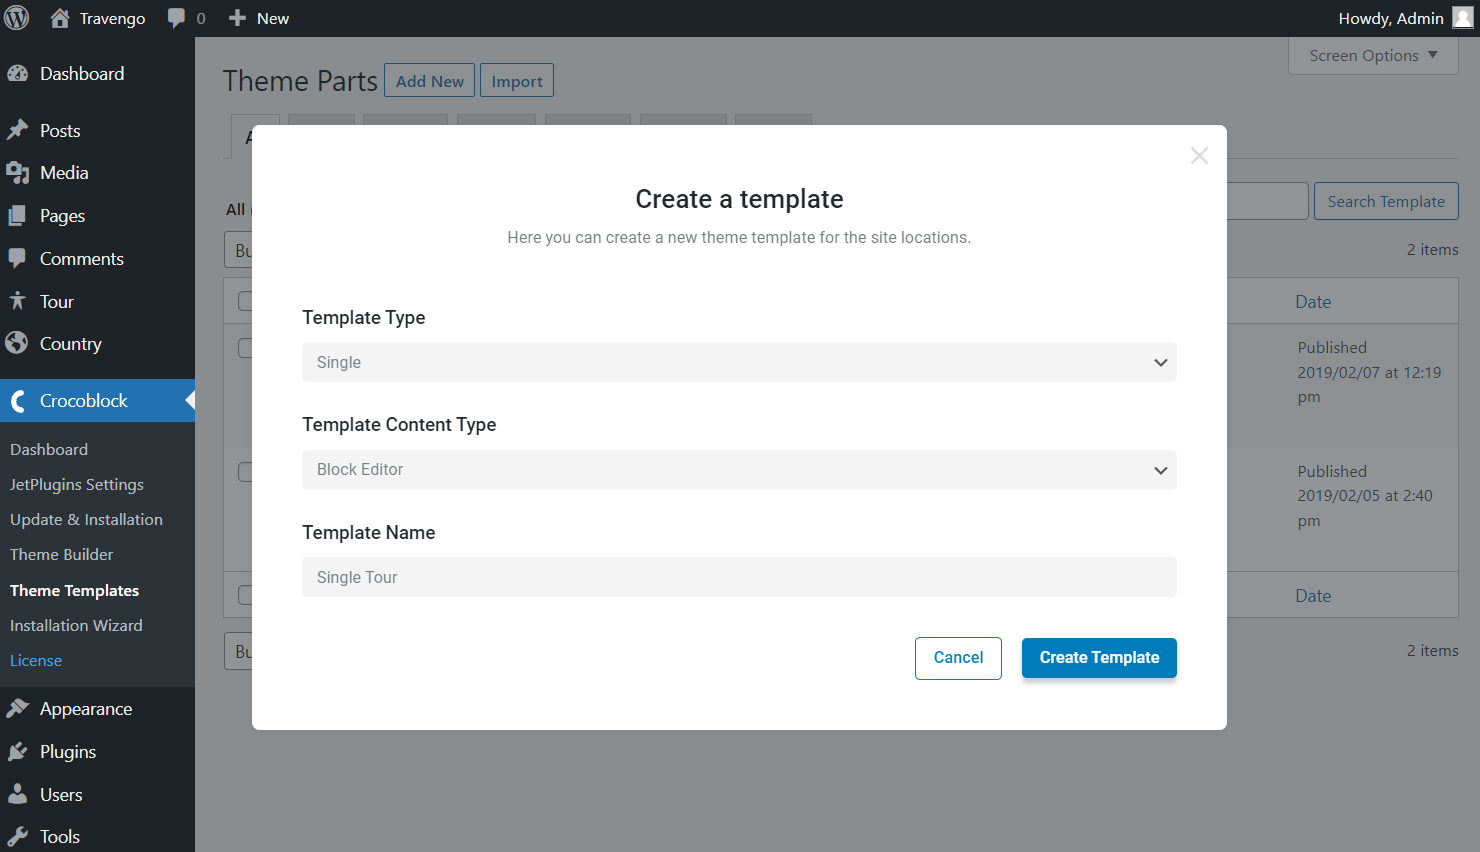
In a pop-up window that asks you to select the Template Type, the “Single” option should be picked. Once done, choose “Elementor” in the Template Content Type drop-down list. Besides, you can enter the Template Name (e.g., Single Page). Or leave the field empty for it to inherit the automatically generated title.
Then click the “Create Template” button to proceed to the editor.
As Elementor editor opens, you’ll be able to create the post template and style it according to your needs using any widget you consider suitable. You can use the JetEngine widgets for displaying dynamic content, like meta fields or repeaters for the Single Post page.
Please note that you can display the default post data, such as post title and content, using the Dynamic Field widget.
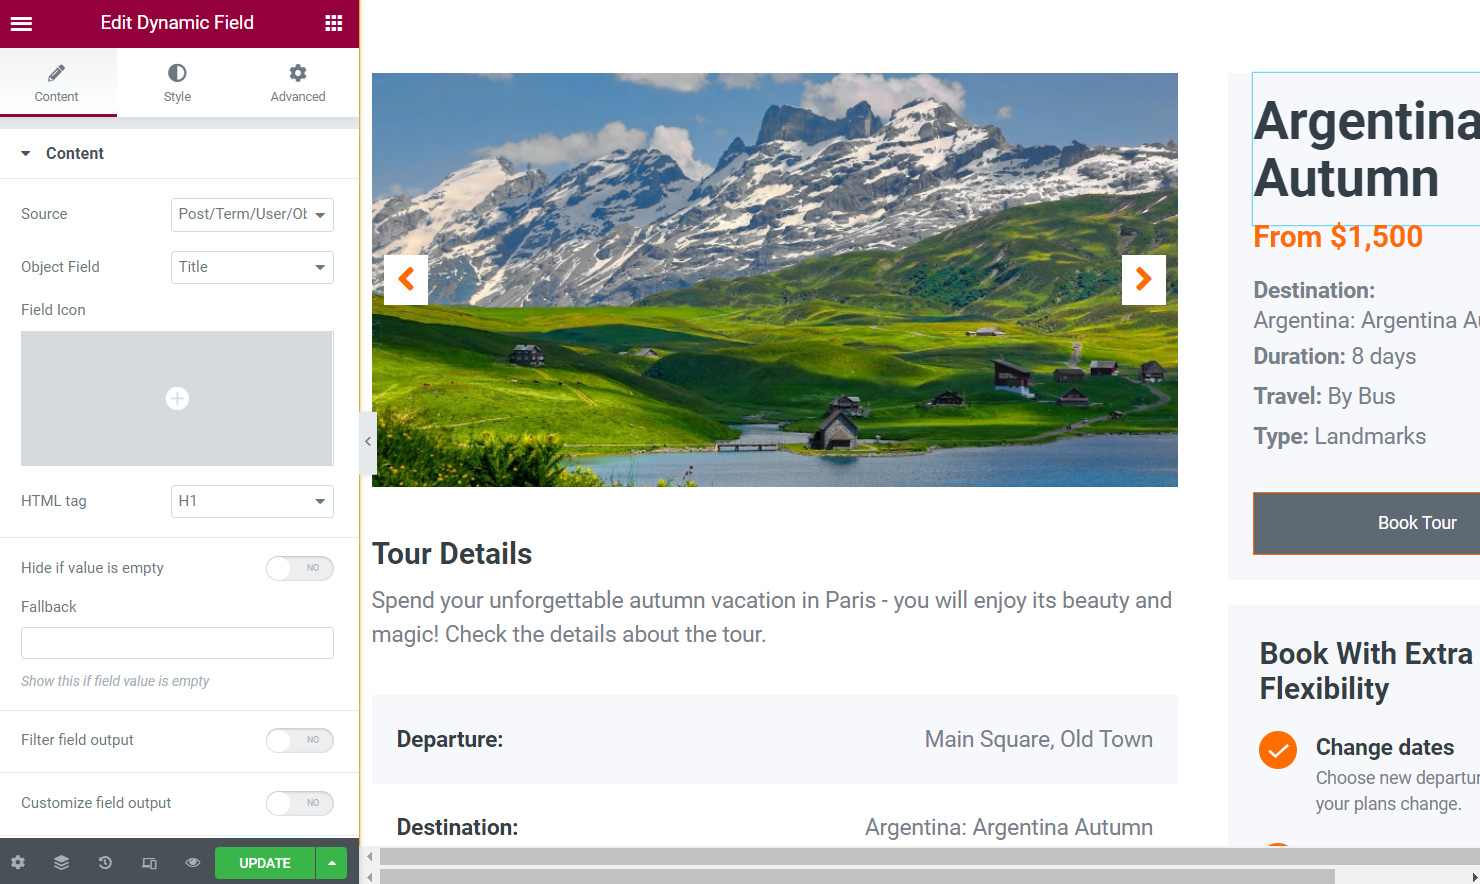
Next, hit the “Update” button to save the changes and return to WordPress Dashboard > Crocoblock > Theme Templates.
We need to set the conditions, so click the “Edit Conditions” button next to the desired single item in the Instances tab.
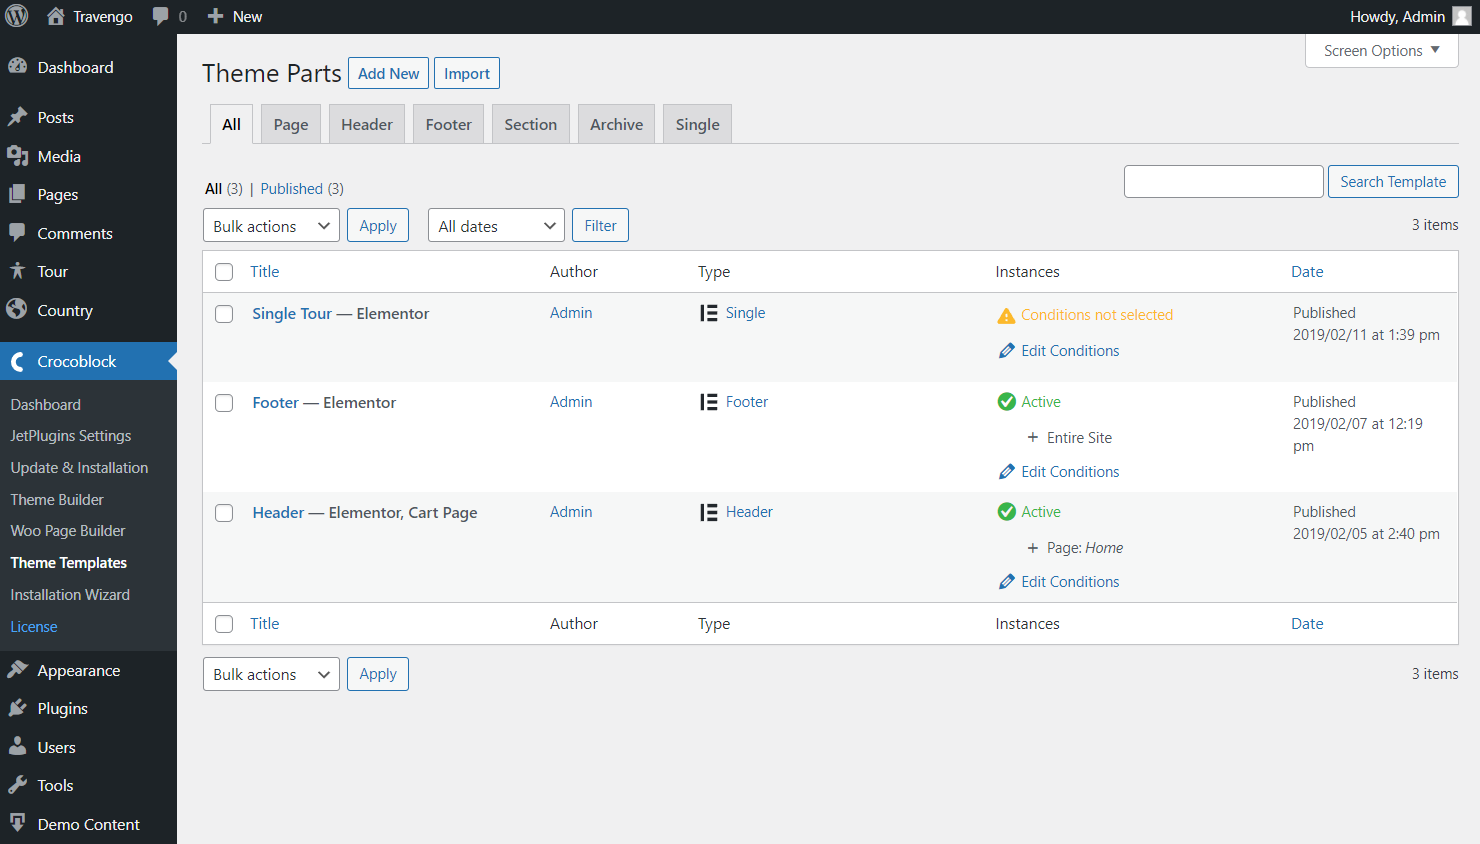
The opened pop-up includes the “Add Condition” button. Push it to activate drop-down menus with further customizations.
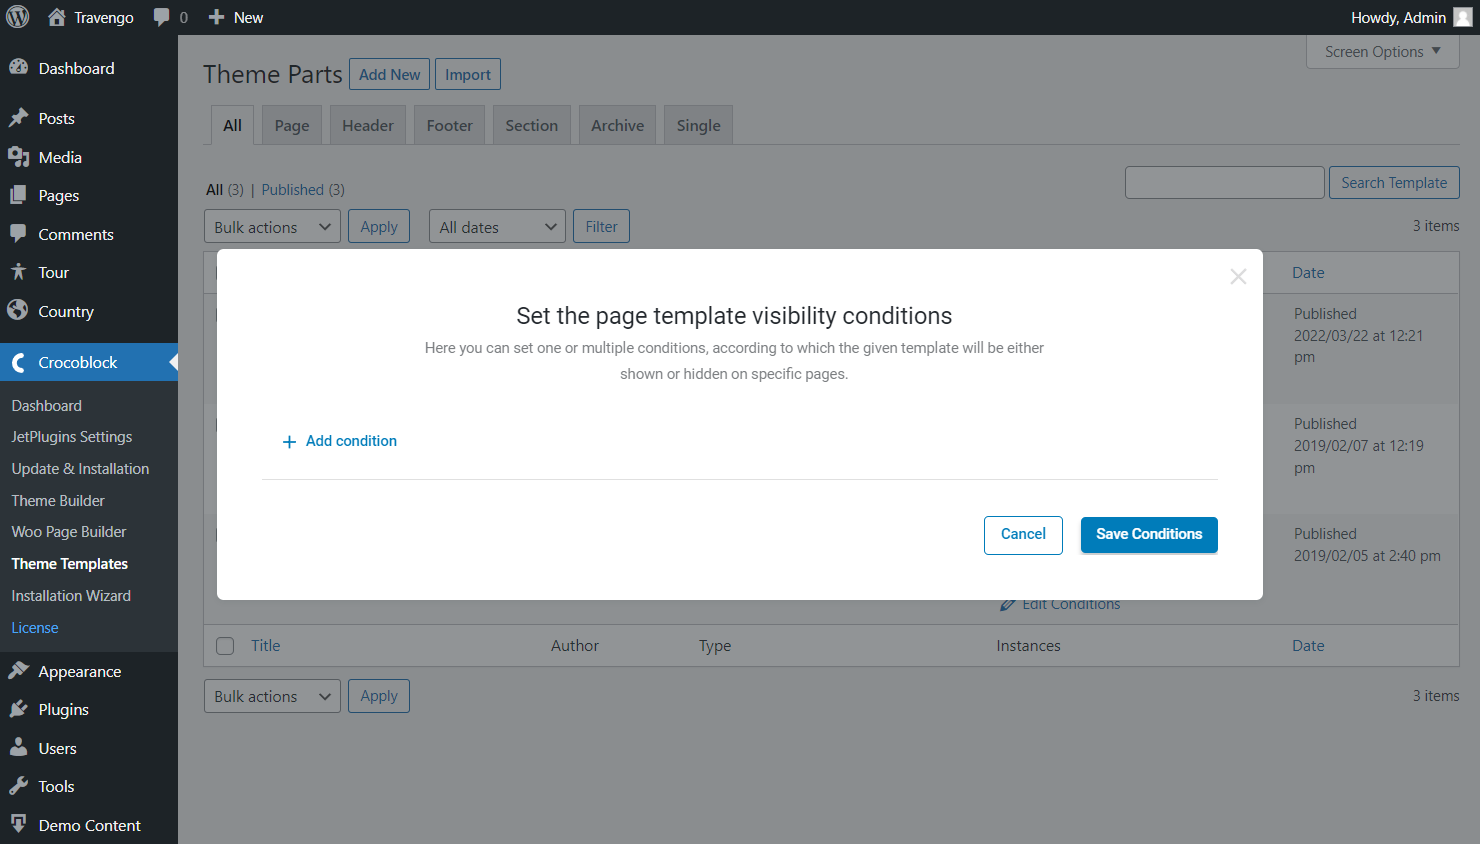
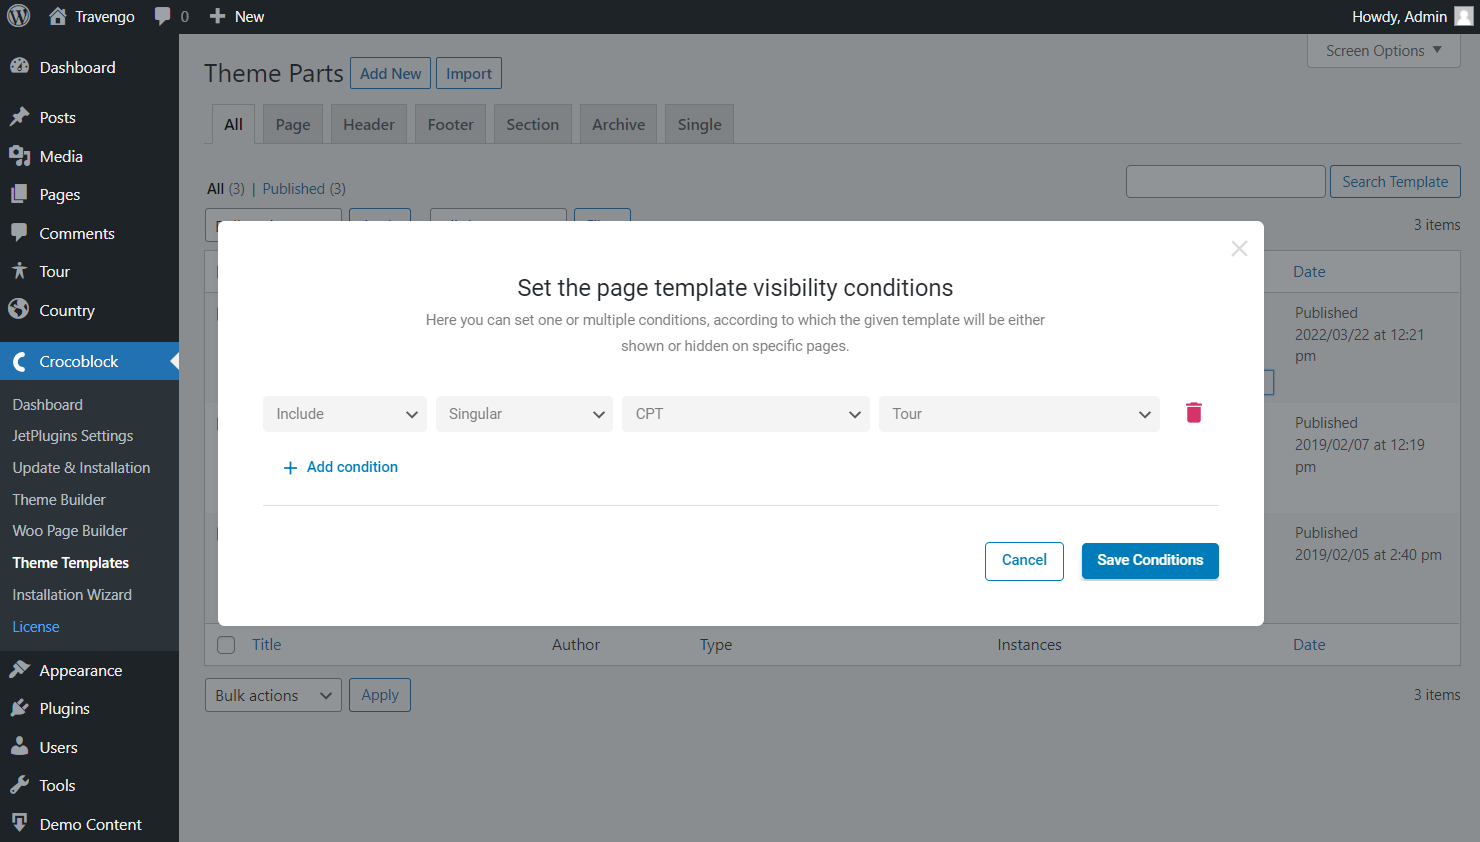
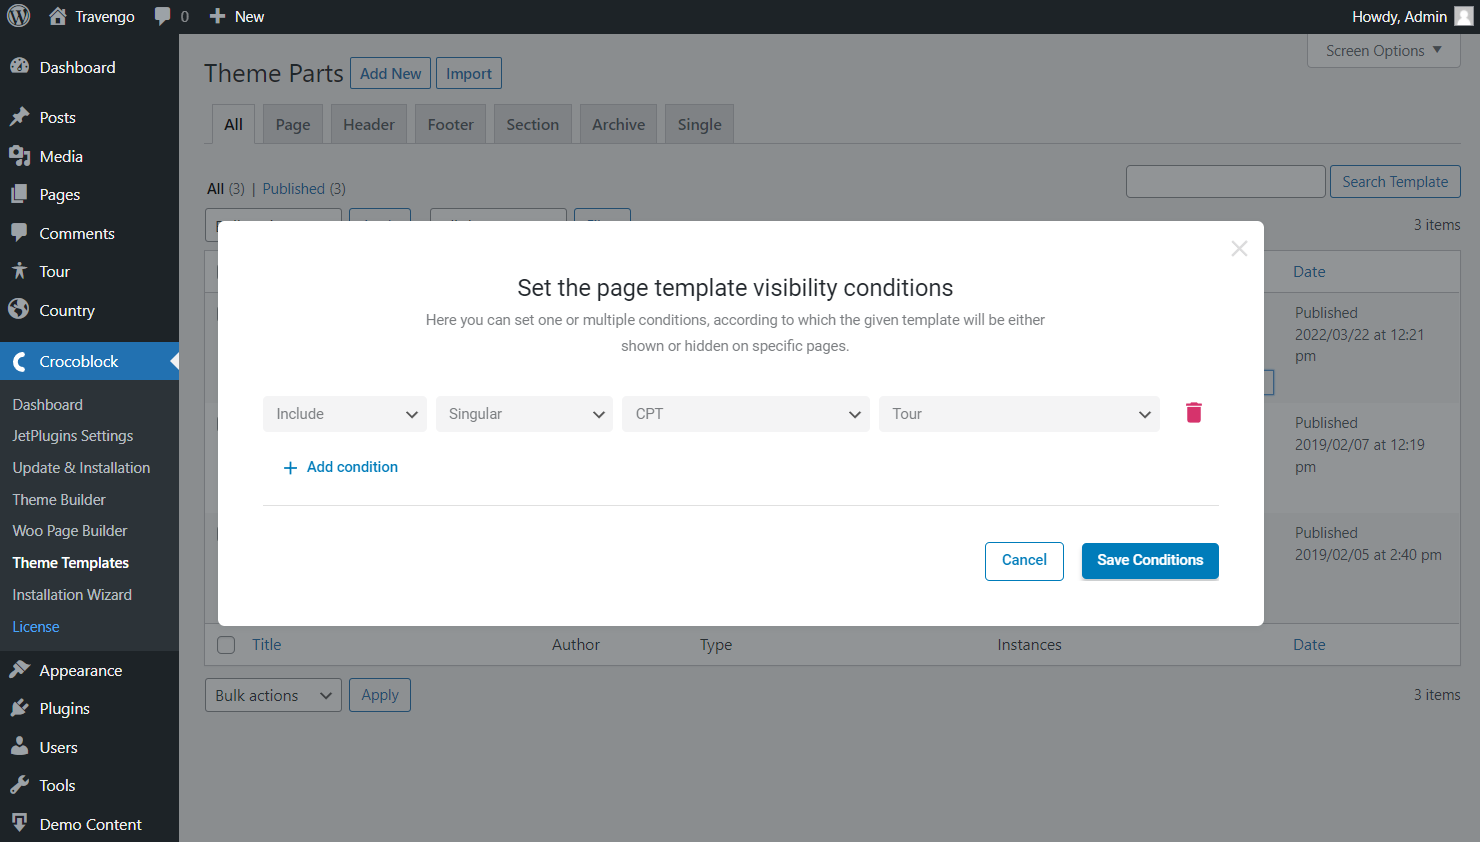
Among all the presented alternatives, select the “Include” option in the primary selector, then choose the “Single” and “CPT” options to specify the CPT in the last menu.
Mind pressing the “Save Conditions” button to save the selected options.
Finally, feel free to view the results by opening the custom post on the website.

That’s it; the single page is displayed right as we have built it in the editor.
Create Single Post Page Template in WordPress Editor
Except for Elementor, similar steps can be taken to create a WordPress single page with the help of Block Editor.
Initially, proceed to the WordPress Dashboard > Crocoblock > Theme Templates. There is the “Add New” button, which you should click to open the pop-up with primary customization fields.

Select the “Single” option in the Template Type field, and define “Block Editor” as the Template Content Type. Additionally, you can complete the Template Name field or skip it as it is not obligatory.
Push the “Create Template” button to open the template editor.

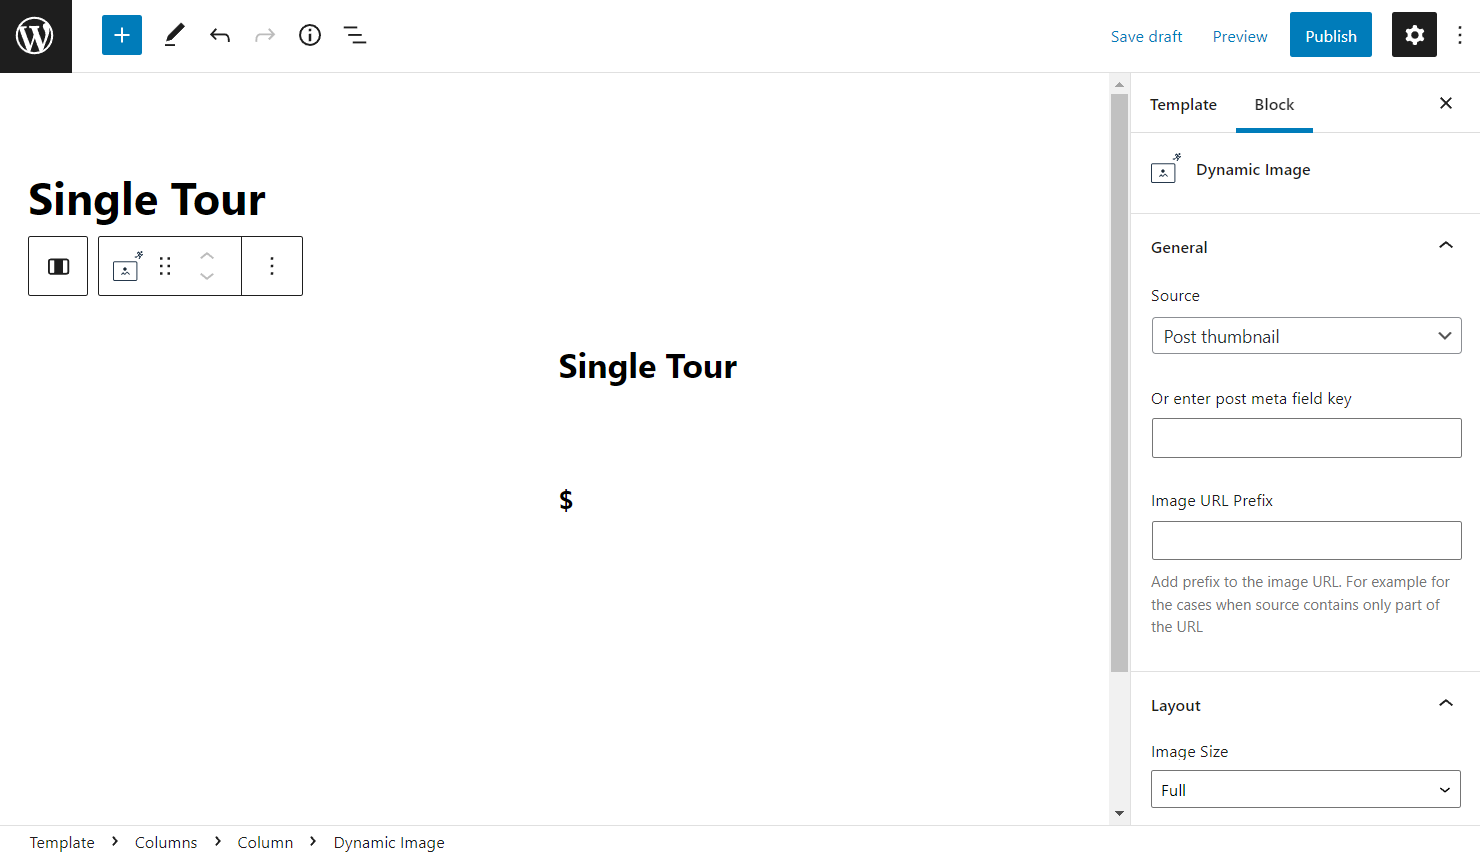
Now you can add the desired blocks to the template. Mind that not all blocks correspond to the widgets available in Elementor. However, the ones presented with the JetEngine plugin also remain in the Block Editor.
Don’t forget to hit the “Update” button to save the desired changes.
The work isn’t done yet. Now we need to set the template visibility conditions. Return to WordPress Dashboard > Crocoblock > Theme Templates and press the “Edit Conditions” button.
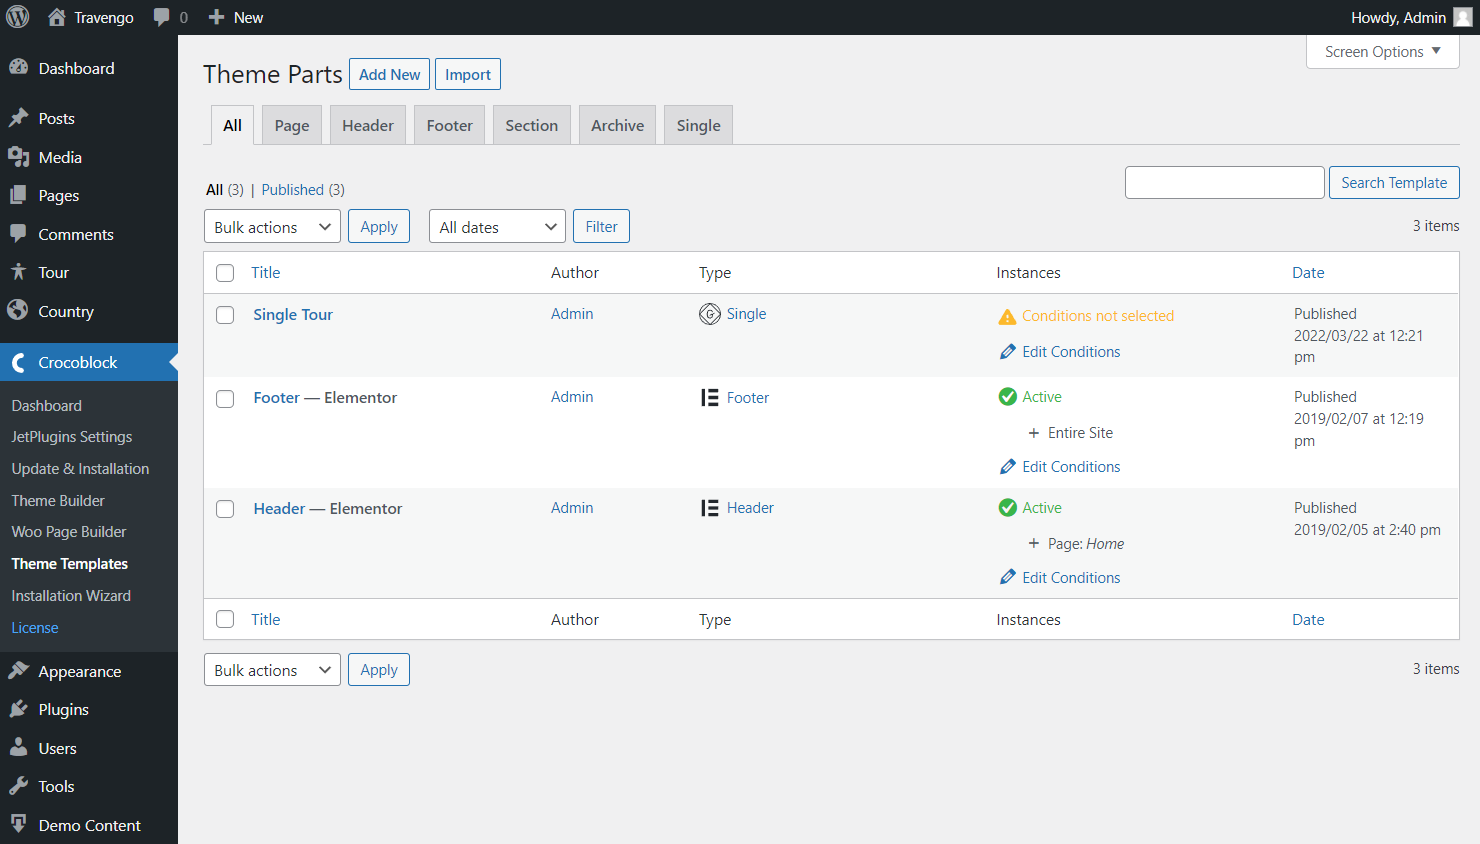
Hit the “Add Condition” button in the appeared pop-up to define the needed conditions.
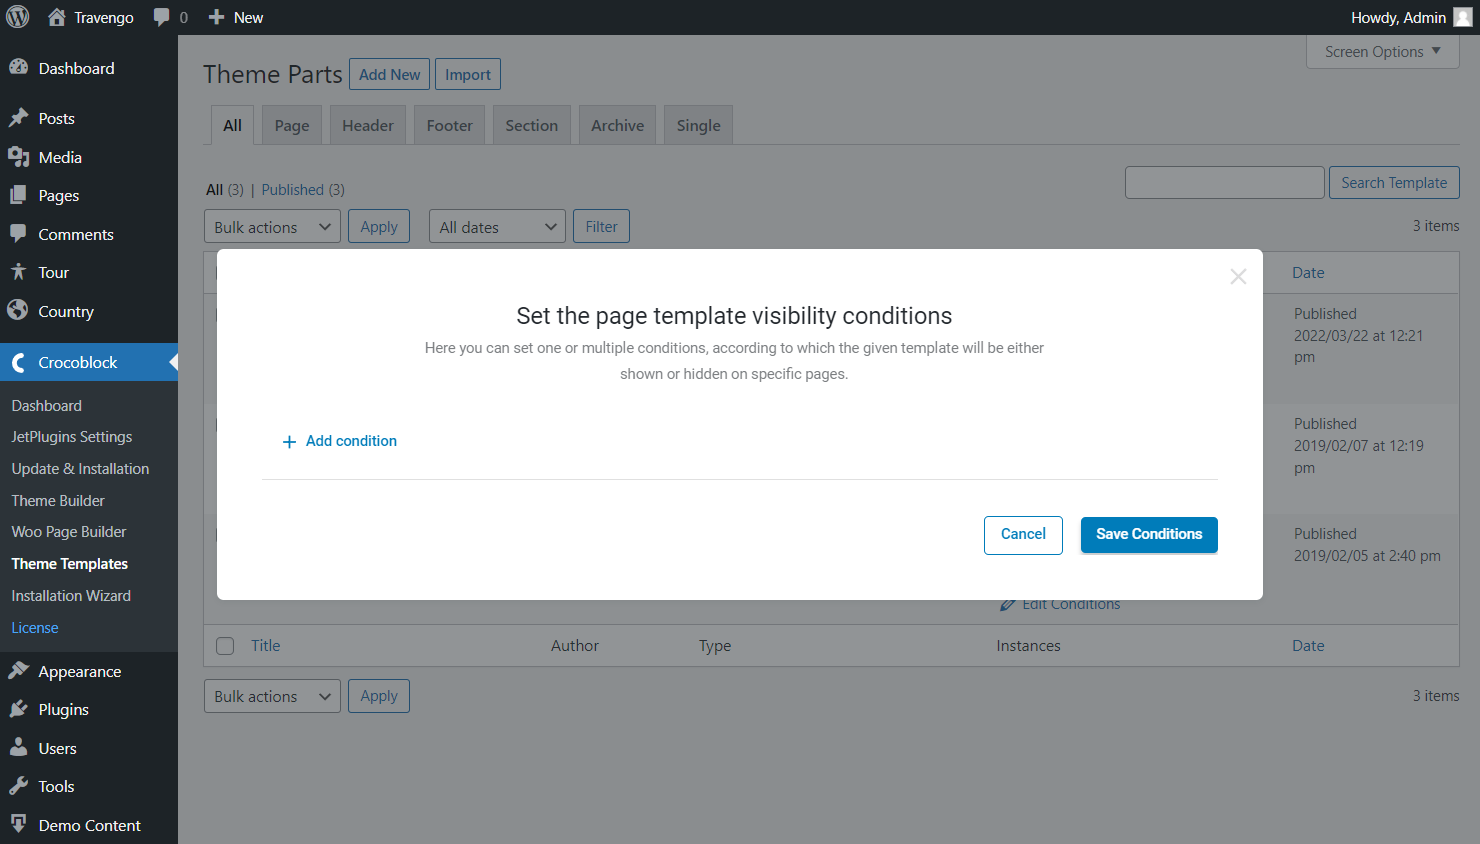
The first drop-down should be set as “Included,” then proceed to the second one, where the “Single” option should be selected. Once you pick the “CPT” option in the last selector, one more menu should appear to specify the CPT.
Push the “Save Conditions” button after selecting all the required options.
Head to the front end to see the result. Ultimately, all the blocks pull the dynamic data from the opened post, so the result is achieved.

Build a Structured Single Page Template
However, there is one more way to create an even more independent single page with the help of the Theme Builder feature, available with the JetThemeCore plugin.
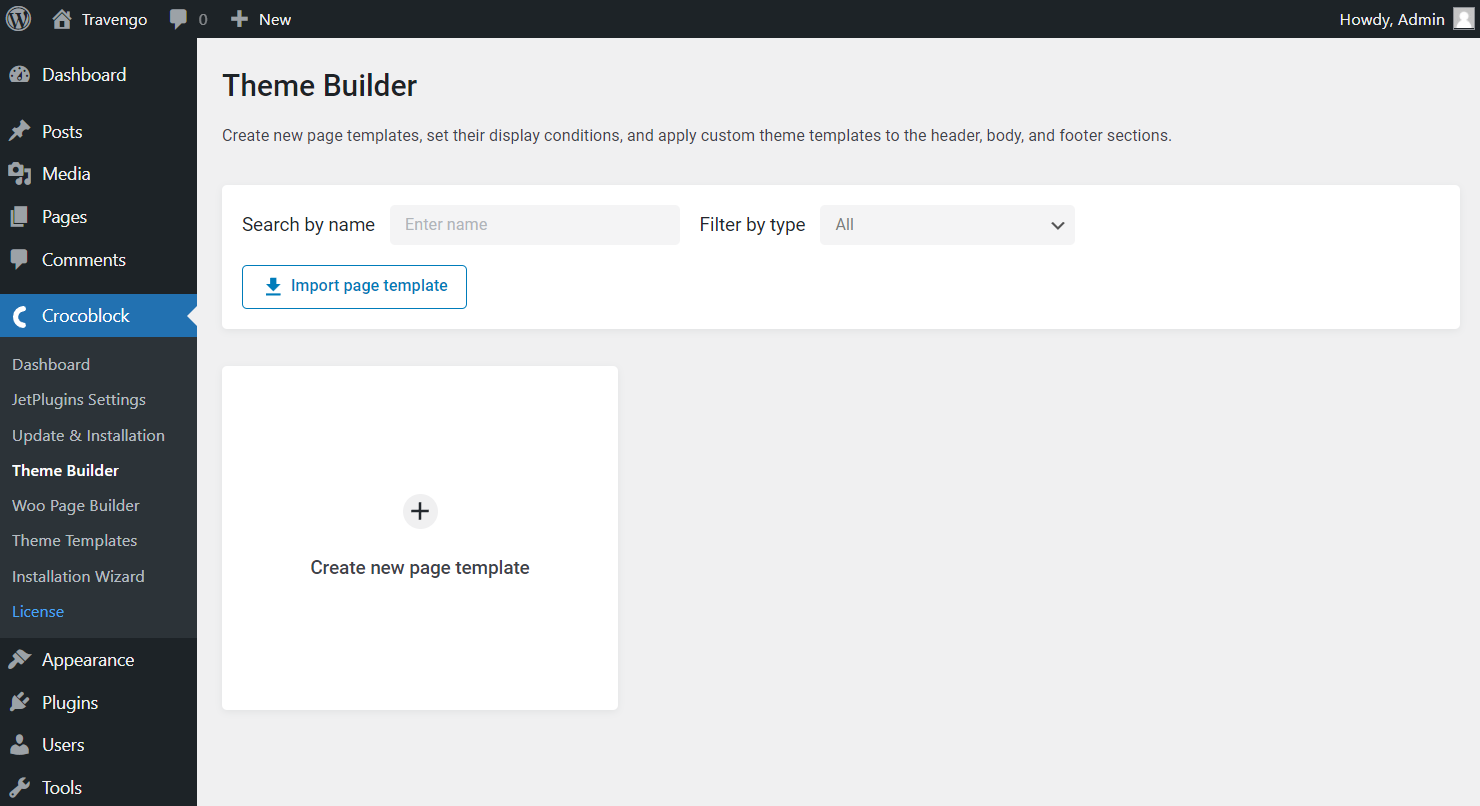
So, head to WordPress Dashboard > Crocoblock > Theme Builder. Here all the page templates you create for the WordPress website are kept.
Hit the “Create new page template” button to begin.
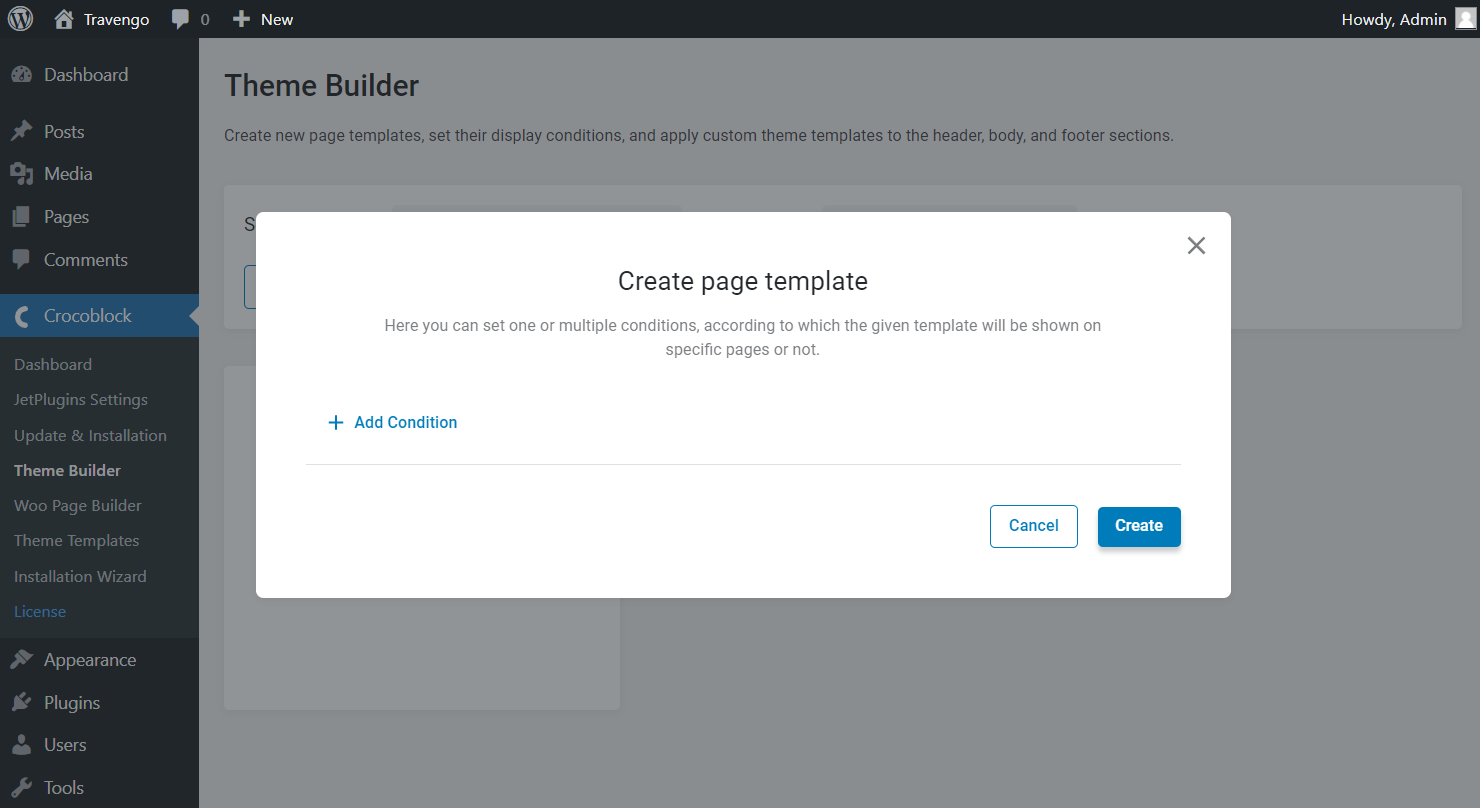
Now you can see the newly opened conditions editing window. Press the “Add Condition” button to set the first condition or skip it by pressing the “Create” button.
Don’t worry; you will have an opportunity to work on conditions later.
We need to set the following options to display the template directly on the required single page. So, primarily pick the “Include” option, then select “Single” and choose what is the single template for.
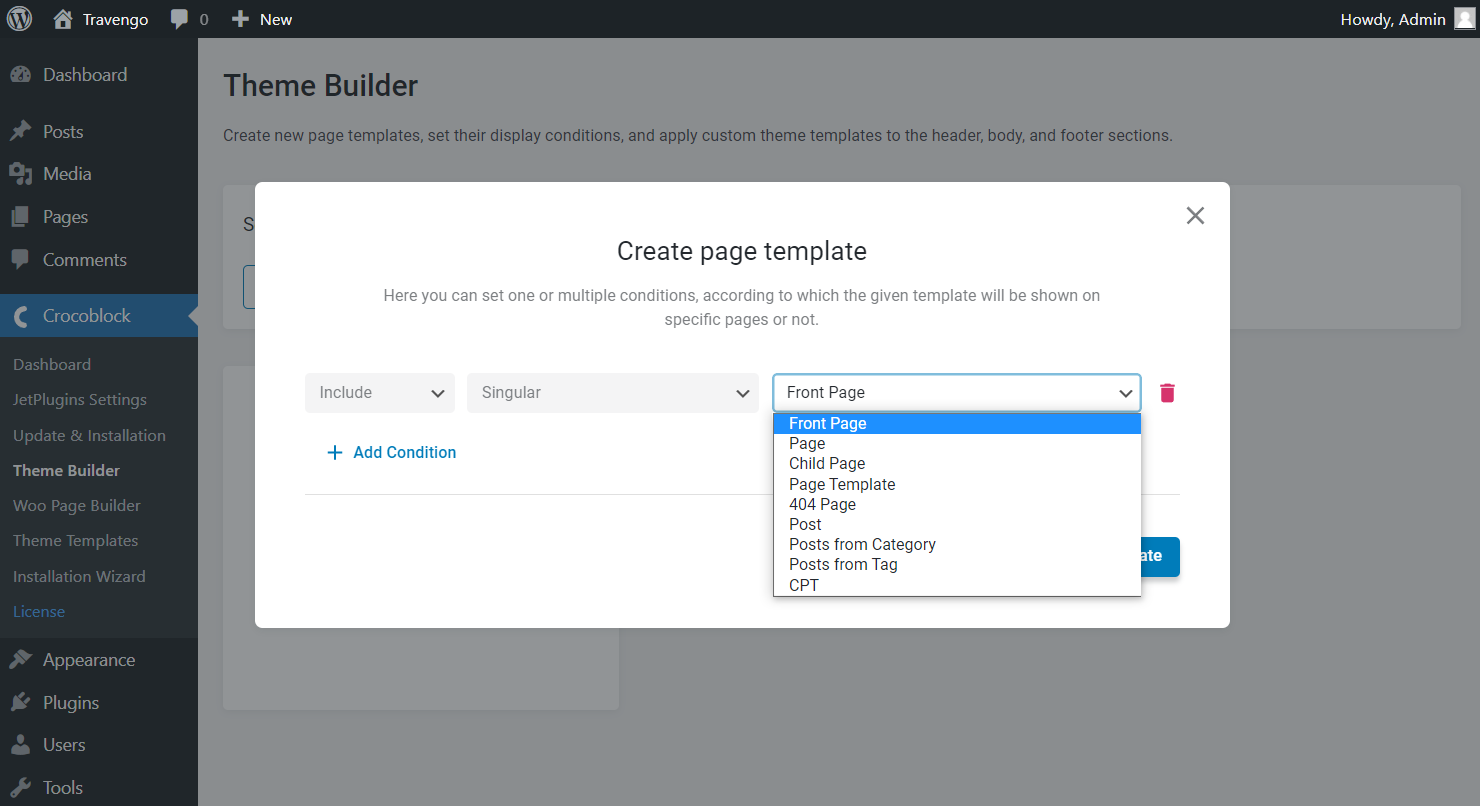
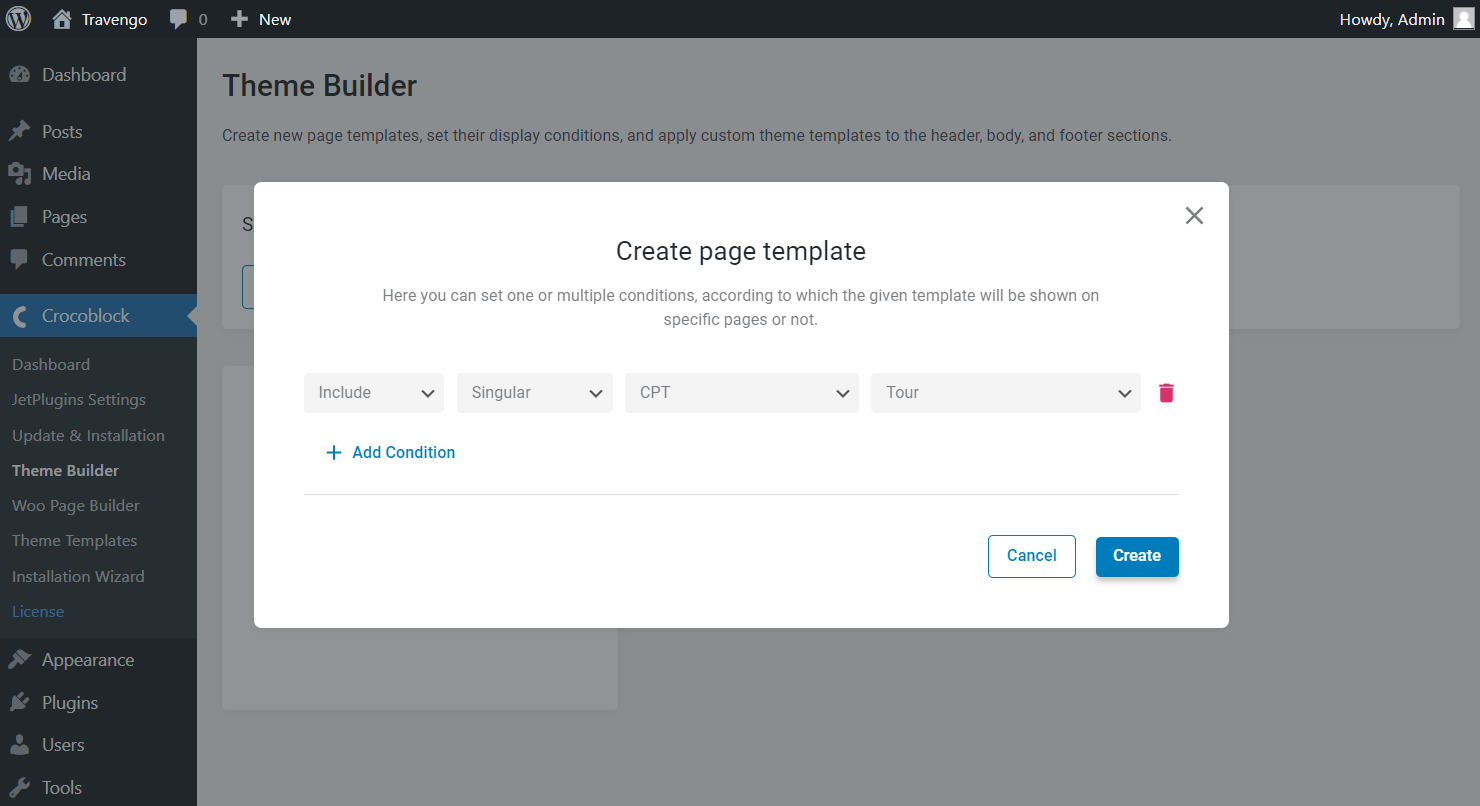
In the covered case, we choose the “CPT” option and specify it in the proceeding selector.
Mind that you can set several conditions. To do so, click the “Add Condition” button every time you need to set the new one. Once everything is ready, push the “Create” button.
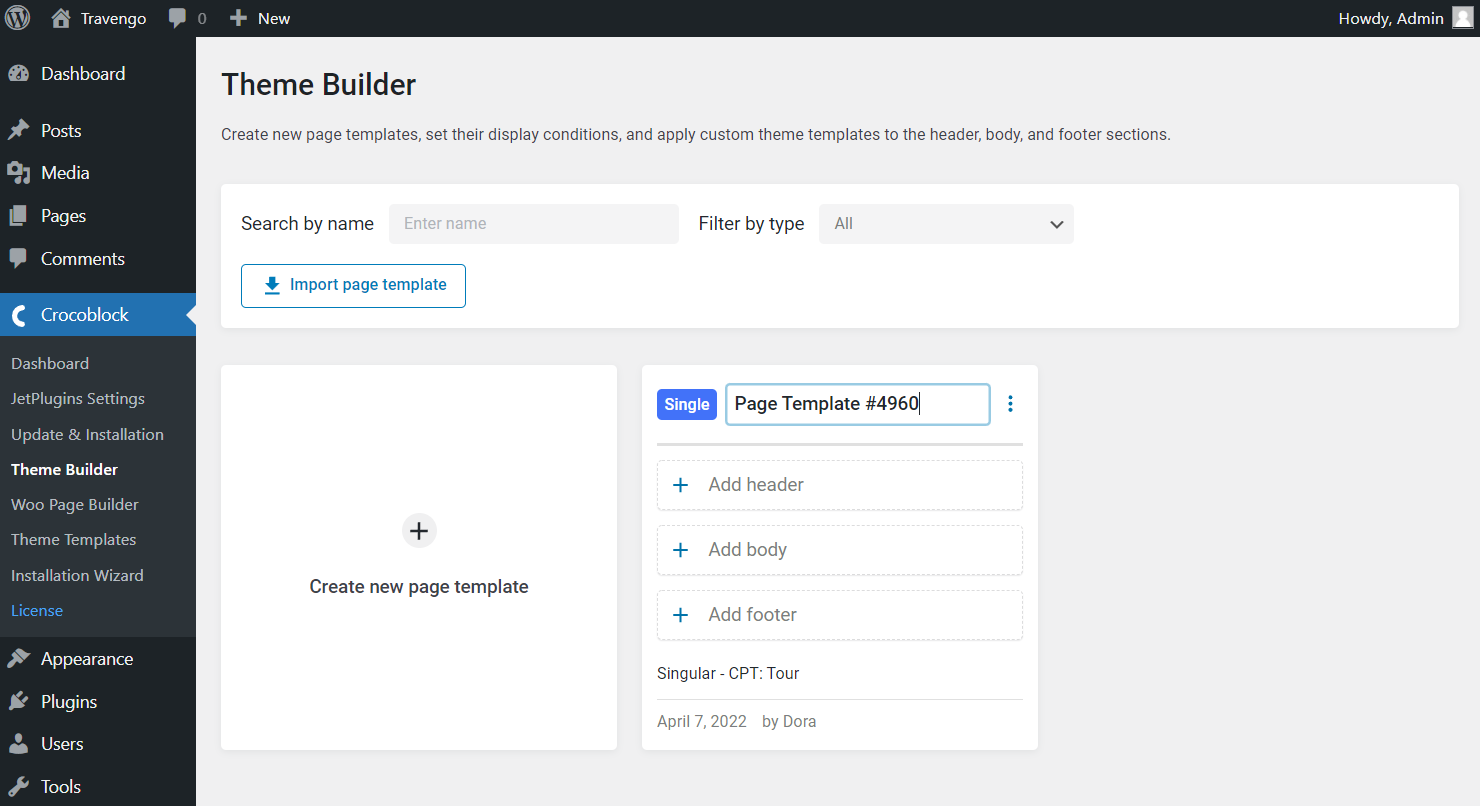
Now you can see the empty page template and notice that the set conditions are displayed here.
You can also change the title set by default by pressing straight on it. The text you type in will be automatically saved.
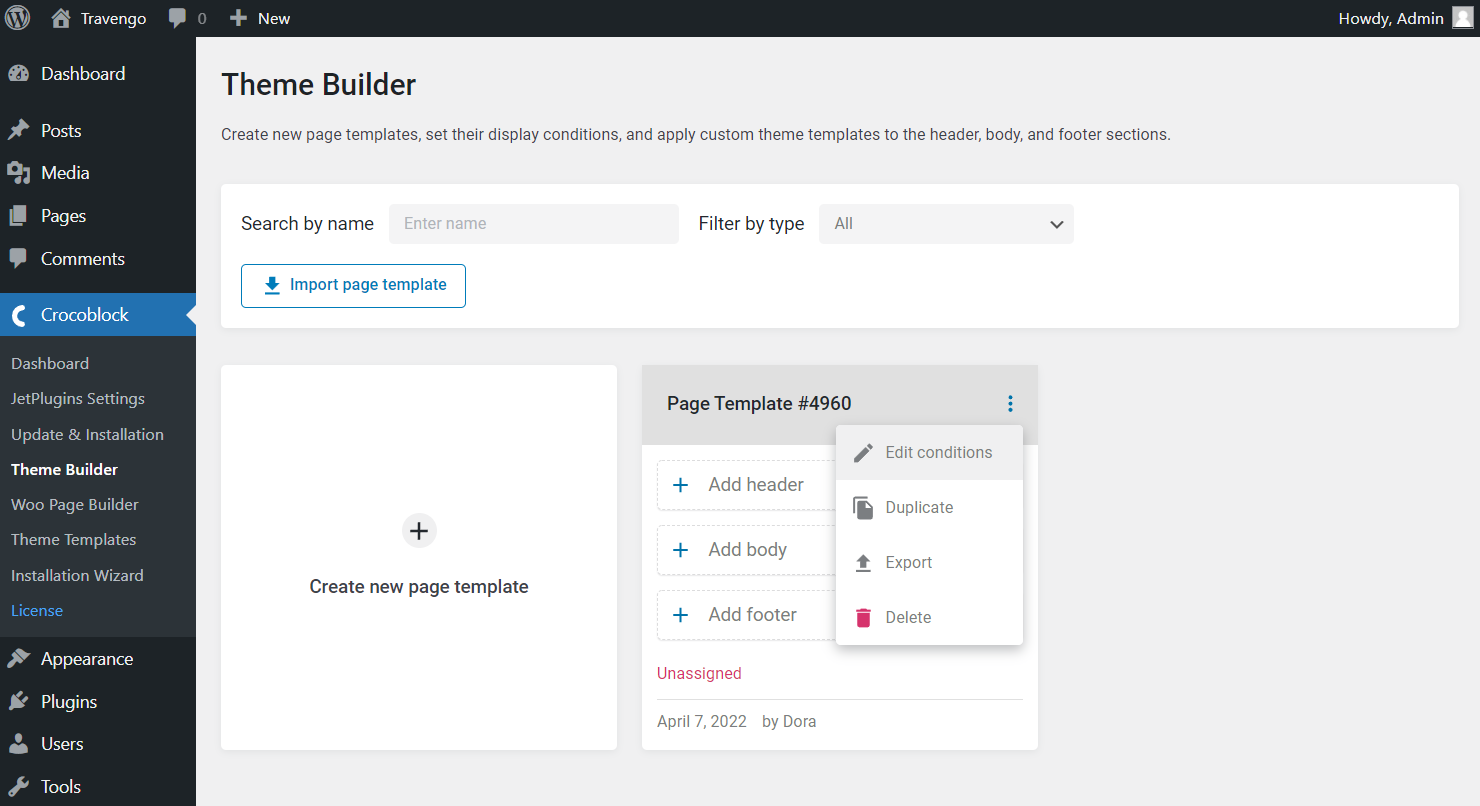
Or, if you have skipped the conditions editing, the page template will stay unassigned. You can change that by clicking on the three dots shaped button and hitting the “Edit Conditions” button.
And there you go; the editing window has reappeared. Here you can add new conditions, delete them, or edit the existing ones. Don’t forget to press the “Save” button every time before you close the window by clicking on the cross-shaped button.
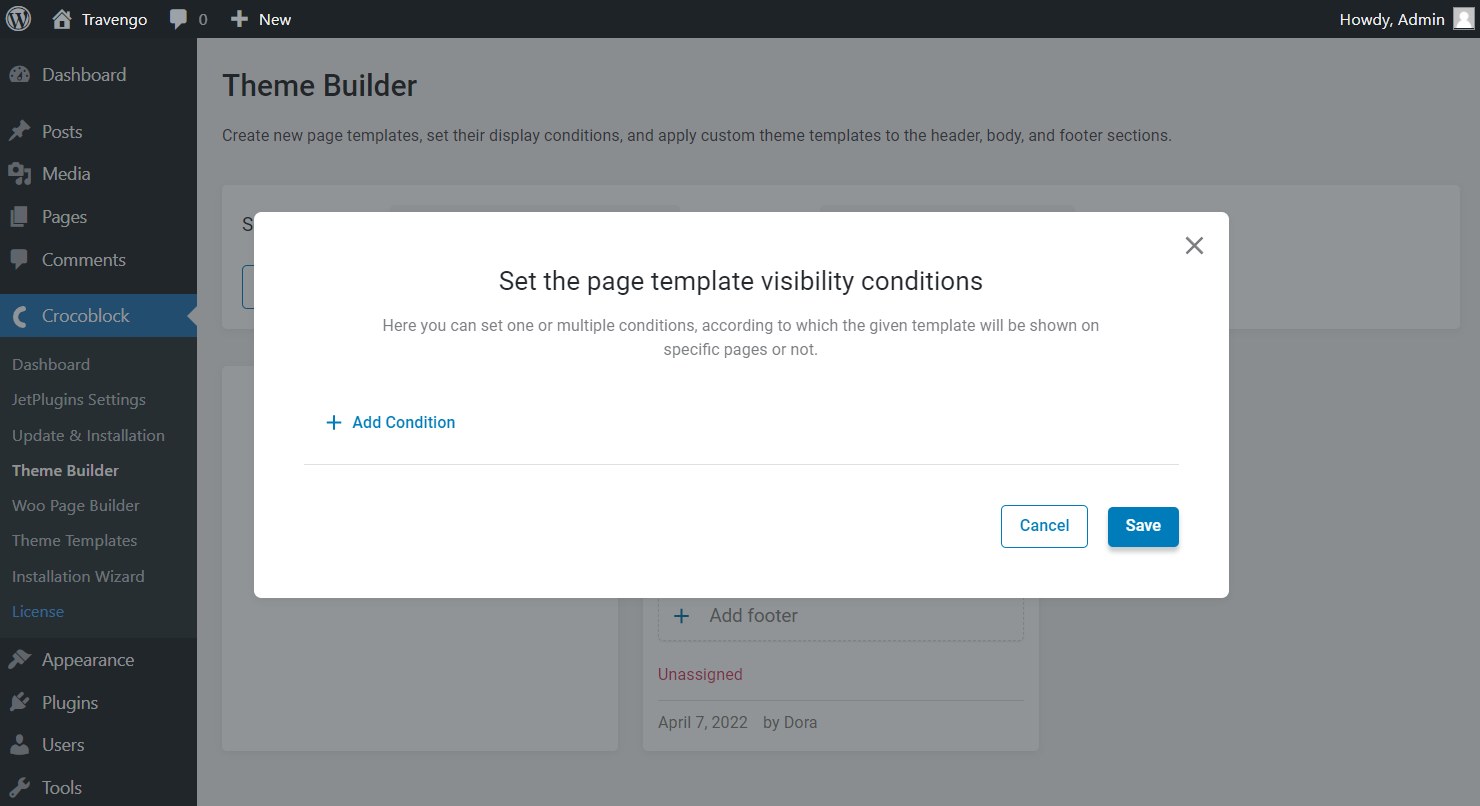
It’s time to set the page structure. As you see, you can add the header, body, and footer by hitting the samely-named buttons.
Let’s look at how to do that on the example of the header. Push the “Add Header” button, and you’ll see two more clickable options, “Create template” and “Add from library.”
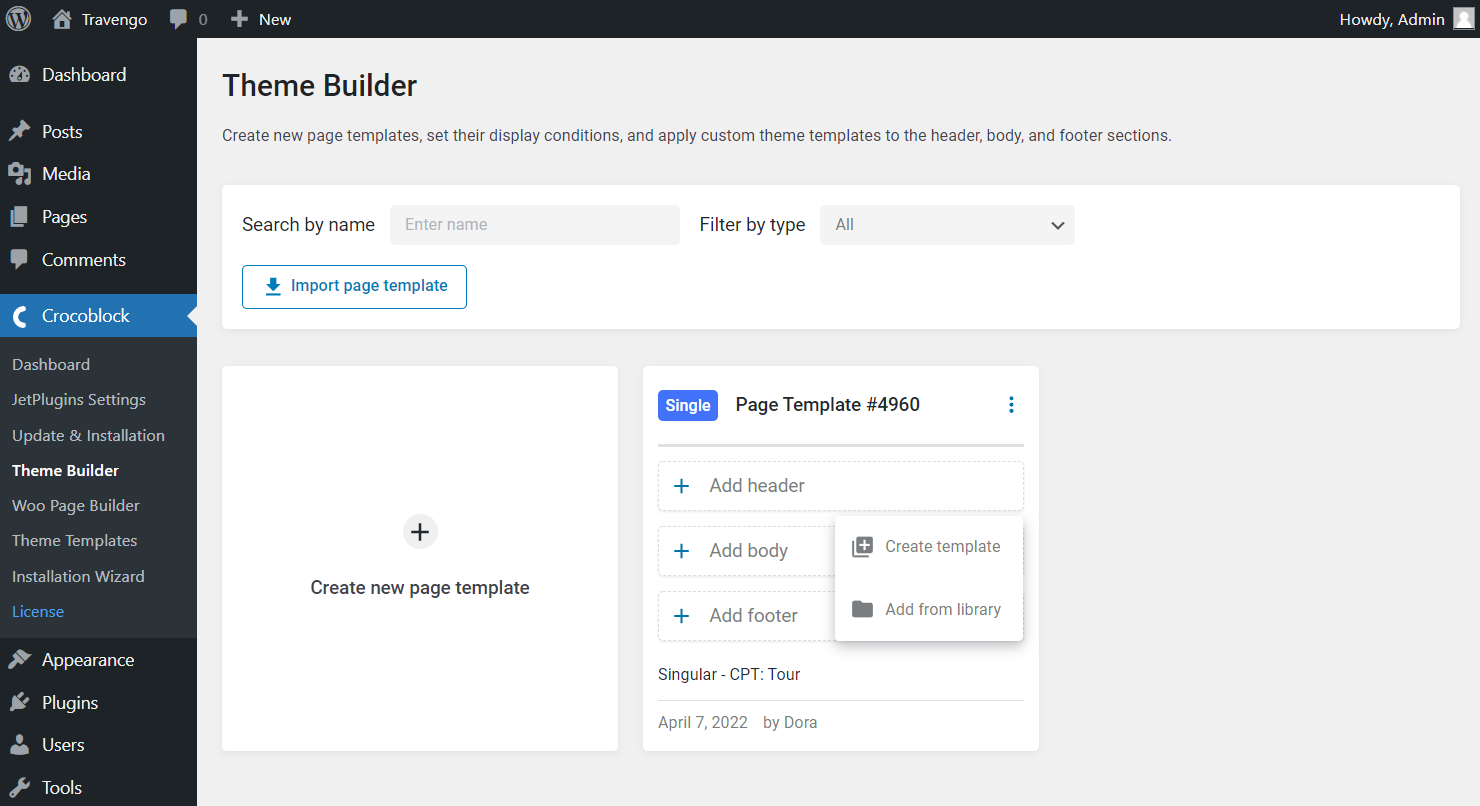
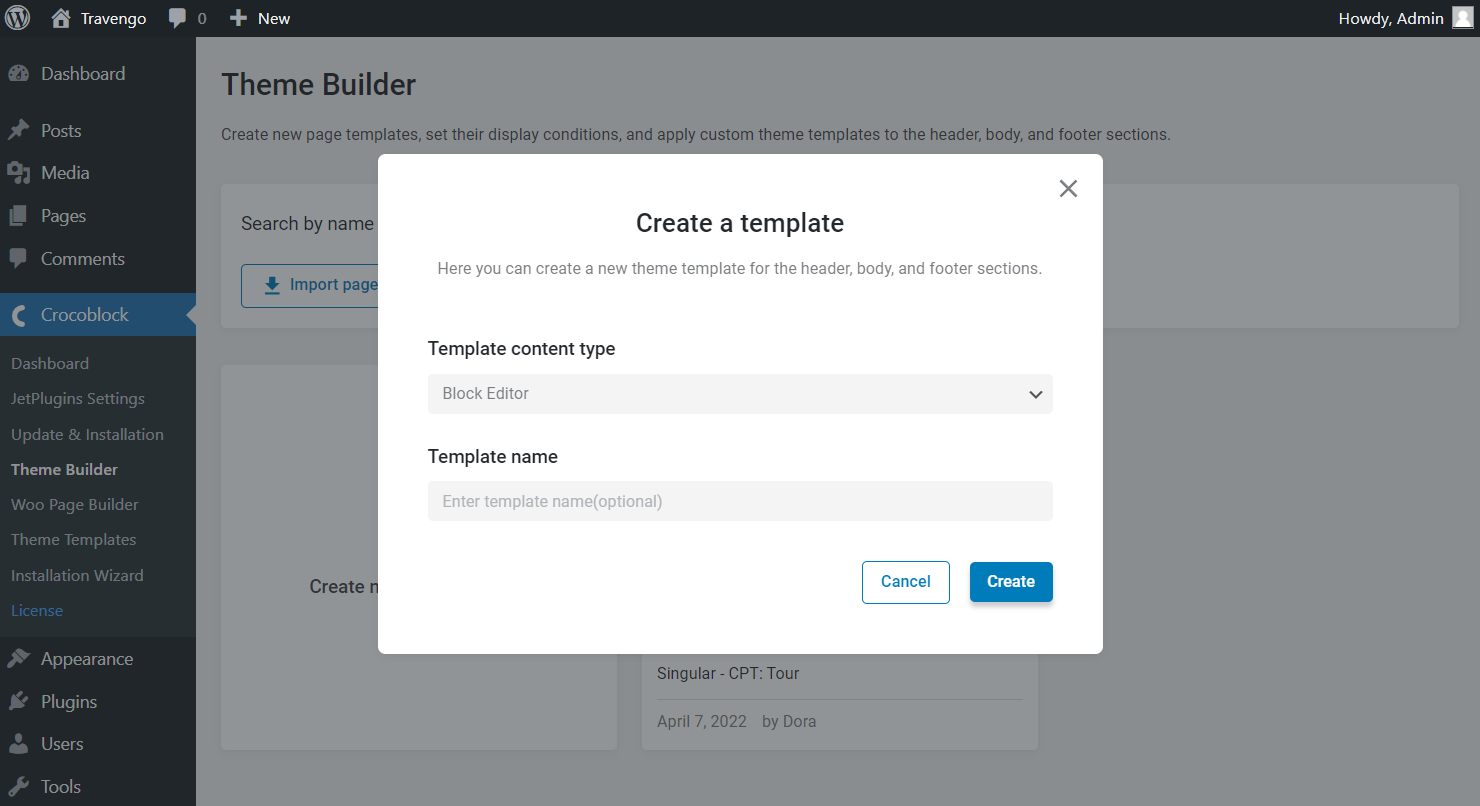
If you press the first button, the new pop-up opens. Here specify the Template content type by selecting between the “Block Editor” and “Elementor” page builder.
In addition, there is one more optional Template name field. The template will obtain the automatically generated title if you don’t complete it.
After filling in the mentioned fields, mind clicking the “Create” button to proceed to the editor.
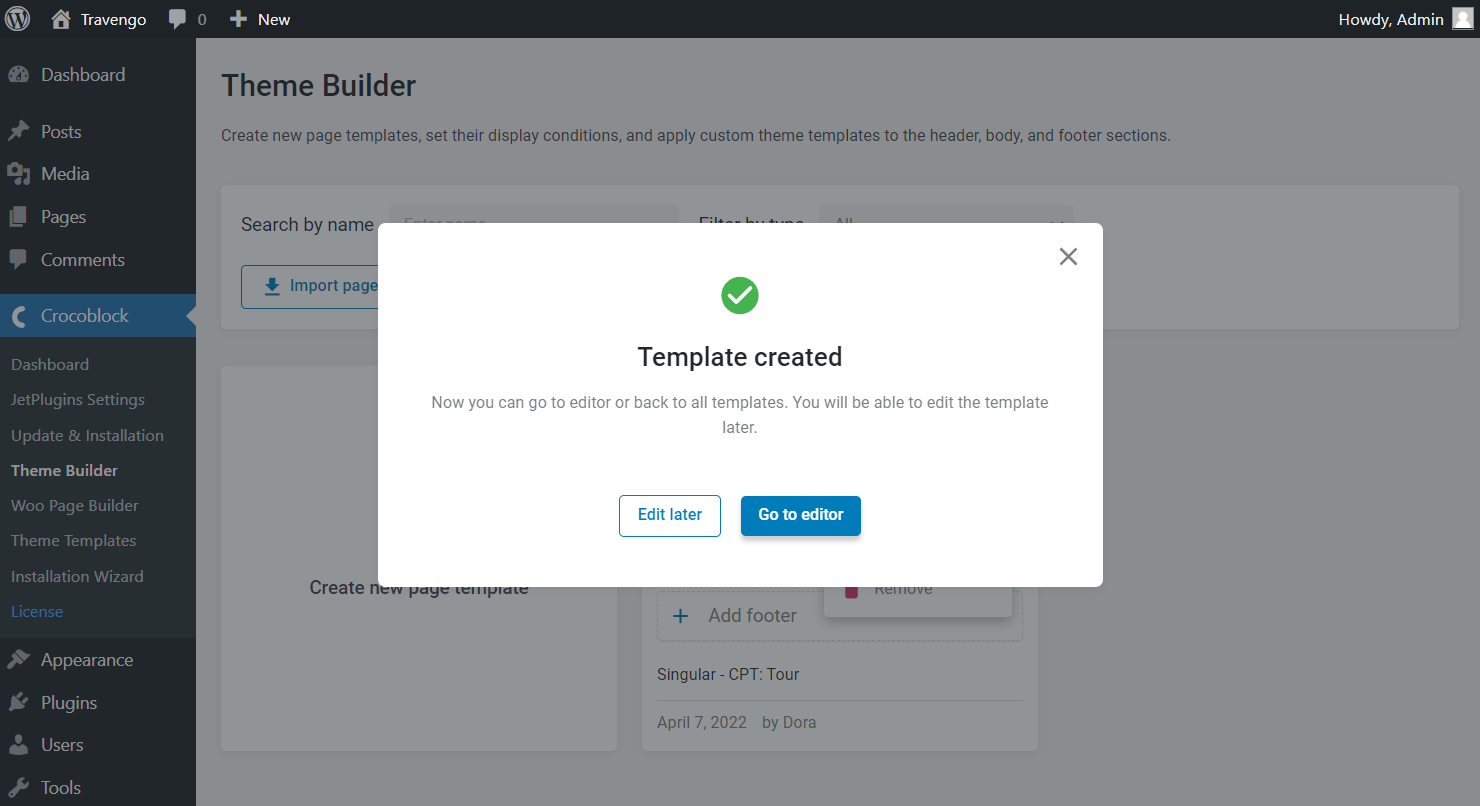
Now the template is created, and you can determine whether you want to edit it later or go to the editor. This time let’s press the “Go to editor” button.
Now, depending on the chosen Template content type, you will be redirected to the picked editor. Add the desired blocks in case you are working with the Block Editor, and press the “Update” button whenever ready.
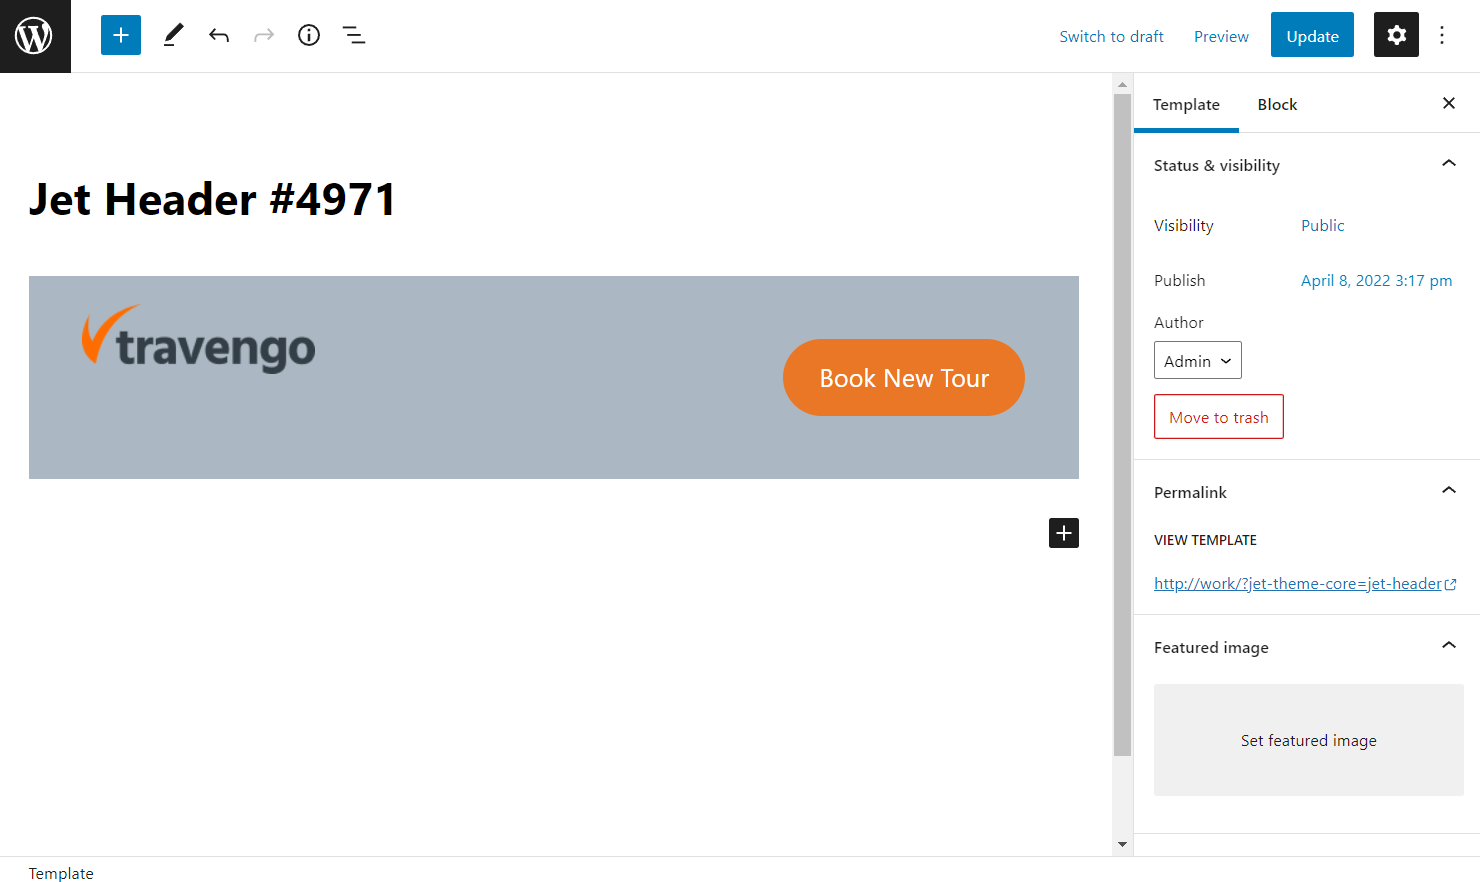
Or, once building a template with Elementor, drag and drop the needed widgets to create the template structure. Don’t forget to press the “Update” button to make the header live.
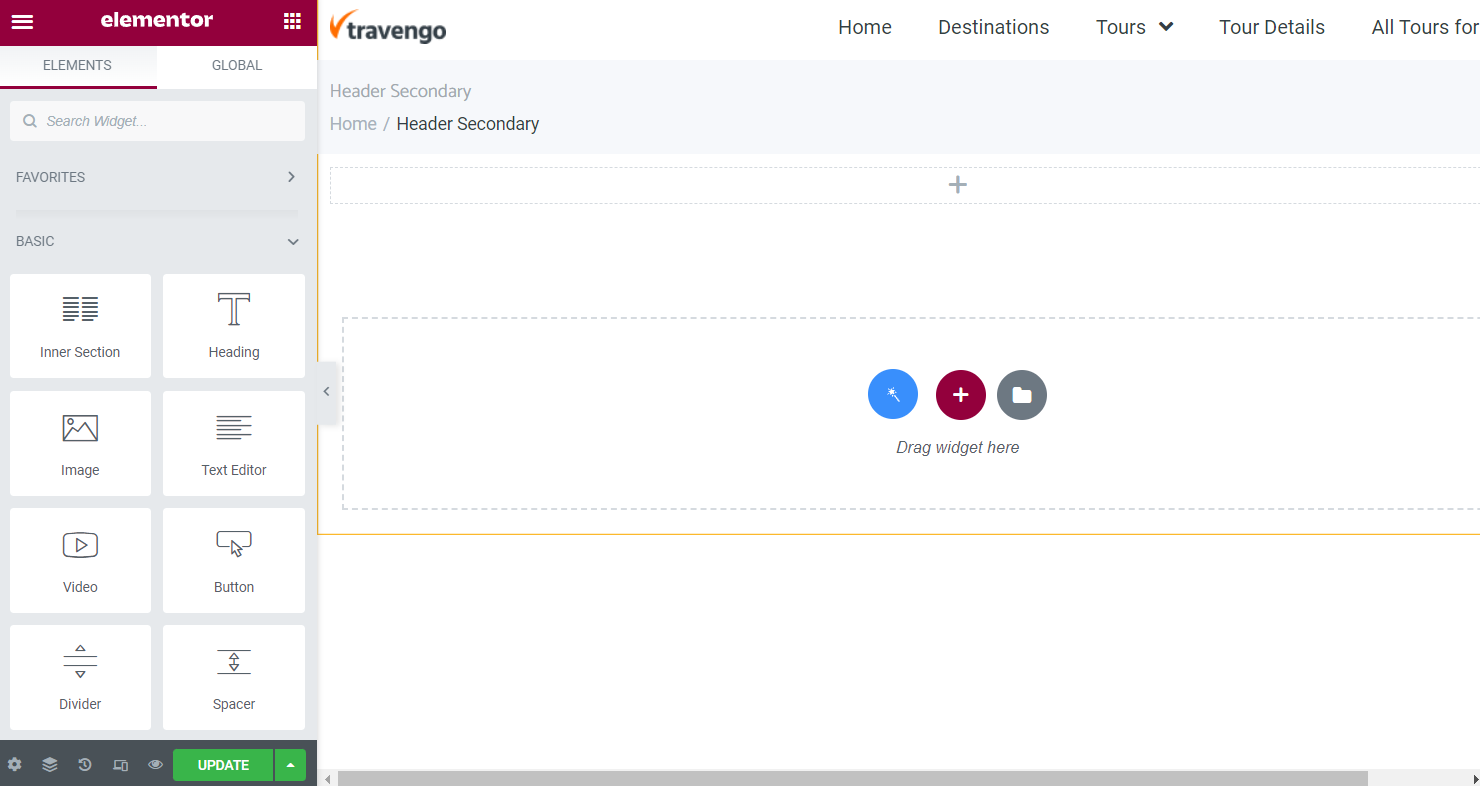
Let’s return to the “Add header” and its additional buttons. This time we remove the header and hit the “Add from library” button.

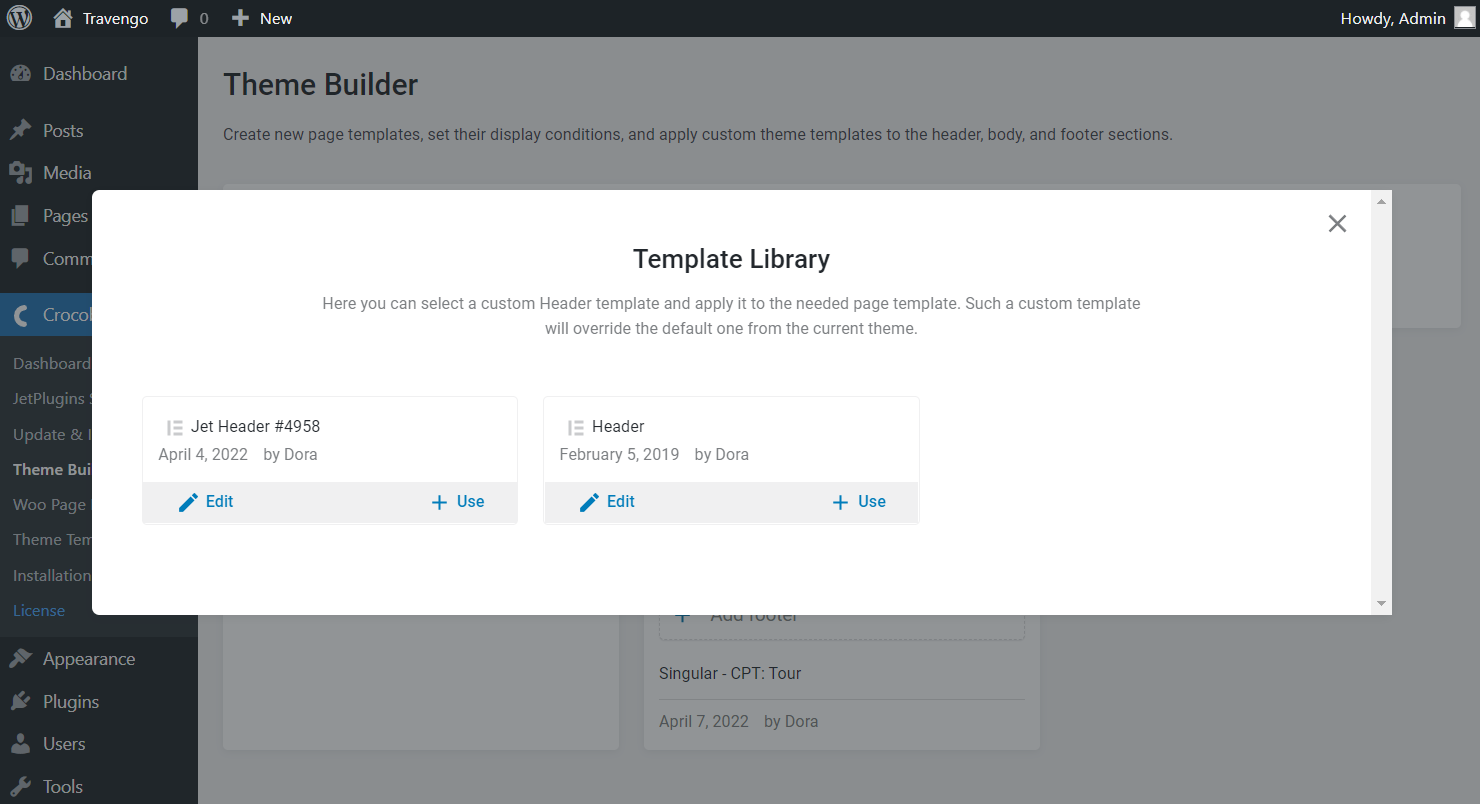
If you already have built headers before, they all will be displayed in the appeared Template Library window. Decide what header you want to use and press one of the suggested buttons, “Edit” if you want to make some changes to the item, or “Use” to leave the template as it is.
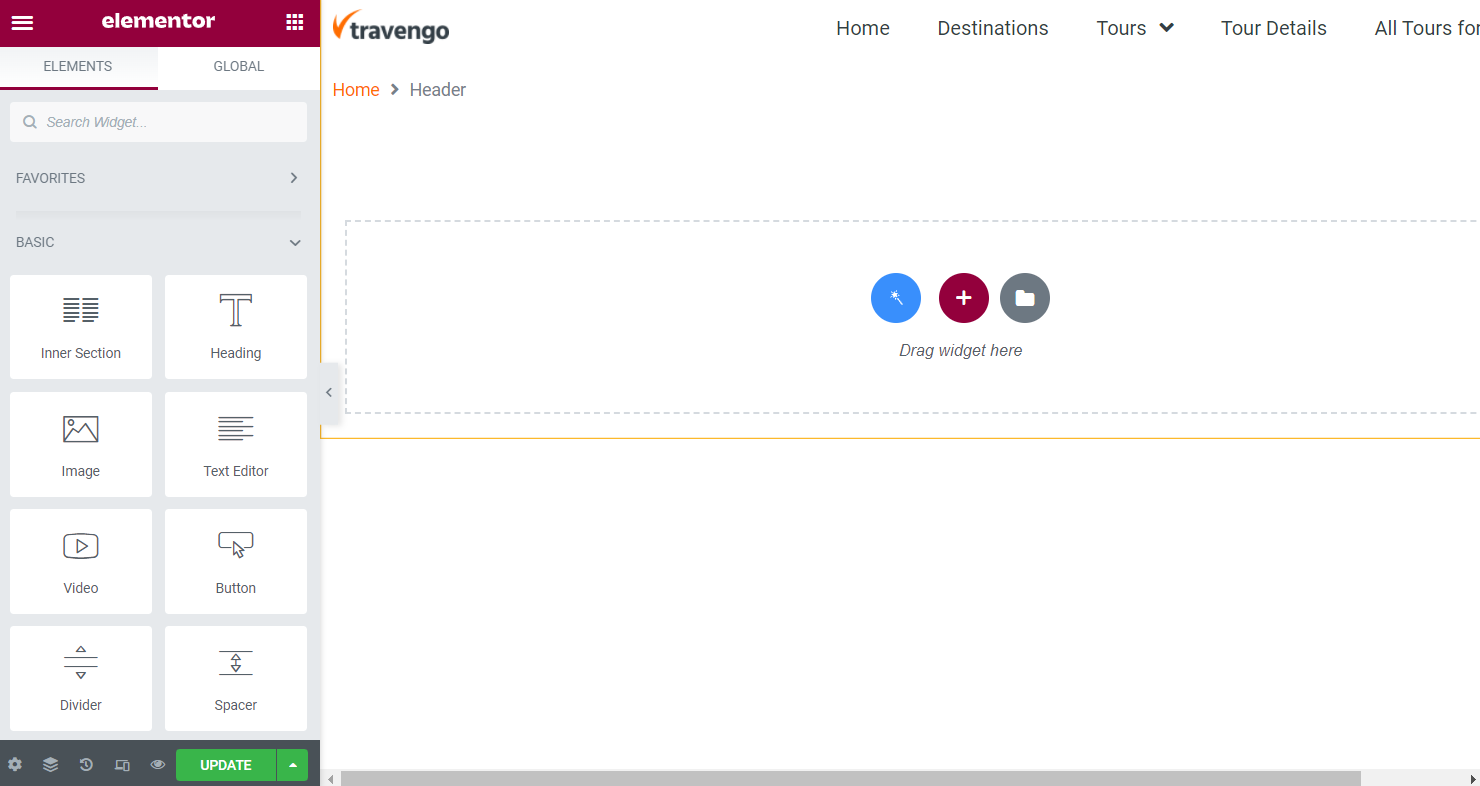
In the first case, the editor opens. Here you can modify the picked template. Just keep in mind to press the “Update” button after inserting the needed elements. For instance, that’s what it looks like in Elementor.
Or, once the “Use” button is pressed, you can observe that the item is now listed as the header.
You can hide the element by hitting the eye-shaped button, “Edit content,” or “Remove” the added item.
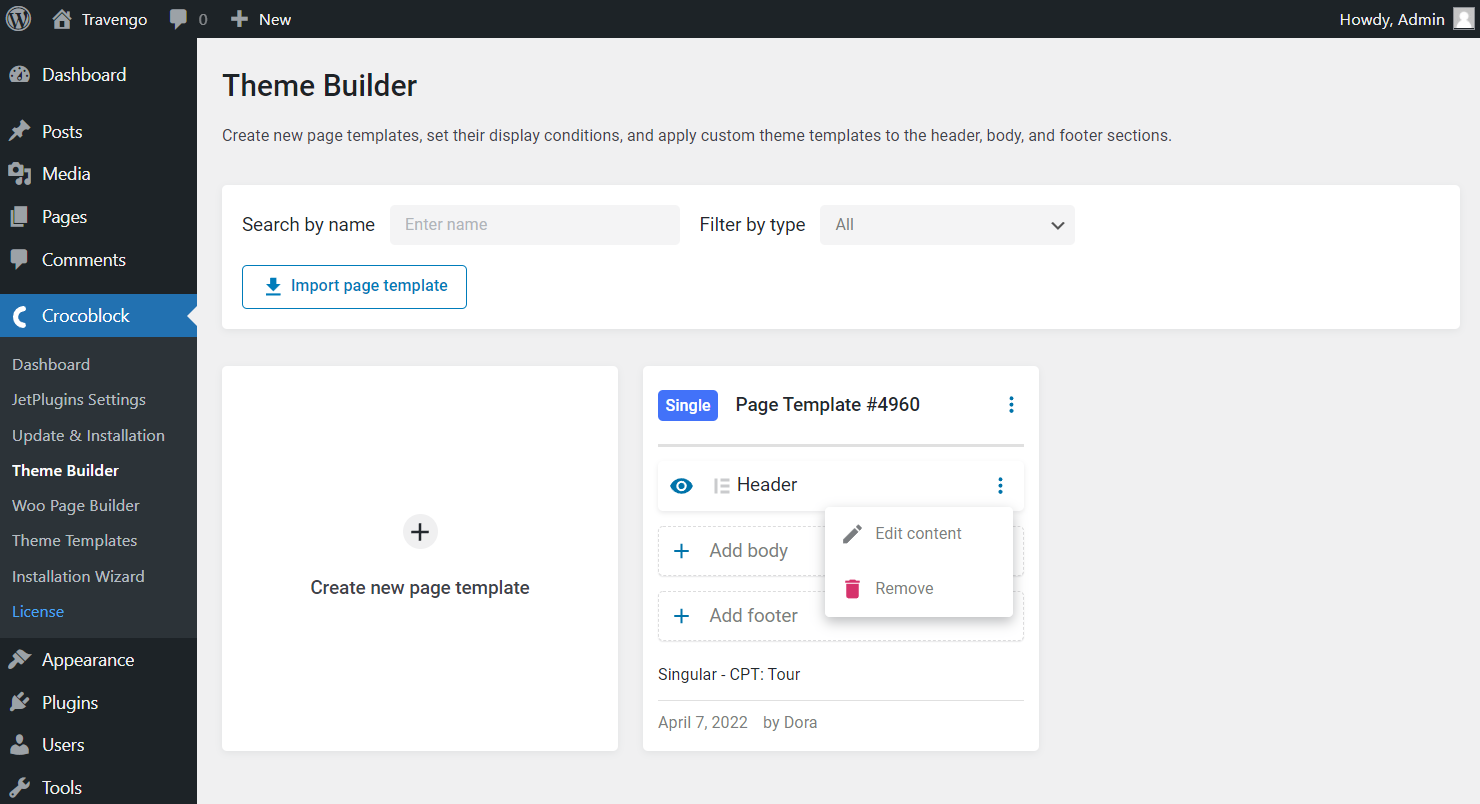
As we have added the header, the same procedure can be applied to add the body and footer.
One more option we need to pay attention to is the “Import page template” button. Its name speaks for itself; with its help, you can import the .json file with the page template exported from the other WordPress website.
Mind that all of the templates can be created with the help of different editors. Look below to see the example.
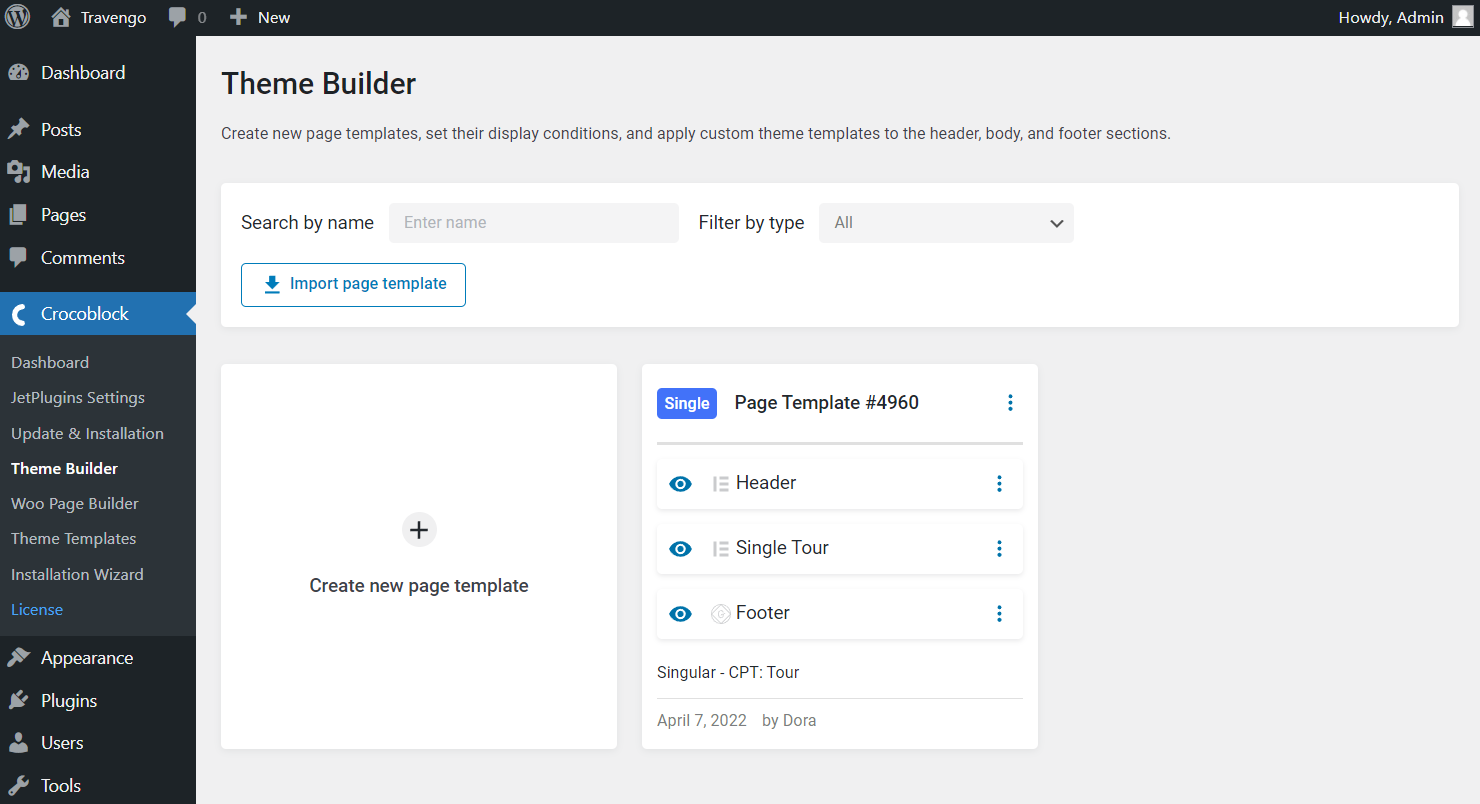
That’s it; you can check the single page on the front end. The page template is now shown here, with its header, body, and footer defined by you in the Theme Builder earlier.

Now you know how to create and customize the single post template using the JetThemeCore plugin.