How to Create a Product's Archive Template
Learn how to create a product's archive template for WooCommerce products using JetWooBuilder addon for Elementor.
The Products Archive template is necessary for further shop building with the JetWooBuilder plugin. In the Archive template, you will be able to create and set up the layout of one Product item and then display it on a Shop page in the form of a Products Grid, Products List, etc.

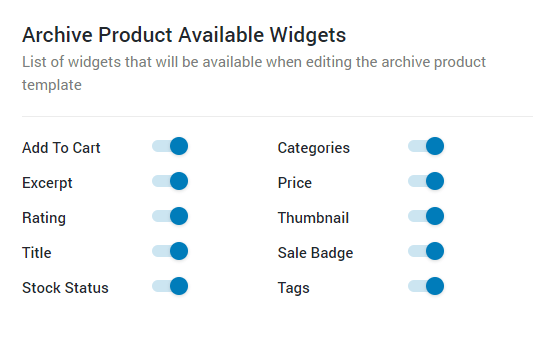
Enable Archive Products Widgets
Open your website’s WP dashboard and go to JetPlugins > JetWooBuilder Settings. Scroll to the Archive Products Available Widgets section and enable all widgets you will need for the template.
Create the Template
Navigate to JetPlugins > Jet Woo Templates. Click the “Add New” button.
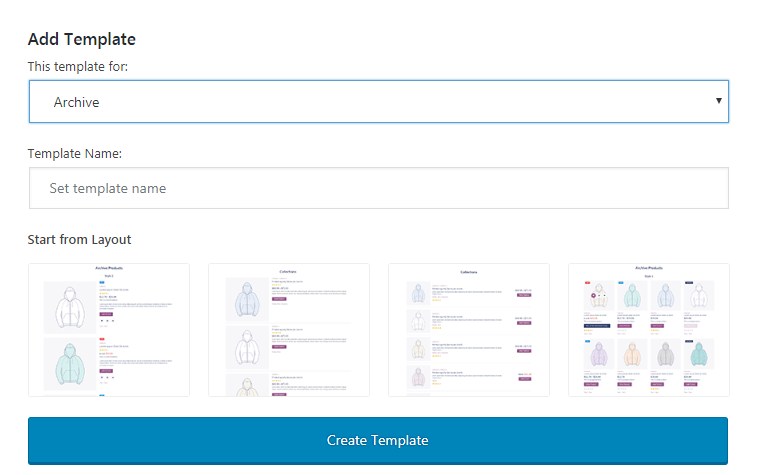
Choose an “Archive template” option in the This template for dropdown and input a template title in the Template Name field. You can also select a ready-to-use layout, perfect for a quick start in case you’re not familiar with JetWooBuilder.
Click the “Create Template” button in order to open the Elementor editor. There you’ll have an opportunity to create an impressive and visually attractive archive template with the help of JetWooBuilder widgets.
Please, keep in mind that when creating an archive template, you’re actually customizing the appearance of one product template. And this product template will be shown in the grid or listing when applied to the archive. So it should not contain any long descriptions and must be fit for representing the products in a grid or listing.
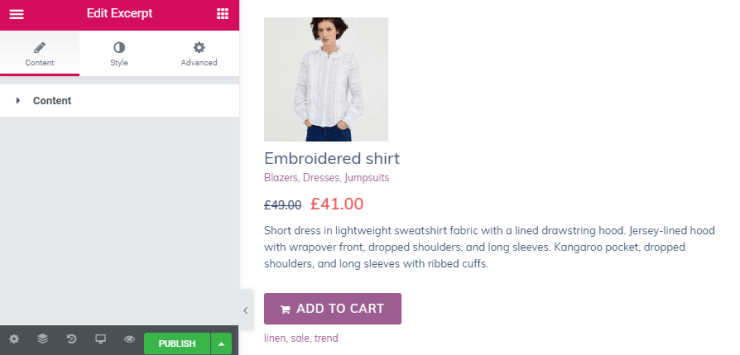
In case you’ve selected the pre-designed template, you’ll see the ready-made layout with all the widgets already added.
Once you see that some content areas are missing, please, make sure your products have all the needed content for displaying (e.g., the “Add to cart” button won’t be shown in case there are no prices set or if the product is out of stock).
Click the Settings option in the bottom left corner and open Template Settings to apply the custom columns count for the archive you’ve created.
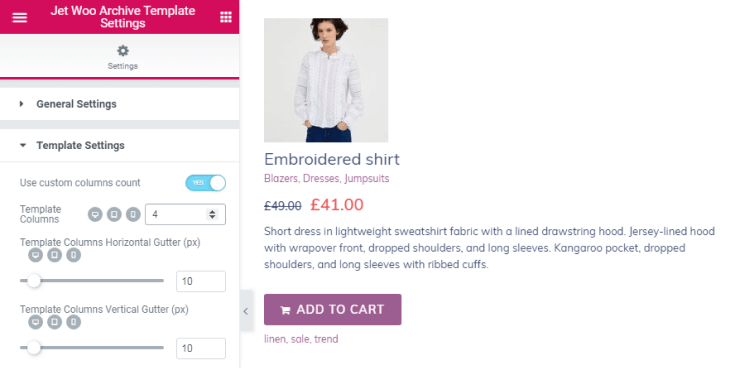 The values are responsive, so you can set more columns for the desktop while using 1 column and the listing layout on tablets or mobile devices.
Click the “Publish” button in order to save the changes.
Assign the Template
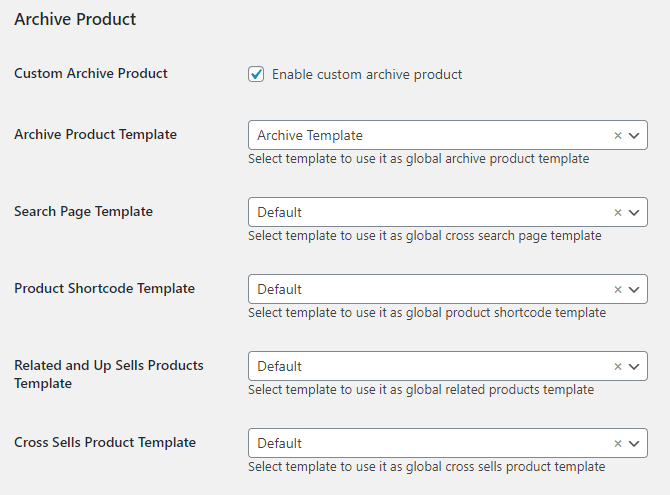
Move back to WordPress Dashboard and open WooCommerce > Settings. Click the JetWooBuilder tab and scroll down to the Products Archive Template section. There tick the Enable custom product archive page option and select a newly created template as a product archive template in the Products Archive Template dropdown. Afterward, click the “Save Changes” button.
That’s it! Now your archive template is ready. Use your imagination to customize a template.