Making a User Profile Clickable in the Listing Grid
Create a User listing and output it through the Listing Grid widget, where every User will be assigned a link that leads to their profile page.
Before you start, check the tutorial requirements:
- Elementor (Free version) or Block editor (Gutenberg)
- JetEngine plugin installed and activated
- Profile Builder module enabled
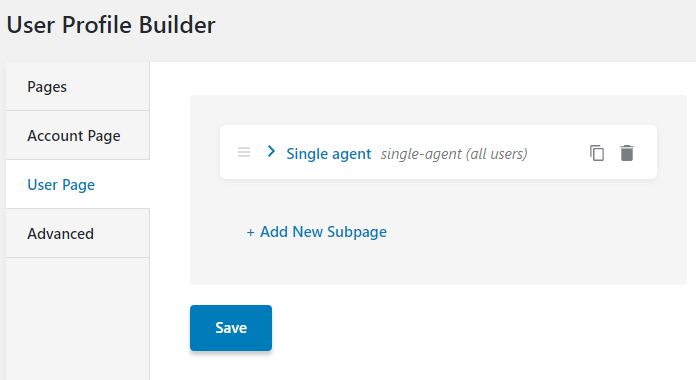
with the User Profile Page created.
Create Listing Item for Users
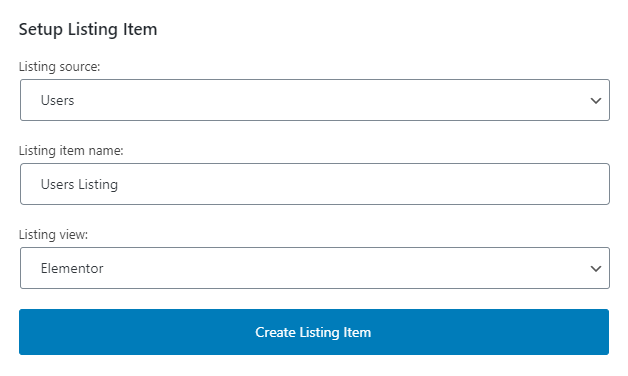
The first thing you need to do is to create a Listing that’ll store your Users. Go to JetEngine > Listings > Add New and choose Users as the listing source:

Set up a Listing Item in Elementor
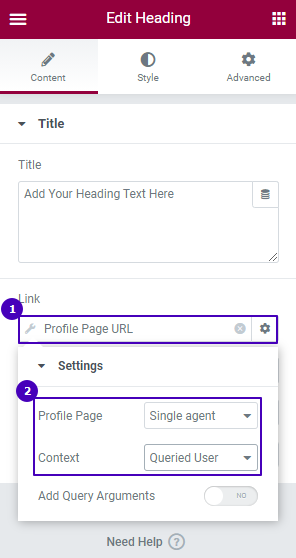
Proceed to the setup. In the newly-opened Elementor window, find the Heading widget and place it anywhere you like. Click on the Dynamic Tags icon in the Link row and pick the “Profile Page URL” tag. Once you see the Settings tab, choose the following options:


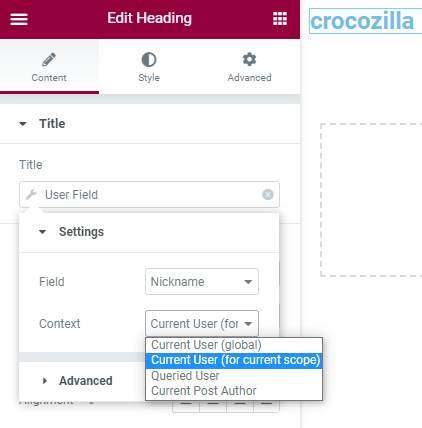
Now, set the Title row in a way to display the link as it suits you. You can type into the Title text area any required text. Or, go the extra mile and pull the nickname of the queried User into it. To do so, configure the Link row settings as shown below:

Add Listing Grid to the Page
Go to the page where you want to place the Users Listing with Elementor. Find the Listing Grid widget, drop it anywhere you please, and select the correct Listing shown on the page. Update the changes.
That’s it! You’ve made a page leading to a single user clickable.