Visitors of any website want optical coherence, uniformly dispersed content, a logical visual hierarchy, and a logical user flow. Custom software development services rely on wireframes a lot because they play a really important role and lay a solid ground for a successful website.
Don’t stop reading the article if you are interested in learning about wireframe development steps necessary to be understood by any web designer and how to wireframe a website.
What Is a Wireframe?
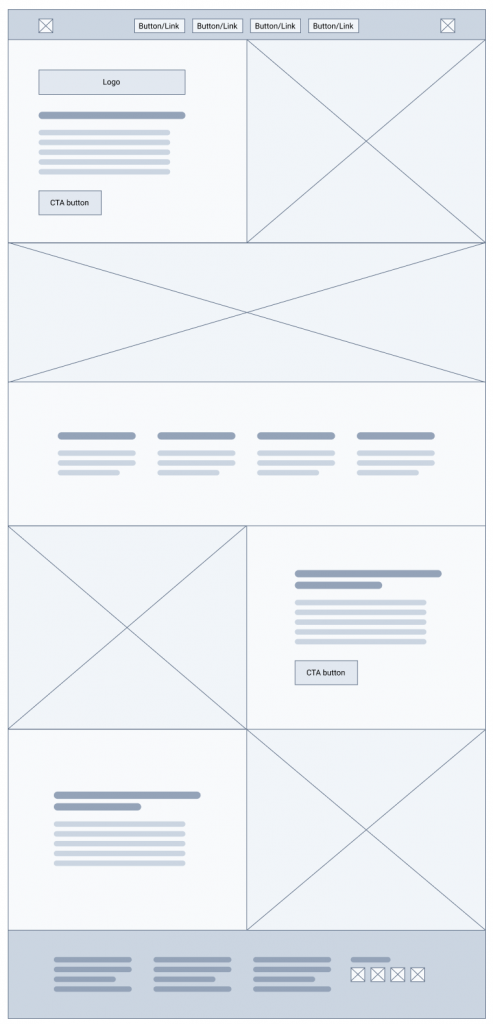
A website wireframe is a visual illustration of a website’s structure. Black and white shapes depict how a website might look. Each shape signifies a particular web page design feature, such as a photo, a slogan, menu items, links, tabs, etc. Colors shouldn’t be used at this stage because they only distract attention from the structure. Only black, white, and one shade of gray should be used.
Wireframing is extremely important at an early stage of the designing process because it provides a solid foundation for the whole project, first of all, taking into account user experience and the sales KPIs to be met. Also, it helps the whole team, from marketers to designers, to be on the same page.
In the later stages, it allows the designer to establish and organize an information hierarchy of the newly developed products so that the user can easily absorb the information presented on the site.
Types of wireframes
There are three types of wireframes:
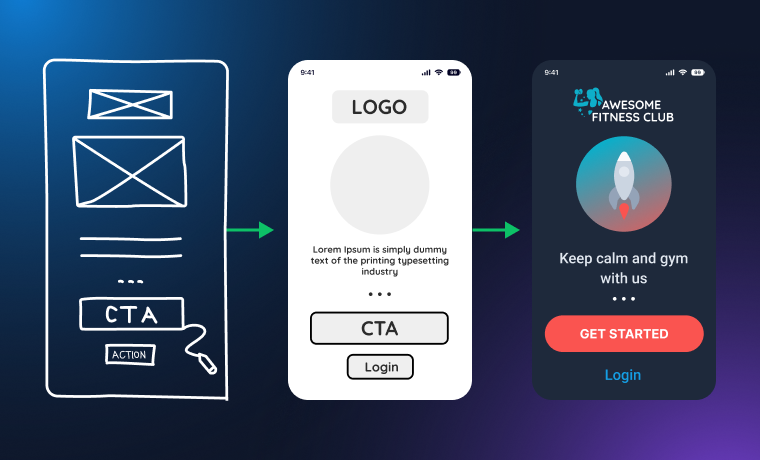
Low-fidelity wireframes are basically sketches of the future structure. They have only basic details and the most important elements. Low-fidelity wireframes don’t have precise scaling and can be made without any special software or even on paper. The main goal of this stage is to outline the main blocks and user flow of the future website or application.
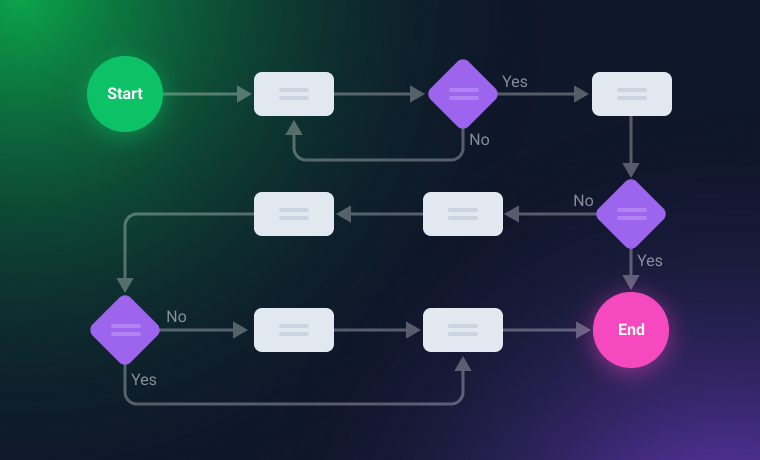
Mid-fidelity wireframes show more details and use proper scaling, so the team can have a better understanding of what the project will look like. It’s also important to show connections between pages or blocks to illustrate the user flow.
High-fidelity wireframes give an even more detailed approach to how the future project will look like.

Wireframe vs. prototype
Wireframes give an idea about the project structure, the user’s journey, and some details. It is where wireframes meet prototypes. Wireframes are more about UX, while prototypes are more about UI.
Wireframes show visual hierarchy and help to focus on it, while prototypes help to visualize it clearly and present it interactively. That’s why both steps are important: the first shows a user’s journey straightforwardly, and the second can go into detail about how the user will feel and interact with the interface. But it’s important to note that high-fidelity wireframes can become mockups and prototypes.
5 Steps to Wireframe a Website
A wireframe is not a place to intrude on mere fonts, pictures, actual colors, etc. Wireframing tools are all about user flow and the central role of the website’s components. Below, there’s a step-by-step guide on how to create a website wireframe and what to consider.
Setting up goals
Except for the obvious goal of any website to have many visitors, each particular site has its own goals. And it’s essential to identify them clearly. That’s why this step can be broken down into three:
- Filling out the website questionnaire and getting a clear picture of what exactly the client wants and which business goals they want to achieve.
- Making UX research and creating a clear initial user flow.
- Creating a low-fidelity wireframe based on those goals and the user flow.
Many designers and developers, unfortunately, make a huge mistake when skipping those steps. But without them, you will spend much more time and resources on extra amends and redesigning, not to mention that the website itself will not be efficient enough.

Determining features and visual highlights
In this step, it’s essential to determine (and add to the wireframe) what you can bring to the table: what advantages do you have? What makes you better than competitors in this particular field for solving this client’s problem? Who is the user persona? After that, convert it into visual elements and reflect on your wireframe.
Actually, this step is all about wrapping your head around the user flow: calls to action, clickable elements, and important messages. Because even if the future color scheme and the graphic solution are fantastic, but the user doesn’t have a well-thought-out way to move through the website, it will lead to frustration and high bounce rates.

Test the wireframe
Test and discuss the wireframe with the marketing team (or from a marketing perspective). At this step, you can emulate the user’s journey and think about their emotions and feelings while moving throughout the website. What will catch the attention? What might frustrate them? What is missing? A focus group can also be involved in this step because those people don’t know the objectives and the initial idea of the website, so their opinion will be unbiased, and you can discover totally unique ideas about what is missing.
If there’s no budget for proper focus groups, some colleagues not involved in the website development process can be quite helpful too, but it’s better if they are potential clients. If they are not (especially if we are talking about some B2B projects), their opinion might be irrelevant.
Add some details
At this step, it’s important to concentrate on the proportions that the website will have as a released product. Because they also play a big role in user experience and place necessary accents. Actually, if you managed to set and maintain proportions from earlier stages, it’s great. But at this point of wireframe development, it’s vital to concentrate on them and some details that can give a better understanding and perception of the wireframe.
Overall, it’s time to make a mid and high-fidelity wireframe: add more graphic details, images, meaningful texts, and connections between pages.
Get feedback and create a prototype and design
After testing and getting feedback for the high-fidelity wireframe and the final fine-tuning, it’s time to add what is missing, get rid of unnecessary elements, and create a prototype and the final design of the website to get basically a final product with all the interactions, colors, fonts, images, animations, and other components before coding.
FAQ
Every good designer starts from wireframes or sketches, anyway. There’s no other way if you don’t want to have an inconsistent mess as a result. That’s why proper wireframing can save a lot of money in the future, especially if UX research has been taken into account while creating it.
Actually, converting points is one of the most important things to consider when you create a wireframe because it’s all about the commercial success of the project and the user experience – exactly what we need from a wireframe.
There are so many different (and really great) wireframing tools on the market that it’s difficult to recommend just a few. Each designer has their favorites, but it’s pretty logical to use tools that can be equally useful throughout the process, from the low-fidelity wireframe to the final prototype.
Conclusion
Creating a website wireframe helps to save a lot of time and resources, check and fix usability concerns, and lays a foundation for a successful website. Wireframes can be more or less detailed, but they shouldn’t have more than three colors (black, white, and gray) and minimum details not to distract attention. The most important goal of the wireframe is creating a visual hierarchy of the project with a focus on user experience.


