How to Display Instagram Tagged Photos
This tutorial reveals how to get Instagram Graph API and show Instagram-tagged photos without a hitch by means of JetElements.
When you use the Instagram widget of the JetElements plugin, you can choose to show photos stored in your account or the tagged photos. The first option demands receiving an Instagram Token, and we describe that process in a separate tutorial. To show the tagged photos, you don’t need the Token but there still can be a problem. Facebook blocks some of the servers and doesn’t allow showing the photos. To avoid that, you need to get an official Instagram Graph API key, and this guide will show you all the steps you need to go through.
1 Step — Prepare the accounts
Before you can start, you will need a Facebook and Instagram accounts. If you don’t have accounts on those social media, make sure to register there.
When that is done, create a Facebook Page for your brand or website. Go to the Page creation section, type in the name of the page, and choose its type. Save the changes and open the page. If you have already created the Facebook Page, just open it. Now, proceed to the Settings tab of the left-side menu.
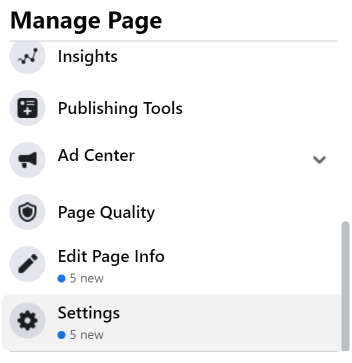
Open the Instagram submenu option and click the “Connect Account” button to link your Instagram and Facebook pages.
After that, go to your Instagram account and switch it to the Business or Creator Account. It isn’t possible to do it from the PC, the option to switch the account type can be found in the mobile version only. So, open the Settings > Account and scroll down to the bottom of the list to find the Switch to Creator Account or Switch to Business Account links.
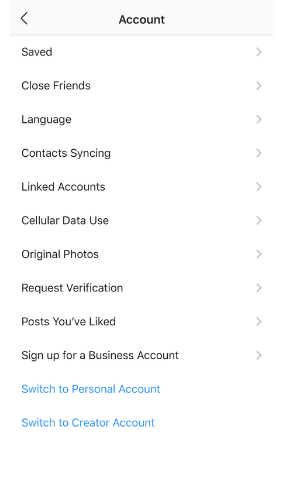
You will need a Business Instagram Account to proceed.
2 Step — Get the Instagram Graph API key
Now you have to visit the Social Feed website and click the “Create Instagram Access Token” button.
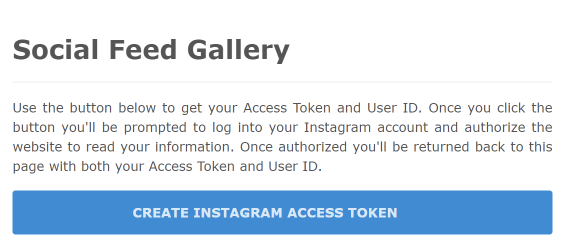
Confirm your password in the next window and click the “Continue” button. You will be redirected back to the Social Feed site with the created keys displayed in the array code section.
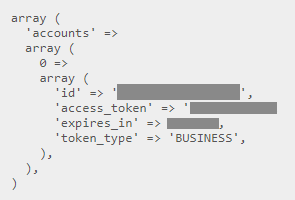
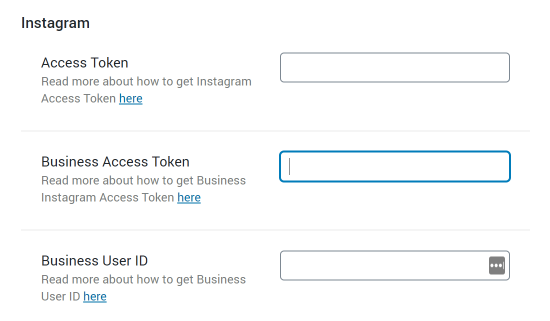
Copy the number that goes after ‘id’ and the key displayed after the ‘access_token’ option. Open your website’s dashboard and go to Crocoblock > JetPlugins Settings > JetElements > Integrations. Paste the ID to the Business User ID field and the access token to the Business Access Token field. All the changes will be saved automatically.
3 Step — Enable the access token
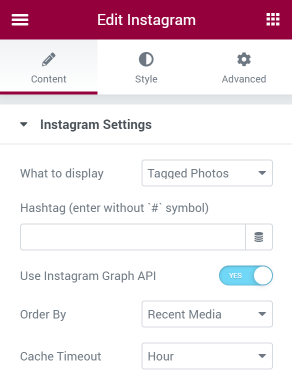
Find the page, which you would like to add an Instagram feed to, and open it in the Elementor page builder. Drag-and-drop the Instagram widget to the page and take a look at the left-side menu. Go to the Content > Instagram Settings menu section. Enable the Use Instagram Graph API toggle. You will also be able to choose how to order tagged photos and show either the recent media or the top ones.
That’s all. You now know how to create an Instagram Access Token and display tagged photos in a feed with no hassle using JetElements’ Instagram widget. Enjoy!