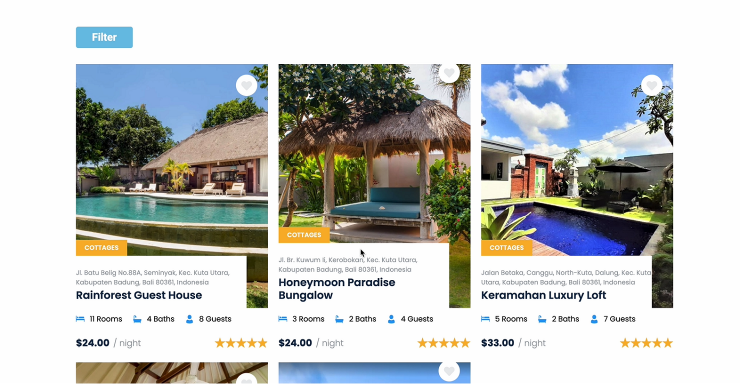
Closing Popup with Filters after Filteration
Learn how to make the popup created with the JetPopup plugin close automatically after the filters created with the JetSmartFilters plugin are applied on the WordPress website.
Before you start, check the tutorial requirements:
- Elementor (Free version) or Block editor (Gutenberg)
To make the popup close automatically after the filters are applied, repeat these steps:
Create a Pop-up with a Set of All Needed Filters inside
Go to WordPress Dashboard > JetPopup > Create New Popup. Name the pop-up and click the “Publish” button. Then, click the “Edit with Elementor” button.
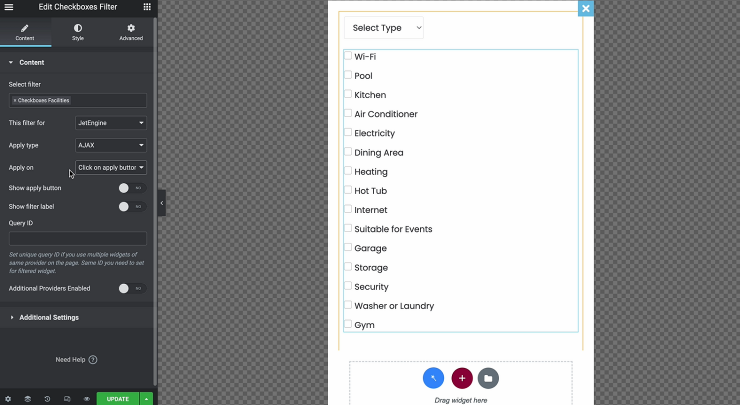
Once the page opens, add filters via the corresponding widgets from the JetSmartFilters plugin. In the filters’ Content settings, type the name of previously created filters in the Select filter field, select the “JetEngine” operator in the This filter for field, set the Apply type to “AJAX,” and Apply on to “Click on apply button.” Don’t enable the Show apply button toggle just yet — you will add this button with a separate widget later.
Click on the “Update” button. Repeat these steps for each filter you want to add to the pop-up.
Add the Apply Button to the Pop-up
Add a button using Apply Button widget from the JetSmartFilters plugin. In the button’s Content settings, select the “JetEngine” operator, set the Apply type to “AJAX,” and type the text you want to appear on the button in the Apply button text field.
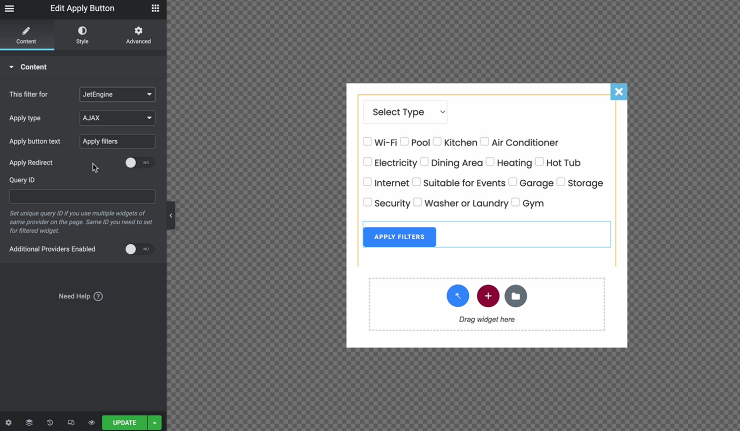
Go to Advanced settings and click on the “JetPopup” dropdown button. Insert the name of the pop-up you created in the Attached Popup field. Ensure the Trigger Type is set to the “Click On Widget” option. Press on the “Update” button.
Place the Popup on the Page with Filtered Widget
Open the page where the Listing Grid widget is located in the Elementor page builder and drag-n-drop the Button widget. Open the Advanced settings tab, select the needed pop-up in the Attached Popup control, and pick the “Click On Widget” Trigger Type. Press on the “Update” button.
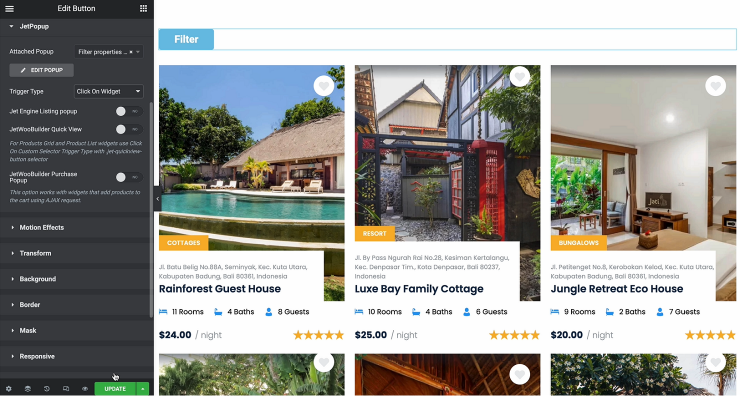
Proceed to the page on the front end, click on the newly created button, and select some options in the filters to filter items in the listing grid.
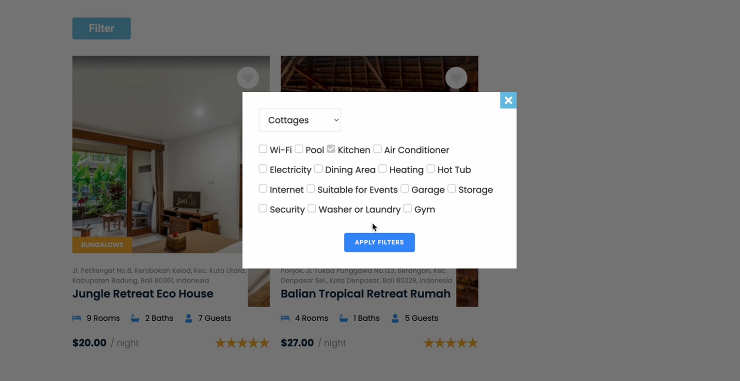
Click on the button you created using the Apply Button widget. The pop-up will close, and the page will display filtered items immediately.
