Query Builder Posts Query Type
This overview describes all the settings of Query Builder’s Posts Query type, which is a part of the JetEngine plugin.
Posts Query type of Query Builder allows one to create customizable post lists. One can flexibly choose posts that will be added to the list and change them at any time. The made list can be used to build a Listing template and then displayed via the Listing Grid widget on one or several pages of the website.
The settings themselves can be found in the WordPress Dashboard > JetEngine > Query Builder directory during the query creation process.
General
The general points of the custom query can be adjusted by working on the following fields:
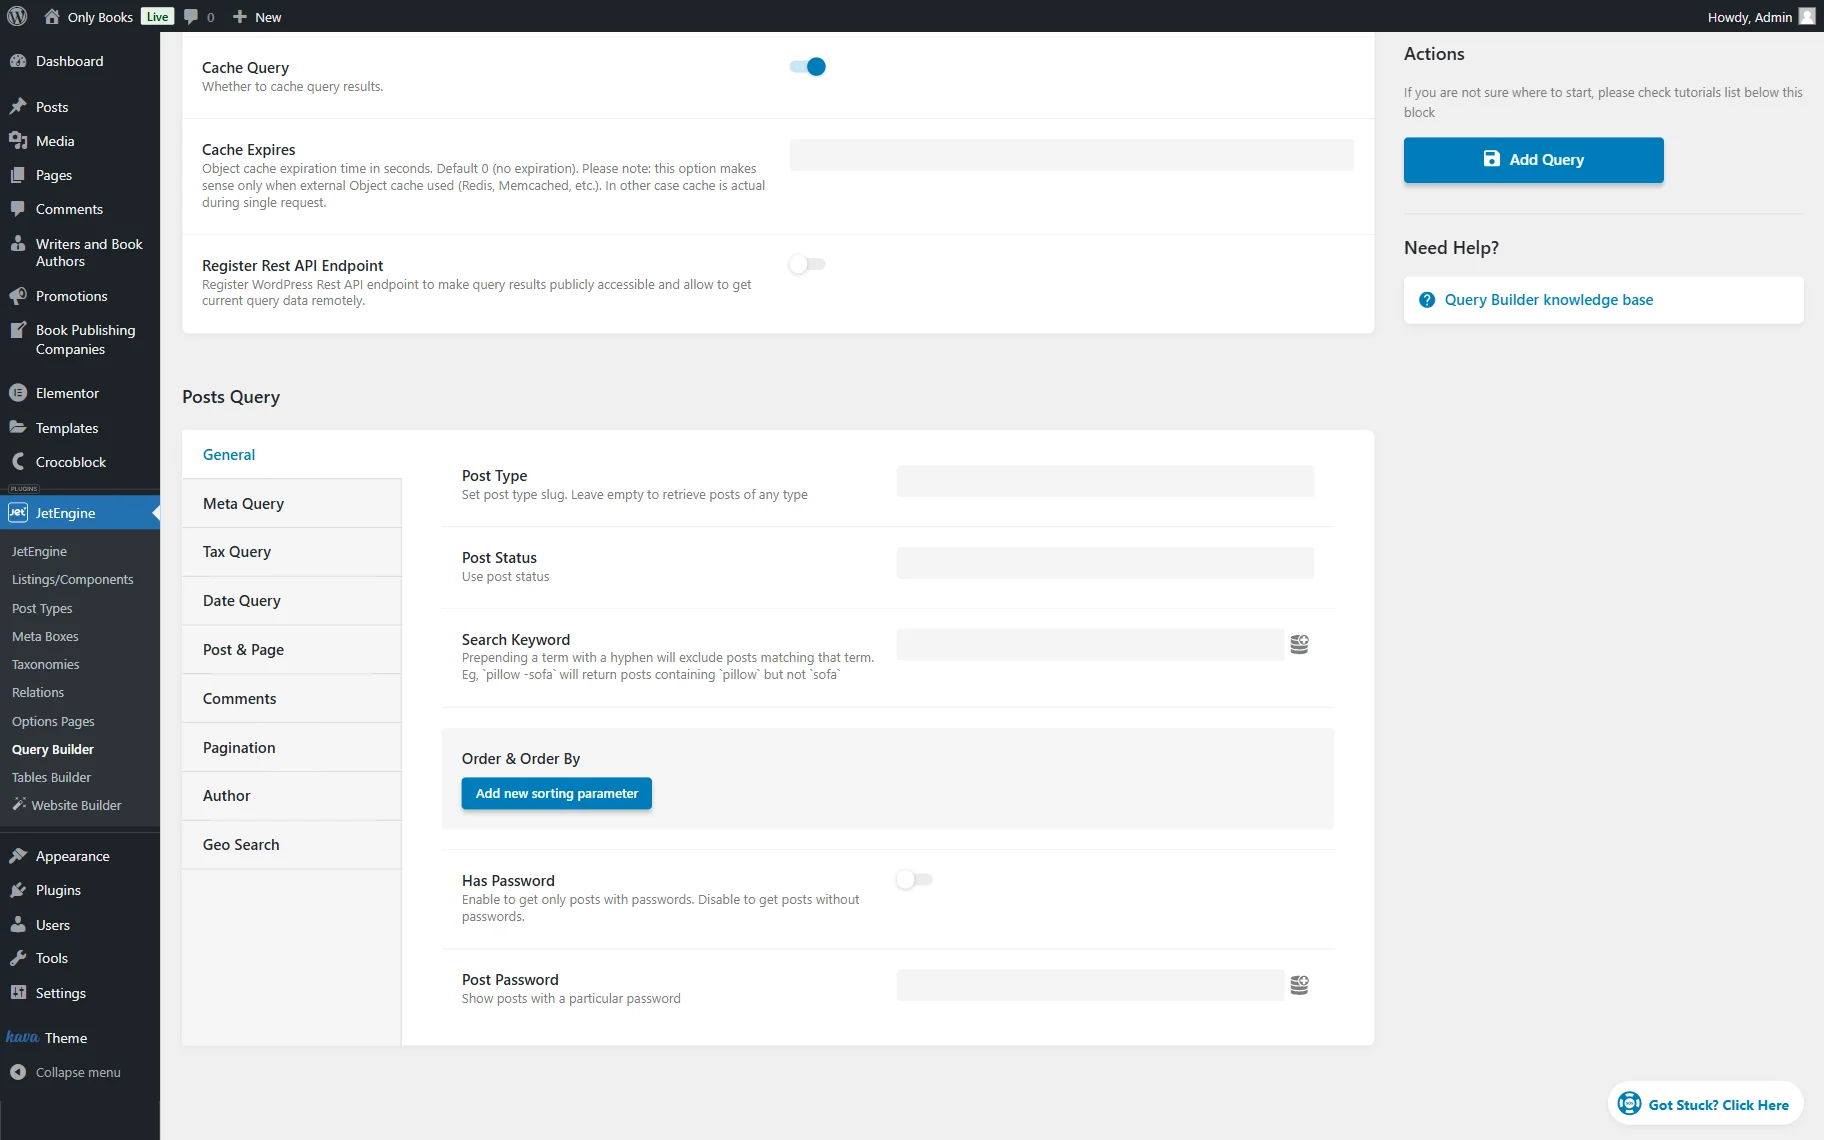
- Post Type — a drop-down menu with all the post types available on the website, both default and made with the JetEngine plugin. Here, one should select the posts of which post type to be queried;
- Post Status — here, one can choose one or several statuses of the posts added to the list;
- Search Keyword — the “Posts Query” will search through every post and show only those posts containing a word typed into this bar in their title, excerpt, or content. If a hyphen is added in front of the word (like “-shoes”), all posts with that word will be excluded from the list. One can also fill this bar using dynamic tags. Dynamic tags can be accessed when the button at the end of the bar is clicked;
- Order & Order By — here, the sorting parameters can be added. There could be several of them for every query. The “Add new sorting parameter” button should be pressed to add a new sorting condition. Every sorting parameter item has additional features:
- Order By — in this drop-down menu, one can choose the parameter by which the items will be sorted;
- Order — here, one can select ascending (from lowest to highest) or descending (from highest to lowest) order;
- Has Password — a toggle that should be enabled so only the posts that can be seen after entering the password are added to the list;
- Post Password — if one wants to add only posts with a particular password, this password should be typed into this bar.
Meta Query
This tab allows adding posts to the list based on the values of their meta fields. One can set a value in the Value text area, and then the data from the selected meta field in the Field key/name bar is compared to that value. If they match, the post is added to the list. The conditions the value of the meta field has to meet are called Meta Query Clauses. One can add as many Meta Clauses as needed by clicking on the “Add New” button.
Also, the “Dynamic Tags” buttons next to the Field key/name and Value bars should be noted. It means one can not only select the value but also customize its Context and Fallback in the Advanced settings section.
In case something goes wrong, the text typed in the Fallback field will be displayed to the user.
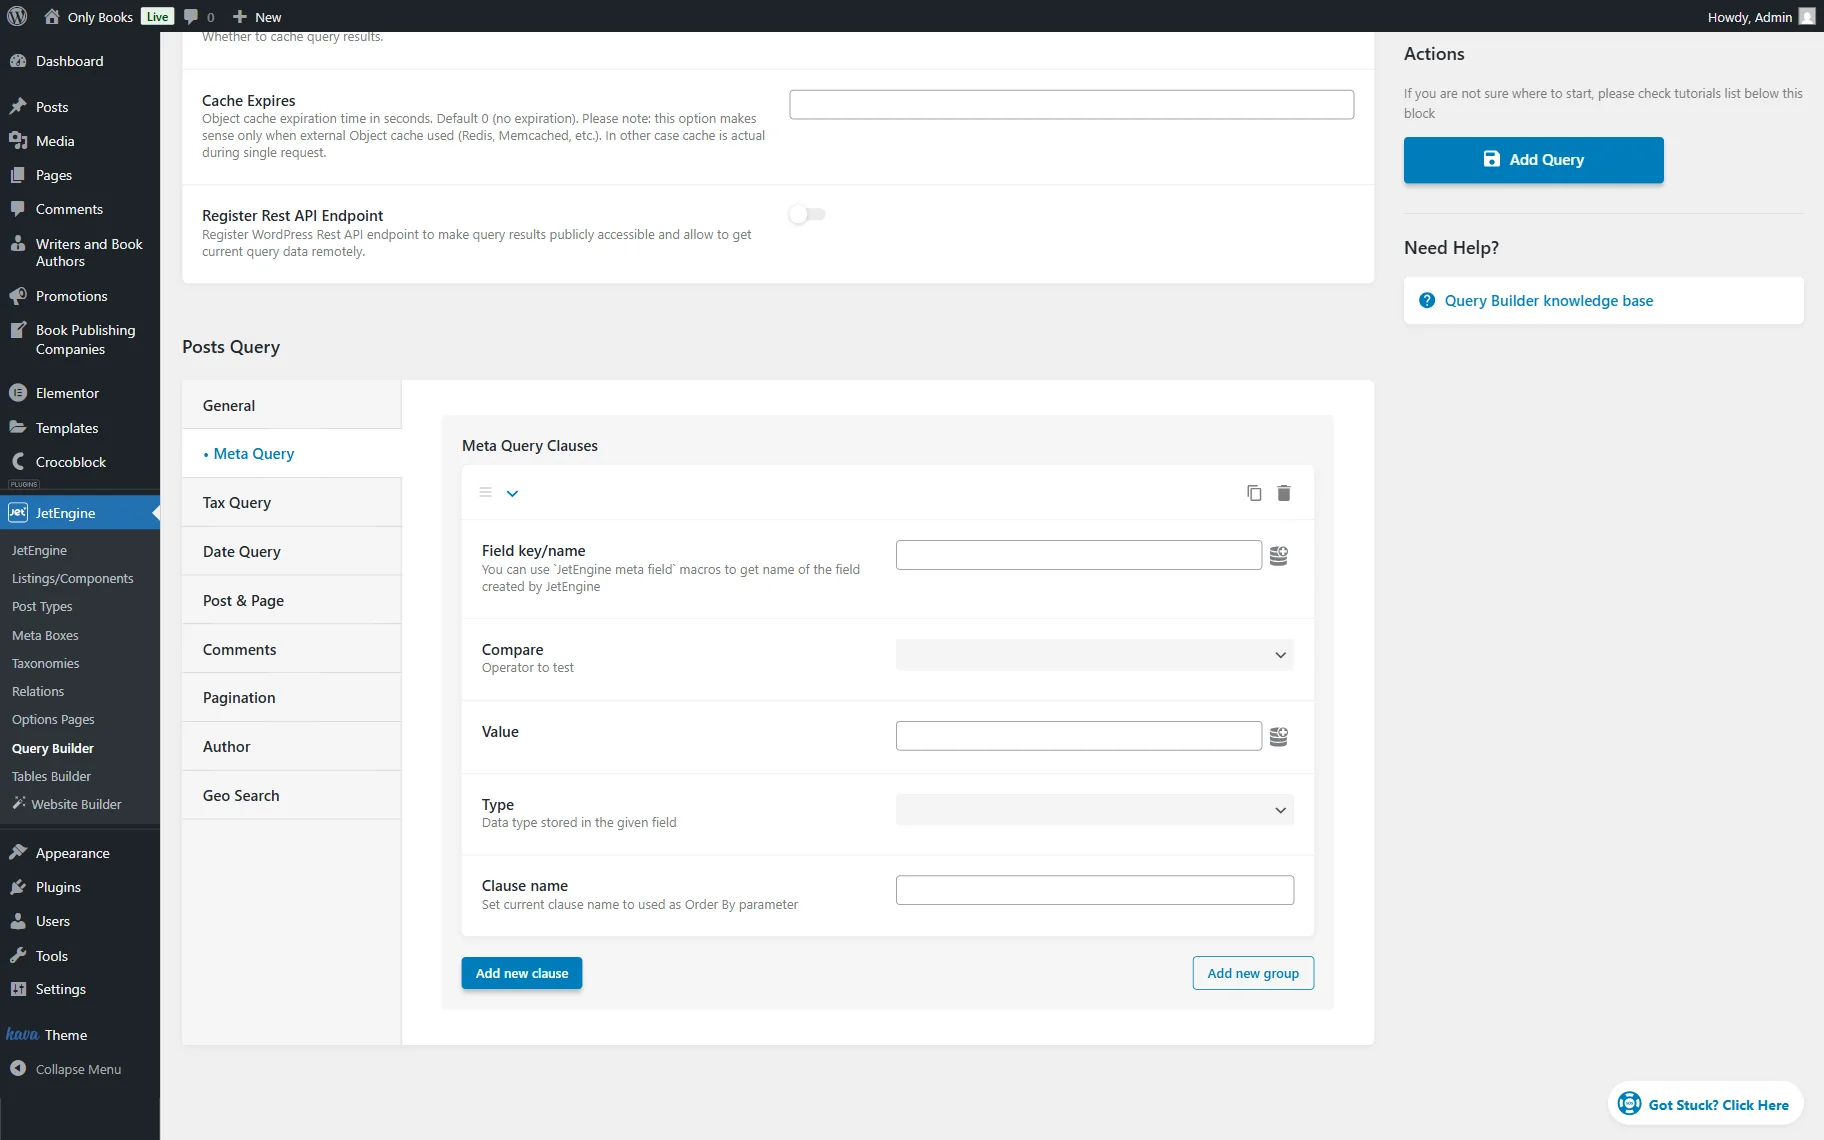
- Field key/name — the name of the meta field attached to the post type selected in the General settings tab. Dynamic tags can also be used in this bar. If needed, the Context and Fallback can be set in the Advanced settings tab;
- Compare — here, one can select how the values will be compared:
- Equal — displays posts having an equal value;
- Not Equal — shows posts that don’t have an equal value;
- Greater than — shows posts that have a greater value. It works with numeric values only;
- Greater or equal — displays posts that have a greater or equal value. It also works only for numeric values;
- Less than — shows posts that have a lesser value. For numeric values only;
- Less or equal — displays posts that have a lesser or equal numeric value;
- Like — shows posts that have the value set in the Value field mentioned in the content;
- Not like — displays only the posts that don’t have the value put in the Value field mentioned in the content;
- In the list — after several values to the Value field are added, it shows the posts that have at least one of them in their content;
- Not in the list — displays posts that have any values except the ones typed into the Value field;
- Between — displays posts that contain the value between two, which are set in the Value field;
- Not between — shows all the posts except the ones that have a value that matches the set interval;
- Exist — shows all the posts that contain the Key. The Value should not be set in this case. More details can be found in the How to Order Posts by Custom Meta Fields tutorial;
- Not exist — displays all the posts that don’t have the Key. The Value should not be set either;
- Regexp — queries posts according to “Checkbox” and “Radio” meta field values;
- Not regexp — excludes mentioned “Checkbox” and “Radio” meta field values from the query;
- Value — the value set here will be compared to the value of the meta field chosen in the Field key/name bar.
- Type — this drop-down allows one to specify what kind of data is stored in the chosen meta field:
- Char — alphabetic data that is not sensitive to the case;
- Numeric — whole numbers only;
- Date — date values;
- Datetime — date and time values;
- Decimal — fraction number data;
- Time — time values;
- Binary — data that is sensitive to the case;
- Signed — whole numbers, both positive and negative;
- Unsigned — whole numbers, only positive.
- Clause name — if the meta clause has a unique name, it will appear in the Order by drop-down, and one will be able to use it to sort the posts.
Another button available in this section is “Add new group.” This button should be clicked if one needs to create more complex conditions for queries by combining different relations, thereby creating groups of conditions.
Once clicked, the Relation can be selected: “And” or “Or”. To make changes to the group clause, one should click the “Edit group clause” button.
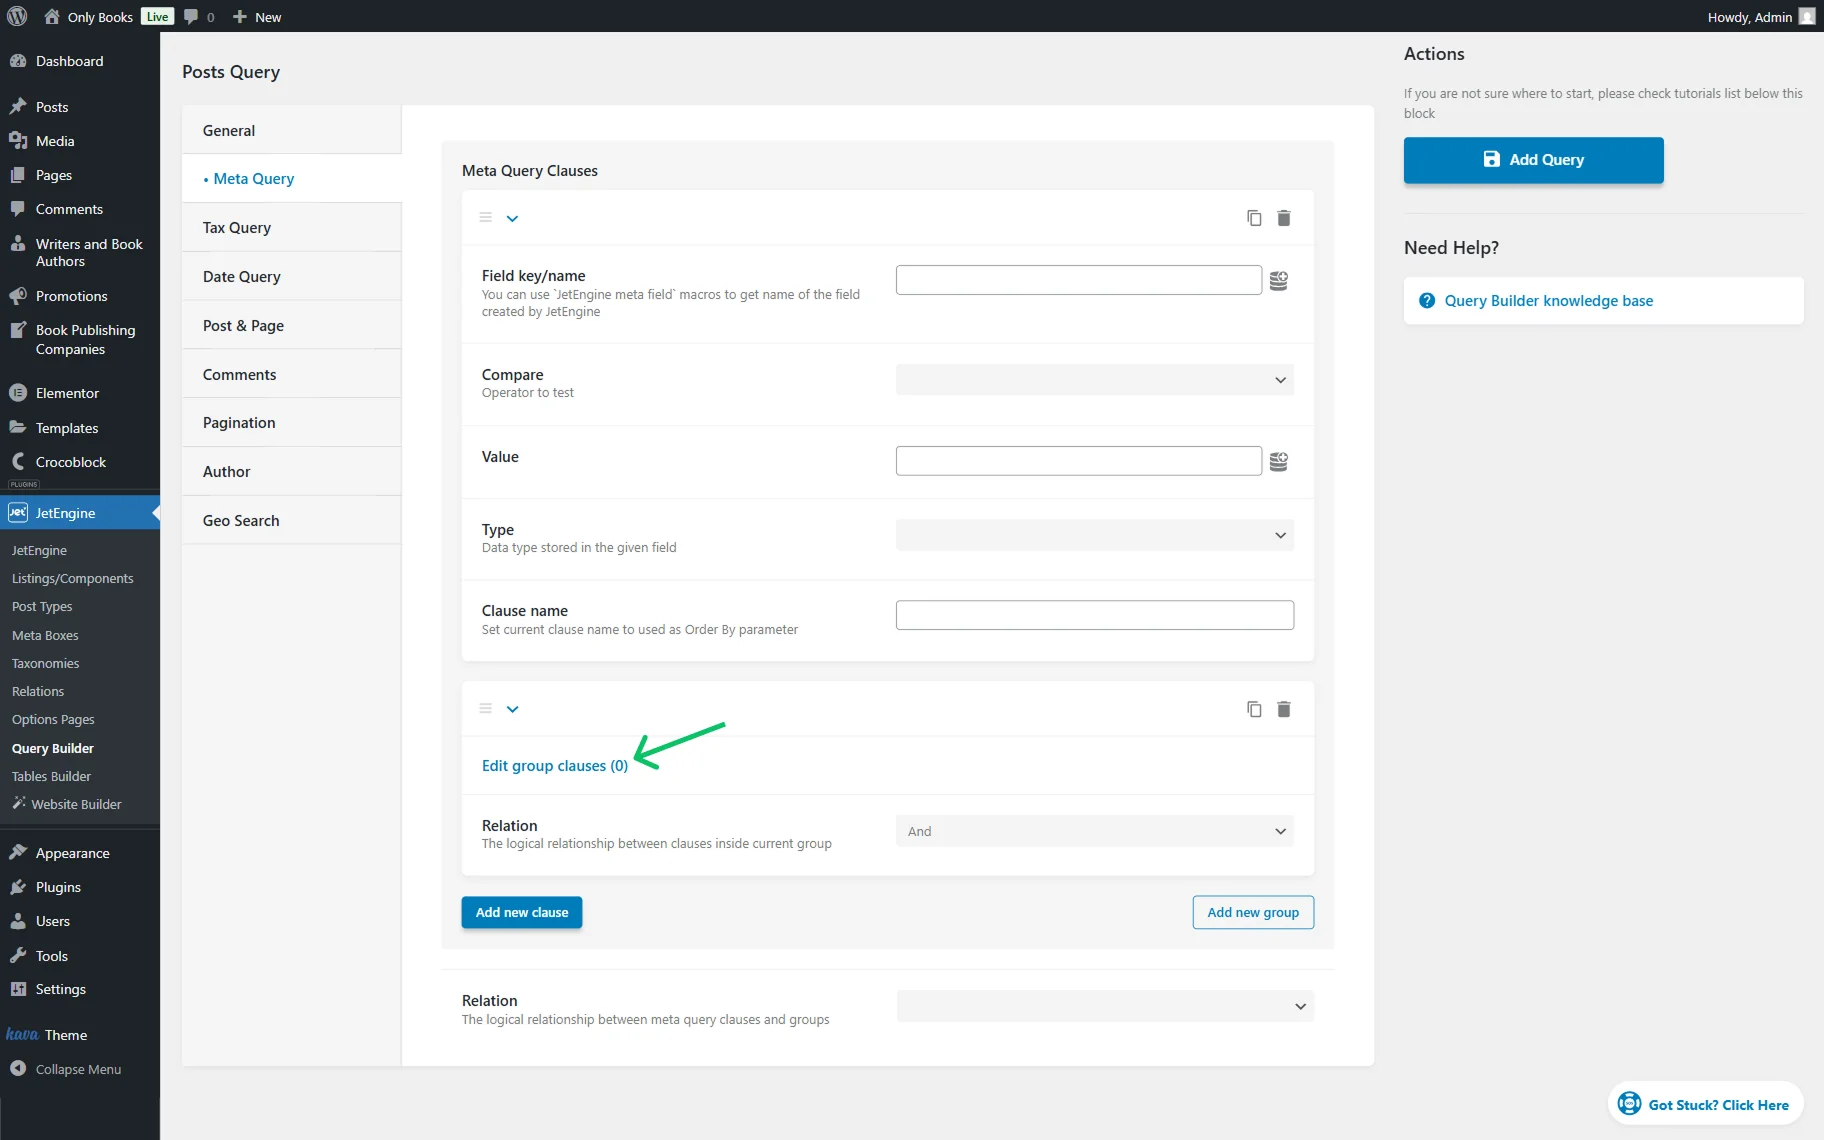
If clicked, the settings pop-up is displayed. Here, the same fields for the Meta Query Clause setup are presented as in the Meta Query tab.
The needed number of clauses can be added by pressing the “Add new clause” button, and when ready, one can close the pop-up.
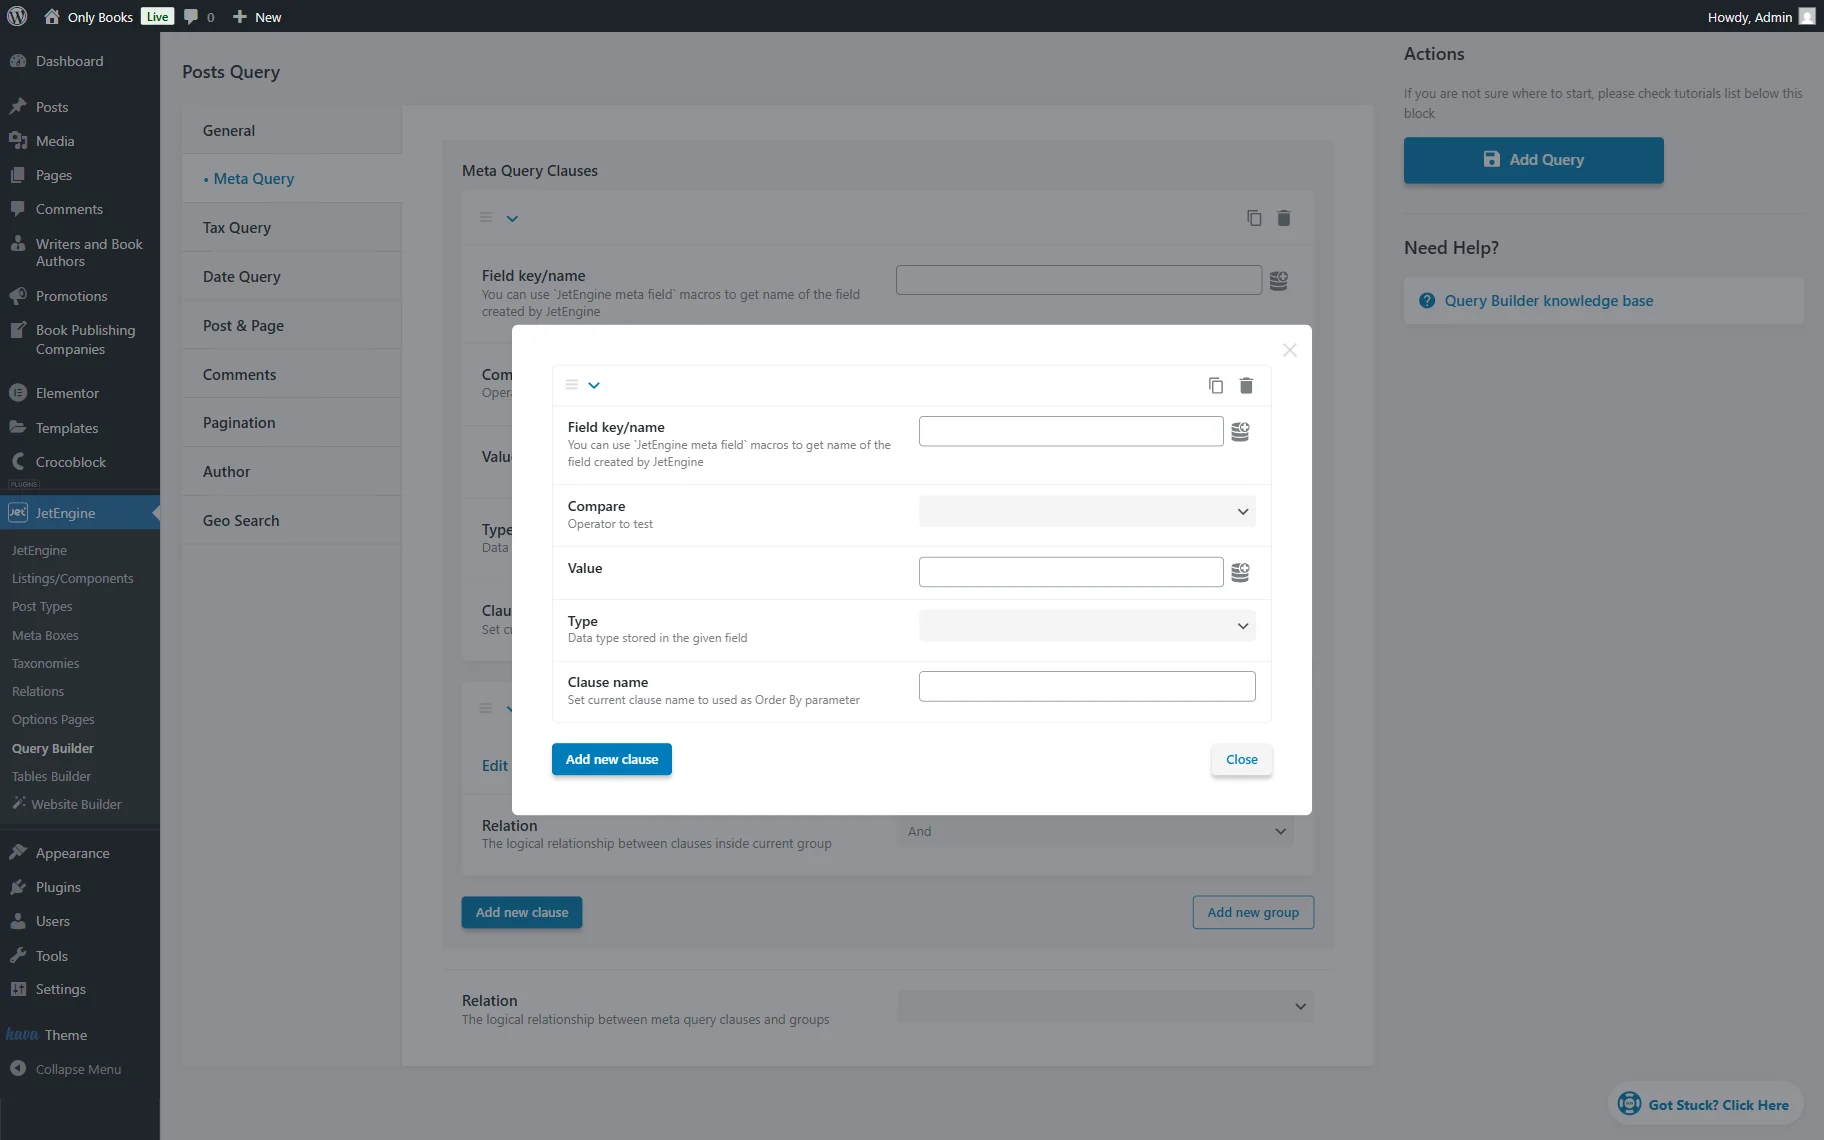
More details about creating group clauses can be found in the How to Create Group Clauses for Query Arguments tutorial.
Tax Query
In this tab, the posts, according to the taxonomies, categories, or terms that are connected to them, can be queried. The set of conditions is called the Tax Query Clause, and one can add several of them to one query by clicking the “Add new” button.
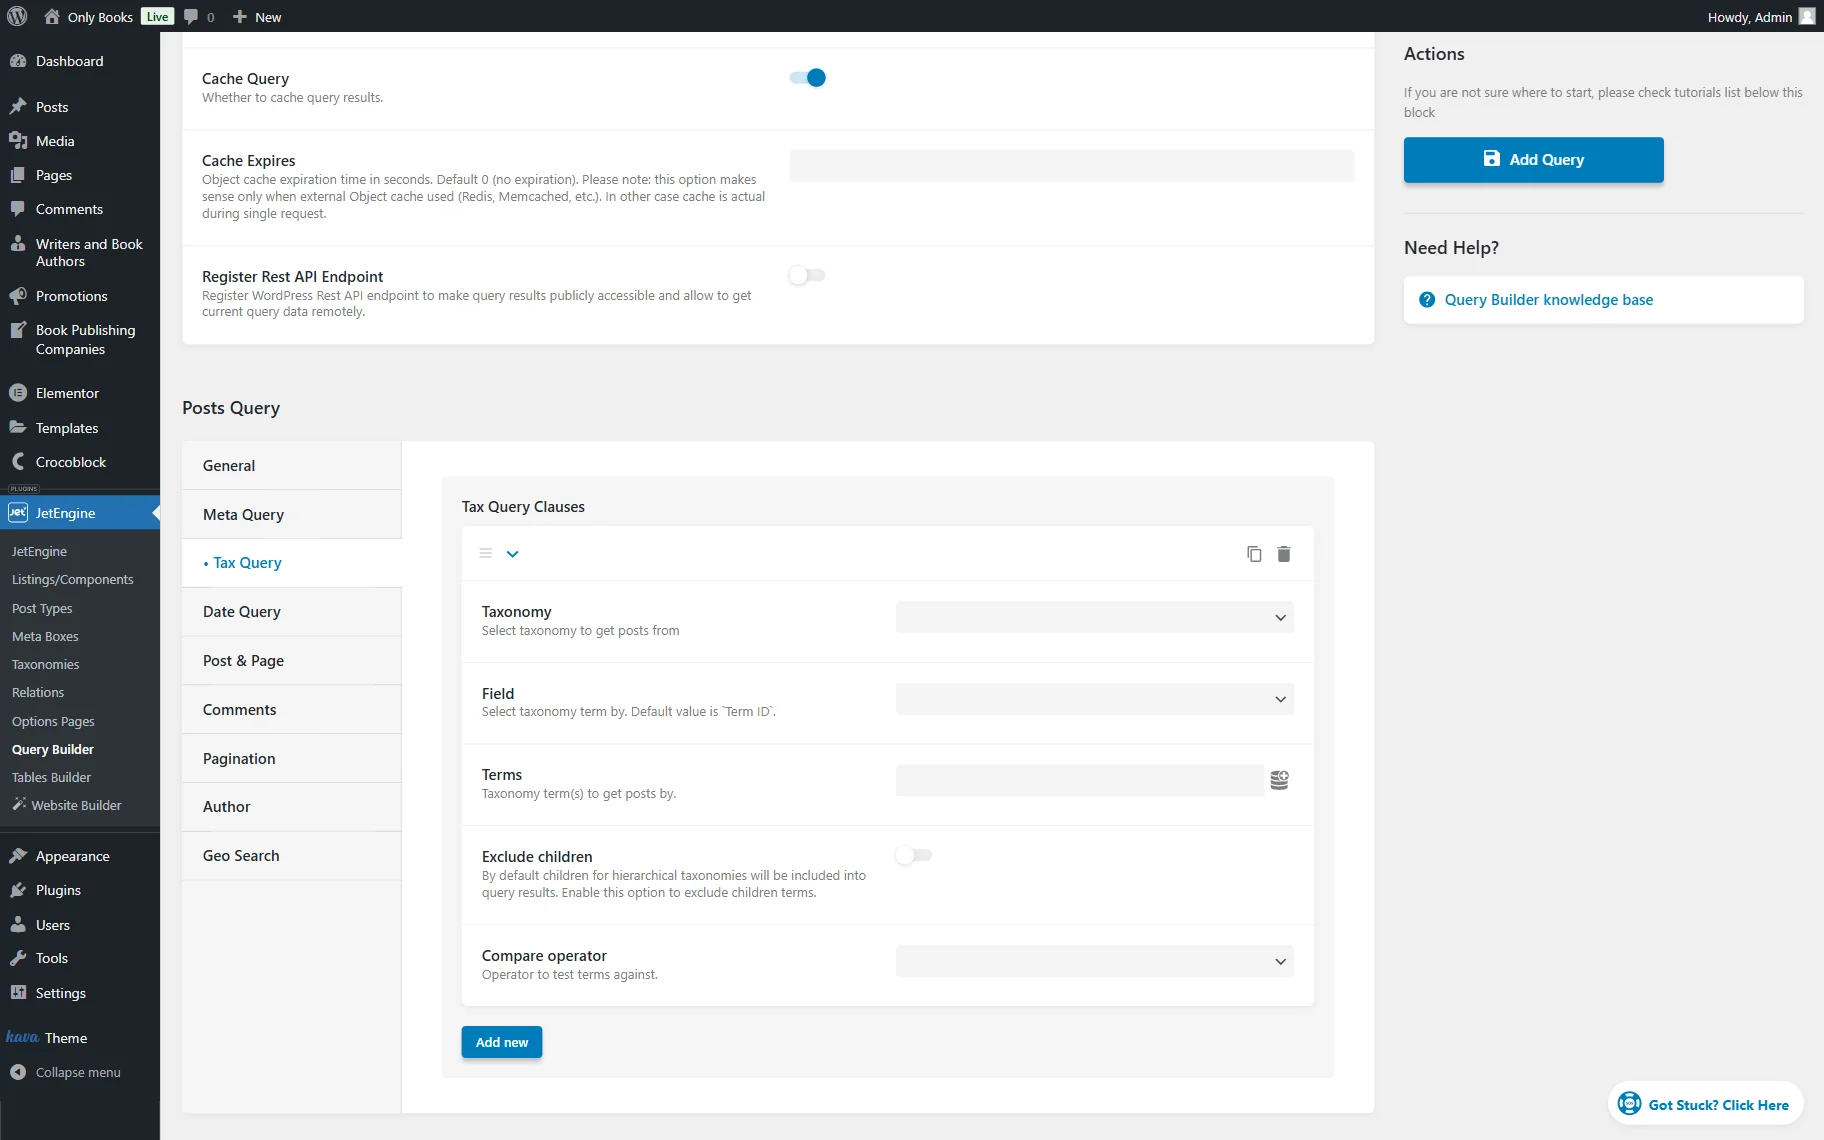
- Taxonomy — in this drop-down menu, one can select the type of taxonomy applied to the posts. All available taxonomies will be listed here;
- Field — here, one can choose how to specify the terms: by “Term ID,” “Slug,” “Name,” or “Term taxonomy ID”;
- Terms — according to the option which is selected in the Field menu, here one has to type in the ID, slug, or name of the needed term;
- Exclude children — if a hierarchical taxonomy is selected and one doesn’t want to add the posts with children terms, this toggle should be enabled;
- Compare operator — this field defines how different terms will work together:
- IN — shows all the values in the chosen taxonomy;
- NOT IN — hides all the items that are applied to the selected term;
- AND — allows the existence of multiple conditions;
- EXIST — is used to test the existence of any record in a subquery;
- NOT EXIST — performs the opposed action.
Date Query
Here, all fields present the date modifications.
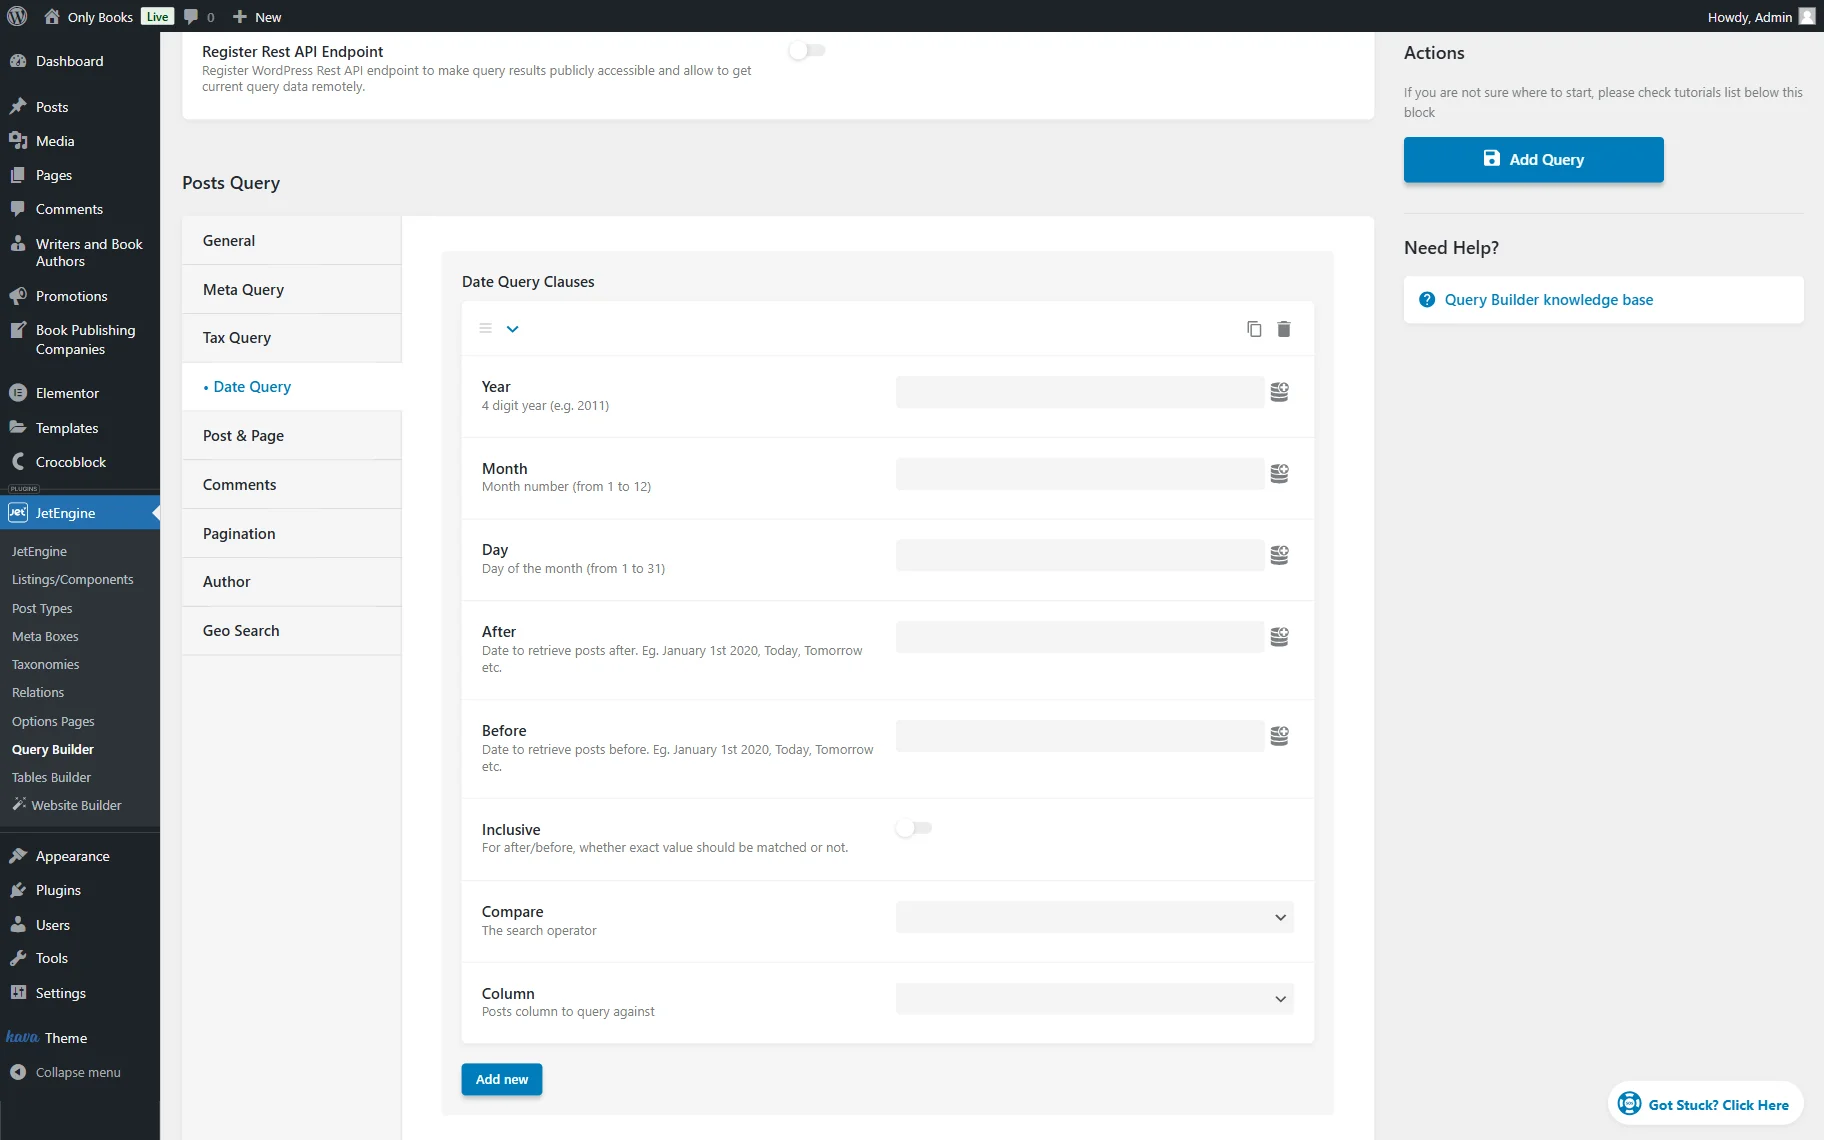
- Year — posts that were created or modified this year will be added to the list;
- Month — posts that were created or modified this month will be added to the list;
- Day — posts that were created or modified on this day will be added to the list;
- After — posts created or modified after the date entered into this bar will be added to the list;
- Before — and all posts created or modified before the entered date will be added to the list;
- Inclusive — if this toggle is enabled, the date typed in the After or Before fields will be included in the range;
- Compare — here, one can choose how the date added to the Year, Month, and Day bars will be compared to the date of post creation or modification;
- Column — in this drop-down menu, one can choose which date to take – the date of creation or modification.
Post & Page
This tab allows for including or excluding specific posts by their IDs or slugs. All the features can be filled with the help of dynamic tags by clicking on the button on the right side of the bar.
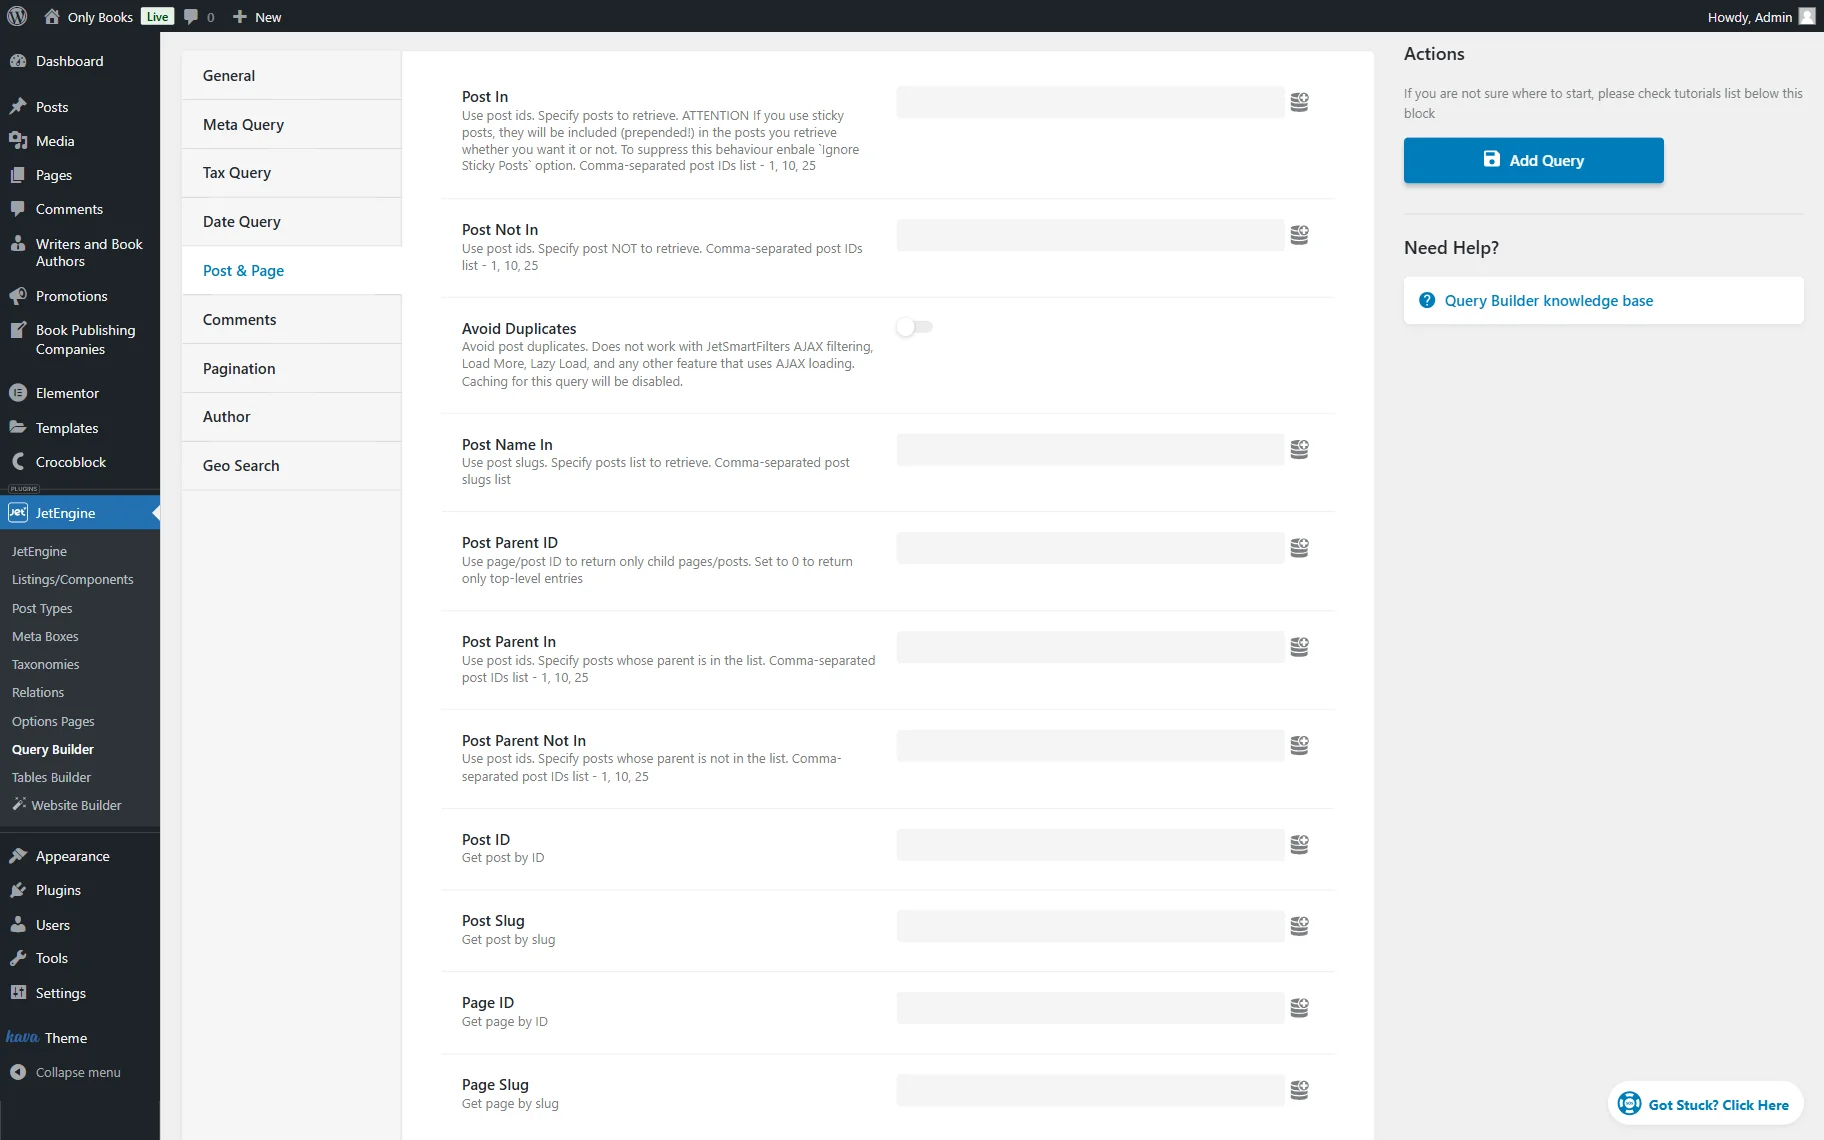
- Post In — if there are several posts that should be added to the list, their IDs can be typed here, separated by commas. This bar is for several posts only. If only one should be added, the Post ID bar should be used;
- Post Not In — one can exclude one or several specific posts by typing their IDs here;
- Avoid Duplicates — a toggle that, when activated, excludes duplicates from the posts list.
- Post Name In — it is possible to add posts to the list not by their IDs but by names. To do so, one should type slugs here and separate them by commas;
- Post Parent ID — if one types the ID of a post here, all its child posts will be added to the list. One can also type “0” in this bar, and all parent posts that have children will be added to the list without child posts;
- Post Parent In — here, several parent post IDs separated by commas can be added, and all their child posts will be added to the list;
- Post Parent Not In — all the “children” of parent posts that are mentioned here by their IDs will be excluded from the list;
- Post ID — a bar for single post IDs. The post mentioned here will be added to the list;
- Post Slug — one should type the slug of the post here, and it will be added to the list;
- Page ID — to add the page to the list, its ID should be put here;
- Page Slug — to add the page to the list, its slug should be put here.
Comments
In the Comments section, one can add posts with a particular number of comments to the list. The Posts Query takes the number of comments the post has and compares it with the number set in the Comments number bar, adding them to the list afterward if the condition is met.
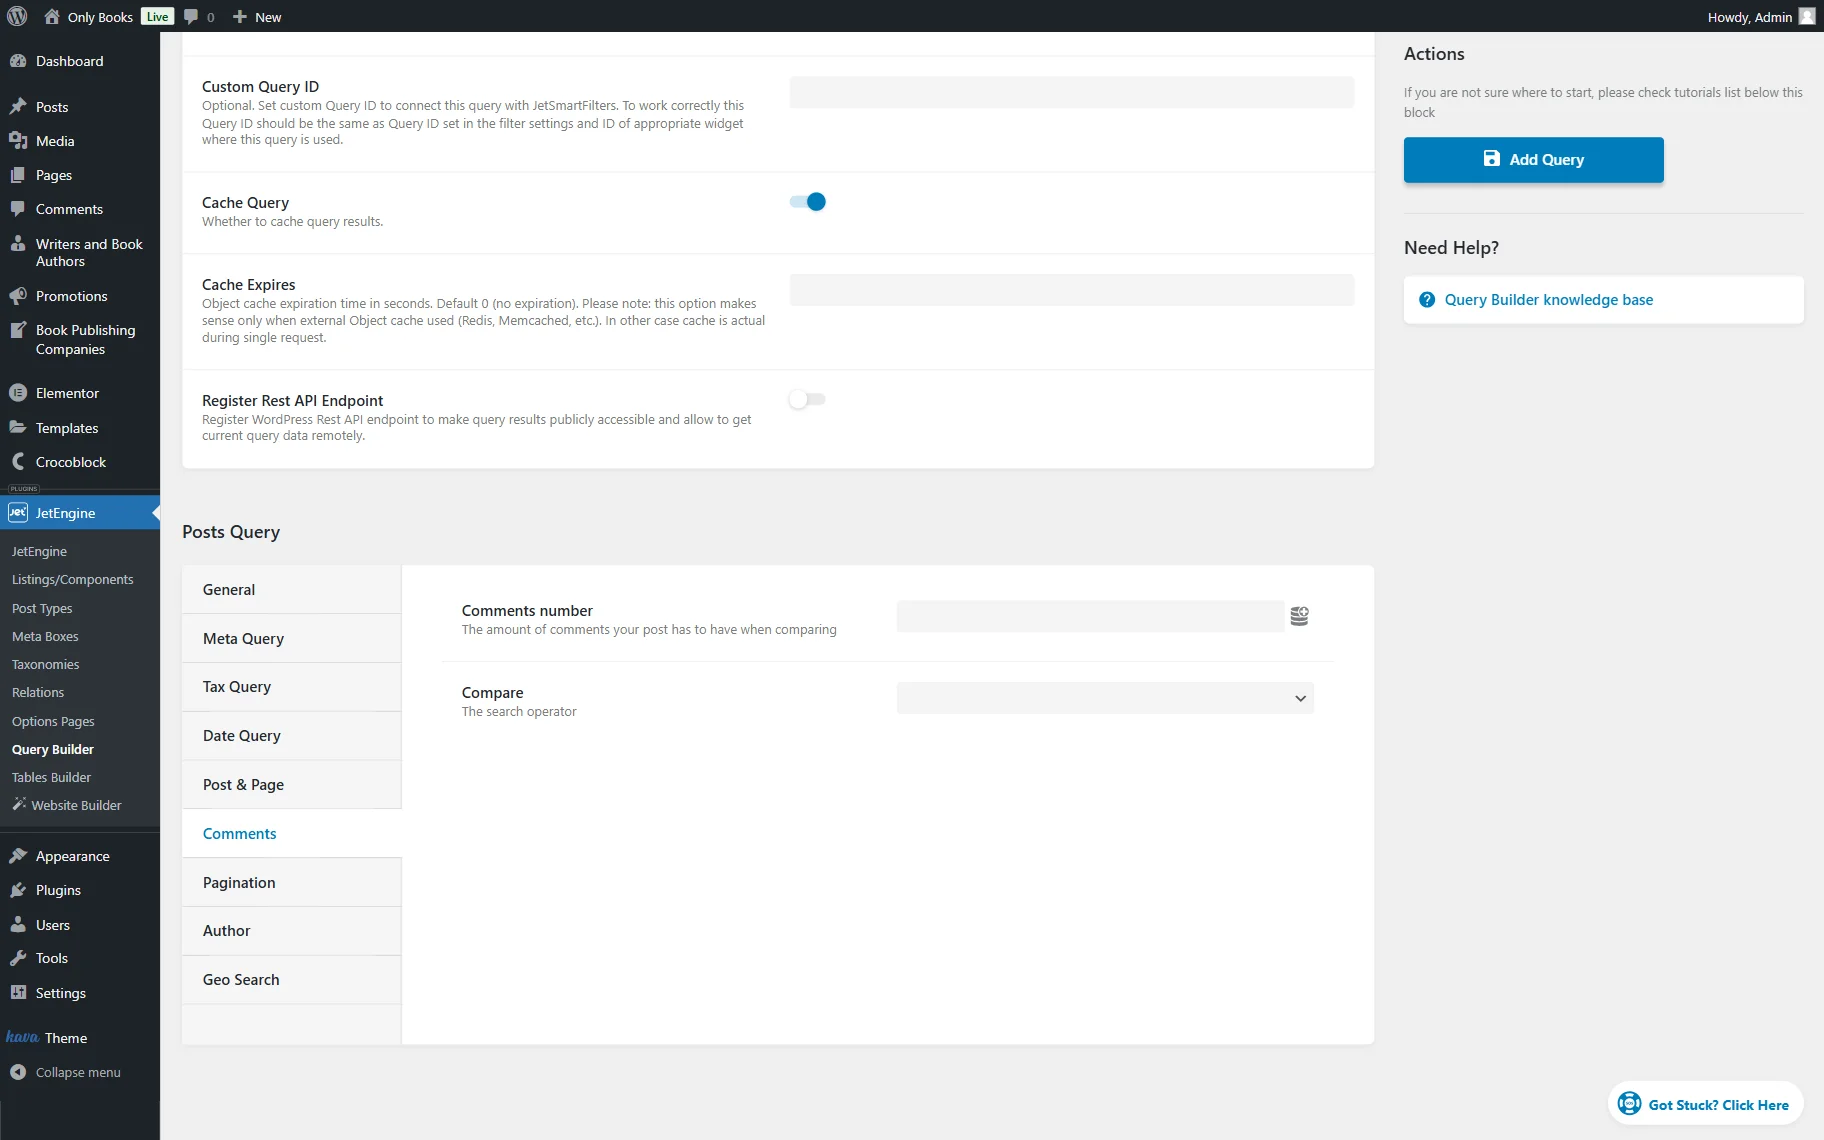
- Comments number — here, the number of comments should be put. Or, the number can be taken from some meta field via the dynamic tags;
- Compare — here, one can choose how the number will be compared. The post will be added to the list if the number of comments and the value put on the Comments number bar are:
- Equal – the numbers are equal;
- Not Equal – the numbers are not equal;
- Greater than – the number of comments is bigger than the set value;
- Greater or equal – the number of comments is greater than or equal to the value set;
- Less than – the number of comments is less than the set value;
- Less or equal – the number of comments is less than or equal to the set value.
Pagination
The Pagination tab works as if the list of posts had pagination. With this feature, the Pagination widget or block should be added to the Listing Grid.
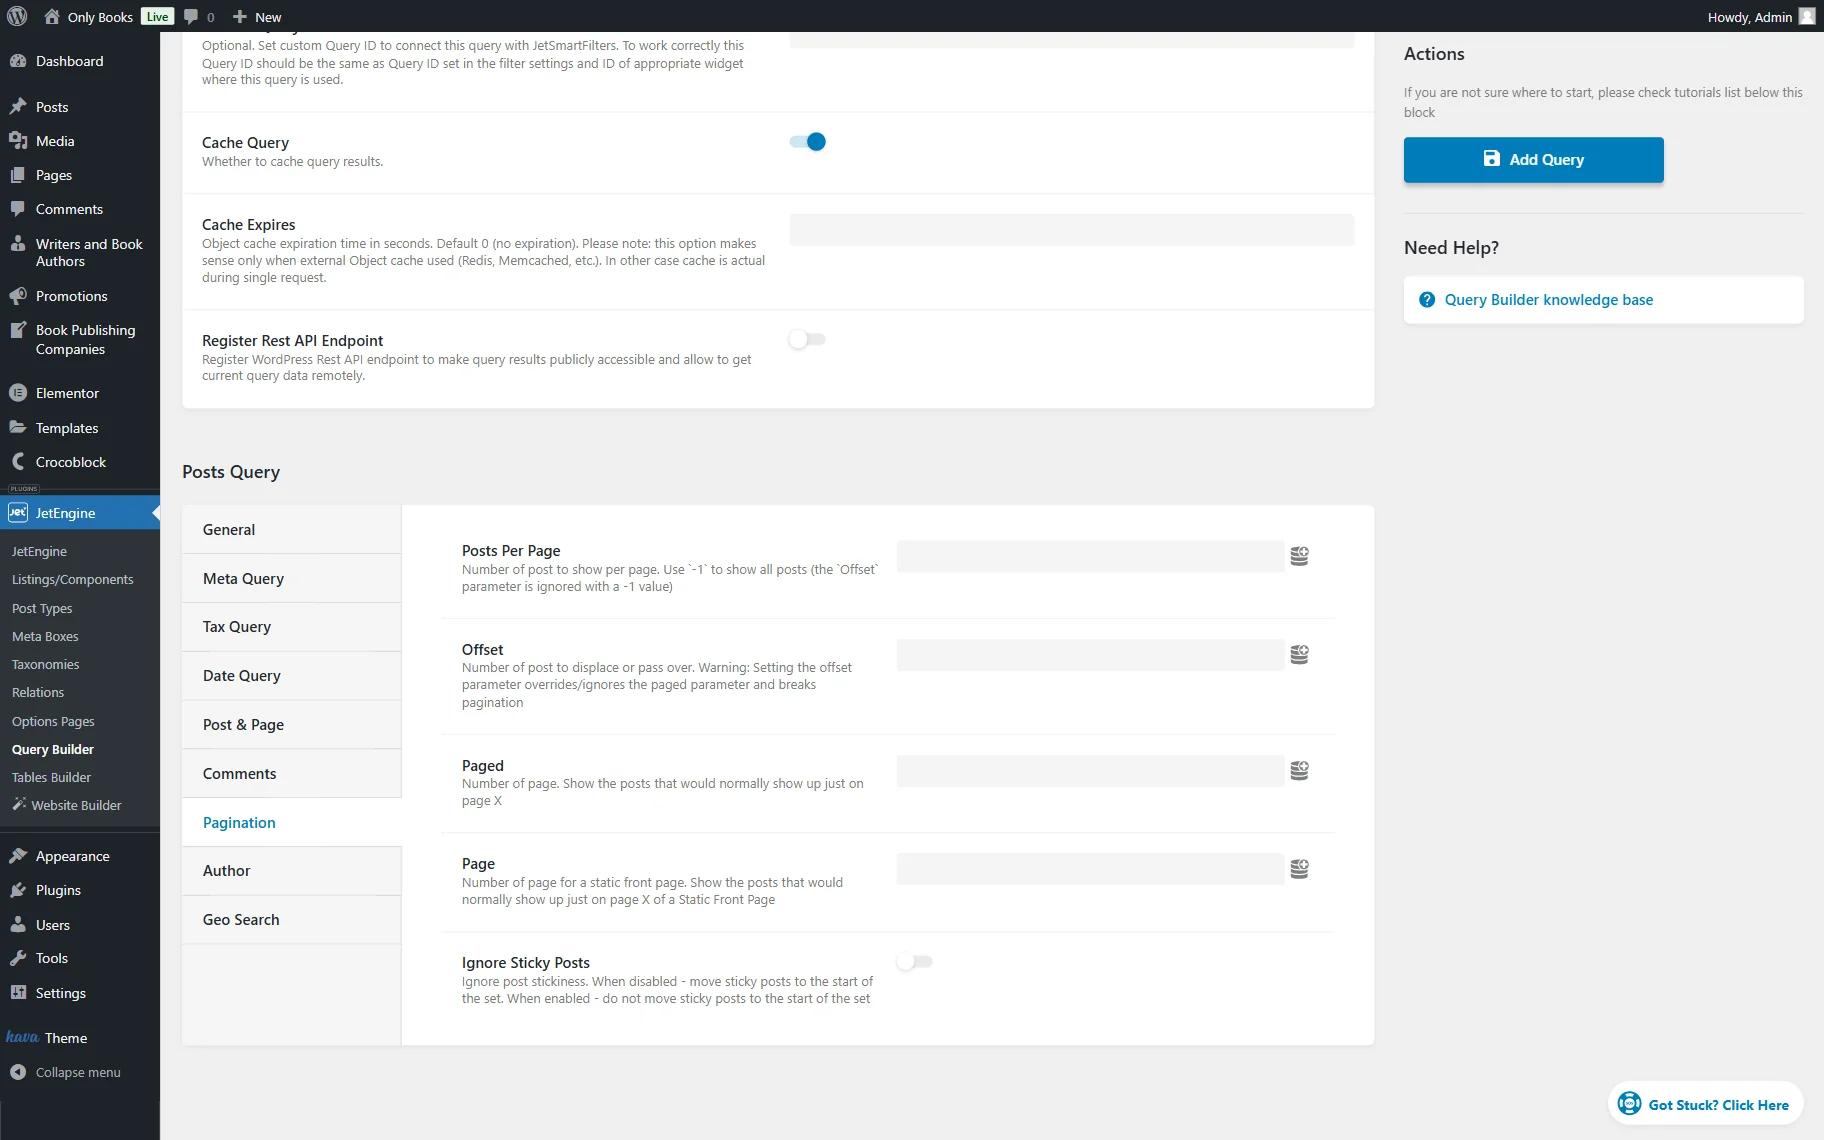
- Posts Per Page — here, the number of posts on each page of the pagination can be specified. If the “-1” value is put here, all the posts will be shown on one page, and the Offset value won’t work;
- Offset — the number put here will be the number of first posts that won’t be added to the list;
- Paged — here, one can type the number of the page, and all posts that should have been shown on that page of pagination will be added to the list;
- Page — the number set here will be the number of pages for a static front page;
- Ignore Sticky Posts — by default, this toggle is disabled, and sticky posts are placed at the top of the items list. If this toggle is enabled, the posts will remain where they are supposed to be.
Author
The Author tab helps to query posts according to their author and includes several fields for customization:

- Author ID — if the ID of the single author is put here, all posts that the author created will be added to the list;
- Author Name — all the posts of the author whose name is put in here will be added to the list;
- Author In — in this bar, one can type in the IDs of several authors, and all posts they created will be added to the list;
- Author Not In — if one types author IDs here, the posts they created will be excluded from the list.
Geo Search
Here, one can set a query that depends on geographical values and customize all the settings concerning map indicators.
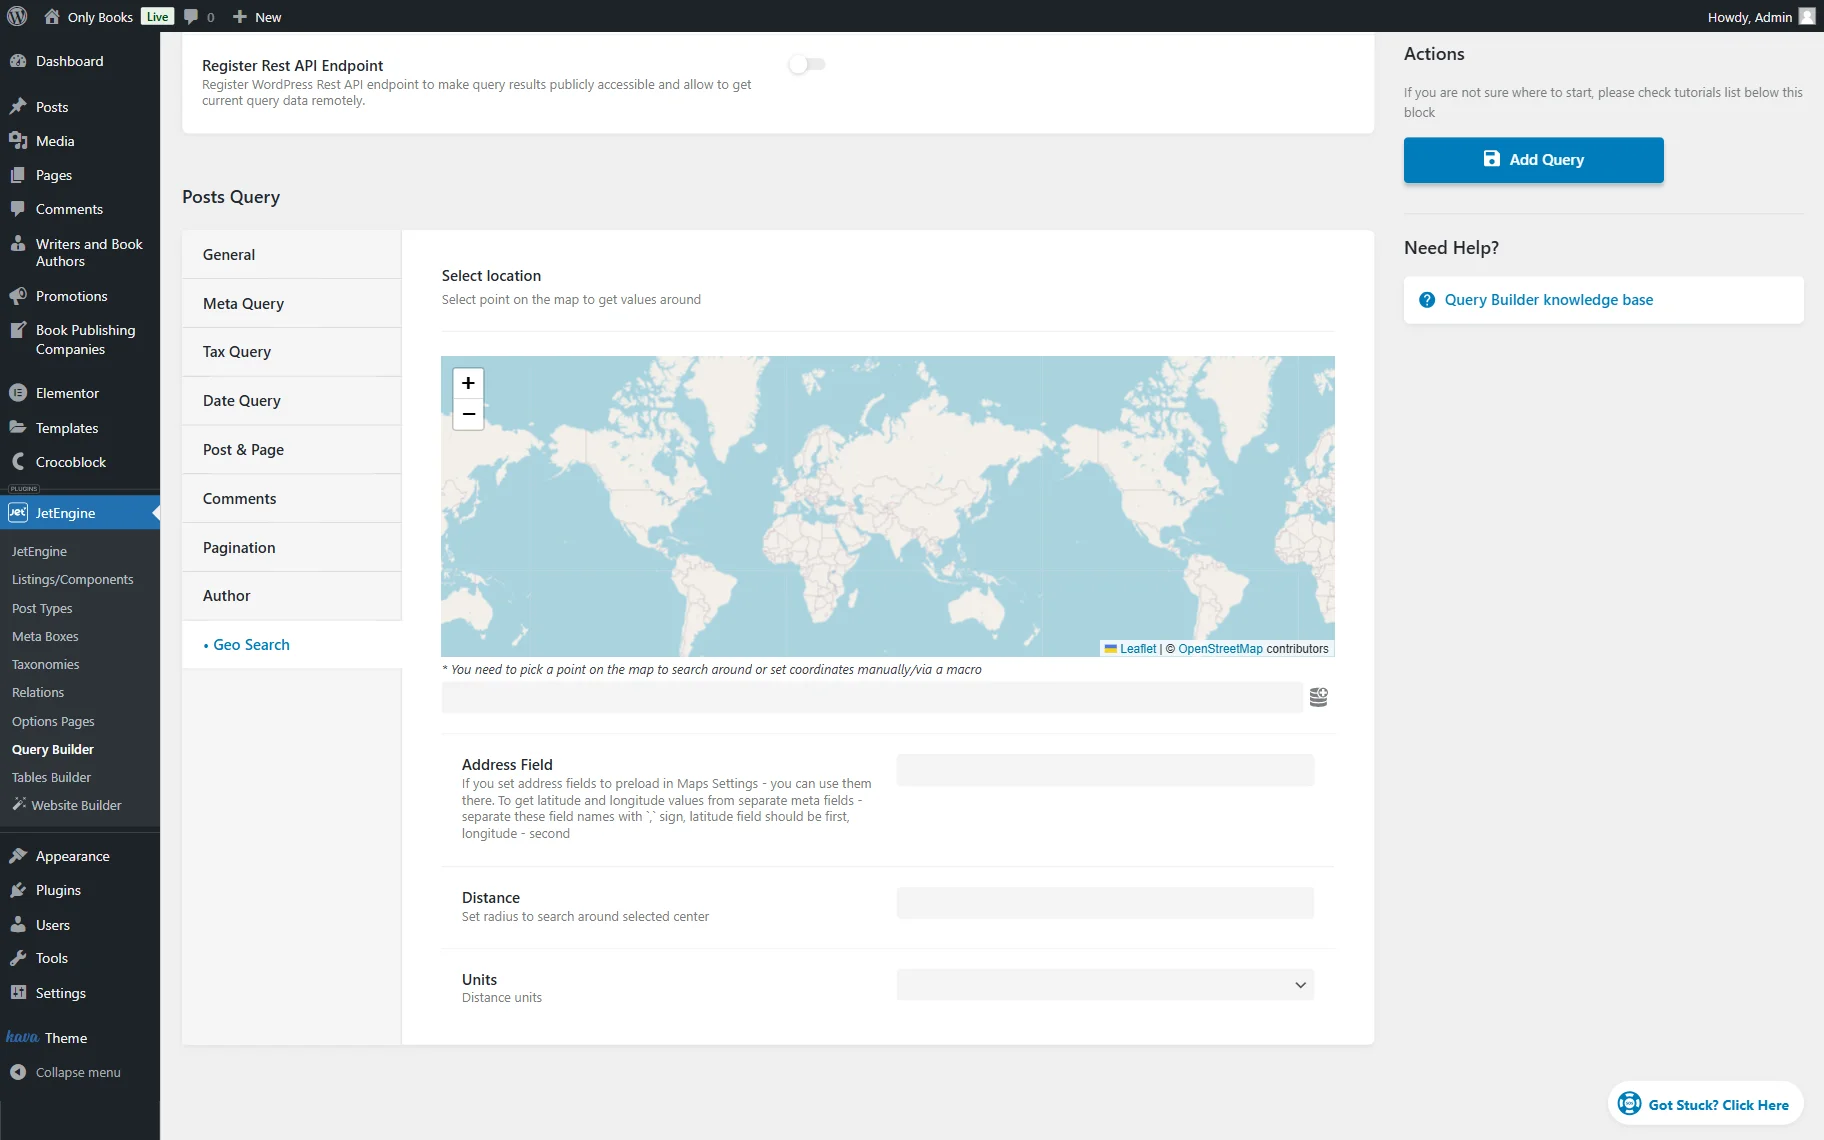
- Select location — a map where the point should be selected to get the options around it. Or, one can add coordinates manually in the field below or with the help of the macro;
- Address Field — this bar should be completed with the meta field value that stores an address (it can be two values that contain latitude and longitude);
- Distance — the radius of the search. It will be conducted depending on the center selected earlier;
- Units — available distance units.
To learn how to display search results split by Listing categories using the custom query, watch this video tutorial.
That is all for the Posts Query type available as part of the JetEngine plugin functionality for WordPress.