Showing User Display Name in the Relations List
Show the user display name instead of the user login information, such as username and email address, in the relation list on your WordPress website.
Before you start, check the tutorial requirements:
- JetEngine plugin installed and activated
Preparations
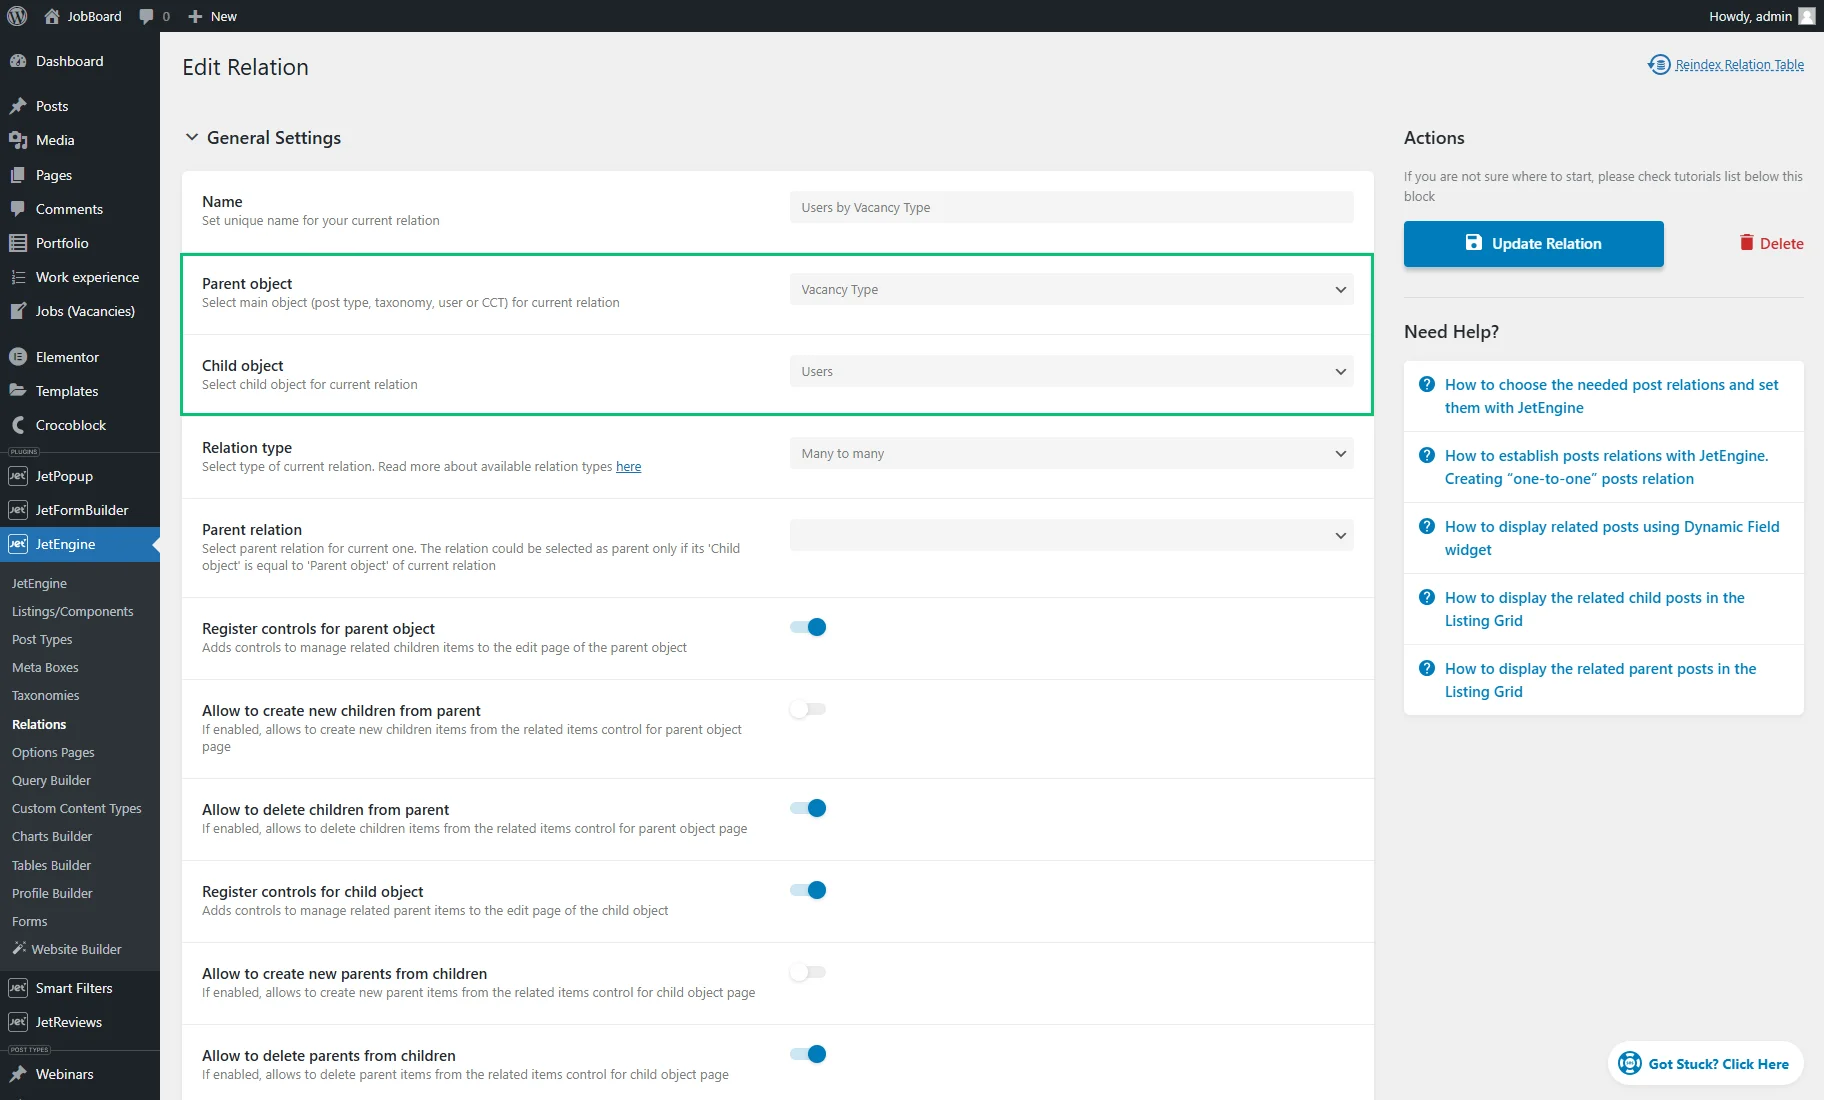
Before we start, ensure to create a JetEngine Relation between users and posts, taxonomies, or Custom Content Types (CCTs). In our case, it’s the “Taxonomy > Users” relation.
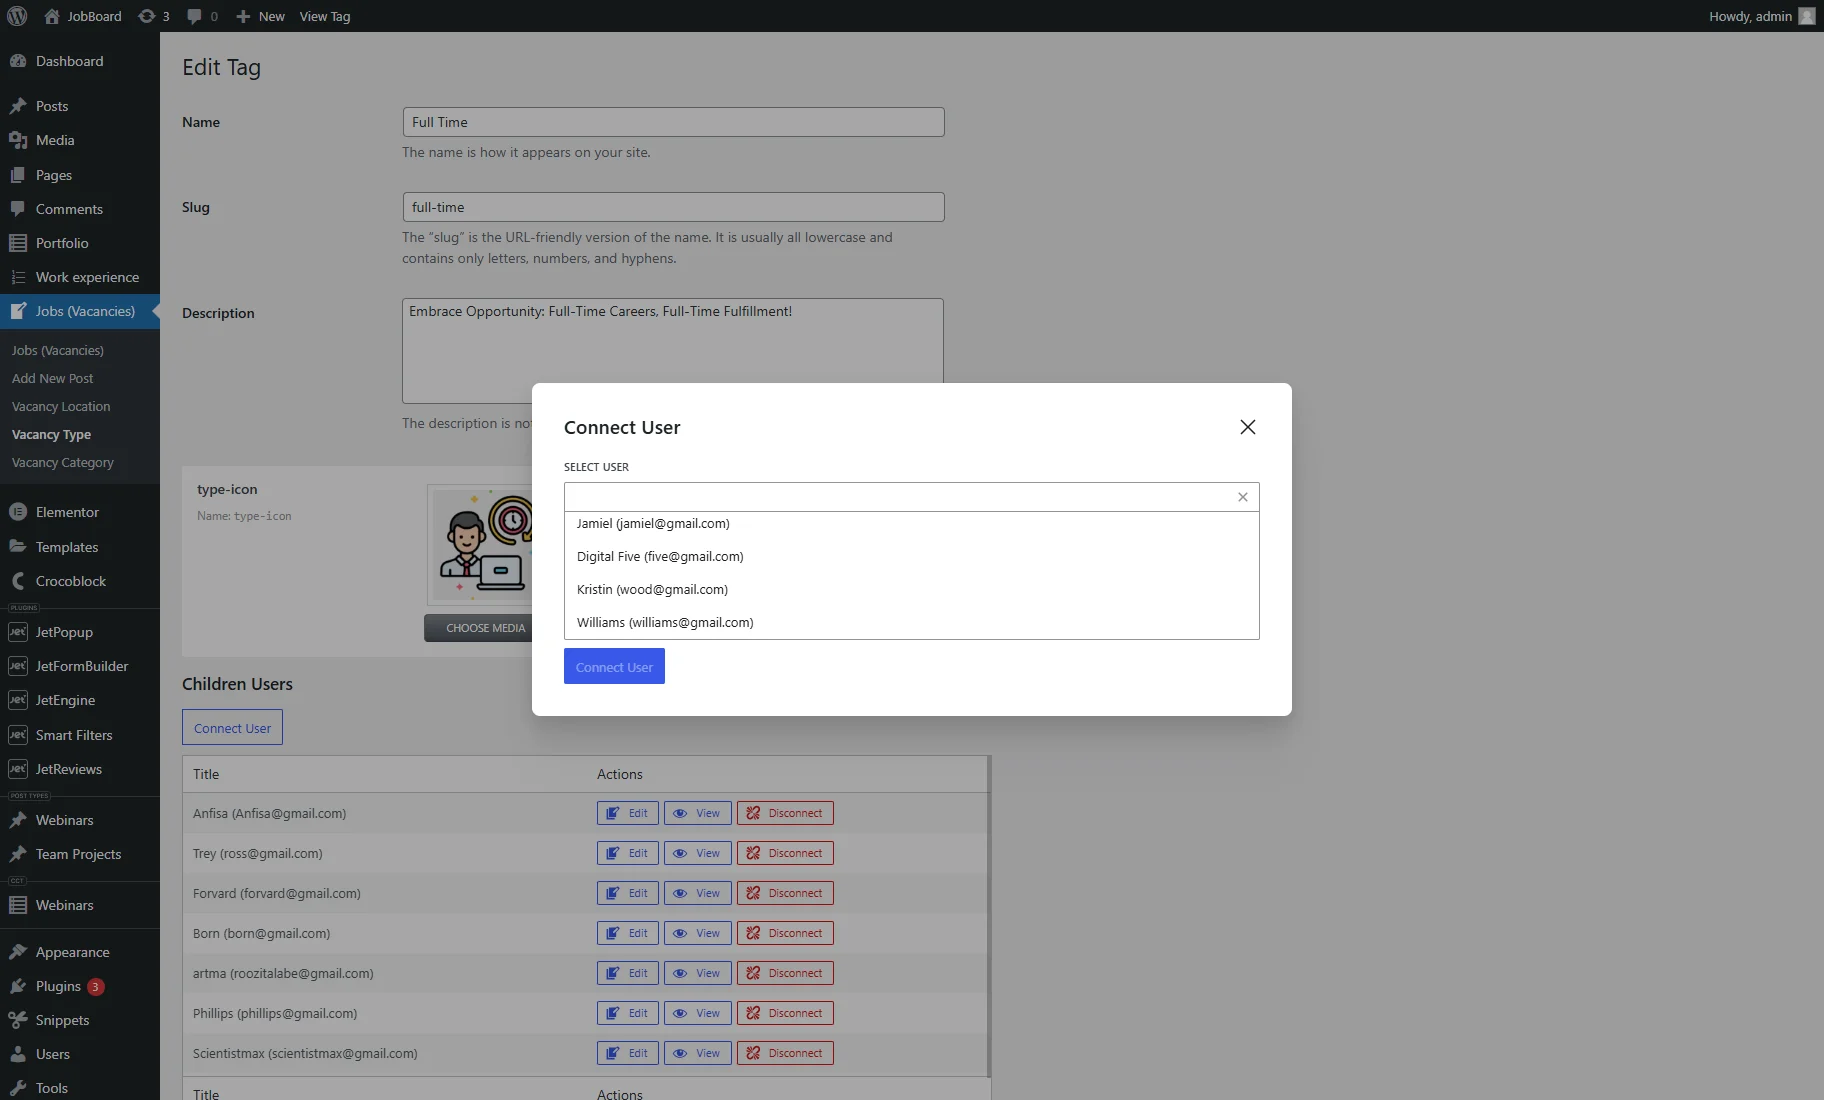
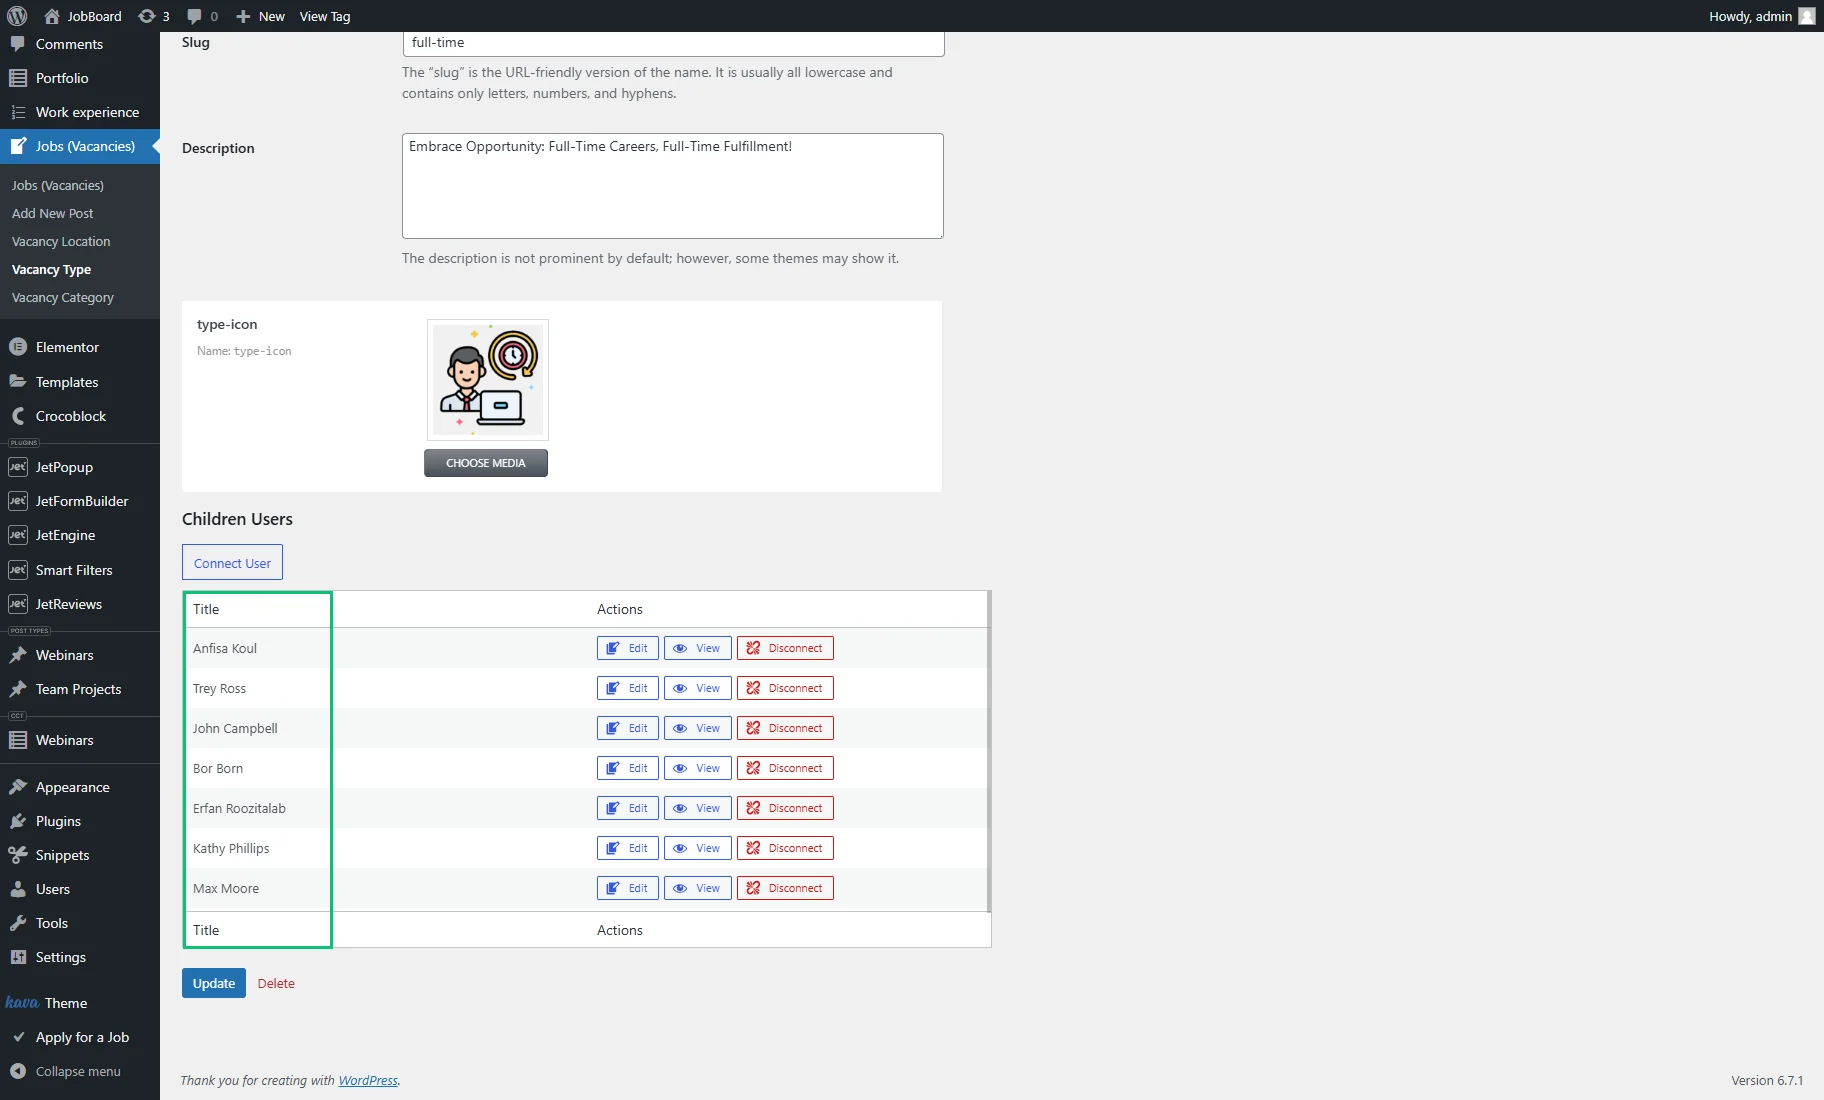
Then, proceed to the CCT, term, or post editing page and “Connect” several users. The Title column shows the usernames and email addresses.
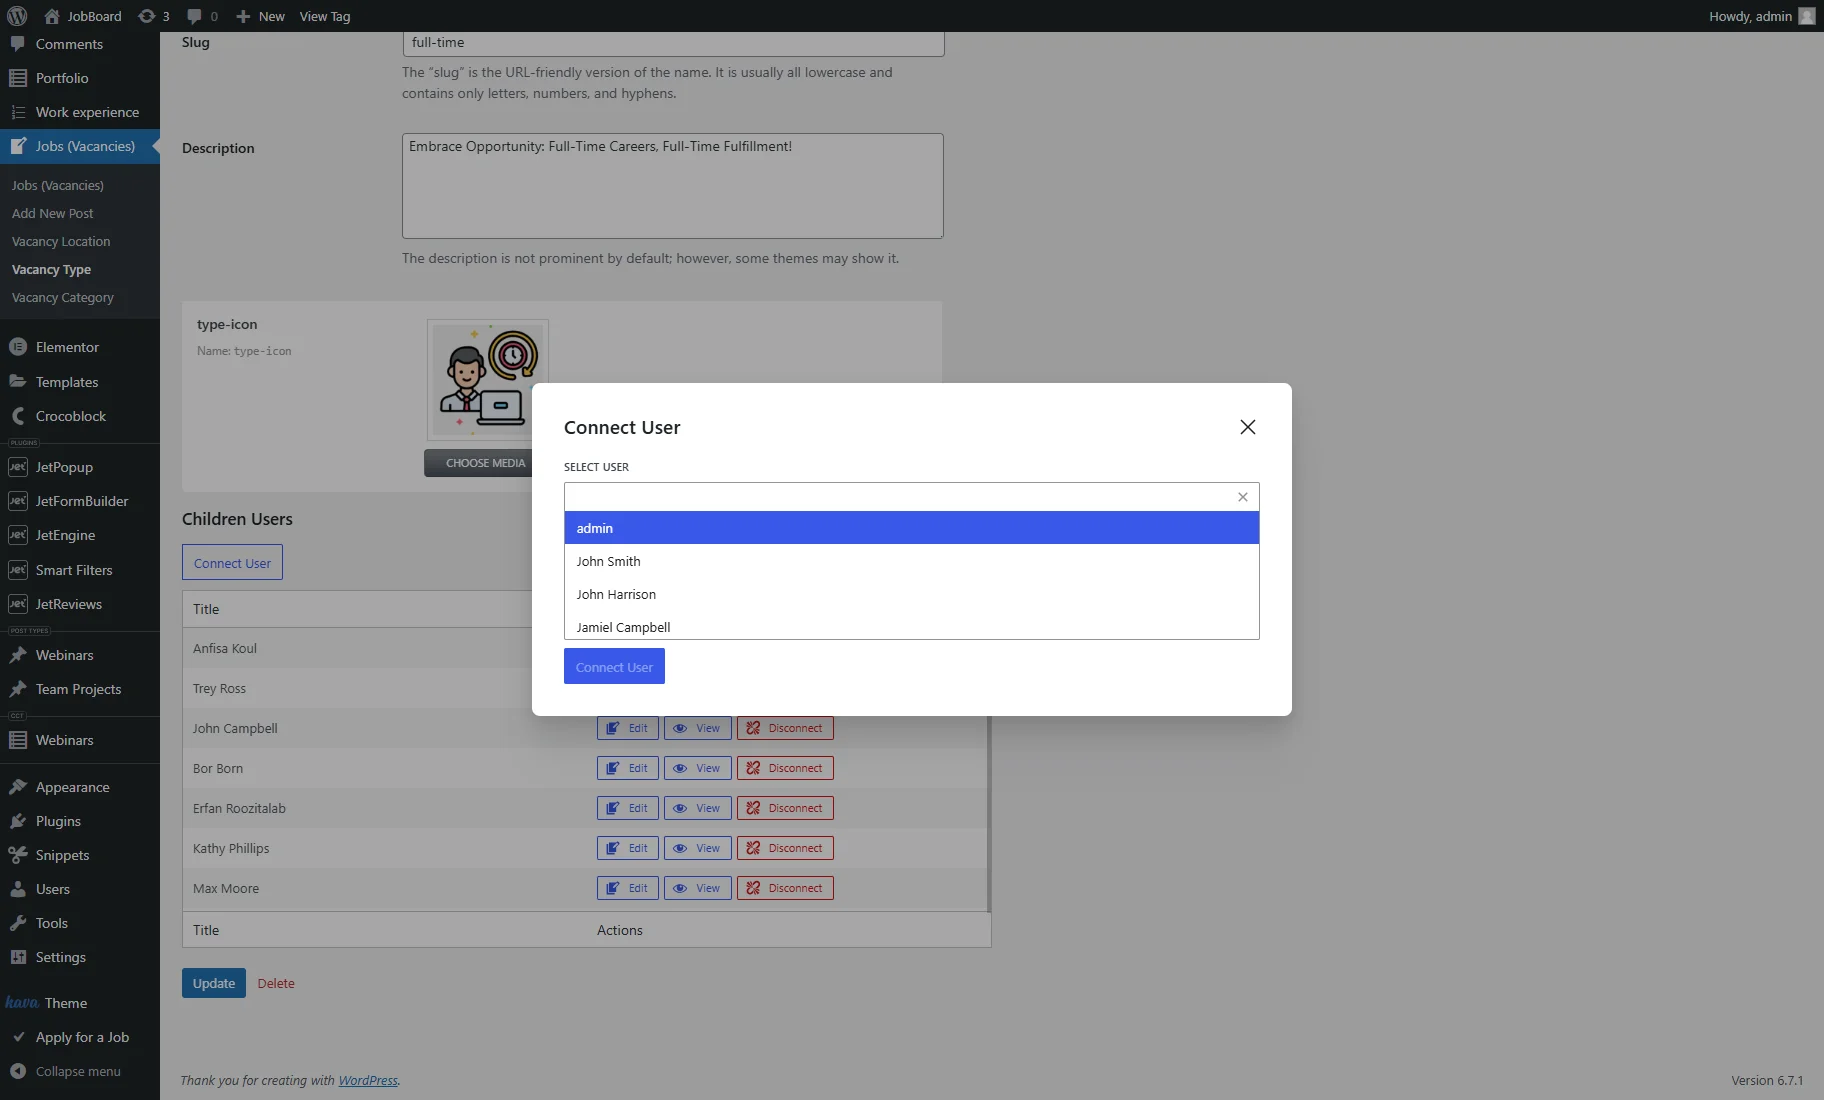
If you press the “Connect User” button, the SELECT USER dropdown also shows the usernames and email addresses in the user list.
To show the user’s display name, you should use such filters:
jet-engine/relations/types/mix/items/users
to filter the user list in the SELECT USER dropdown in the Connect User pop-up, the parameters are ‘$user_list’ and ‘$relation’;
jet-engine/relations/types/mix/item-title/users
to filter the user list in the Title column, the parameters are ‘$result’, ‘$item_id’, and ‘$relation’;
Code examples of the filter usage:
- To show the user’s display name in the SELECT USER dropdown in the Connect User pop-up:
add_filter( 'jet-engine/relations/types/mix/items/users', function( $users ) {
	global $wpdb;

	$table = $wpdb->users;
	$users = $wpdb->get_results( "SELECT ID AS value, display_name AS label FROM $table", ARRAY_A );

	return $users;
} );
- To show the user’s display name in the Title column:
add_filter( 'jet-engine/relations/types/mix/item-title/users', function( $result, $item_id ) {
	$user = get_user_by( 'ID', $item_id );

	if ( ! $user ) {
		return $result;
	}

	return $user->display_name;
}, 10, 2 );
To apply such codes with filters, you can use the Code Snippets or any other similar plugin. Another way is to paste the code directly to the WordPress Theme File Editor.
Code Snippets Plugin
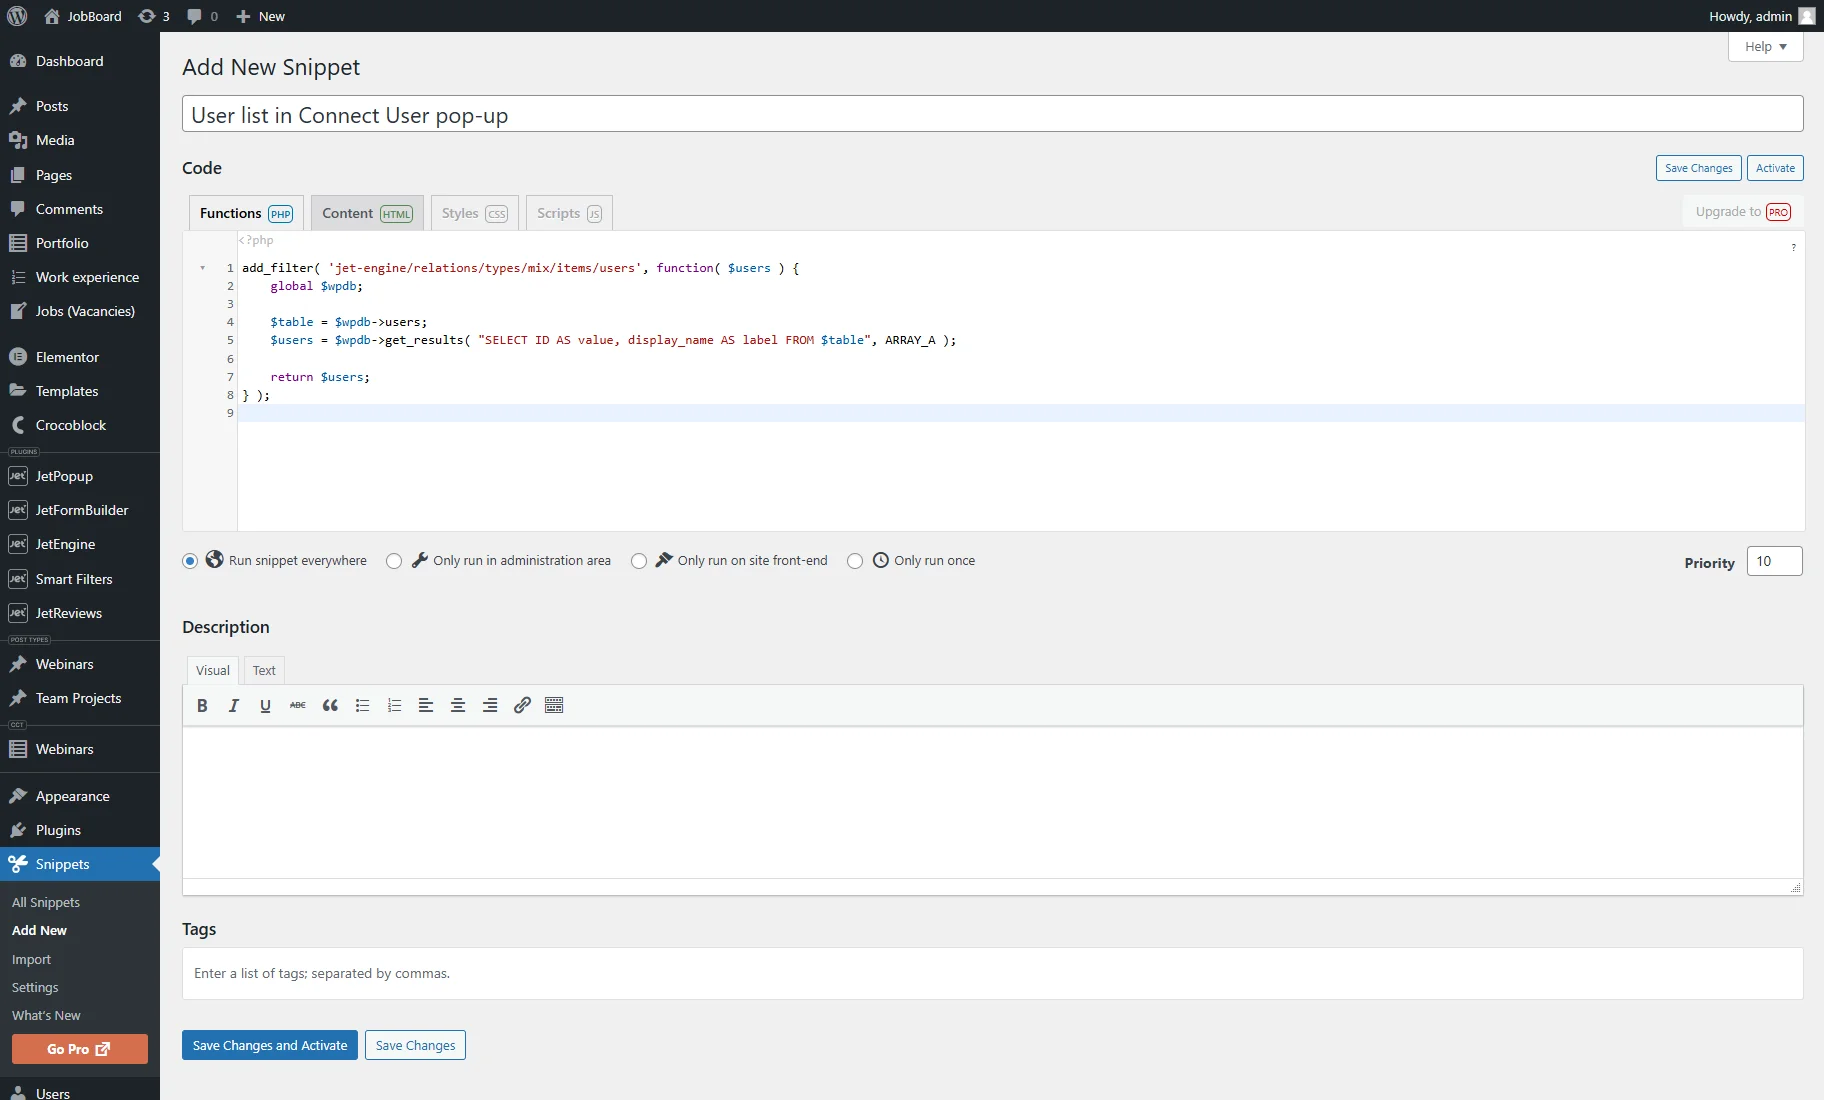
Install and activate the plugin. Proceed to WordPress Dashboard > Snippets > Add New.
In the Add New Snippet page, write a title (e.g., “User list in Connect User pop-up”).
Then, enter a code into the Functions section:
add_filter( 'jet-engine/relations/types/mix/items/users', function( $users ) {
	global $wpdb;

	$table = $wpdb->users;
	$users = $wpdb->get_results( "SELECT ID AS value, display_name AS label FROM $table", ARRAY_A );

	return $users;
} );
Click the “Save Changes and Activate” button.
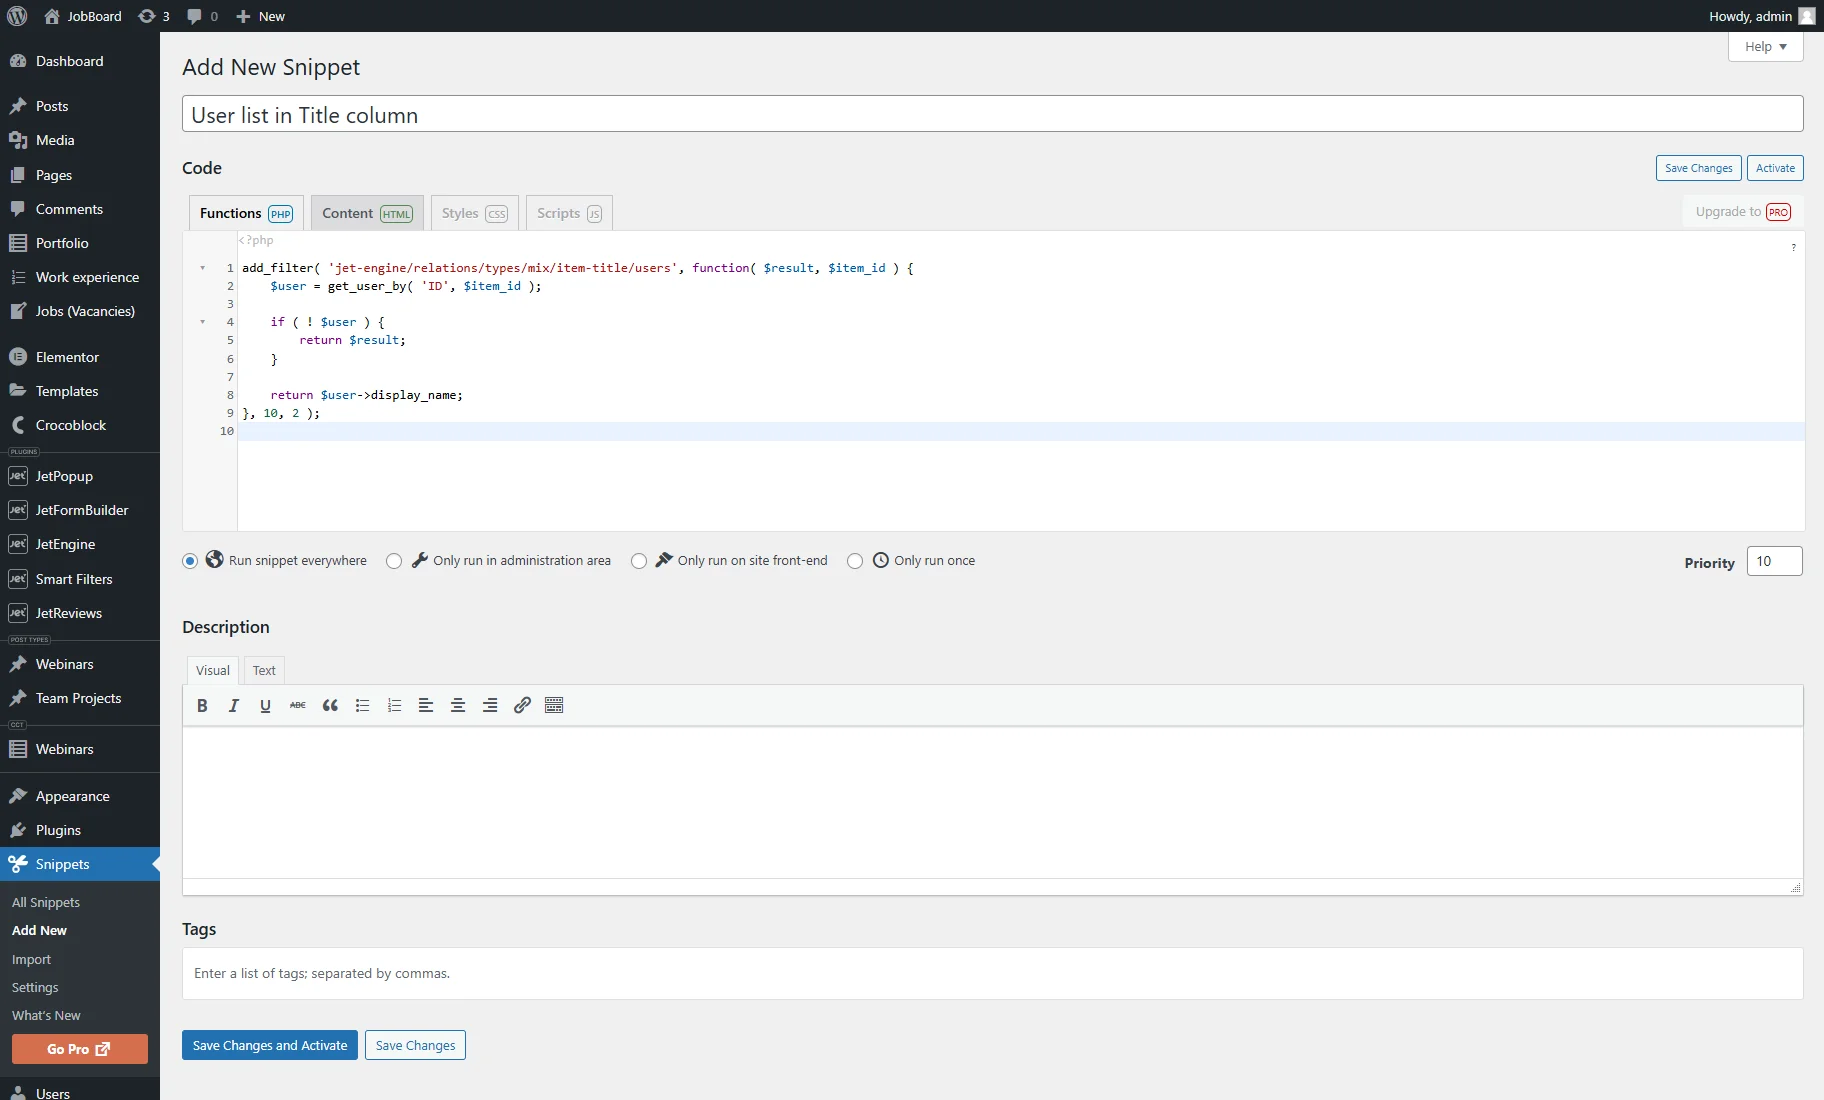
Press WordPress Dashboard > Snippets > Add New tab again and similarly add the second code:
add_filter( 'jet-engine/relations/types/mix/item-title/users', function( $result, $item_id ) {
	$user = get_user_by( 'ID', $item_id );

	if ( ! $user ) {
		return $result;
	}

	return $user->display_name;
}, 10, 2 );
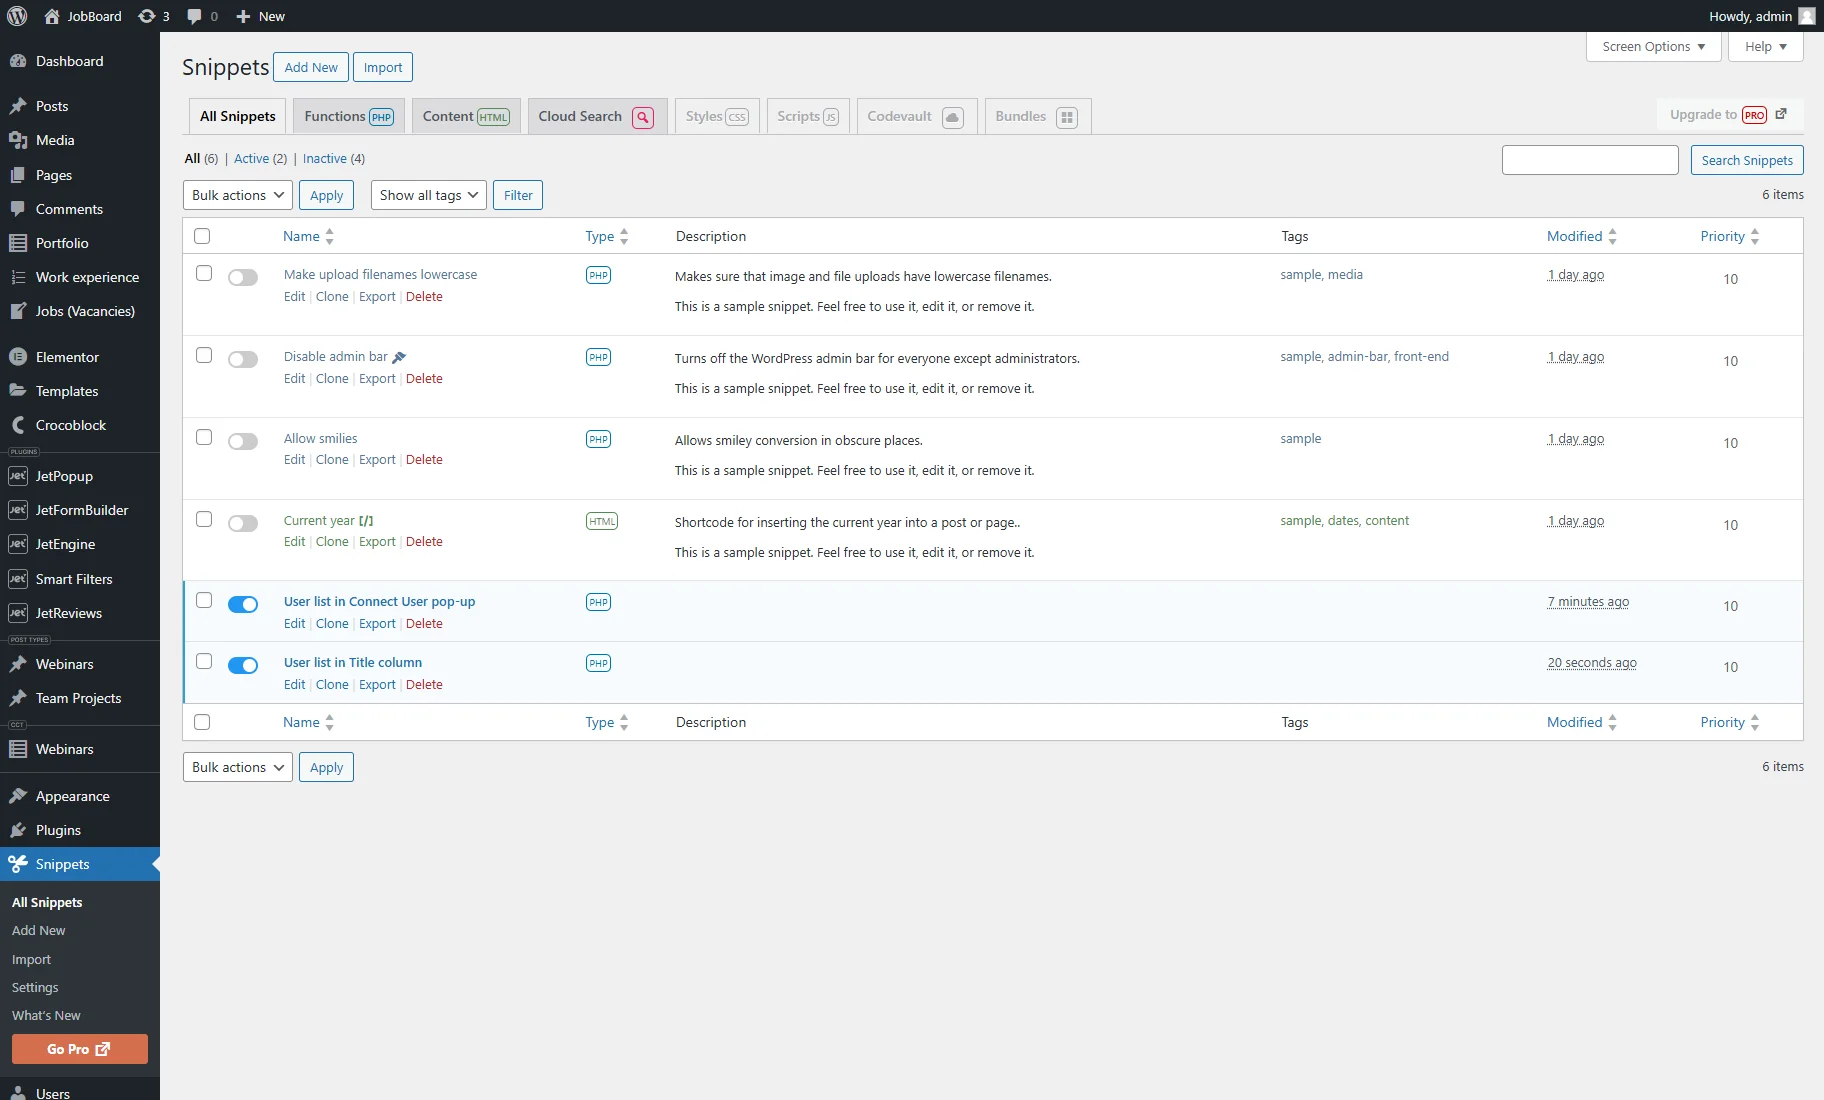
Open the Snippets tab from the WordPress Dashboard. New snippets are presented and activated in the Snippets list.
WordPress Theme File Editor
An alternative option is to paste the code directly to the WordPress Theme File Editor.
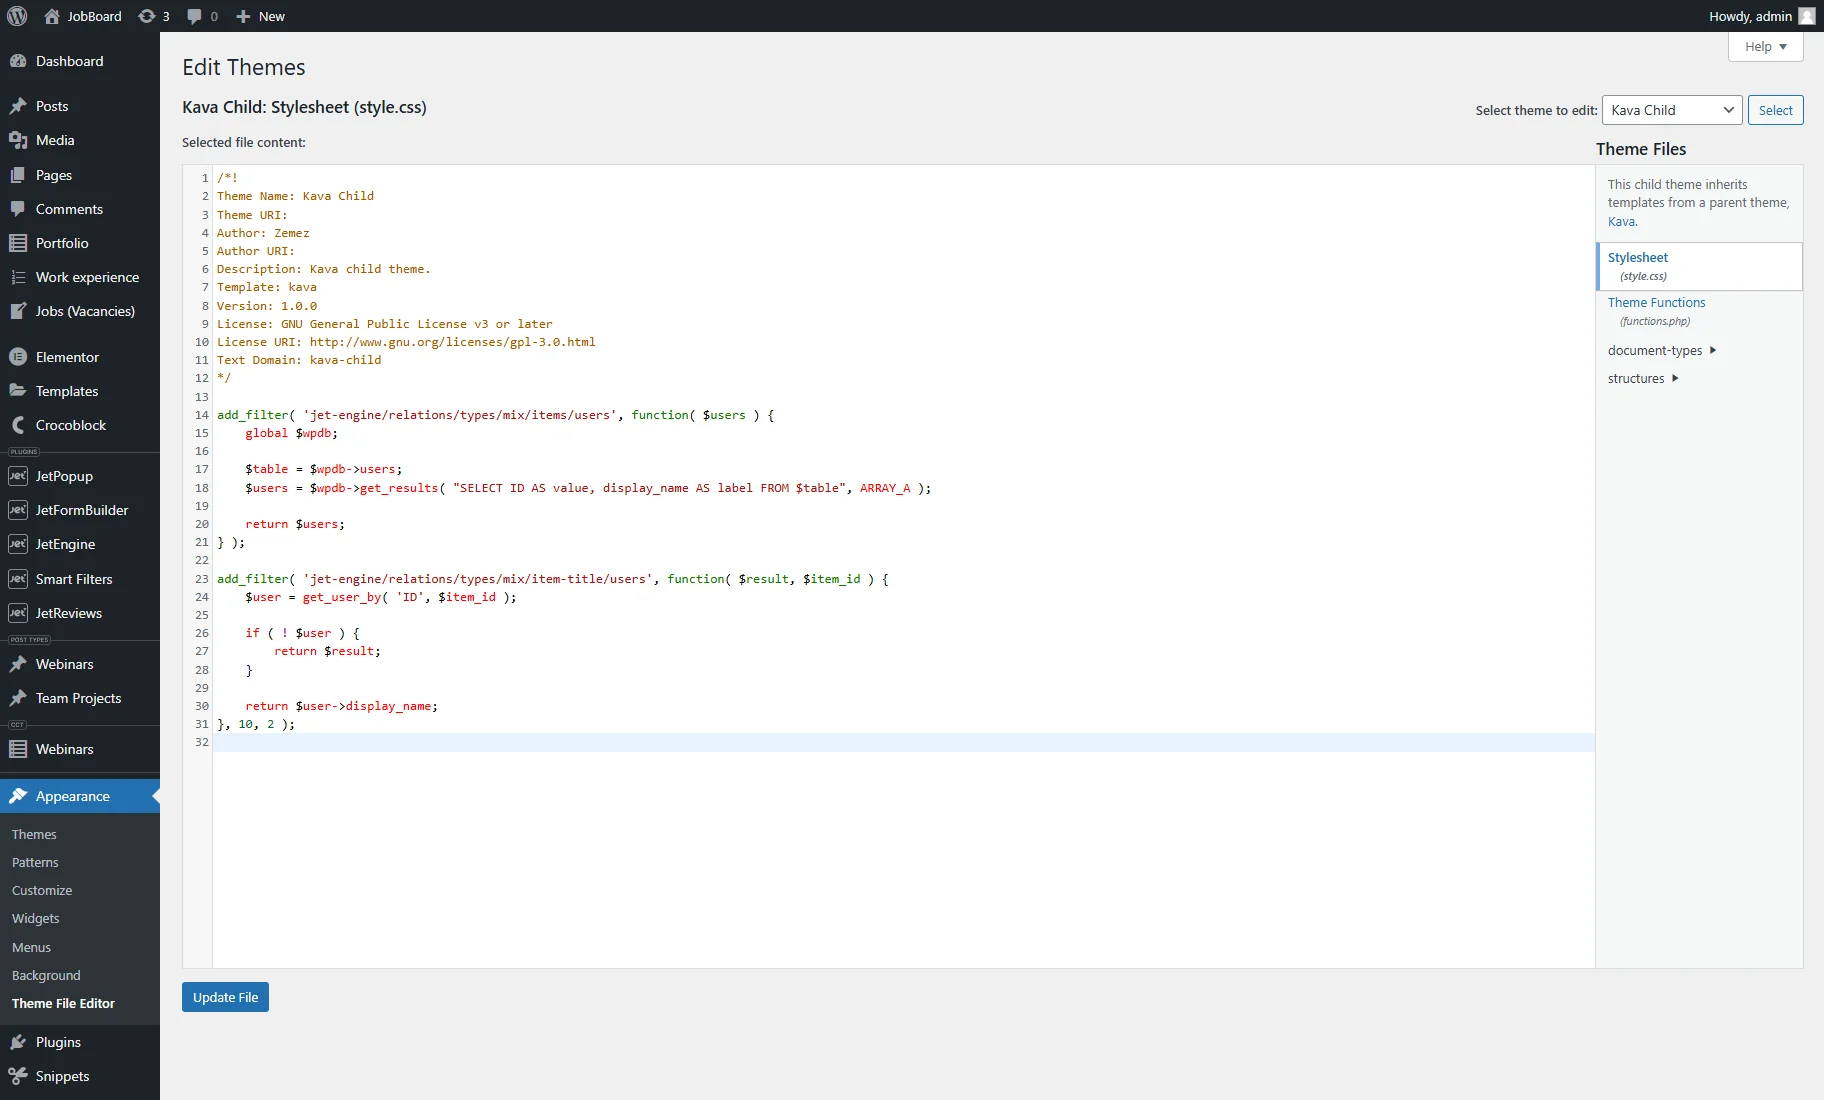
Head to WordPress Dashboard > Appearance > Theme File Editor. Choose the WordPress theme you are currently using and open its functions.php file.
Paste two codes like this:
add_filter( 'jet-engine/relations/types/mix/items/users', function( $users ) {
	global $wpdb;

	$table = $wpdb->users;
	$users = $wpdb->get_results( "SELECT ID AS value, display_name AS label FROM $table", ARRAY_A );

	return $users;
} );

add_filter( 'jet-engine/relations/types/mix/item-title/users', function( $result, $item_id ) {
	$user = get_user_by( 'ID', $item_id );

	if ( ! $user ) {
		return $result;
	}

	return $user->display_name;
}, 10, 2 );
Push the “Update File” button.
Checking the Result
Return to the CCT, term, or post editing page with connected users and reload it if needed.
Now, the Title column shows the user display names.
Then, press the “Connect User” button. The SELECT USER dropdown also shows the user display name.
That’s all. Now you know how to show the user display name in the JetEngine relation list instead of login information such as username and email address on your WordPress website.
