Apply Button Overview
In this overview, the settings of the Apply Button widget/block/element of the JetSmartFilters plugin are described.
The Apply Button widget/block/element of the JetSmartFilters plugin is a button placed on a page that starts filtering immediately.
Since the widget/block/element is intended to start filtering, it is used with the various filter types that should be placed first on the corresponding page.
Apply Button Widget in Elementor
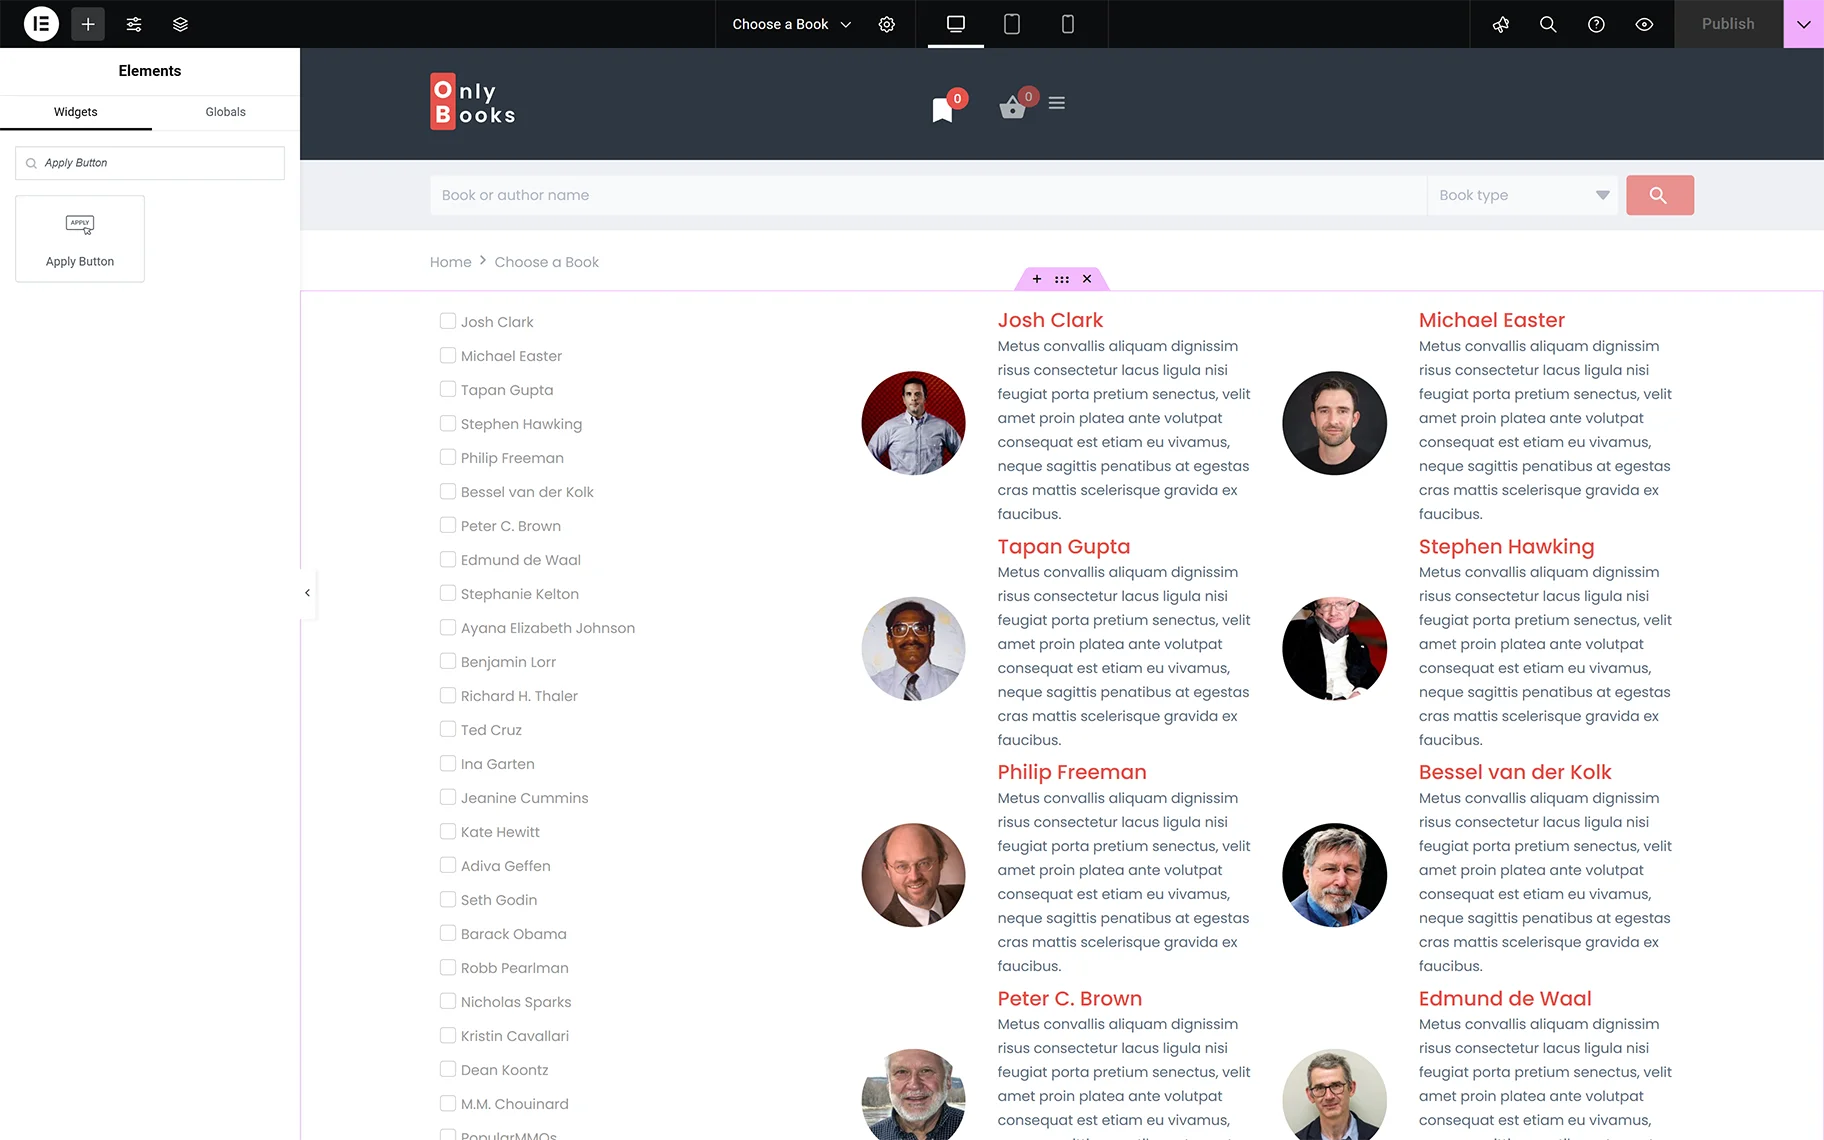
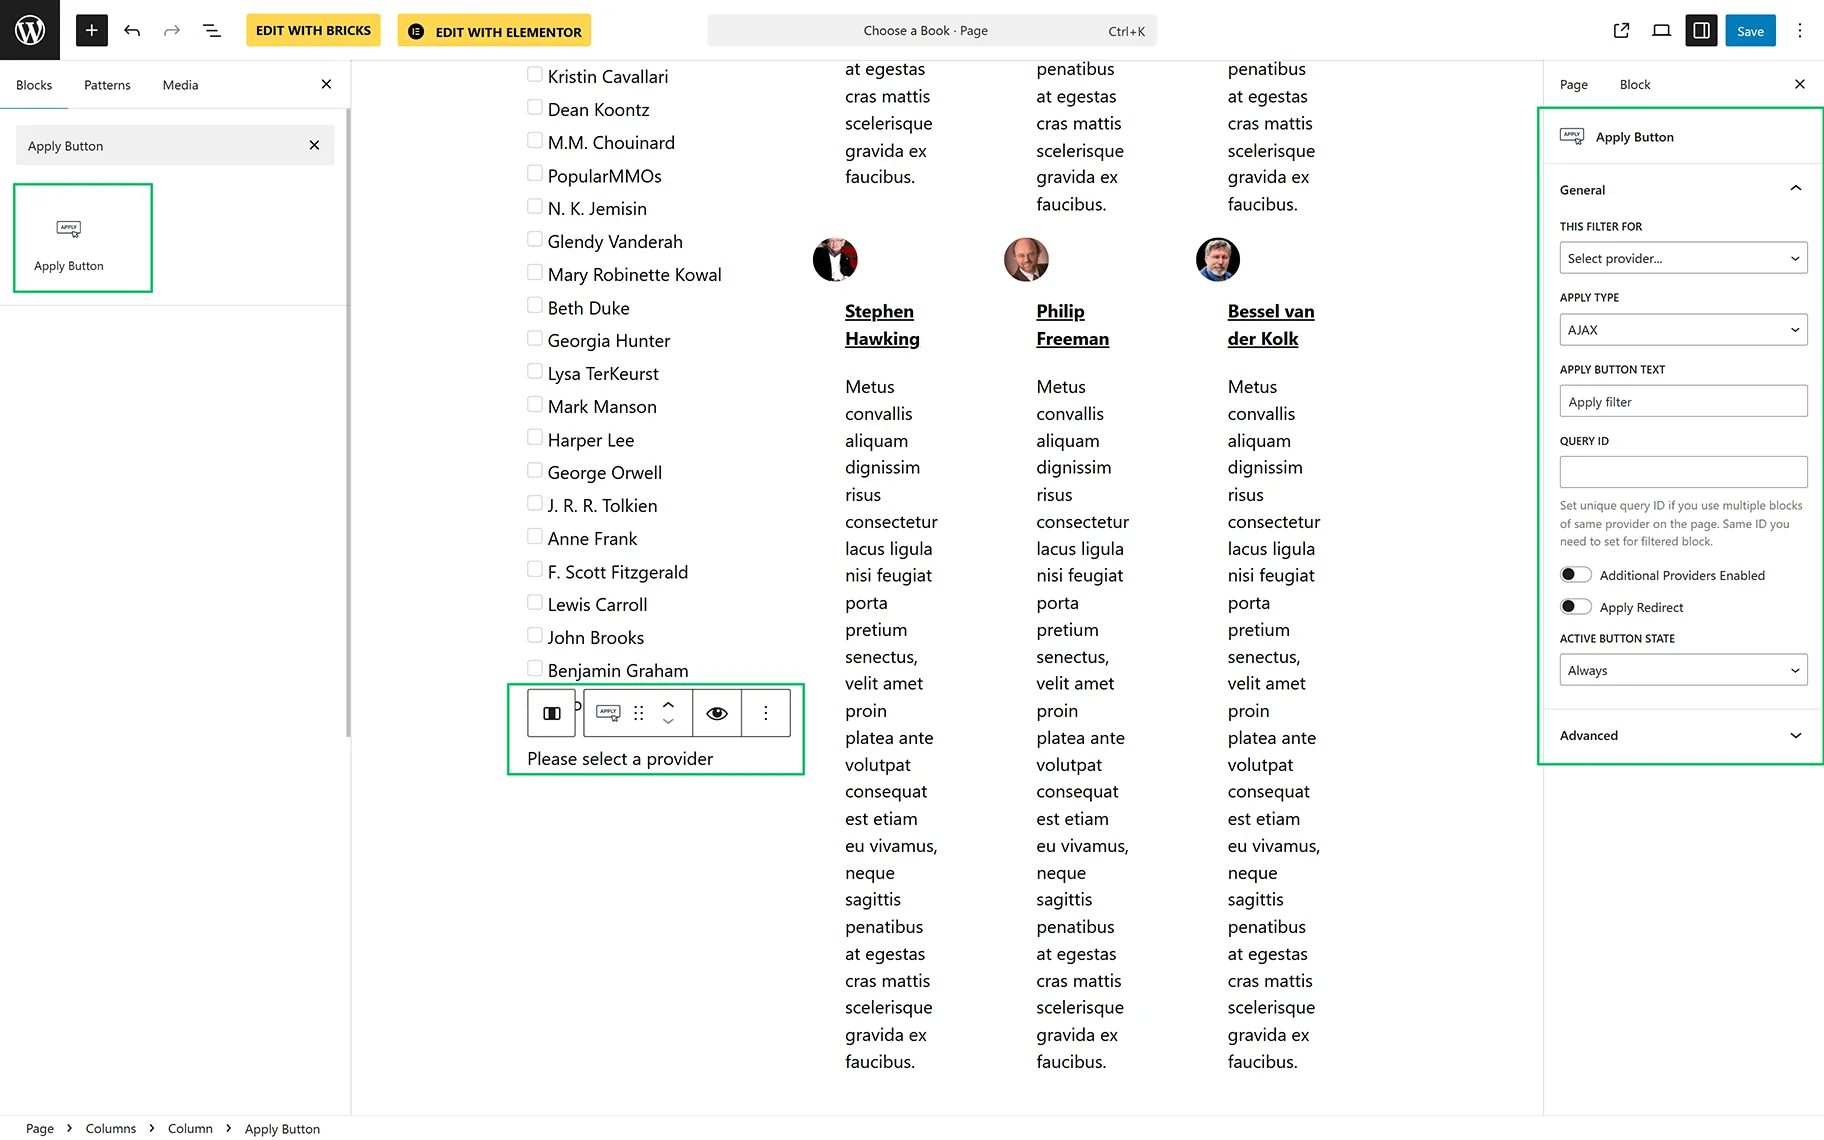
The widget can be added to a post or page by finding it in the search bar and dragging and dropping it where needed.
Content settings
Once the widget is added, the Content setting will be unrolled, and the following fields are available:
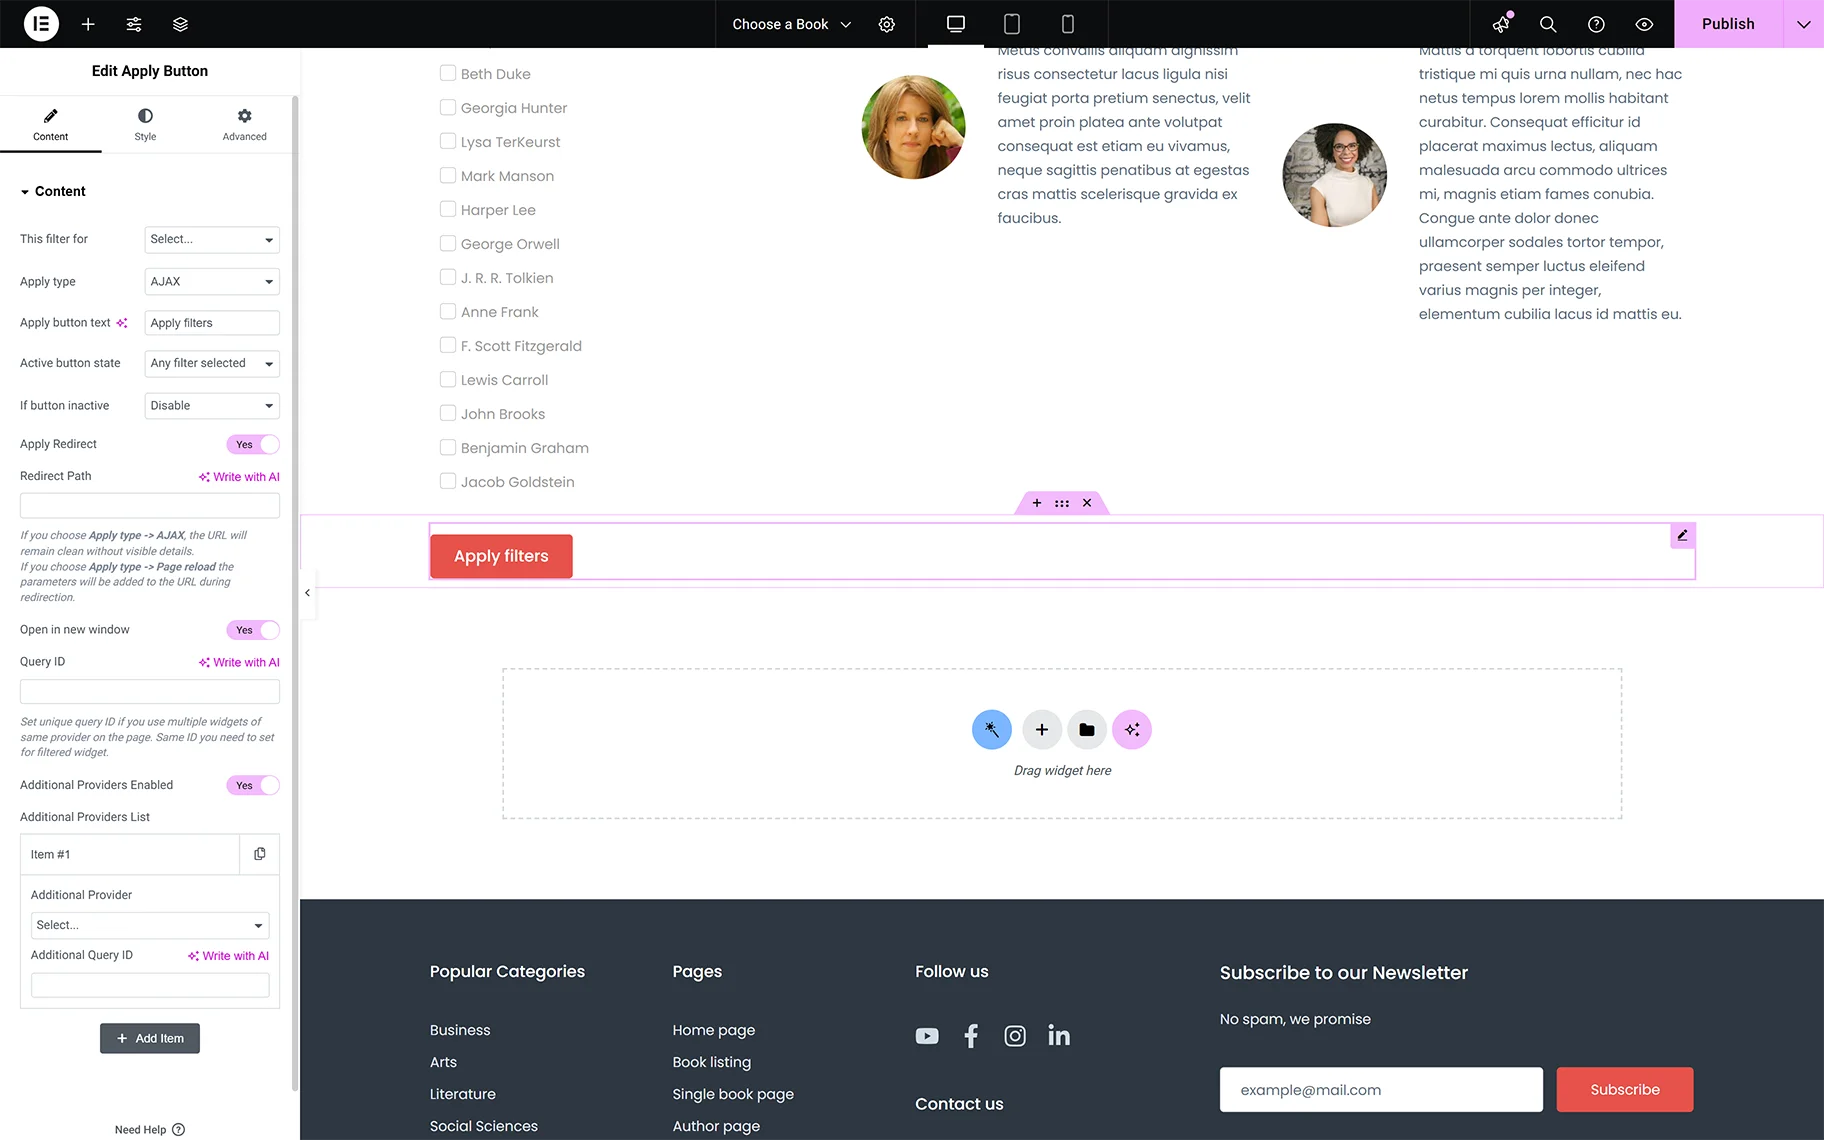
- This Filter For 一 a drop-down list to select a provider as “Elementor Pro Loop Grid,” “JetEngine,” “JetWooBuilder Products Grid,” “JetWooBuilder Products List, ”WooCommerce Archive (by JetWooBuilder),” “Default WooCommerce Archive (Classic),” and “Bricks query loop.” Provider descriptions are presented in the Filters Providers Overview;
- Apply type 一 a drop-down list to specify the way of displaying the filtered results: “AJAX,“ or “Page reload.” More details about implementing the AJAX product filter with JetSmartFilters are explained in the Why Use JetSmartFilters as AJAX Filter Plugin for WooCommerce article;
- Apply button text 一 a text field to insert the text to be displayed on the button instead of the “Apply filters” text;
- Active button states 一 a drop-down list specifies when to show or hide the button: “Always,” “Any filter selected,” or “All filters selected”. If the “Any filter selected” or “All filters selected” options are set, the If button inactive drop-down list with the “Hide” and “Disable” options to specify what to do in the corresponding cases;
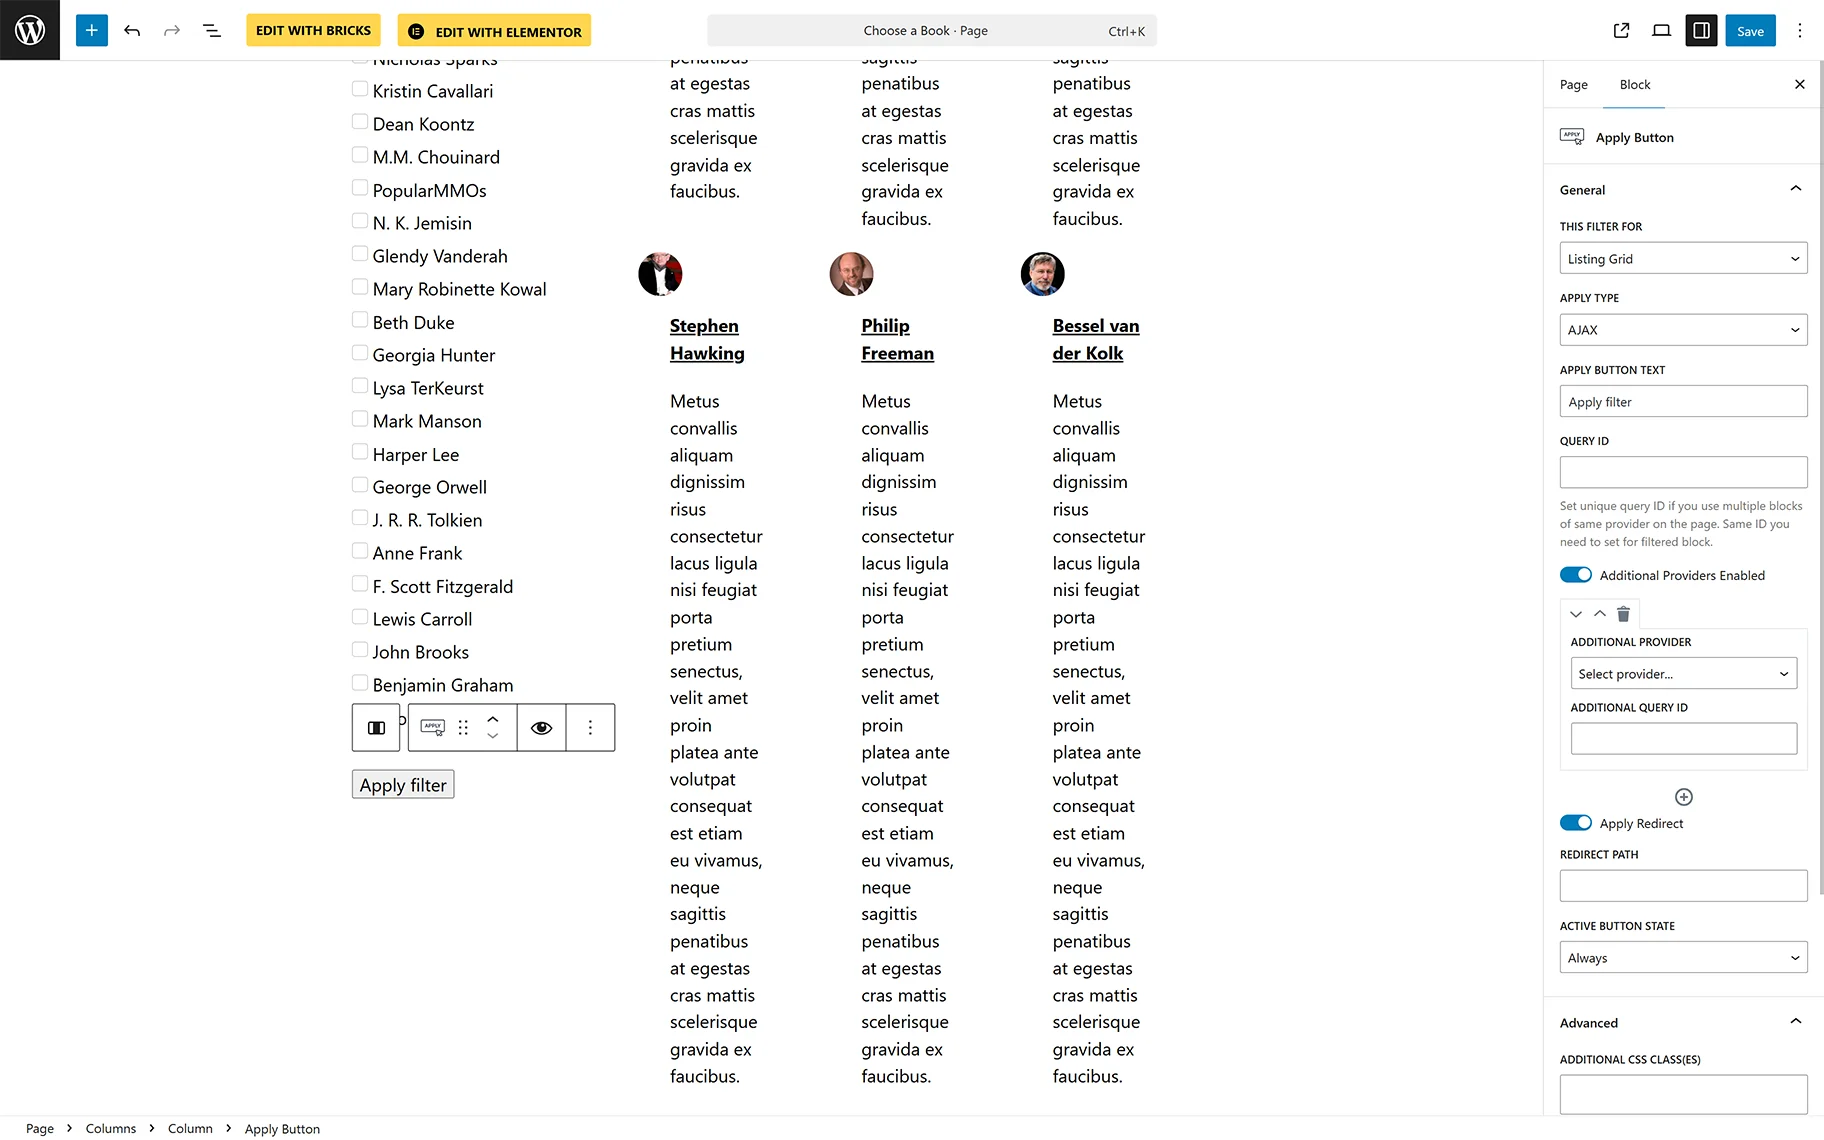
- Apply redirect 一 a toggle that, if enabled, activates the Redirect path text field to insert the corresponding URL. Also, if the “AJAX” Apply type is chosen, the URL will remain clean without visible details, and if the “Page reload” Apply type is chosen, the parameters will be added to the URL during redirection;
- Open in new window 一 a toggle that, if enabled, allows displaying the filter results in a new window;
- Query ID 一 a text field to insert a unique query ID. Usage of queries with filters is described in the How to Create Filters with Query Builder Source tutorial;
- Additional Providers Enabled 一 a toggle that, if enabled, activates the Additional Provider List button that allows applying the filter to additional providers on the page. More details on applying multiple providers via a single widget can be found in the Additional Providers List Option Overview. Also, to learn how to filter using widgets from different providers on the same page, review the How to Apply One Filter to Different Providers tutorial.
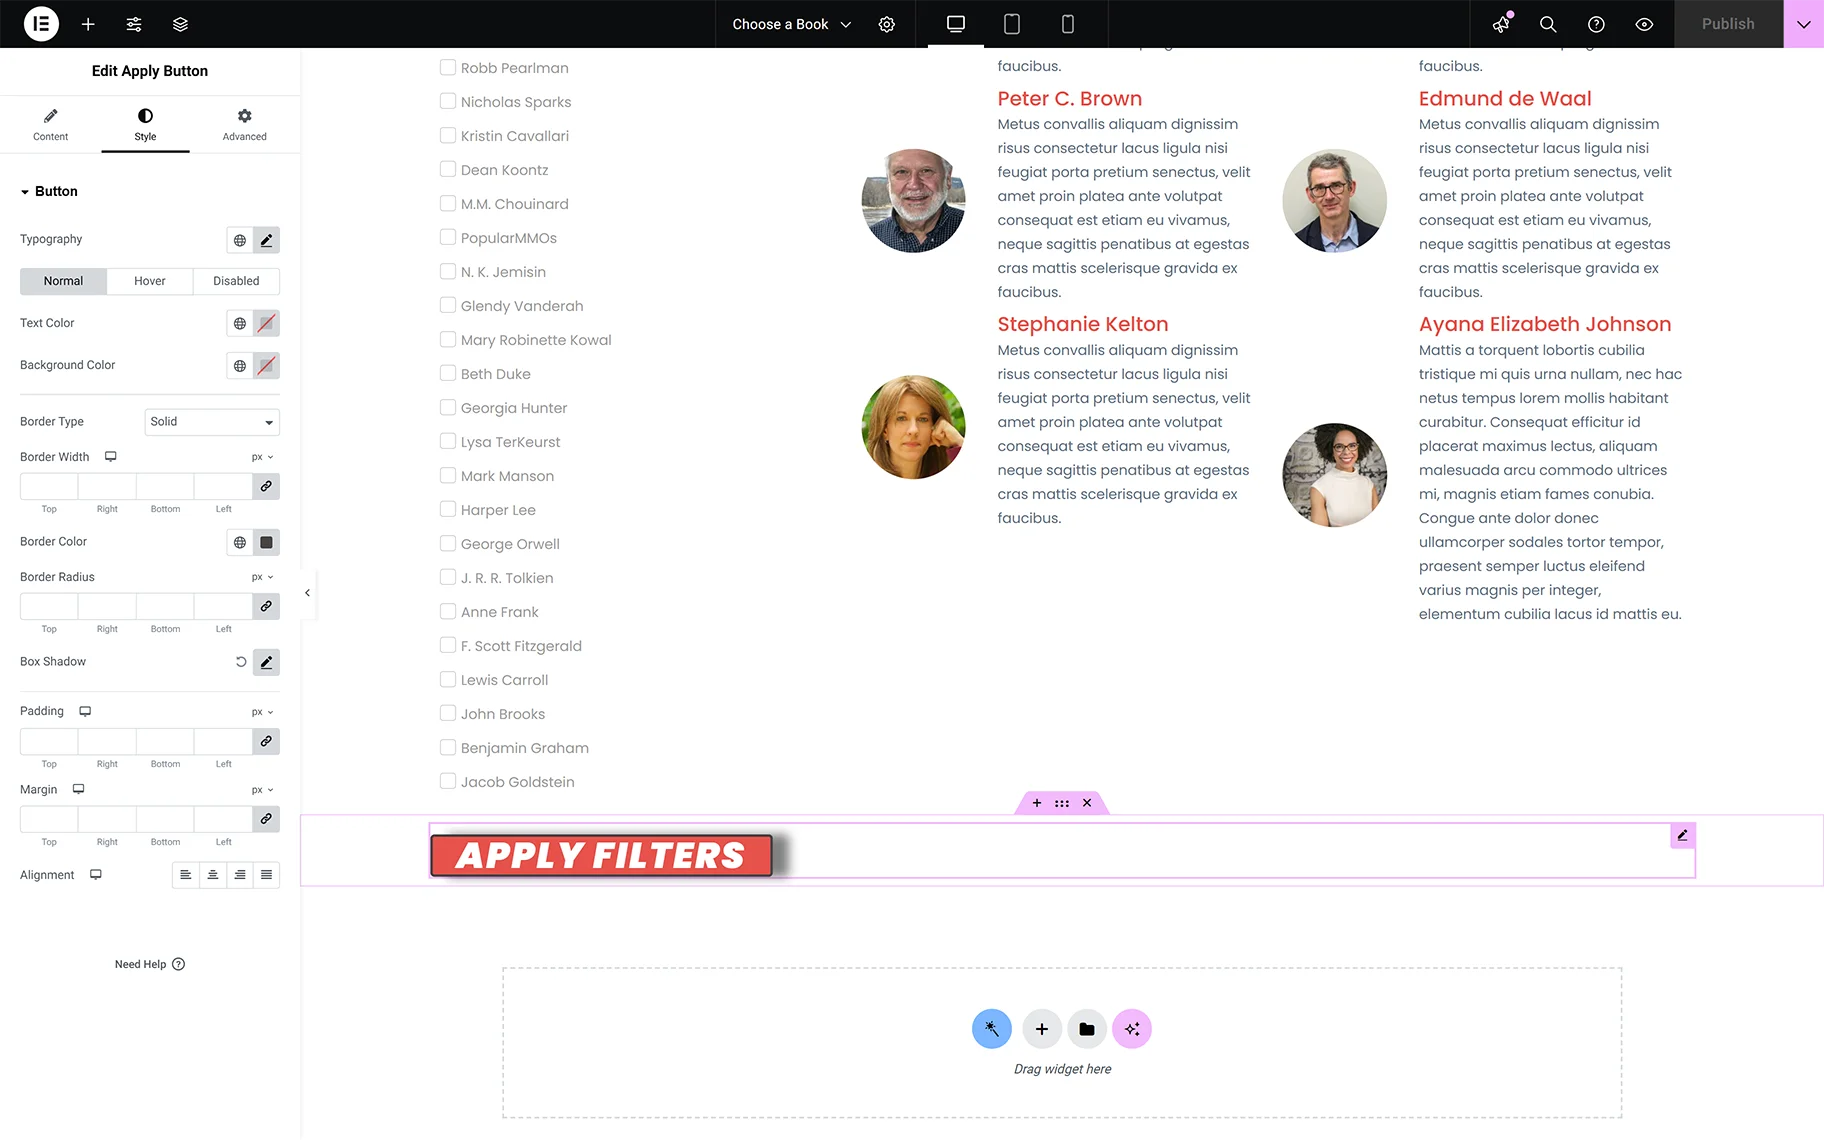
Style settings
The Style settings are intended to design the Button options, in particular, specifying its Typography, Colors, Body Types, Margins, Alignments, and more.
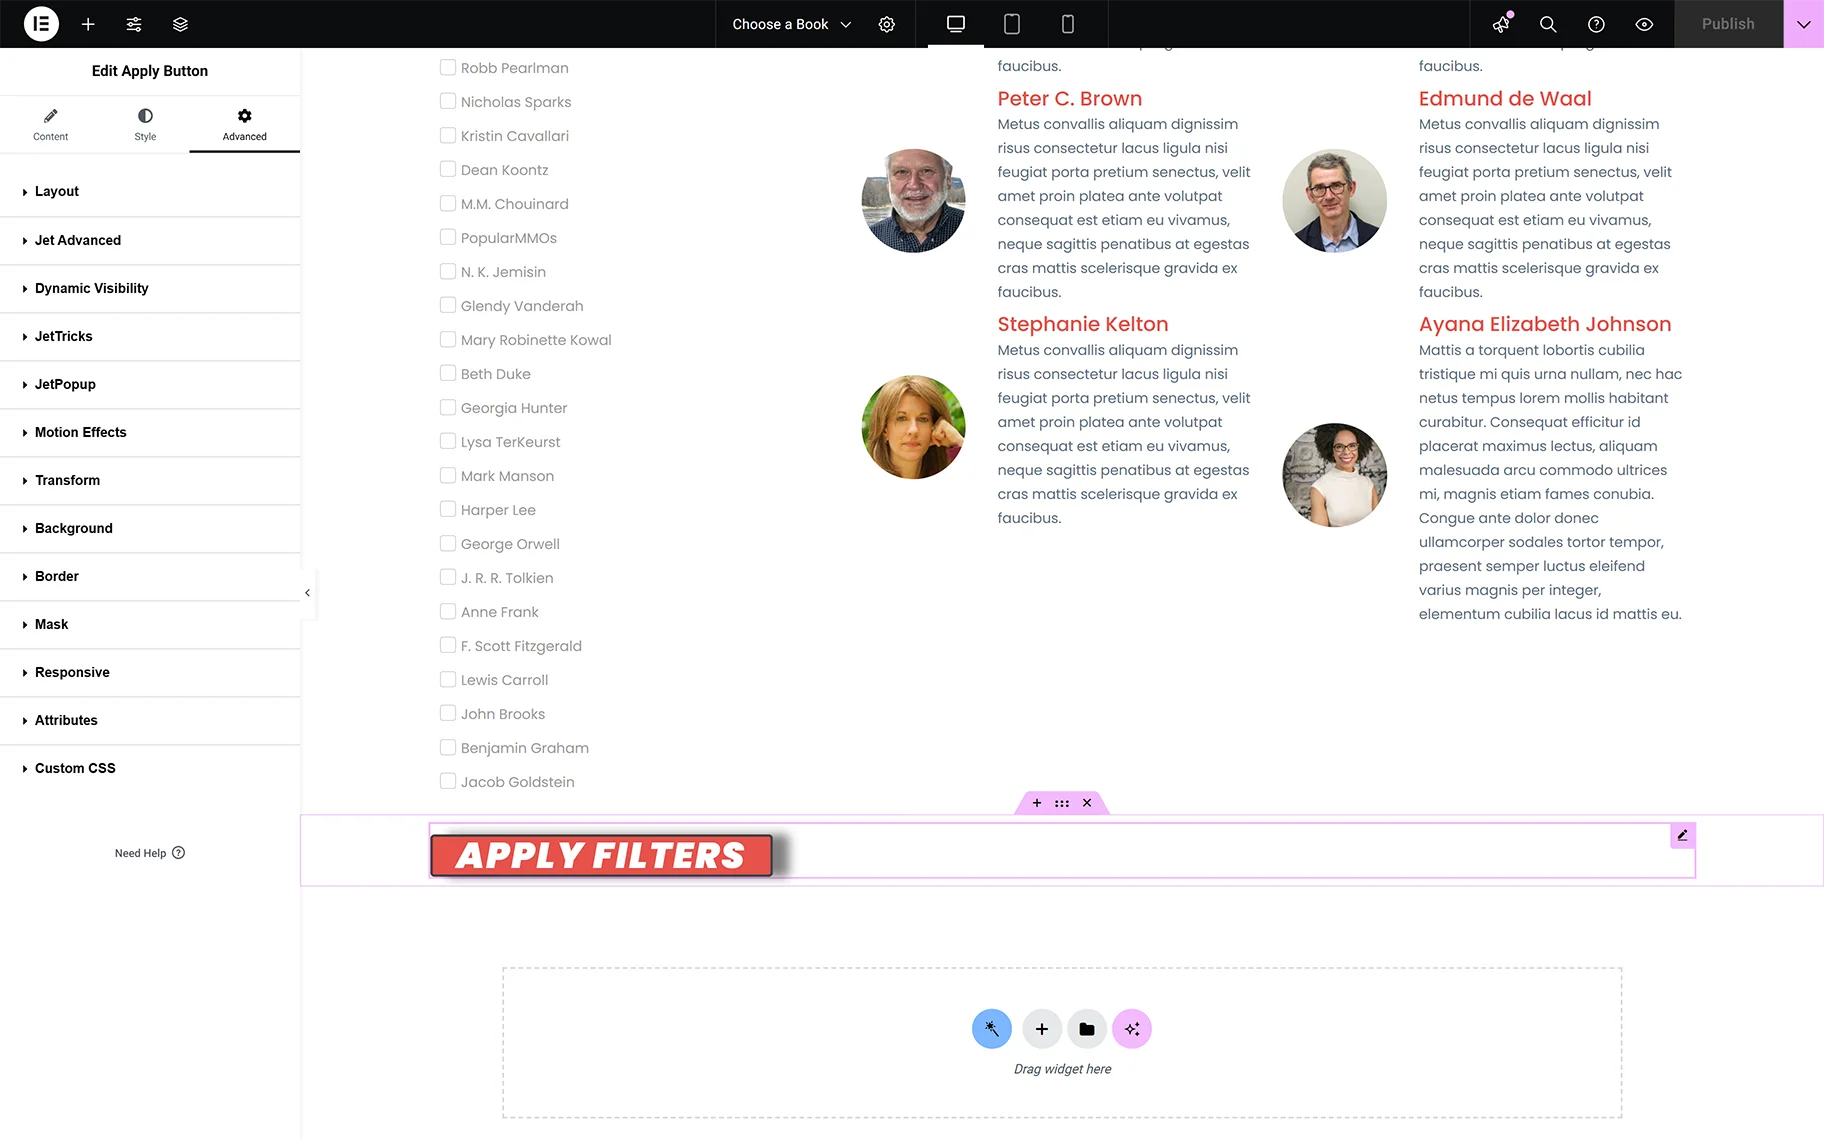
Advanced settings
The Advanced settings are organized into the Layout, Jet Advanced, Dynamic Visibility, Motion Effects, and more groups.
Apply Button Block in Block Editor
As in Elementor, the block can be added to a post or page by finding it in the search bar and dragging and dropping it where needed.
The settings are divided into the General and Advanced settings groups. In addition, some settings similar to the widget in Elementor are included in the General settings group:
- THIS FILTER FOR 一 a drop-down list intended to choose a provider among the “Listing Grid” and “WooCommerce Shortcode”;
- APPLY TYPE 一 a drop-down list to specify the way of displaying the filtered results: “AJAX,“ or “Page reload;”
- APPLY BUTTON TEXT 一 a text field to insert the text to be displayed on the button instead of the “Apply filters” text;
- QUERY ID 一 a text field to insert a unique query ID in case of usage of multiple blocks of the same provider on the page. The same ID should be set for the filtered block;
- Additional Providers Enabled 一 a toggle that, if enabled, activates the Additional Provider List fields (ADDITIONAL PROVIDER drop-down and ADDITIONAL QUERY ID text fields) that allow applying the filter to additional providers on the page;
- Apply redirect 一 a toggle that, if enabled, activates the REDIRECT PATH text field to insert the corresponding URL and the ACTIVE BUTTON STATES drop-down list to specify when to show or hide the button: “Always,” “Any filter selected,” or “All filters selected”. Like for Elementor, if the “Any filter selected” or “All filters selected” options are set, the IF BUTTON INACTIVE drop-down list with the “Hide” and “Disable” options to specify what to do in the corresponding cases;
The Advanced settings are presented in the ADDITIONAL CSS CLASSES text field for entering data to design the block. Also, the JetStyleManager free plugin can be used to design the block.
Apply Button Element in Bricks
As in Elementor, the element can be added to a post or page by finding it in the search bar and dragging and dropping it where needed.
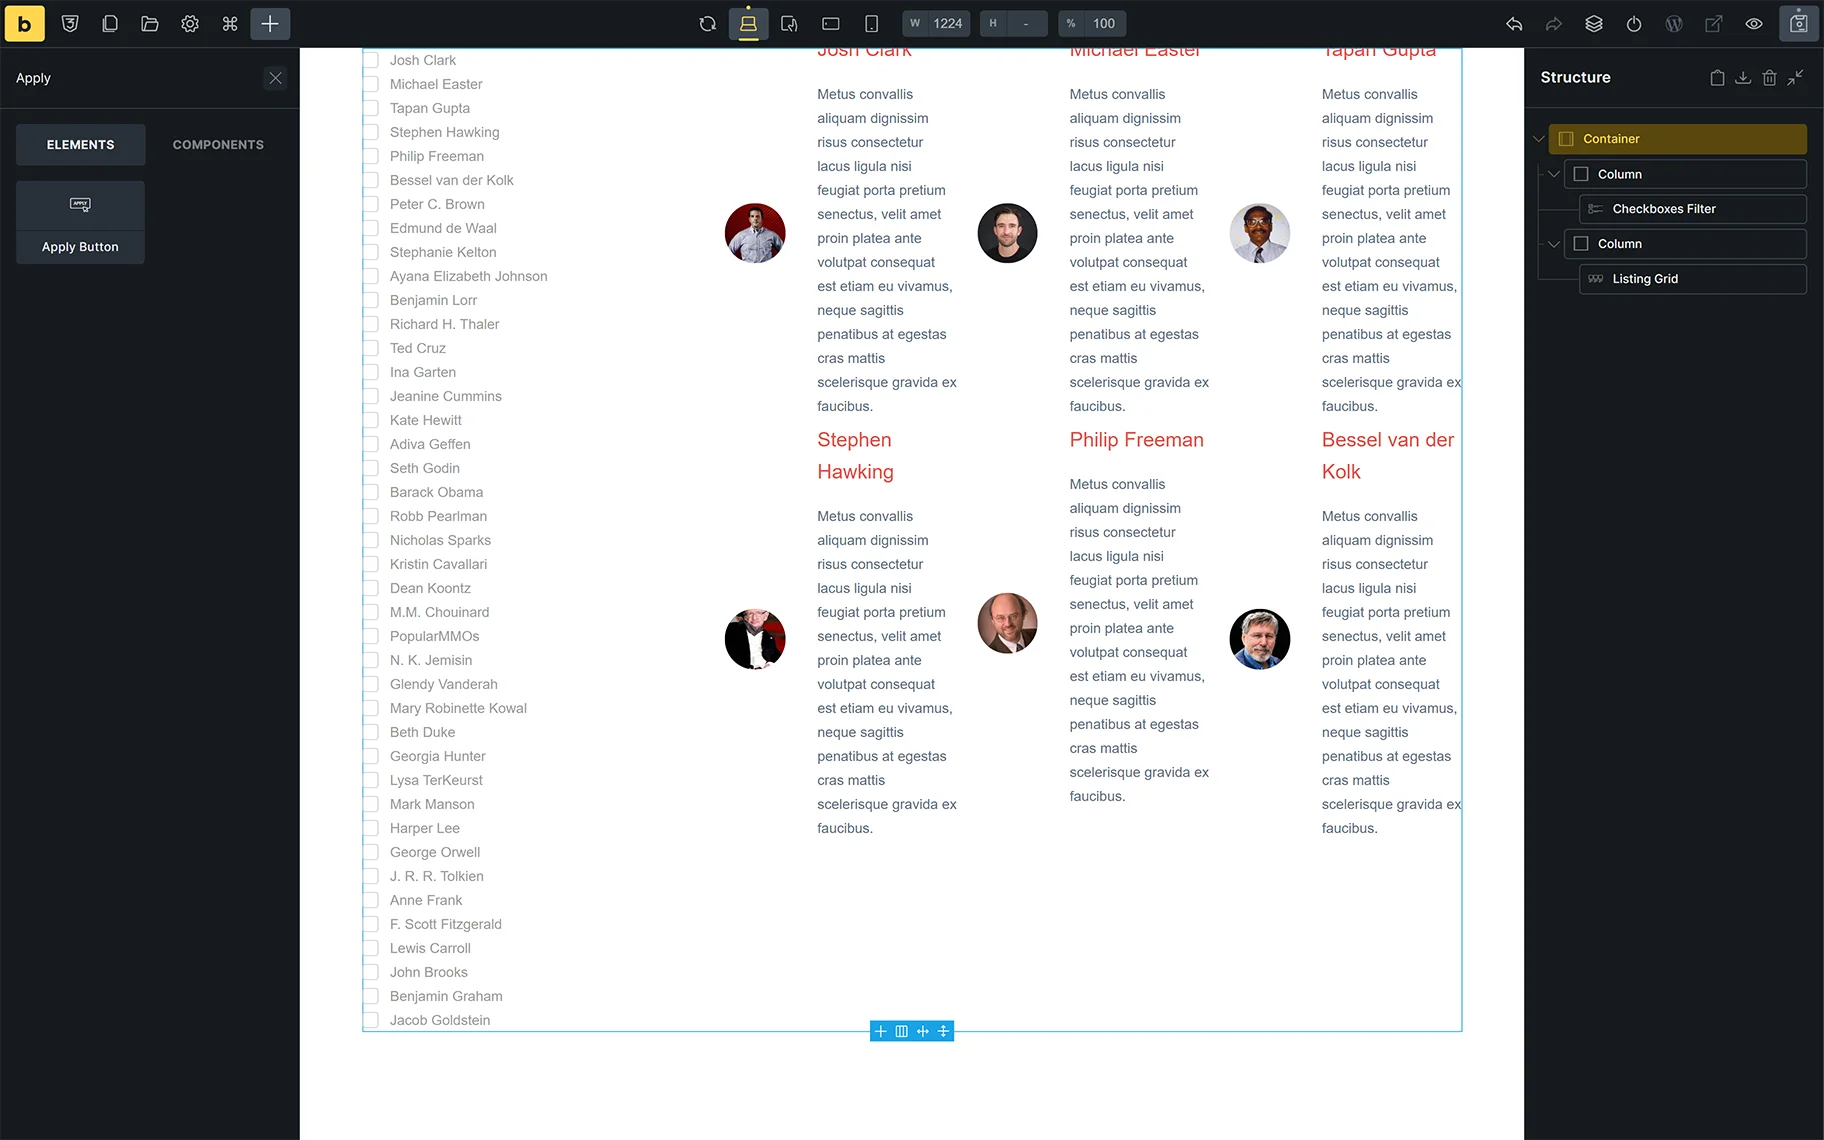
Once the block is added, the CONTENT setting will be unrolled. This group of settings is similar to the Content settings of the Apply Button widget for Elementor.
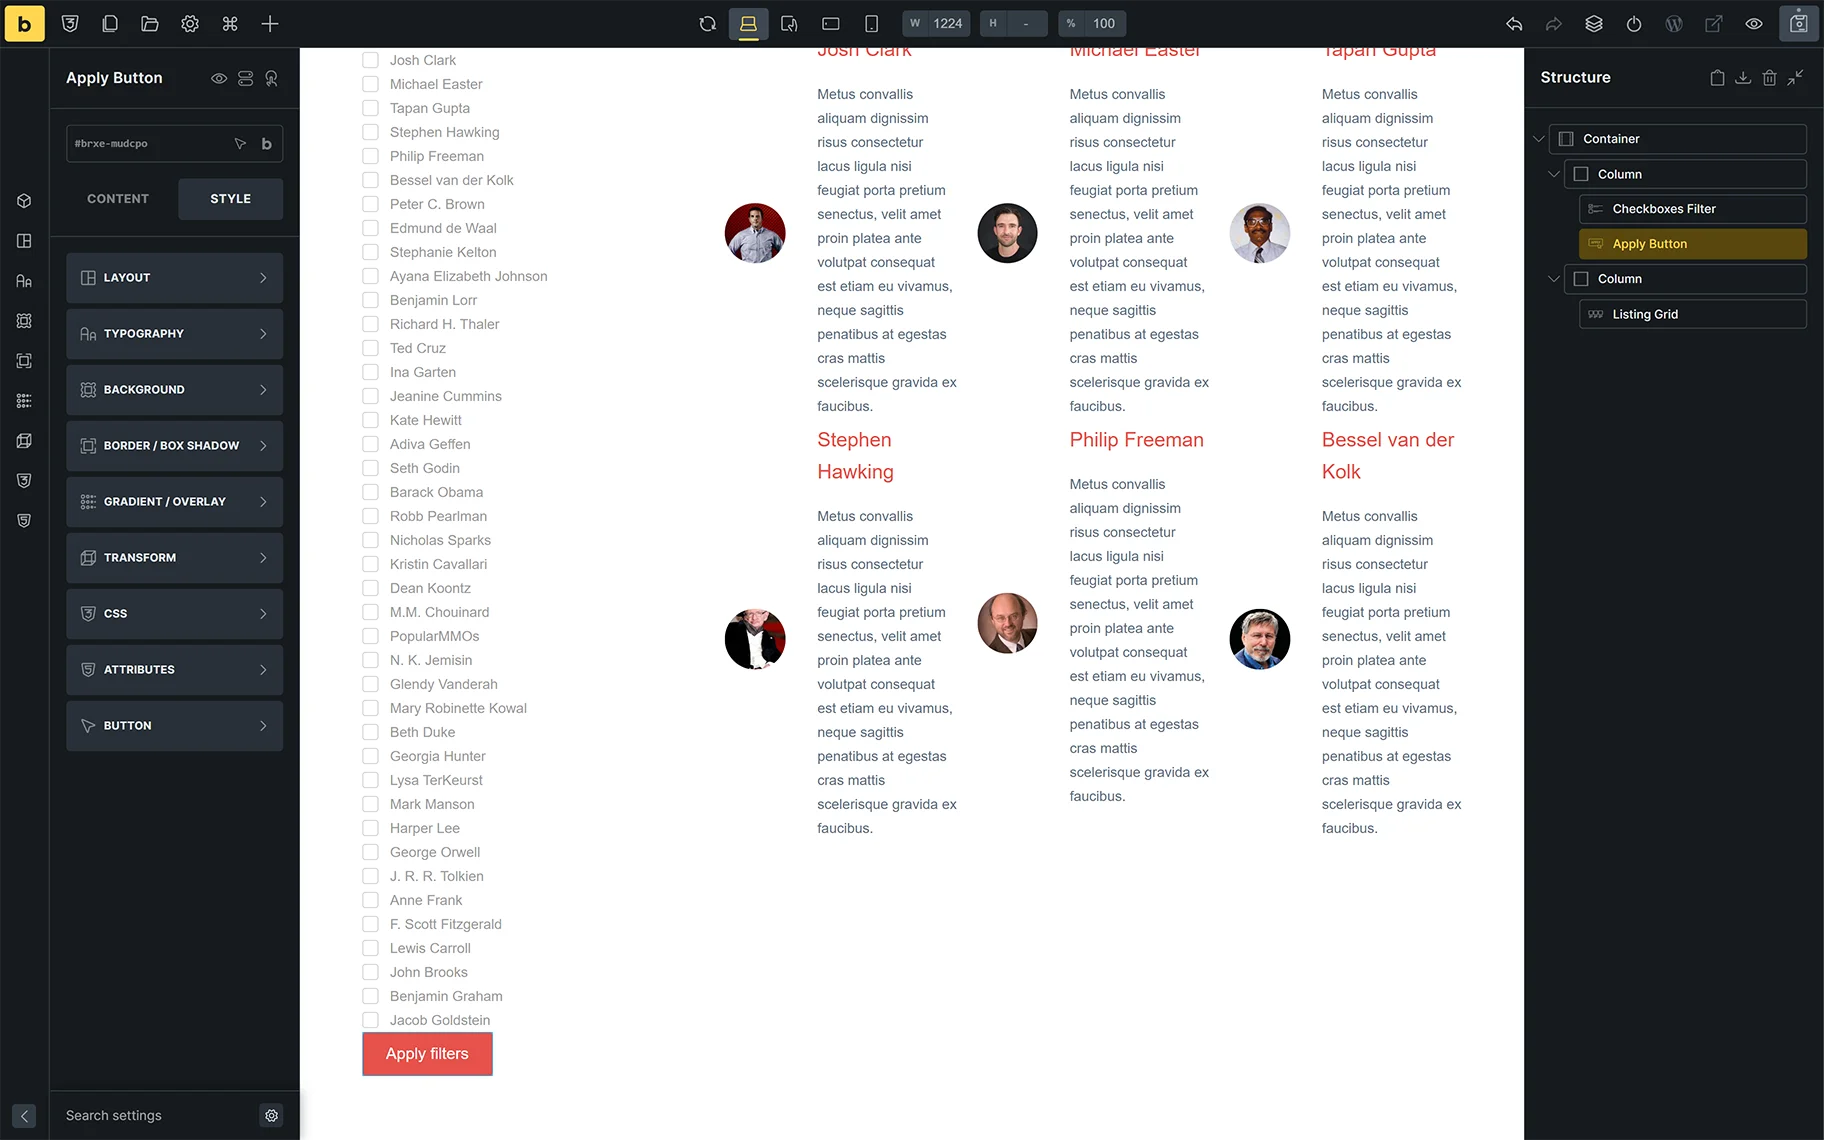
Also, the following STYLE settings are available: LAYOUT, TYPOGRAPHY, BACKGROUND, BORDER/BOX SHADOW, GRADIENT, and more.

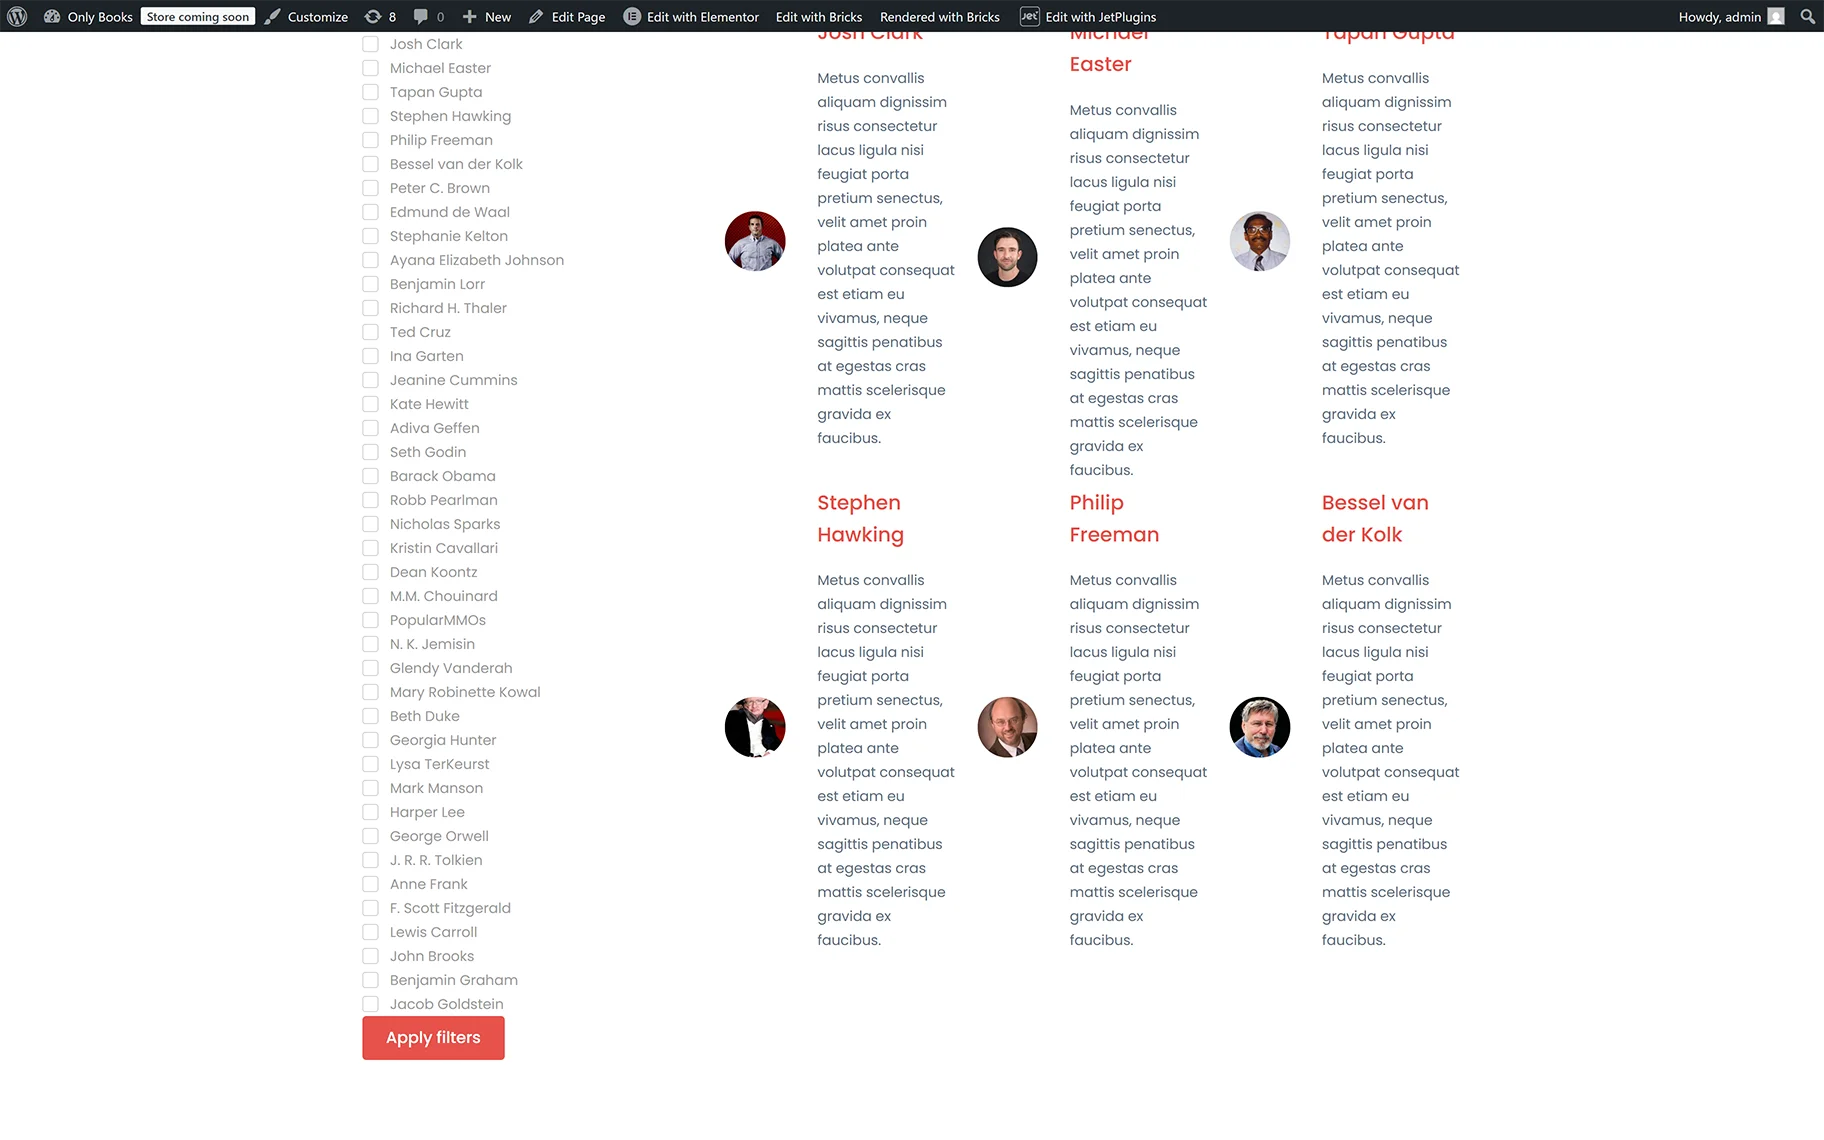
Results
The result can be seen on the front end after one of the pages built with the preferred editor is published.
That’s it. Now you know how to configure the settings of the Apply Button widget/block/element of the JetSmartFilters plugin for WordPress.