How to Set Up WooCommerce Order Messaging System
Discover how to set up the WooCommerce order messaging system with the JetMessenger WordPress plugin.
Before you start, check the tutorial requirements:
- WooCommerce plugin installed and activated
- JetMessenger plugin installed and activated
The brand-new JetMessenger plugin offers private posts, direct, order, and product messaging system right on your WordPress site without adding custom coding. The plugin clearly defines whether the chat refers to the specific post, product, or WooCommerce order.
In this guide, we will walk through the step-by-step setup process of the WooCommerce order messaging. It allows customers to chat with the vendor or admin about the dedicated order they created.
Additionally, you can refer to our video guide to discover how to add order messaging to WooCommerce using JetMessenger. You’ll learn how to implement a context-based chat system that works with Elementor, Gutenberg, and Bricks, enabling seamless buyer–vendor communication directly on your WordPress site.
Wizard Setup
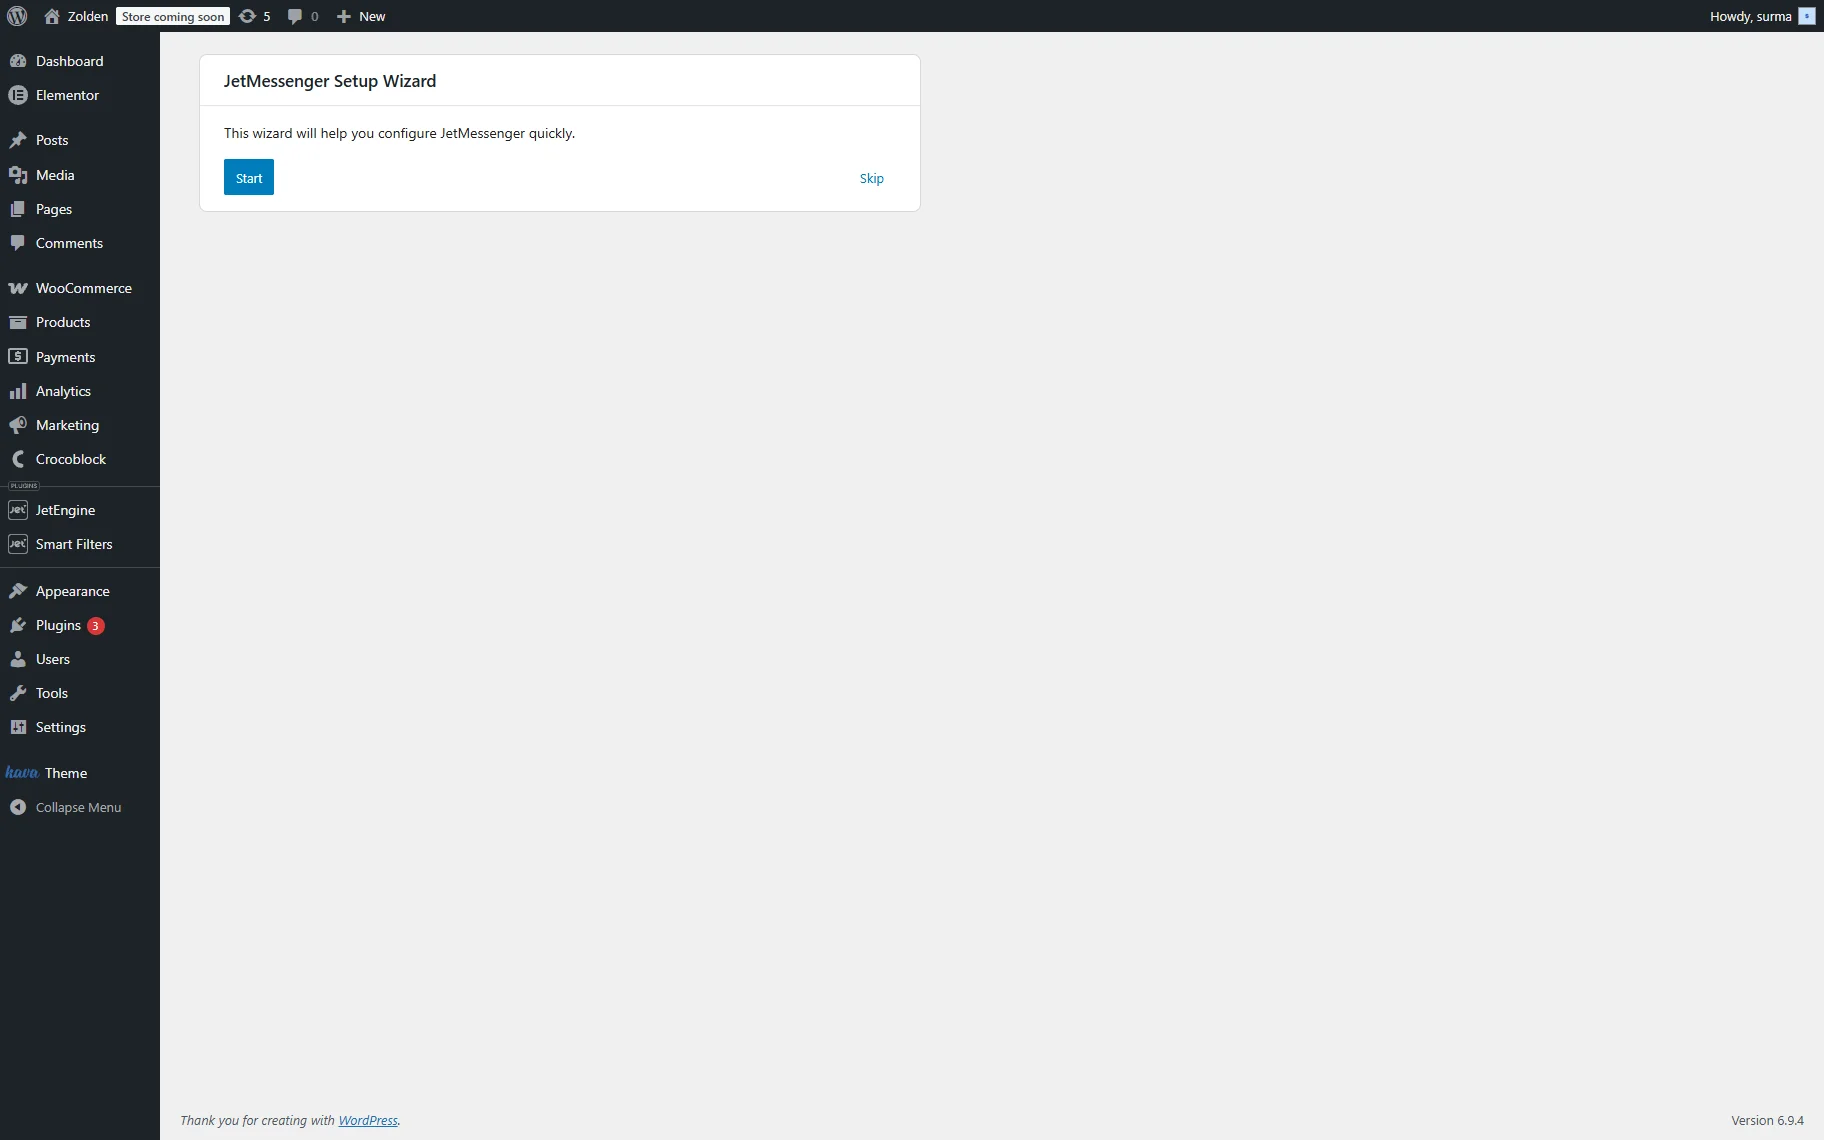
Once the JetMessenger plugin is installed and activated, you are redirected to the JetMessenger Wizard Setup. This wizard will help you configure JetMessenger quickly, but you can skip it if you need to. In this case, we click the “Start” button.
First, you need to select the usage context — in this case, we select the “WooCommerce order messaging” option. It allows users to send messages related to WooCommerce orders. New chats will be created for each new order automatically.
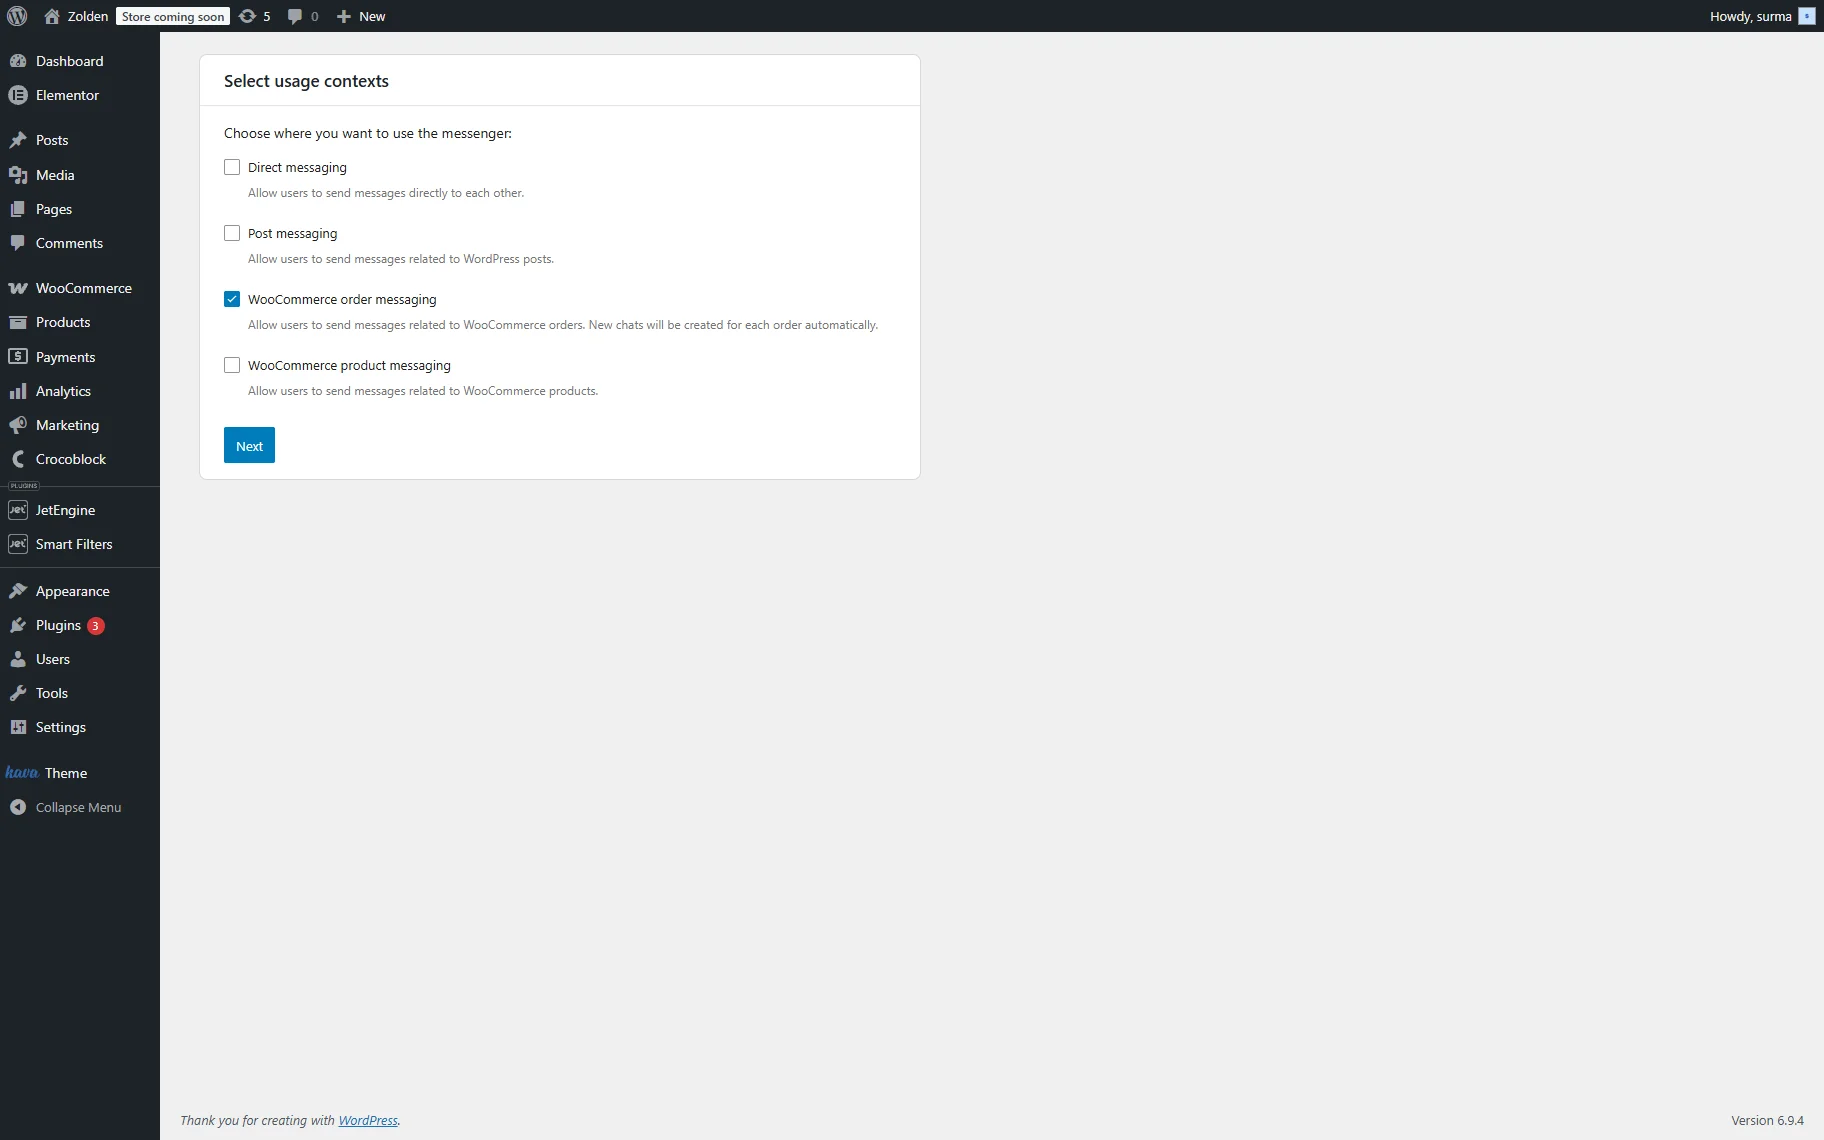
Click the “Next” button to continue setup.
Now, we need to assign the chat pages. Select existing pages or create new ones for static-page contexts right in the Wizard. WooCommerce contexts can also use My Account endpoint routing, matching the regular settings flow.
In this guide, we want to add the section for chats to the WooCommerce My Account page. For that, we select the “WooCommerce My Account Endpoint” option in the ROUTING field. In the ENDPOINT LABEL input, enter the desired label, we use “Chats”.

Click the “Next” button once you are ready.
At this step, you select the page builder you want to use (“Block Editor”, “Elementor”, or “Bricks”) and whether you want to add components manually or have it done automatically. We select the “Block Editor” and “Add components for me” options.
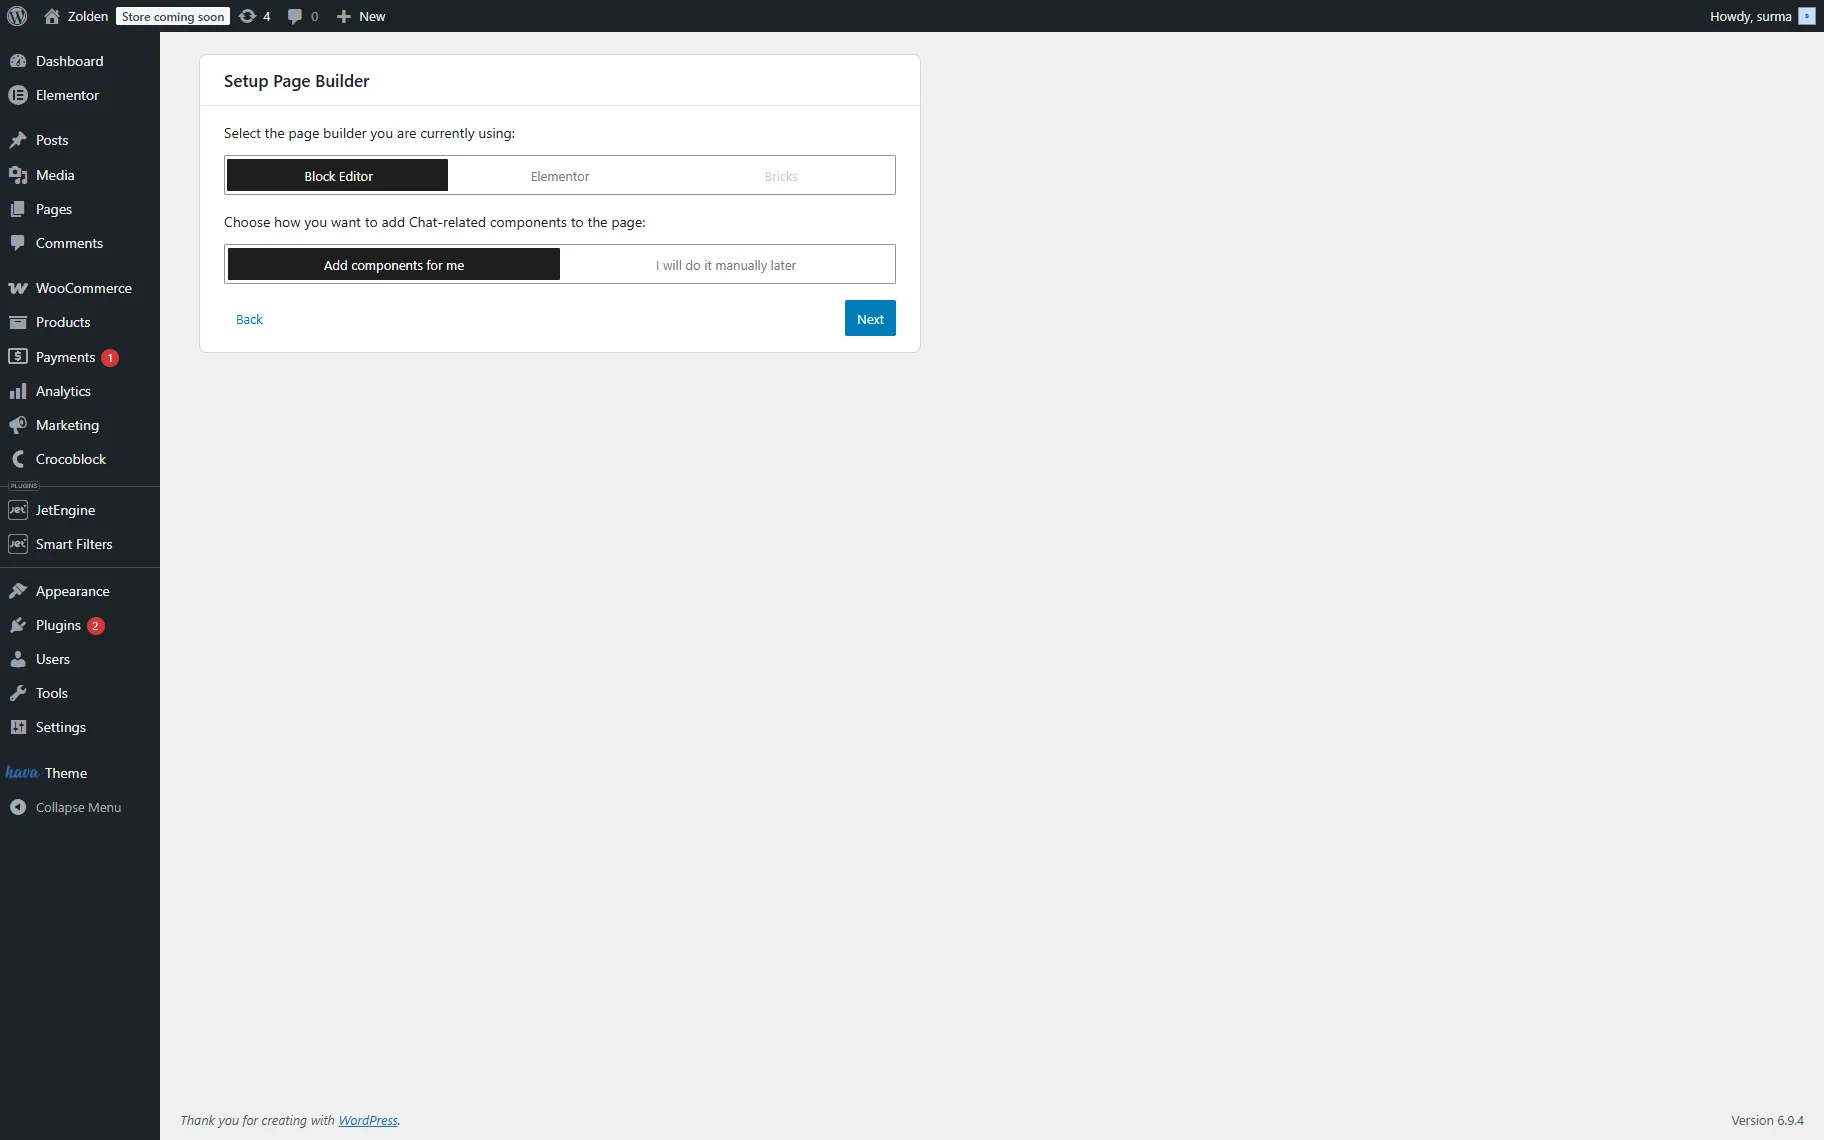
Click the “Next” button.
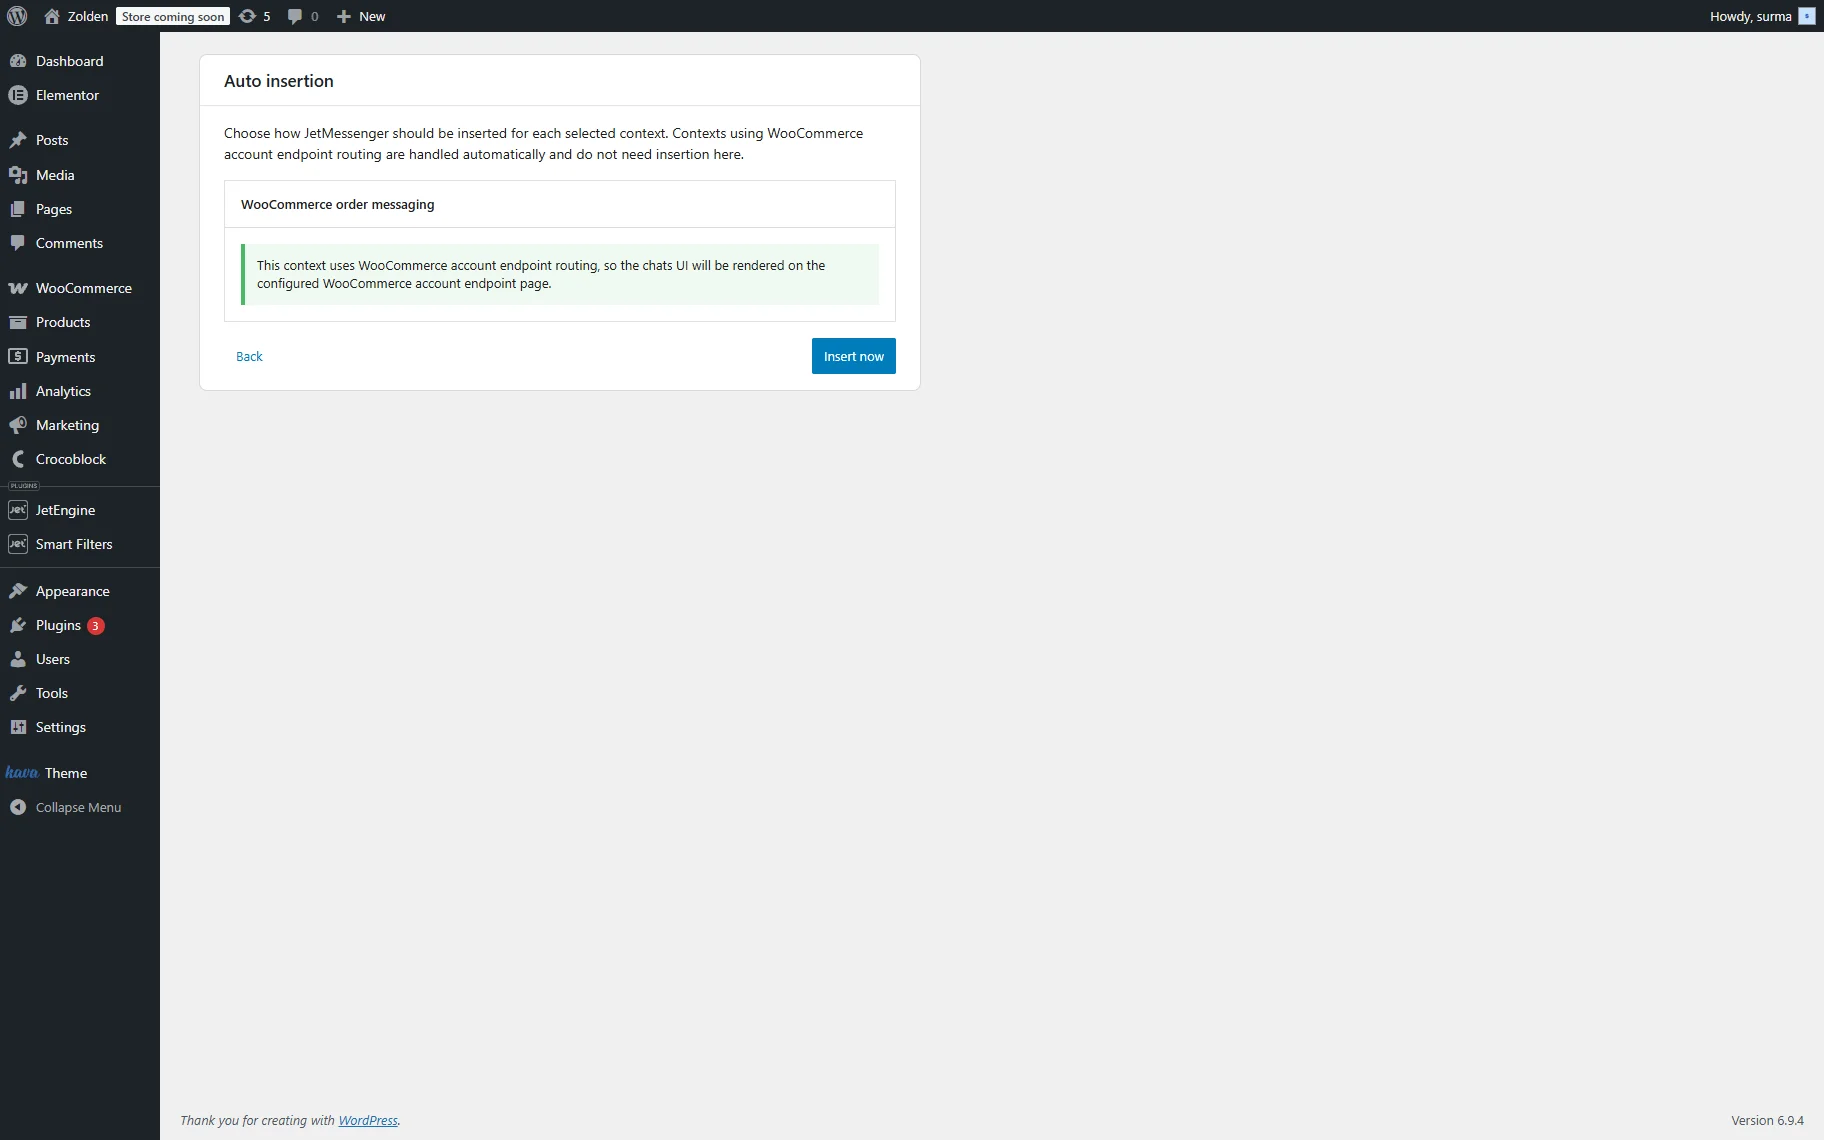
Then, you need to choose how JetMessenger should be inserted for each selected context. As far as our context is using the WooCommerce account endpoint, routing is handled automatically and does not need insertion here. We just press the “Insert Now” button.
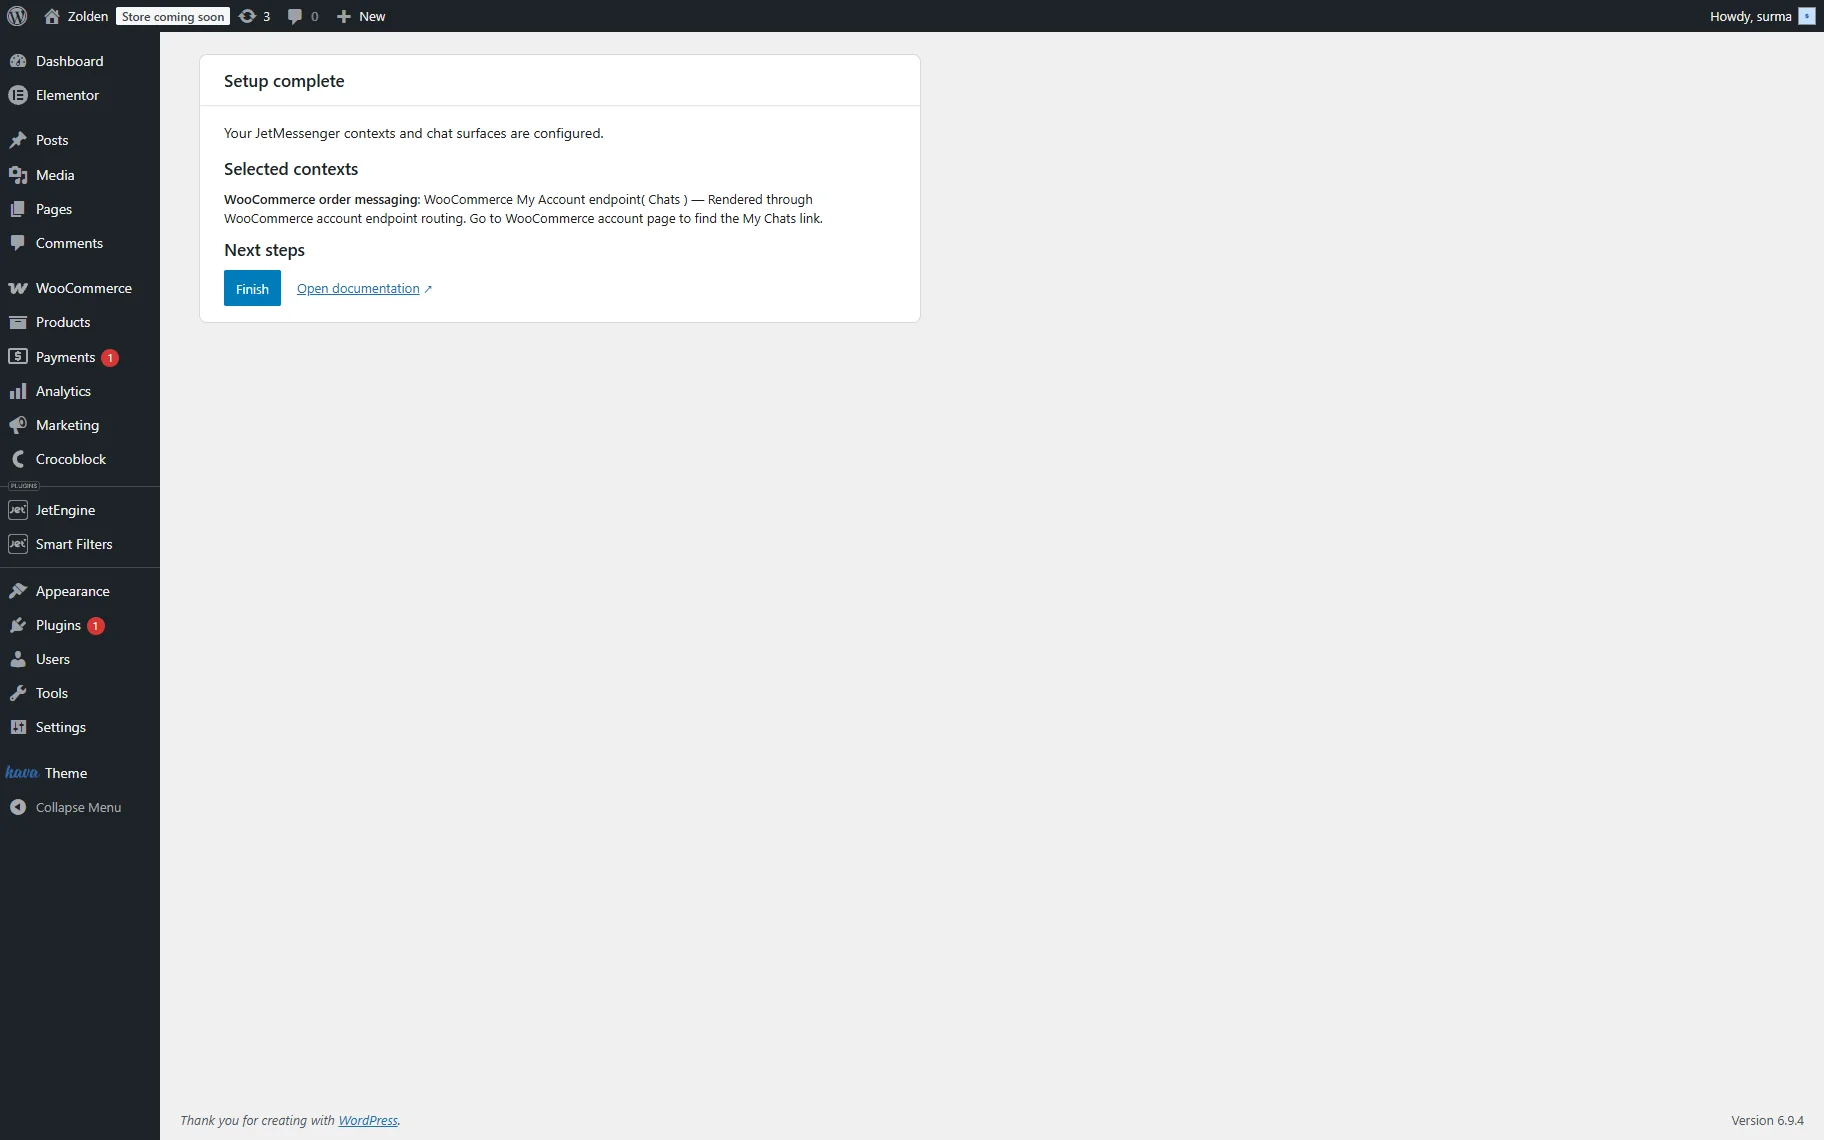
Once you are done with the settings, click the “Finish” button.
Add the My Chats component
In case you selected adding components manually, you also need to complete this step. If you added the components automatically, skip this step and proceed to the JetMessenger Settings.
Follow the How to Create My Account Page With Endpoint Templates guide to know how to create and apply My Account page templates. On the editing page, add the My Chats widget. Select the “WooCommerce order chats” Context type.
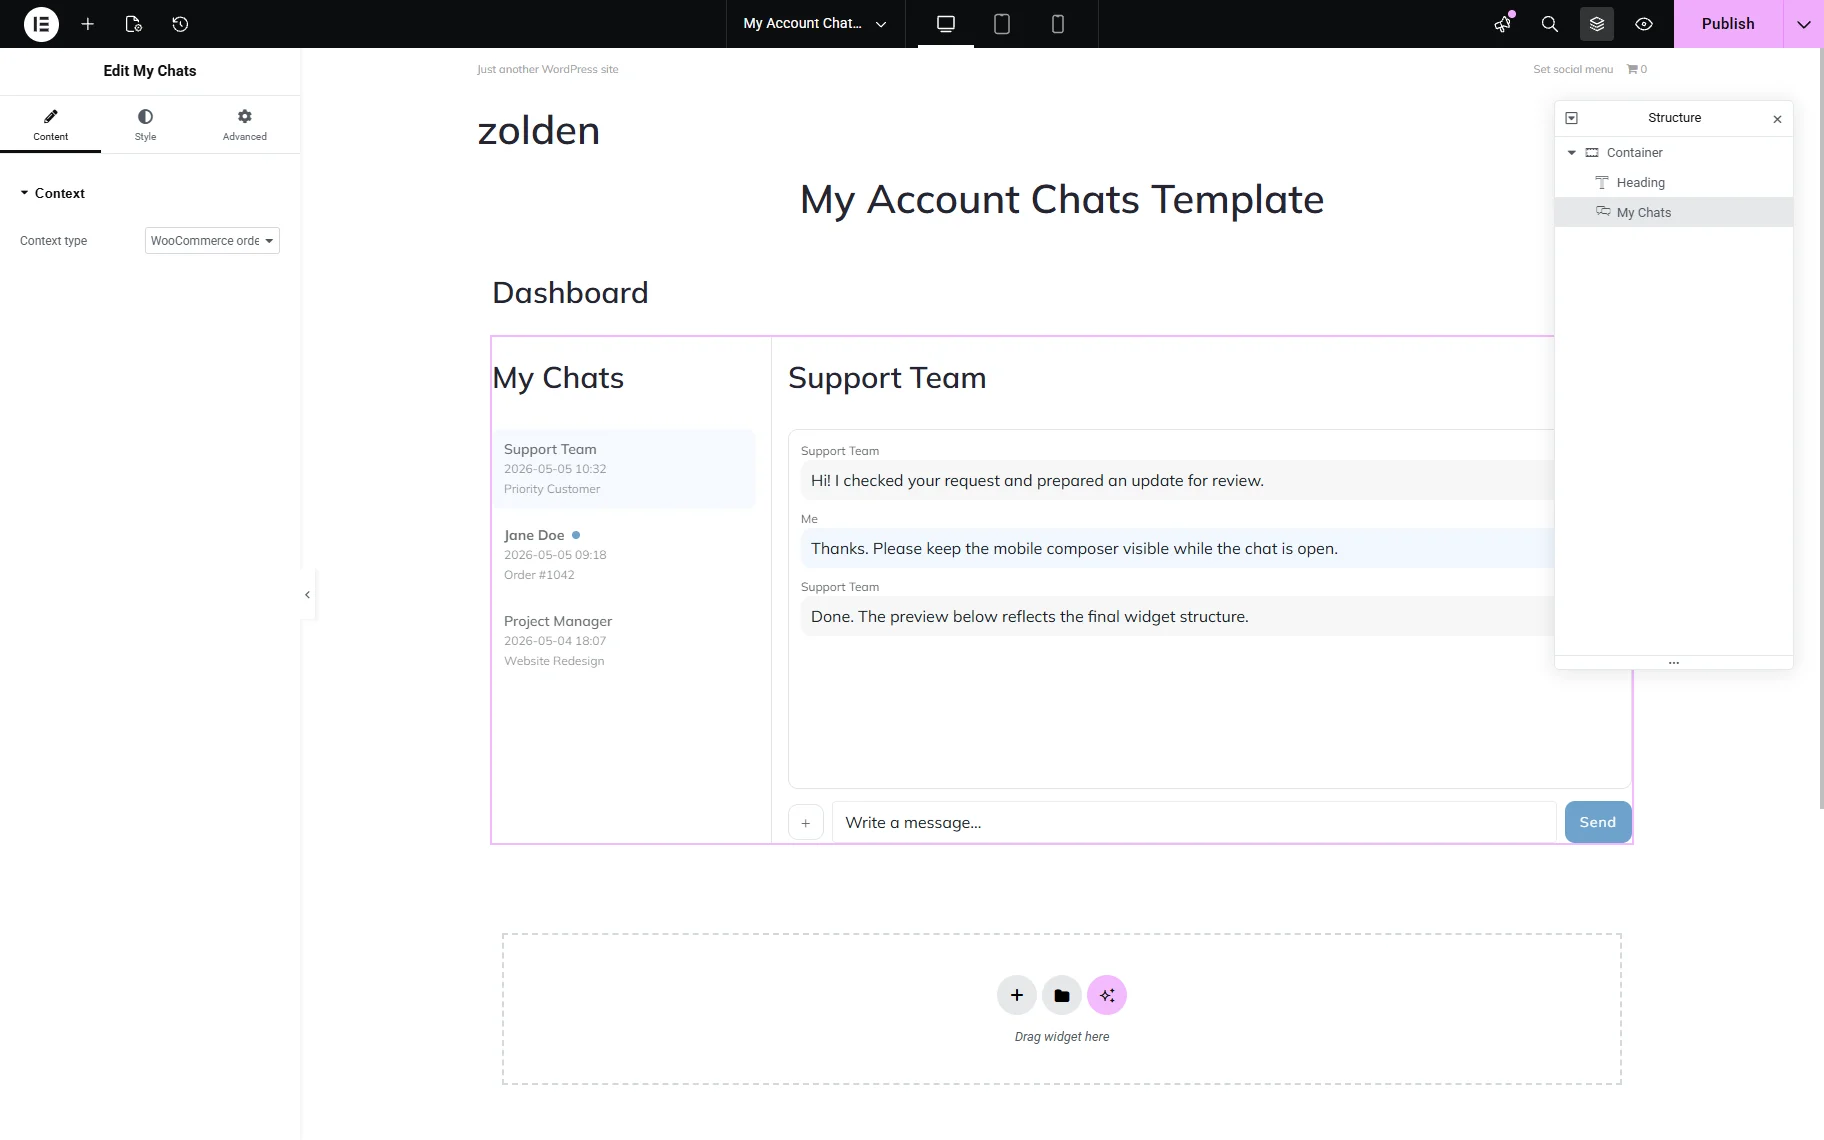
Click the “Publish” button once you are ready.
JetMessenger Settings
When you are done with the Wizard, you are redirected to the JetMessenger Settings. You can find them when proceeding to WordPress Dashboard > Crocoblock > Messenger directory. Here you will see the available contexts and the settings for them.
For the WooCommerce order messaging, the following settings are available:
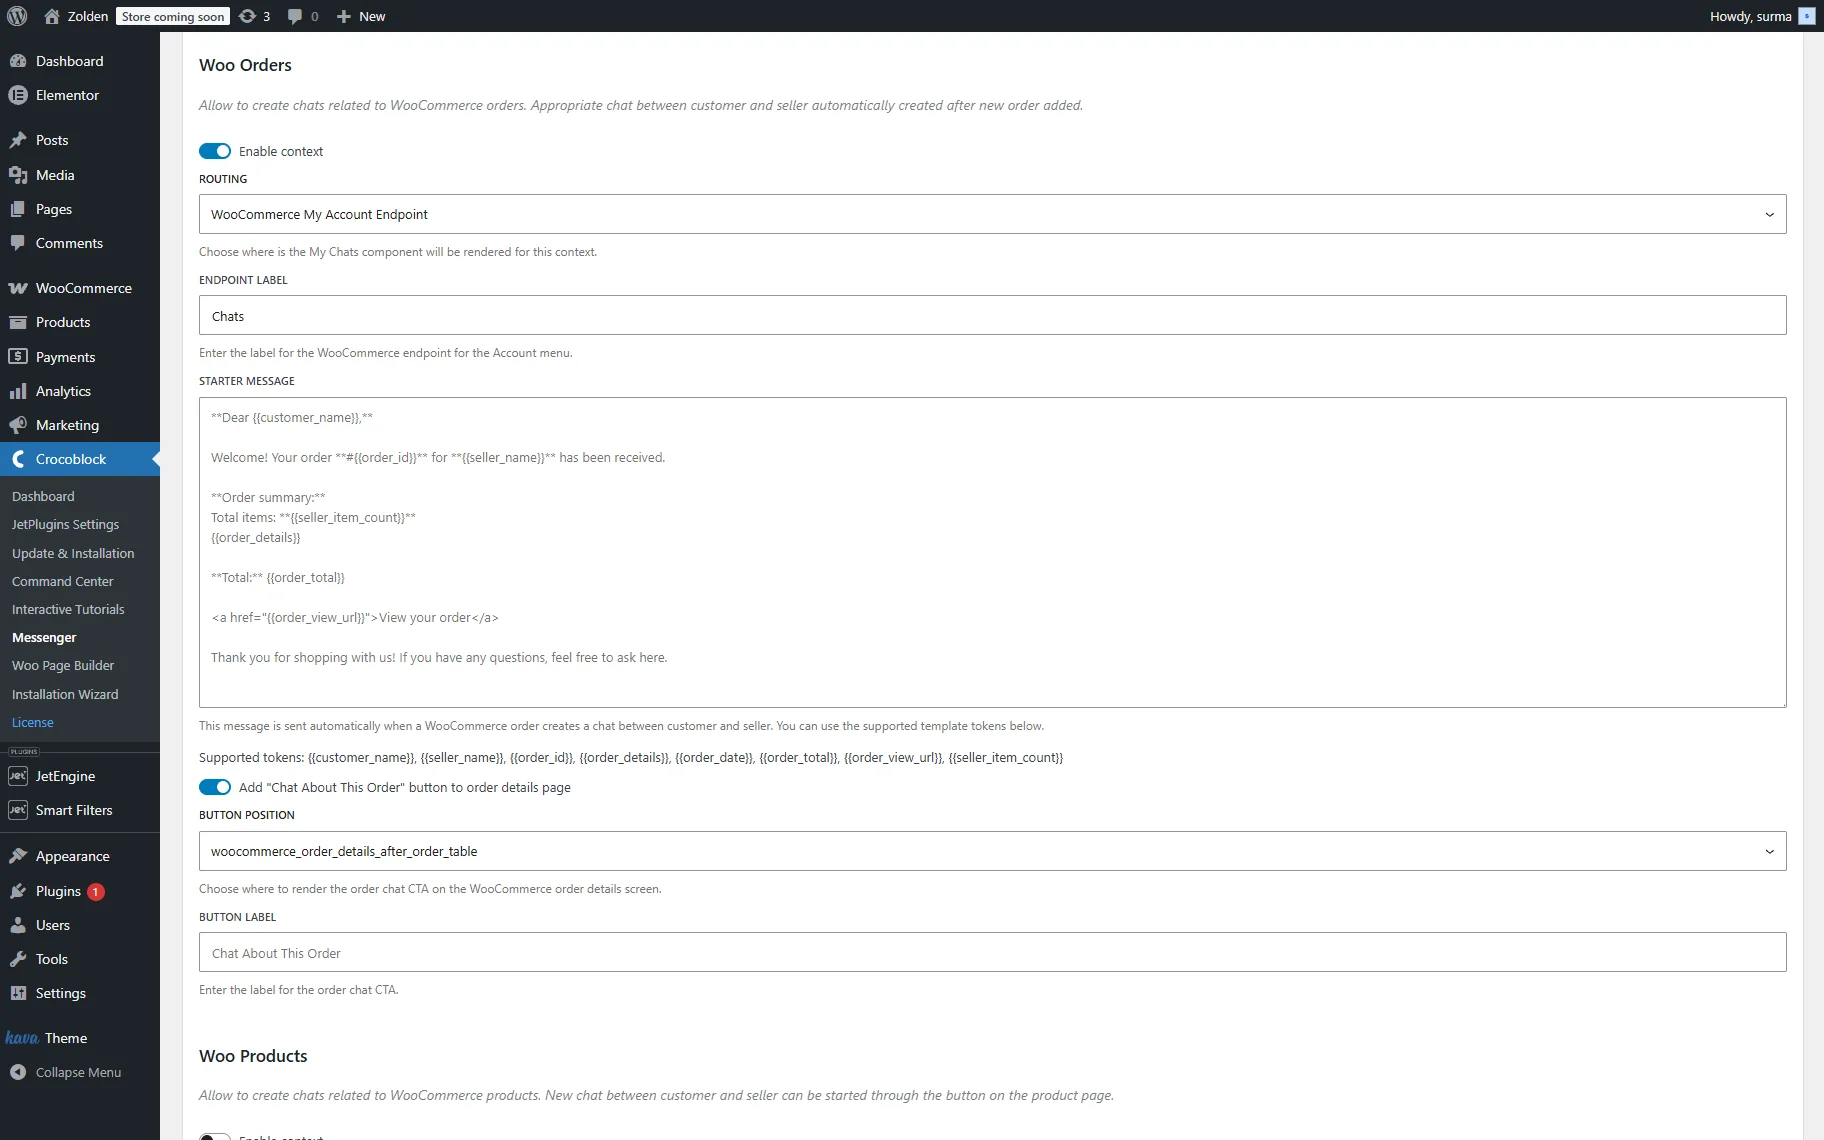
- Enable context — the toggle defines whether the JetMessenger will be applied to the WooCommerce Orders context;
- ROUTING — the dropdown provides options to choose where the My Chats component will be rendered for this context. If you choose the “Static Page” option, you can select from the available pages or create a new one. When you select the “WooCommerce My Account Endpoint,” the “Chats” section will be displayed as a separate section on the customer’s account page;
- PAGE URL — the input appears when the “Static Page” option is selected for the ROUTING field, and allows one to set the page URL where the chats will be displayed;
- ENDPOINT LABEL — the input appears when the “WooCommerce My Account Endpoint” option is selected for the ROUTING field, and allows one to set the name of the section for the chats;
- STARTER MESSAGE — the text message is sent automatically when a WooCommerce order creates a chat between customer and seller, and can be customized in the provided textarea field. One can use the following supported template tokens: {{customer_name}}, {{seller_name}}, {{order_id}}, {{order_details}}, {{order_date}}, {{order_total}}, {{order_view_url}}, {{seller_item_count}}
- Add “Chat About This Order” button to order details page — the toggle allows adding the “Start Chat” button to the order details page once the order has been completed. Once enabled, the following two inputs appear
- BUTTON POSITION — the dropdown allows choosing where the order chat CTA will be rendered on the WooCommerce order details screen;
- BUTTON LABEL — the input defines the text that will be displayed on the button to start the chat.
If you made any changes here, click the “Save changes” button at the bottom of the page.
WooCommerce Order Chat on the Frontend
It is important to highlight that the chat can be started by the logged-in user. The guest cannot start the conversation. Neither admin nor WooCommerce vendor can start a chat. In terms of eCommerce, the most effective use case for JetMessenger is to serve as a WooCommerce order support service.
In the WooCommerce Order context, the conversation can be started only when the order is created. Before that, the Chats section will be empty on the customer’s account.
As soon as the order is created, the customer can open the chat by clicking the “Chat about this order” button (the label depends on your settings) on the Order Details page.
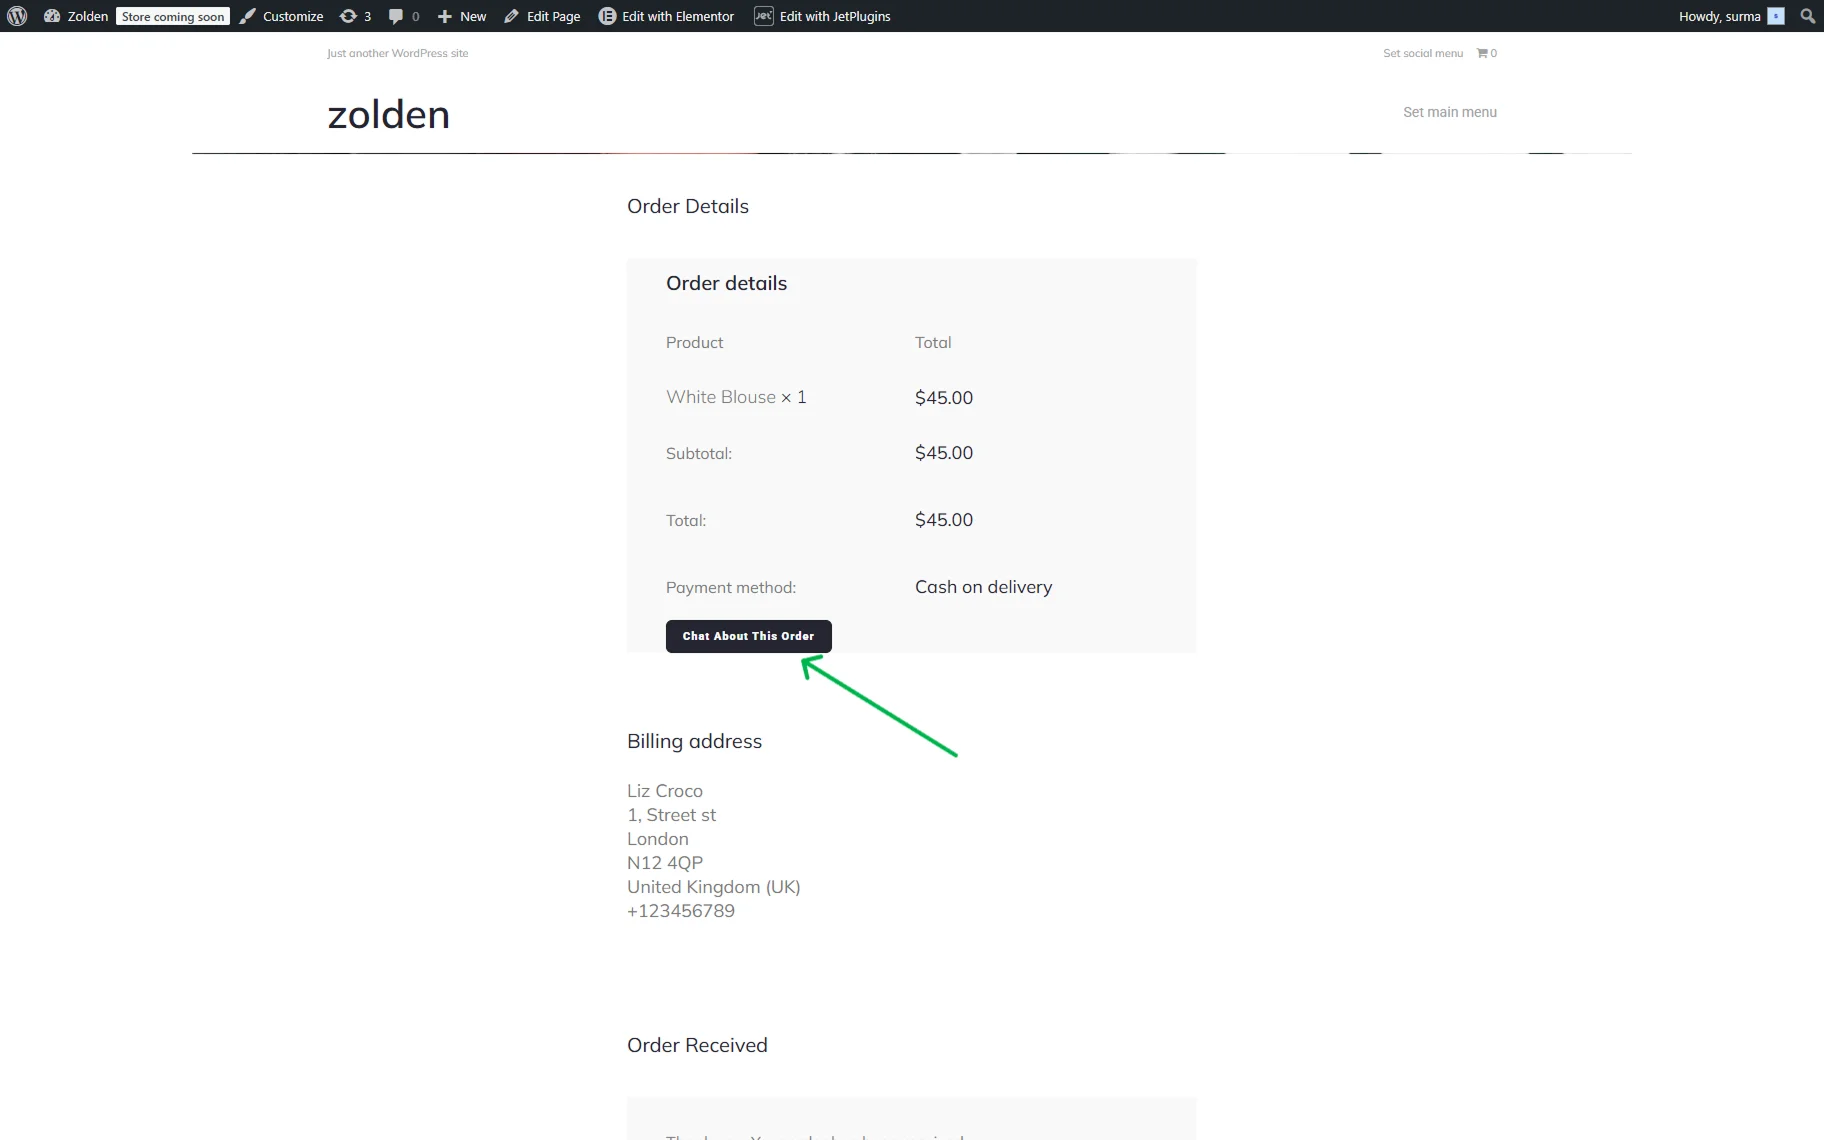
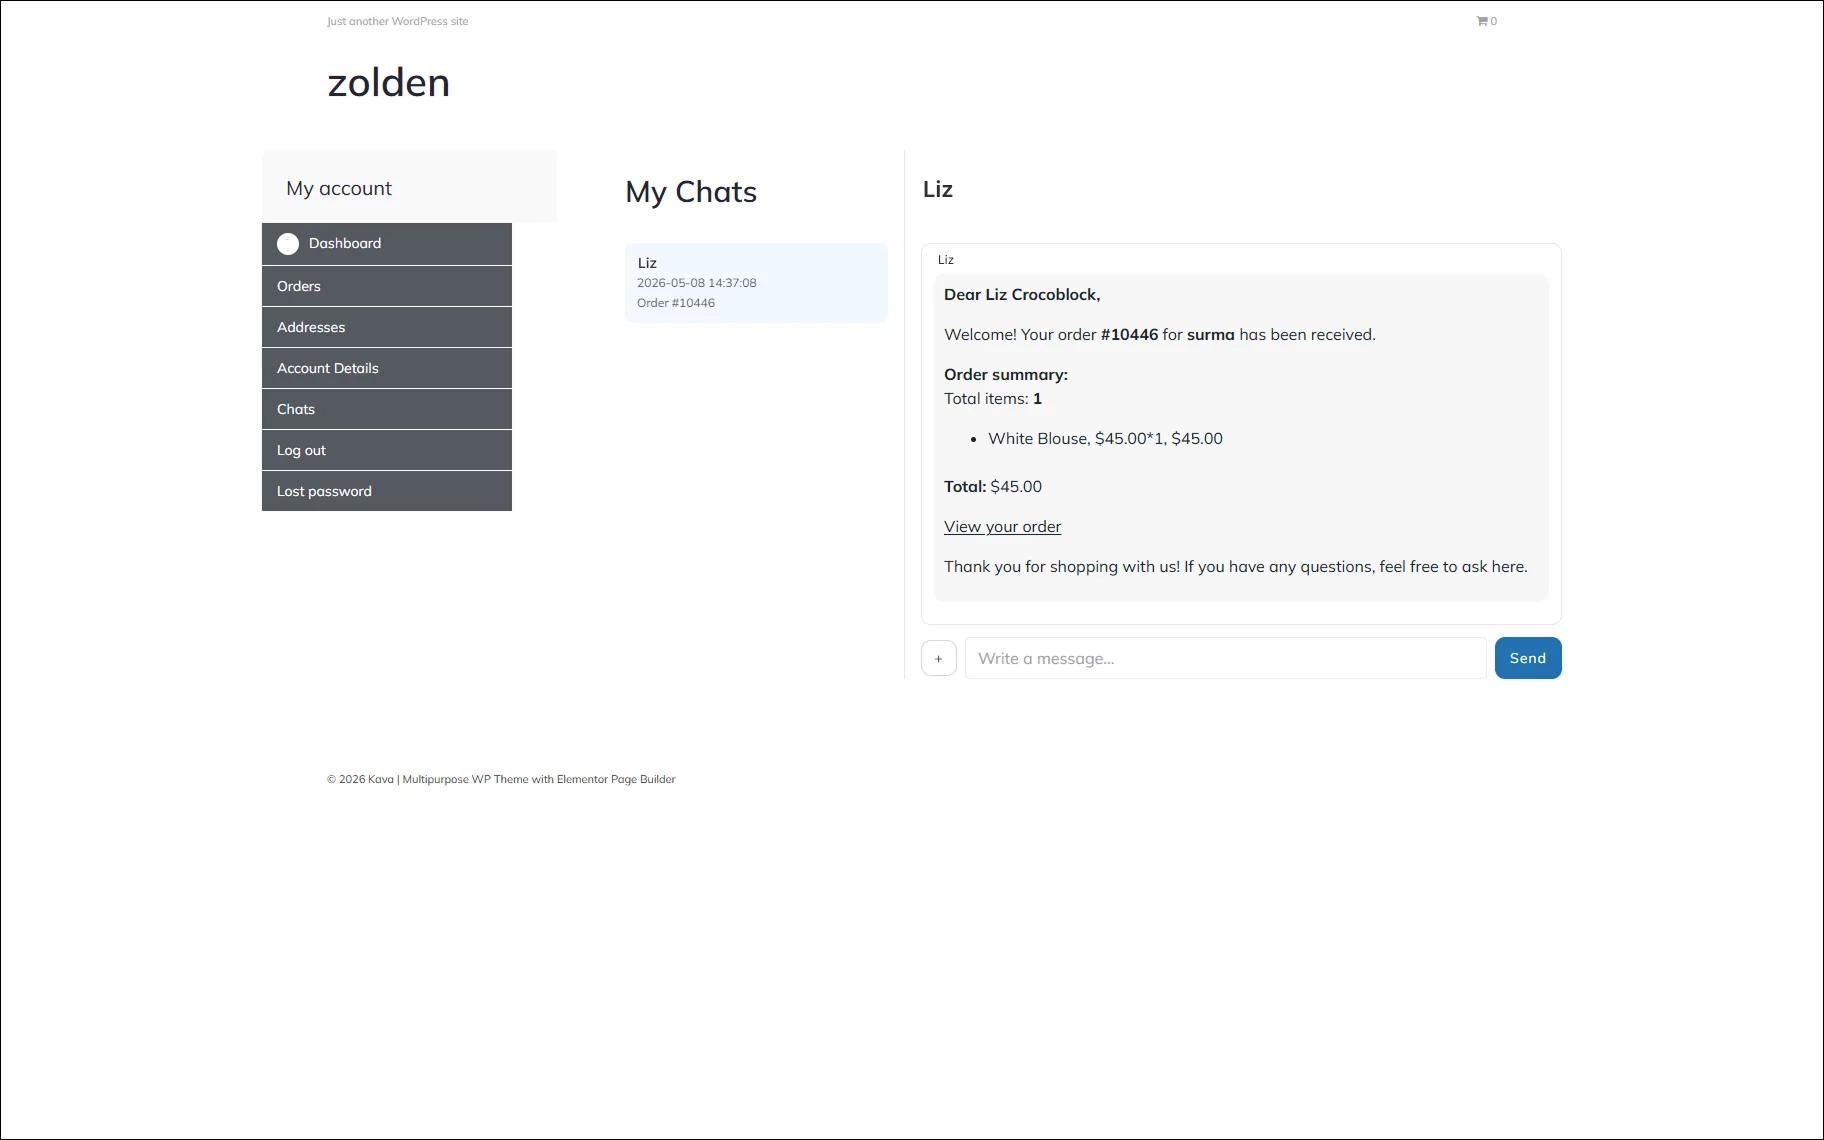
Once the button is clicked, the customer will be redirected to the page with the chats. Additionally, the customer gets a summary order message as soon as the order is created.
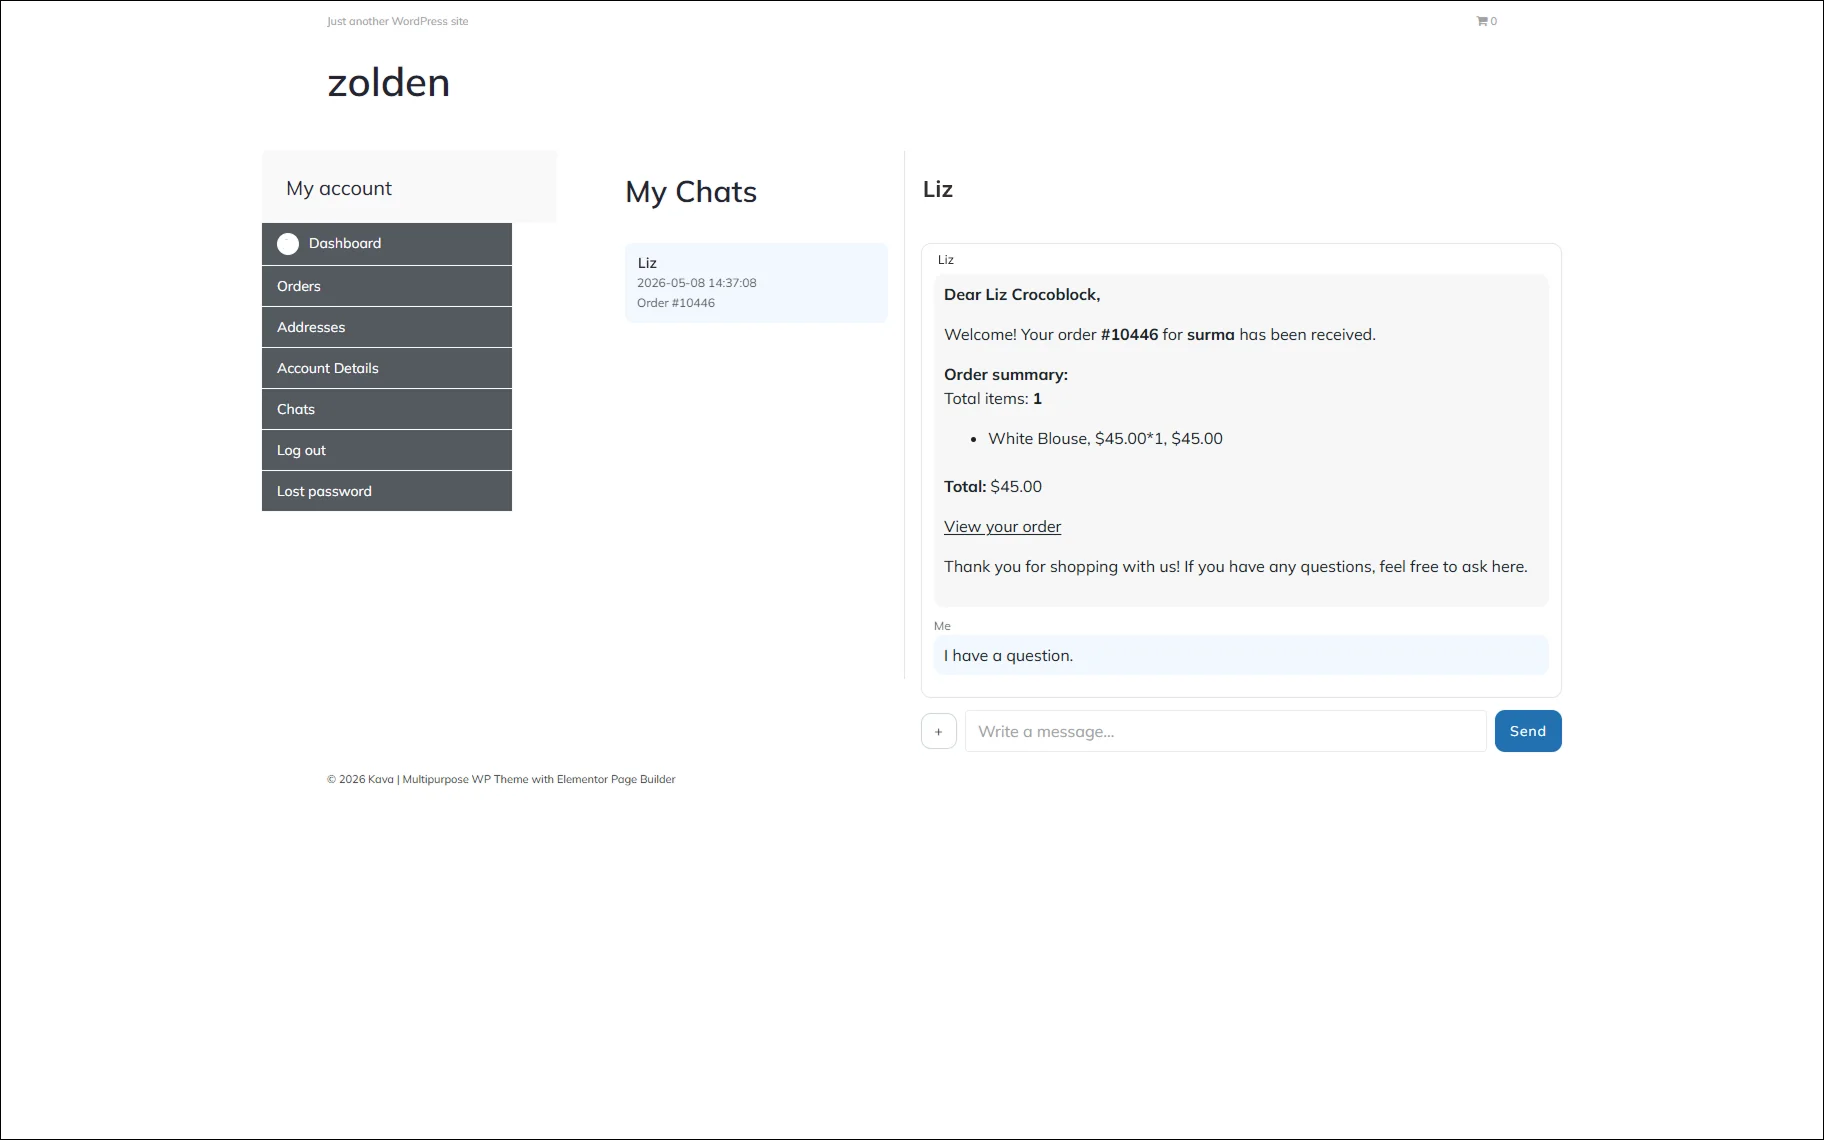
In case the customer has any questions or notes about the created order, they can message right through the “Write a message” input and click the “Send” button.
FAQ
WooCommerce order messaging is a communication system that allows customers and store managers or vendors to chat about a specific order directly on the website. With JetMessenger, each WooCommerce order can automatically create a dedicated chat linked to that order.
Yes, JetMessenger lets you add a dedicated “Chats” section to the WooCommerce My Account page. Customers can open conversations related to their orders and contact the vendor or admin without leaving the website.
Yes, once the WooCommerce order messaging context is enabled, JetMessenger automatically creates a separate chat for every new order placed by a customer.
No, only logged-in users can start and participate in WooCommerce order chats. Guest customers cannot access the messaging functionality.
You can enable the “Chat About This Order” button in the JetMessenger Settings. The plugin allows you to choose the button position on the WooCommerce Order Details page and customize its label text.
Yes, JetMessenger allows you to customize the starter message sent when a WooCommerce order chat is created. You can also use dynamic tokens like customer name, order ID, order total, and order details.
Yes, JetMessenger can be used as a WooCommerce vendor chat solution, allowing customers to communicate with the seller or marketplace vendor about a specific order or product.
WooCommerce order chats can be displayed either on a dedicated static page or inside the WooCommerce My Account page using a custom endpoint.
No, JetMessenger provides a setup wizard that helps configure WooCommerce customer messaging without custom coding. You can use Elementor, Gutenberg, or Bricks to add the required chat components.
That’s it. Now you know how to set up the WooCommerce order messaging system with the JetMessenger WordPress plugin.