How to Add Custom Meta Fields to WordPress Post via Meta Boxes
From this tutorial, you will learn how to add any type of custom meta field to the default WordPress Post using JetEngine plugin functionality.
Before you start, check the tutorial requirements:
- Elementor (Free version) or Block editor (Gutenberg)
- JetEngine plugin installed and activated
Once you’re adding a new post, you might not be satisfied with the content that can be added to it by default. E.g., you might need to add a gallery or a date picker in order to pick the custom additional date for displaying.
In the context of WordPress, this can be done by adding Custom Meta Fields. So, what are the custom meta fields? It is a feature in WordPress which allows users to add extra info when writing a post. If you need more details, go through our Meta Fields Overview.
Now let’s explore how to add the custom meta field to your post.
Enable Custom Meta Fields for Post
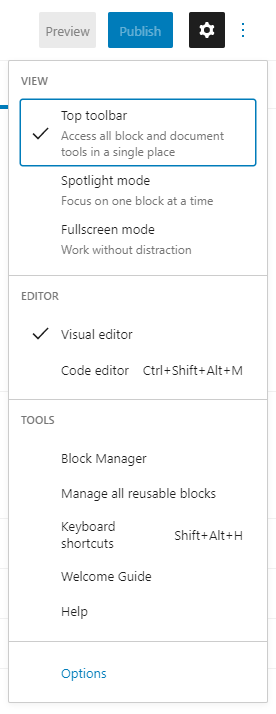
Open the Posts tab in your WordPress Dashboard. Click on three vertical dots in the upper right corner and press on the Options at the bottom of the newly opened window.
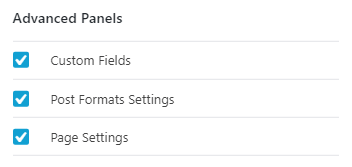
Tick the Custom Fields checkbox in the Advanced Panels block.
Check Meta Fields
Now you can scroll down the Post-editing page and view the Custom Fields meta box below the post editor.
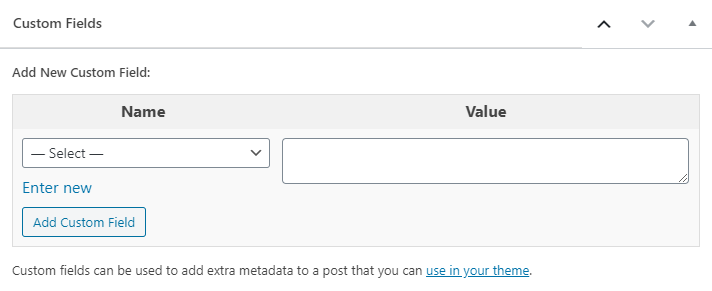
Here, in the Name drop-down list, you can select one of the fields that are offered by the template you are using on the website. The meta fields added by other plugins will also be on the list.
Add Meta Box
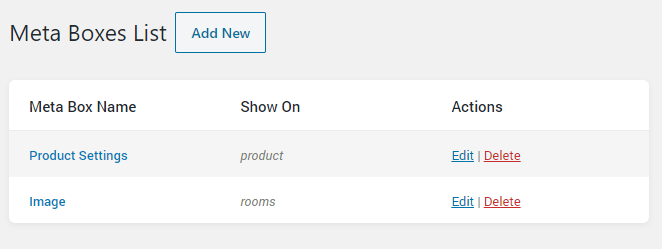
In case you need to create a custom field with the content of a specific type (e.g., add a gallery), you can easily do it with the JetEngine plugin’s functionality. Open the JetEngine > Meta Boxes submenu option in the WordPress Dashboard, and here, click the “Add New” button.
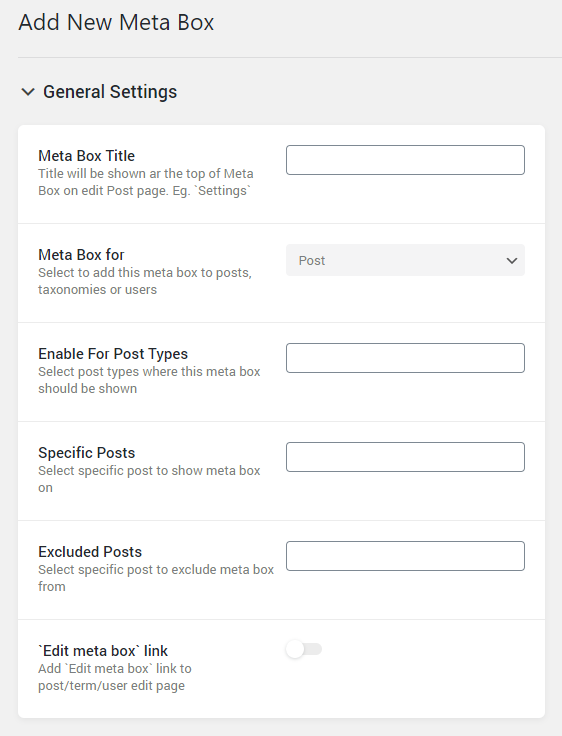
Fill in the fields in the General Settings section. Specify the Meta Box Title, select the “Post” option in the Meta Box for drop-down menu, and choose “Posts” in the Enable For Post Types field. More details about the Meta Box creation you can find in this tutorial.
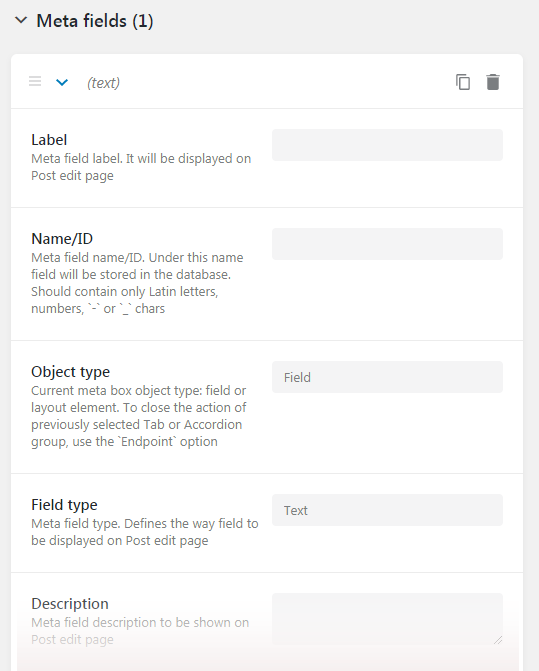
Click the “New Meta Field” option to add a new meta field of the needed type. Set a title, specify its ID, type, etc. Learn more about the meta field’s options from this detailed tutorial. Then, click the “Add Meta Box” button to save the changes.
Now you can easily add all the needed extra content of the specific type to your post or custom post type. The meta fields can be accessed when one edits the post page.