Meta Boxes Overview
This tutorial provides an overview of creating meta boxes with meta fields and applying them to posts, terms, users, or WooCommerce products using the JetEngine WordPress plugin.
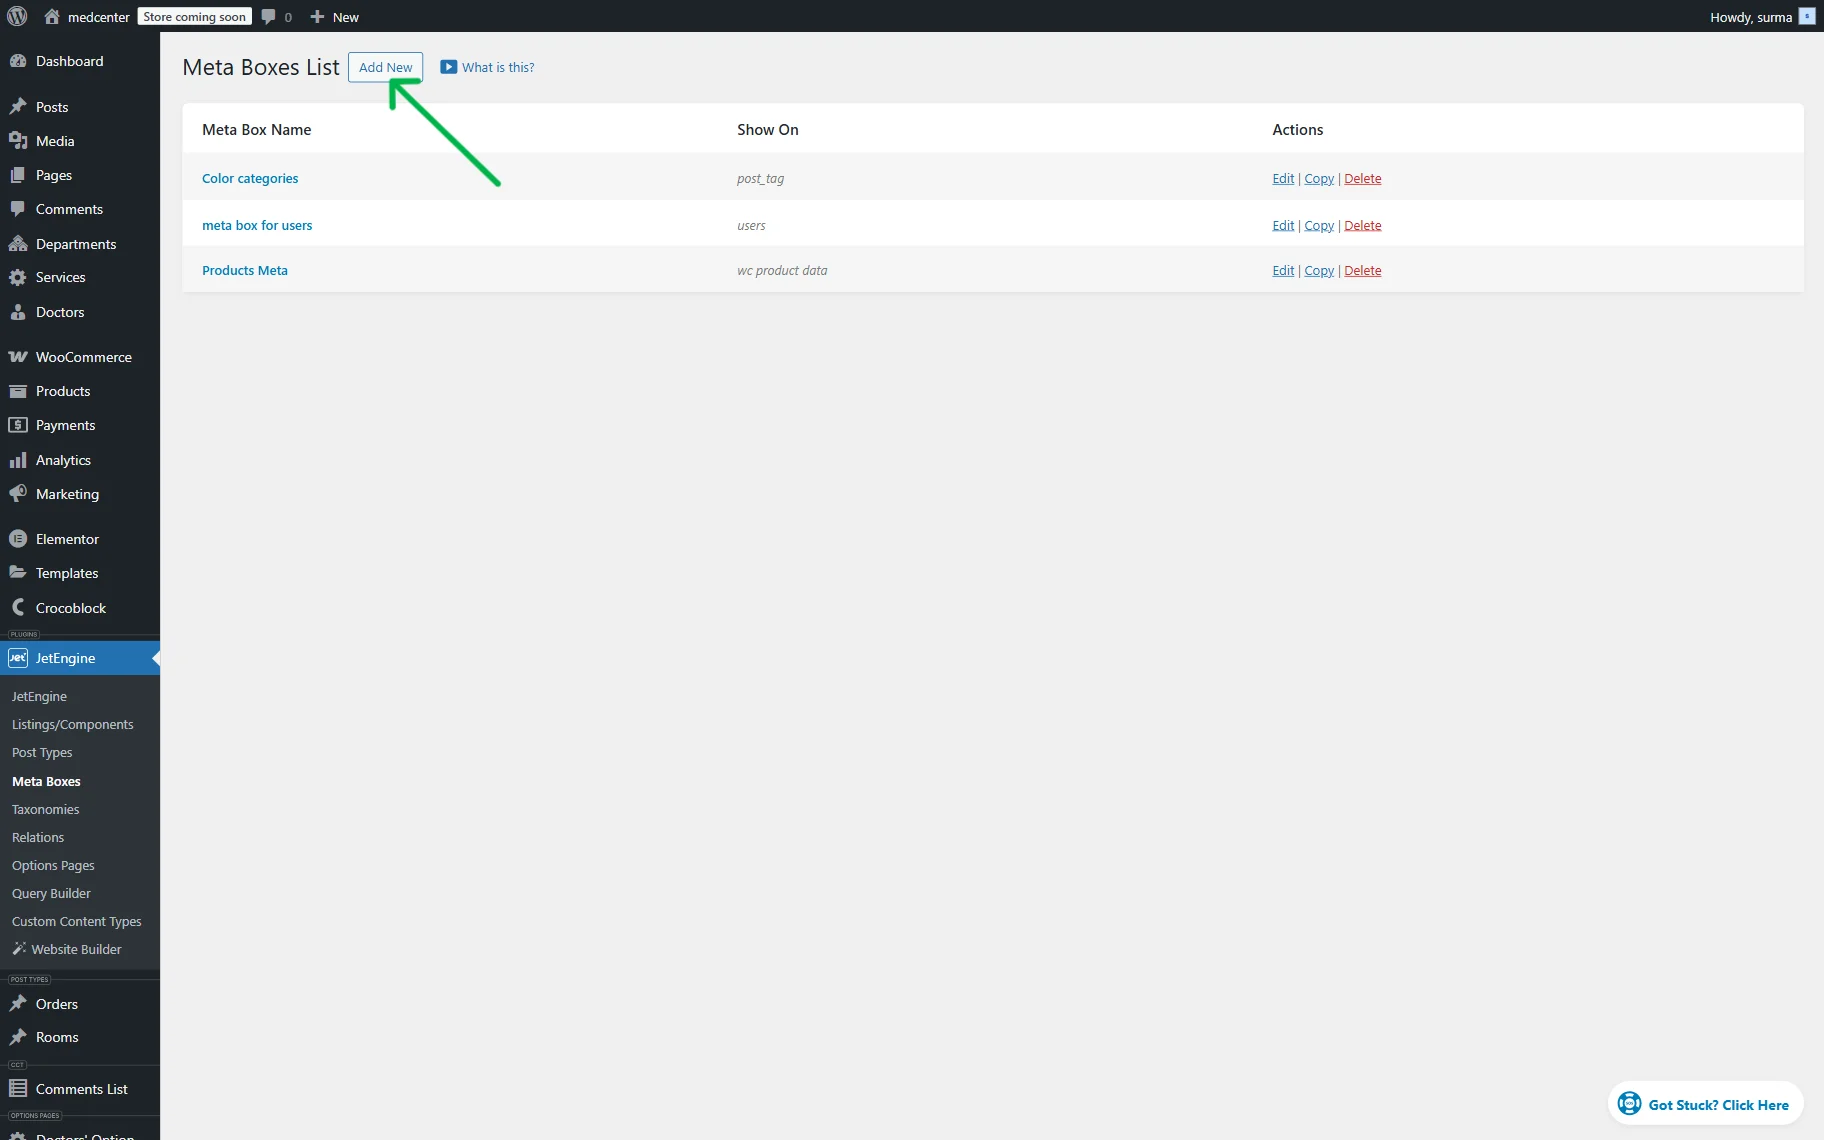
Create Meta Box
Meta boxes are located at the WordPress Dashboard > JetEngine > Meta Boxes directory. The “Add New” button at the top of the page allows one to add a new meta box.
General Settings
The first tab presented is General Settings. Among the settings are:
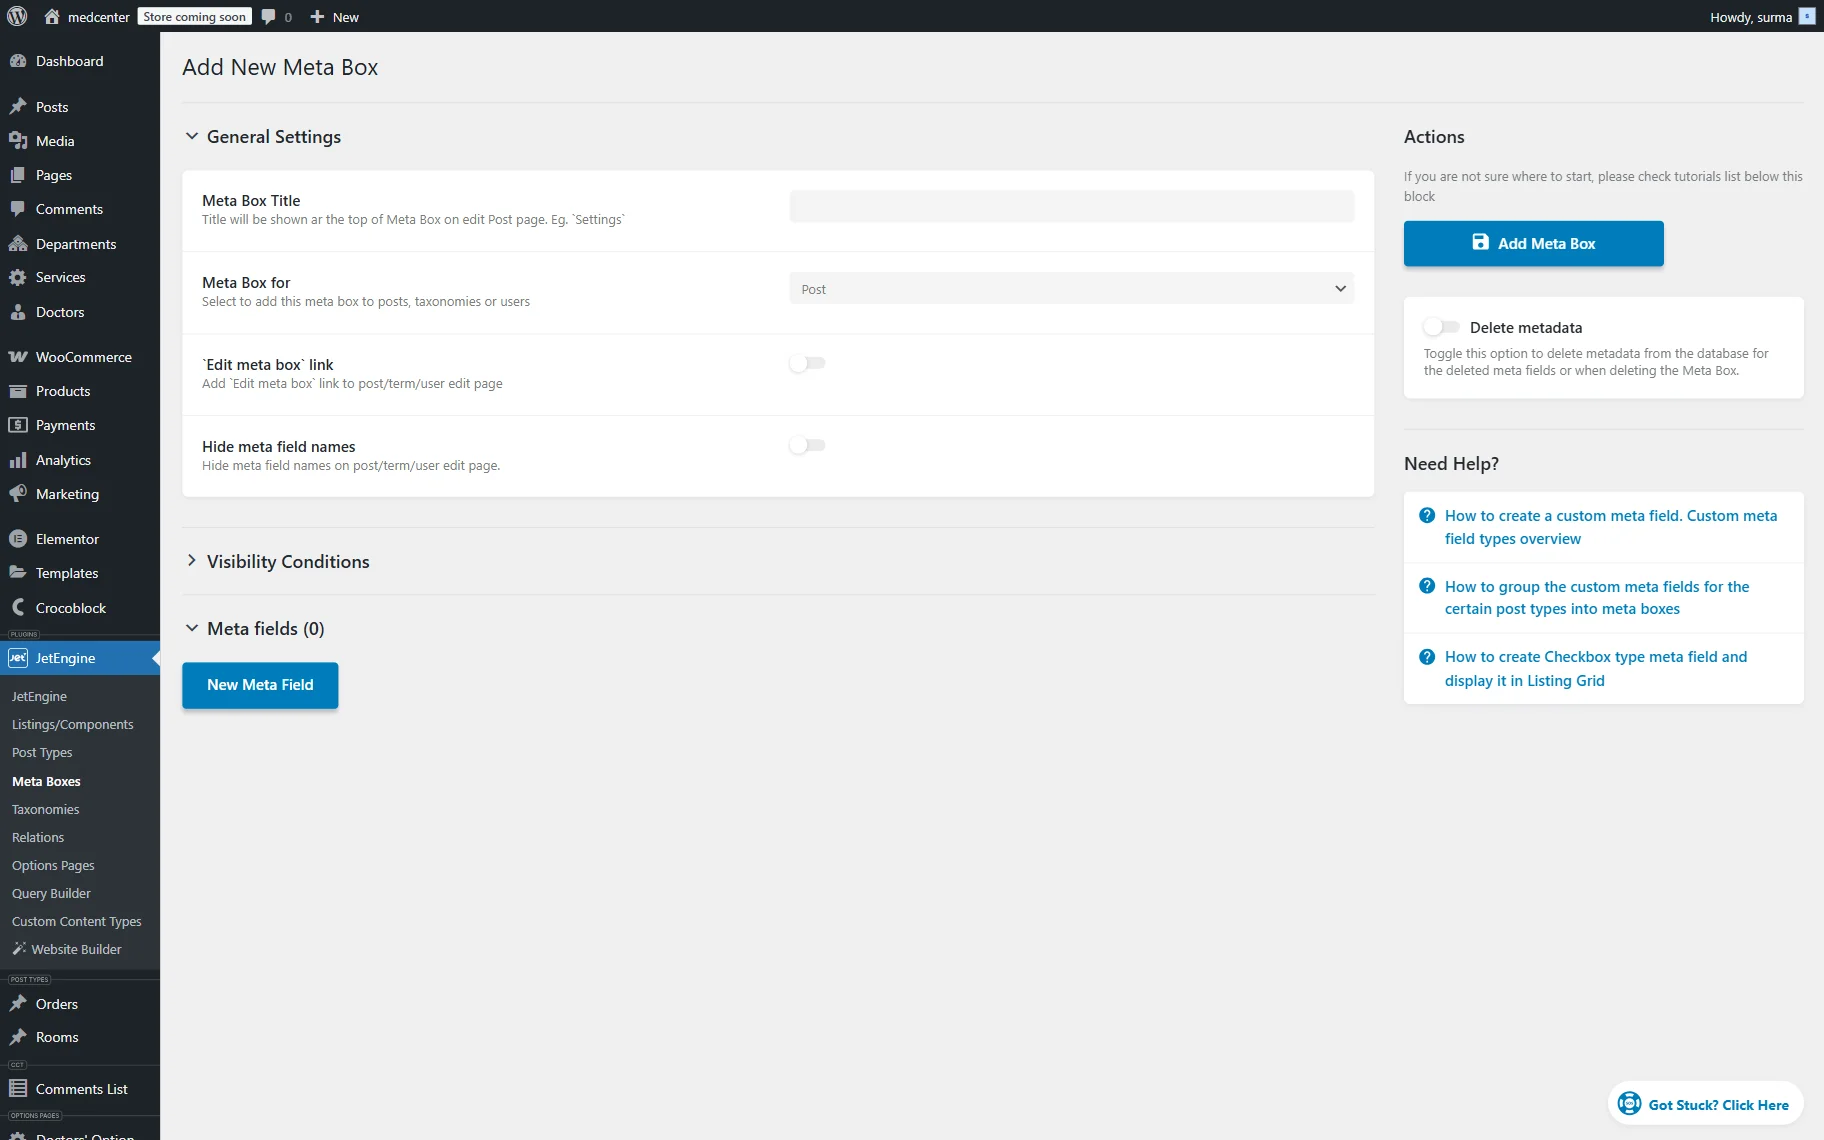
- Meta Box Title — the name of the meta box that will be shown in the meta boxes table and in every post, taxonomy, or user profile it is attached to;
- Meta Box for — here, the content type to which this meta box will be assigned can be selected. The “Post” option refers to both default posts and Custom Post Types created with the help of JetEngine functionalities. If the “Taxonomy” option is selected, it will become possible to assign the meta box to the default WordPress Terms and Custom Taxonomies created for the CPTs. The “User” option will link the meta box with the users’ accounts. The “WooCommerce Product Data” allows one to add meta fields to simple WooCommerce products. When the “WooCommerce Variation” option is selected, one can link the meta box to the WooCommerce variable products. The further settings that will appear in this block depend on what is selected in this field;
- ‘Edit meta box’ link — if this toggle is enabled, a cog-shaped edit button will be added to the post customization page in the dashboard. That button should be clicked to open the meta box editing page;
- Hide meta field names — when this toggle is enabled, the meta field names will be hidden on post/term/user edit page.
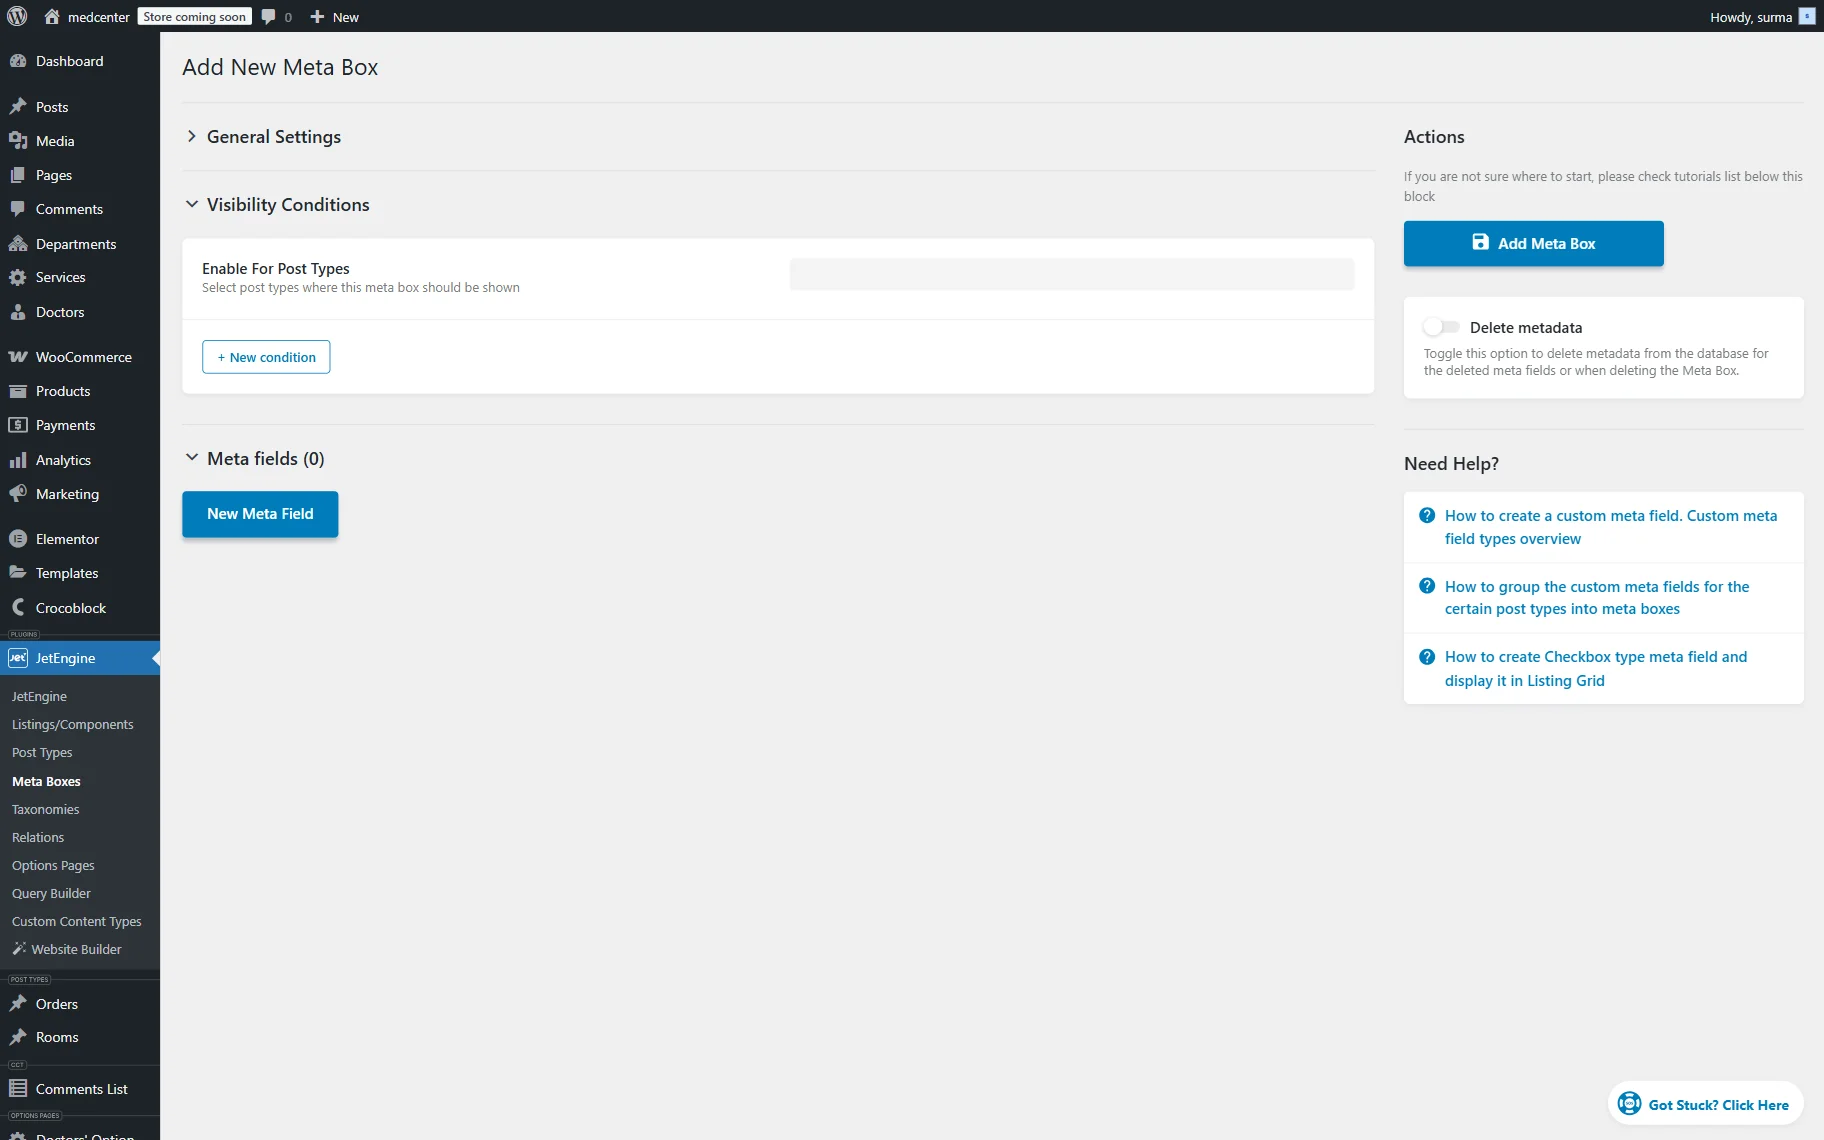
Dynamic Visibility
The following Dynamic Visibility tab allows one to show or hide meta boxes, depending on the user’s role or taxonomy terms.
To learn more about the Dynamic Visibility for meta boxes, the Meta Boxes Visibility Conditions Overview guide can be checked.
Set Up Meta Fields
Finally, the meta fields can be added to the box. There are no limitations on the number of meta fields in one meta box. As many items as needed can be added by clicking the “New Meta Field” button. Any of the meta fields can be edited, duplicated, and deleted. Besides that, one can change the position of the field in a list by simply dragging it with the pointer.
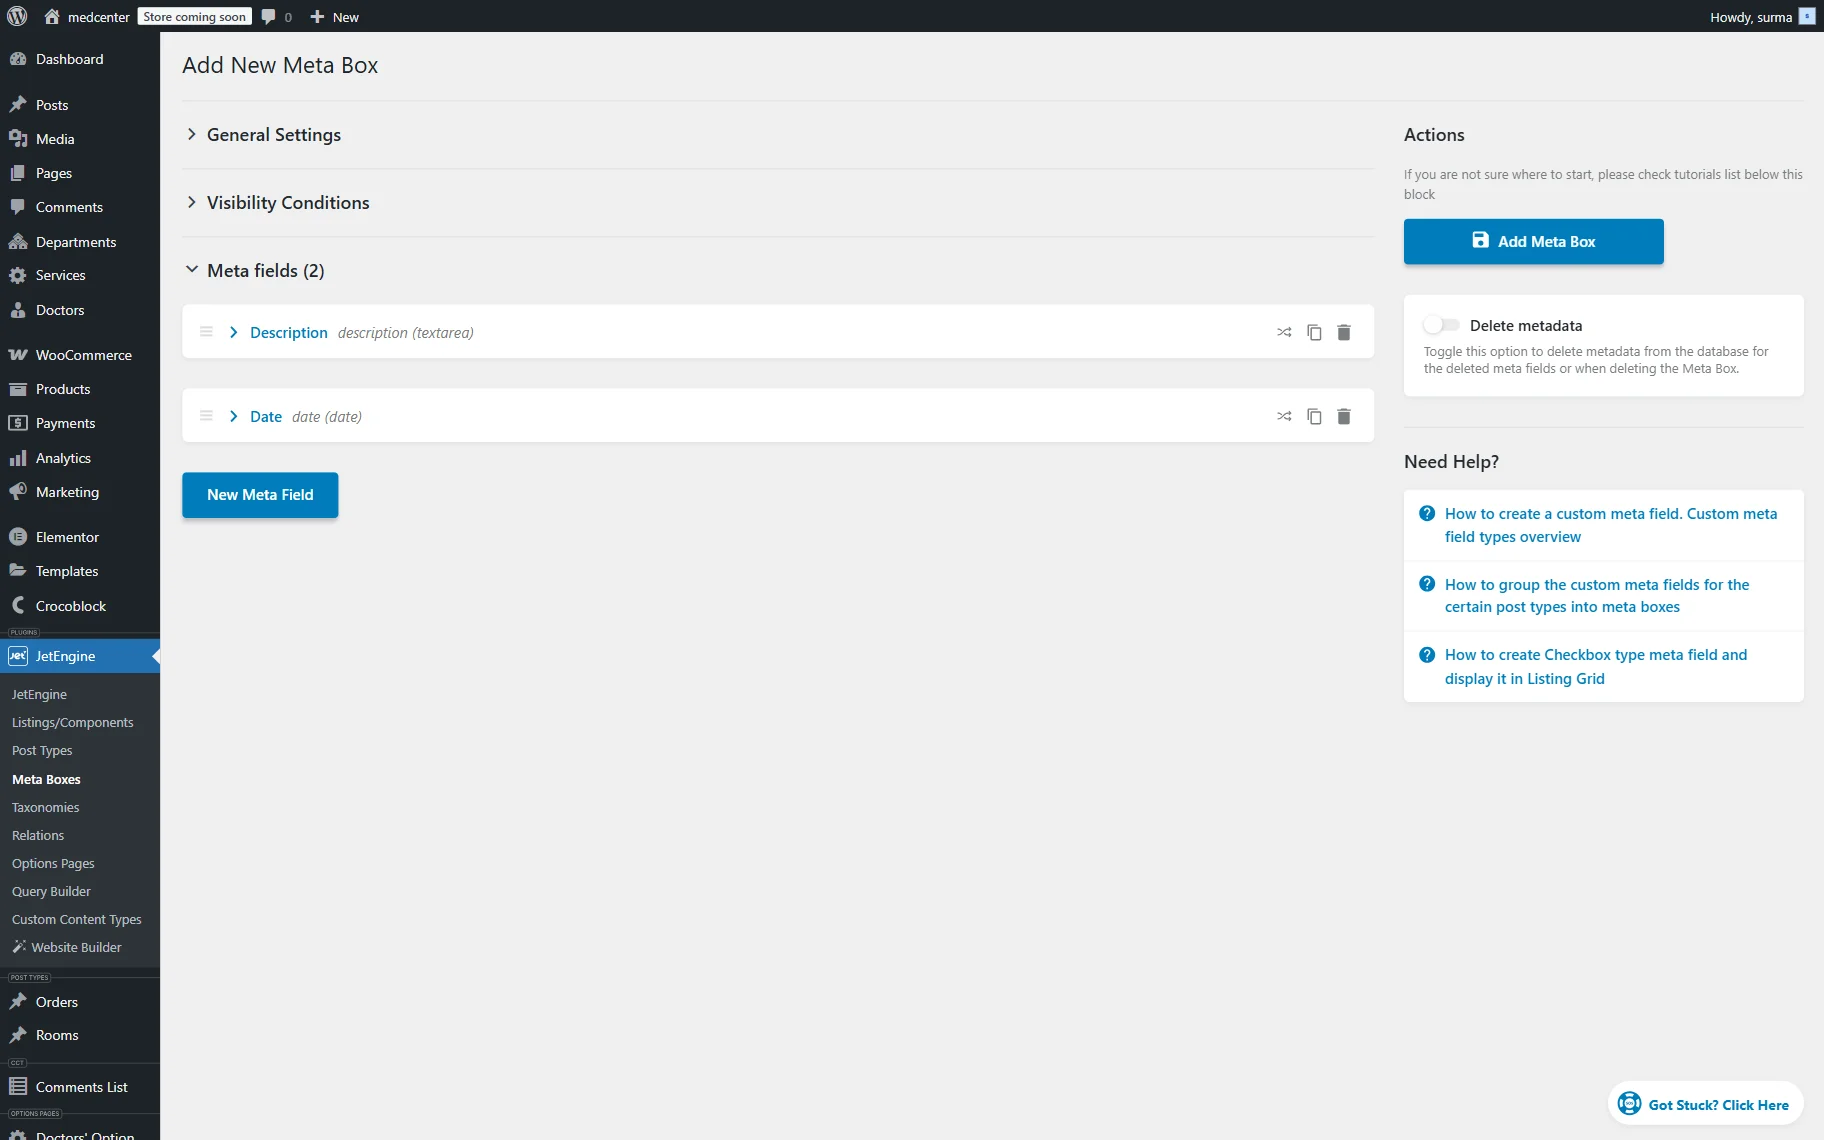
More detailed information about available options in the meta field’s settings can be found in our Custom Field Types Overview guide.
The “Add Meta Box” button should be clicked to save progress.
That’s all about creating meta boxes and applying them to posts, terms, users, or WooCommerce products using the JetEngine WordPress plugin.