How to Create a Custom WordPress Header
With the JetThemeCore plugin, create catchy headers on your own or save time relying on pre-designed variants.
Before you start, check the tutorial requirements:
- Elementor (Free version) or Block editor (Gutenberg)
- JetThemeCore plugin installed and activated
Create a Custom Header in Elementor
Making a header from scratch may be complicated, but not when using the JetThemeCore plugin. Thanks to it, you’ll adjust your own custom header to a website of any type.
Plugin installation
First of all, check if JetThemeCore is installed on your WordPress site. Go to Plugins > Installed Plugins.

Add a new header
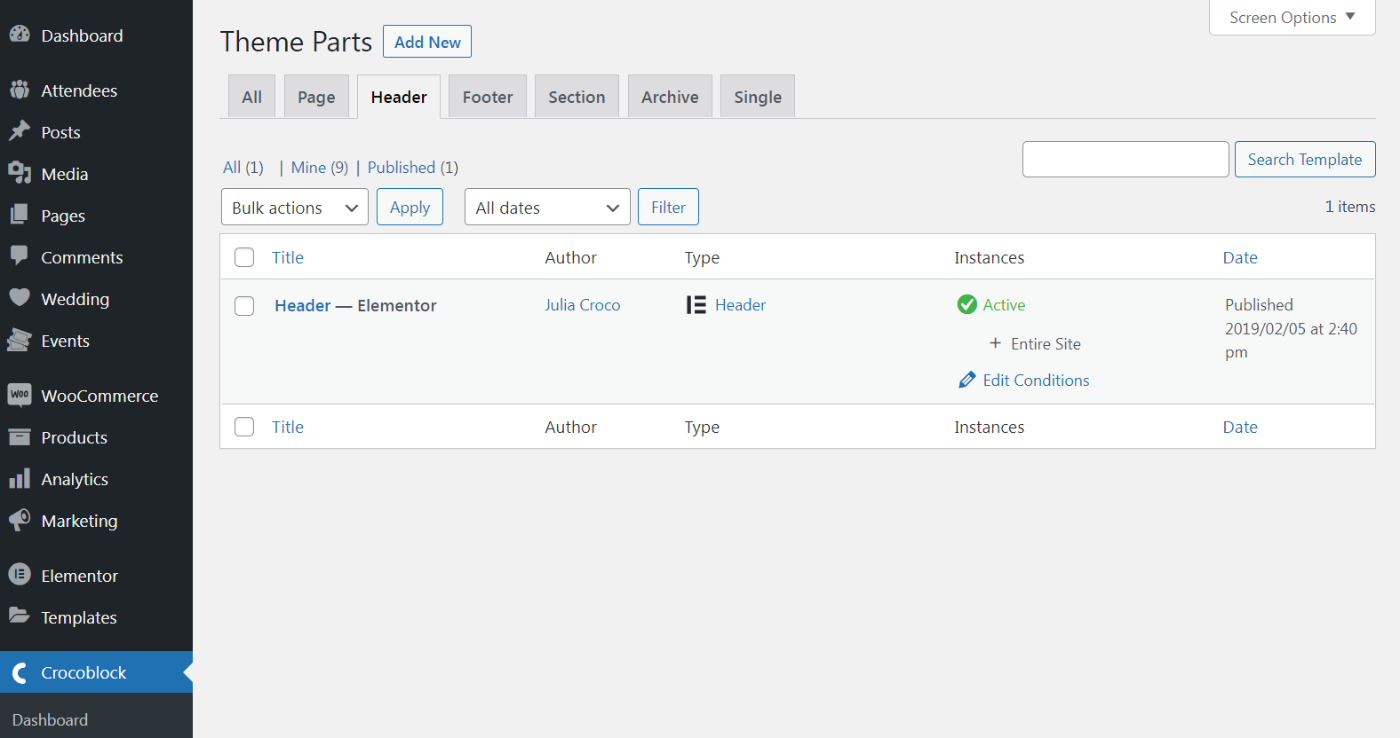
On this step, click on Crocoblock > Theme Templates. As soon as you see the “Theme Parts” screen, choose Header > Add New.
Come up with the header name
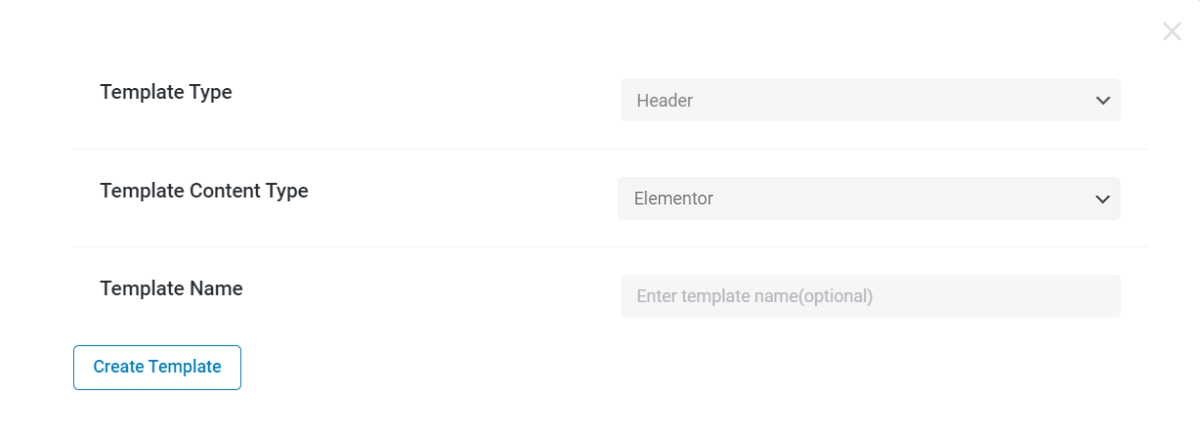
You will be asked to choose a type of template, which should be a “Header.” Also, set the Template Content Type to Elementor. Enter its name and tap “Create Template.”
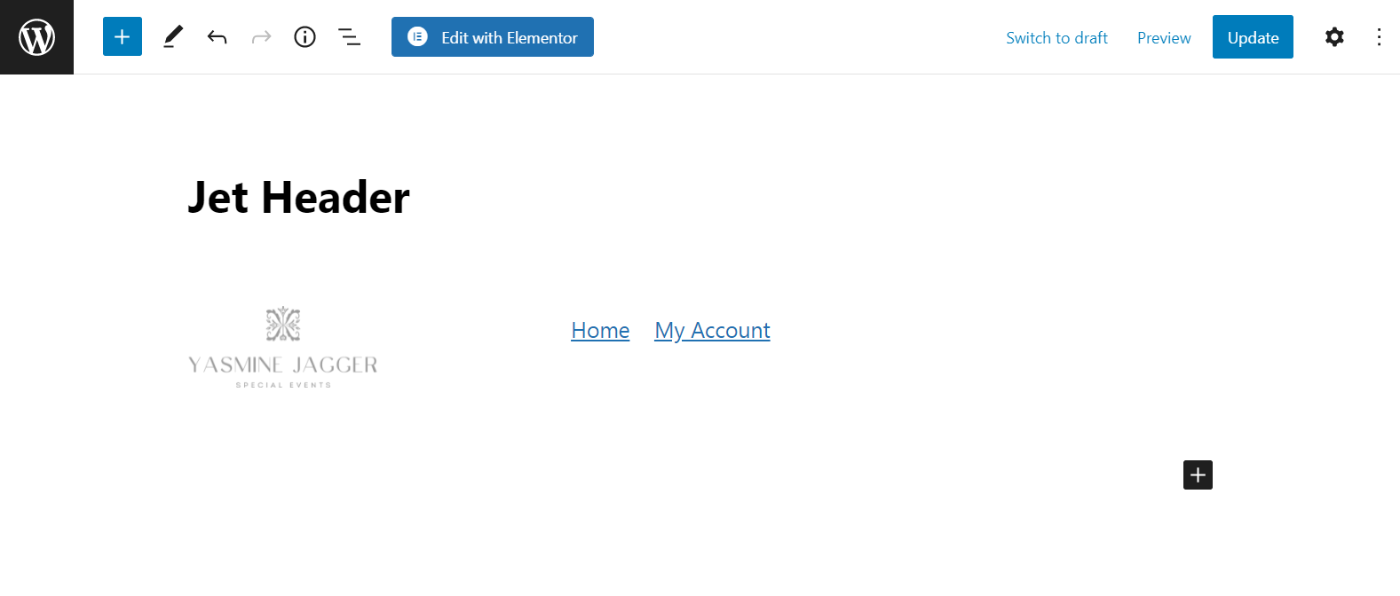
Customize the header
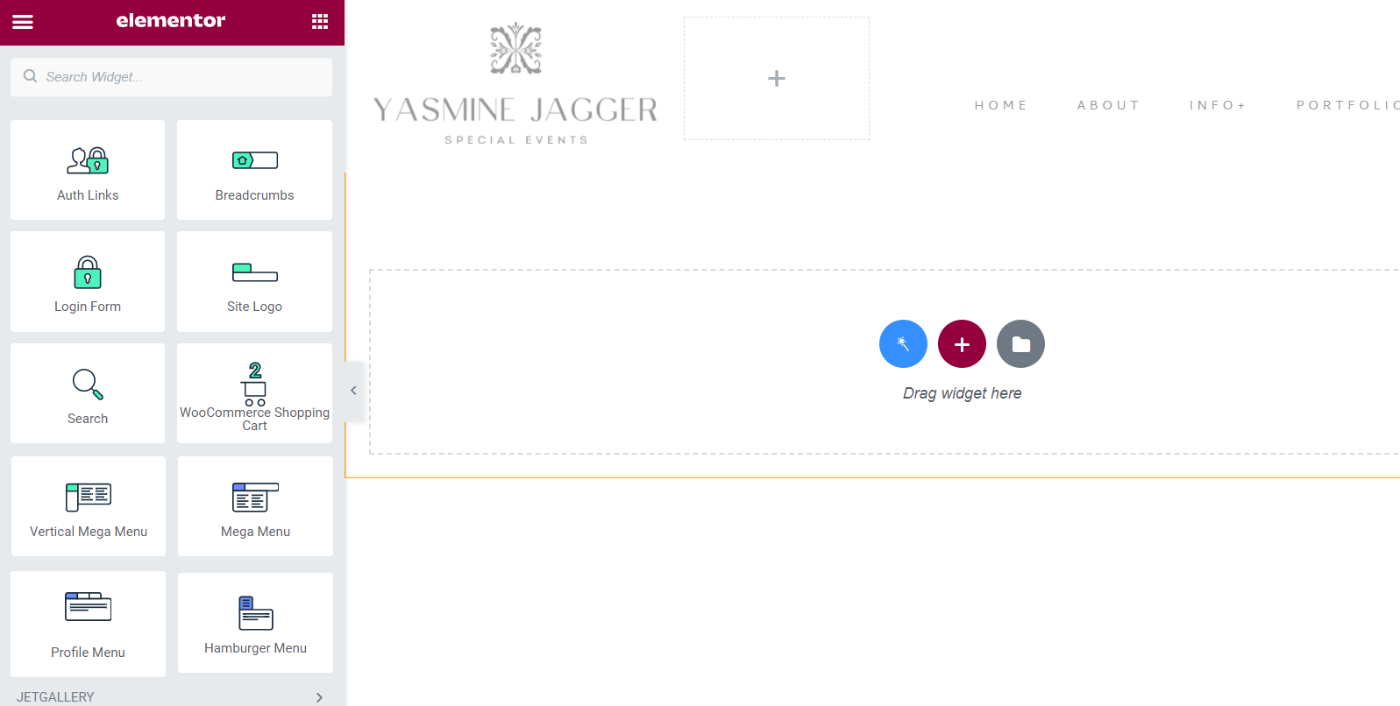
Using diverse widgets from the Elementor and JetPlugins kit, feel free to build headers of any complexity.
Just drag and drop a widget you like to the purposed place on a page and continue customizing.
You can now play with options setting the background color, buttons, navigation menu, etc. Hopefully, you’ll like this process and find it not only time-saving but also really engaging. That is how the workflow with JetPlugins is meant to be.
At last, do not forget to click on “Publish/Update” to save the result.

Build a Header in Gutenberg
JetThemeCore works not only with the Elementor page builder. This plugin allows building a header using Gutenberg as well. To learn how to customize the header in the WordPress block editor, proceed to the Header modification video tutorial.
To create a header in the default WordPress Editor, head back to the Crocoblock > Theme Templates directory. Click the “Add New” button.
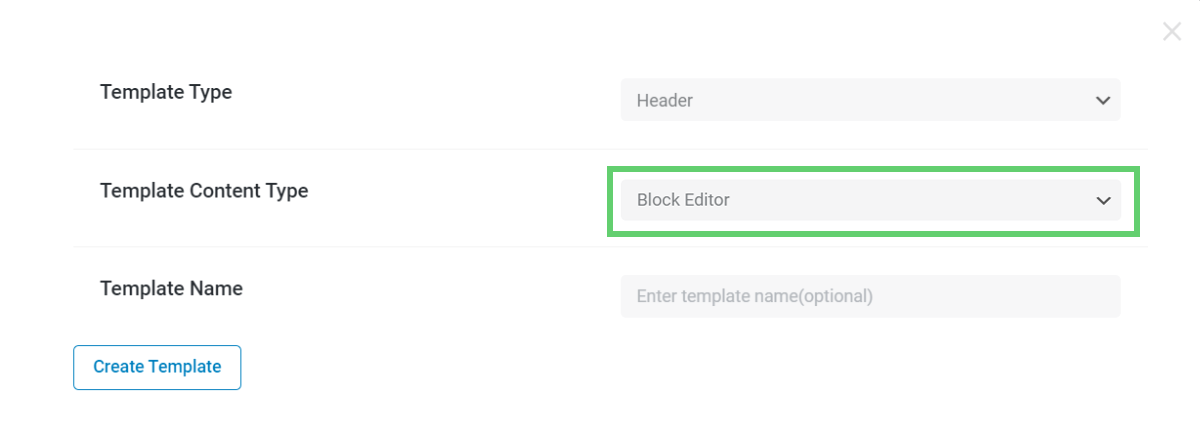
The Template Type will be “Header.” Proceed to the Template Content Type and set it to “Block Editor.” Don’t forget to enter the template’s name and click on the “Create Template” button.
Unlike Elementor, Gutenberg has blocks, not widgets, and the header will look different. Besides, not all Crocoblock widgets are available in the default WordPress editor. For now, you can add the Site Logo block and the Profile Menu one.
Get a Ready-Made Header with the Magic Button
Magic Button library is very helpful when you don’t want to make a header on your own. So, let’s check how it works.
Start by repeating the first three steps described above.
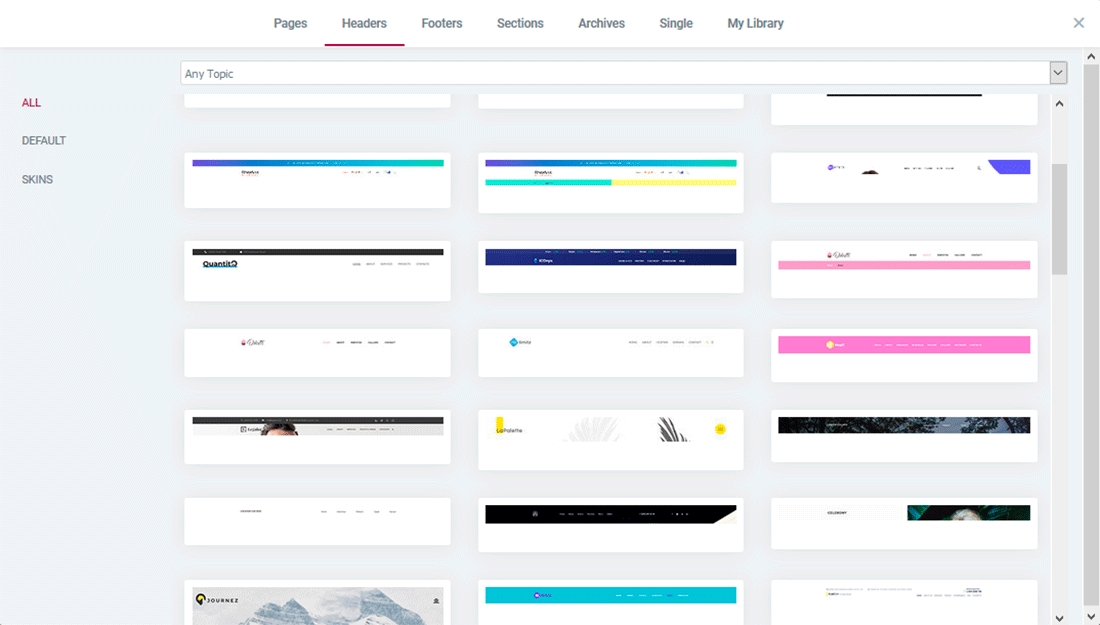
Click on the Magic Button icon. After that, you will be redirected to Elementor.
In the Header section, you’ll find multiple Crocoblock pre-made templates. Just decide which one matches your page the best and import it by tapping “Insert.”
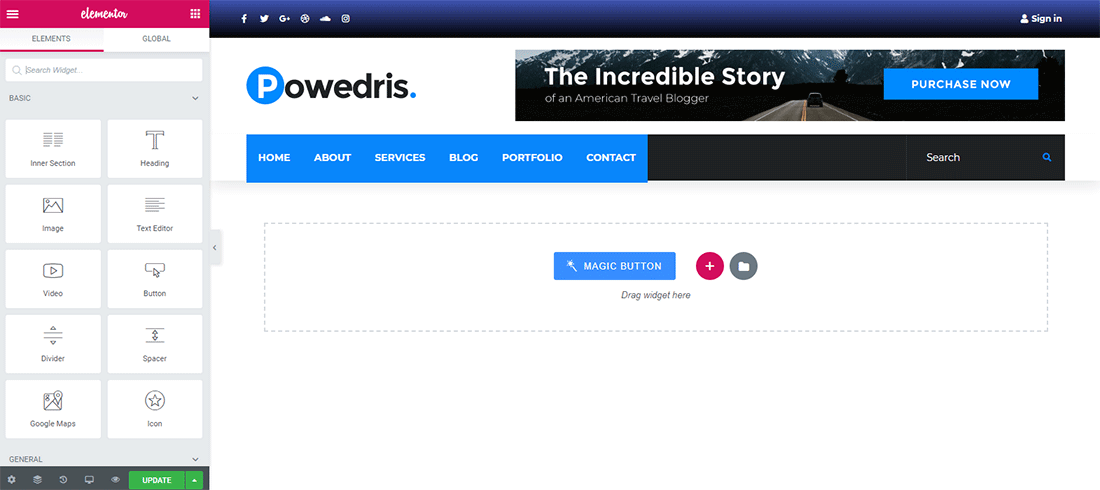
Now, style up the header with the JetPlugins widgets. In the Edit section, adjust the background color, buttons, and anything you prefer.
Add a Header to the Page Template
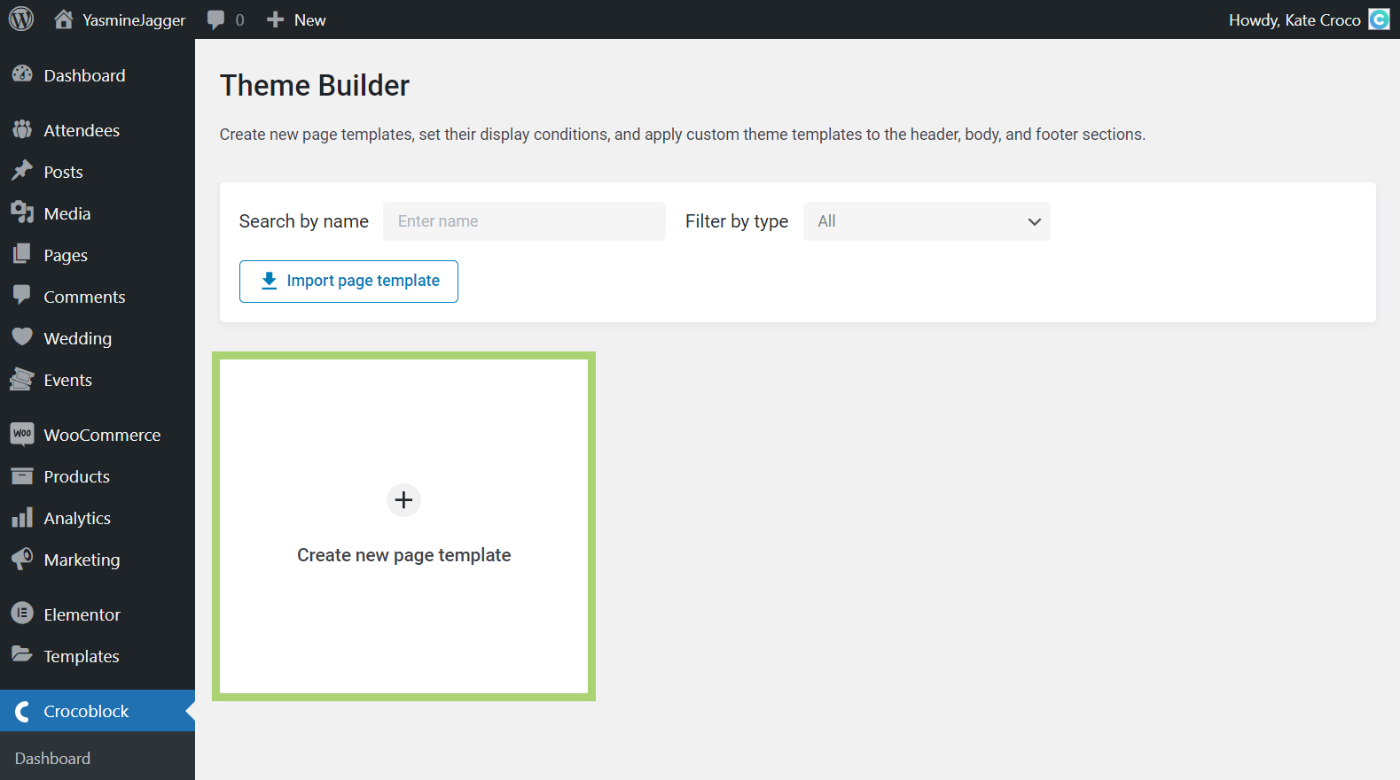
The JetThemeCore plugin got updated to 2.0.0, so now you can create page templates and assign header, body, and footer in a couple of clicks.
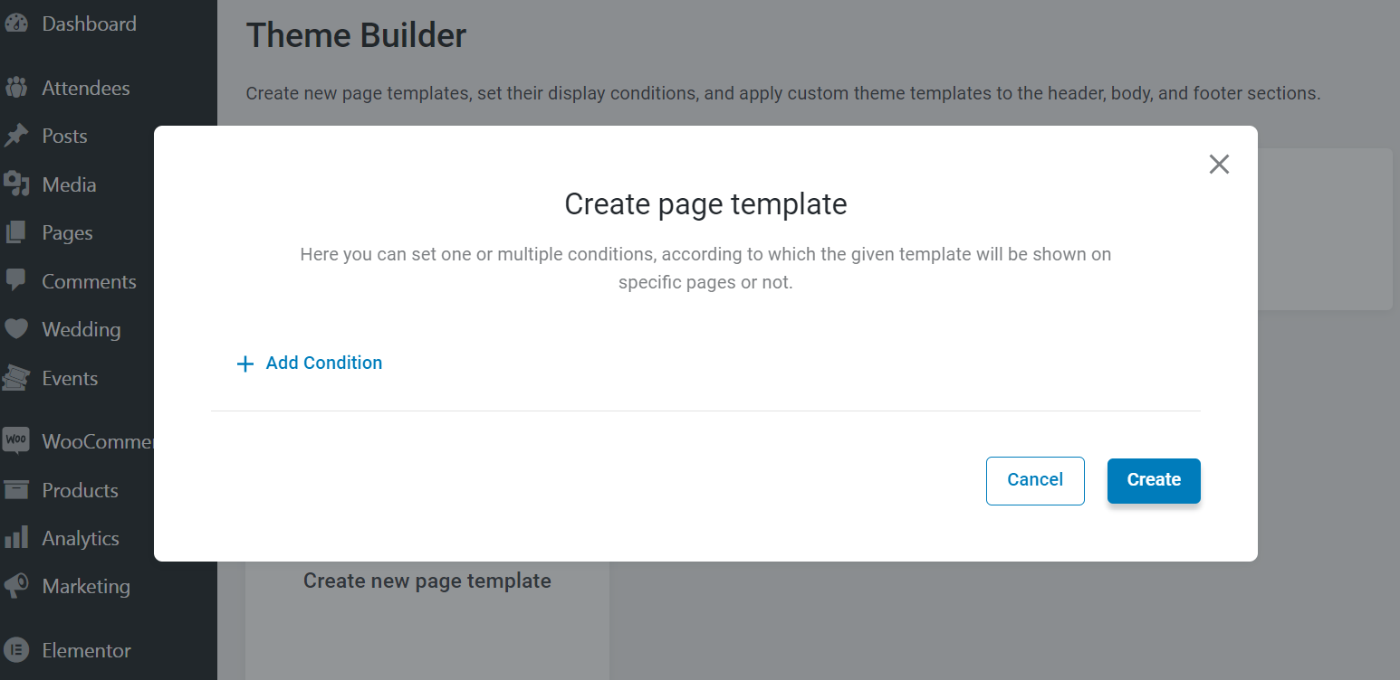
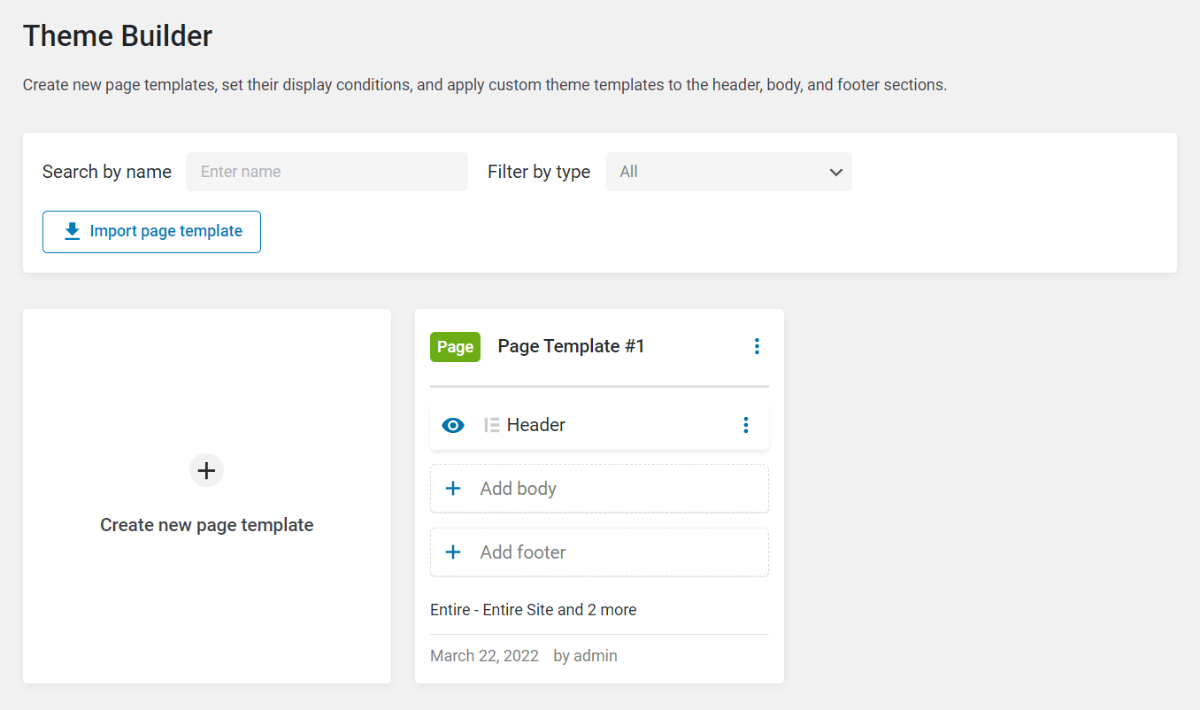
To add a freshly built header to the template, go to WordPress Dashboard > Crocoblock > Theme Builder and click on “Create new page template.”
There will be a new pop-up window where you can set one or multiple conditions, according to which the given template will be either shown on specific pages or not.
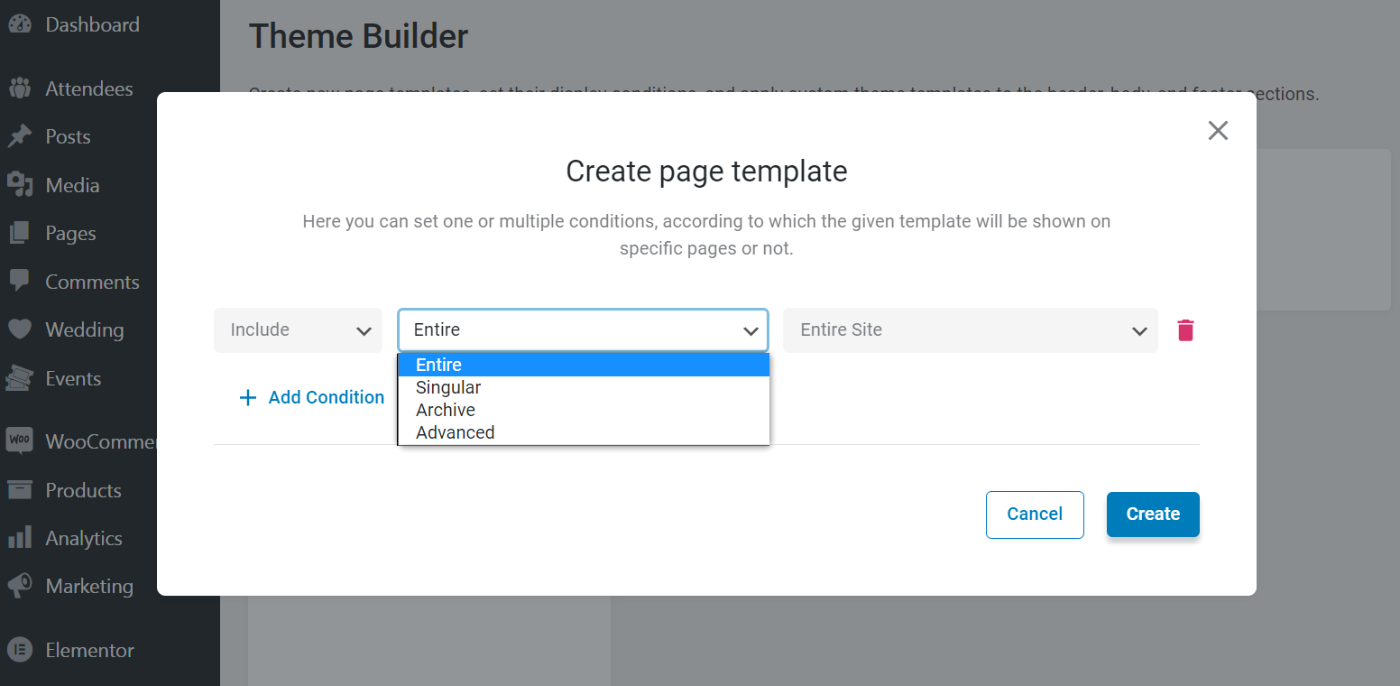
Click on the “Add Condition” button and choose whether you want the header to be shown on the entire site or a specific page.
With JetThemeCore, you’re not limited to the number of conditions, so you can add as many conditions as needed. Just click on “Add Condition” and adjust the settings according to your needs.
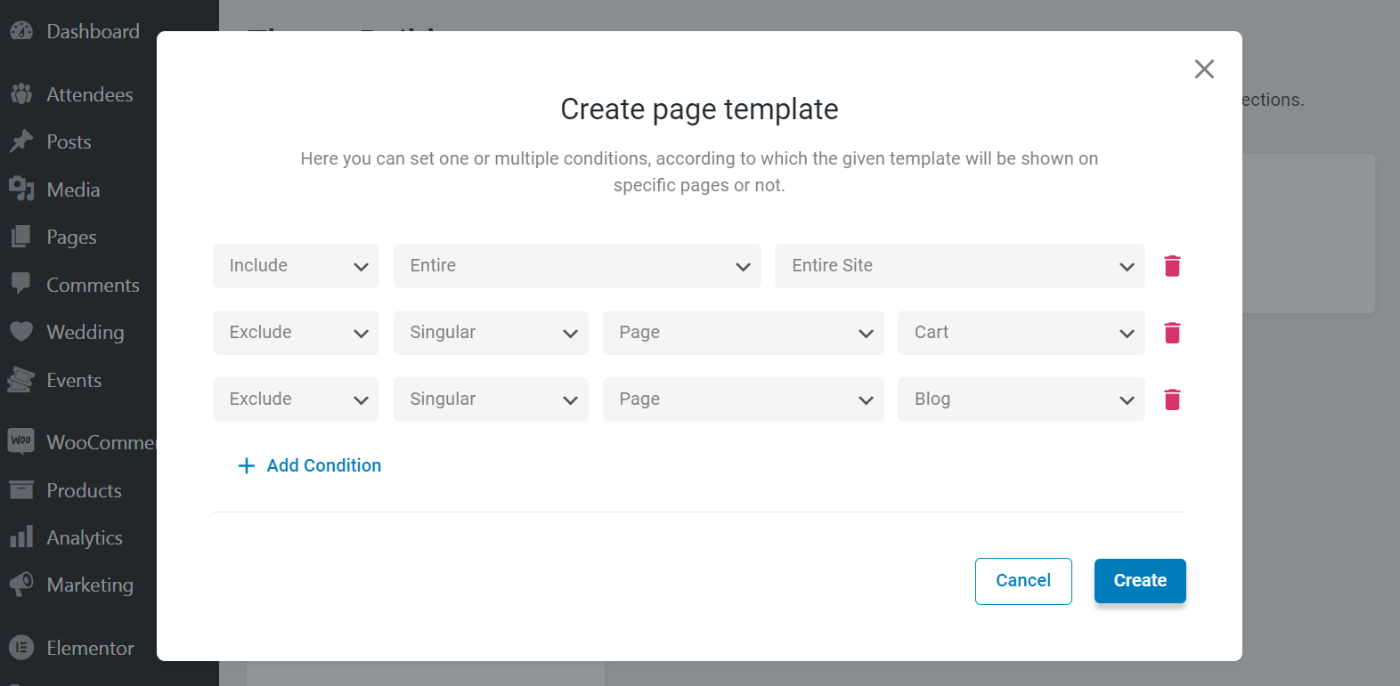
Once you hit the “Create” button, you will see a new template in the JetThemeCore dashboard.
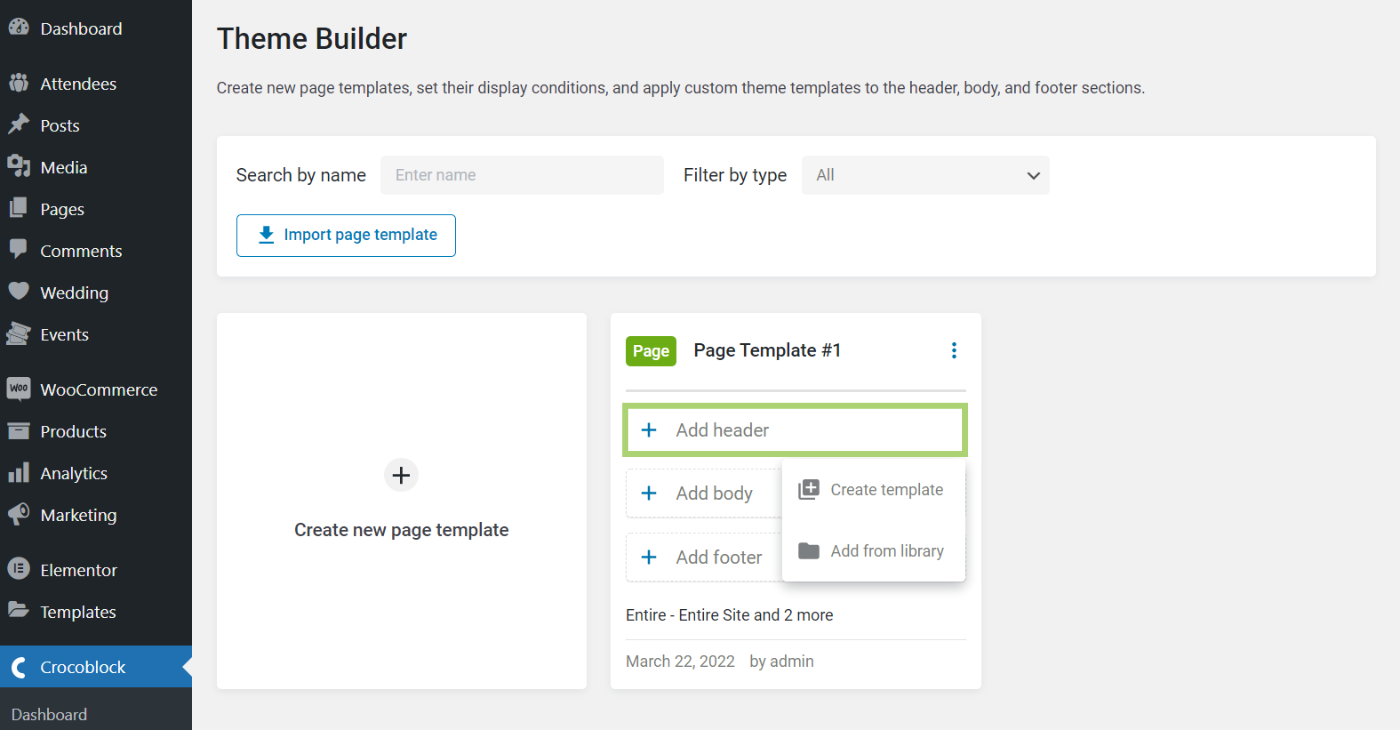
To add a header template, click on “Add header” and either create a new one by clicking on the “Create template” button or choose an existing header from the library.
Let’s add an already created header. Select the needed one in the Template Library pop-up window and hit “Use.”
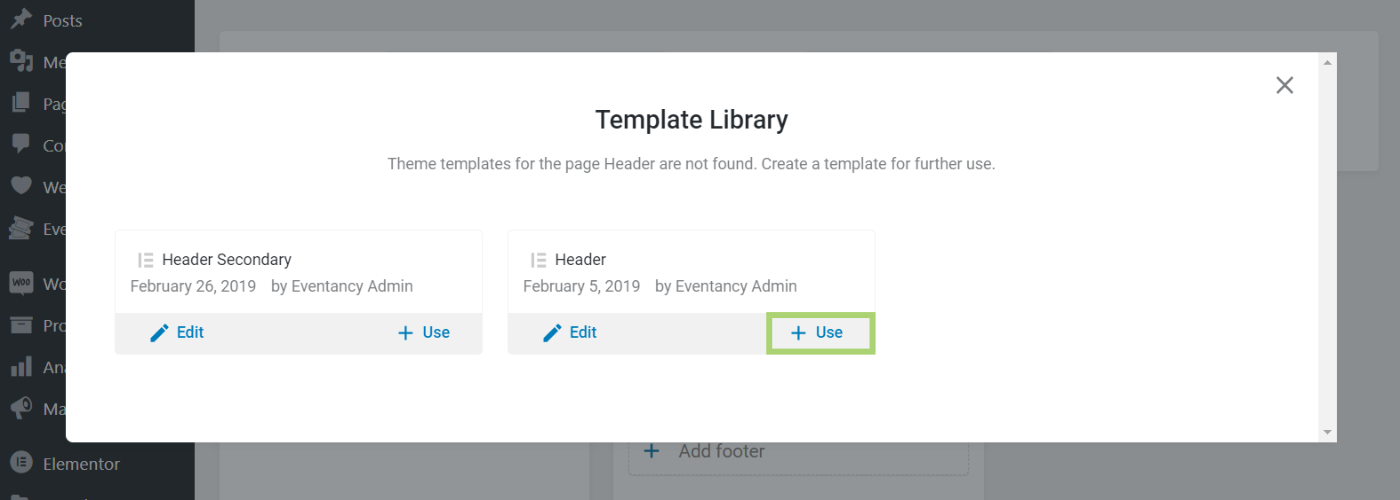
Now you can see that the chosen header is assigned to the page’s template.
Add more sections to the template, and if you want to delete/duplicate the template or quickly change the conditions, click the three dots in the right upper corner of the template section.

JetThemeCore allows controlling all settings and conditions. You can adjust the created header for one exact page or the entire website. Moreover, the plugin enables you to create as many headers (or footers) as needed and apply them wherever you want.