How to Create a Multi-field MailChimp Form to Display in the Popup
With the MailChimp widget, you have an opportunity to create subscribe form and add as many fields as you need.
Are you a MailChimp user? Looking for the best way to display a subscription form? So, the first way is to use the Subscribe Form widget from JetElements, as we uncovered before. Moreover, an opportunity to add a MailChimp form in the popup is available now. You can create the form with an unlimited amount of fields using the MailChimp widget.
Synchronizing MailChimp Account
In order to connect MailChimp audiences with the widget, you should take the following steps.
Navigate to the JetPopup > Settings directory. Here you should paste the API key of your MailChimp account. Learn this tutorial in order to find out how to generate your API key.
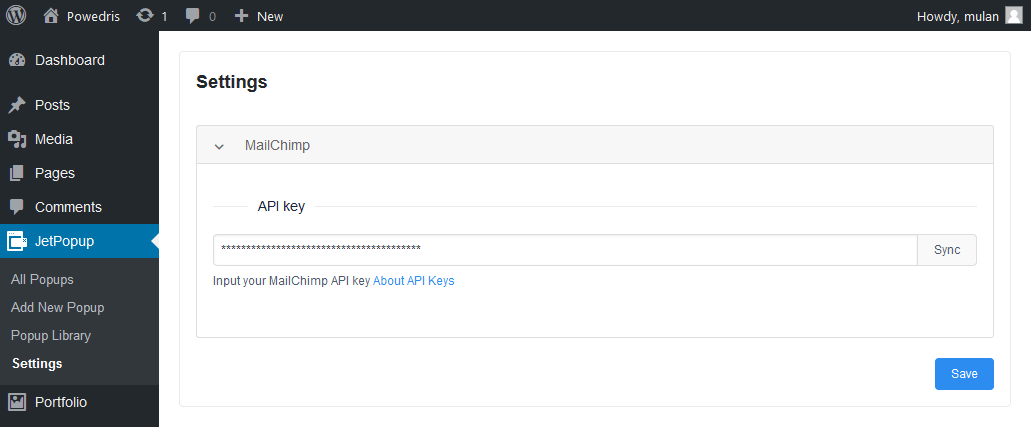
After you paste the key, click the Sync button.
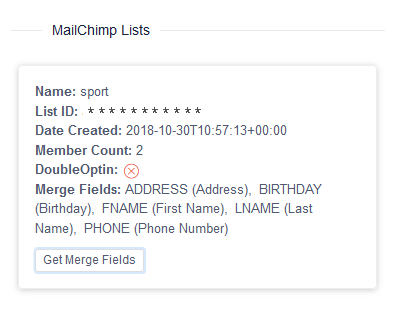
As a result, your Account Data will be received in your database. Also, boxes with main information about all your MailChimp audiences will be displayed.
Next step is to click the Get Merge Fields button, and the merge fields will be received in the database as well.
Click the Save button to apply the customizations.
Creating Multi-field MailChimp Form
Now, you can insert a popup from the Popus library and add the MailChimp form to it. Also, you can create a popup from scratch. I’d like to show you the second way.
Click the Add New Popup button, enter the title and click the Edit with Elementor button.

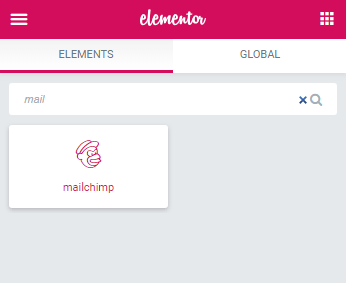
Then, find the MailChimp widget and drag it to the section.
Select the audience to which you need to apply this popup in the List field.
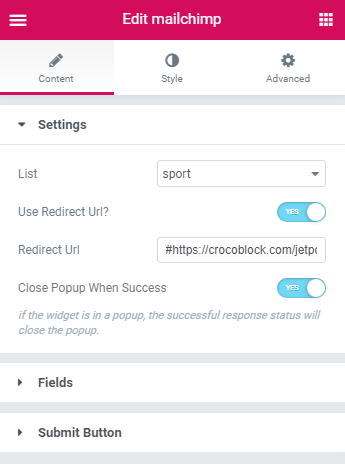
In case you want to redirect subscribers to a new page after they succeeded with the form, enable the Use Redirect URL option.
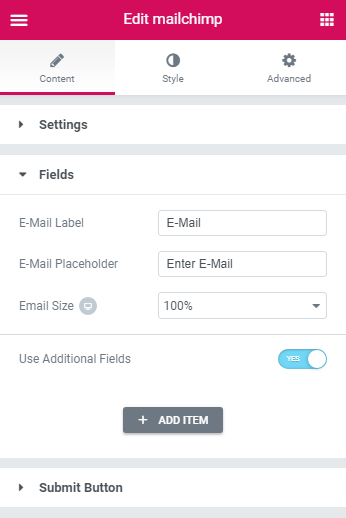
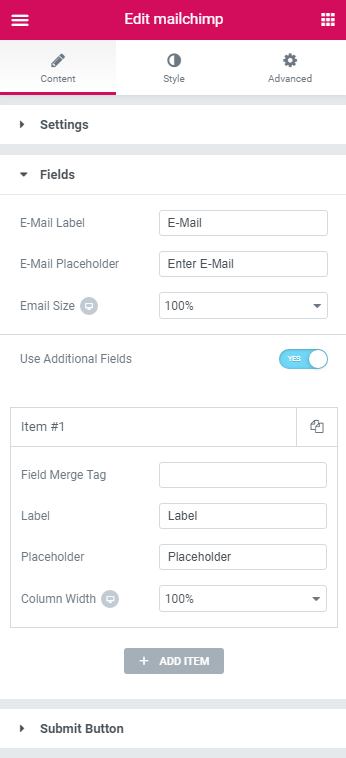
Now, let’s switch to the Fields block. By default, the first field is for e-mail. You can change the text of the label and placeholder and change the size of the field on all device types.
In order to start adding new fields to your form, enable the Use Additional Fields option. Then, click the Add Item button.
Here, you should paste the merge tags of the audience to which you applied this popup.
You can find them in your MailChimp account. Navigate to the Audience > Settings > Audience fields and *|MERGE|* tags.
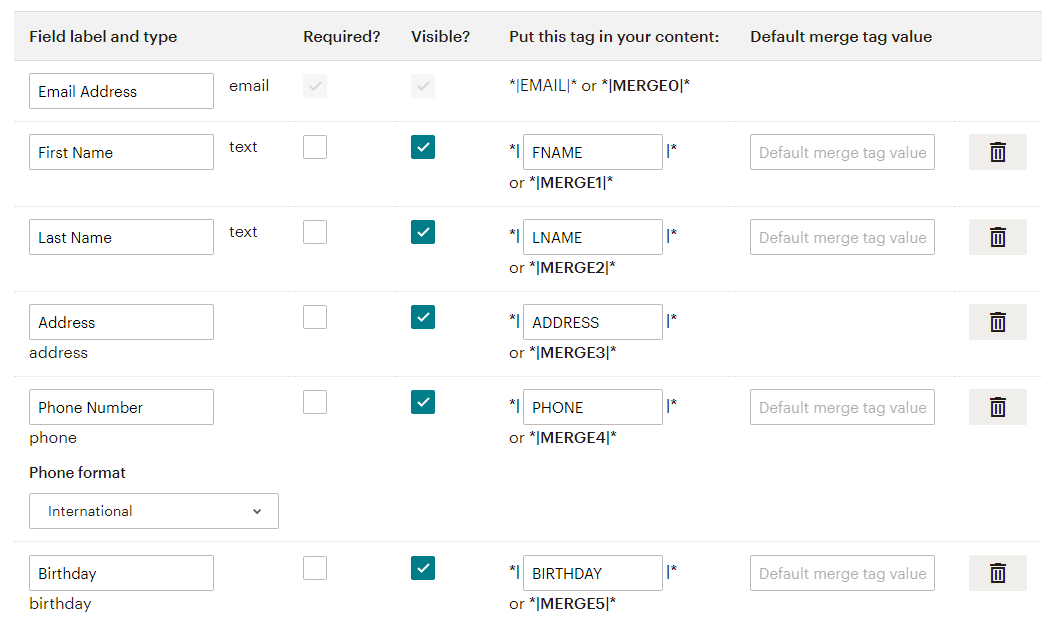
In my case, I have 5 tags that were displayed in the WordPress Dashboard during the process of synchronizing.
So, in order to connect these tags with your database, you need to click the Get Merge Fields button (step 4 of Synchronizing MailChimp audience block).
Later, when you add a new field in your MailChimp audience, you should pull it out by hitting the Get Merge Field button and get new field data.
So, I paste a tag to each new field and change the labels. It looks like this.
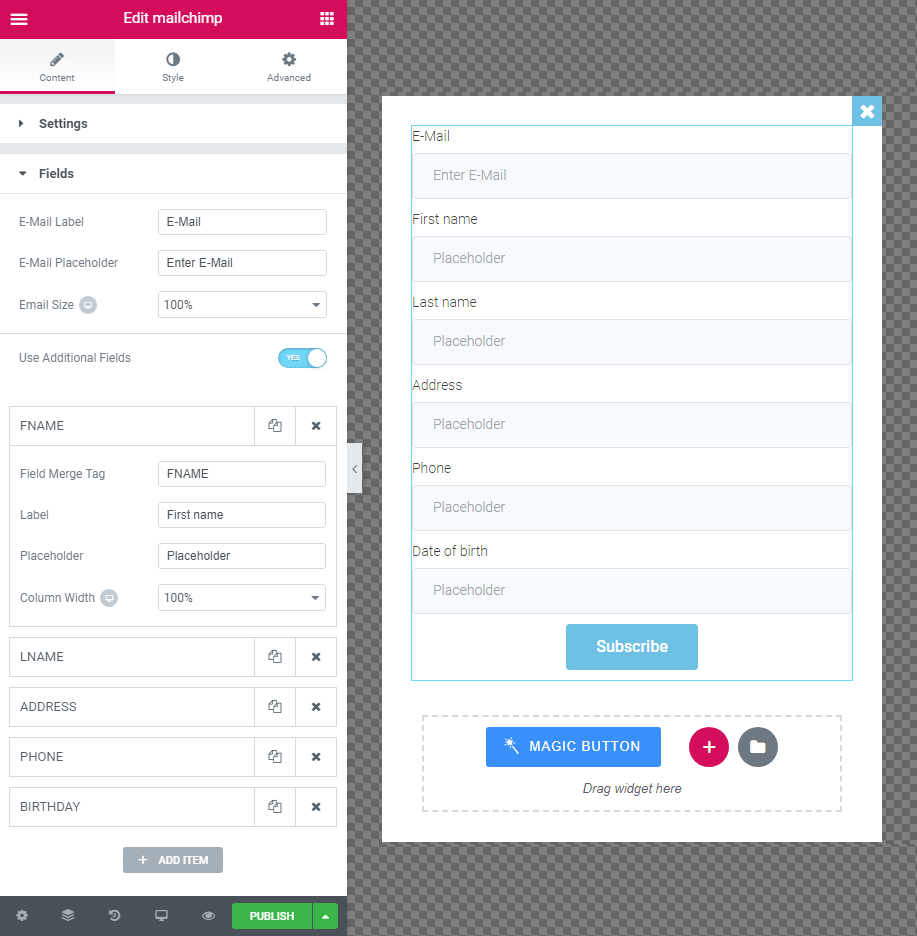
As you might notice, you can add as many fields as you need according to the fields you have in your MailChimp audience.
Also, you can customize the Submit button and style each element of the popup.

Setting Conditions for Popup
Once you’ve created the popup with MailChimp subscribe form, you should set proper conditions to specify the place where the popup will appear on the front end.
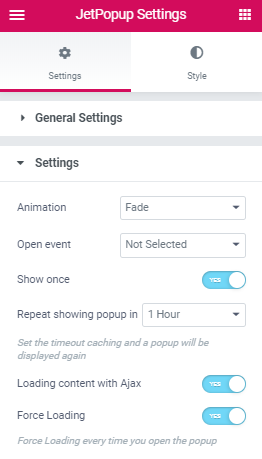
Proceed to the Settings directory and click the Settings block. Here you can select an animation effect for the popup and actions of the visitor that will determine the occurrence of the popup. Additionally, you can enable Show once option and choose the delay after the popup can be shown again.
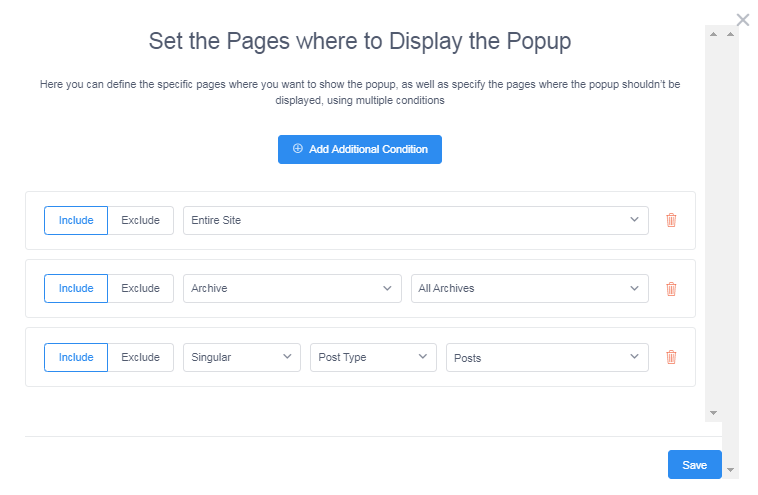
Finally, let’s switch to the Display Settings block. Click the Display Conditions button to specify where the popup will appear. You can select whether to apply the popup to Entire Site, a Singular page, a post or any other place on the site. If you need to apply a popup to the archive template, you should select Archive from the dropdown list.
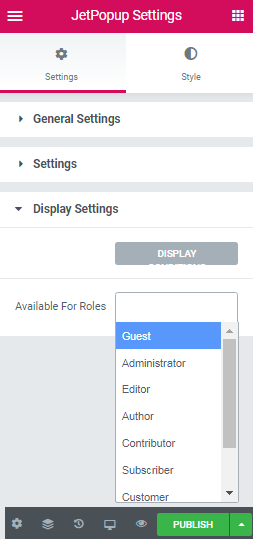
Moreover, you can choose the user roles for which this popup will be available.
Also, you can style your subscription form.
Don’t forget to click the Publish/Update button to save all changes.
Check how it works on the front end and enjoy your multi-field MailChimp subscribe form.