How to Install Kava Theme via WordPress Dashboard
This article might come in handy for those who need to install the Kava theme by means of WordPress Dashboard. Use the detailed instructions below to successfully install the Kava theme.
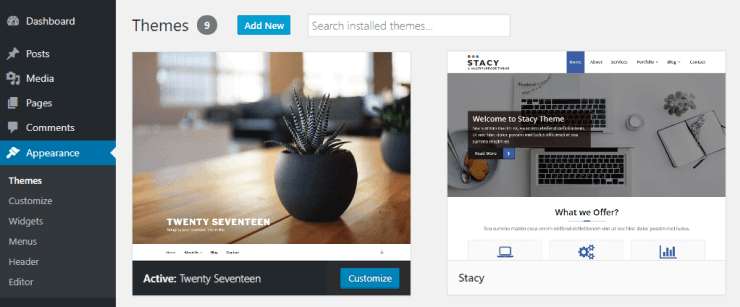
Go to your WordPress Dashboard, where you’ll find the Appearance section. Hover over this section in order to see what options it offers.
The first block is the Themes. This option gives you control over your website’s themes, which are waiting to be activated. Click this button to go ahead to the catalog of available themes.
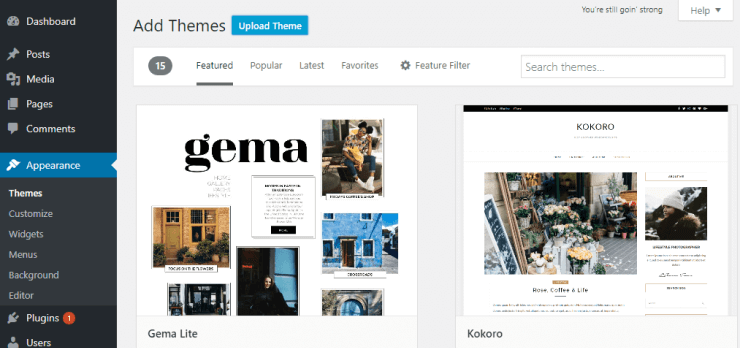
Now, you can locate the Add New button at the very top of the webpage. Click to add a new theme.
Click the Upload Theme button, which appears to be at the same place where the “Add New” button was.
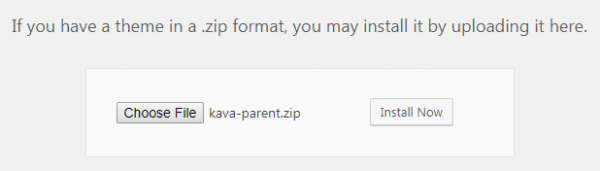
As soon as you click the Upload Theme button, a window pops up suggesting you to define the path to the Kava Theme (Parent) file on your computer. It’s important to install the Parent theme first.
It’s time to click the Install Now button to launch the installation.
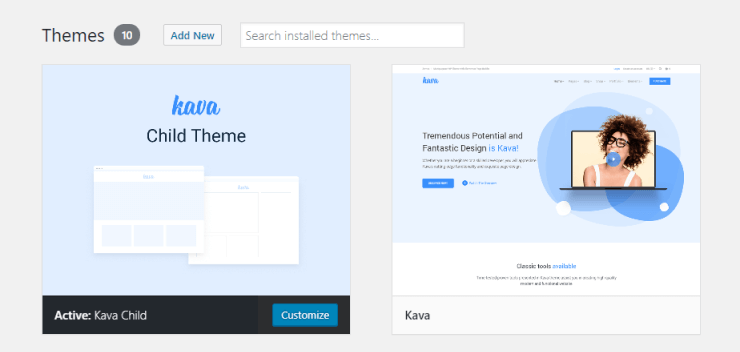
The last step is activation. Click the Activate button.
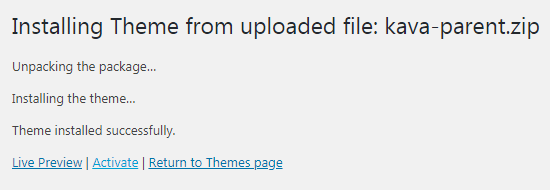
Now we recommend you to install Kava Theme (Child) to preserve all your future changes and modifications. If you don’t install Kava Theme (Child), all your changes will be lost in the case of Kava Theme (Parent) update.
Repeat steps 2-5 for uploading Kava Theme (Child).
That’s all for now. Keep reading our tutorials to learn more about Kava theme.