How to Translate Widget-Added Content into Any Language with WPML
This tutorial will shed light on how to get your website ready to be translated into multiple languages, as well as how to translate the content added through JetElements widgets using the WPML modules.
Before you start, check the tutorial requirements:
- WPML plugin installed and activated
- JetElements plugin installed and activated
JetElements, created by Crocoblock, is a plugin that enhances Elementor websites by adding powerful features for both static and dynamic content. When used alongside WPML, it allows you to translate your site into multiple languages, helping you connect with a global audience.
To translate JetElements using WPML, you’ll need the WPML Multilingual CMS plan. After purchasing the plan, install WPML from your account and run the setup wizard, which is a quick process to configure WPML on your site.
Once the setup is complete, you’re ready to start translating your website with WPML.
Select Post Types for Translation
While WPML is capable of translating all types of content on your website, it’s sometimes necessary to designate which content should be translated and which should remain untouched. This selective approach prevents you from translating unintended content and helps keep your translation workflow streamlined and organized.
Before you start, choose the type of content you need to translate. This can be anything, including:
- individual pages;
- custom posts;
- custom fields;
- custom taxonomies.
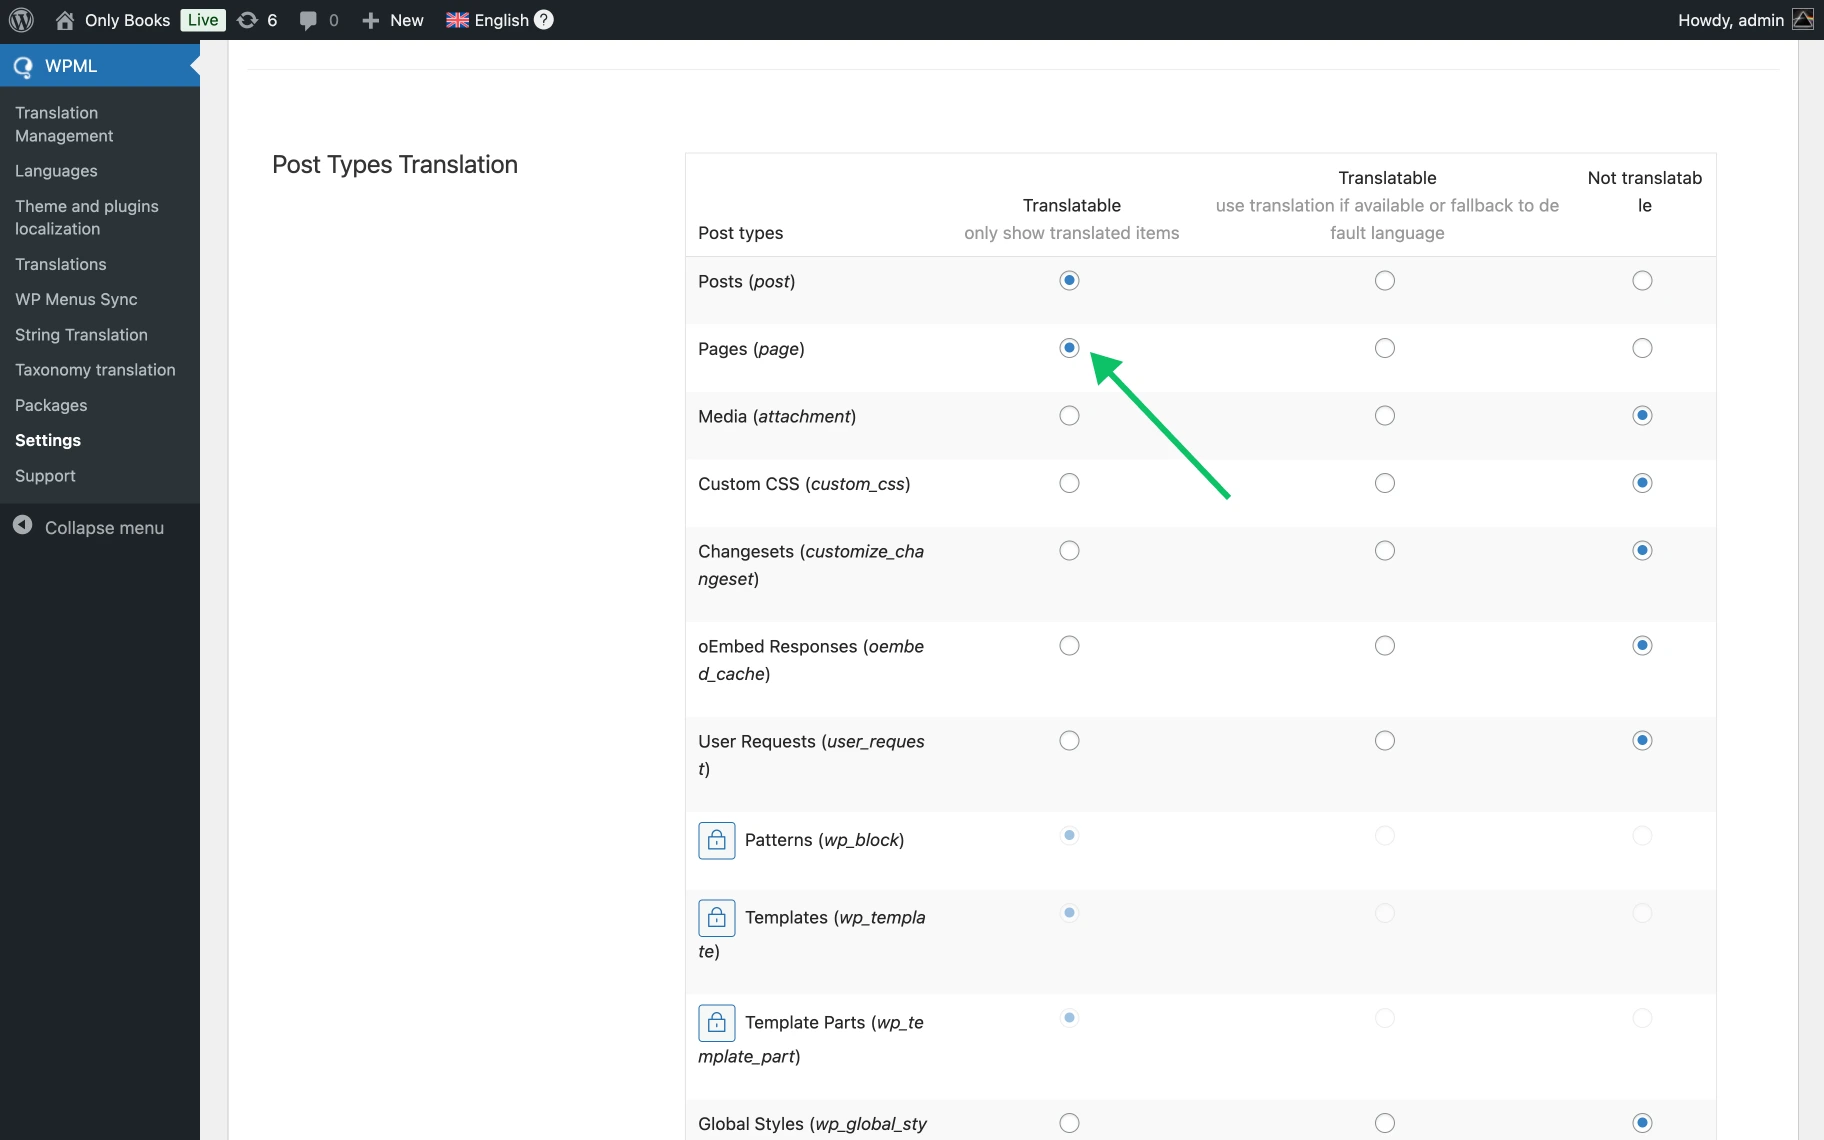
To configure any of these types for translation, go to WordPress Dashboard > WPML > Settings and scroll down to the respective section.
Then, identify your custom type and set it to Translatable (or Translate if it’s a custom field).
Translate JetElements Widgets with WPML
WPML translates JetElements along with the page or post they’re built into. This means that to translate any of the forty-five JetElement widgets, you simply need to send the piece of content they’re part of for translation.
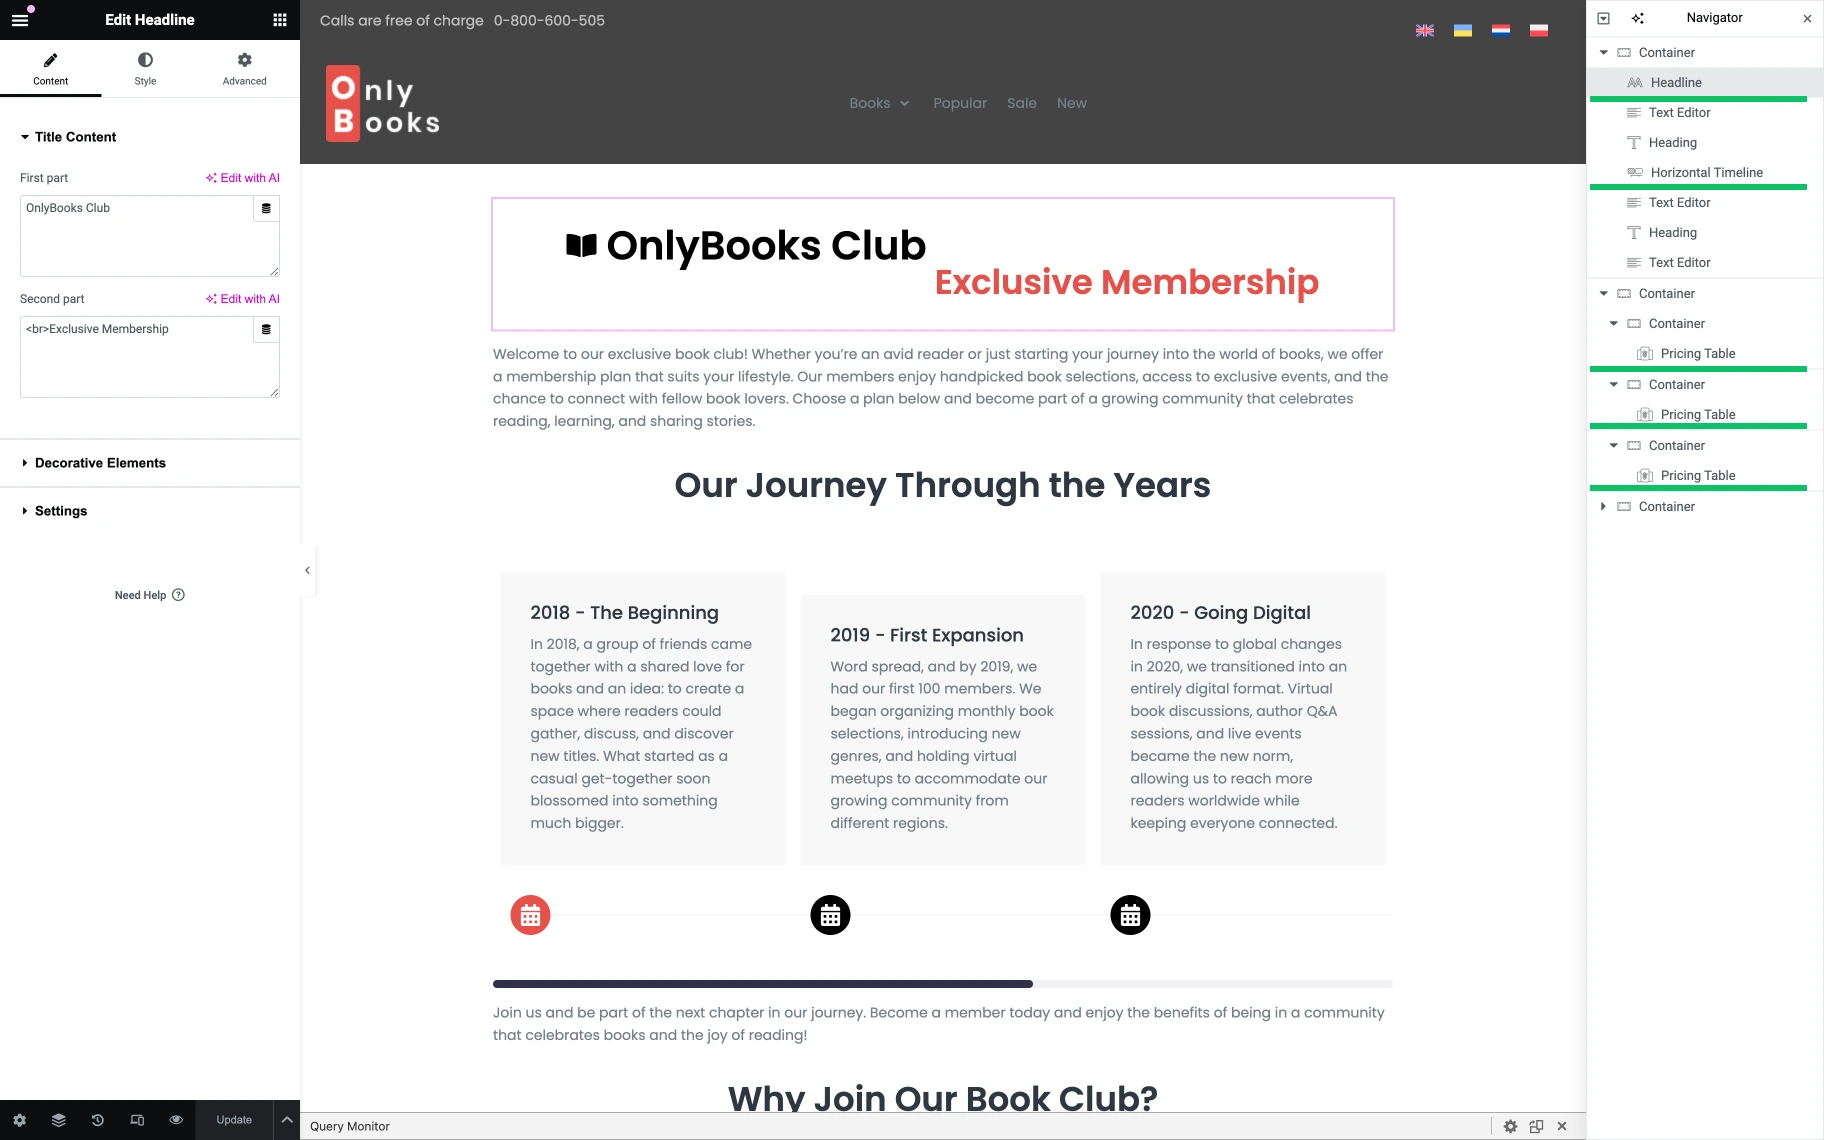
For this tutorial, we’ve created a Book Club Membership Plans page that contains the following JetElements widgets:
- Headline;
- Horizontal Timeline;
- Pricing Table.
To translate the content on this page, we should go to WordPress Dashboard > WPML > Translation Management > Pages. In your case, you should select the pages, posts, custom posts, templates, or any other content on your site that needs to be translated.
In our case, it’s the Book Club Membership Plans page.

Once selected, the next step is to choose how we want to translate this content.
WPML supports multiple translation methods, including manually (by yourself), automatically using machine translation, or with professional translation services.
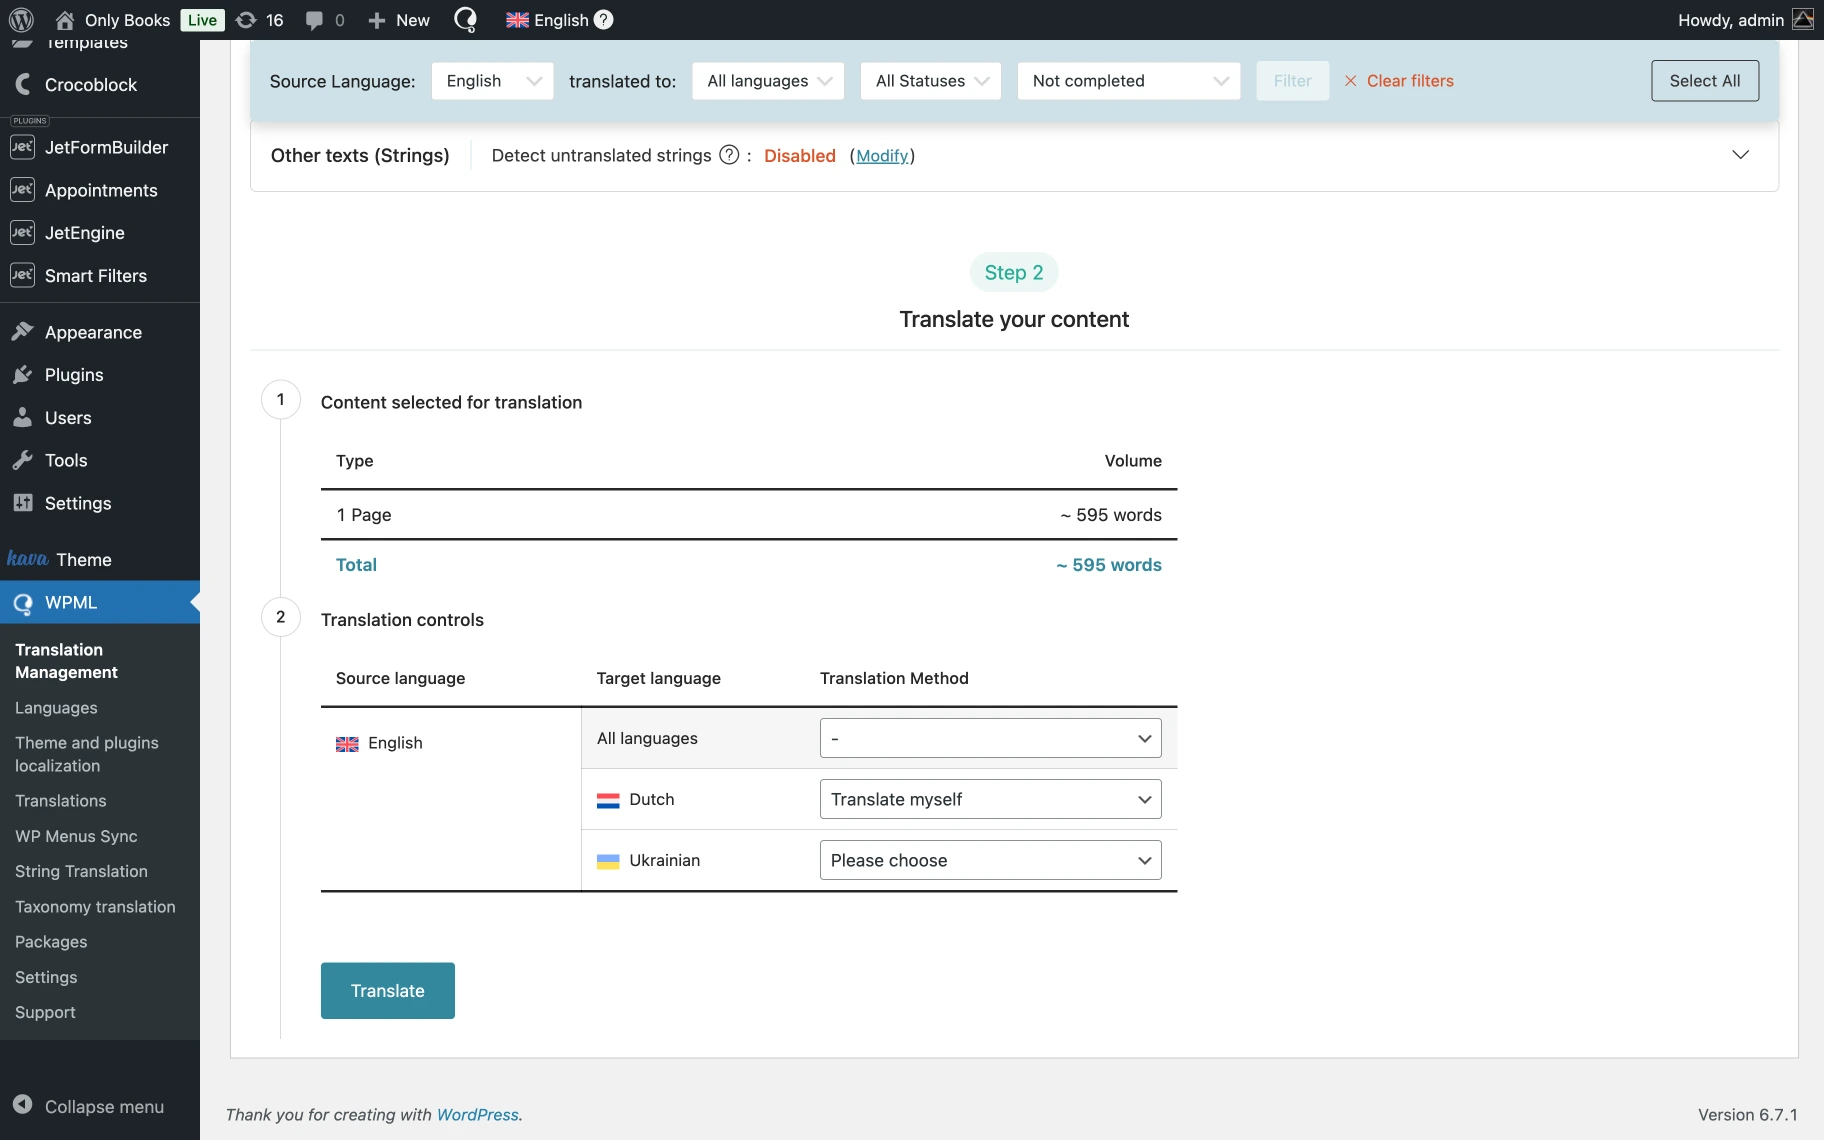
Scroll the page to the bottom to choose your translation method in the Translate your content section. Choose a language and pick one of the available Translation Method options.
- Translate automatically — if this option is selected, the plugin will automatically translate the content; when selected, the following options are revealed:
- Wait for review — if this radio button is activated, translations require approval before publishing;
- Publish and mark for review — if this radio button is activated, translations are published immediately and flagged for later review;
- Publish without review — if this radio button is activated, translations are published without review;
- Translate myself — if this option is selected, you’ll be redirected to Advanced Translation Editor to perform translation manually;
- Assign a translator — if this option is selected, it reveals a field called Choose a translator:
- Choose a translator — a select field that allows choosing a translator from those listed in the WordPress Dashboard > WPML > Translation Management > Translators section;
- Assign a translation service — if this option is selected, you can choose among translation services activated in the WordPress Dashboard > WPML > Translation Management > Translation Services section;
- Duplicate content — if this radio button is activated, the original content will be duplicated to a localized version of the page;
- Do nothing — if this radio button is activated, neither translation nor content duplication will be performed.
You can enable each of these settings individually for every language, allowing for customized configurations per language.
When you’re done, click the “Translate” button.
There will appear a Sending for translation pop-up with a message relevant to the selected translation method.

We’ve chosen “Translate myself,” and the pop-up offers to go to the WordPress Dashboard > WPML > Translation section and perform manual translation.
To obtain the most accurate translations while spending just a few minutes of your time, we recommend WPML AI, WPML’s most powerful machine translation engine powered by ChatGPT.
Review Translations
If you’re translating automatically, the last step is to review translations. This step is optional but recommended when you translate important pages.
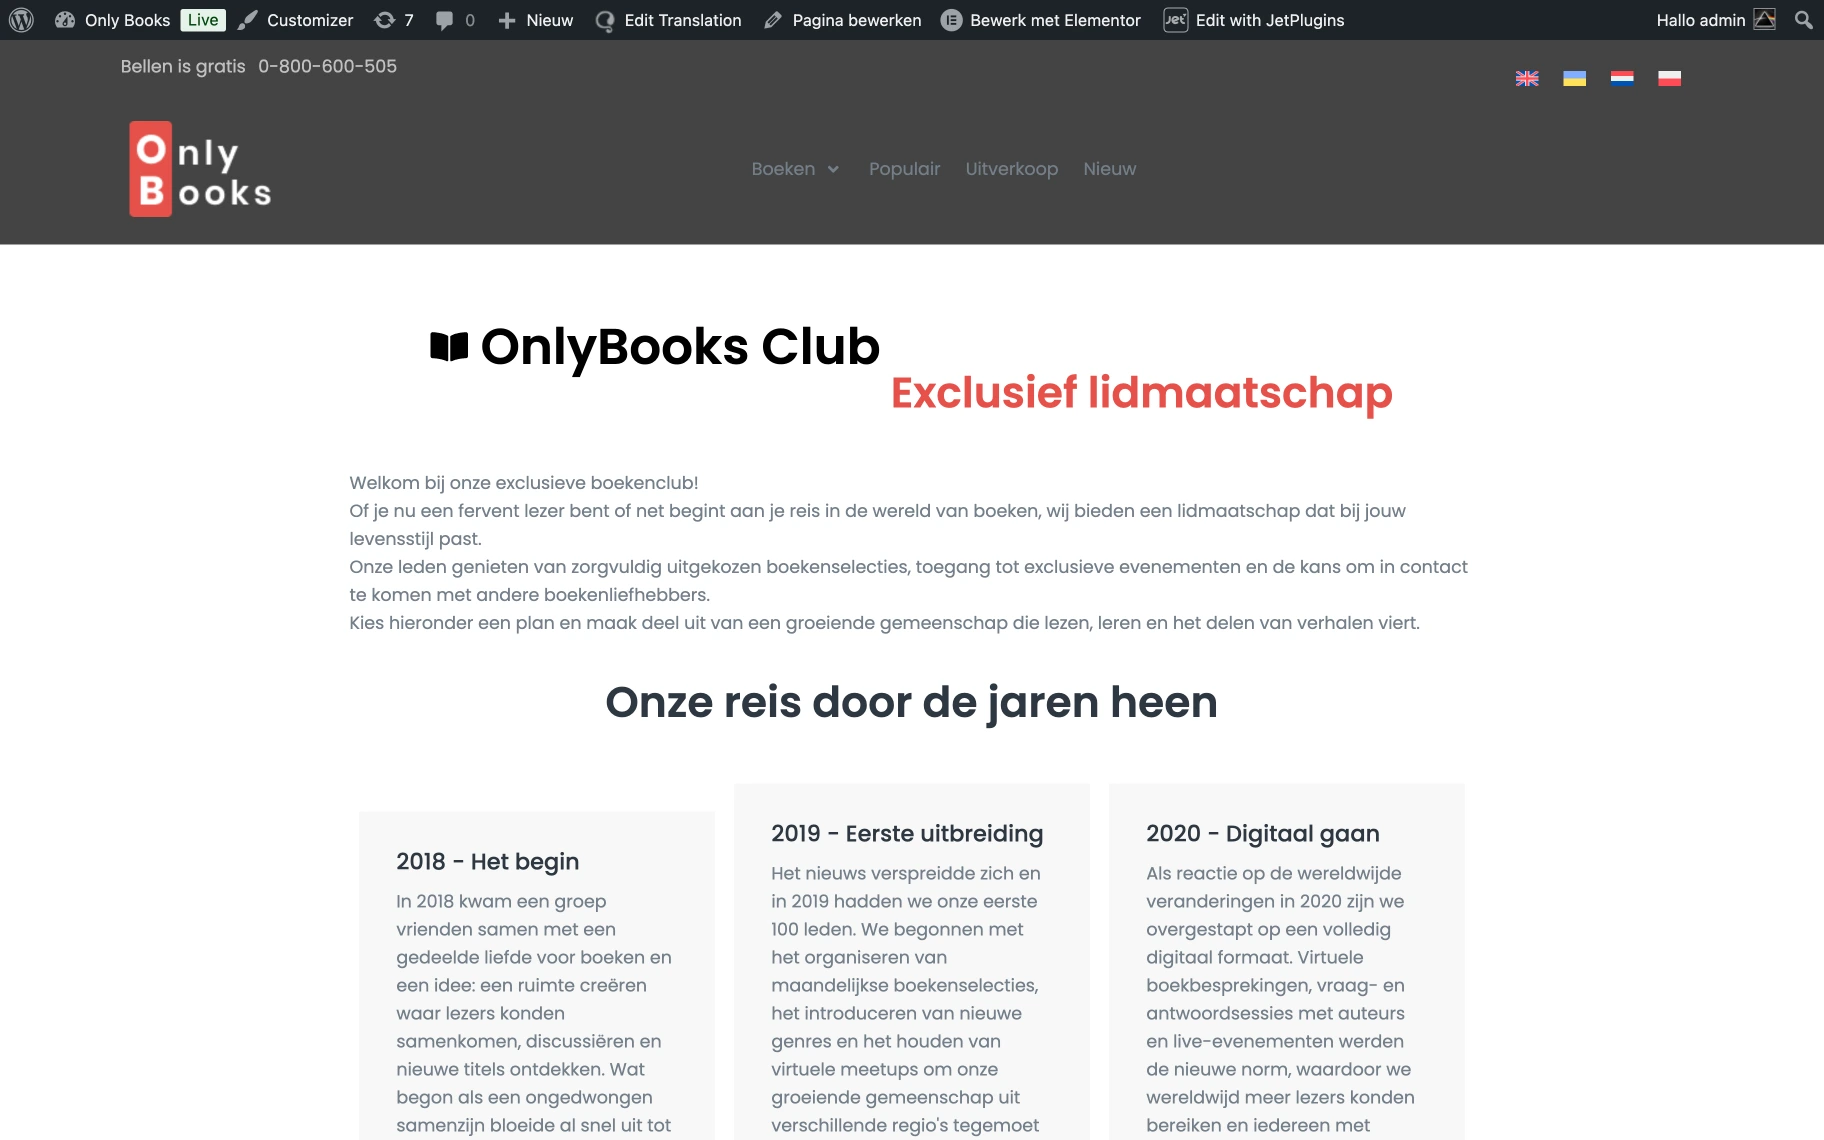
Let’s examine our membership page, which is translated into Dutch.
To review translations, go to WordPress Dashboard > WPML > Translations, and select your translation job.
Choose your page and click the “Translate,” “Review,” or “Continue reviewing” button.
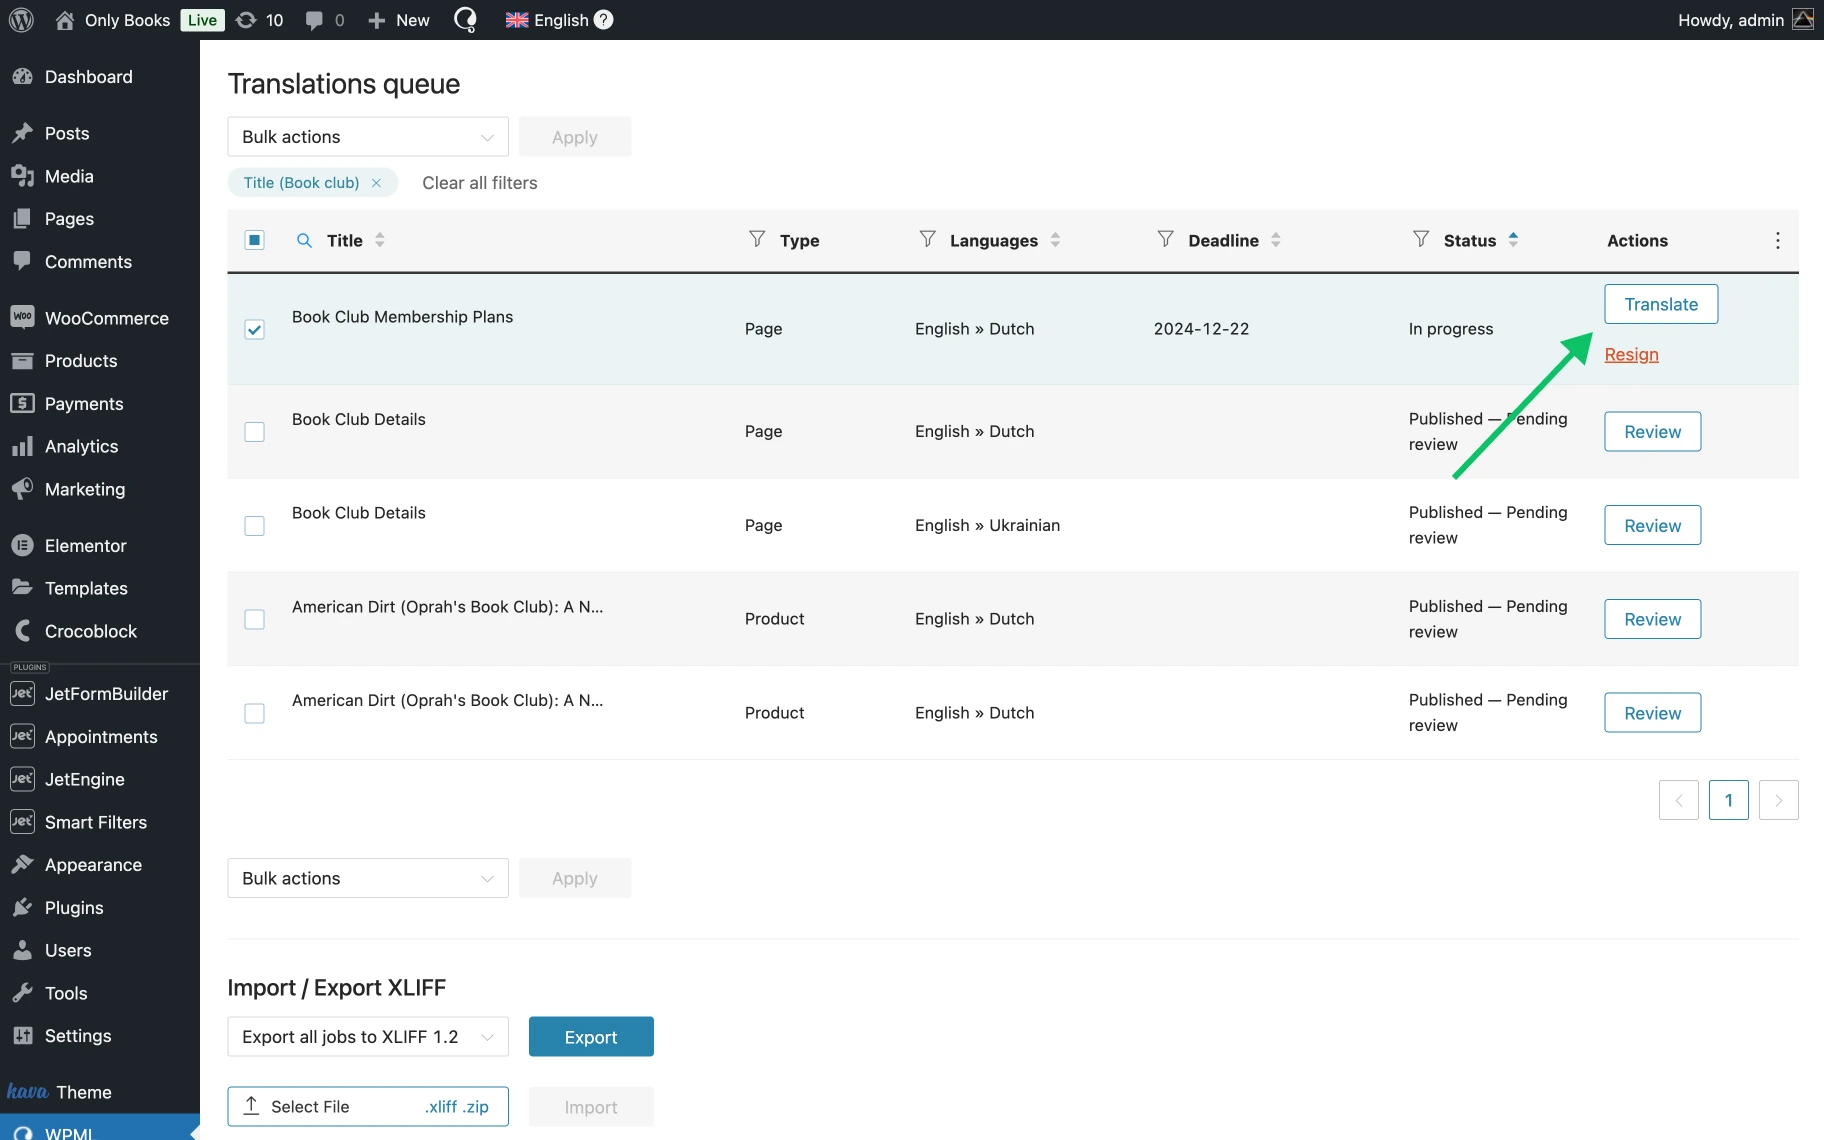
- “Translate” — this button will open the Advanced Translation Editor;
“Review” and “Continue reviewing” — these buttons will open the front-end editor.
This will open WPML’s front-end editor, where you can preview translations as they appear on your website.
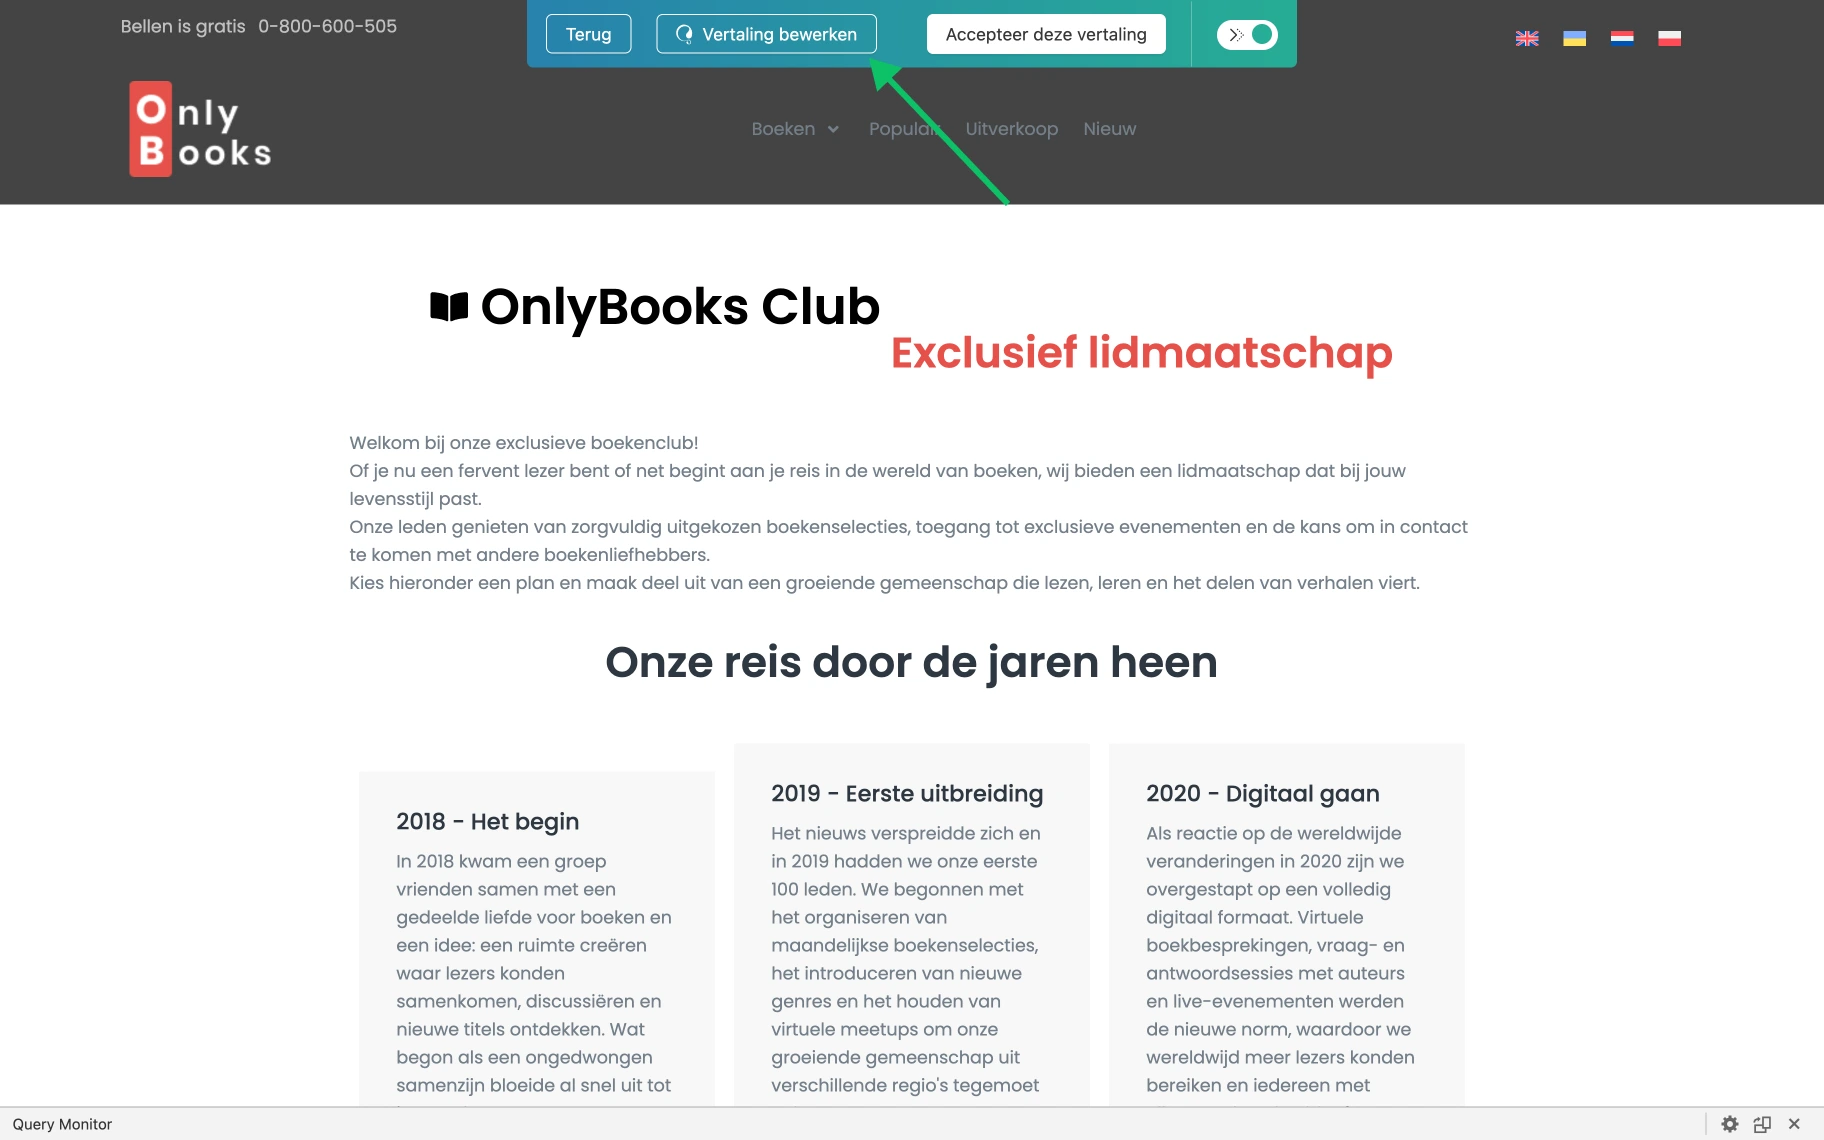
If you’re satisfied with the quality, click the button “Publish translation” (in our case, the button says “Accepteer deze vertaling” since the page is displayed in Dutch) to display translations on your website.
If you want to make changes, click the button “Edit translation” (in our case, the button says “Vertalling bewerken”). This will open the Advanced Translation Editor, where you can make any necessary changes.
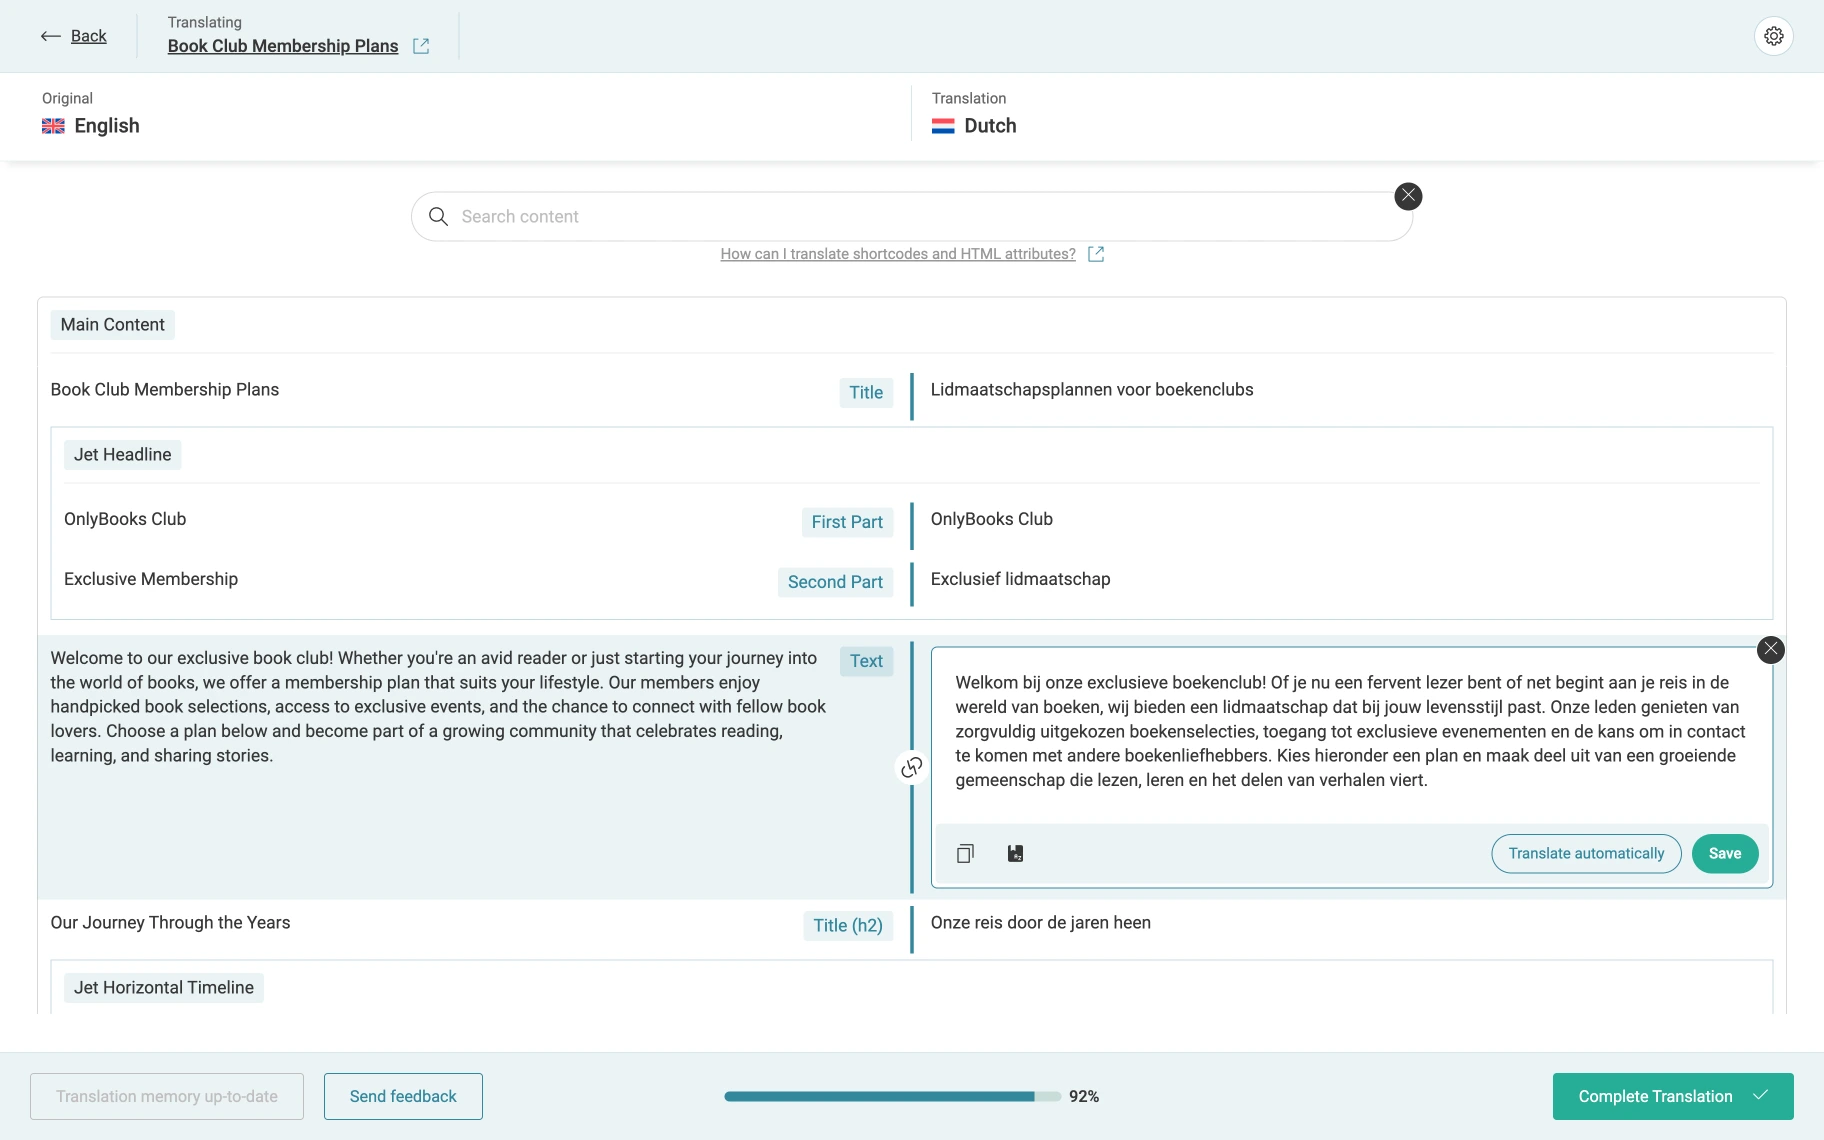
Once done, click the “Complete Translation” button to publish translations. You can now view your translations by visiting the page on your website and switching languages.
Translate Your WooCommerce Store (Optional)
If your website uses WooCommerce, you can translate your products, product categories, store page, and even checkout process with WPML Multilingual & Multicurrency for WooCommerce, a free add-on by WPML.
Once installed on your website, you can translate any WooCommerce content via the Translation Management dashboard. Go to WordPress Dashboard > WPML > Translation Management and choose the product page you want to translate.
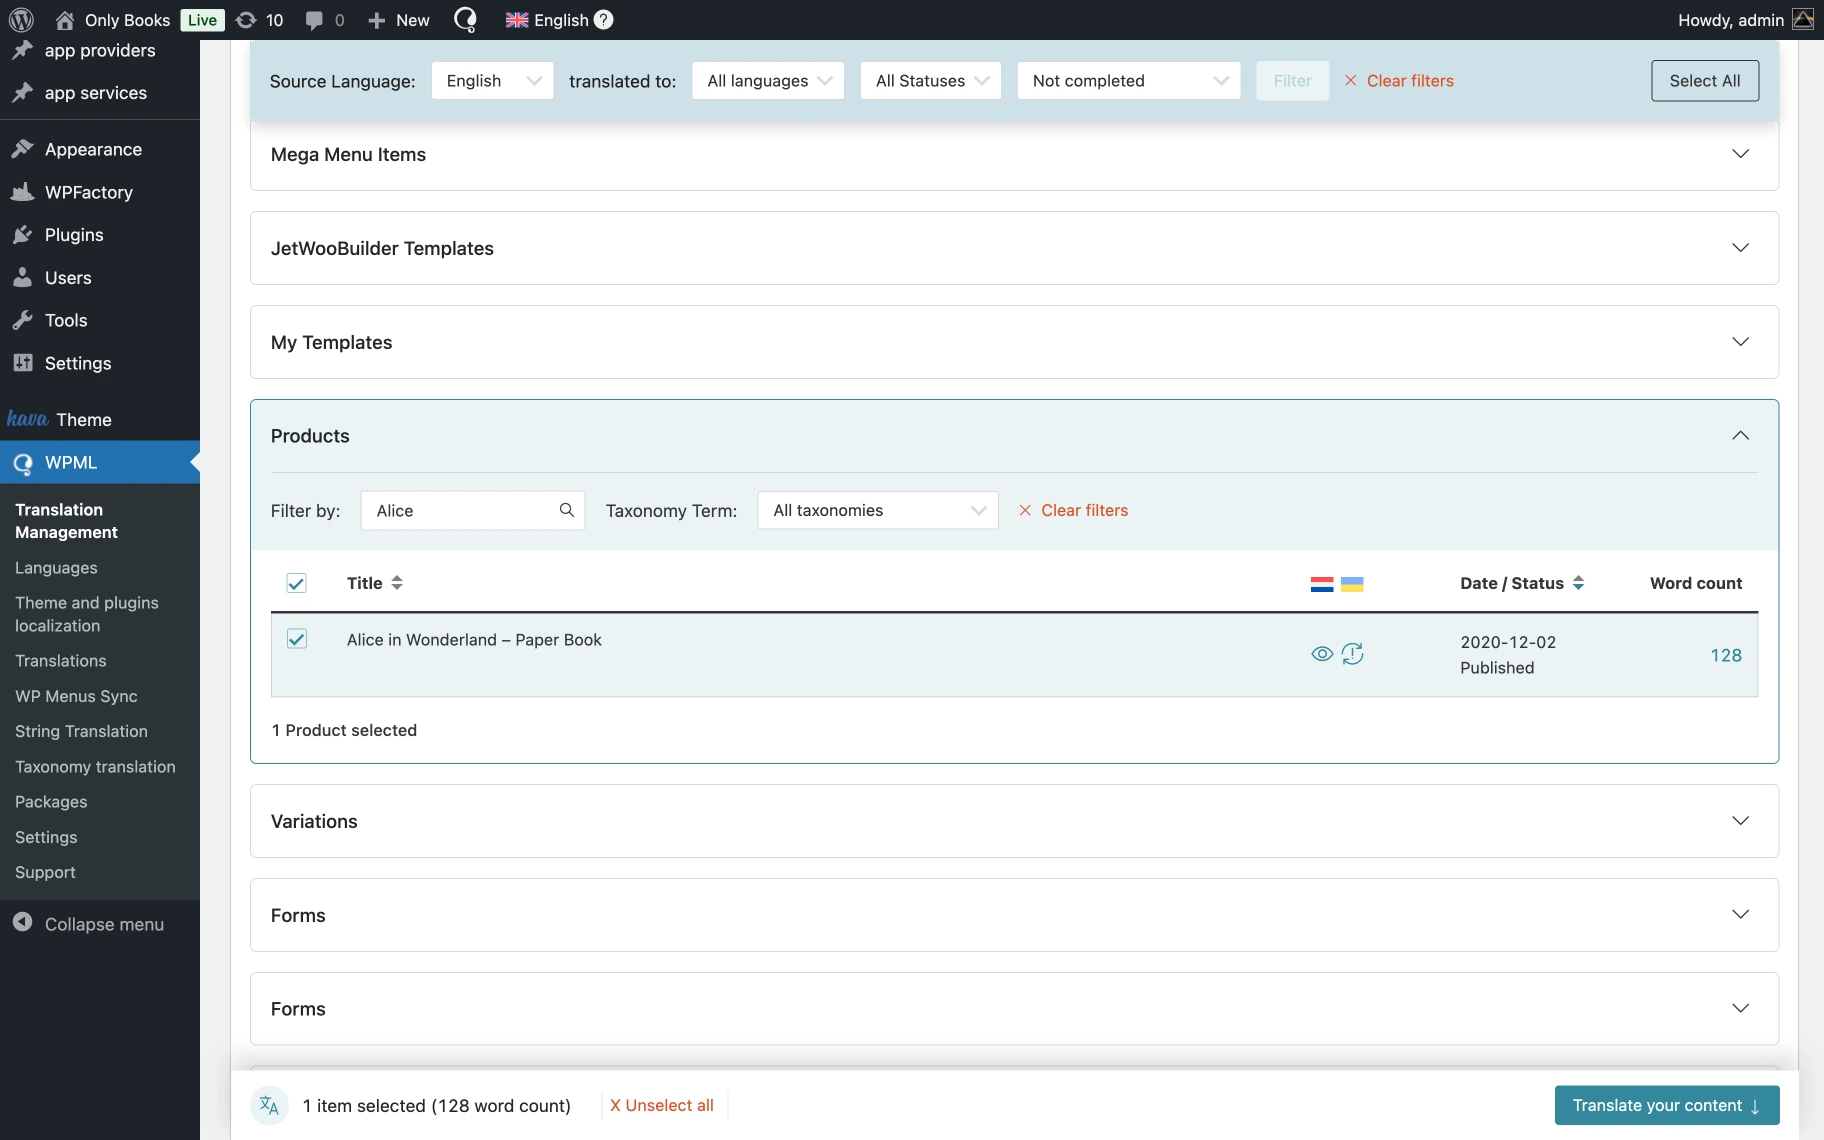
Then, follow the translation workflow previously covered.
To learn more about translating your store with WPML, visit the official WPML Multilingual & Multicurrency for WooCommerce guide.
Adjust String Translations
If some of your JetElement widget texts aren’t translating, they might be strings.
Strings are any texts on your website that don’t fit into pages, posts, or custom posts.
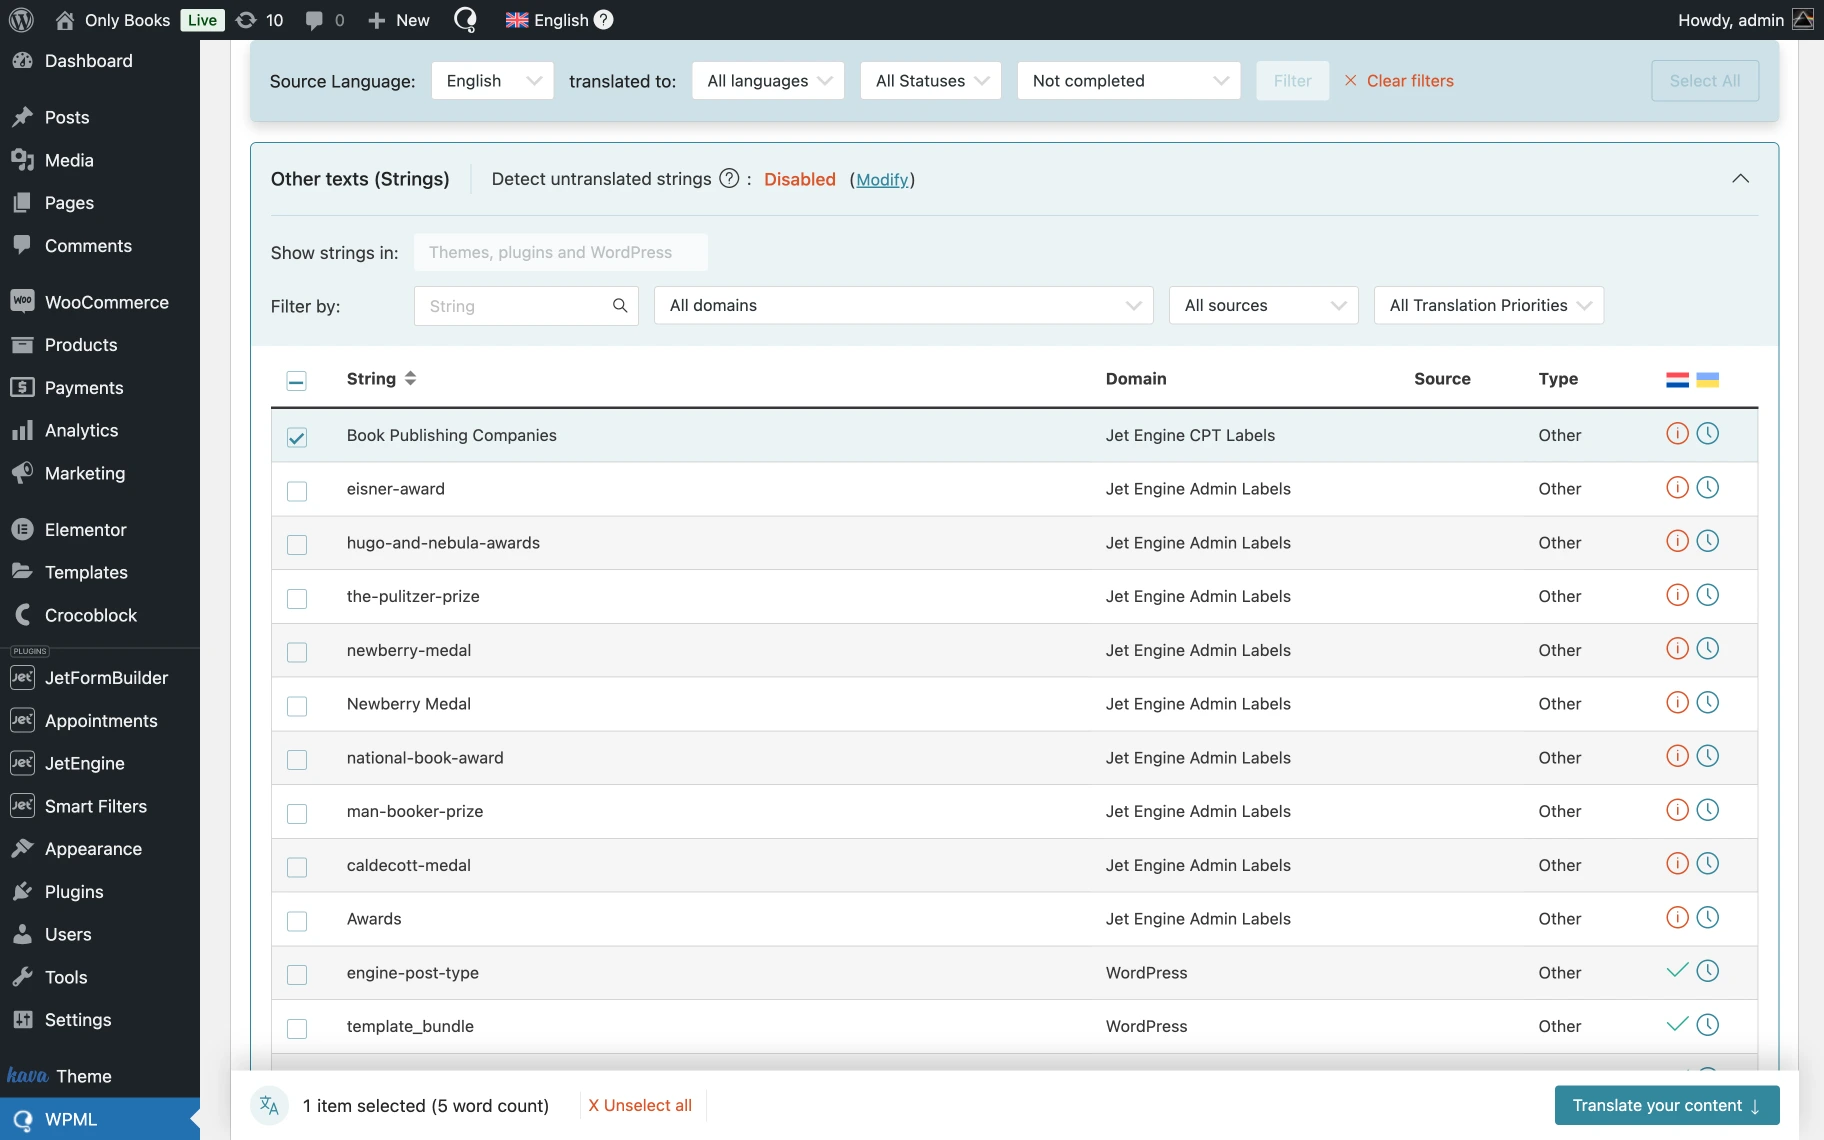
To translate strings with WPML, go to WordPress Dashboard > WPML > Translation Management > Other Texts.
Select the texts you want to translate, and follow the translation workflow previously covered
If you can’t find some of your strings, go to your website, navigate to the page with your missing texts, and switch to your secondary language. As you view the page, WPML will automatically detect the missing texts and populate them in the Other Texts (Strings) section.
Alternatively, you can translate strings through the WordPress Dashboard > WPML > String Translations section.
That’s all; now you know how to translate JetElements widget-added content into any language with WPML on WordPress websites.