
Lottie Files Widget Overview
Learn how to add the Lottie animation file to a WordPress site and customize it according to your needs.
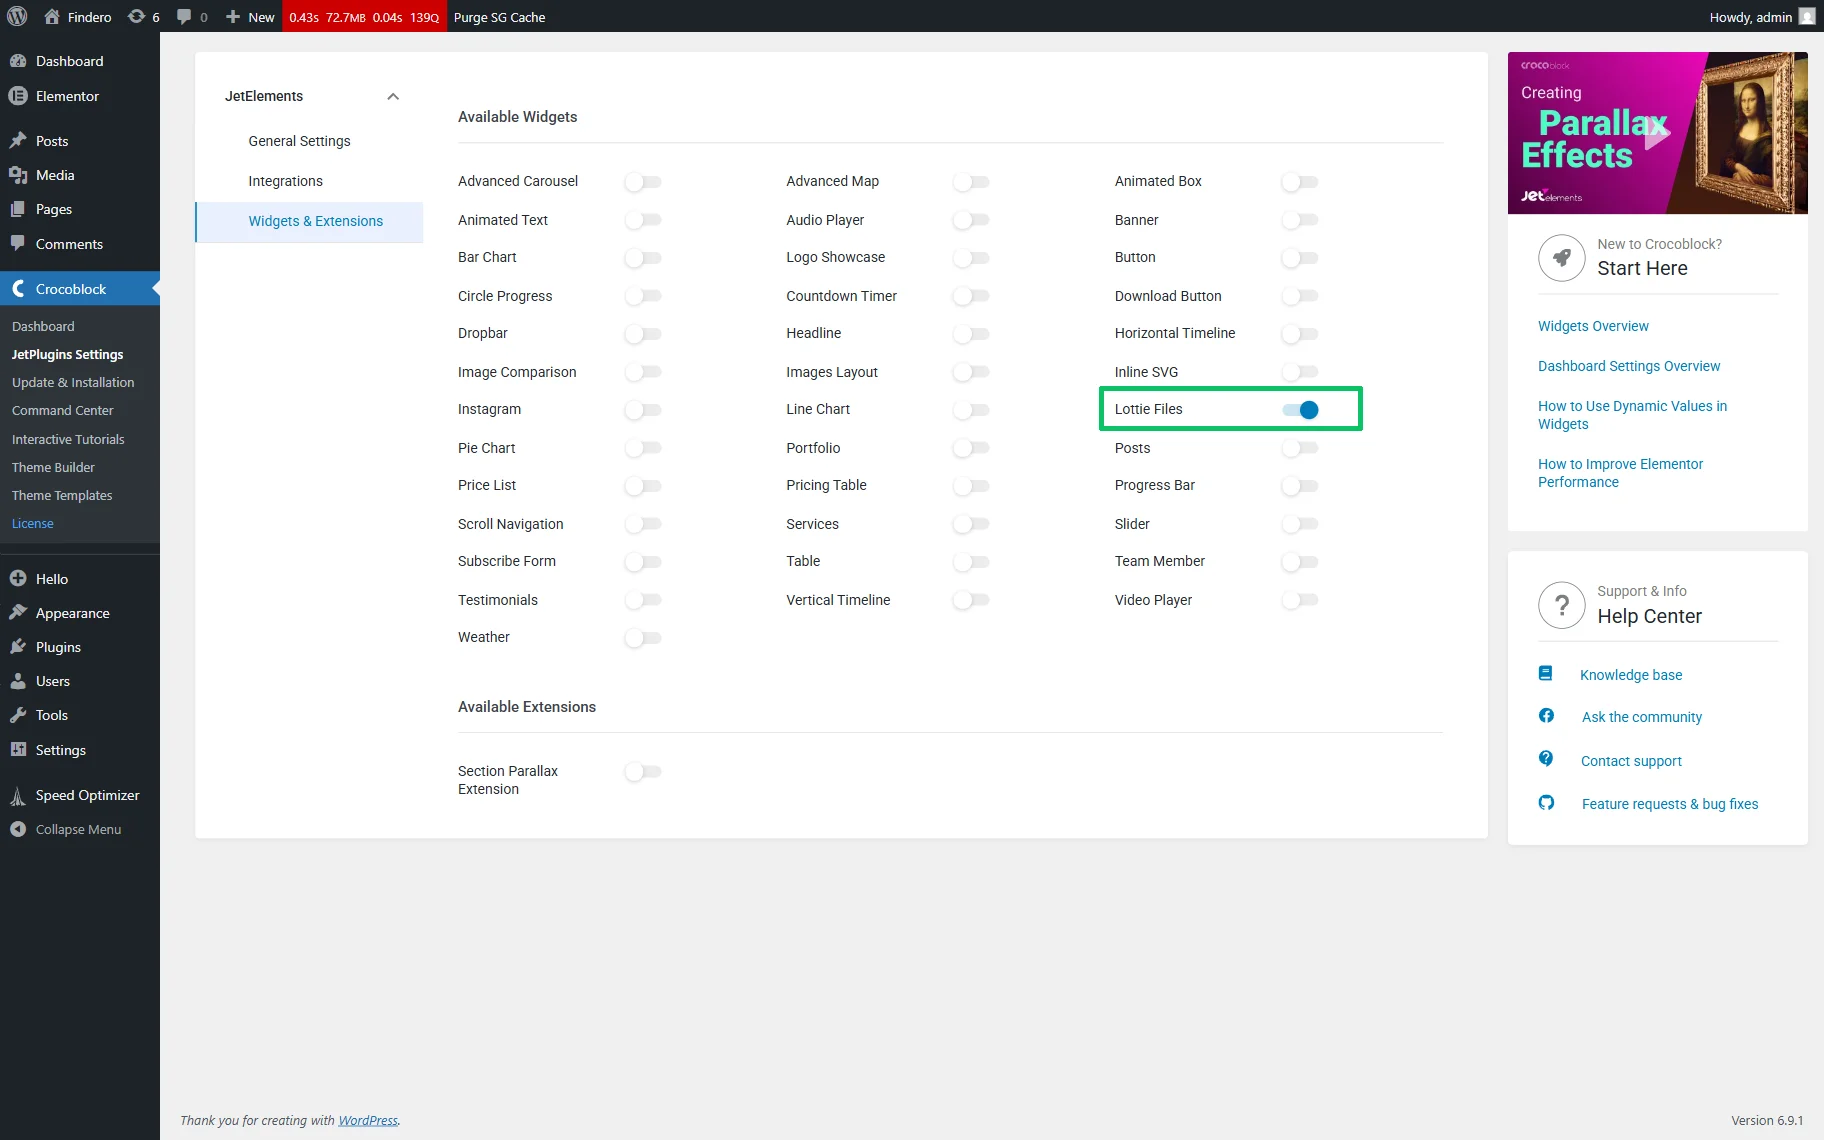
Enabling the Lottie Widget
The widget can be enabled in the WordPress > Crocoblock > JetPlugins > JetElements >Widgets & Extensions tab by activating the Lottie Files toggle in the Available Widgets section.
Once enabled, the changes will be saved automatically.
Lottie Widget Adding
The widget can be added to a page or post by searching for the Lottie Files widget and dragging it to the page.

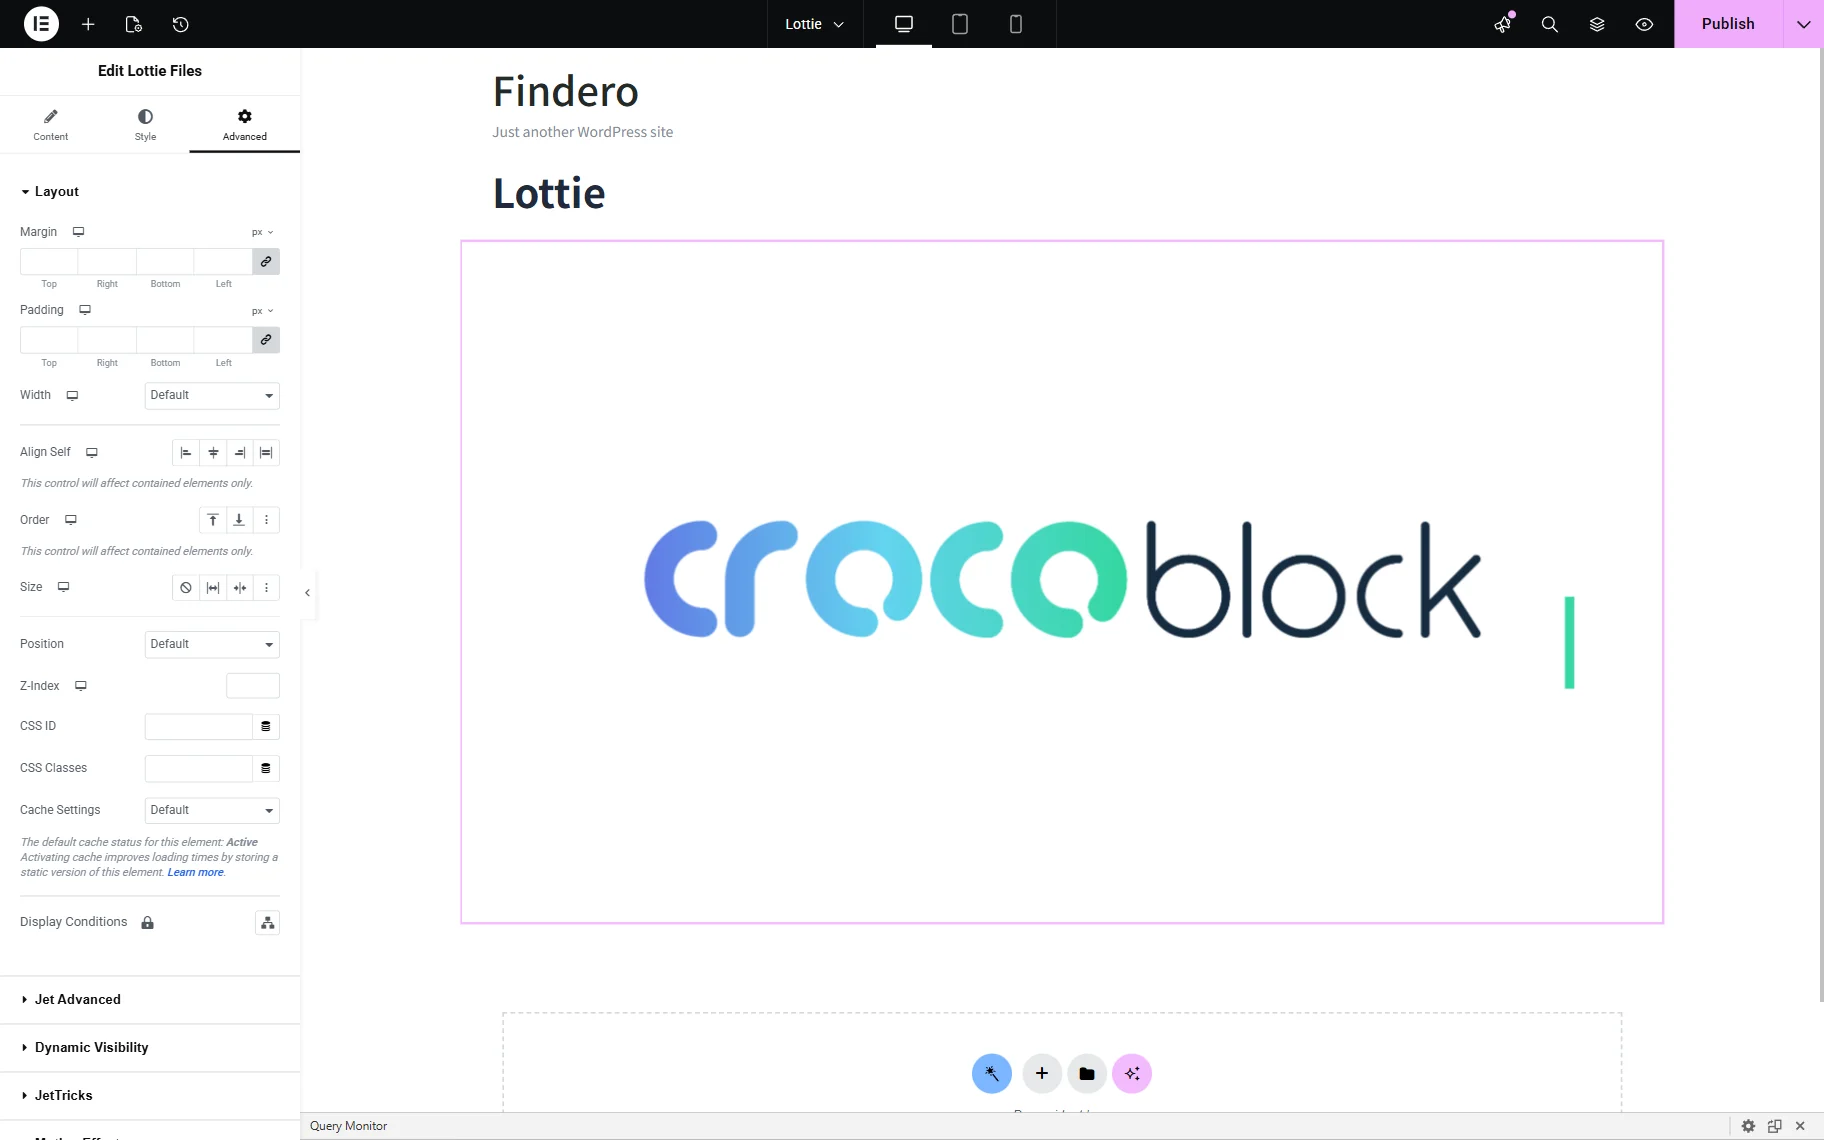
The default animation is the one with the Crocoblock logo, but it can be changed to any other you like.
Settings
The widget has the standard Content, Style, and Advanced settings tab.
Content settings
The Content settings are presented by the Content and Settings tab. In the Content tab, the following fields are available:
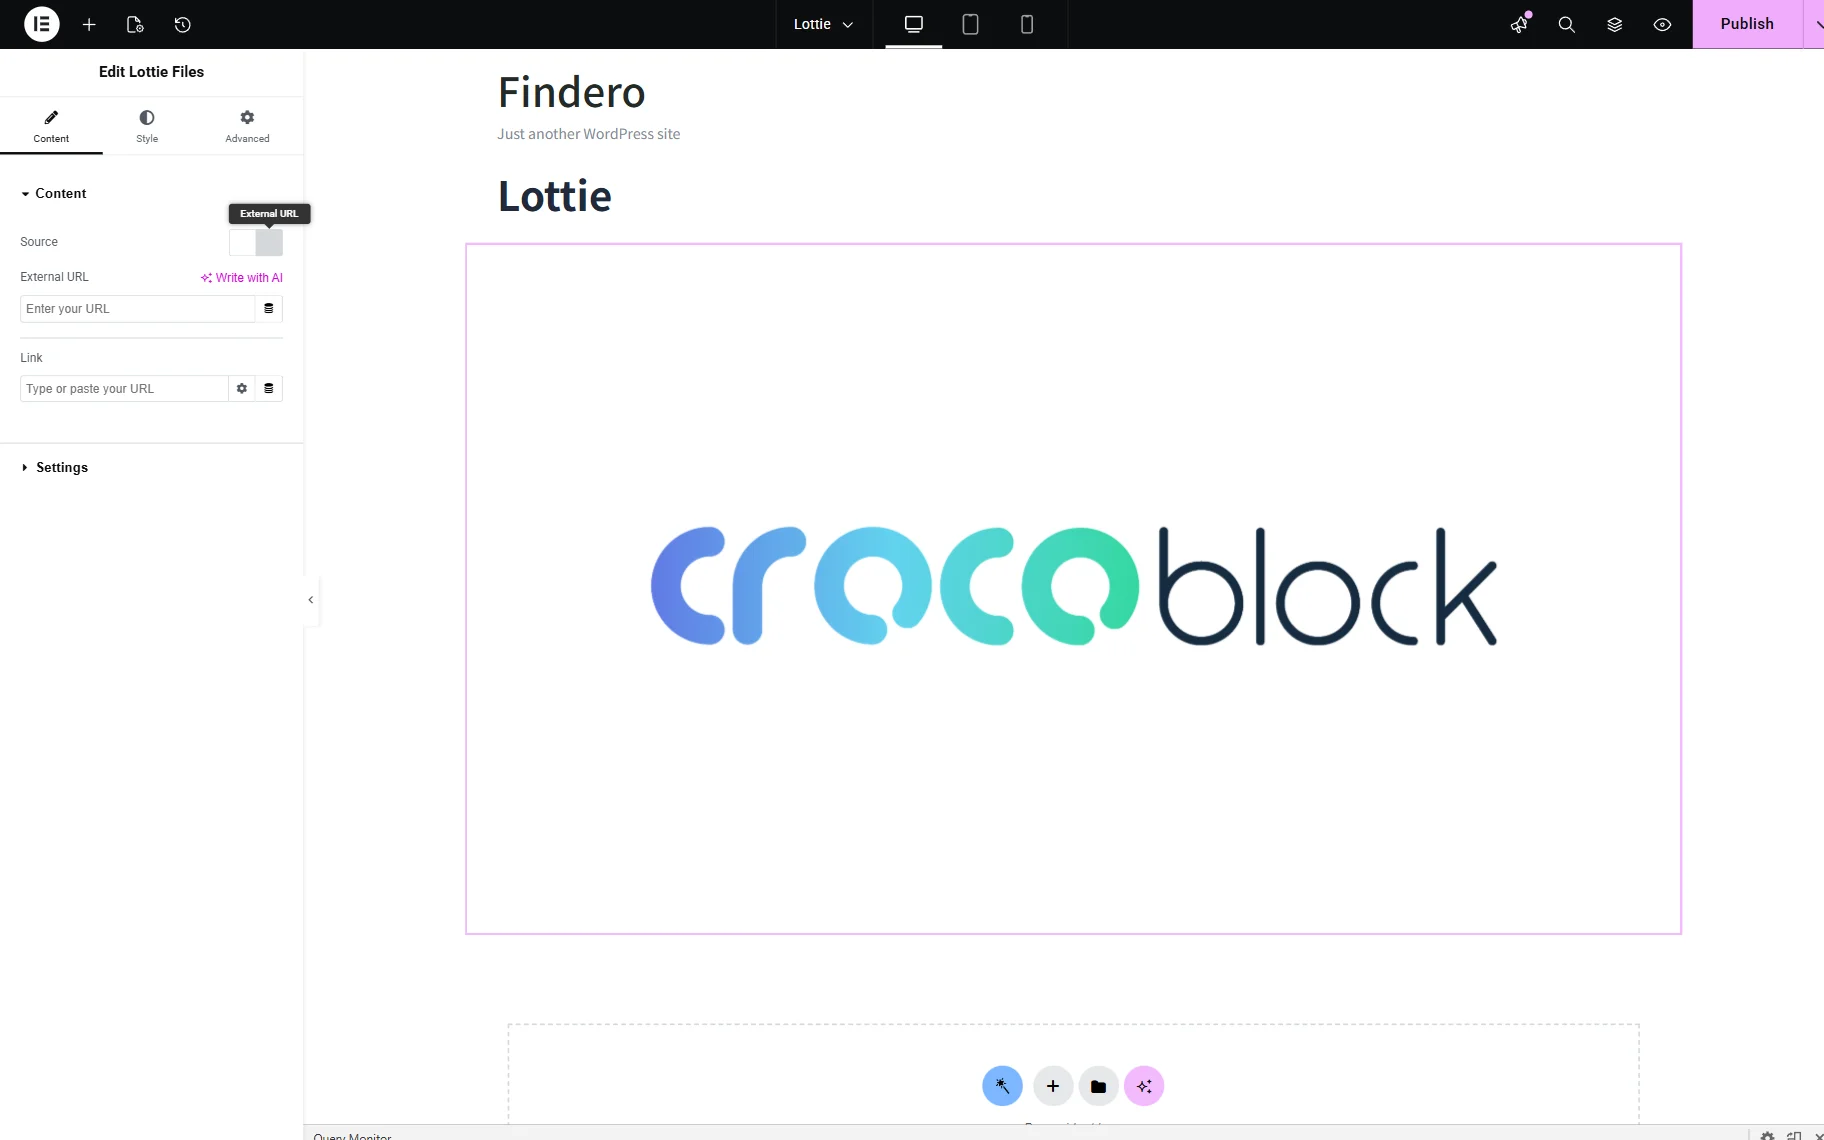
- Source 一 a set of two buttons: “JSON File” and “External URL”. If pressed, the “JSON File” button opens the JSON File bar for picking a file from the media library for uploading. If the “External URL” button is pressed, the External URL bar opens to insert a link;
- Link 一 a text field to insert a link to a page that will be opened after clicking the Lottie Files widget. The additional “Open in a new window” and “Add nofollow” checkbox, and the Custom Attributes text fields will be opened after pressing the “Link Options” button.
The Settings tab is the second block in the Content tab. The following fields are presented:
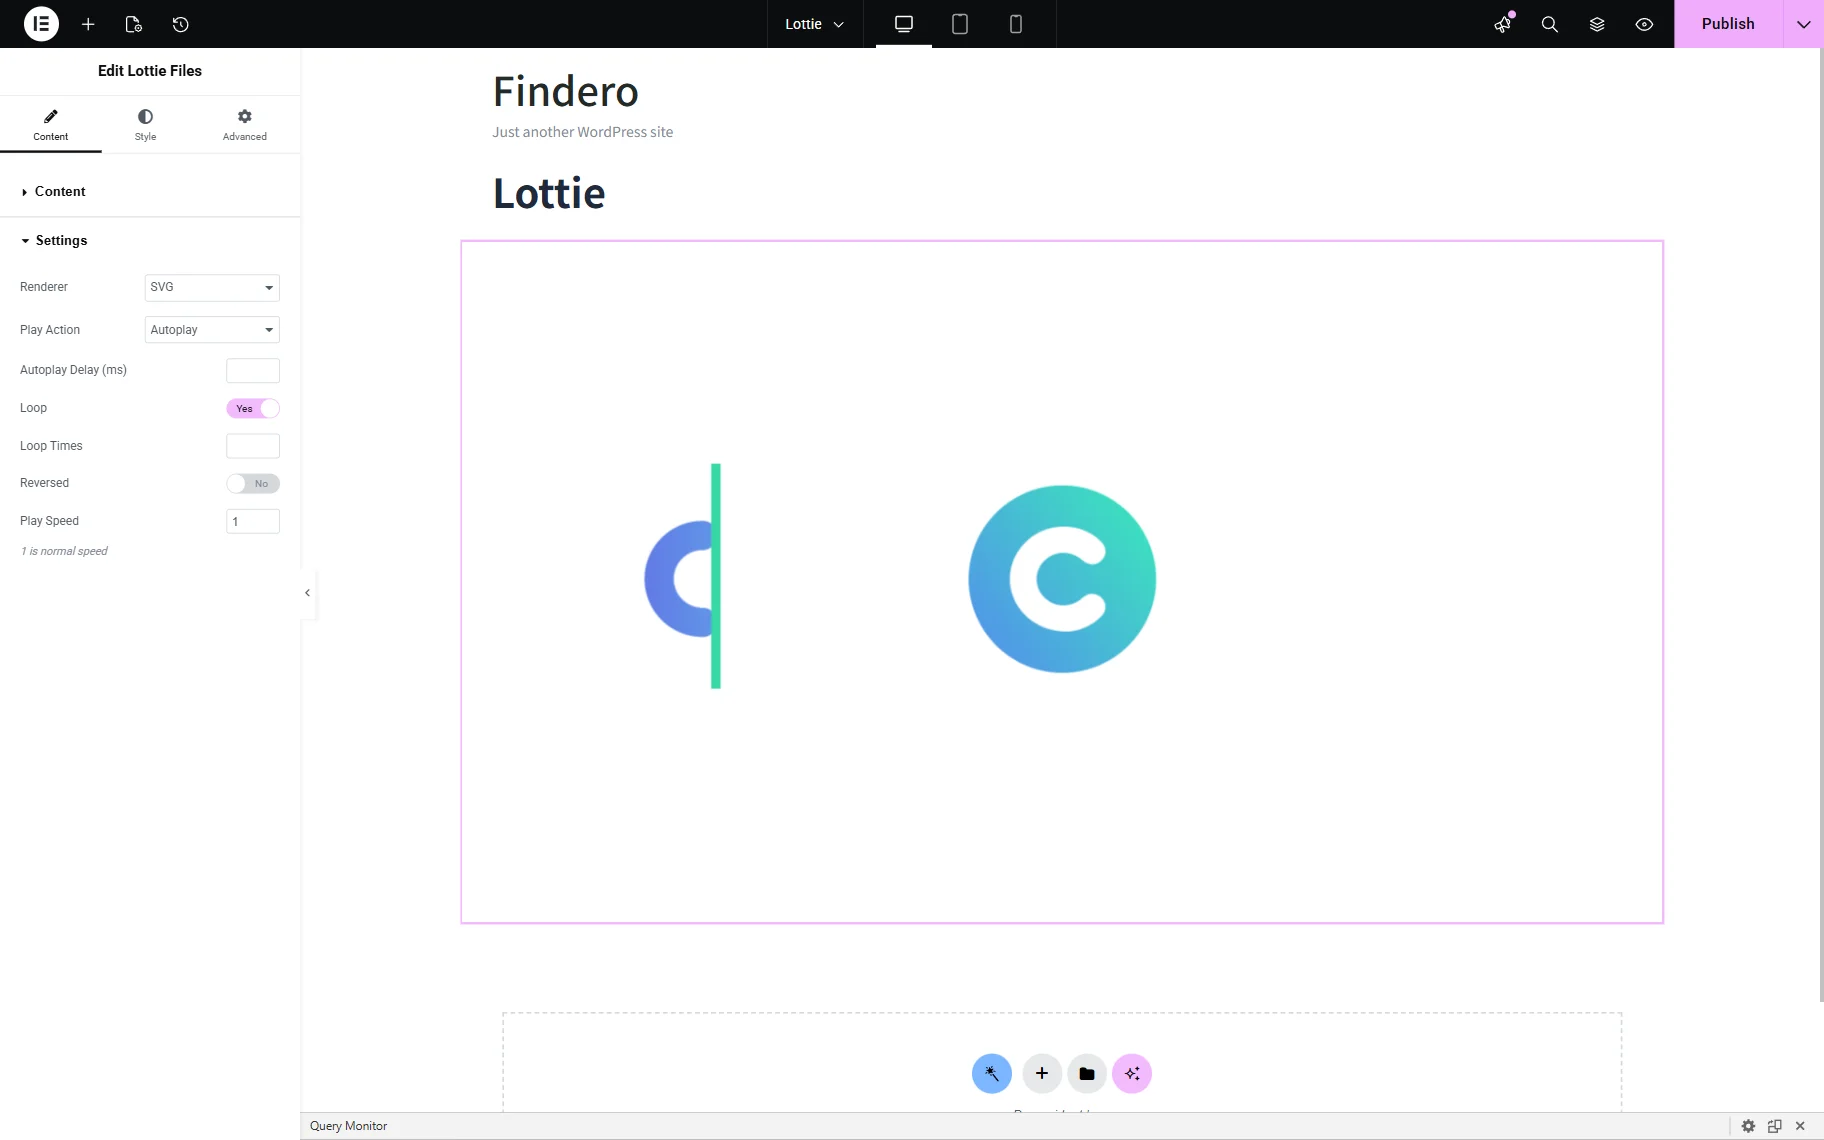
- Renderer 一 a drop-down menu to choose how the animation file will be rendered – as an “SVG” or a “Canvas”. If the “SVG” is set, the animation element will be built with HTML and animated with JavaScript, which is better suited for small animated icons and buttons. If the “Canvas” is set, both the element creation and animation will be performed by JavaScript, which is better suited for complex animation;
- Play Action 一 a drop-down menu to select a way of playing the animation, and each of them has some additional settings:
- Autoplay 一 an option that allows animation to be played automatically without any custom actions. Once selected, the Autoplay Delay bar will be displayed to set the gap that specifies the delay in milliseconds before the animation starts playing;
- On Hover 一 an option that plays an animation when the user hovers the pointer over it. If set, the On Hover Out drop-down menu will be shown with options to specify the behavior of the animation once it is moused over:
- No Action 一 the animation will finish playing and stop;
- Pause 一 when users move the pointer out of the animation area, the animation stops at that moment. When they move the pointer back to it, it will start playing from the paused moment;
- Stop 一 the animation will completely stop playing and turn back to its starting point;
- Reverse 一 the animation will be played backward when the user moves the pointer out of it;
- On Click 一 an option that allows the animation to play only after the user clicks it;
- On click Reversible 一 an option that allows the animation to play in reverse on the second click. On the third click, the animation plays as usual, and so on;
- Scroll 一 an option that allows the animation to play while the user scrolls the page. In this case, the playing speed will be similar to the page scrolling speed. Once the option is set, the Viewport slider will be enabled to choose when the animation starts playing. In particular, the slider sets the portion of the screen the animation must fill before it starts or stops moving.
The following fields are available when the “Autoplay,” “On Hover,” “On Click,” and “Viewpoint” Play Action are set:
- Loop 一 a toggle to enable the animation looping, which can create an impression of infinite movement. If the toggle is activated, the Loop Times field will be displayed to insert the needed number of loops;
- Reversed 一 a toggle to enable the uploaded animation to be played backward;
- Play Speed 一 a field to make the animation move faster or slower. On “1”, the animation will move at its original speed.
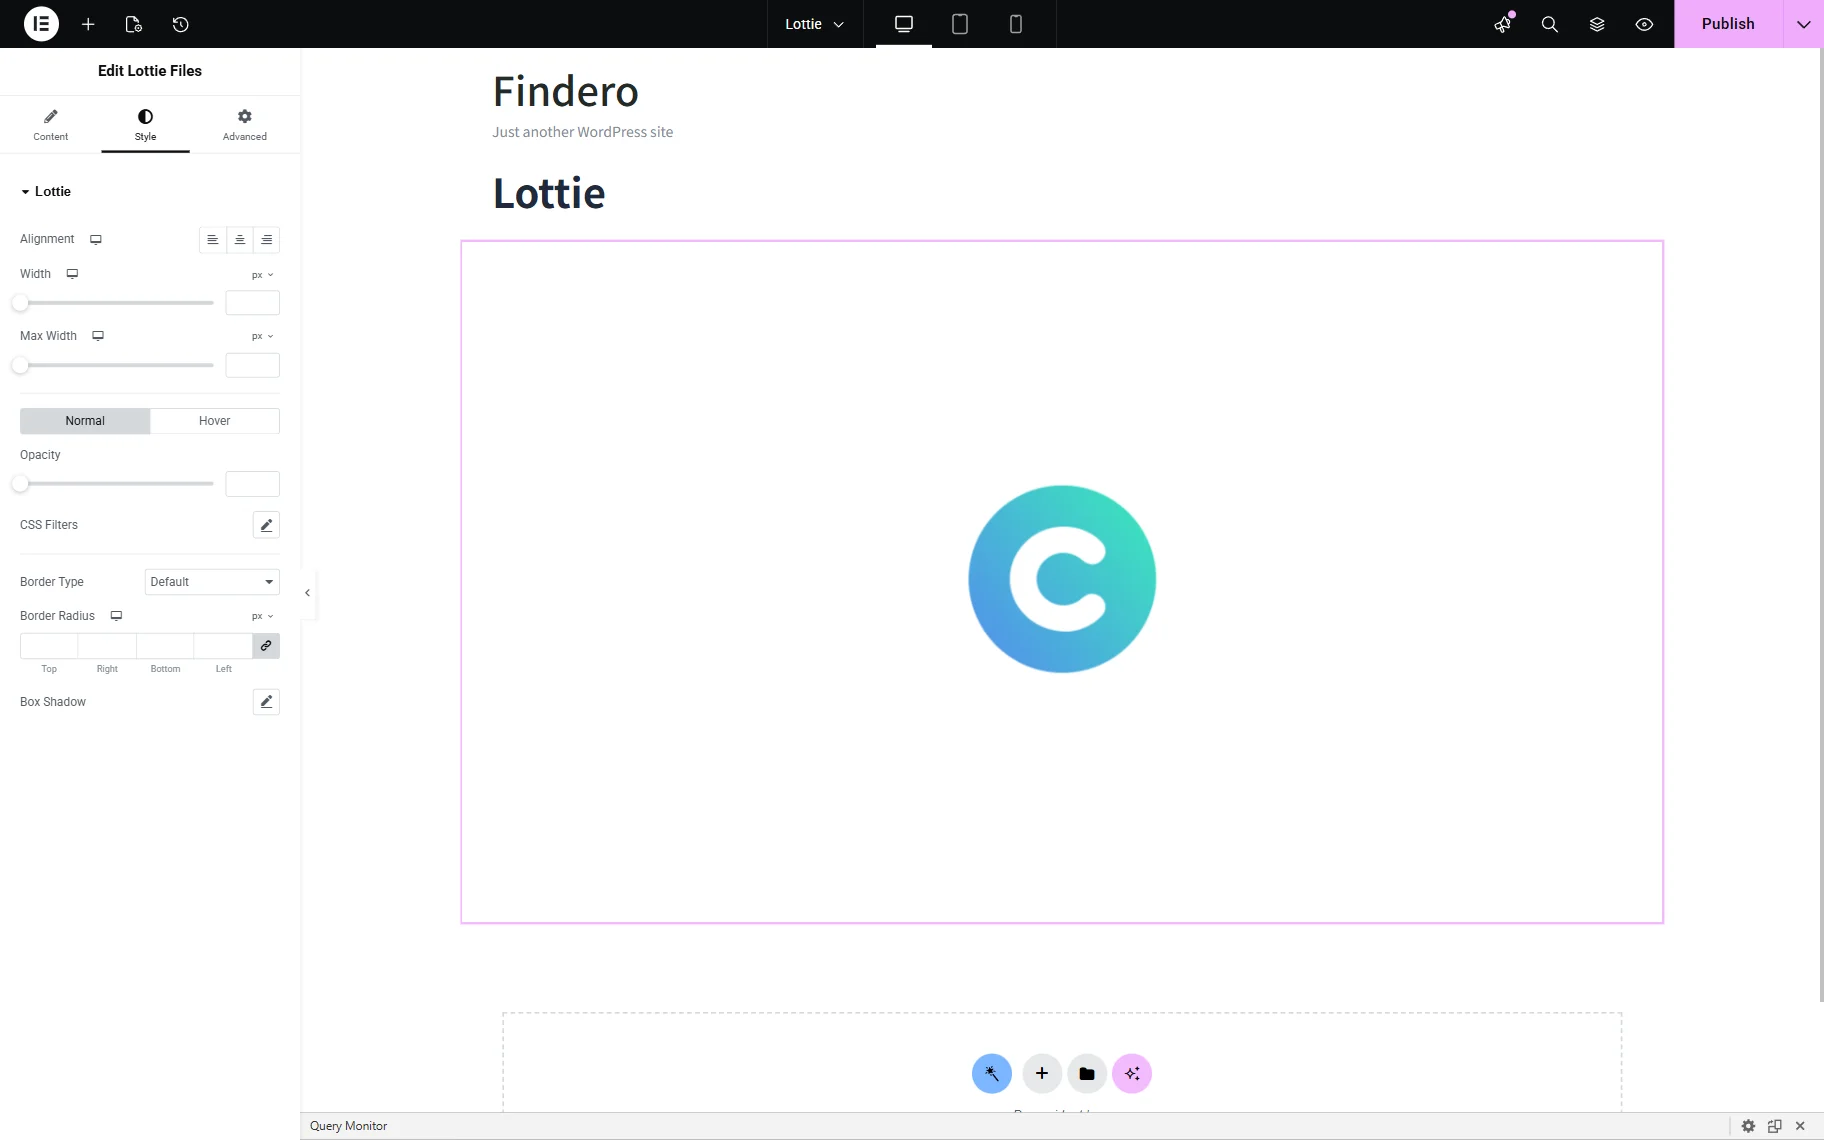
Style settings
The Style settings are intended to customize the Alignment, Width, Opacity, CSS Filters, Border Type, Border Radius, and Box Shadow.
Advanced settings
The Advanced settings are intended to manage the Layout, Dynamic Visibility, Background, Border, Motion Effect, and more.
That’s all. You now know how to add the Lottie animation file to a WordPress site and customize it according to your needs using the JetElements plugin.