How to Add Terms to Data Store
This tutorial will teach you how to create data stores for terms with the JetEngine WordPress plugin.
With the Data Store module, you can create pages like “Favorites” or “Wishlist,” where users can add liked items and come back to them anytime.
In this tutorial, we will explain how to create and set up a data store for terms.
Creating a Data Store
Go to the admin control panel, proceed to JetEngine > JetEngine > Data Stores, and click the “New Store” button.

You can get the overview of all Data Store features here in the “1 Step”.
When you are done with creating the store, hit the “Save” button.
Creating a “Favorites” Page
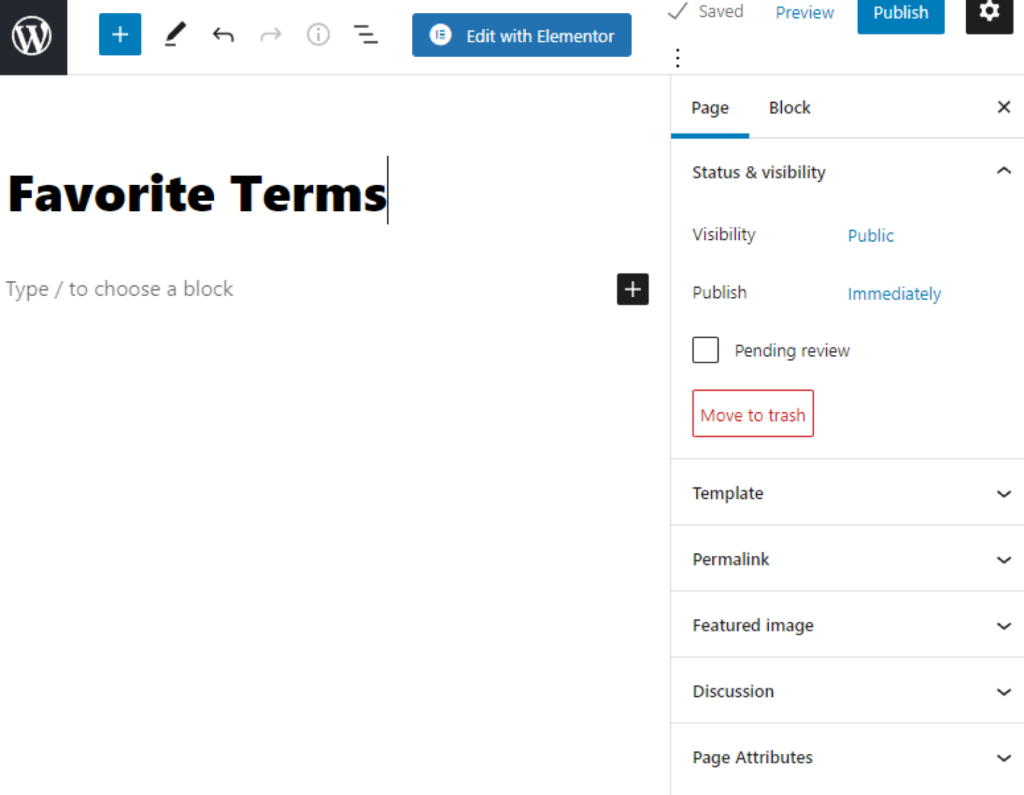
Go to the Dashboard > Pages and hit the “Add New” button. Name and save the new page for favorite terms.
Creating Listing for Taxonomy, Add and Remove Buttons
To find out how to create a listing for taxonomy, go through our tutorial.
Create the first listing for terms and add the “Add to Favorites” button. Check the detailed guide on how to create this button here in the “3 Step.”
Create another listing item and add the “Remove from Favorites” button. About that, you can read here in the “4 Step”.
Adding the Code to the Child Theme
To make the terms data store work, you need to add the code to your active theme.
Go to Appearance > Theme Editor. In the Theme Files menu on the right side, open the functions.php tab.
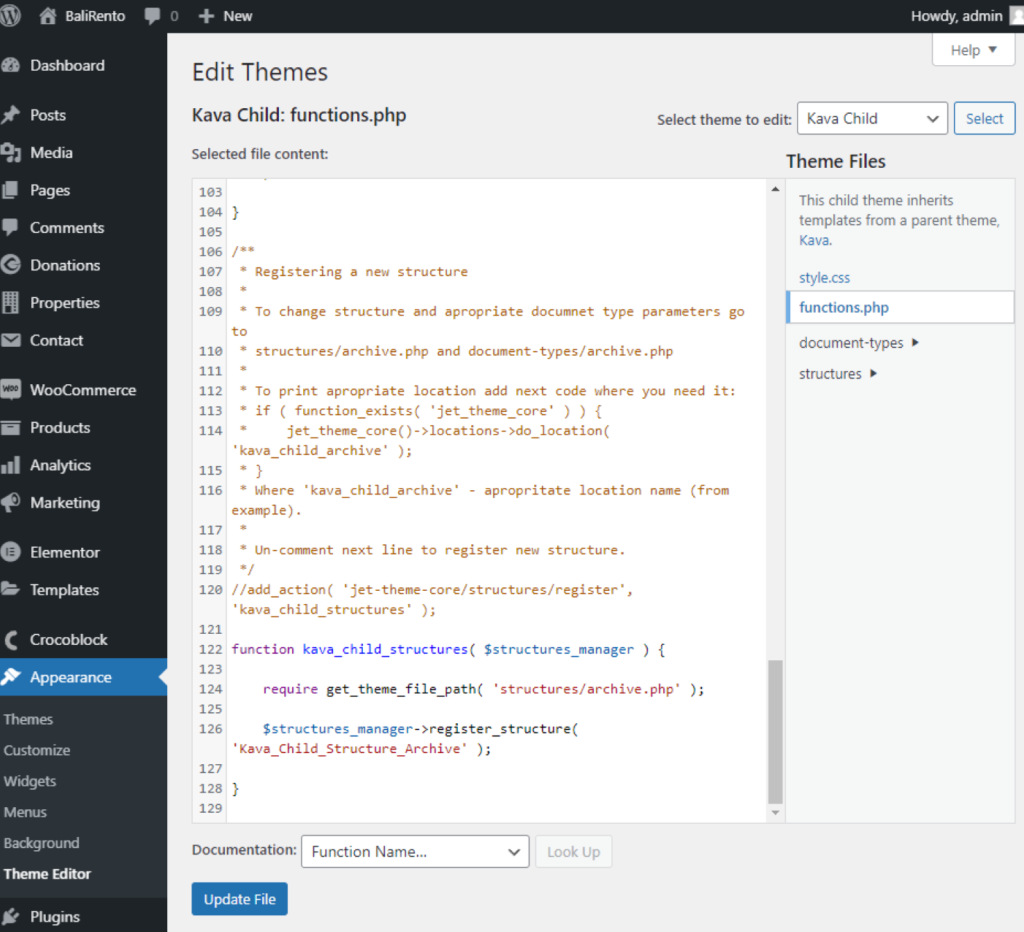
Copy the code and paste it at the end of the file:
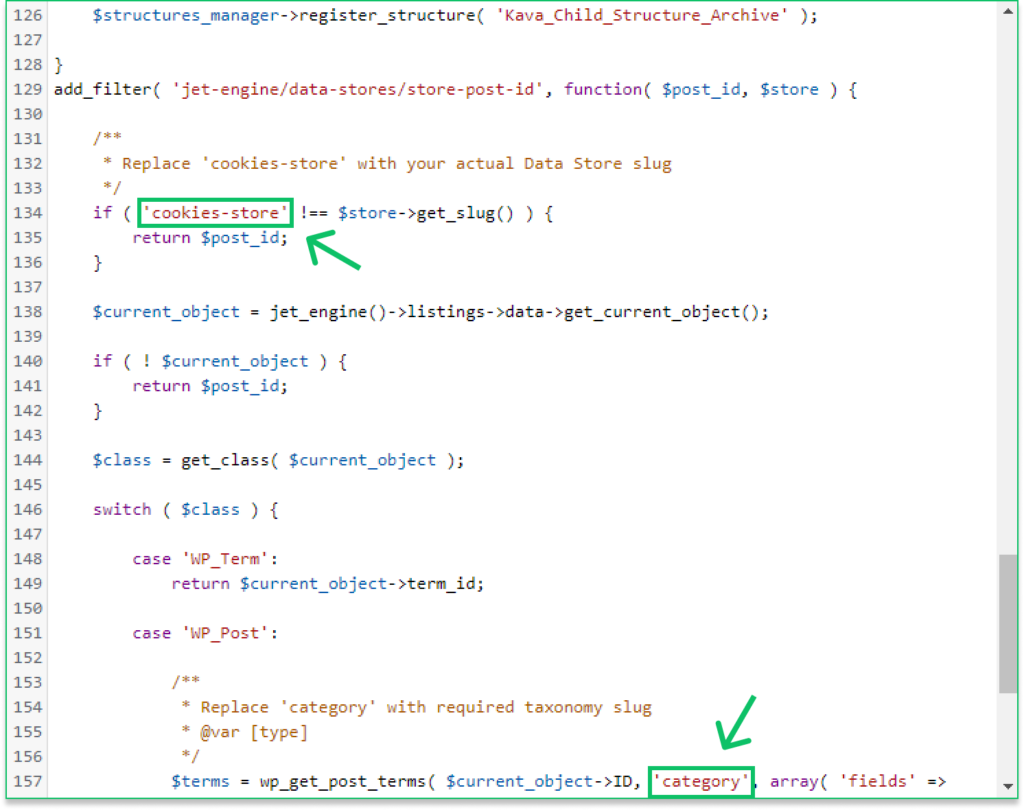
In this line, replace ‘cookies-store’ with your actual Data Store slug.
if ( 'cookies-store' !== $store->get_slug() ) {For example, it would be:
if ( 'favorites' !== $store->get_slug() ) {And in this line, replace ‘category’ with your required taxonomy slug:
$terms = wp_get_post_terms( $current_object->ID, 'category', array( 'fields' => 'ids' ) );After you finish, click on the “Update File” button.
Creating the Terms Query via the JetEngine Query Builder
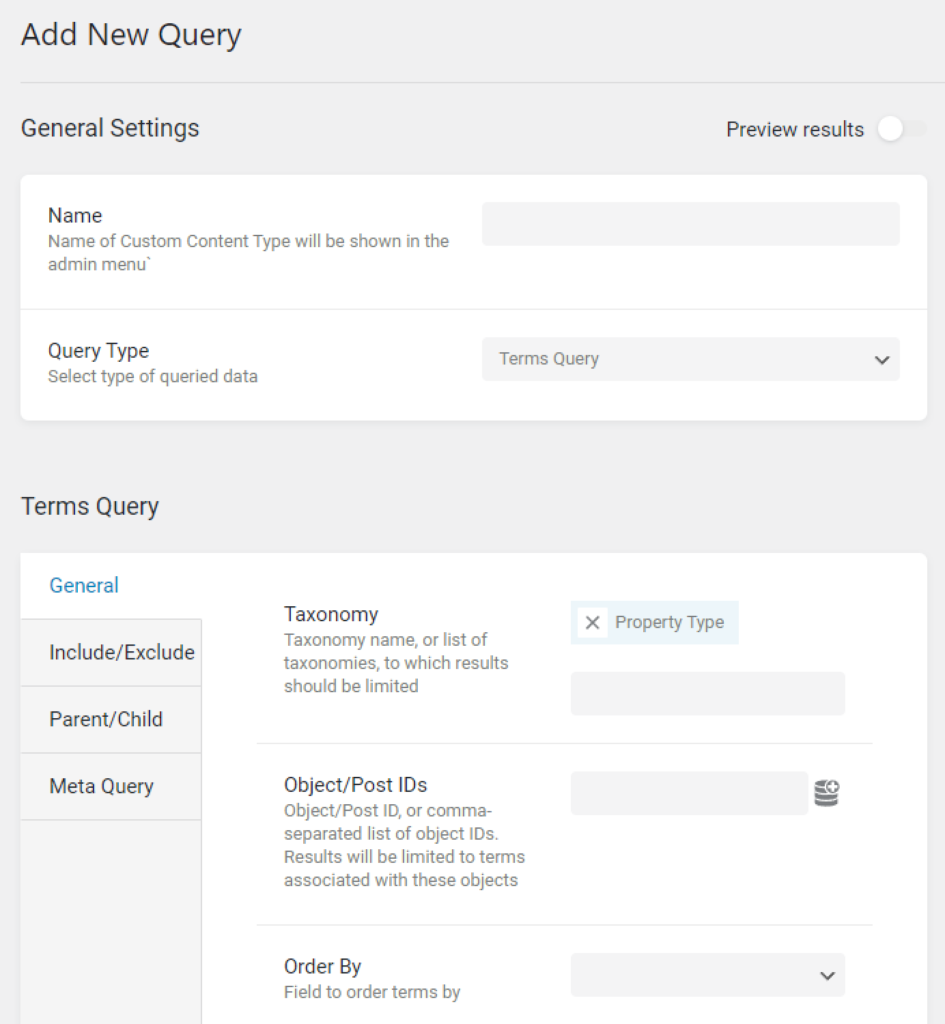
Proceed to JetEngine > Query Builder and press the “Add New” button. Give your new query a Name and choose the “Terms Query” Query Type.
In the General tab, select the name for the Taxonomy for your data store.
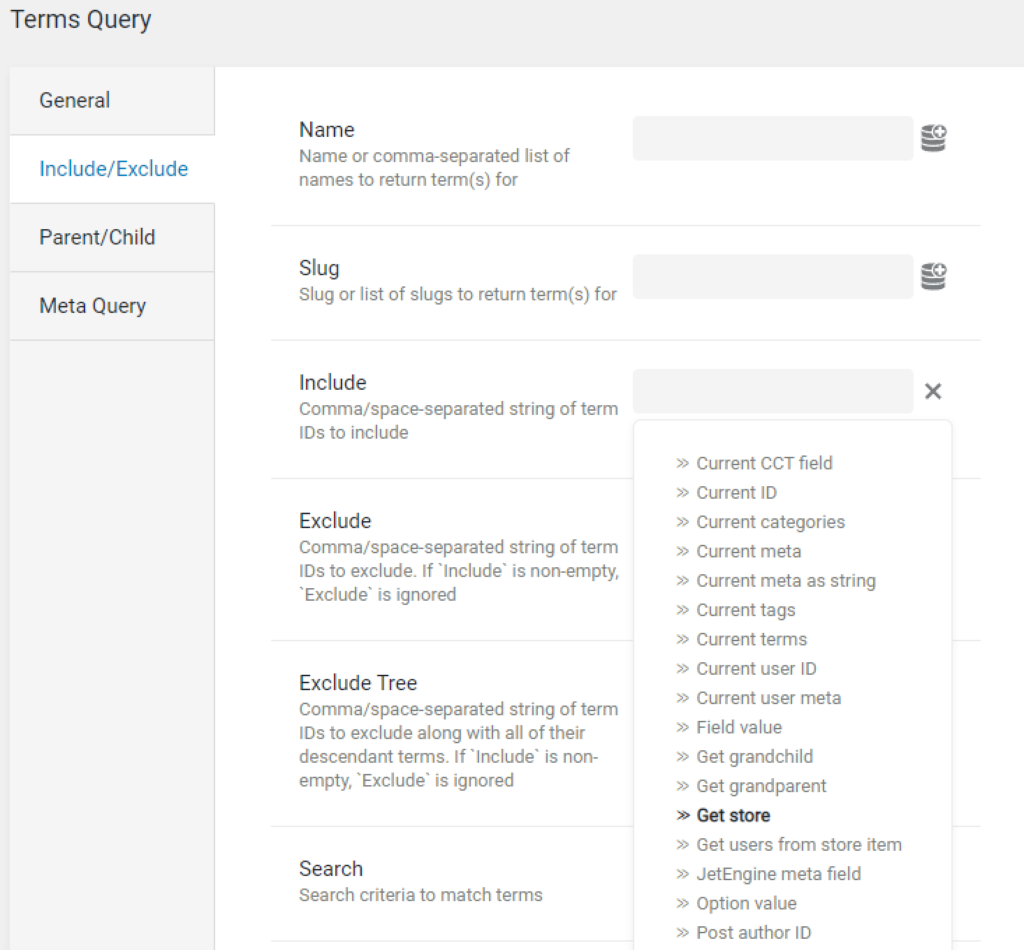
In the Include/Exclude tab, click the Dynamic Tags icon on the right of the Include field and choose the Get store macro from the list.
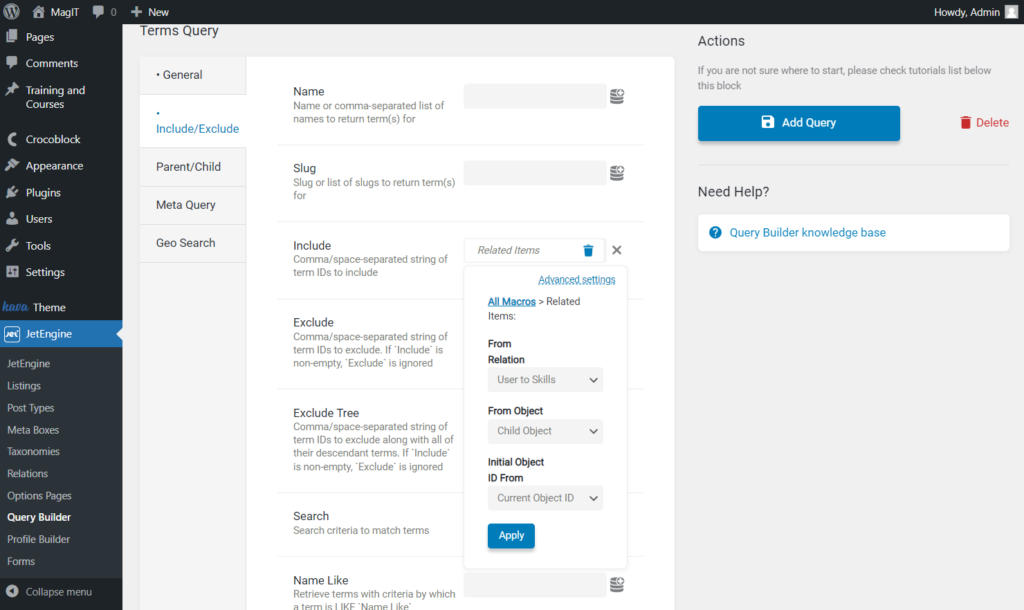
Then select the name of your store for the term data store and press the “Apply” button. In the end, push the “Add Query” button.
Customizing the “Favorites” Page
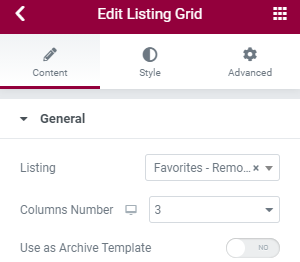
Return to the “Favorites” page and proceed to edit it with Elementor. Drag and drop the Listing Grid widget on the page. Then choose the second created listing with the “Remove from Favorites” button in the Listing drop-down menu.
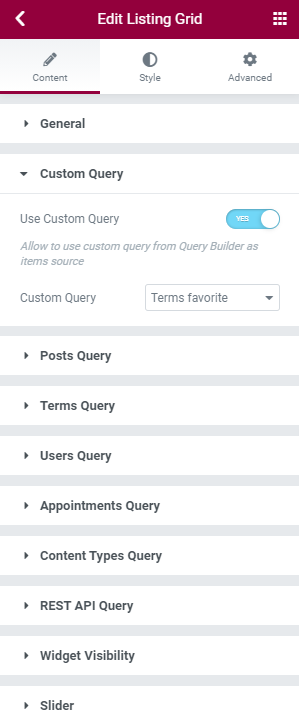
The next step is opening the Custom Query tab. Enable the Use Custom Query toggle and choose the name of the created terms query in the Custom Query selector.
After you finish customizing and stylizing the “Favorites” page, push the “Update” button.
Then place another Listing Grid on any other page, and in the Listing drop-down menu, choose the first created listing with the “Add to Favorite” button. Customize the page as per your needs and hit the “Update” button.

After adding a few terms to Favorites, you can go to the “Favorites” page and check if the chosen terms are already there.

If you would like to know how to add an item counter and a “likes” counter, follow this tutorial and proceed to the “5 Step” and “6 Step”.
Also, we have a separate tutorial about the “Recently Viewed” section in Data Stores.
That’s it. You now know how to create and set up a “Favorites” page for terms with the JetEngine Data Store module.