How to Add Meta Boxes to WooCommerce Product Categories
This article explains how to add Meat Boxes with Meta Fields to WooCommerce product categories using the JetEngine plugin functionalities.
Before you start, check the tutorial requirements:
- Elementor (Free version) or Block editor (Gutenberg)
- WooCommerce plugin installed and activated;
- JetEngine plugin installed and activated
Adding Meta Fields to the product categories will enlarge the information which is related to them. It will make the product categories more visually attractive, and the users will be interested in clicking on them and receiving access to the products.
From this tutorial, you will learn how to add the Meta Box with Meta Fields to the Product Categories.
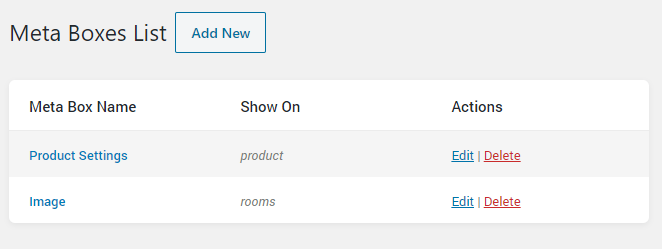
Create Meta Box for Product Categories
In your WordPress Dashboard, proceed to the JetEngine > Meta Boxes and hit the “Add New” button.
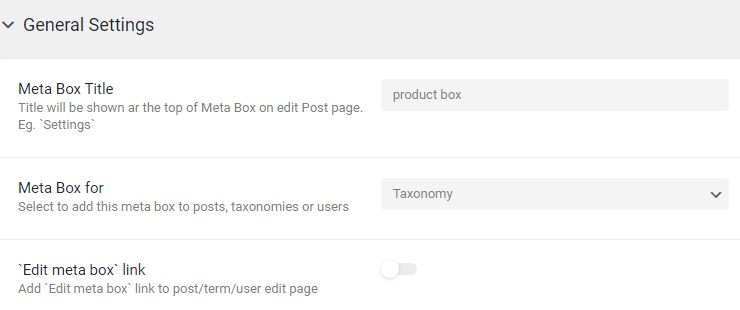
Enter the Meta Box Title, and choose the “Taxonomy” option in the Meta Box for drop-down menu in the General Settings tab.
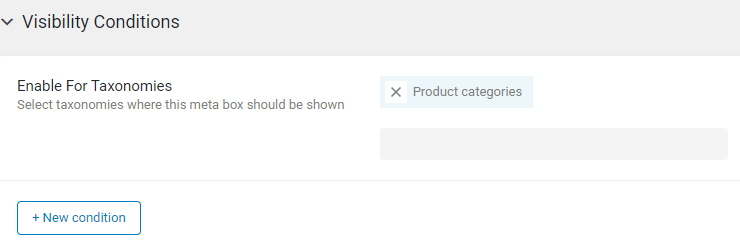
Select the “Product Categories” option in the Enable for Taxonomies field in the Visibility Conditions tab. More about the Visibility Conditions you can read here.
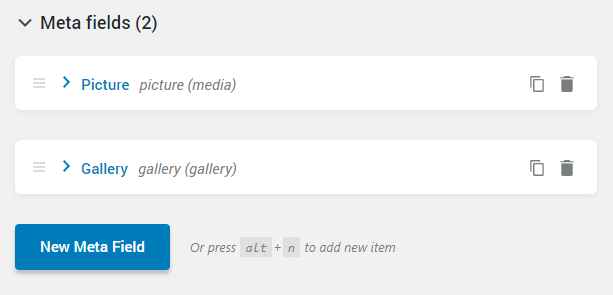
Then add one or several meta fields. If you need insight, check our Meta Fields Overview.
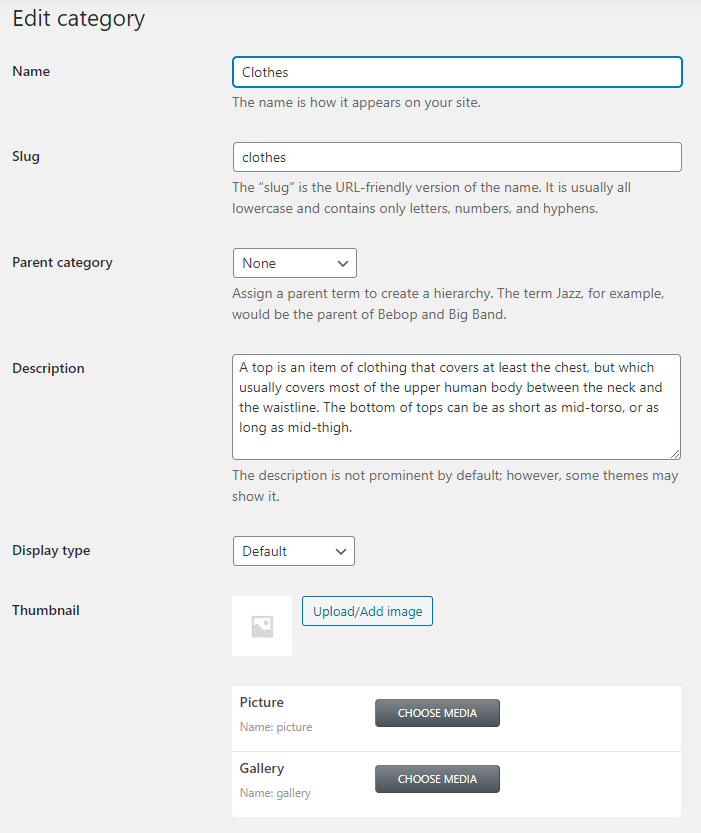
Add Value to Meta Fields
Go to Products > Categories. The newly created meta fields will be available both for the new categories and the created ones, so you will have no problems adding the content.
Make Listing and Archive Template
Adding a Meta Box is not enough. You will still have to showcase the categories and the items in it on the page somehow. To do that, you will need to create a Listing Template and an Archive Page template.
To create a Listing Template for the Product Categories, follow the steps described in this tutorial.
Then, we need to showcase all product categories items together on one page. To create an Archive Page template, go through this step-by-step tutorial.
Now you know how to attach Meta Boxes to the product categories and showcase them on the Archive page.