How to Add Dynamic Tag in Gutenberg
Learn how to use the Dynamic Content Tag feature from JetEngine to minimize the time of the website customization.
Before you start, check the tutorial requirements:
- Gutenberg (Block Editor)
- JetEngine plugin installed and activated
Filling out the content may be more accessible when the data is pulled out automatically. That means there is no need to upload the information manually.
When to Use Dynamic Tag
Dynamic tags allow you to apply a dynamic value to specific arguments in an existing static block. This function is currently available for use with the following WordPress blocks — Paragraph, Heading, Buttons, and Cover.
Now you can create Listings that meet your needs using the block editor and JetEngine Dynamic Content Tags.
Let’s find out how to implement all the desired ideas to life. For instance, let’s create a Post Listing using Dynamic Content Tags.
Customization Overview
Open JetEngine > Listings and click on the “Add New” button. Fill in all the required fields.
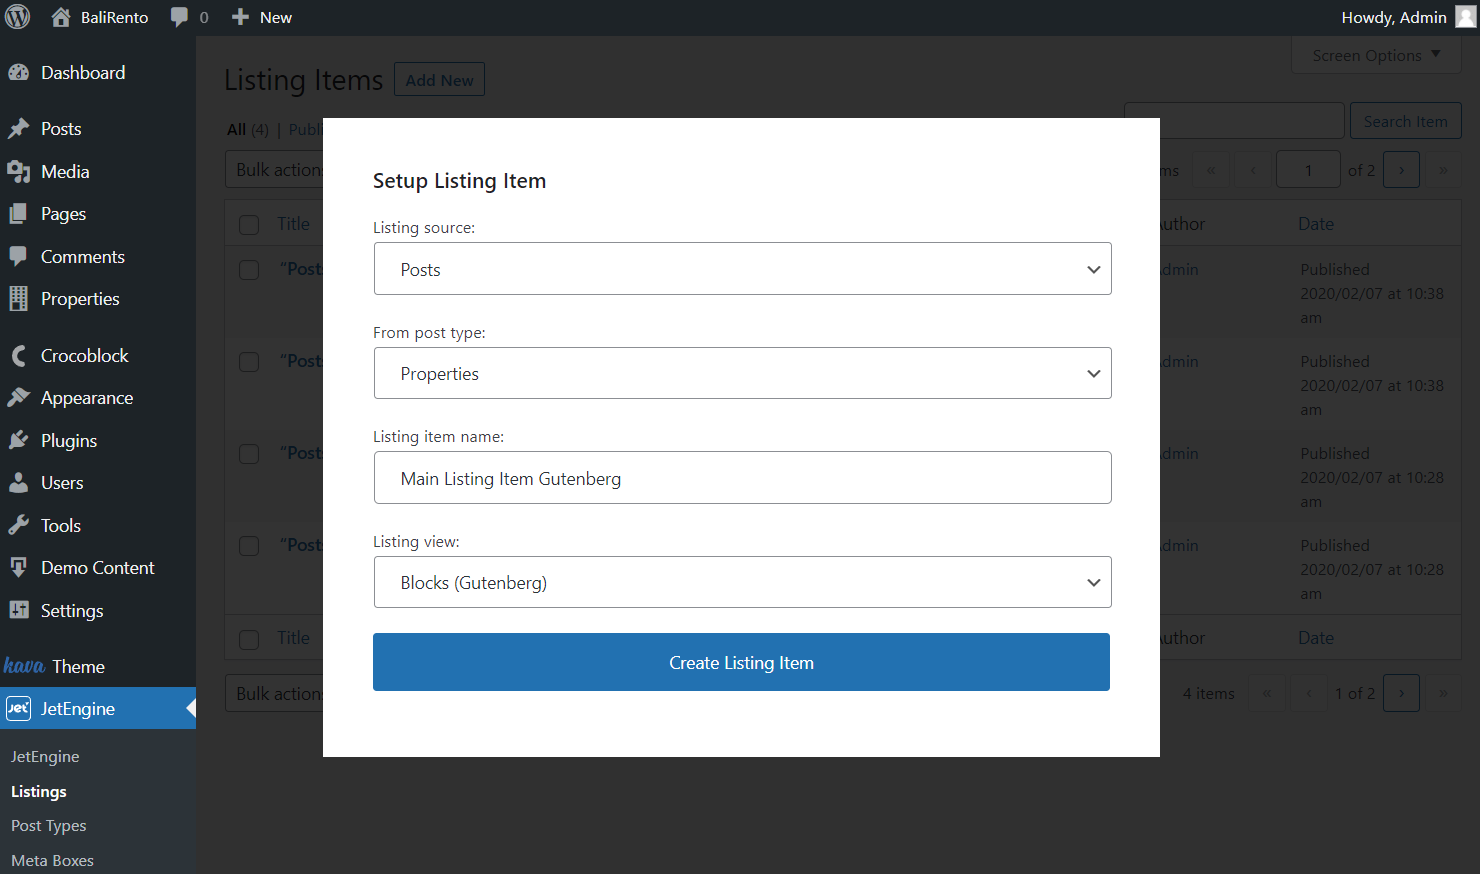
- Listing source — choose the source for the added listing;
- From post type — select a post type from which the content will be taken. It can be not only the default WordPress Posts but also Custom Post Types;
- Listing item name — type in the name for the listing;
- Listing view — set the “Blocks (Gutenberg)” option to work with Dynamic Content Tags supported by blocks.
Push the “Create Listing Item” button once all the fields have been completed.
Primarily, let’s check how Dynamic Content Tag works with the Cover block.
Cover block
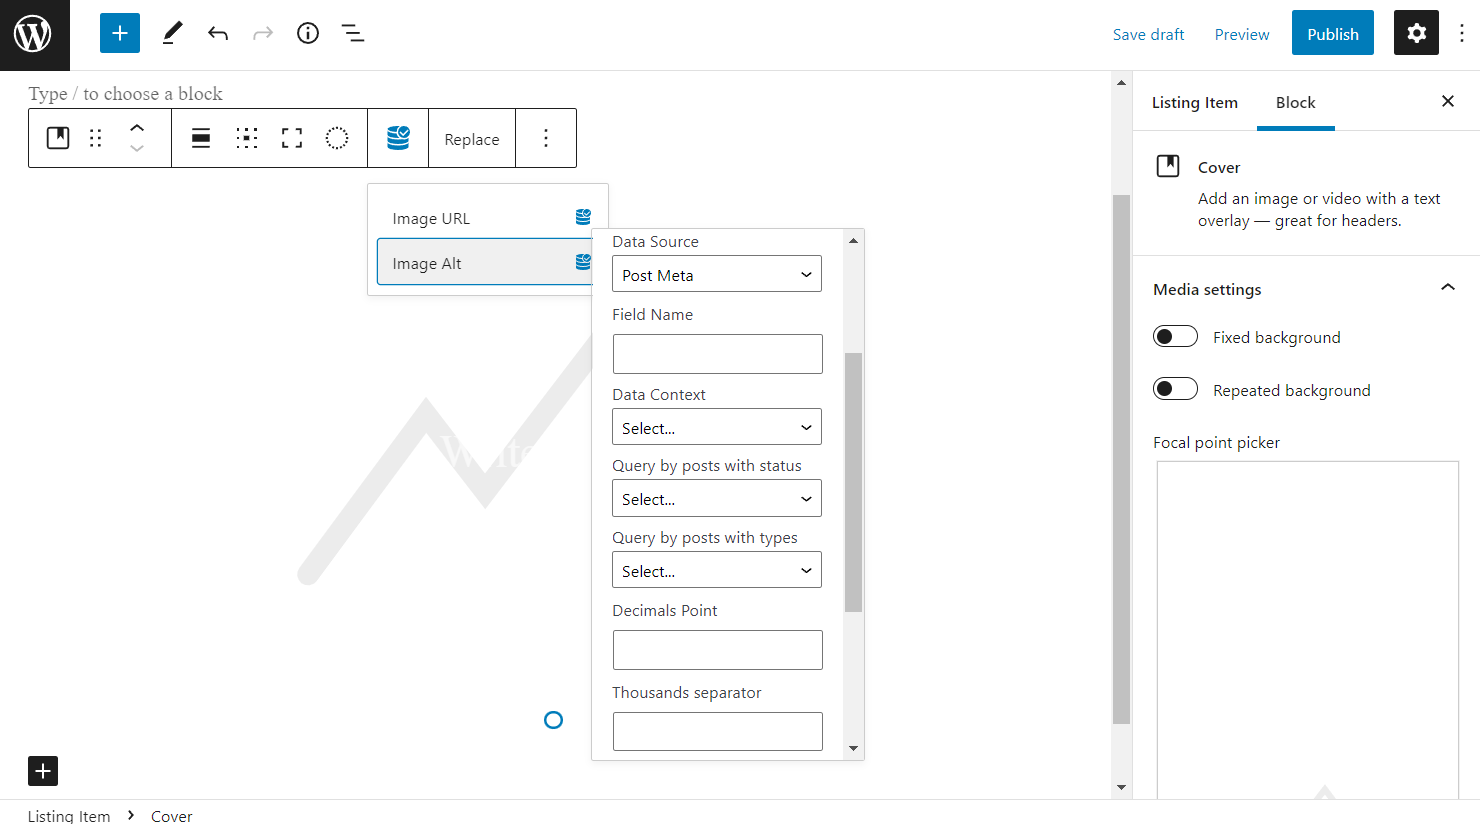
Add the Cover block to the editor. The Dynamic Content Tag button will now be placed above.
Hit it to see that the “Image URL” and “Image Alt” options are now available for customization.
Choose “Image URL” for the initial editing. The first tab is called Data Source. In this case, there is also the Image Source drop-down menu.
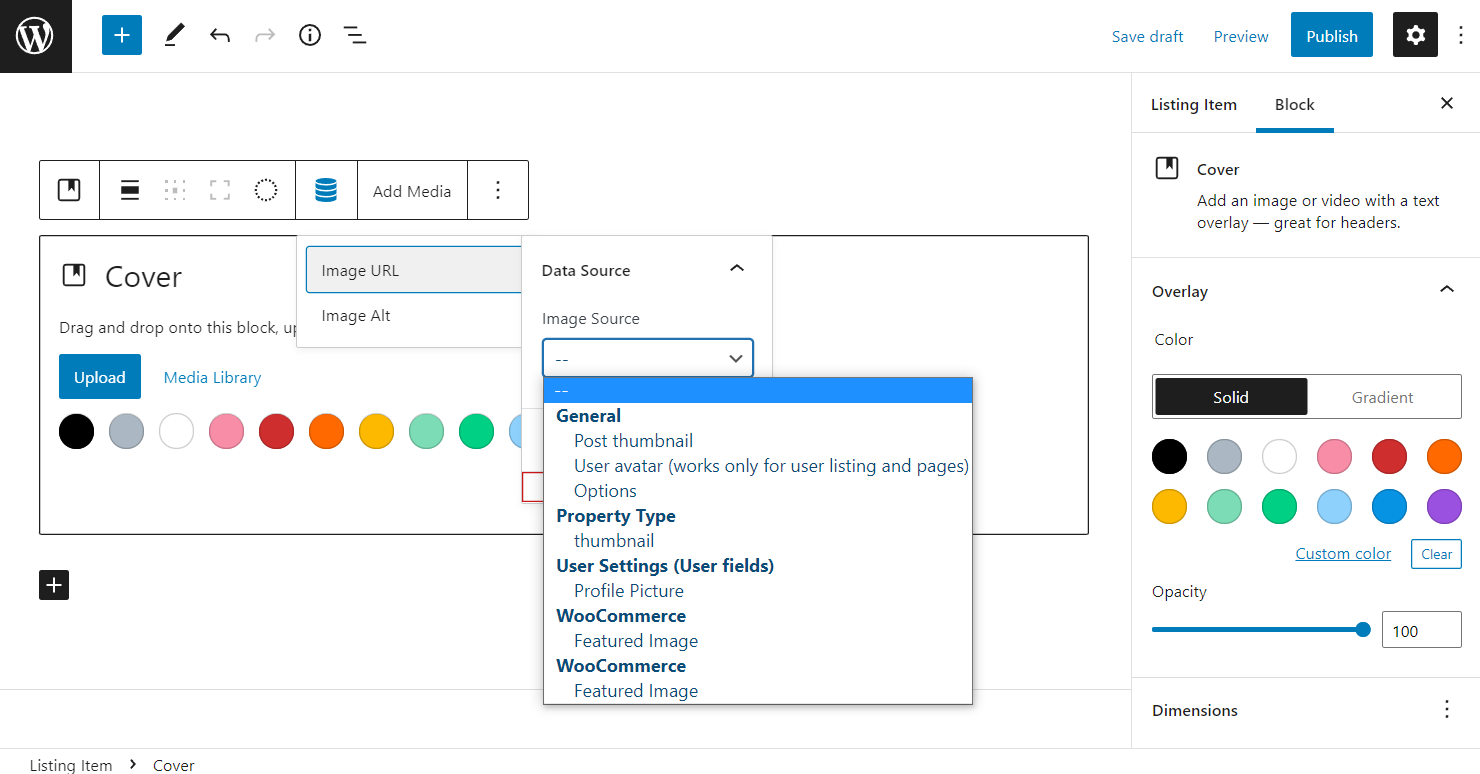
Choose between all the presented sources according to your needs.
Proceed to the Data Context tab. It allows you to select an object from which dynamic data will be taken.
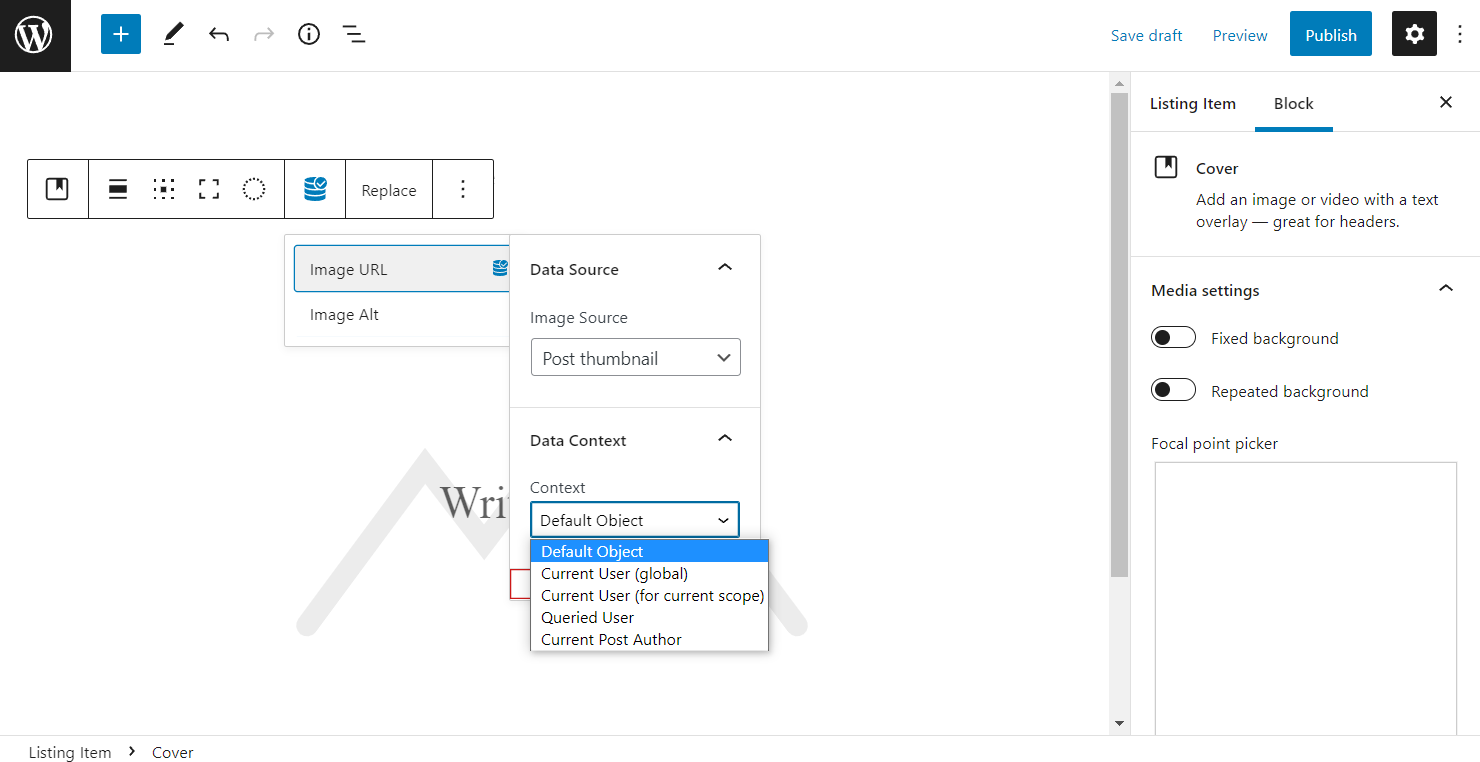
- Current User (global) — the user for whom the page was added;
- Current User (for current scope) — the user that is being proceeded;
- Queried User — the user that is logged in or that is indicated in the URL;
- Current Post Author — the user that is the author of the opened post.
Mind that the Data Context tab is accessible for all the considered blocks so that options will stay the same.
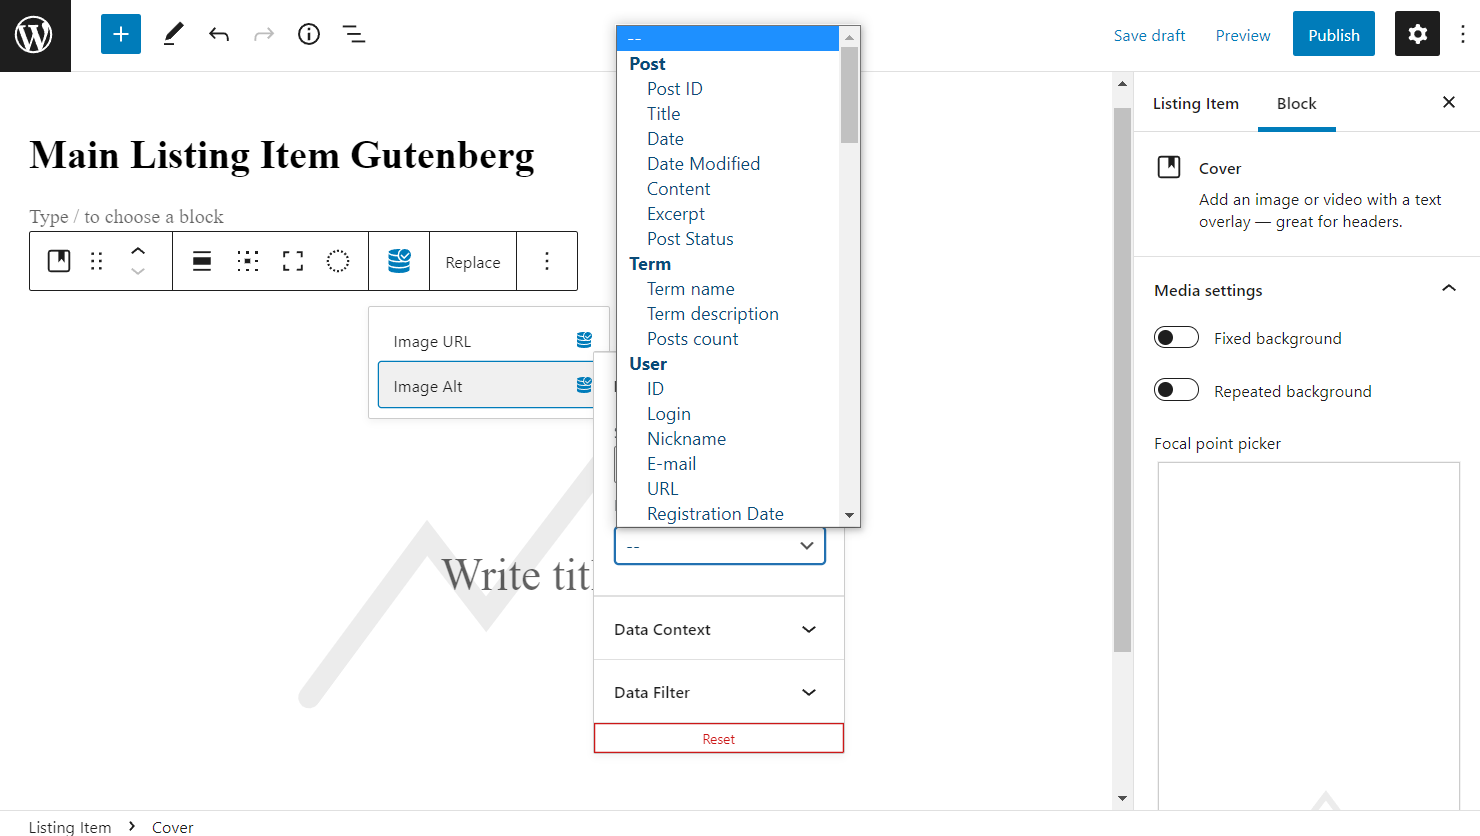
Head to the “Image Alt” option. The first tab is also Data Source, the same that we observed in the previous block. However, options are different now.
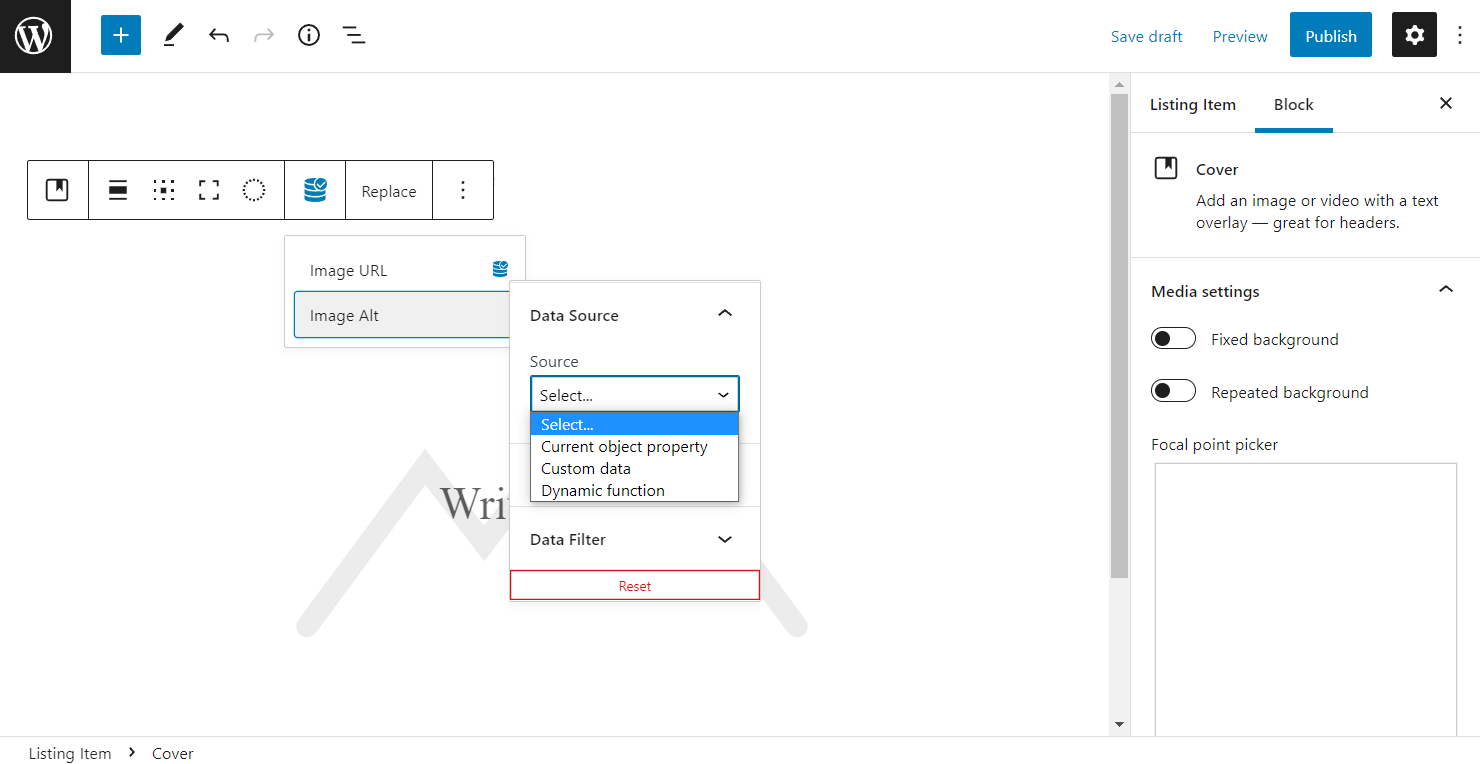
- Current object property — depicts data that is related to the current object;
- Custom data — displays the data called by the presented options;
- Dynamic function — shows values calculated according to the defined function.
Let’s start with the “Current object property.” Once selected, the Property drop-down is displayed.
You can use default Post, Term, User, and other available options. For instance, WooCommerce attributes if you are building a shop.
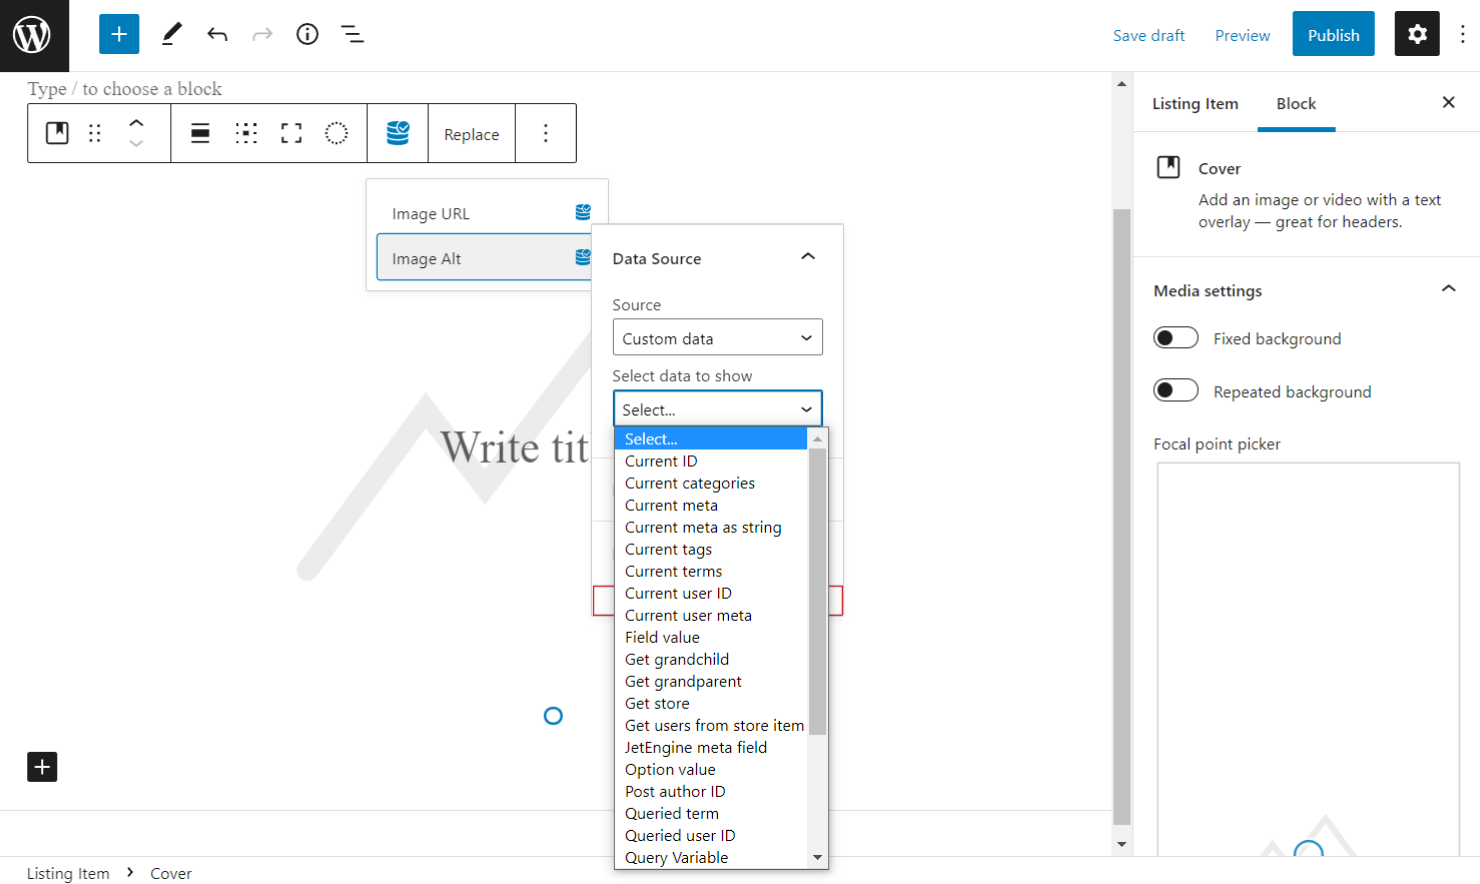
However, let’s check the second option presented in the Source drop-down. Custom data activates the Select data to show drop-down.
The options shown here are described in detail in the macros overview.
The third source is presented via the “Dynamic Function.” The first appeared drop-down is Function.
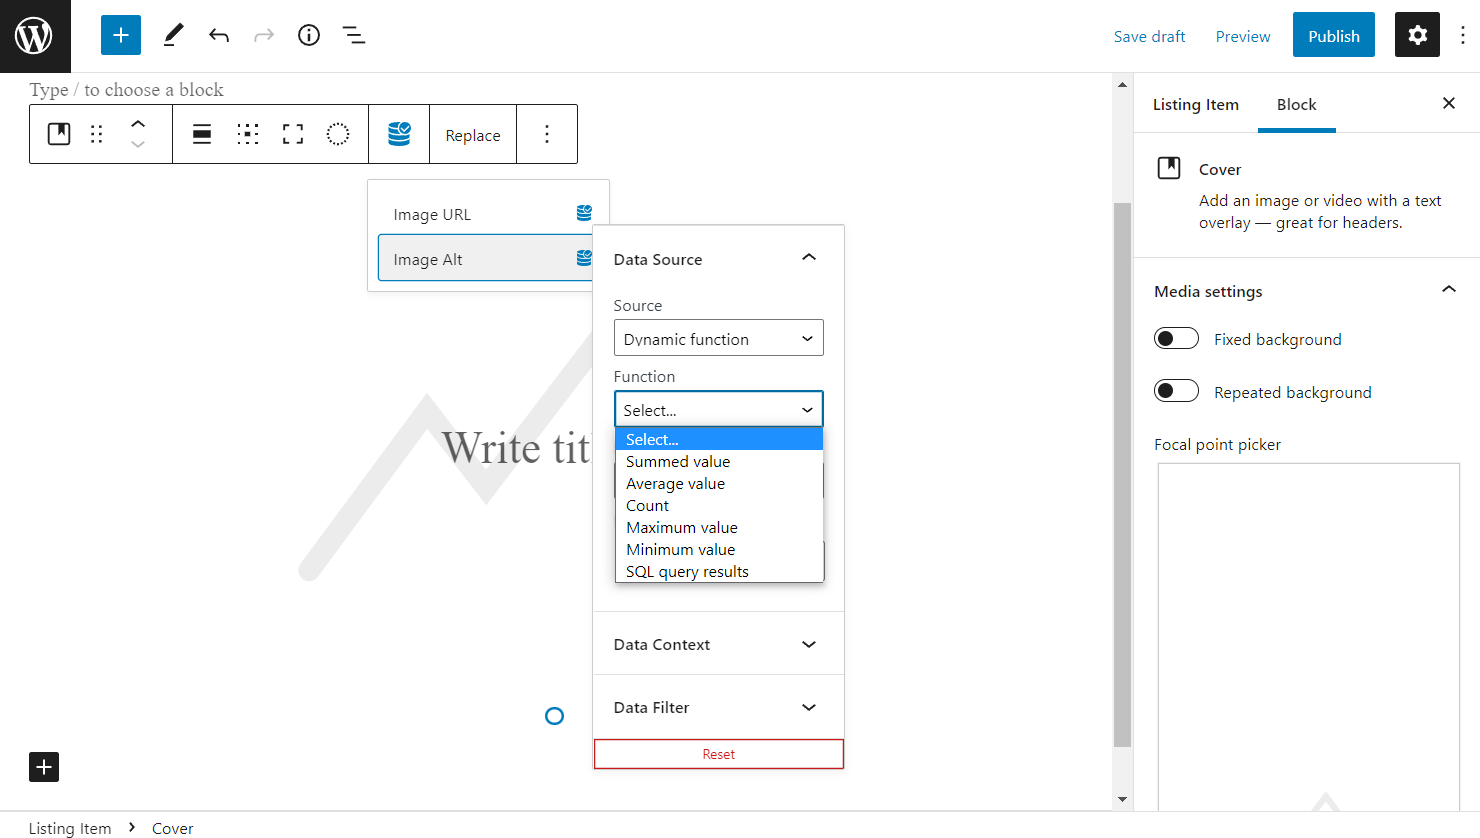
- Summed value — displays a total sum of the set meta field values;
- Average value — depicts an average amount of all the input values;
- Count — calculates the number of posts/terms/users having the field completed with data;
- Maximum value — represents the highest value among all the options;
- Minimum value — shows the lowest value among the options presented;
- SQL query results — works with SQL query and depicts its data.
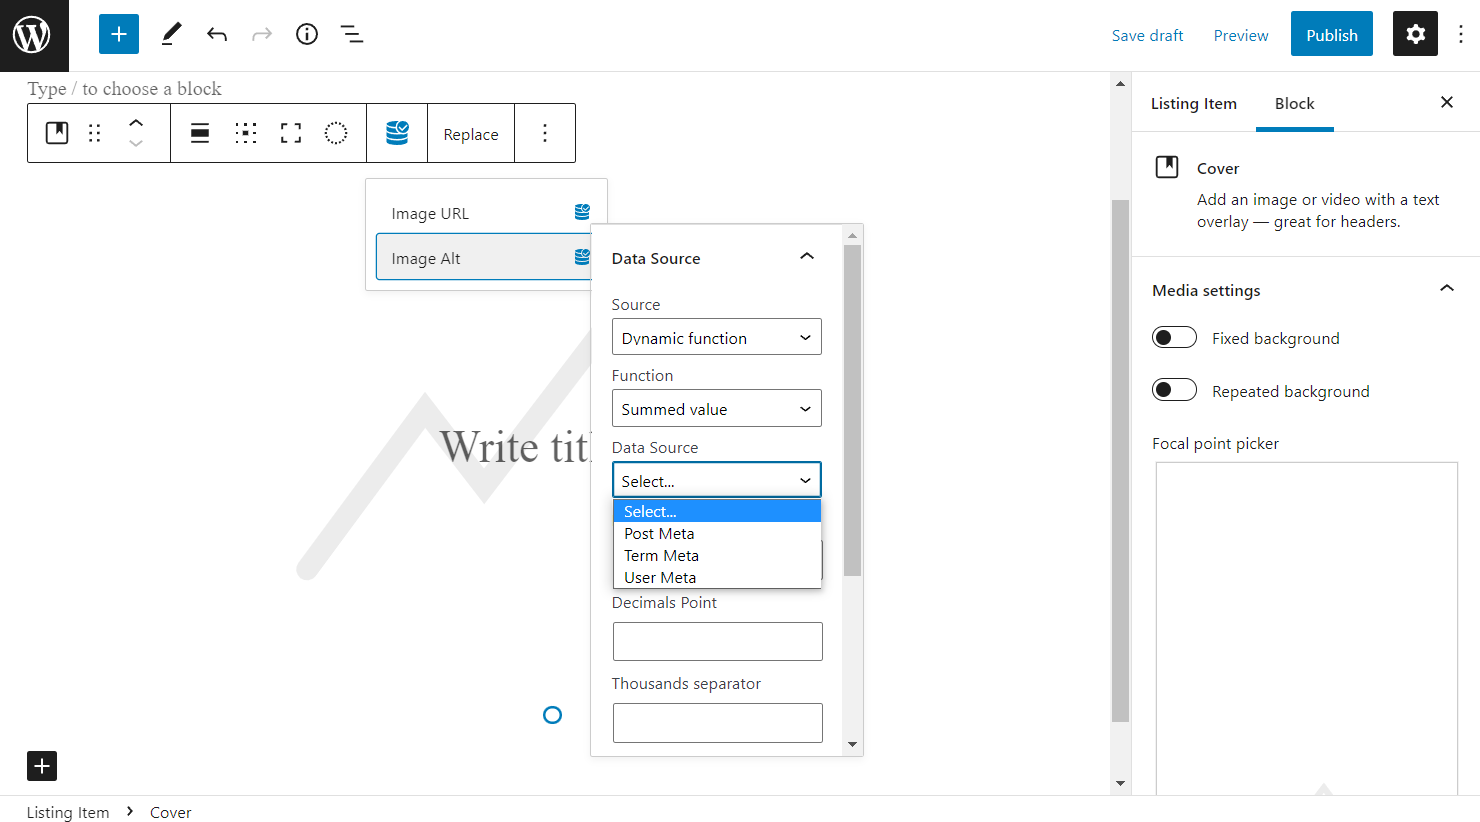
The following drop-down list is Data Source. Choose between Post, Term, and User Meta.
The Data Context field appears if the “Post Meta” option is picked. Type in the Field Name. This value can be represented with the meta field key completed during the meta field creation.
Move forward to the Data Context drop-down.
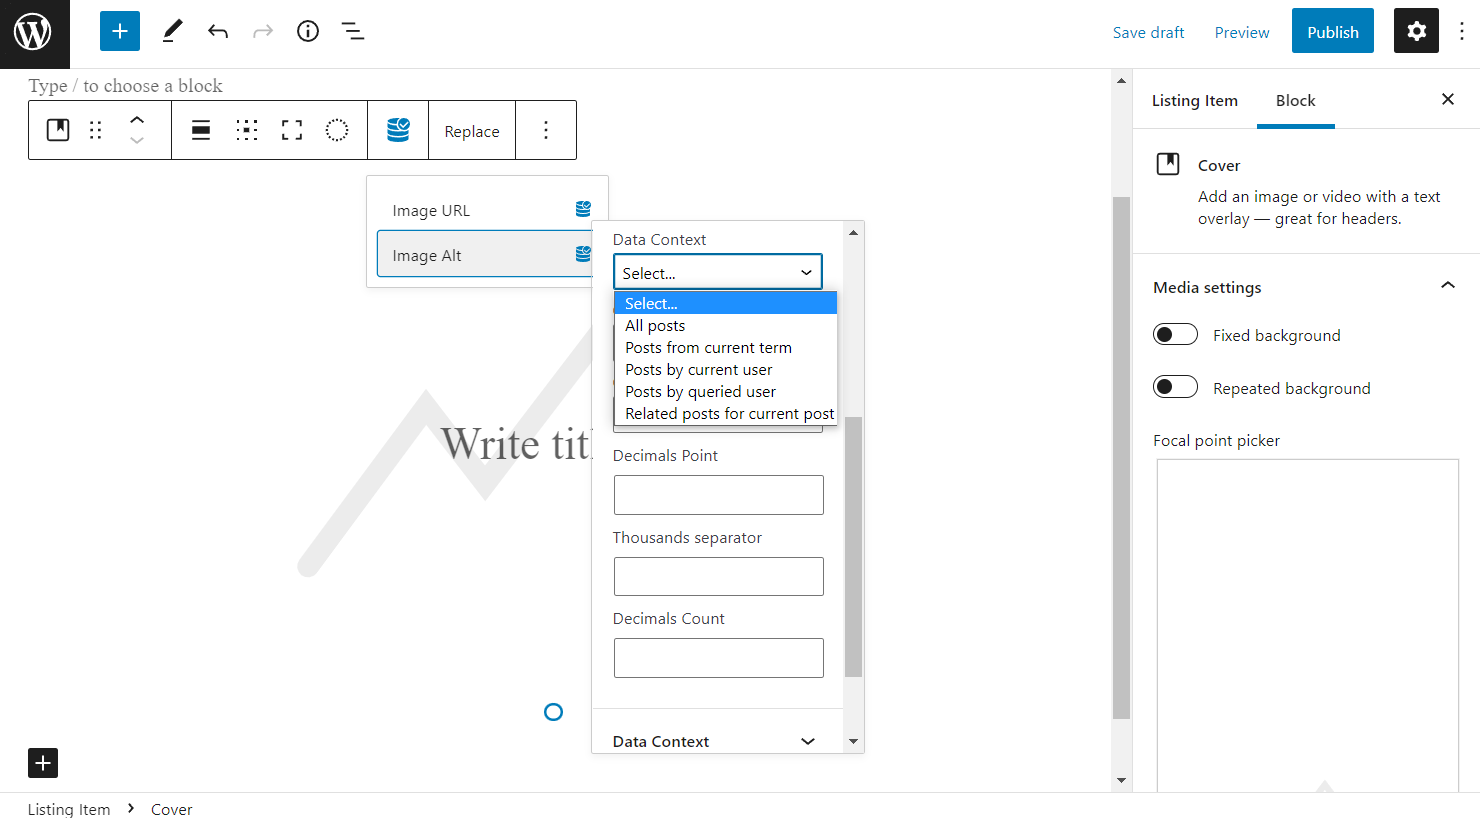
- All posts — the data will be pulled from all the posts;
- Posts from current term — the information will be taken only from the further defined Taxonomy;
- Posts by current user — the meta field values will be received from the current user posts;
- Posts by queried user — the data will be taken from the queried user posts;
- Related posts for current post — the values, in this case, will be pulled from the set Relation, the drop-down menu that is shown once the described data context is selected.
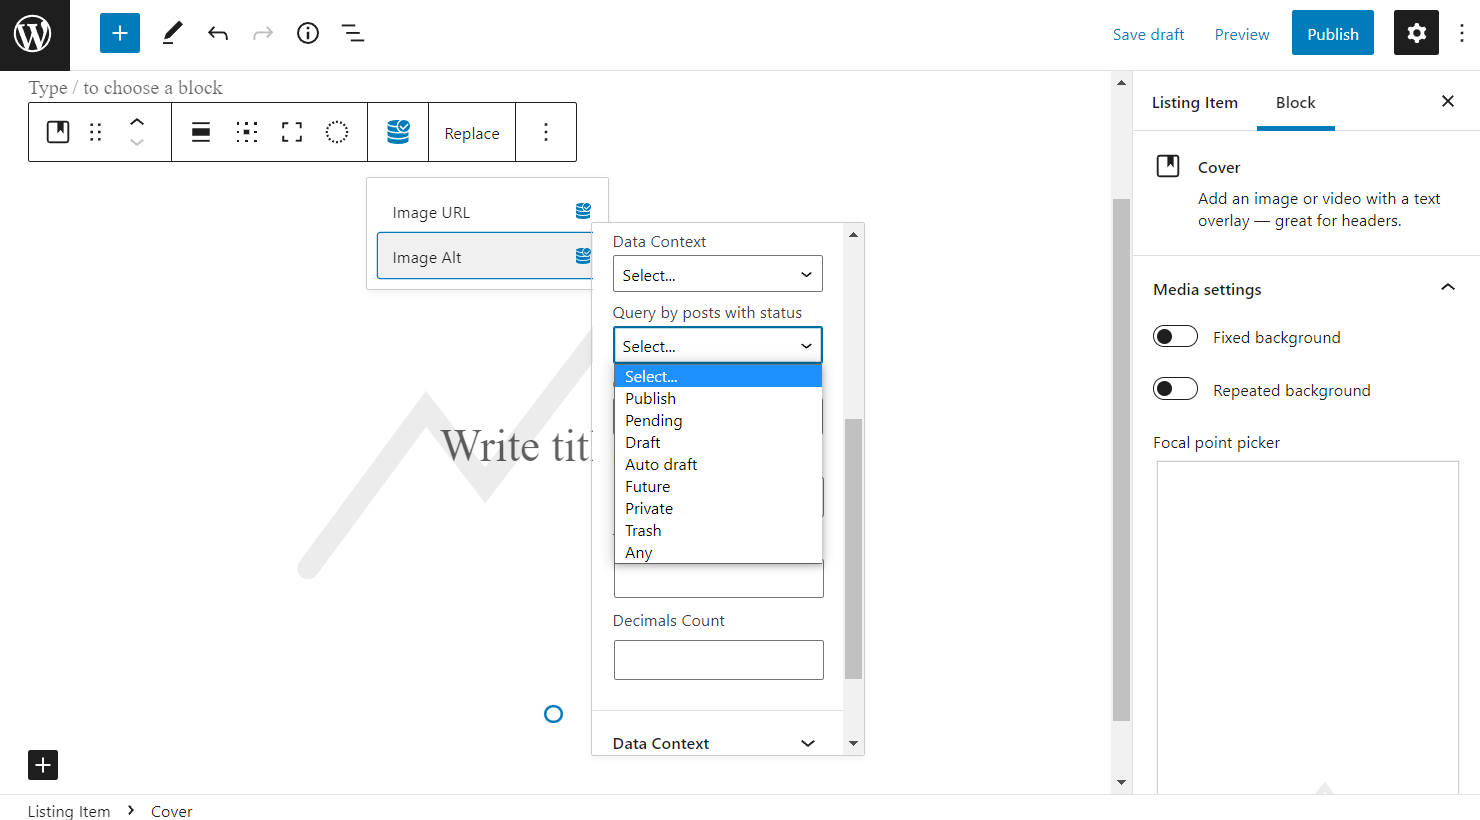
The following select field is Query by posts with status and depicts all the available posts statuses that can be queried.
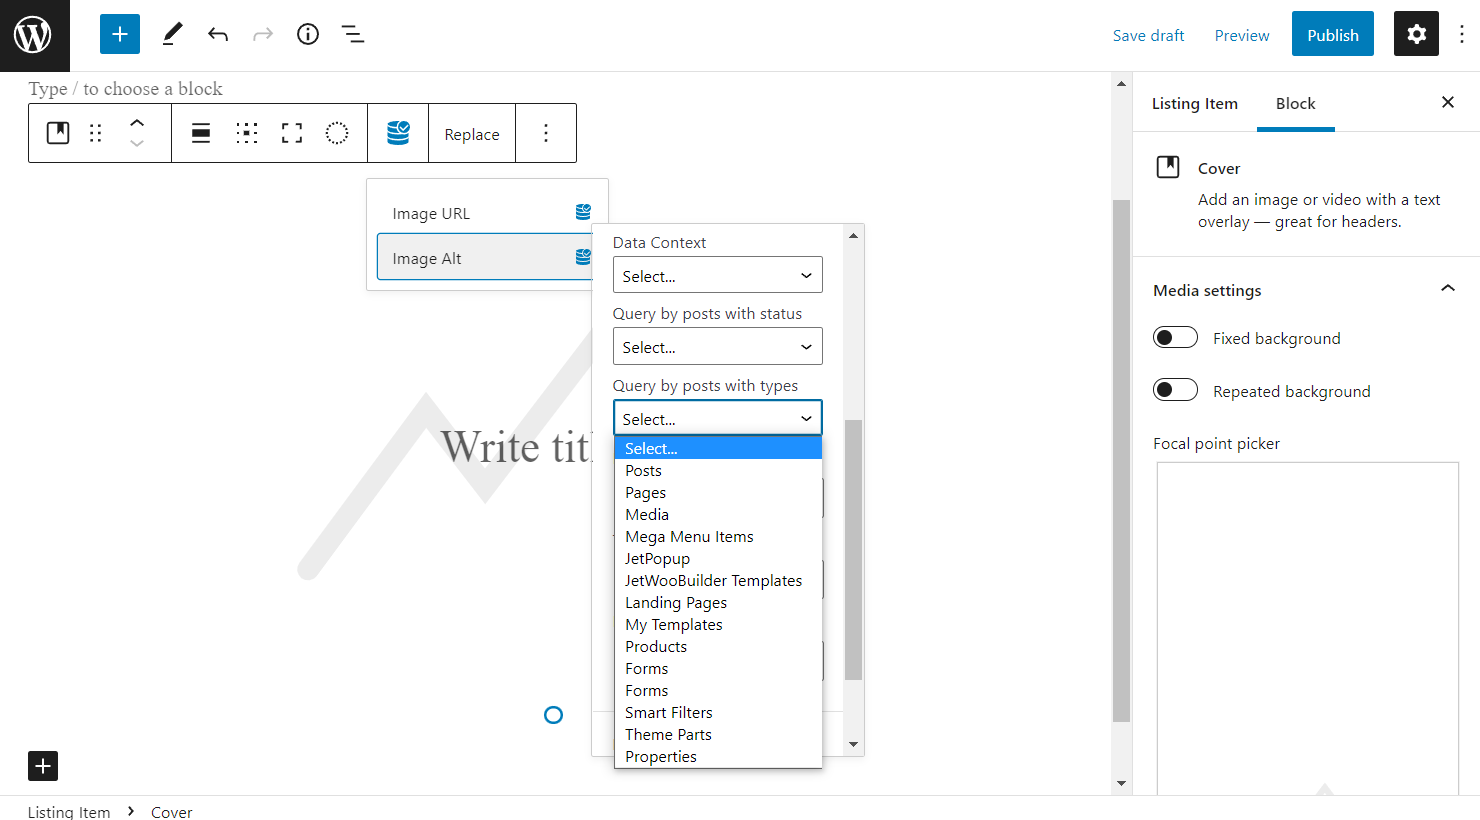
Going to the subsequent step, you can choose Query by posts with types.
Select between the website post types. Different plugins’ features and Custom Post Types will also be displayed in this list.
Once previous drop-down menu options are picked, move on to the following fields. These will not be seen if you have chosen the “Count” option in the Function select menu.
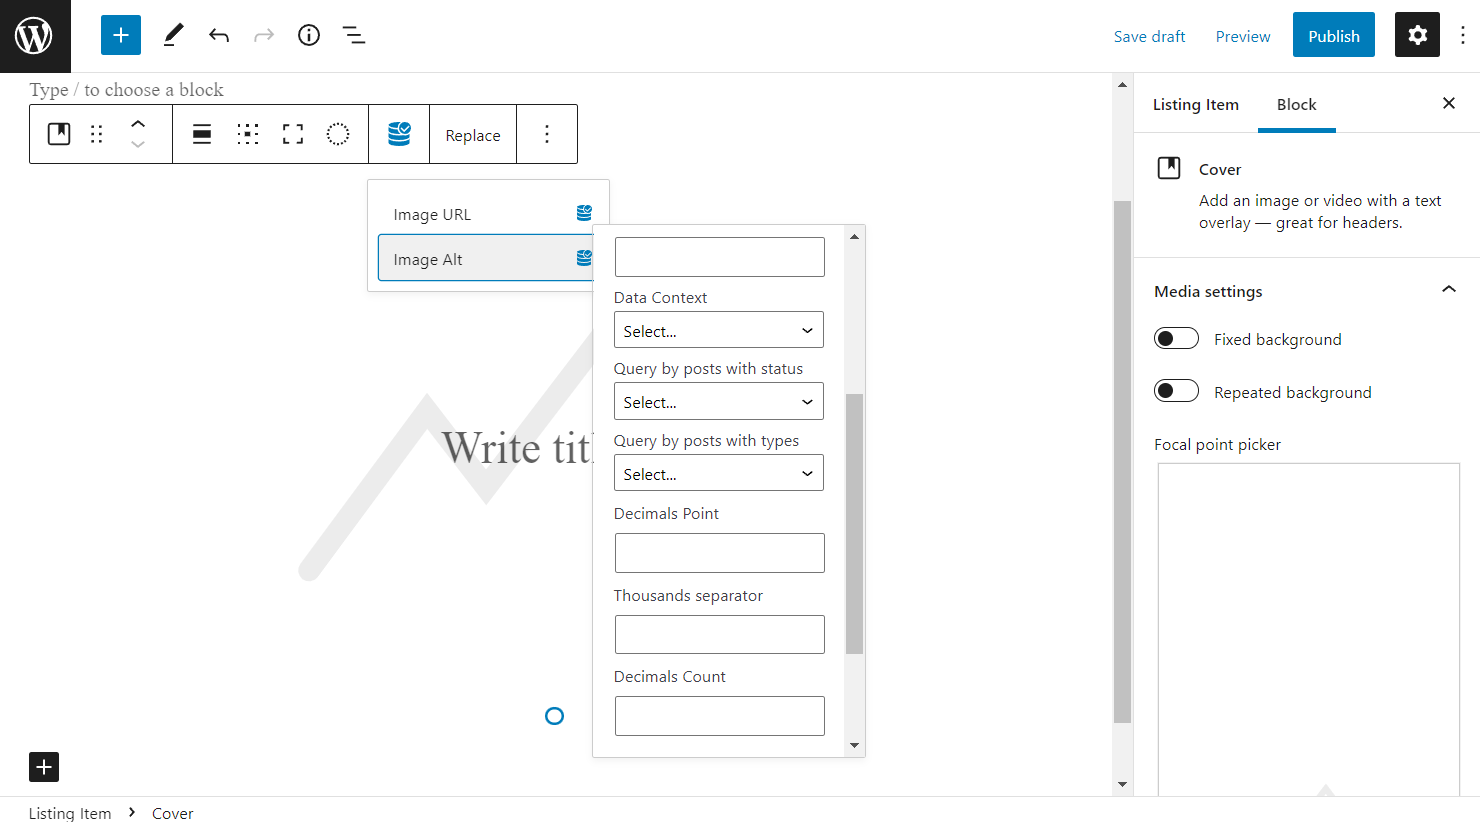
- Decimals Point — set the mark for the decimal point;
- Thousands separator — choose how the thousands separator will be shown;
- Decimals Count — define how many numbers after the decimal point will be displayed.
The next tab is Data Context. We have already reviewed the same one earlier, so let’s move on to the Data Filter tab. It allows you to filter the dynamic data additionally.
Enable the Filter output toggle if needed.
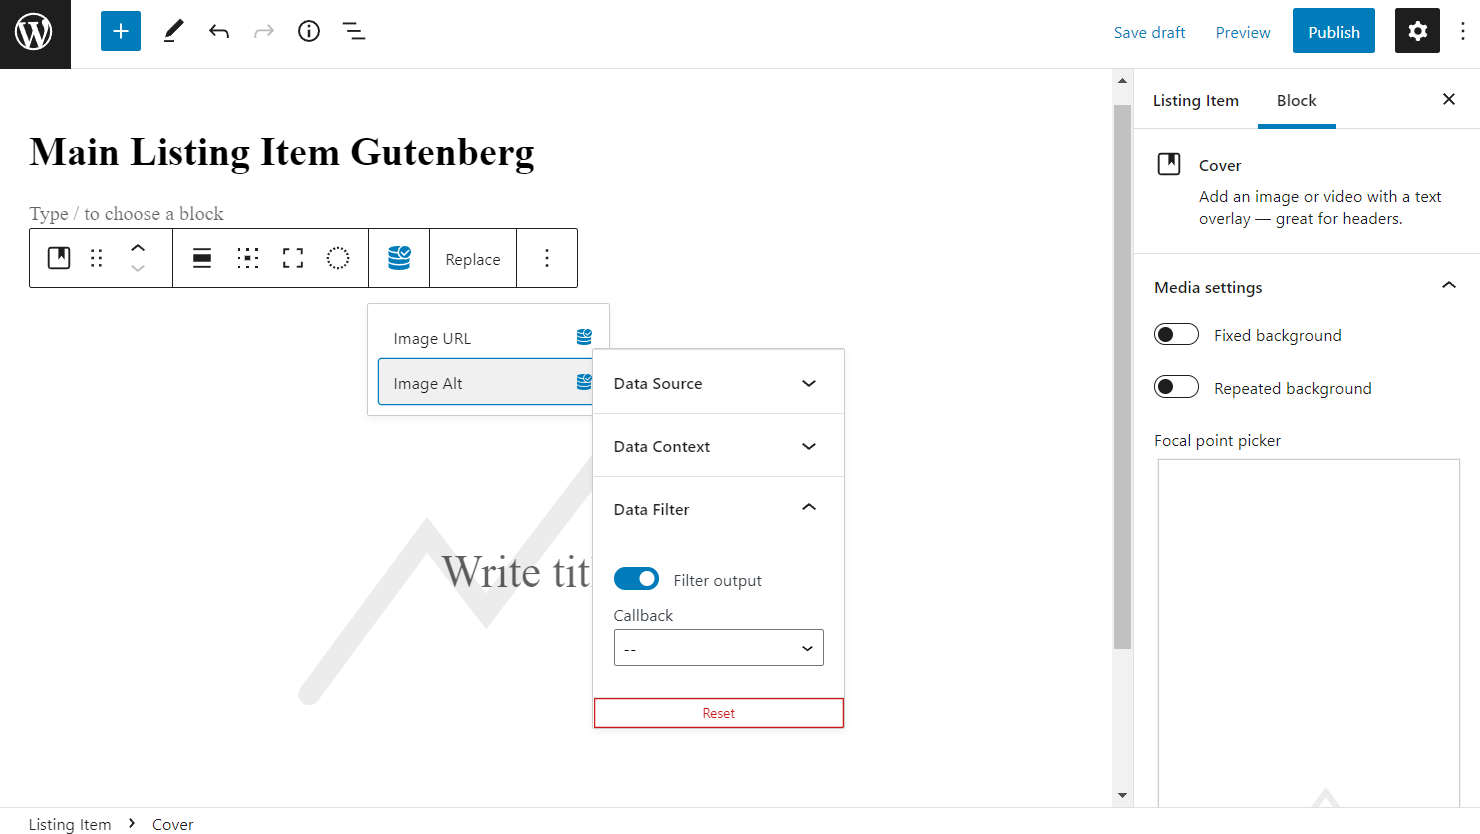
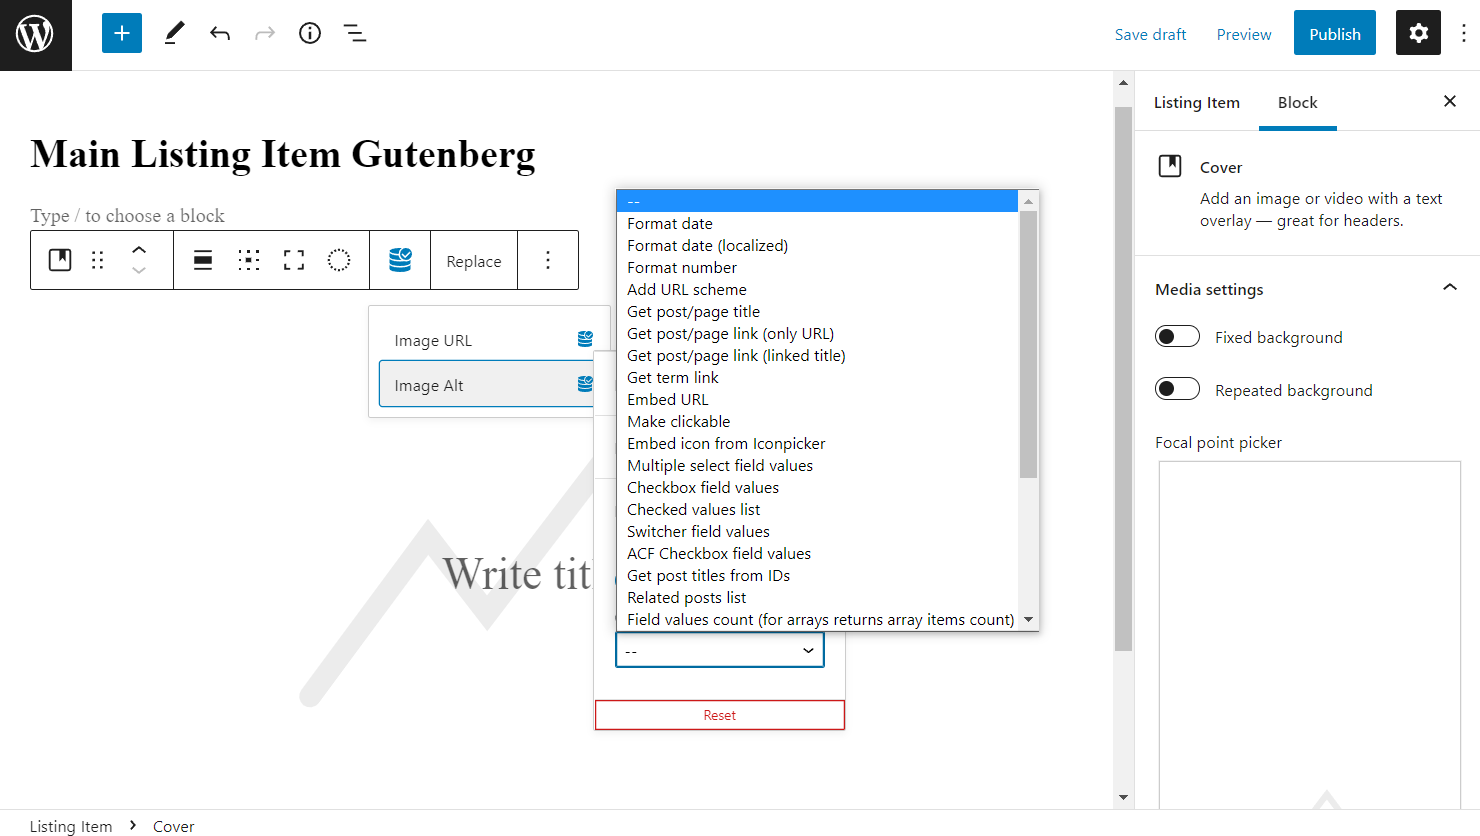
When activated, Callback drop-down list appears. It’s pretty similar to the ones used in the other JetEngine product, Dynamic Field. You can choose between multiple options. Read more about them in the Dynamic Field-related article, where the same options are described.
Our listing will not be complete without other vital data. The next block we will add is the Heading.
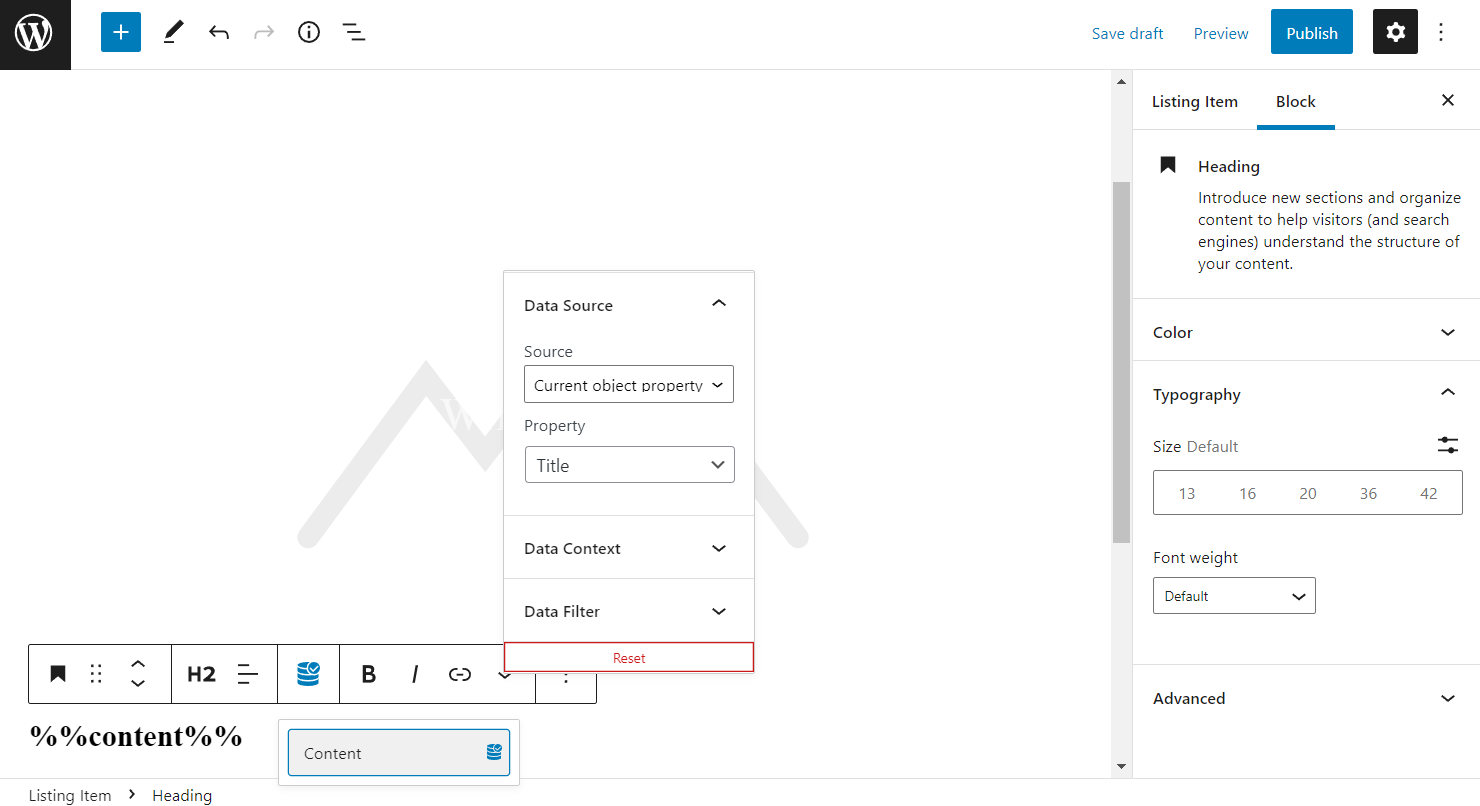
Heading block
After adding the heading block to the editor, click on the “Dynamic Content Field” button and select the only Content tab.
We have already covered the displayed customizations, as they are similar to the cover block ones.
Pick the desired options and head to the next block. Now we will explore how paragraph block cooperates with the Dynamic Content Tag.
Paragraph block
As you can see, after adding a paragraph block, the Dynamic Content Field options here look the same as the Heading block ones.
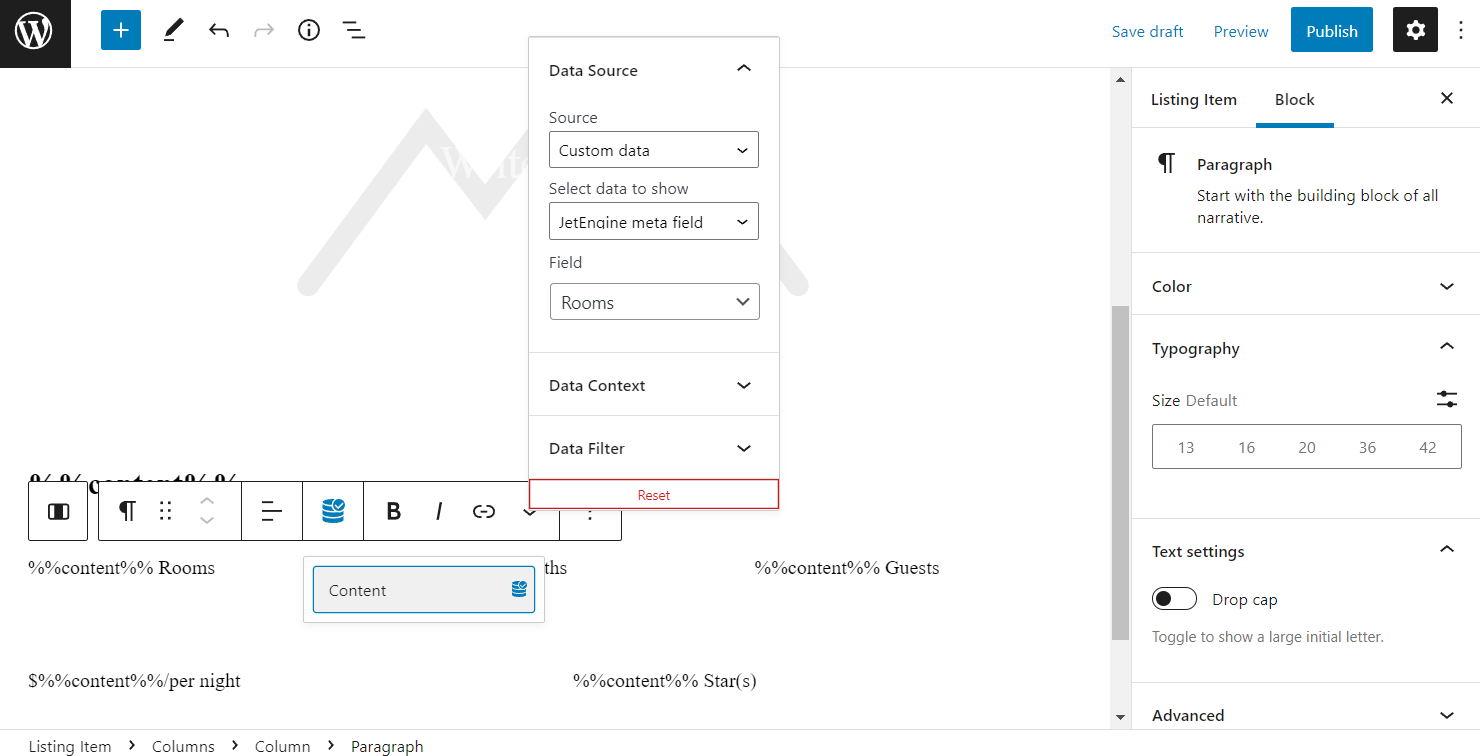
Create the desirable amount of fields and choose the required values. Since we create a CPT listing in our example, the most suitable option for us now is to show the “JetEngine meta field” option. Feel free to use the values you need.
If you want to add other static information to the block, type in the required data before/after the “%%content%%” value.
After finishing all customizations, move on to the buttons block if needed.
Buttons block
Add a Buttons block. When clicking on the Dynamic Content Tag icon, you will see Text and URL tabs. Their editing options are the same as the other values that can be shown with text.
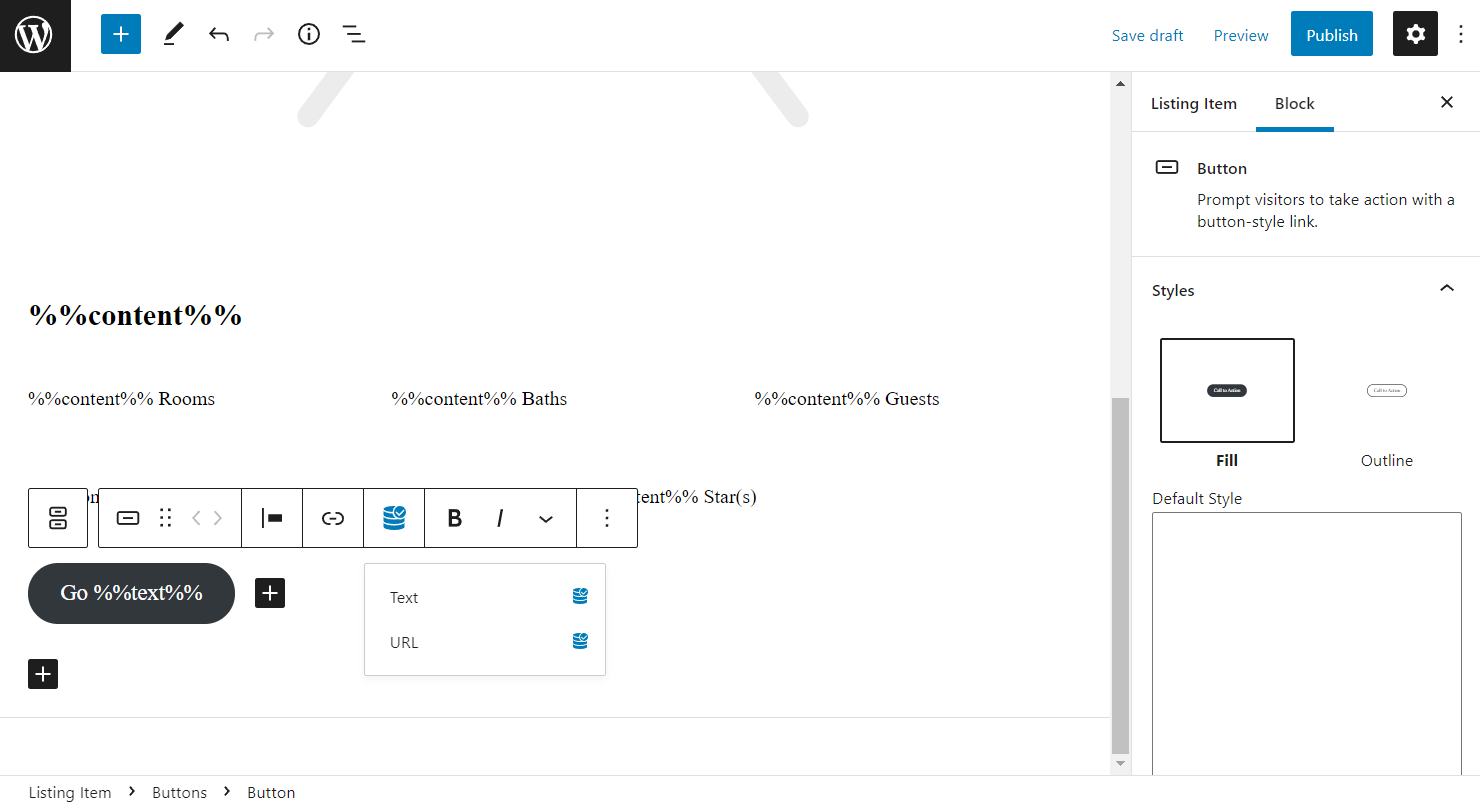
Type in extra information before/after the dynamic values if required.
Now we have covered all the blocks that support Data Content Tag. Click on the “Publish” button.
Checking the Results
As an example, we will display the created listing on the Gutenberg-edited page. Go to Pages > Add New.
You can display a listing with the Listing Grid. Select the listing you have just created.

Publish the page once ready and check it on the front end.
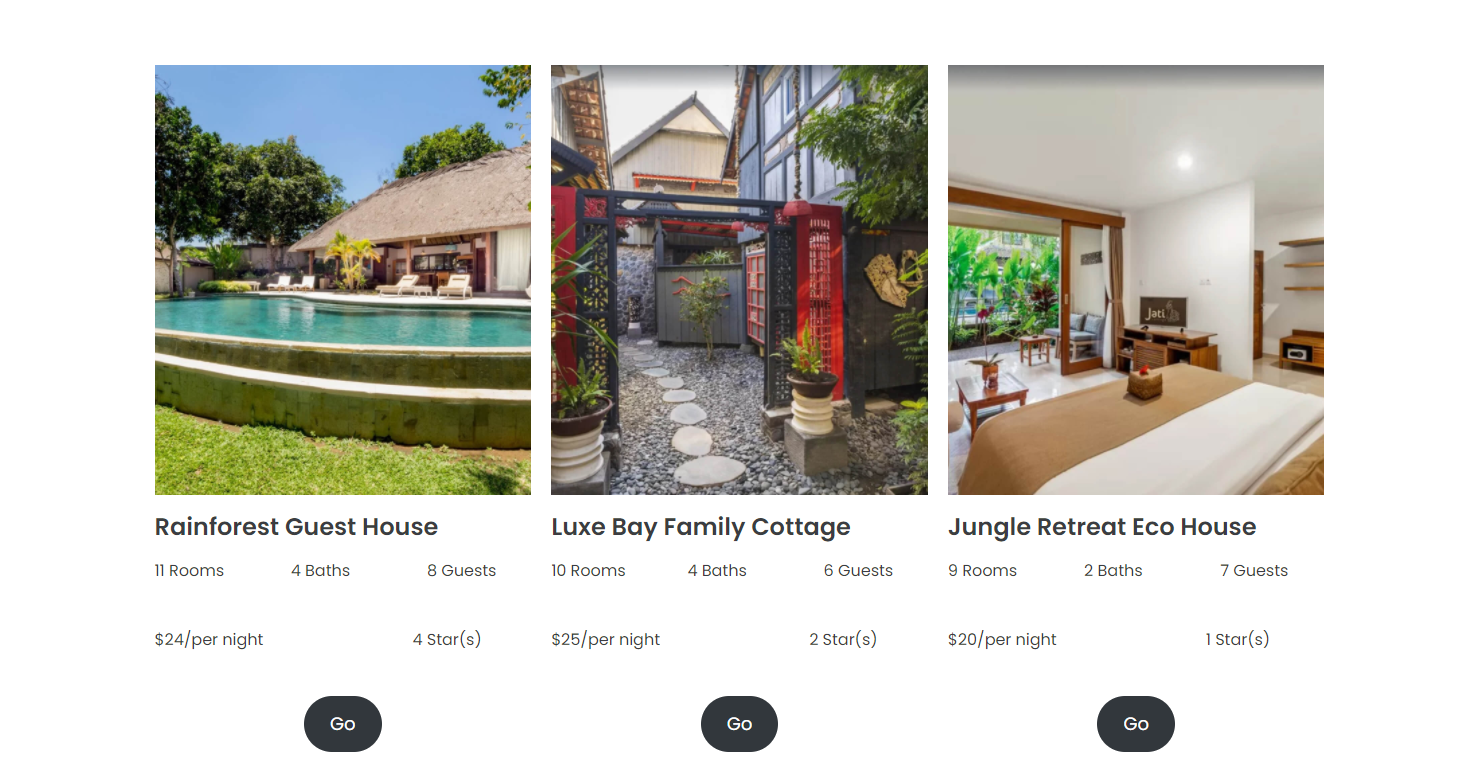
The dynamic data is displayed. Now you know how to use the Dynamic Content Tag freely.