How to Create a Hamburger Menu
Learn how to build a WordPress menu using the JetMenu plugin and display it on your website using the Hamburger Menu widget/block.
In this guide, you will learn how to adjust the Hamburger Menu widget in order to display it on your WordPress website, for example, by placing it in the header.
Create a Hamburger Menu
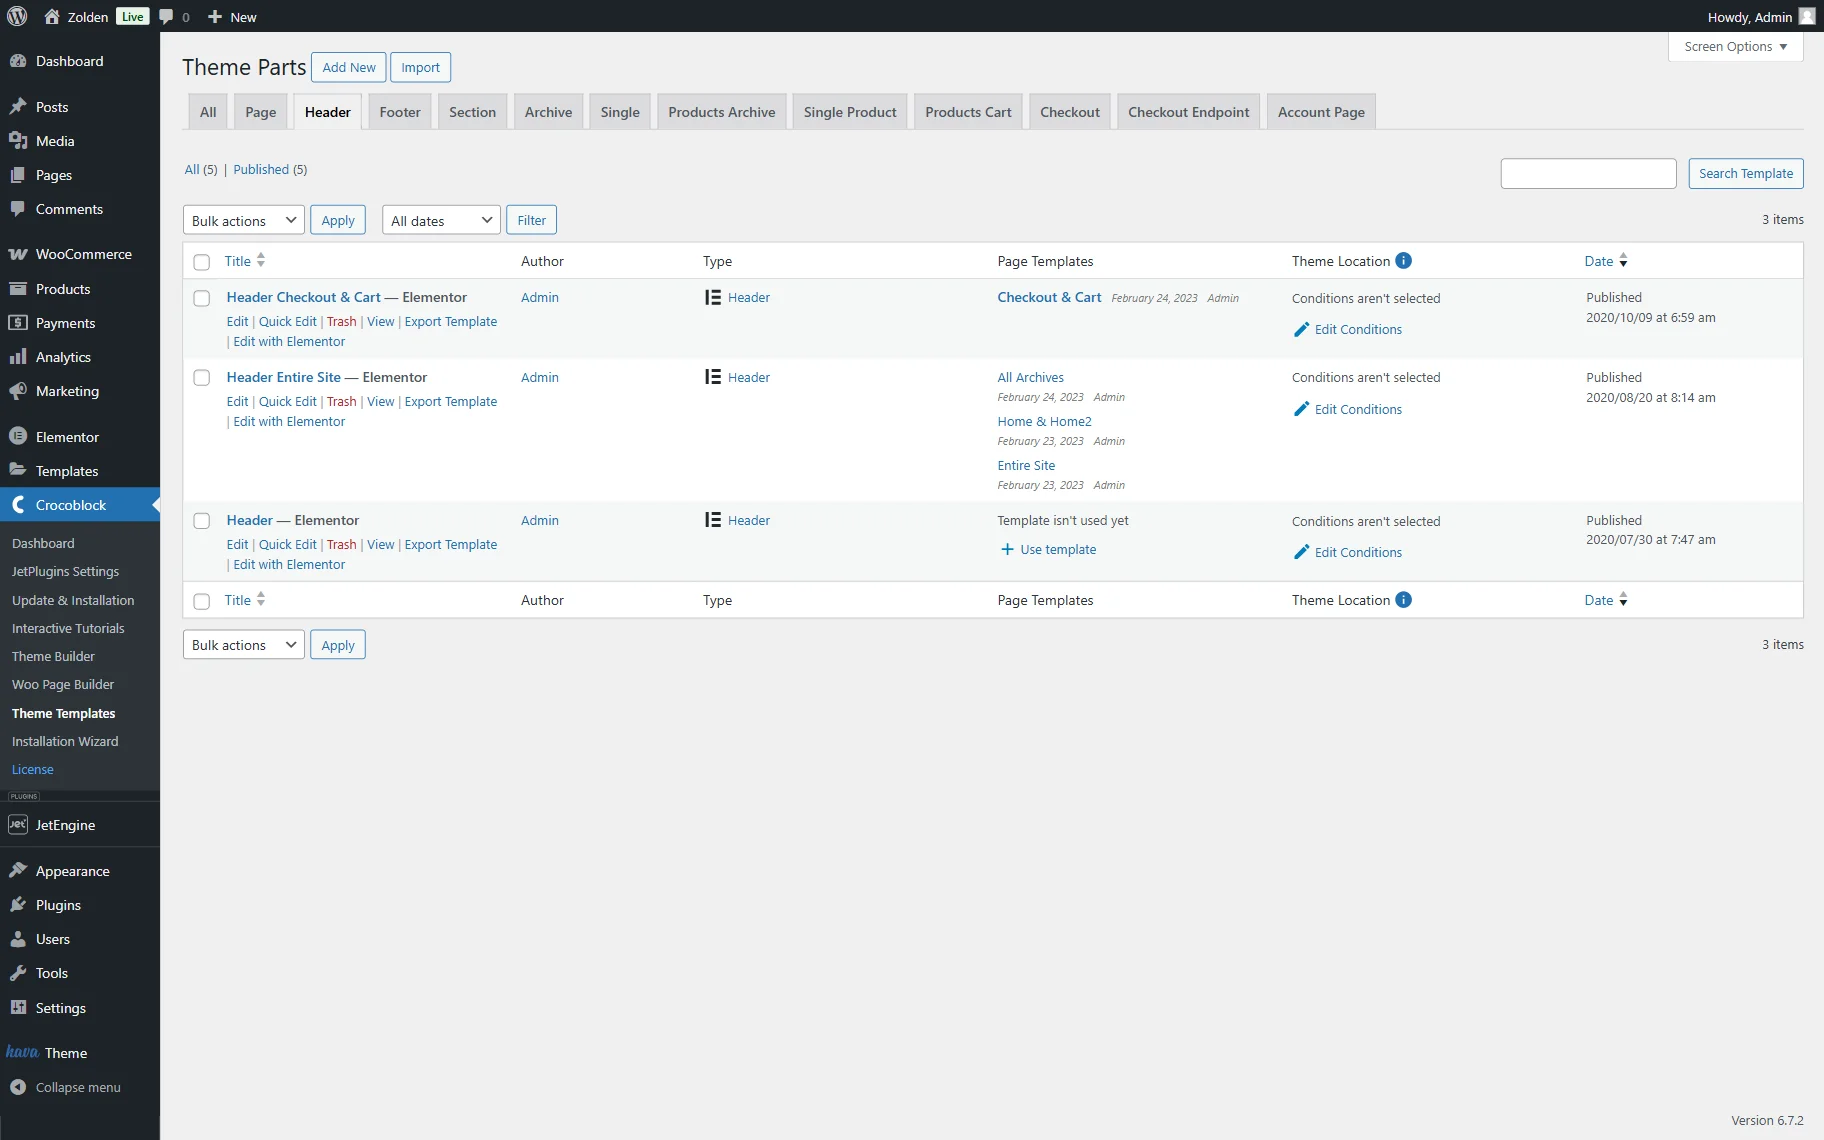
Navigate to the page/template where you want to place a menu. In this guide, we will insert the header built with JetThemeCore. To do this, navigate to WordPress Dashboard > Crocoblock > Theme Templates, locate the header we previously created, and click the “Edit/Edit with Elementor” button to open the editor.
Our header is built with Elementor, so it is now open in this editor. However, you are free to use the Blocks Editor (Gutenberg) as an alternative. The settings of the Hamburger Menu are the same in these two builders.
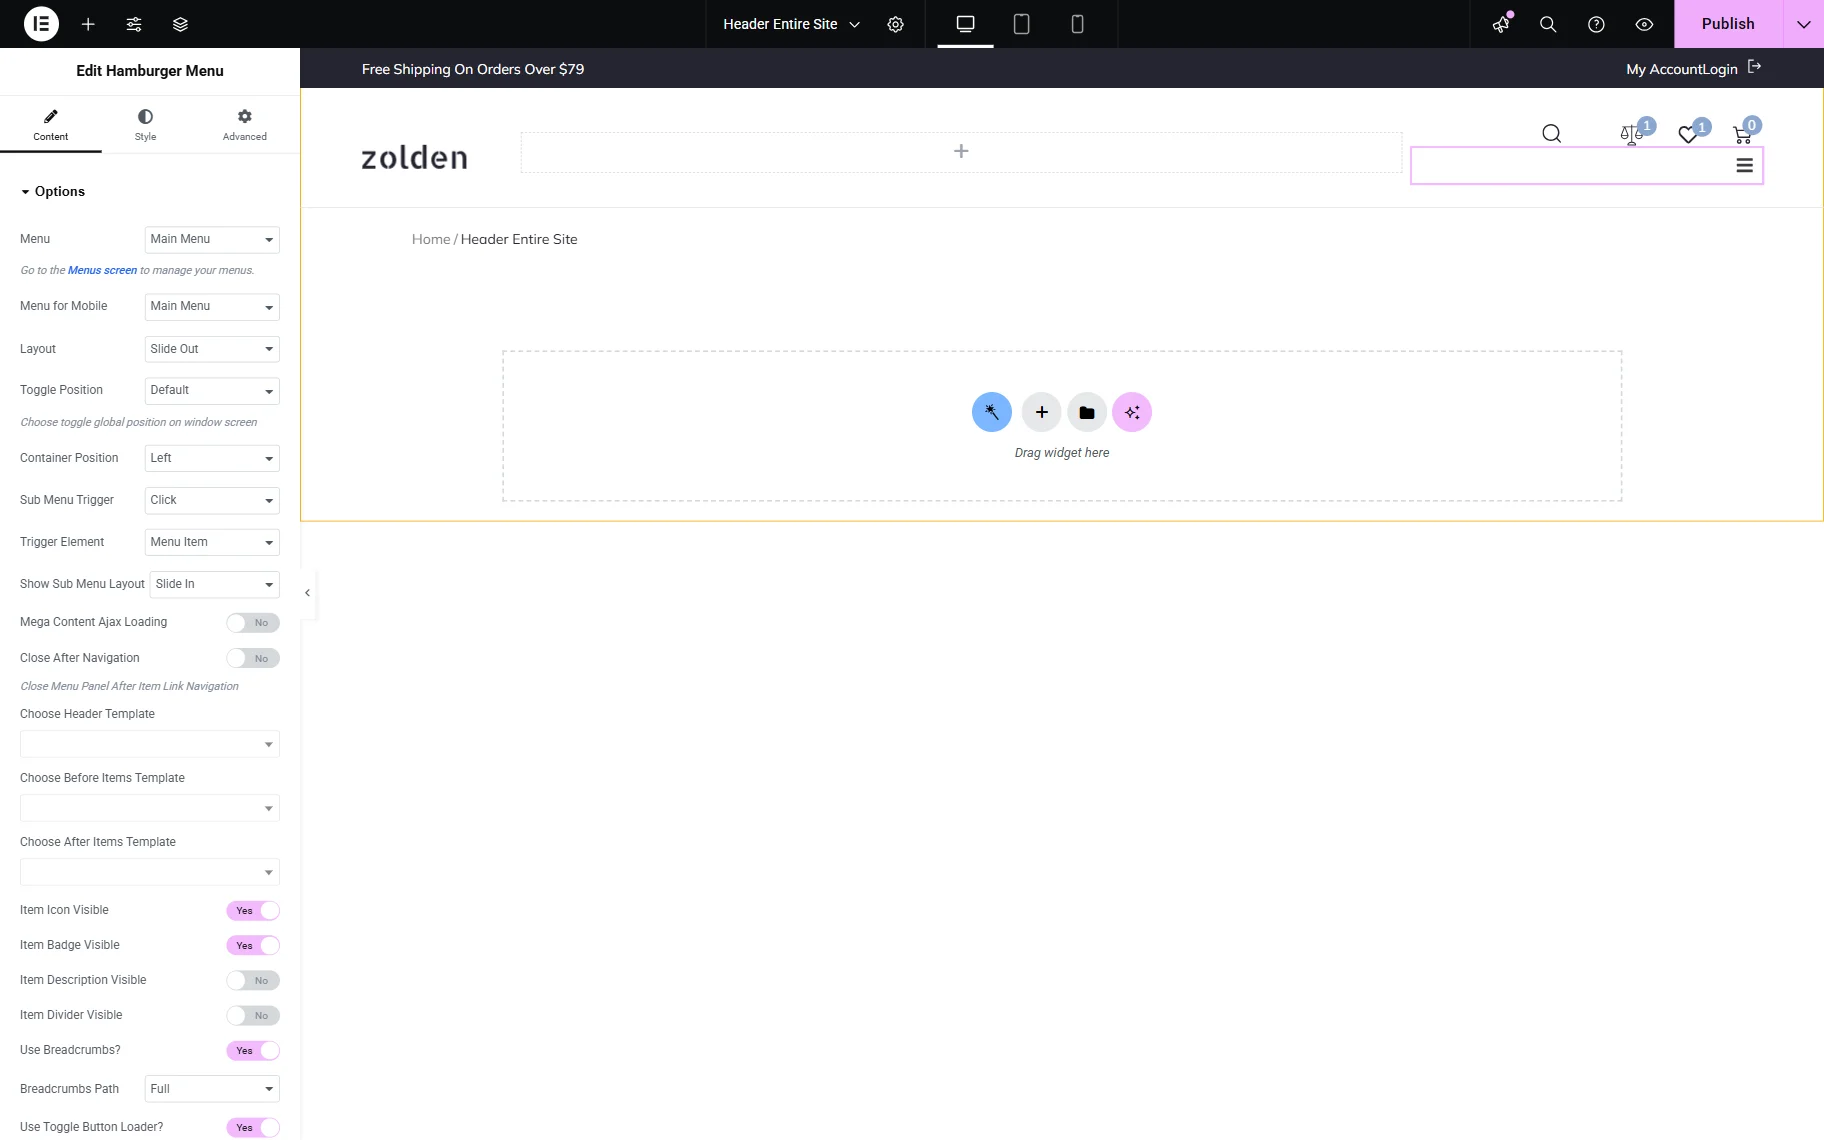
Drag-n-drop the Hamburger Menu widget/block to the needed section.
Now, let’s have a look at the widget’s settings. In the Options section, select the Menu for the desktop and the Menu for Mobile. You can choose the same menus, or you can choose one menu for the desktop and a different menu for the mobile view.
Then, select the Layout, Toggle Position, and Container Position, and choose the required option as the Sub Menu Trigger, and the corresponding one as the Trigger Element. Also, you can select the sub-menu layout in the Show Sub Menu Layout dropdown.
Next, you can activate the Mega Content Ajax Loading toggle to load mega content with AJAX and the Close After Navigation toggle to close the menu after link navigation.
Also, you can add a header template, a before items template and an after items template in the corresponding dropdown menus. If you want to add both before and after templates, then the before items template will be under the after items template.
Here, you can also enable an icon, badge, description, divider, breadcrumbs, and a toggle button loader.
If the breadcrumbs are enabled, you can also set the Breadcrumbs Path.
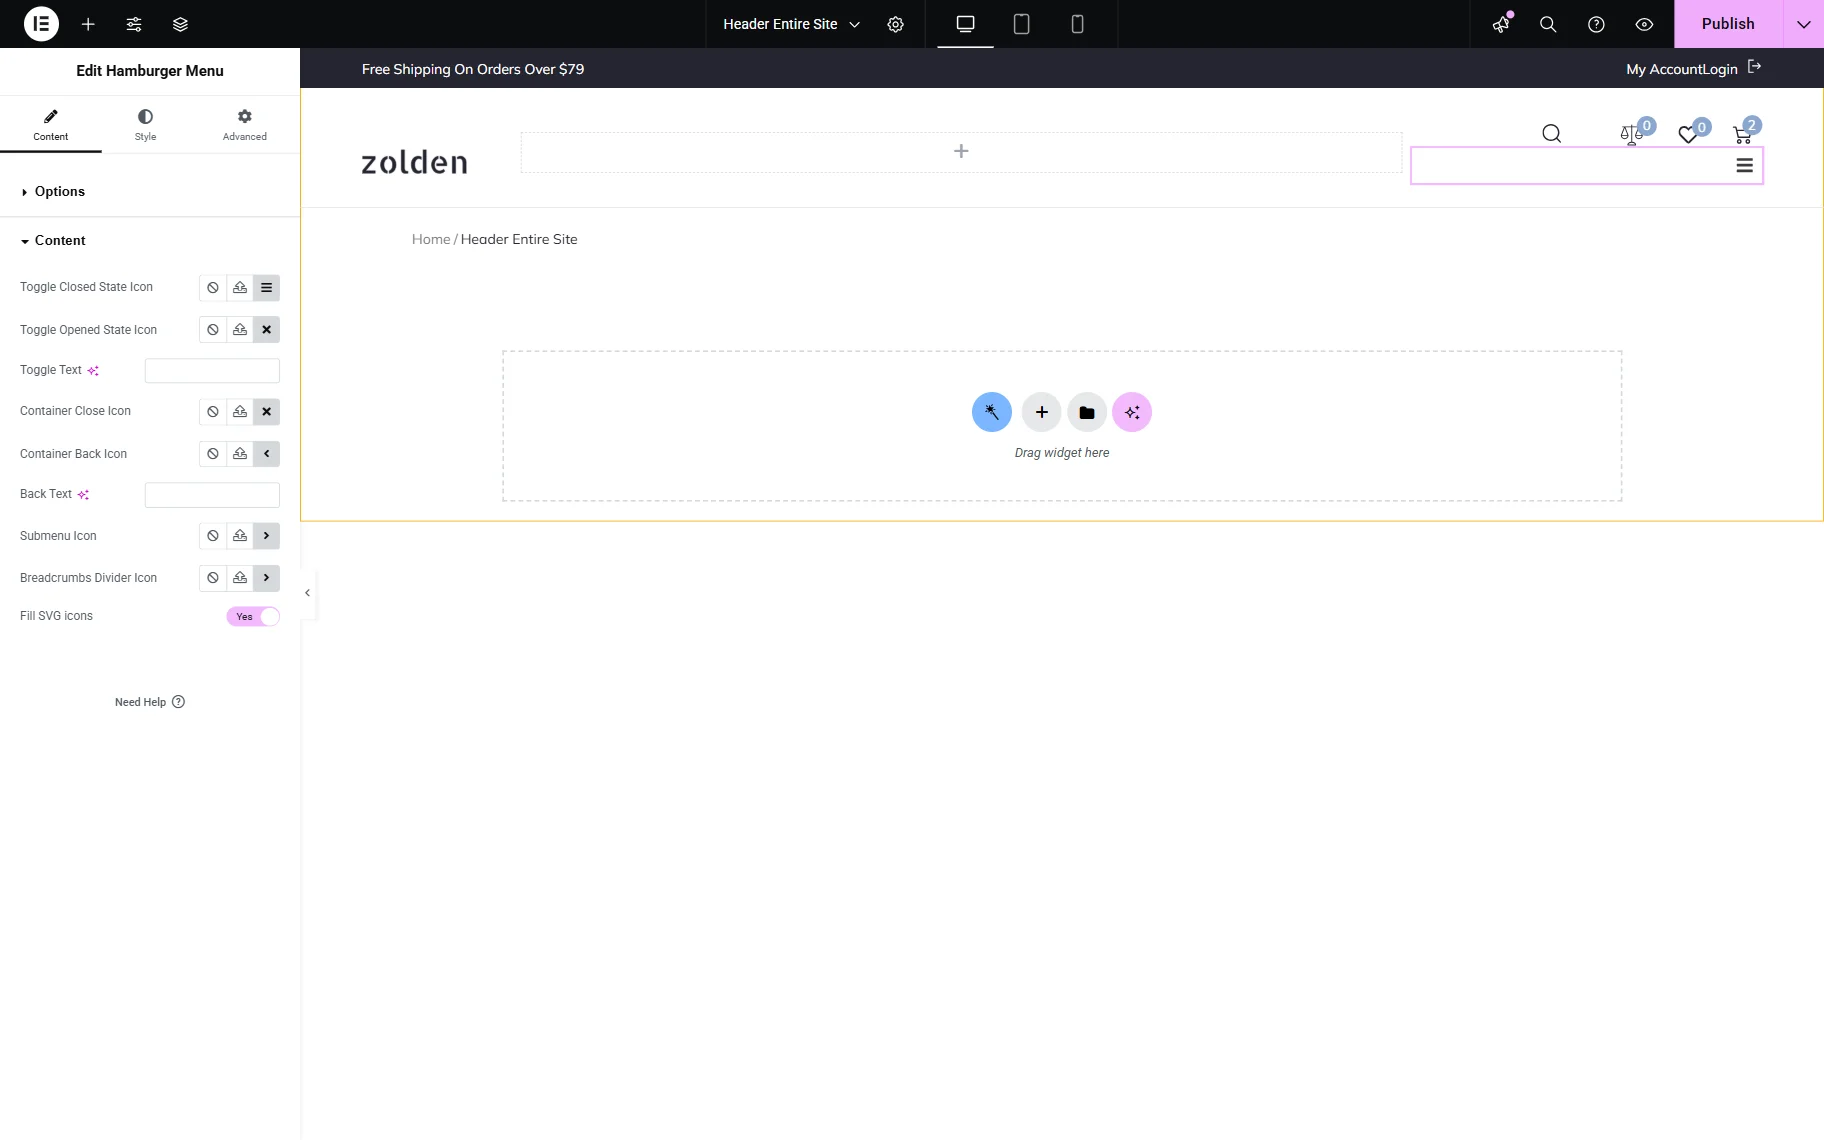
The next settings tab is called Content. Here, you can choose Toggle Closed State Icon and Toggle Opened State Icon from the icon library or upload your own icon in the SVG format and add a Toggle Text. In the same way, you can add a Container Close Icon and Container Back Icon, set the Back Text, pick the Submenu Icon and the Breadcrumbs Divider Icon, and activate the Fill SVG icons.
After you’ve completed the menu customization, you can proceed to the Style settings and style your menu according to your taste.
Once the needed changes are made, press the “Publish” button.
Check the Result
Now, it’s time to see the menu in action. So, proceed to the page where the menu is located. In our case, this can be the home page, where the header we edited earlier is shown.
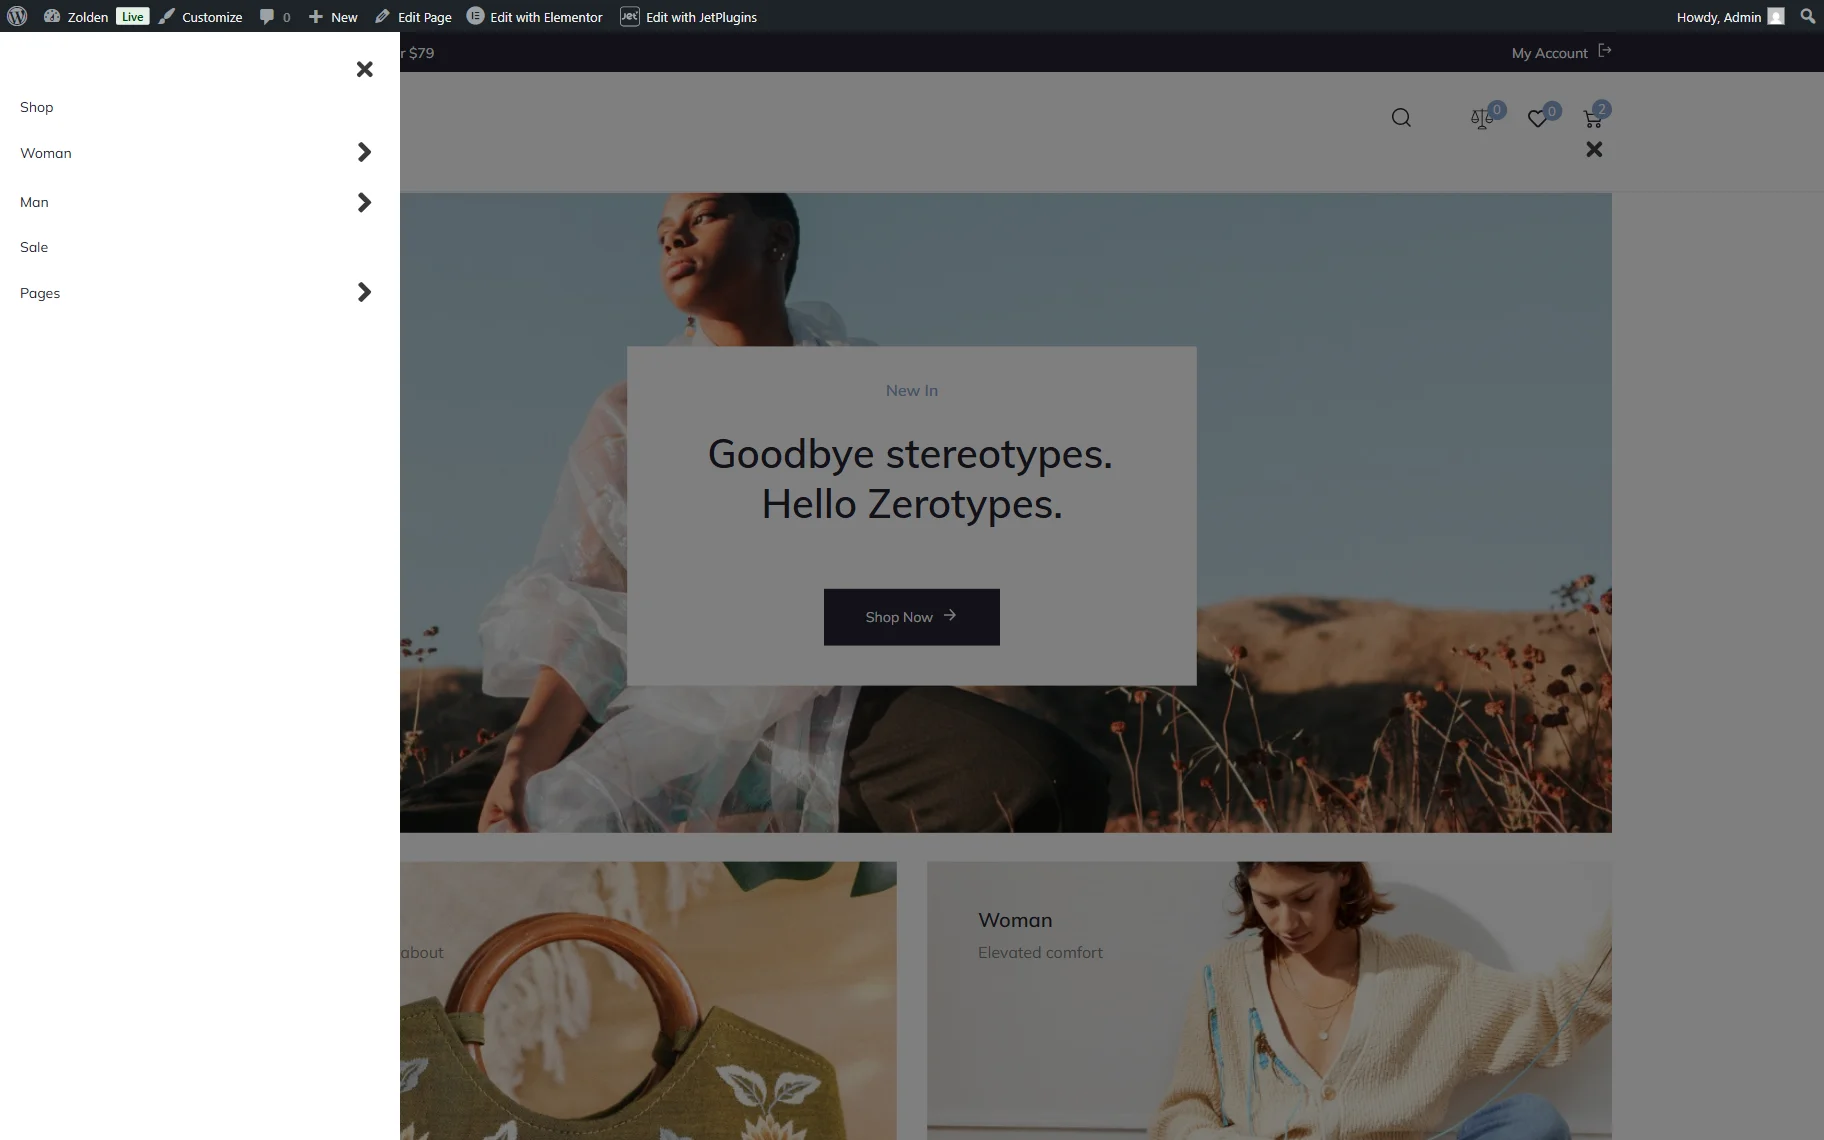
Click the Hamburger Menu button to access the menu.
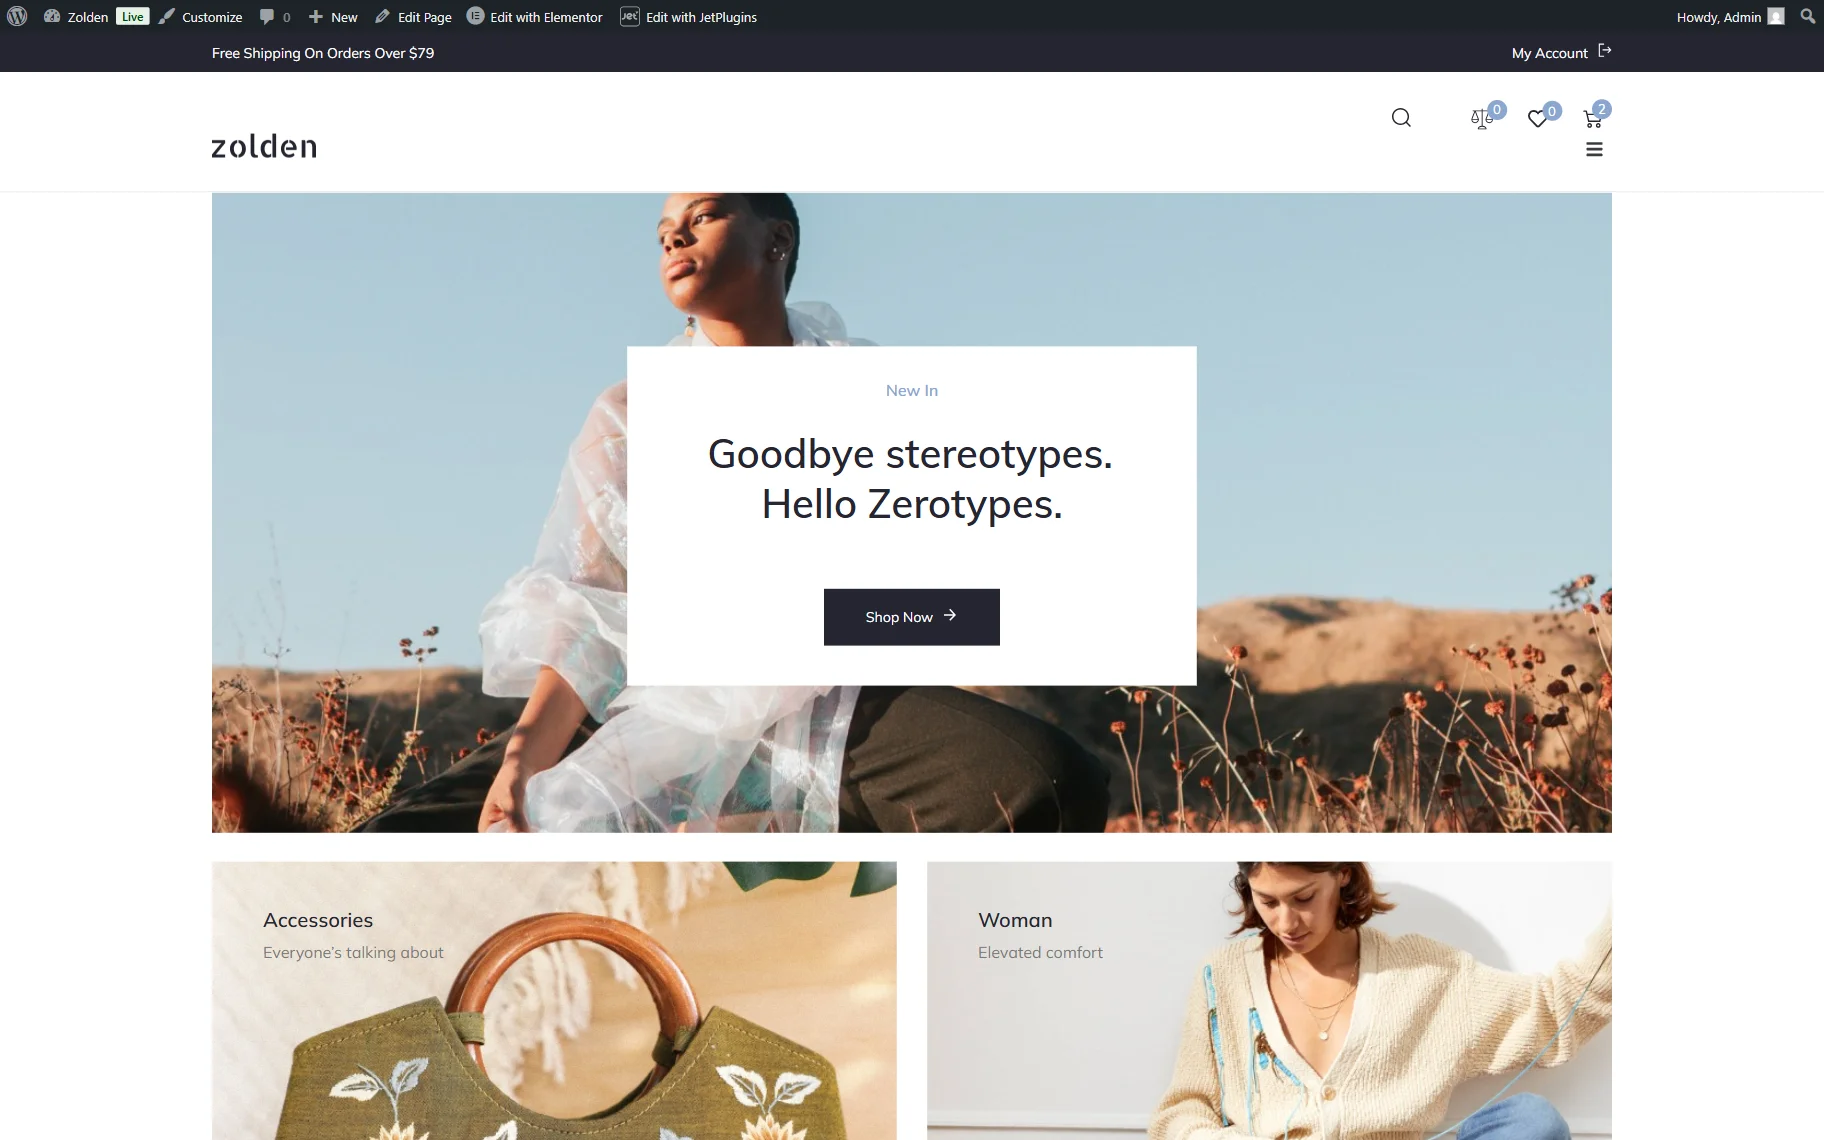
Once clicked, you will observe the adjusted menu.
That’s it; now you know how to create a menu for your website with the help of the Hamburger Menu widget/block from the JetMenu plugin for WordPress websites.