How to Set a Video for the WooCommerce Product in Elementor
Learn how to insert different types of video in product gallery WooCommerce via the JetProductGallery plugin widgets and configure their settings.
Before you start, check the tutorial requirements:
- Elementor (Free version)
- WooCommerce plugin installed and activated
- JetWooBuilder plugin installed and activated
and a single product template created and assigned to products
- JetProductGallery plugin installed and activated
JetProductGallery is a plugin intended to showcase WooCommerce products. The plugin encompasses the Gallery Anchor Navigation, Gallery Grid, Gallery Modern, and Gallery Slider widgets, which can be activated in the WordPress Dashboard > Crocoblock > JetPlugins Settings > JetProductGallery > Widgets tab.
Read the JetProductGallery Dashboard Overview to find information about the process of enabling and disabling JetProductGallery widgets. In addition, look through the Create Product Video Gallery in WooCommerce: 3 Easy Methods article to learn how to add professional video galleries to your WooCommerce store without code.
Add Video to WooCommerce Product Gallery
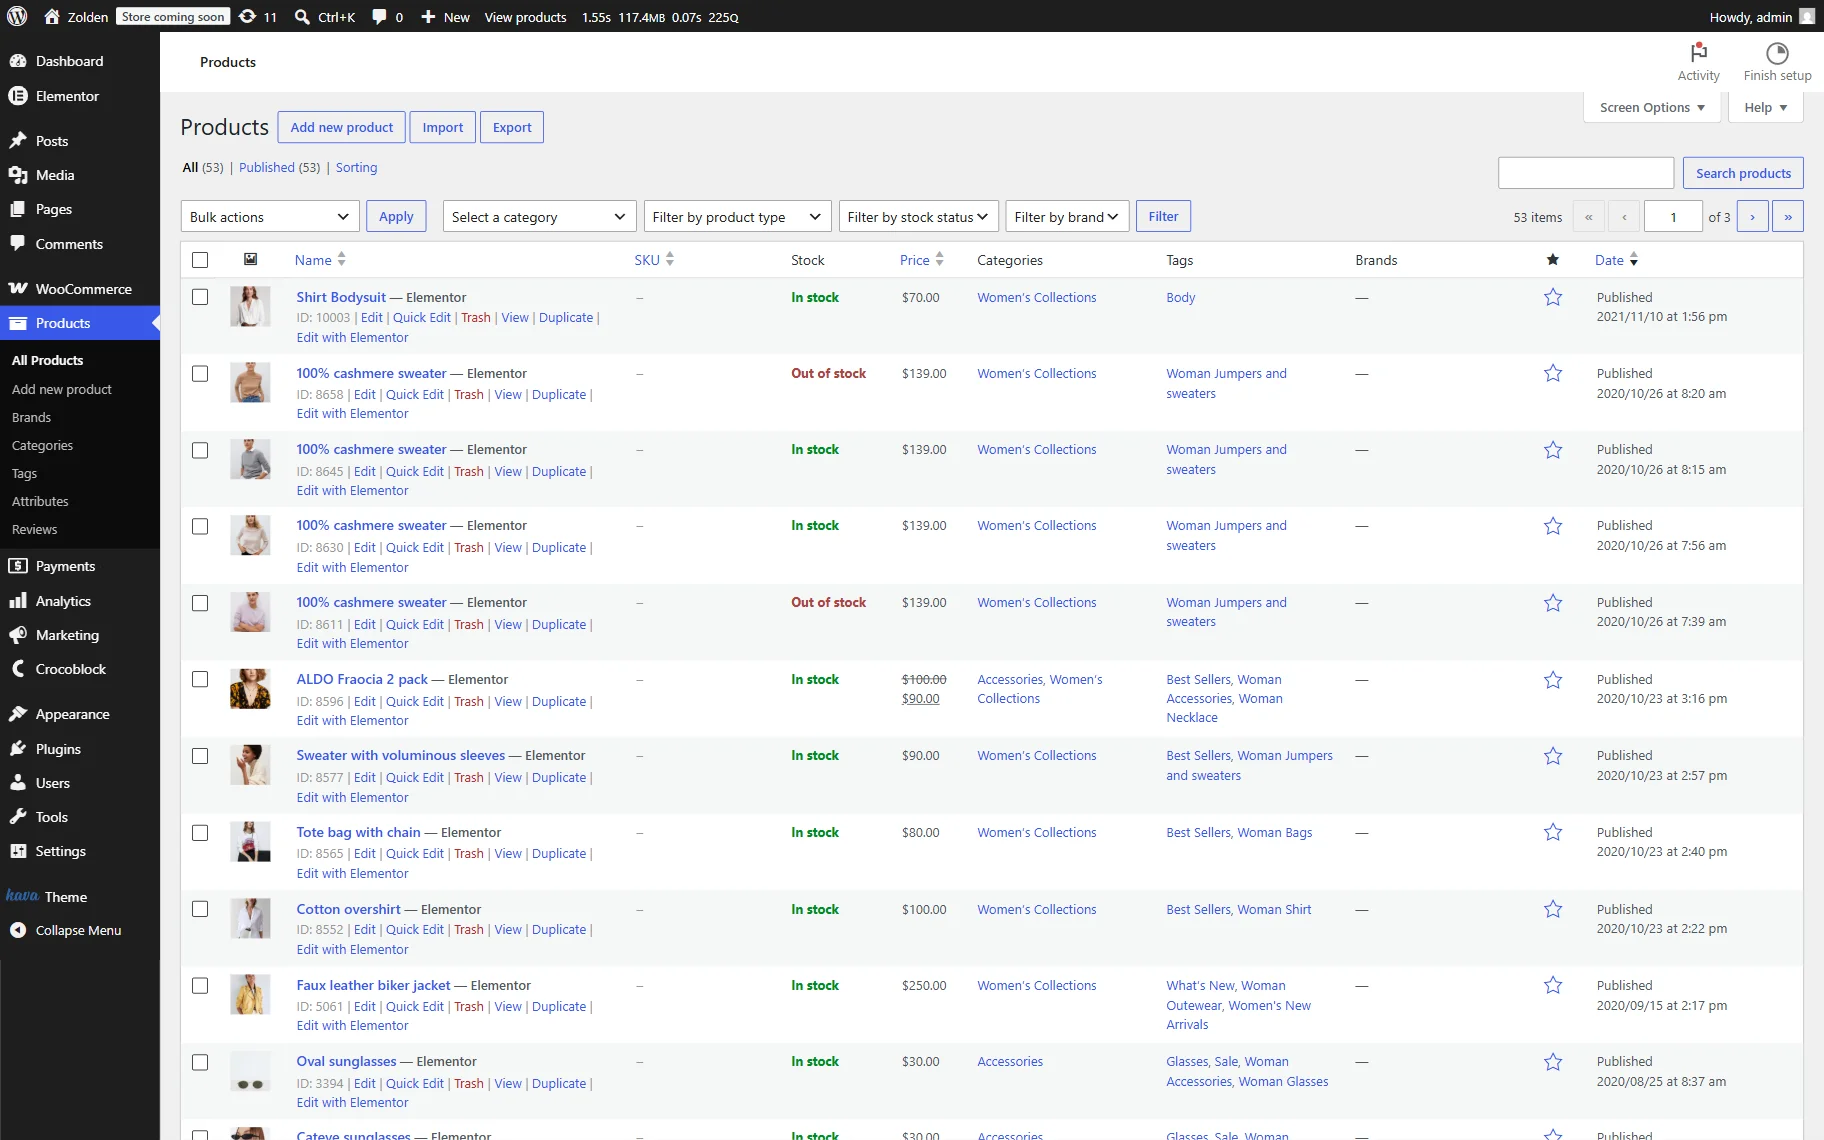
First, open your WordPress Dashboard and navigate to the Products tab. Choose a product you need and then click the “Edit” button under the title of the product.
After activating the JetProductGallery plugin, the Jet Product Gallery Video section will be added to the settings page on the right sidebar. Here you can choose Video Type, such as “YouTube,” “Vimeo,” or “Self Hosted.”
Also, you can choose a Video Poster and add a Video URL.
In this case, we set the “Self Hosted” Video Type to add video in WooCommerce product gallery, upload the image and/or video from the hard drive, select the needed image from the library, set it as a Video Poster (will be used as a WooCommerce product thumbnail video), and choose the Video.
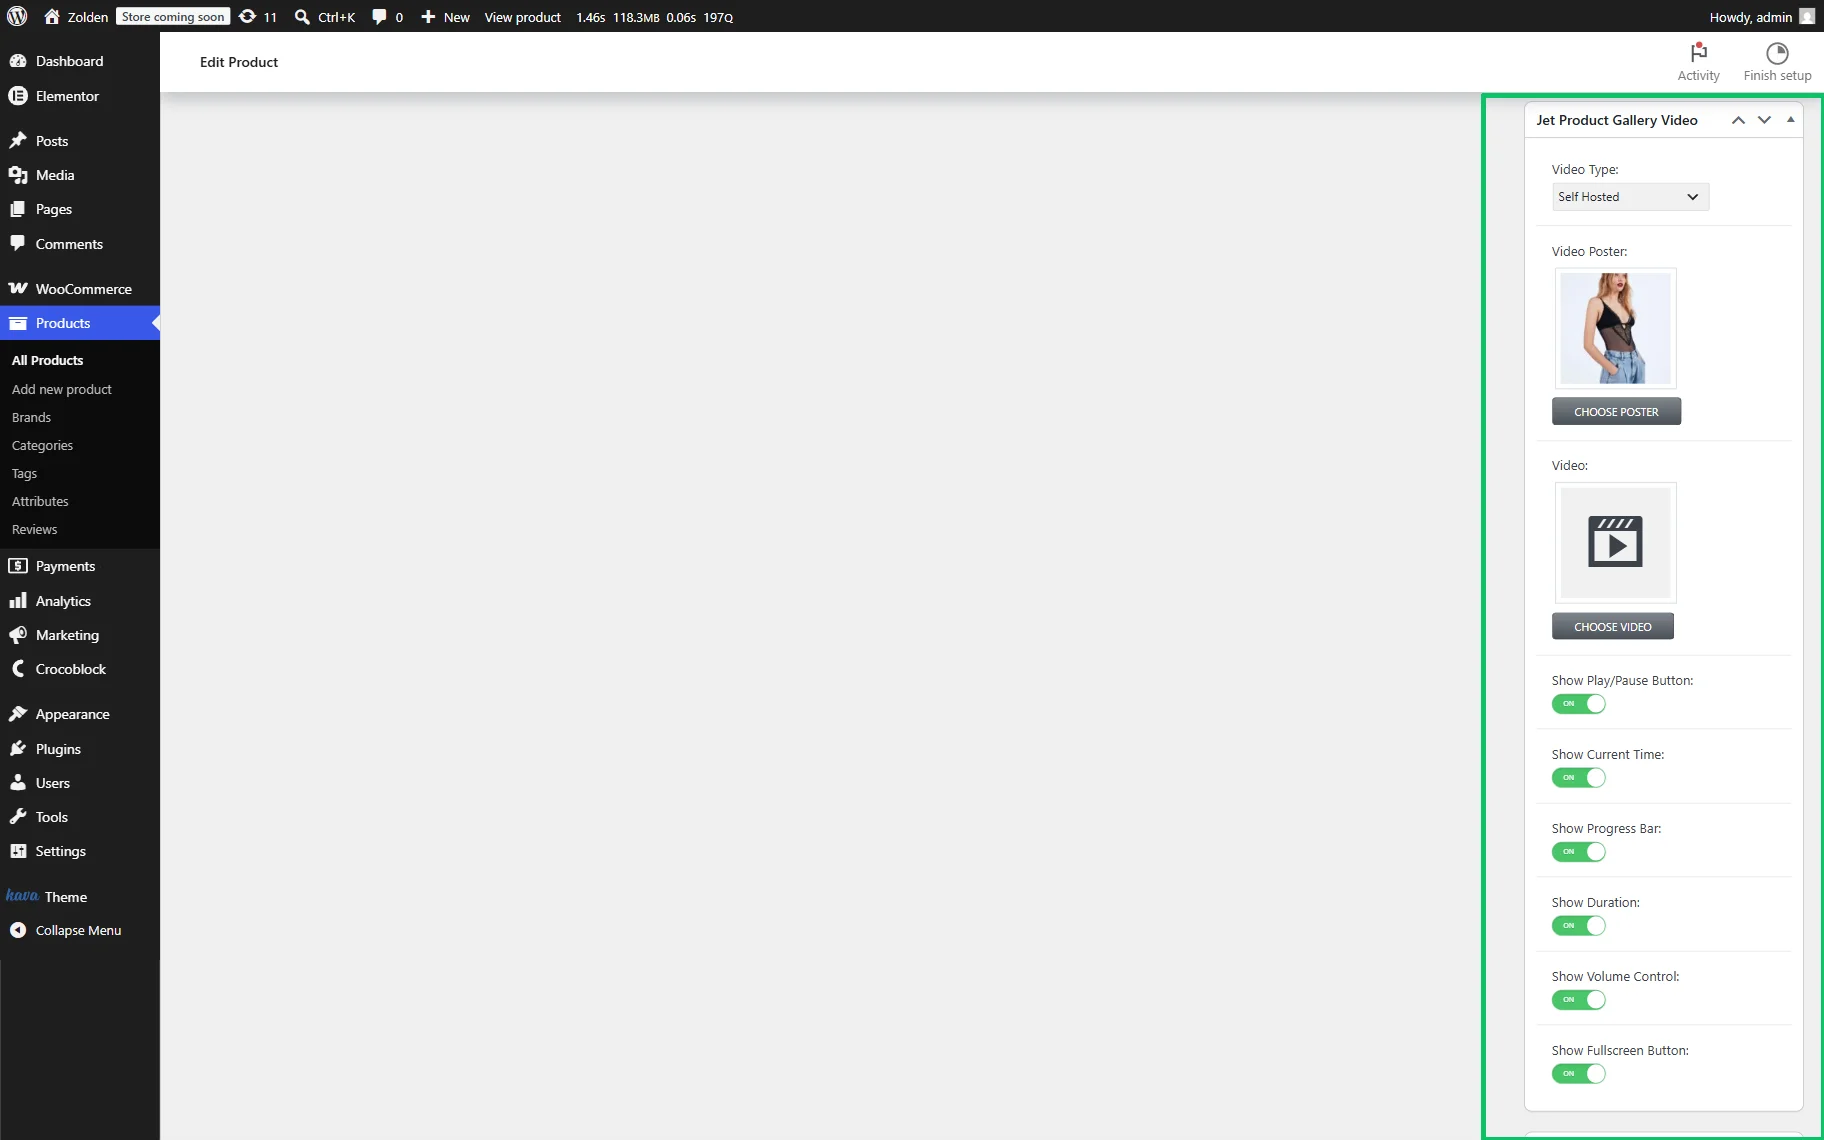
Also, you can add a YouTube video to WooCommerce product gallery by selecting the corresponding option. In this case, you’ll be asked to insert the required link.
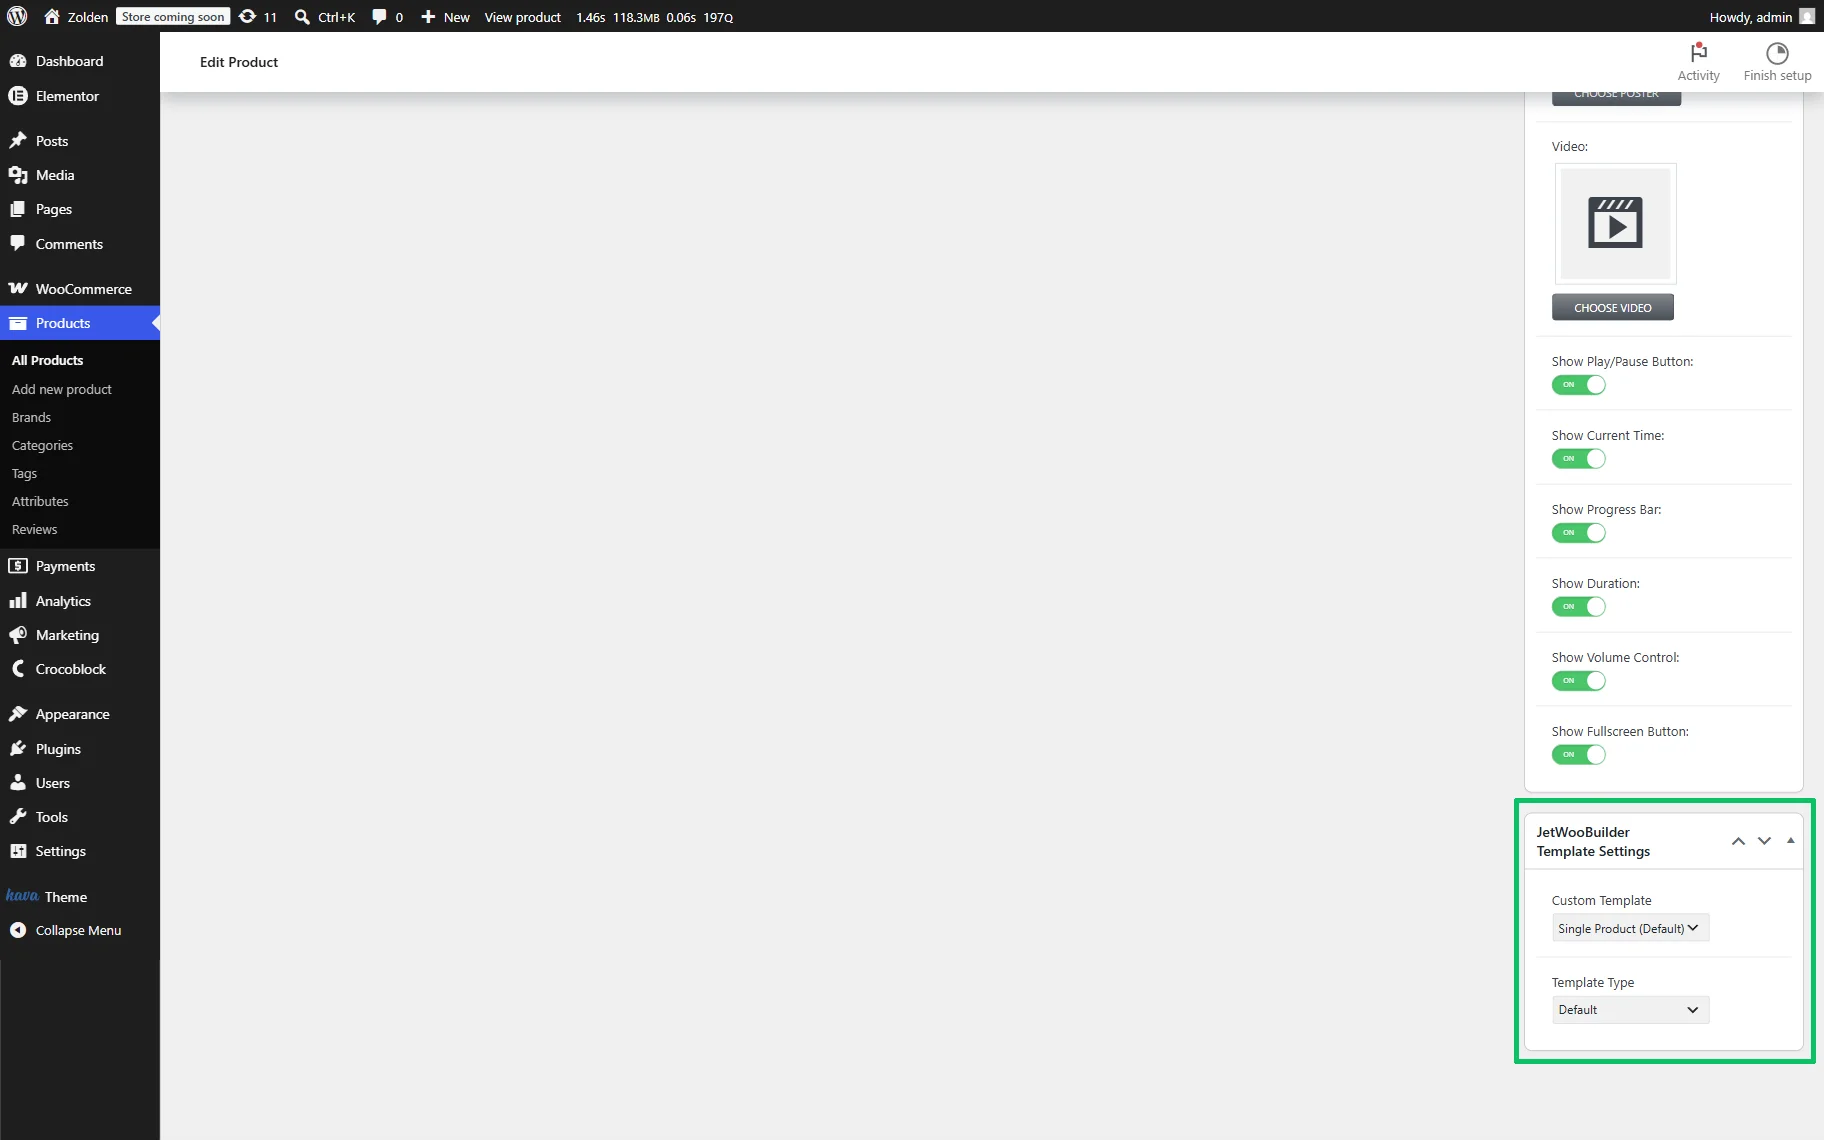
After that, the list of enabled toggles appeared below the Video field, as follows: Show Play/Pause Button:, Show Current Time:, Show Progress Bar:, Show Duration:, Show Volume Control:, and Show Fullscreen Button:. We keep them enabled.
If needed, move to the Jet Woo Builder section and assign the needed JetWooBuilder template. Since we intend to display the video on the JetWooBuilder template via the JetProductGallery widgets, we’ll further use Elementor.
Watch the How to Create a Single Product Page Template in WordPress video to learn how to replace the default product layout with a fully designed template — custom gallery, layout, and widgets. Also, read the How to Create a Shop Page Template tutorial to learn how to configure the shop template and what widgets can be used for this purpose.
Finally, we save the changes.
Display the Video via JetProductGallery Widgets
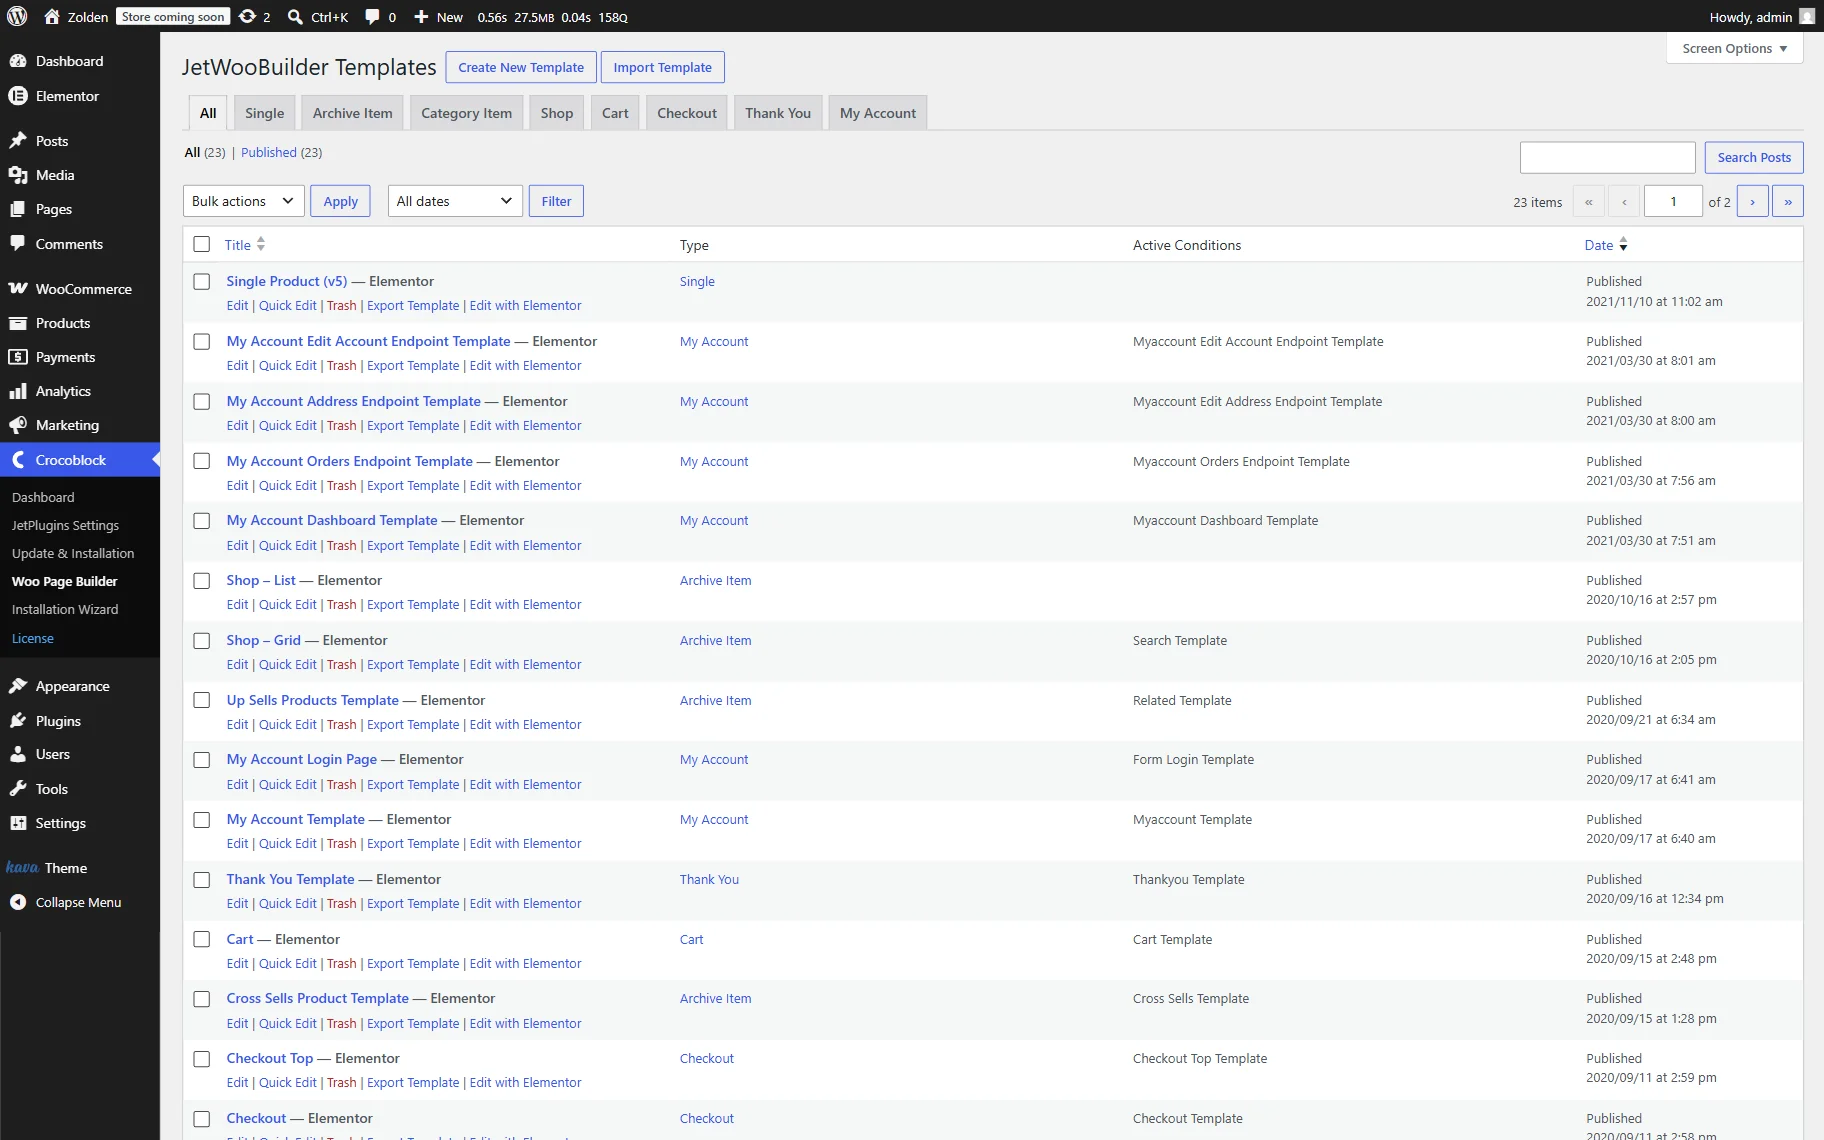
Open the single product template or create a new one in the WordPress Dashboard > Crocoblock > Woo Page Builder > Jet Woo Builder Templates tab.
For more details on how to create a single product template in JetWooBuilder, add and configure widgets: title, gallery, add-to-cart, assign the single product template to all WooCommerce products, replace the default WooCommerce gallery with JetProductGallery, and add a video to the product gallery with JetProductGallery can be found in the JetWooBuilder Single Product – For Absolute Beginners! and How to Create a Single Product Page Template in WordPress videos.
Then, insert the widgets into it to display the product’s data.
After that, add a product video with JetProductGallery widget: apply any Crocoblock WooCommerce product video solution (the Gallery Anchor Navigation, Gallery Grid, Gallery Modern, or Gallery Slider widgets) available with the JetProductGallery; since they all support both video and image formats, but widgets differ in the mutual sizes and positions of images in the gallery.
Here, we consider adding video via the Gallery Slider widget.
Adjust the widget’s settings
To showcase the product’s video, insert this widget into the template.

Once added, the Content > General section will be unrolled.
Here, set the “WooCommerce Products “ Source and input the Product ID of the product to which you have added the video. Then, you’ll see product images and videos added.

After you specify the Product id, you can Disable Featured Image and/or Enable Zoom and gallery options by activating the corresponding toggles, if needed.
After that, unroll the Image section and set the needed Image Size and Thumbnail Size.
The next tab is the Slider tab. Here, you can set the horizontal or vertical image slider in the Direction field. Also, adjust other settings if needed. For instance, you can activate the infinite loop, set equal slides, and change their sensitivity and transition effect.
In this tab, you can customize the navigation and pagination settings. The Show Navigation toggle is activated by default. If enabled, it allows selecting the icons for the “Previous” and “Next” arrows by clicking on the corresponding buttons. If you activate the Enable toggle in the Pagination section and set the Pagination Type to “Thumbnails”, the gallery images will be shown below the main image.
Configure the WooCommerce product gallery video settings
Navigate to the Video section. Here you can manage the following settings:
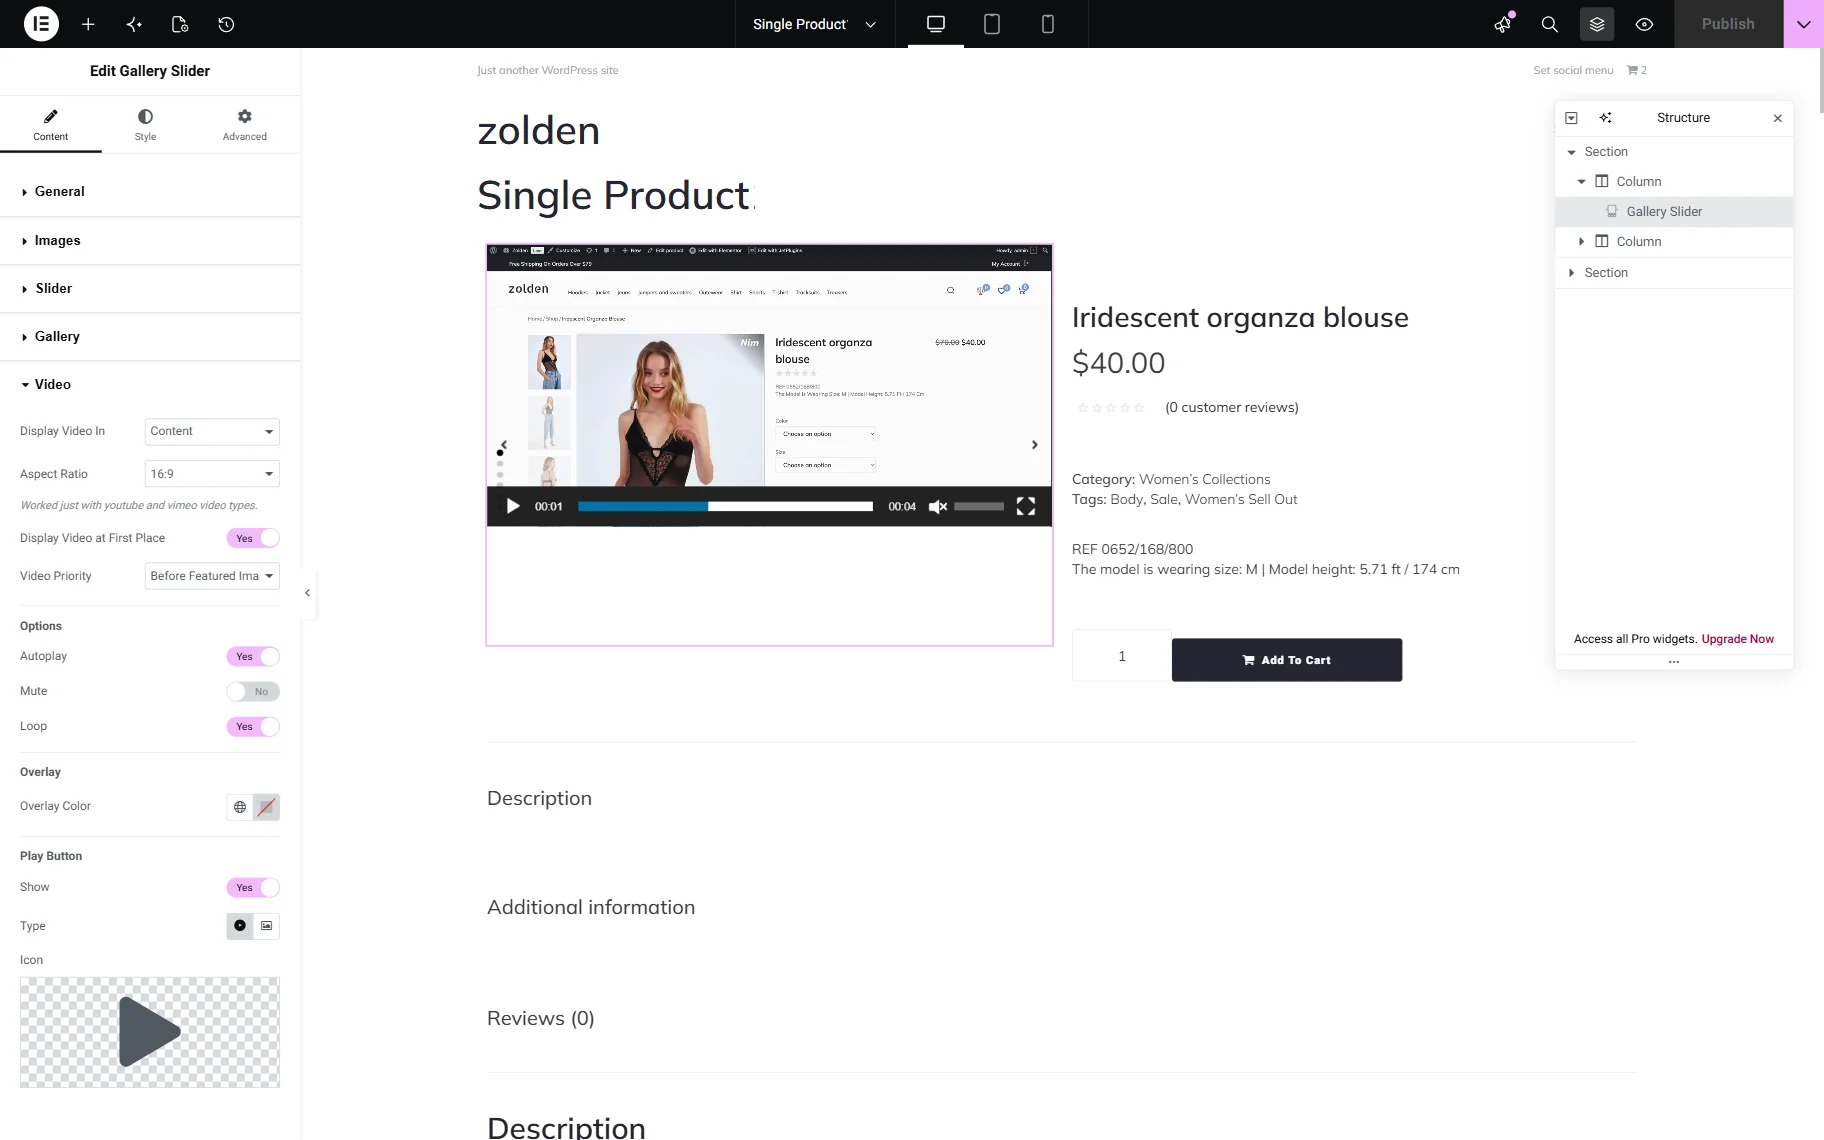
- Display Video In — a drop-down list to set the way the video will be displayed; the “Content” option allows displaying the video to the right of the images, and the “Popup” option allows placing the video in a pop-up;
- Aspect Ratio — a drop-down list to select the needed video aspect ratio;
- Display Video at First Place — a toggle that is shown if the “Content” Display Video In option set, and if enabled, puts the video first, before other images;
- Video Priority — a drop-down list that is shown if the “Content” Display Video In option set, and allows specifying the featured image position;
- Autoplay — a toggle allowing the video to be played right after proceeding to it;
- Mute — a toggle allowing the video to be muted;
- Loop — a toggle allowing users to loop the video so that it plays again when it ends;
- Overlay Color — a field to set an overlay color in case you display the video in the popup;
- Play Button — a set of fields to Show the corresponding button on the video, selecting its Type, and Icon that will be displayed below the slider.
Once completed, save the changes by pressing the “Publish” button, and move to the front end to observe how it works.
FAQ
WooCommerce itself does not natively support product videos. In turn, the plugin supports all widespread and commonly used formats (e.g., MP4, WebM) and embedded videos from platforms such as YouTube and Vimeo.
It is not necessary, but it essentially contributes to UI and makes the product more attractive by showcasing features, functionality, size, and usage. Anyway, you can combine images and videos in a WooCommerce product gallery, as well as add either videos or images.
No, currently this functionality is unavailable.
The plugin is a light-weight one, but large video files can impact page performance since they are hosted directly on your website. To avoid it, insert links on external platforms such as YouTube or Vimeo. We recommend this as the best way to show product videos in WooCommerce gallery.
The plugin is designed to be responsive, ensuring that videos display correctly on desktops, tablets, and mobile devices.
That’s it. Now you know how to insert different types of video in product gallery WooCommerce via the JetProductGallery plugin for WordPress, insert widgets, and configure their settings.