How to Filter WooCommerce Products by Attributes
This tutorial provides detailed information about how to filter WooCommerce products by their attributes using JetSmartFilters functionality.
JetSmartFilters plugin allows you to set the filtering of WooCommerce product grids by their attributes. The visitors will be able to filter the products by attributes values which will improve the user experience.
Set Product Attribute
The first thing you should do is add product attributes in Products > Attributes tab of the WordPress Dashboard.

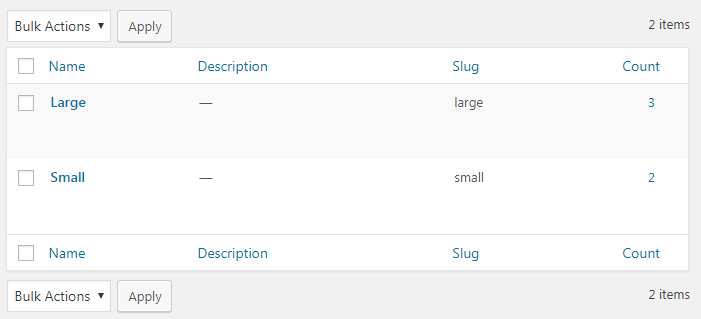
Also, it is necessary to specify the terms of each attribute.

Then, you need to set the attributes in WooCommerce products. Go to Products > All Products and click the “Edit” button under each product.

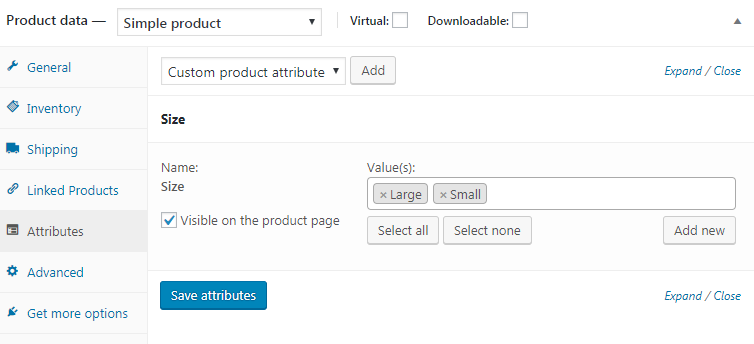
When the Edit product window opens, navigate to the Attributes tab, and apply the attributes and terms to the product. Don’t forget to save the updates.

Create Filter
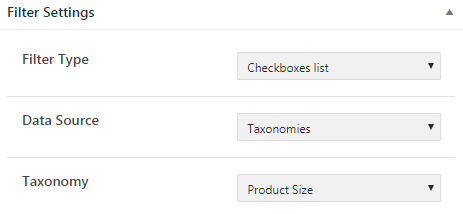
Now let’s create a new filter in the SmartFilters tab by clicking the “Add New” button. Specify the filter label, select the filter type, and in the Data Source option, choose the “Taxonomies” option. In the Taxonomy bar, select a particular product attribute. Save the settings by clicking the “Publish” button.

Add Filter and Assign it to Products Grid
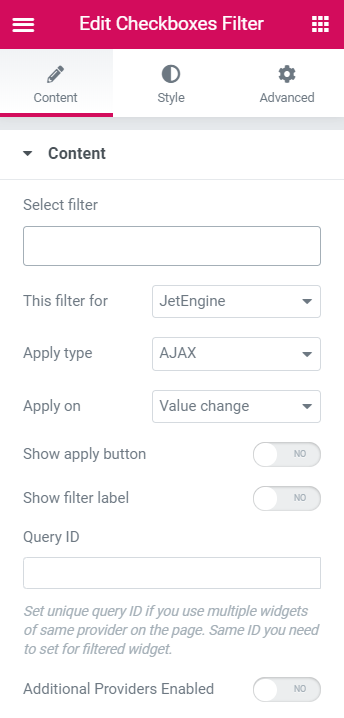
Open the Shop page template in Elementor editor and add the specific JetSmartFilters widget (that could be the filter of any type you’ve previously created) into the appropriate section. On the left side, you will see the settings block, where you have to determine the made filter in the Select filter field and select the listing or archive to which you want to apply the filter in the This filter for field. Moreover, there are many different settings, which will help customize the elements according to your needs and vision.

It’s a good time to view how it works on the Shop page.
Now you know the way to filter WooCommerce products by their attributes with the help of the JetSmartFilters plugin.