My Account Widgets Overview
Learn how to enable the My Account Page widgets and discover their settings to build the My Account page with the help of the JetWooBuilder and WooCommerce plugins.
Before you start, check the tutorial requirements:
- Elementor (Free version)
- WooCommerce plugin (Free version) installed and activated
- JetWooBuilder plugin installed and activated
To use the JetWooBuilder My Account widgets correctly, the basic WooCommerce account system should be properly set up.
The My Account functionality in WooCommerce is based on a combination of a dedicated page, assigned in WooCommerce settings, and dynamic endpoints (such as orders, downloads, and account details). The JetWooBuilder widgets rely on this setup to display content correctly.
Creating WooCommerce Page
The My Account page should be created via WordPress Dashboard > Pages. The [woocommerce_my_account] shortcode should be added to the page content:

This step is required, as WooCommerce uses this page to render account-related data, and the JetWooBuilder widgets depend on it. Similarly, a set of other pages should be created with the corresponding WooCommerce shortcodes, including the Cart page with the shortcode [woocommerce_cart], and the Checkout page with the shortcode [woocommerce_checkout].
When a JetWooBuilder template is used, the default WooCommerce layout is replaced. However, the page with the shortcode is still required as a base.
Please note! When a JetWooBuilder template is used, the default WooCommerce layout is replaced. However, the page with the shortcode is still required as a base.
Page setup
After the pages are created, they should be assigned in WordPress Dashboard > WooCommerce > Settings > Advanced, in the Page setup section:

The My account page field should contain the page created earlier. The remaining fields (Cart page, Checkout page, etc.) should also be assigned to their respective pages.
If the page is not assigned, the My Account widgets may not function or display data.
Widgets render method
In WordPress Dashboard WooCommerce > Settings > JetWooBuilder, the “Elementor Default” option should be selected in the Widgets Render Method field.

Two options are available:
- “Macros” — stable performance of WooCommerce widgets is ensured;
- “Elementor Default” — rendering via Elementor is enabled, but more resources may be required.
Common pitfalls
- If the page is not assigned in WooCommerce settings, widgets may appear empty or may not function properly.
- If the shortcode is missing on the page, WooCommerce cannot render account content.
- If third-party forms (built with JetFormBuilder) are applied, they should be properly connected to WooCommerce authentication.
Additional customization (such as custom user data or styling) may involve other tools like JetEngine or custom CSS.
My Account Page Widgets Activation
My Account Page Widgets can be activated in the WordPress Dashboard > Crocoblock > JetPlugins Settings > JetWooBuilder > Widgets tab.
These settings impact the script optimization so that the unnecessary widgets can be turned off here.

My Account Page Widgets Overview
The JetWooBuilder plugin offers widgets for the My Account page. Let’s take a closer look at them.

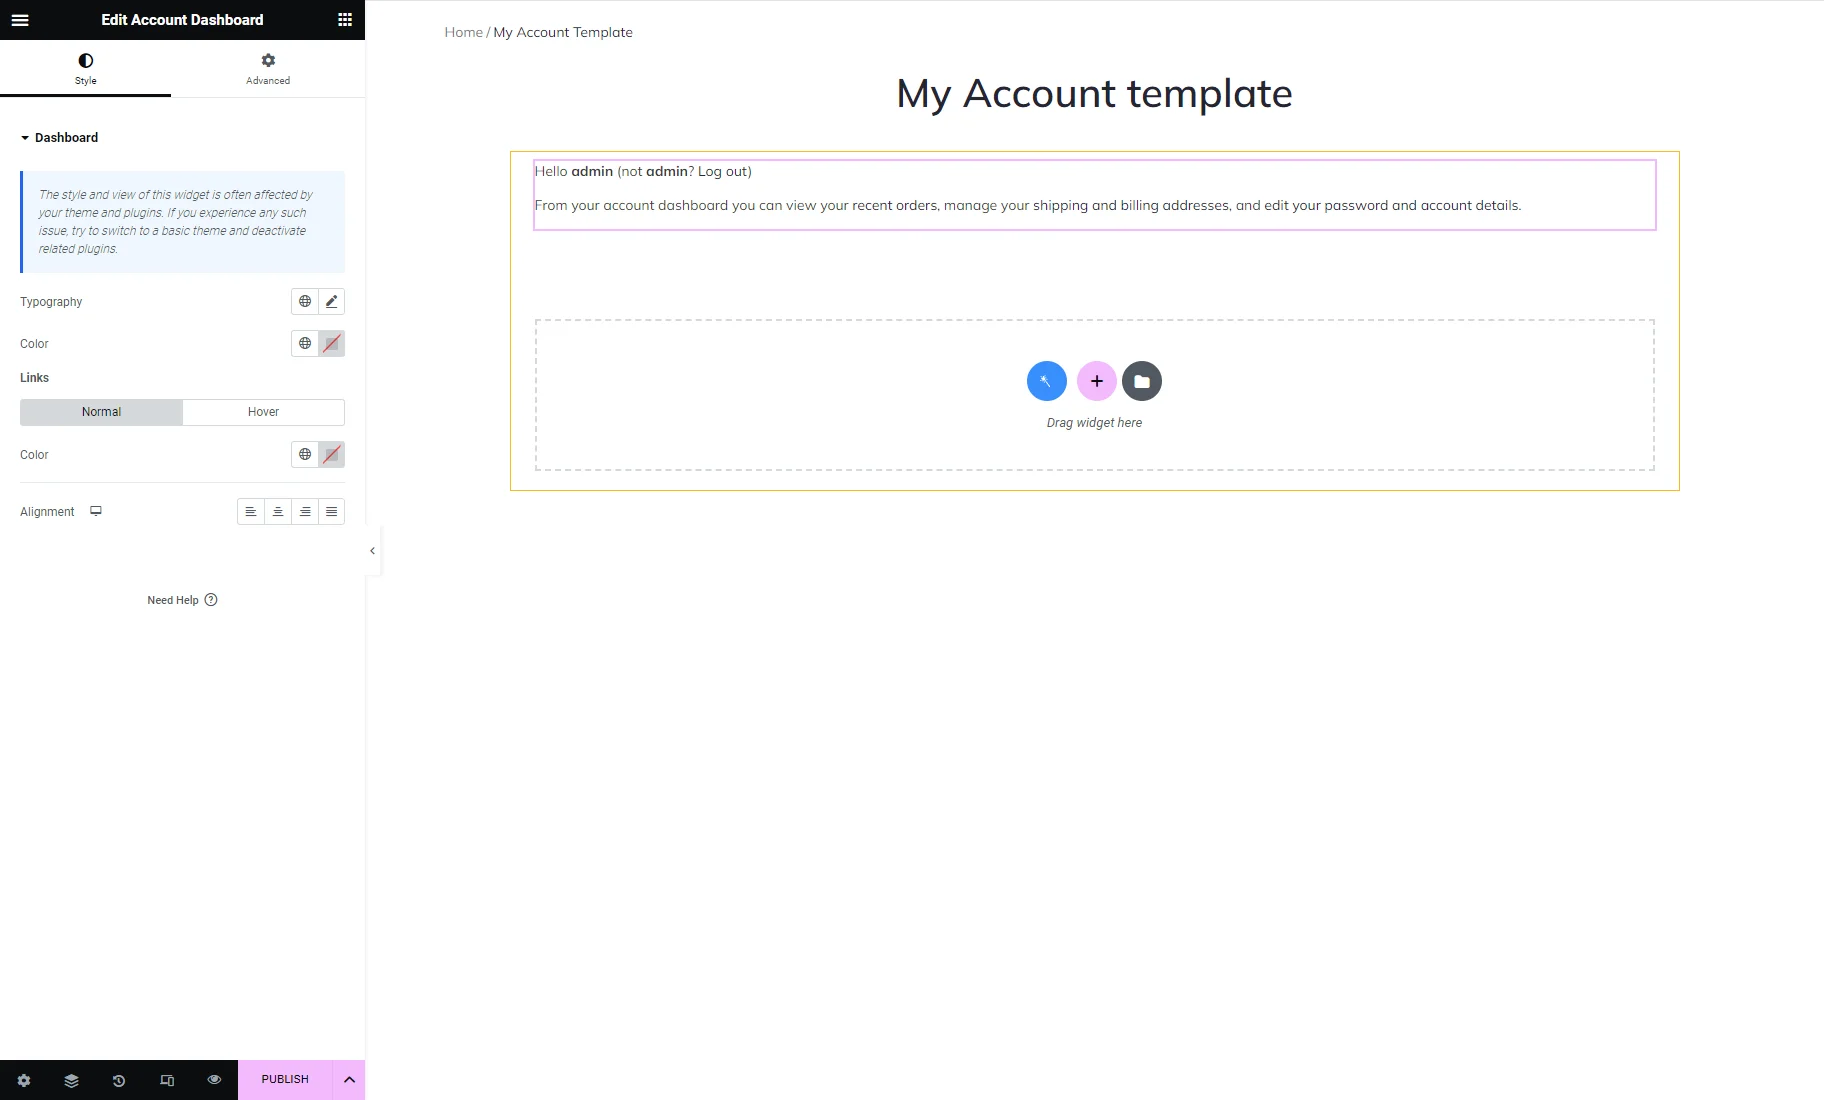
Account Dashboard
When opening an account page, the first thing a user sees can be the block added with this widget. It contains a greeting message, the “Log Out” button, and links to the recent orders, addresses, and account details editing windows.
In the Style setting tab, you can change the text’s Color, Typography, and Alignment and the “Normal” and “Hover” Colors of the Links.
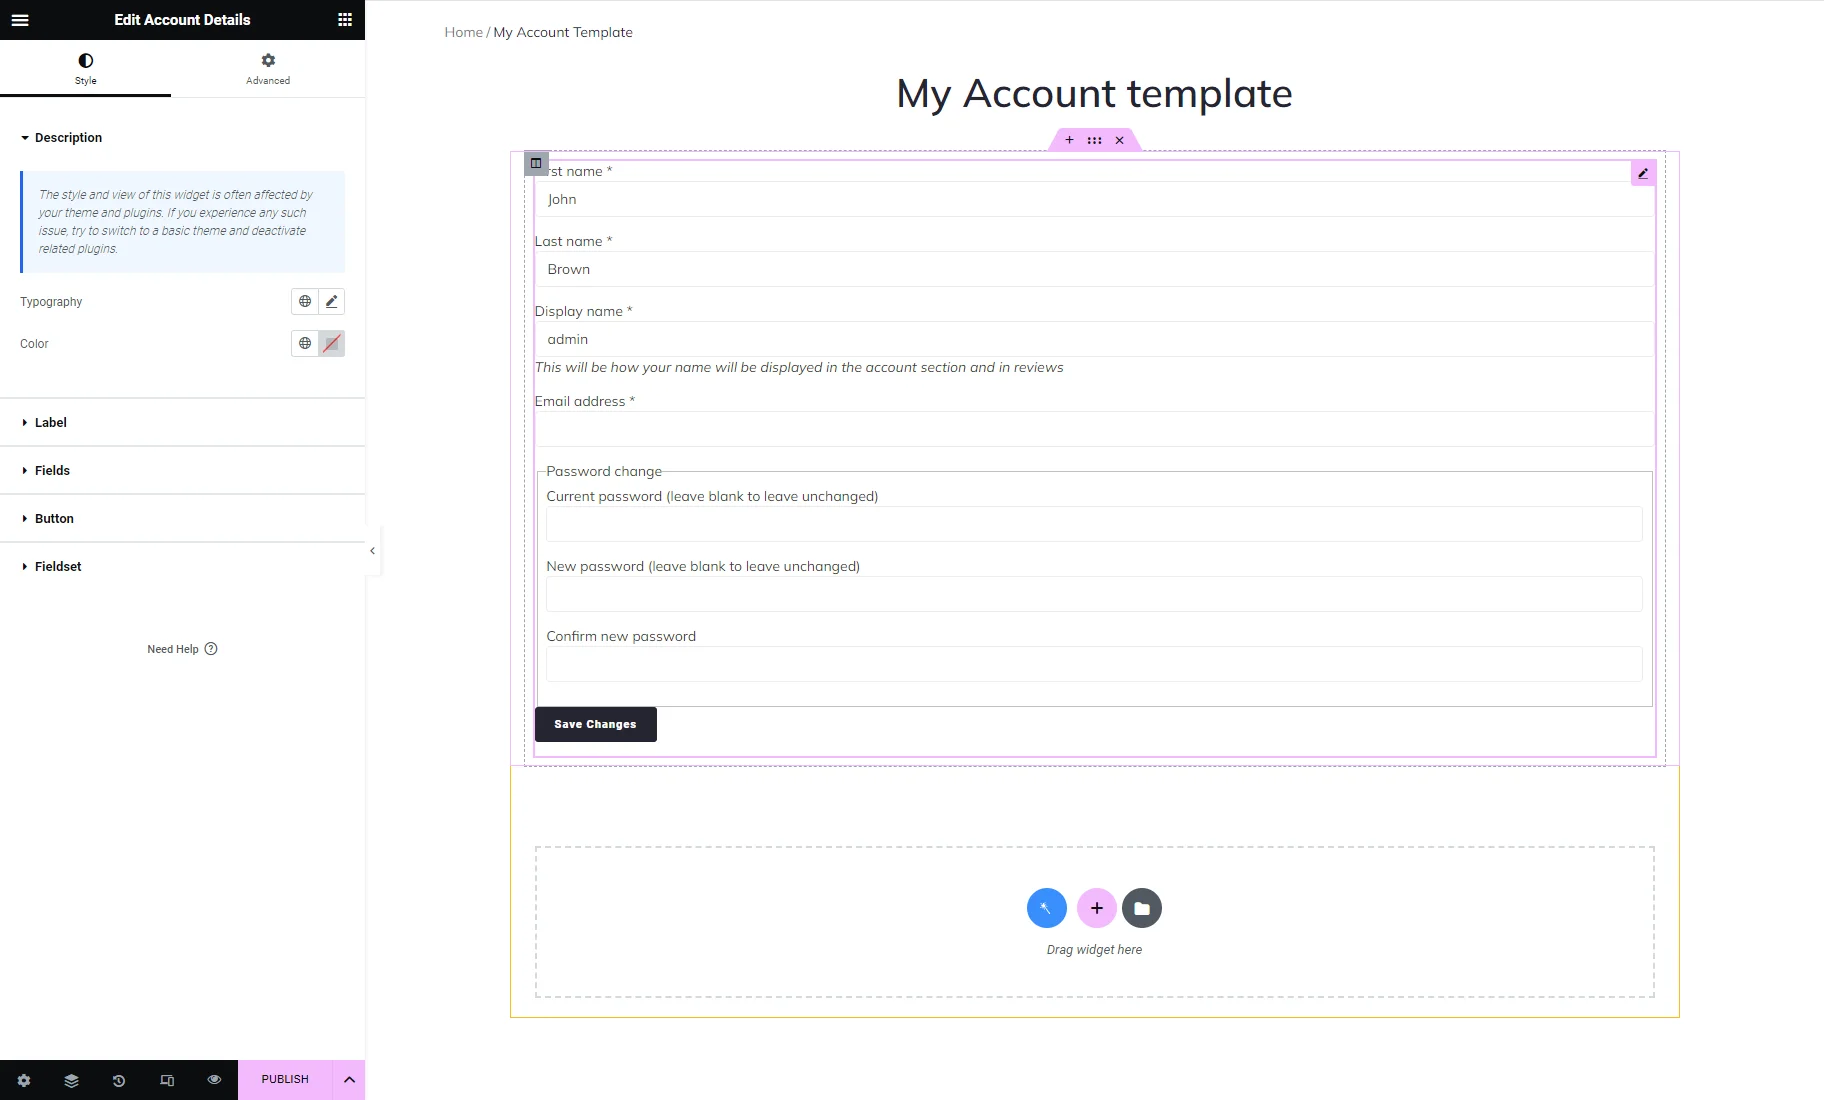
Account Details
This widget adds a form where users can change personal information, like first and last names and email addresses. Besides that, it contains a section where the client can change the password.
There is the “Save Changes” button at the bottom of the form.
In the Style menu tab, you will find tools to customize the look of the form in general and all its parts. It includes the “This will be how your name will be displayed in the account section and in reviews” Description, field Labels, form Fields, the “Save Changes” Button, and the “Password change” Fieldset.
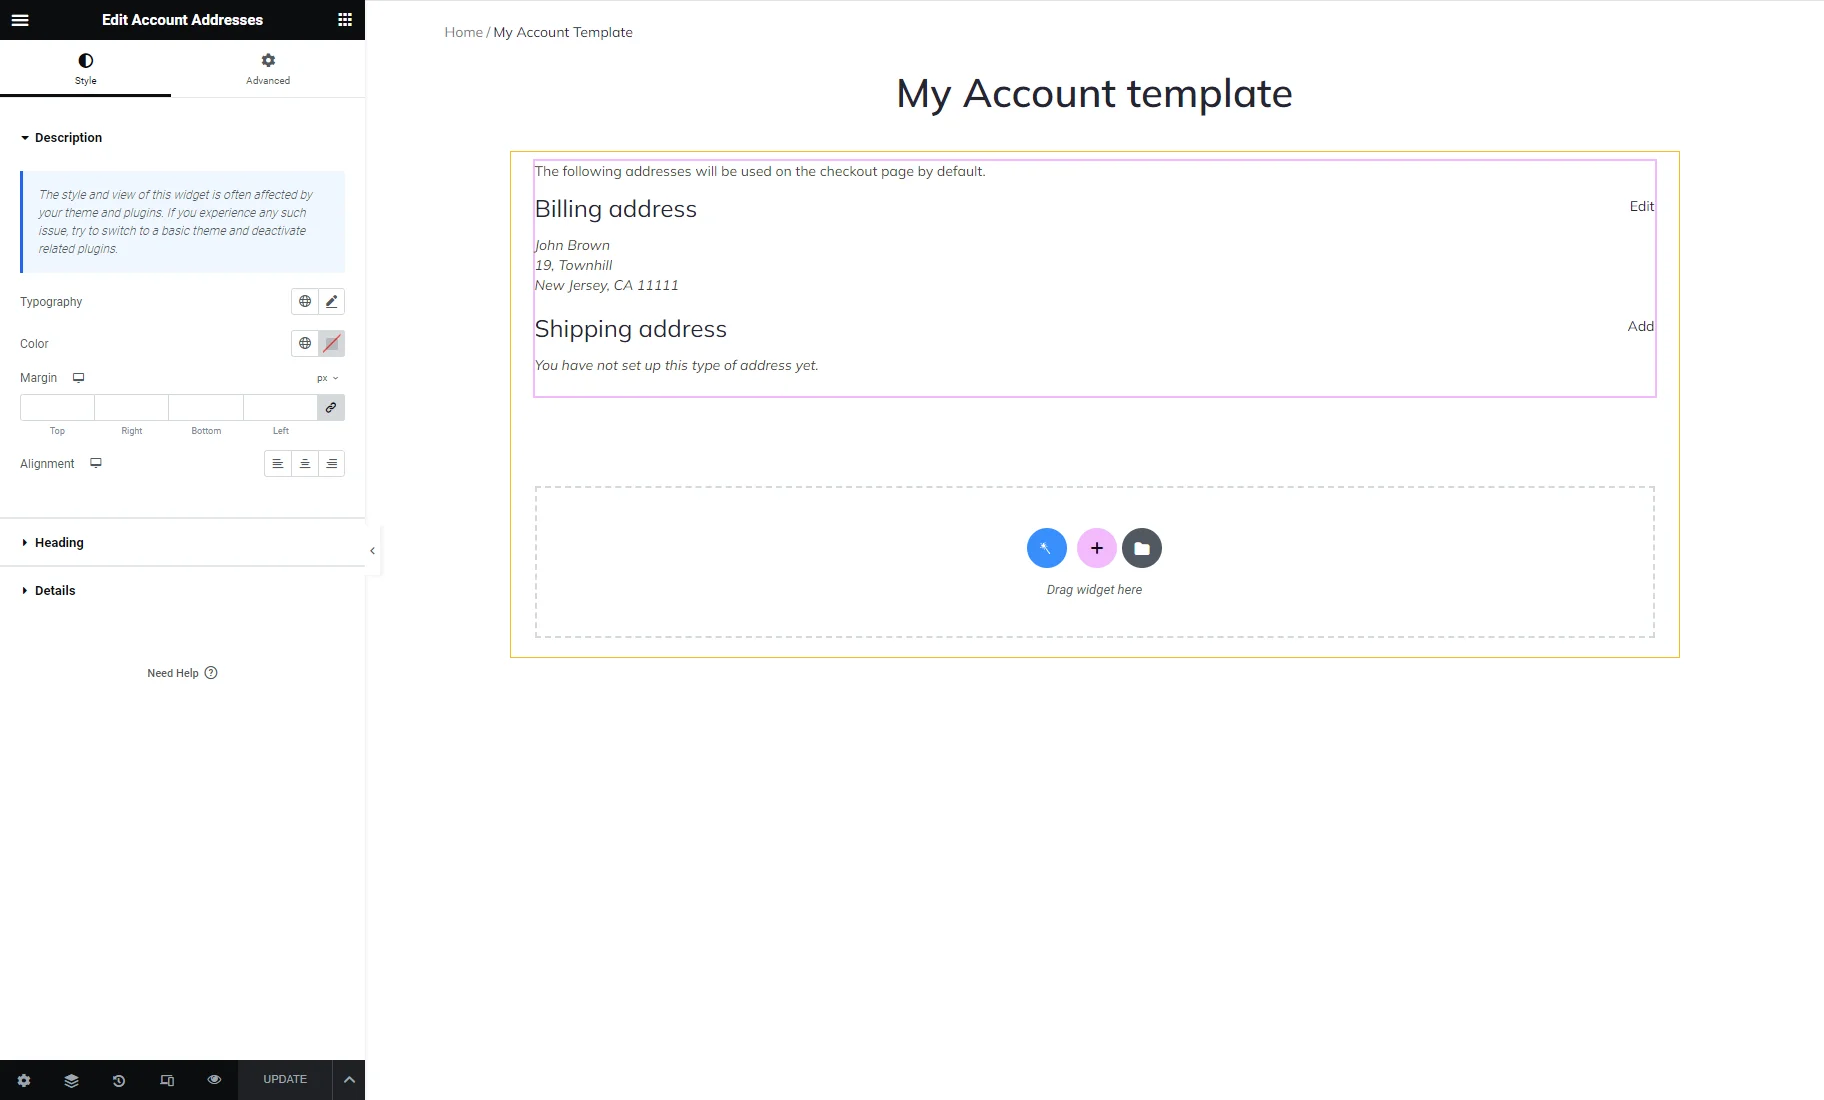
Account Addresses
If the customer saves the billing and shipping address in the account, you can automatically add these details at the checkout. This widget adds a block that allows the client to add or edit a billing and shipping address for future purchases.
In the Style setting tab, you can customize the look of the Description, Heading, and Details text.
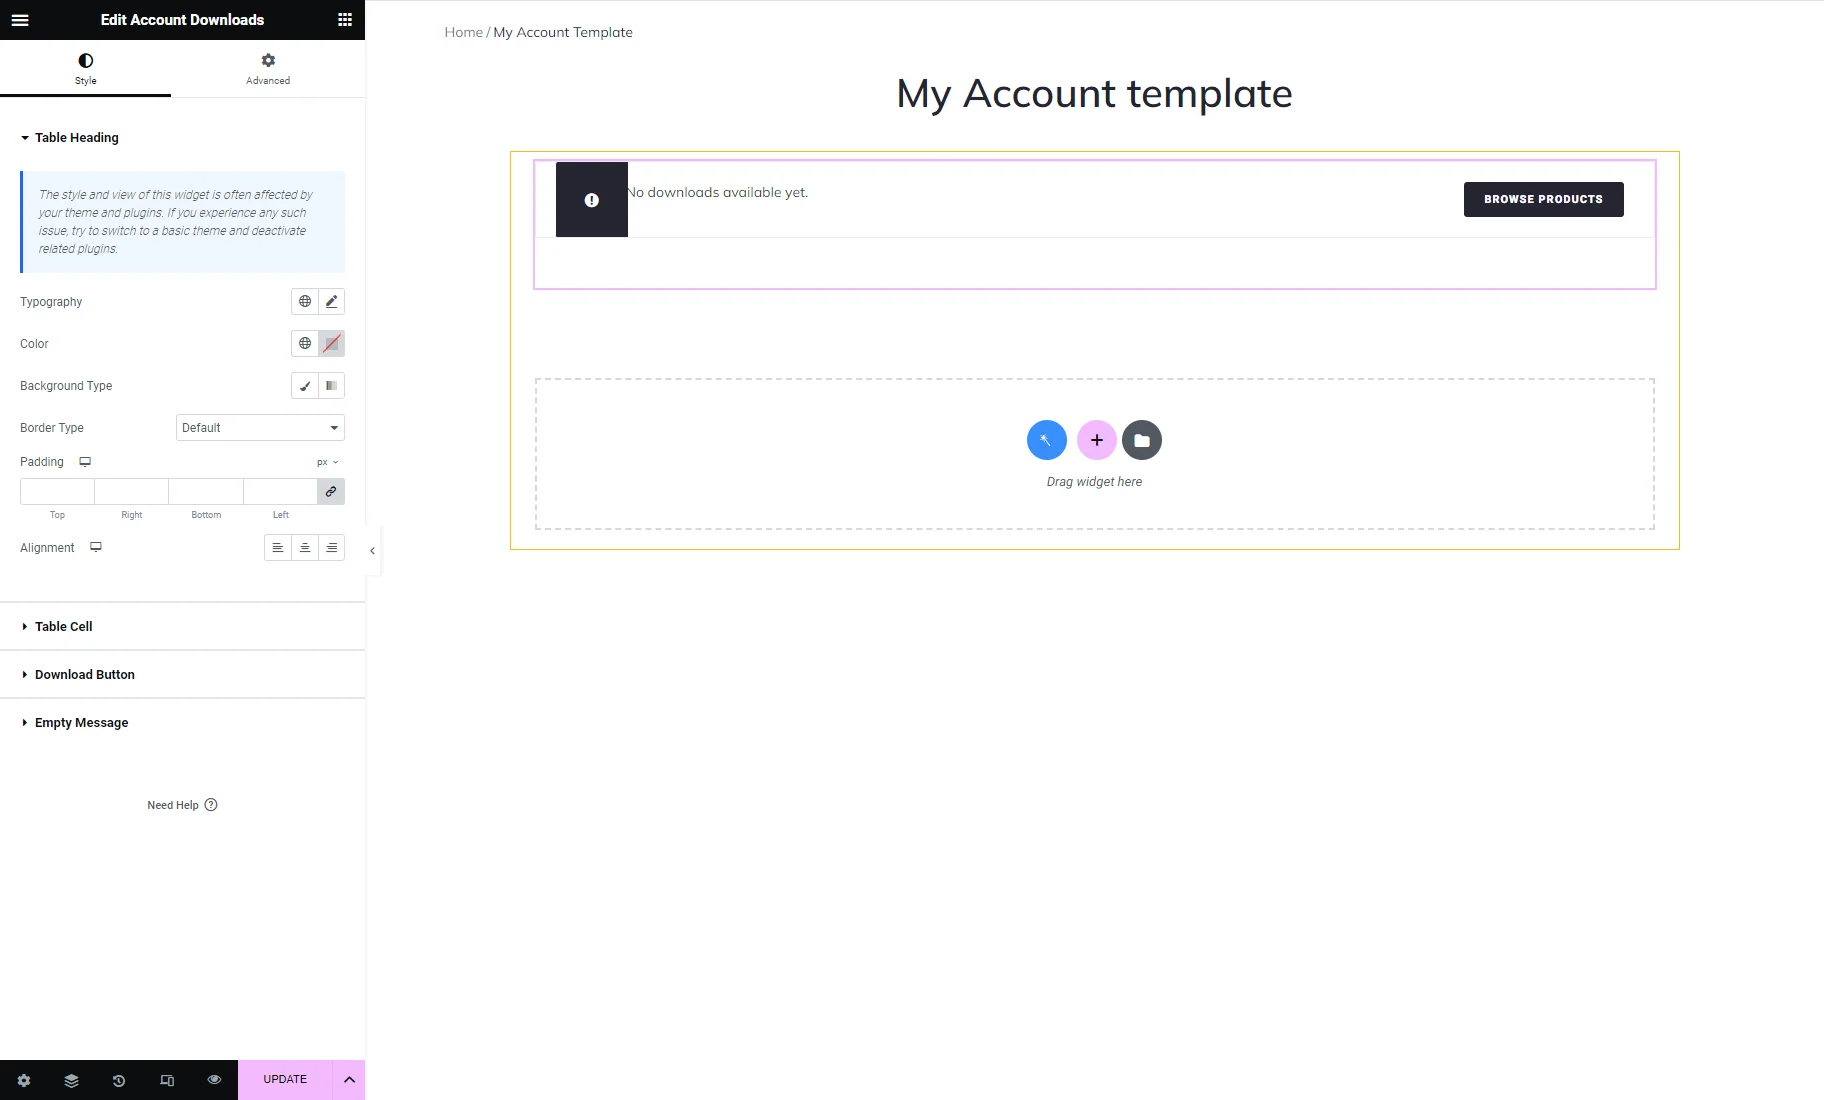
Account Downloads
If your online store offers downloadable electronic products, such as apps or movies, this block will show the products that the client has already downloaded. This widget is similar to Account Orders but shows the other types of products.
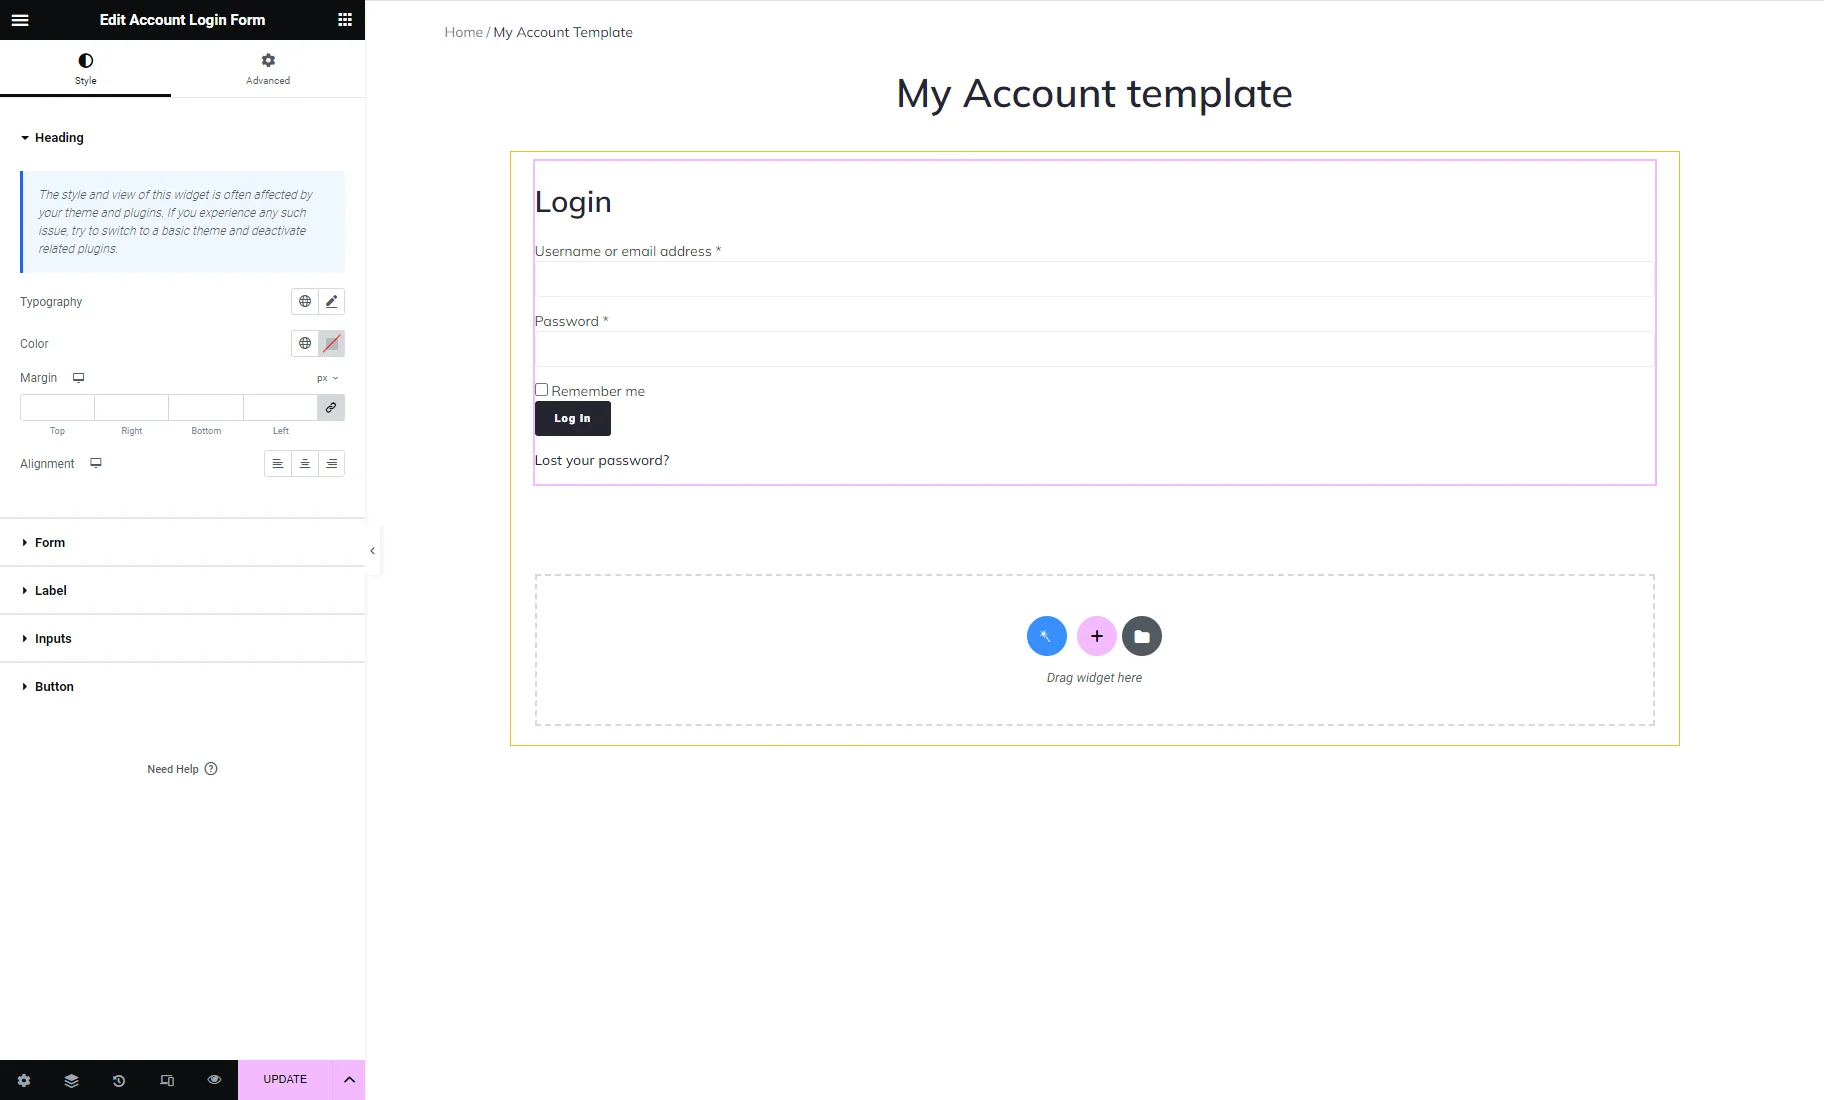
Account Login Form
Before entering the account page, the user must complete the identification process. This widget adds a login form. The client fills in the username and password and then clicks the “Log In” button to open the account page. As in all the other widgets, the parts of the login form can be customized in the Style menu tab.
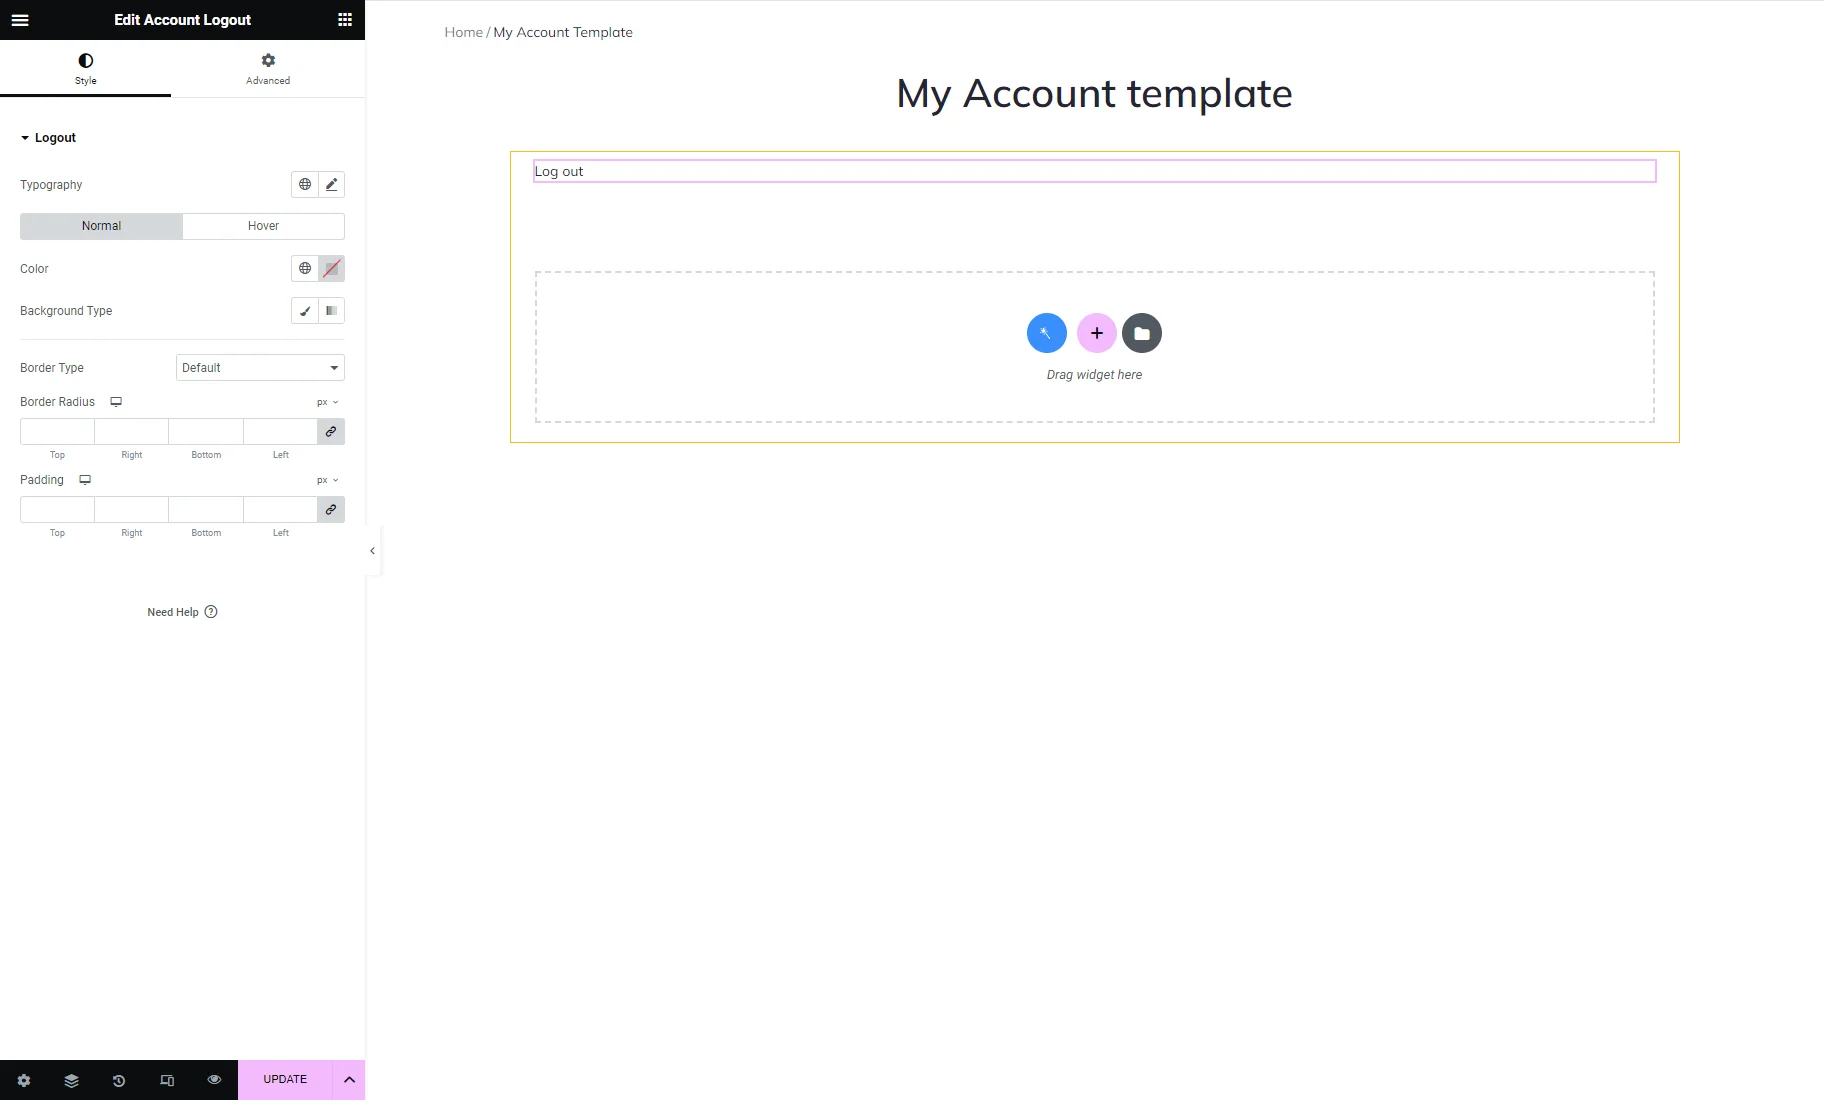
Account Logout
The Account Dashboard widget contains a “Log out” link, but you may want to place another one somewhere at the top or bottom of the page with the Account Logout widget. You can use any Style tab tools to change the “Normal” and “Hover” look of that link.
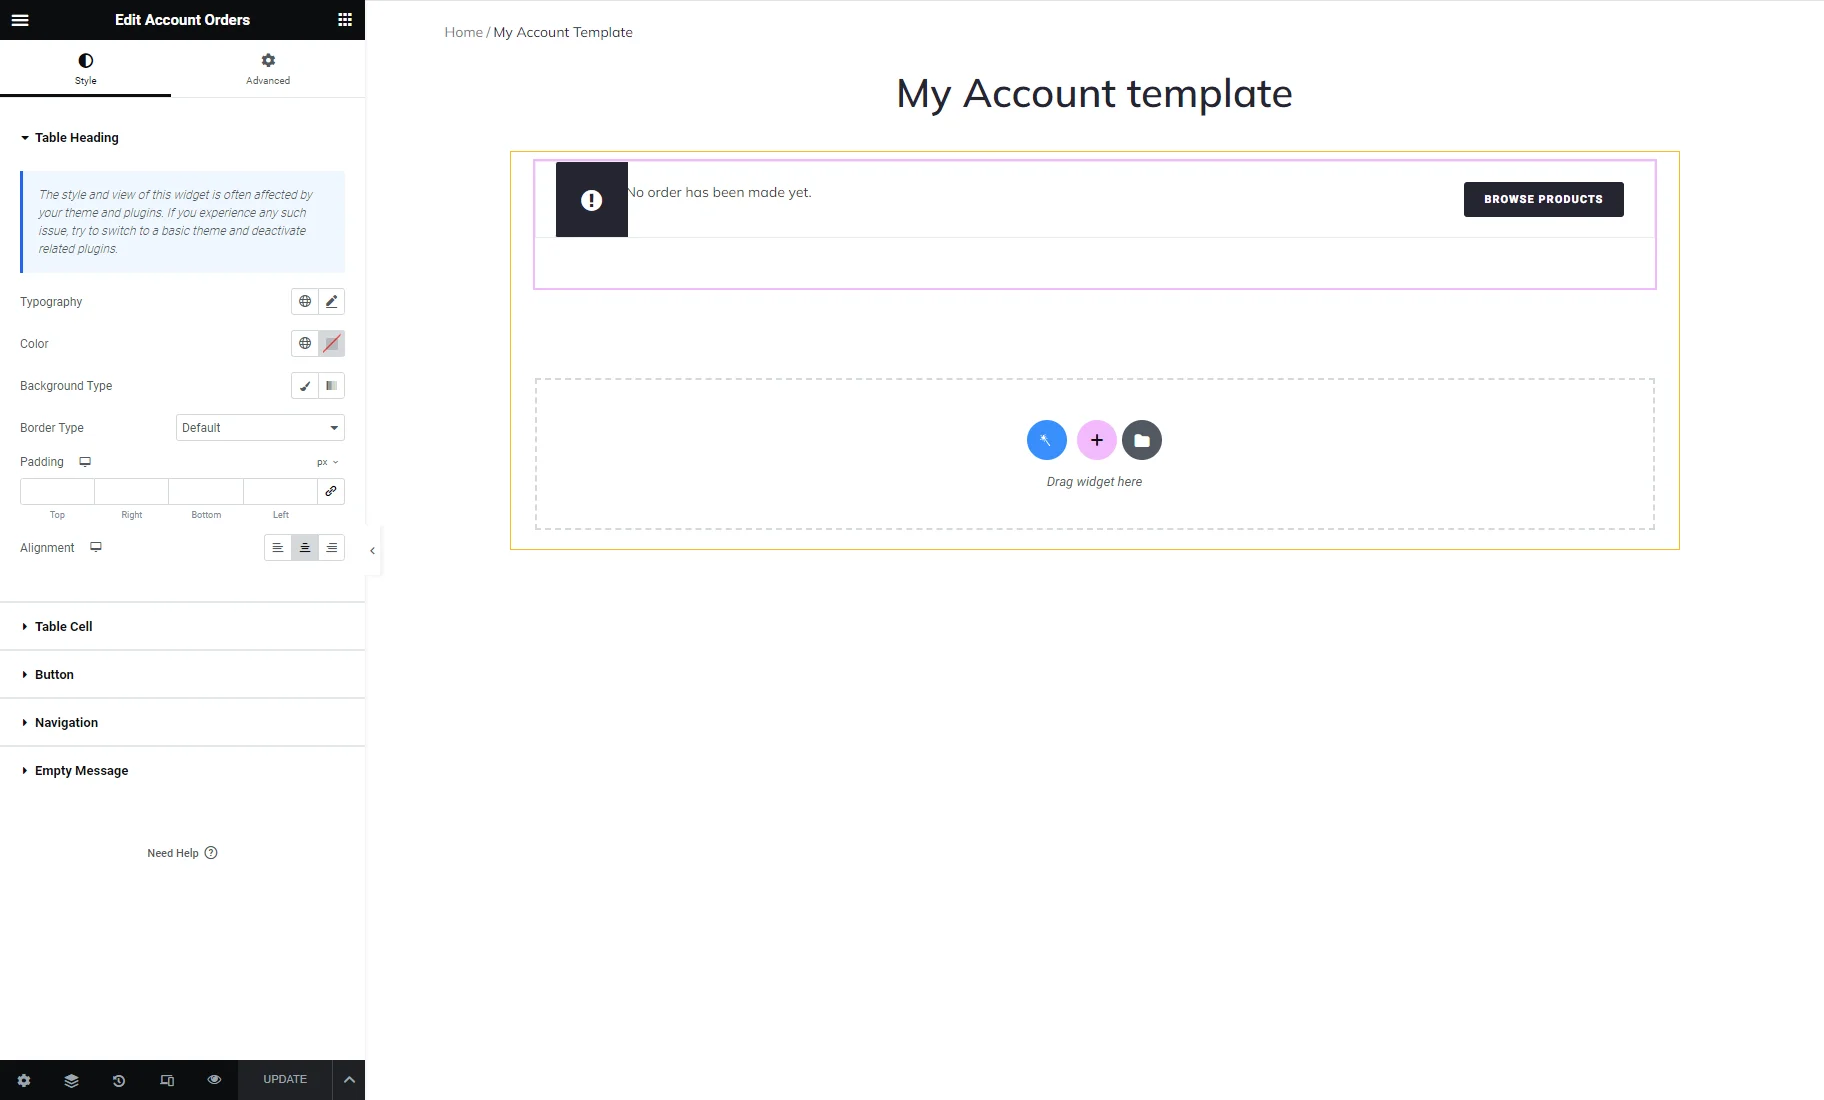
Account Orders
When a logged-in user makes an order, it falls into a block created with this widget. The table contains the number, date, status, and total price of all orders made by the customer.
In the Style settings tab, you can design the Table Heading, Table Cells, and the “View” Buttons.
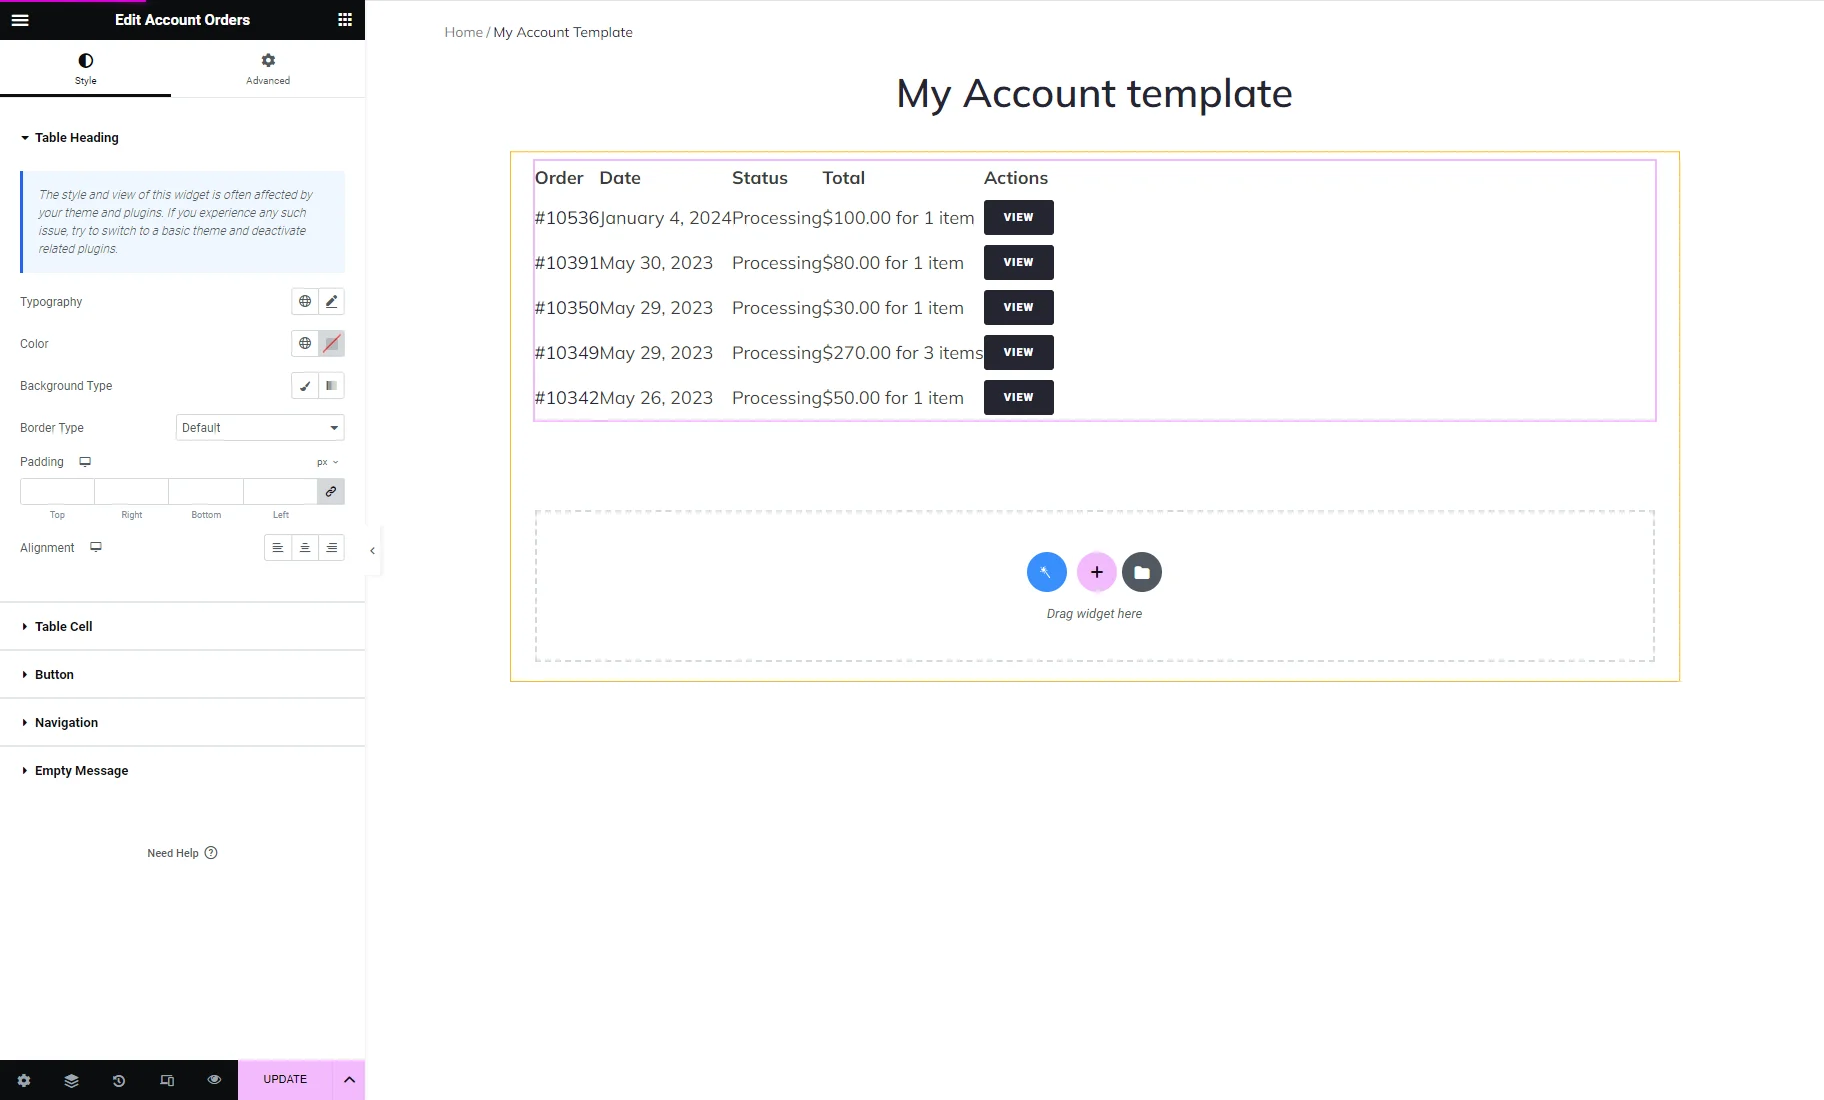
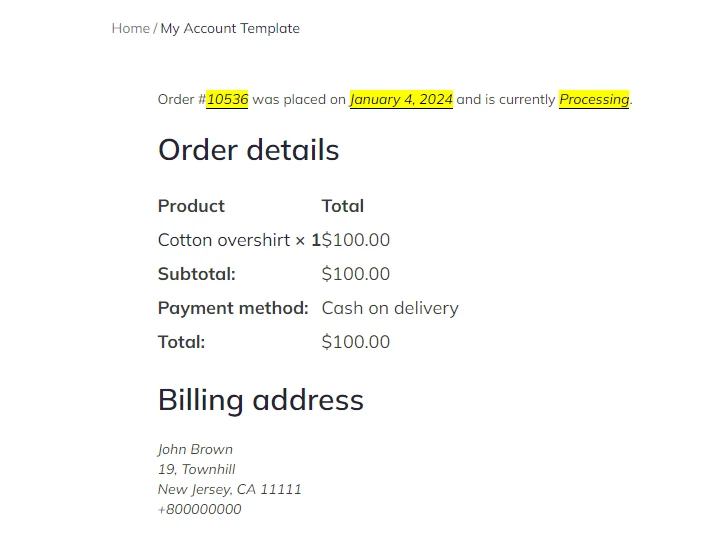
If the user pushes the “View” button on the front end, they can see the order details.
If a user hasn’t made any orders yet, they will see the default WooCommerce message, the style of which can be edited in the widget’s Style tab.
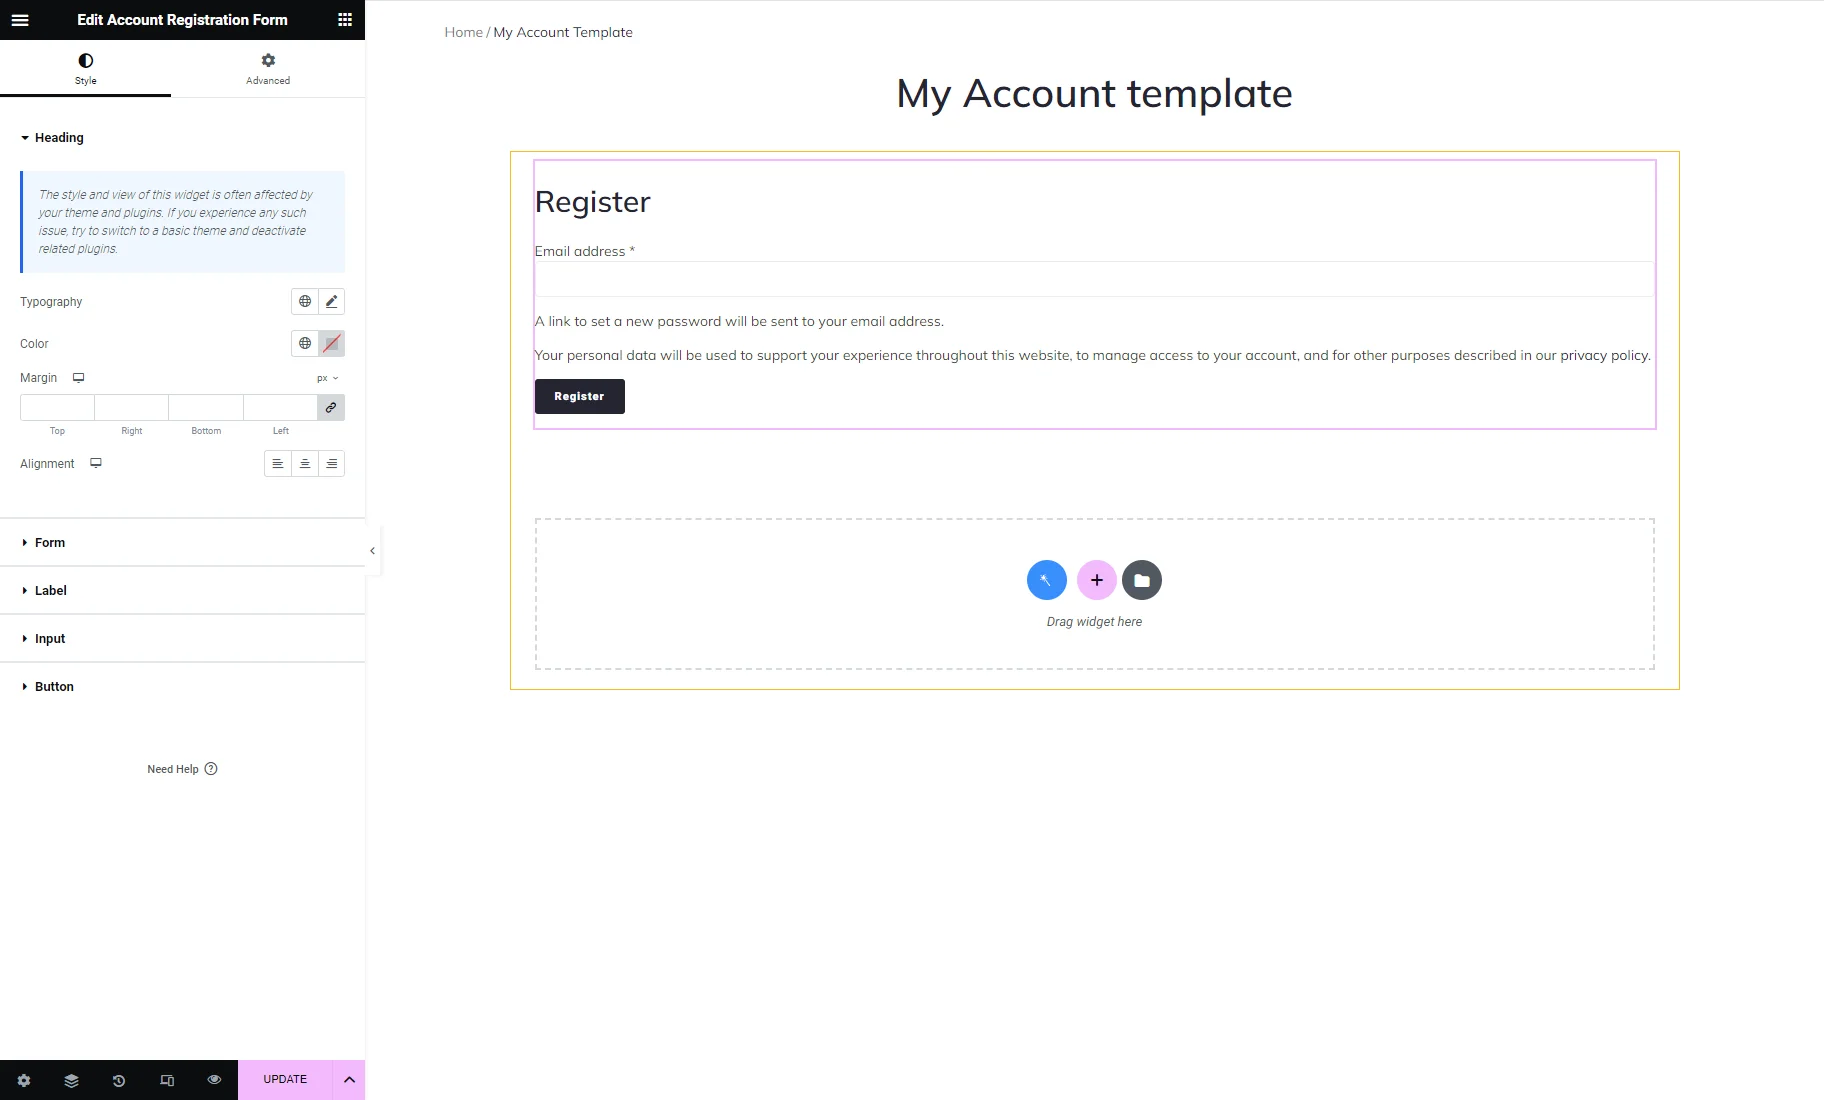
Account Registration Form
Non-registered users must complete a registration form to access the account page. This widget adds a form with a field where users have to insert their email address and press the “Register” button. It also has a notification message with a link that navigates users to the company’s privacy policy page.
Once again, you can customize the form’s appearance in the Style menu tab. This includes the “Register” Heading, overall Form design (such as form text, background, and border), “Email Address” field Label, Input field, and the “Register” Button.
Account Payment Methods
The Account Payment Methods widget displays the customer’s saved payment methods on the account page. It adds an interface where users can view, add, remove, and set default payment methods. This widget is connected to the “payment-methods” WooCommerce endpoint.
In the Style settings, the Table Heading, Table Cells, and Buttons can be customized.

On the front end, users can click the “Add Payment Method” button to open a form for adding new payment methods to the user’s account. It allows users to enter card details, such as card number, expiration date, security code, country, and ZIP code, and save them for future transactions.

After that, the widget shows saved payment information with options to add or delete a card.

Account Content
The Account Content widget displays the main content area of the My Account page. It dynamically loads and shows the content of the selected WooCommerce endpoint displayed by the widgets listed above. It works together with the account navigation menu widget, which allows users to switch between endpoints and display the corresponding content in this area. More information can be found in the Create a custom My Account Page template.

That’s all. Now you know all about the My Account Page widgets and their style settings. The next step may be the My Account Page With Endpoint Templates creation.