How to Create a Purchase Popup Notification
This tutorial teaches you how to add a Woo purchase pop-up notification to your WordPress online store using the JetPopup and JetWooBuilder plugins.
Before you start, check the tutorial requirements:
- Elementor (Free version)
- JetPopup plugin installed and activated
- JetWooBuilder plugin installed and activated
- WooCommerce plugin installed and activated
By combining the JetWooBuilder and JetPopup functionality, you can display different content and use different widgets in a WooCommerce purchase pop-up.
For example, you can display products with the Products Grid and Products List widgets and add a pop-up with the “Product successfully added to your shopping cart” or “Thank you for your purchase” message to it.
The Woo purchase notification can also be attached to the Archive Add to Cart widget.
Create a New Pop-up
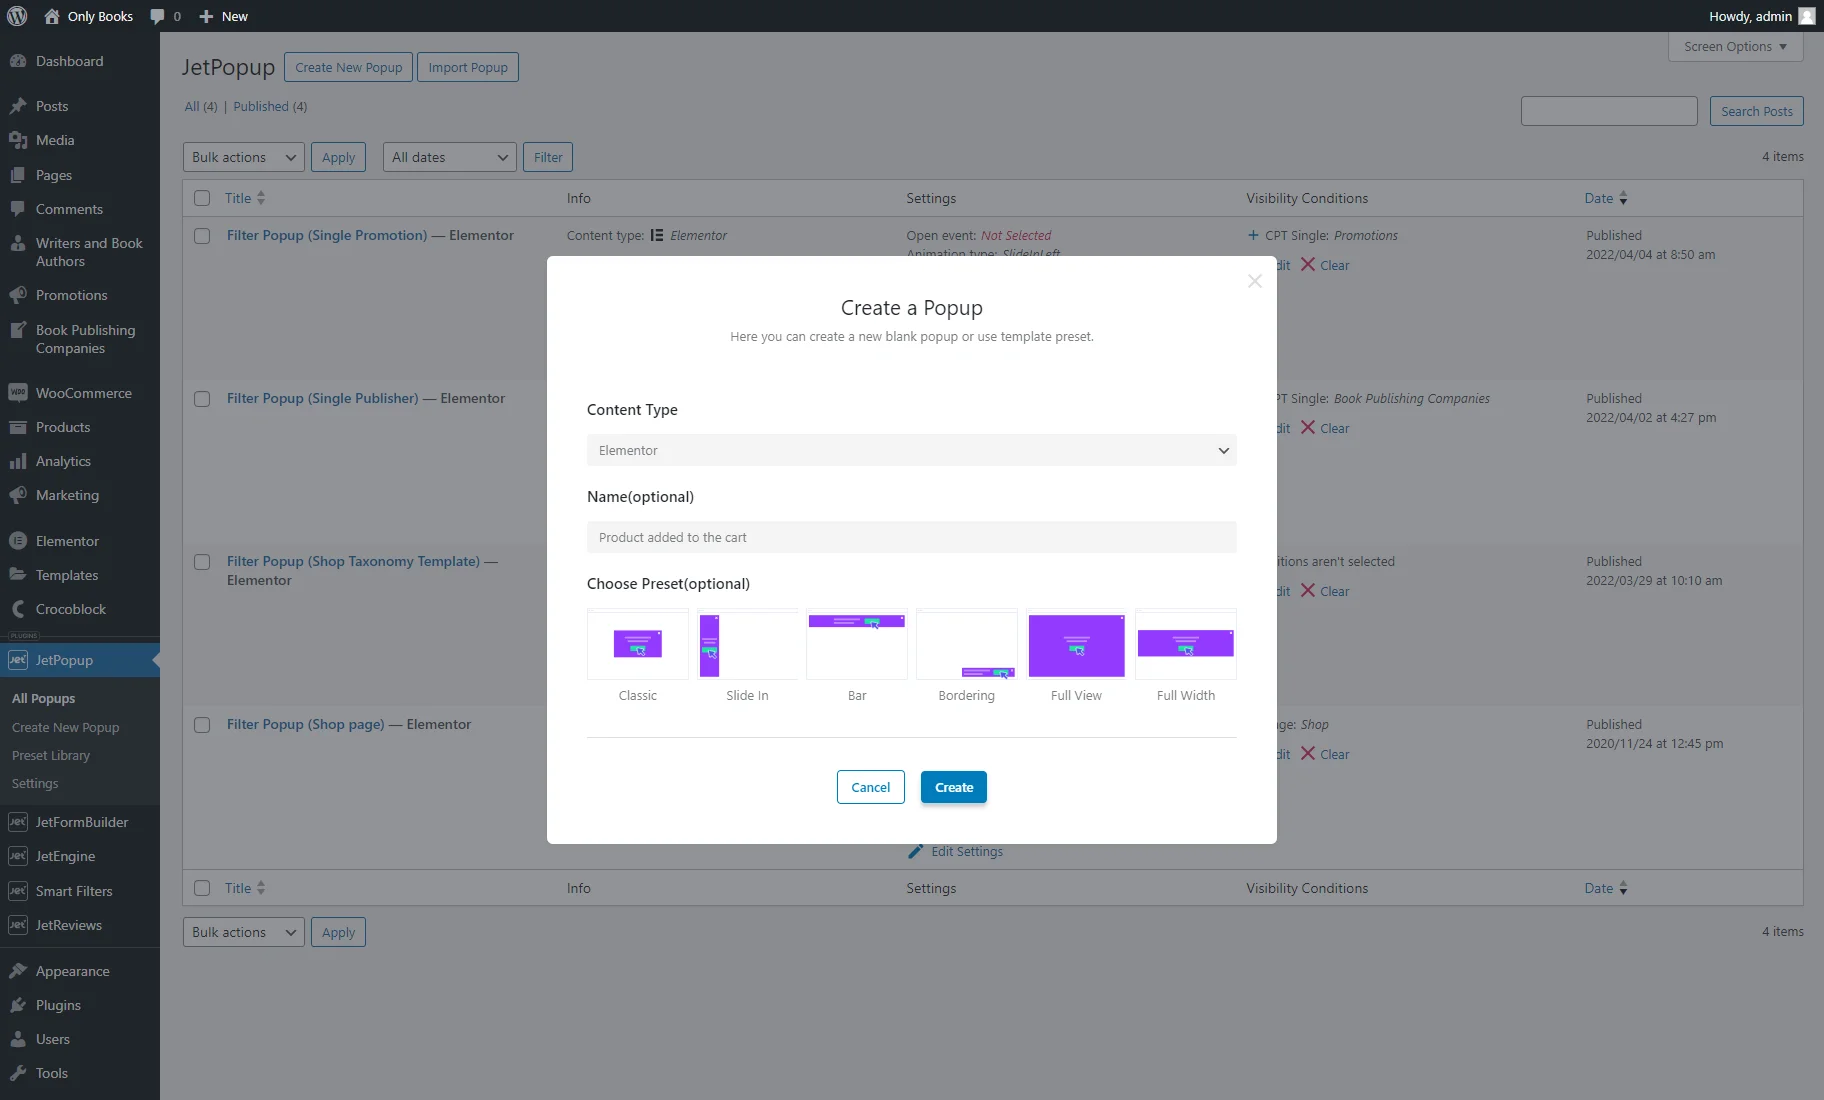
Firstly, you need to create a pop-up with the JetPopup plugin. To do so, open your WordPress Dashboard and navigate to JetPopup > Create New Popup.
Select the Content Type (e.g., “Elementor”), type the Name(optional), and pick one of the patterns from the Choose Preset(optional) field. Then, hit the “Create” button.
Proceed to the How to Create a New Popup Template in Elementor tutorial to discover more.
Add Widgets to the Pop-up
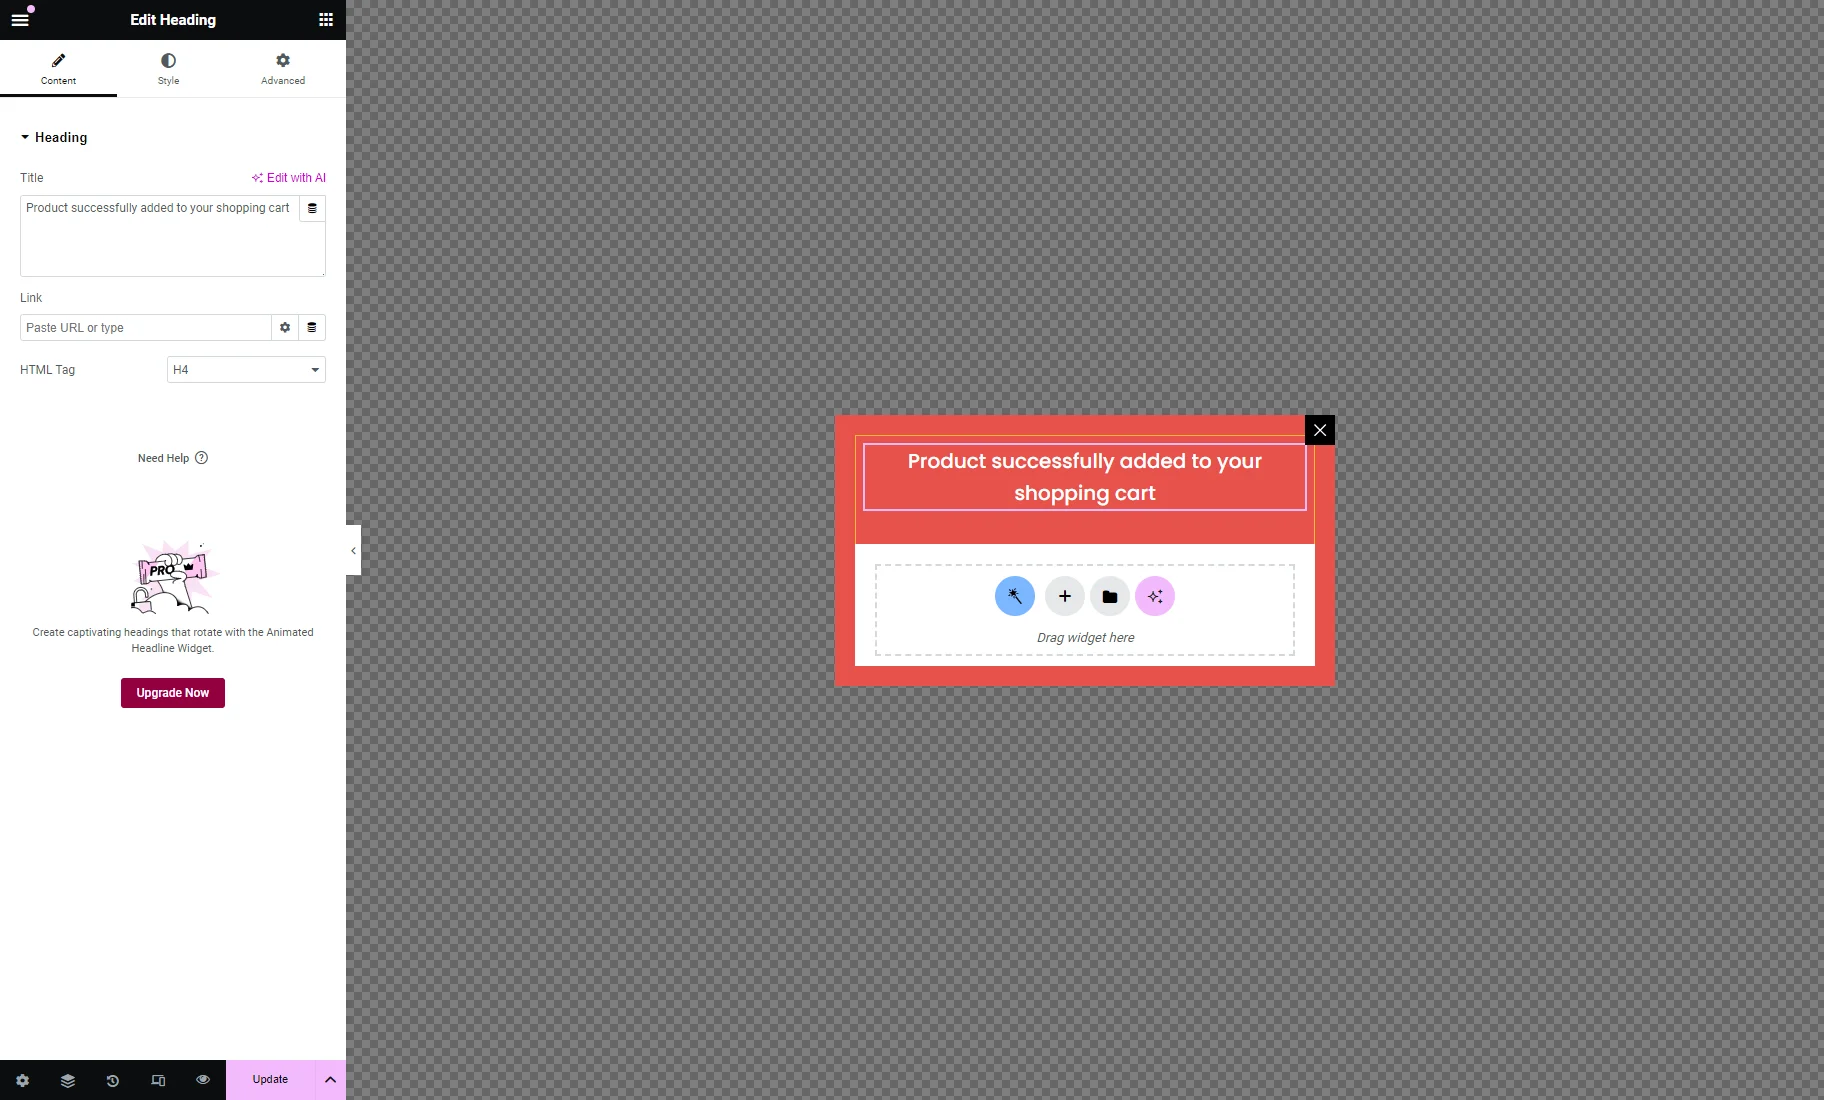
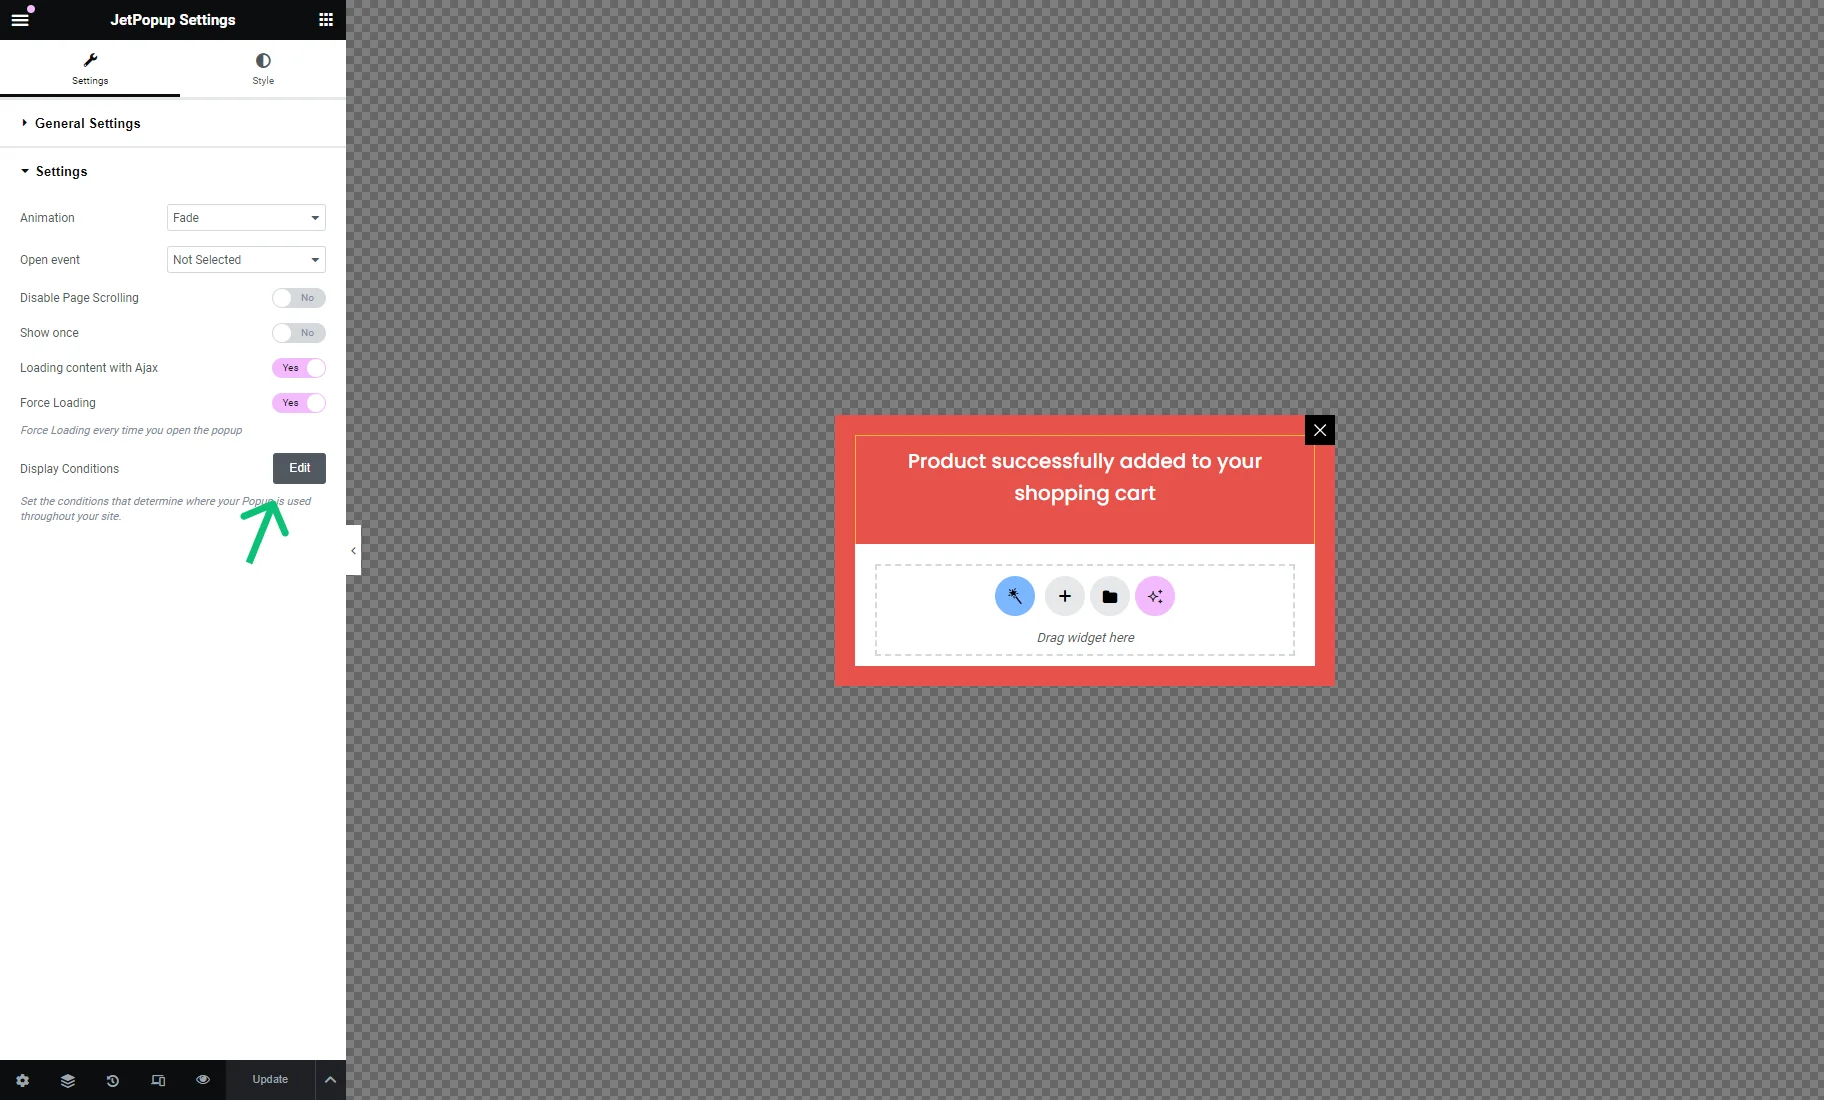
Here, you can add any widgets to set the pop-up content. For example, we add a Heading widget with the “Product successfully added to your shopping cart” text.
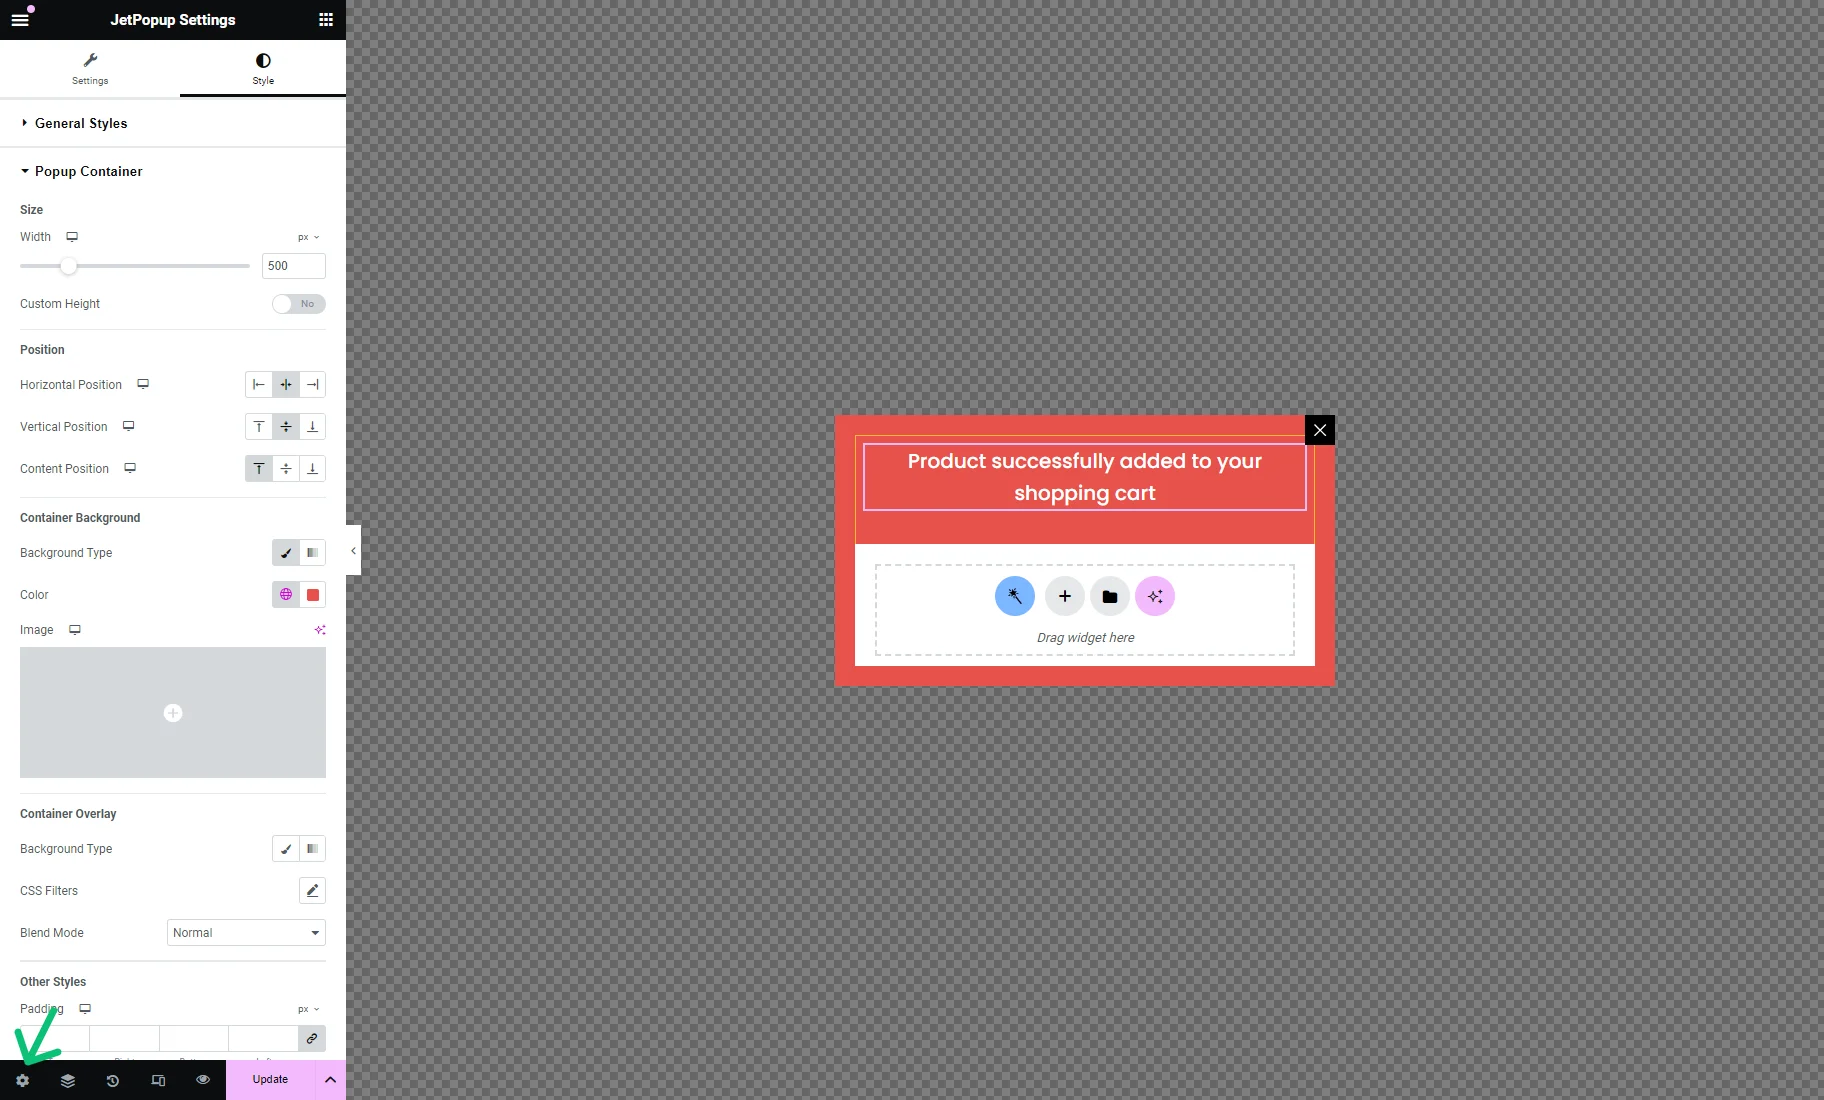
Then, you can style the pop-up according to your preferences. Learn more from Popup Style Settings Overview in Elementor.
For example, we hit the “Settings” button from the left settings panel, open the Style section, unroll the Popup Container tab, and set the container background color.
In the Settings section, unroll the Settings tab and enable the Loading content with Ajax and Force Loading options.
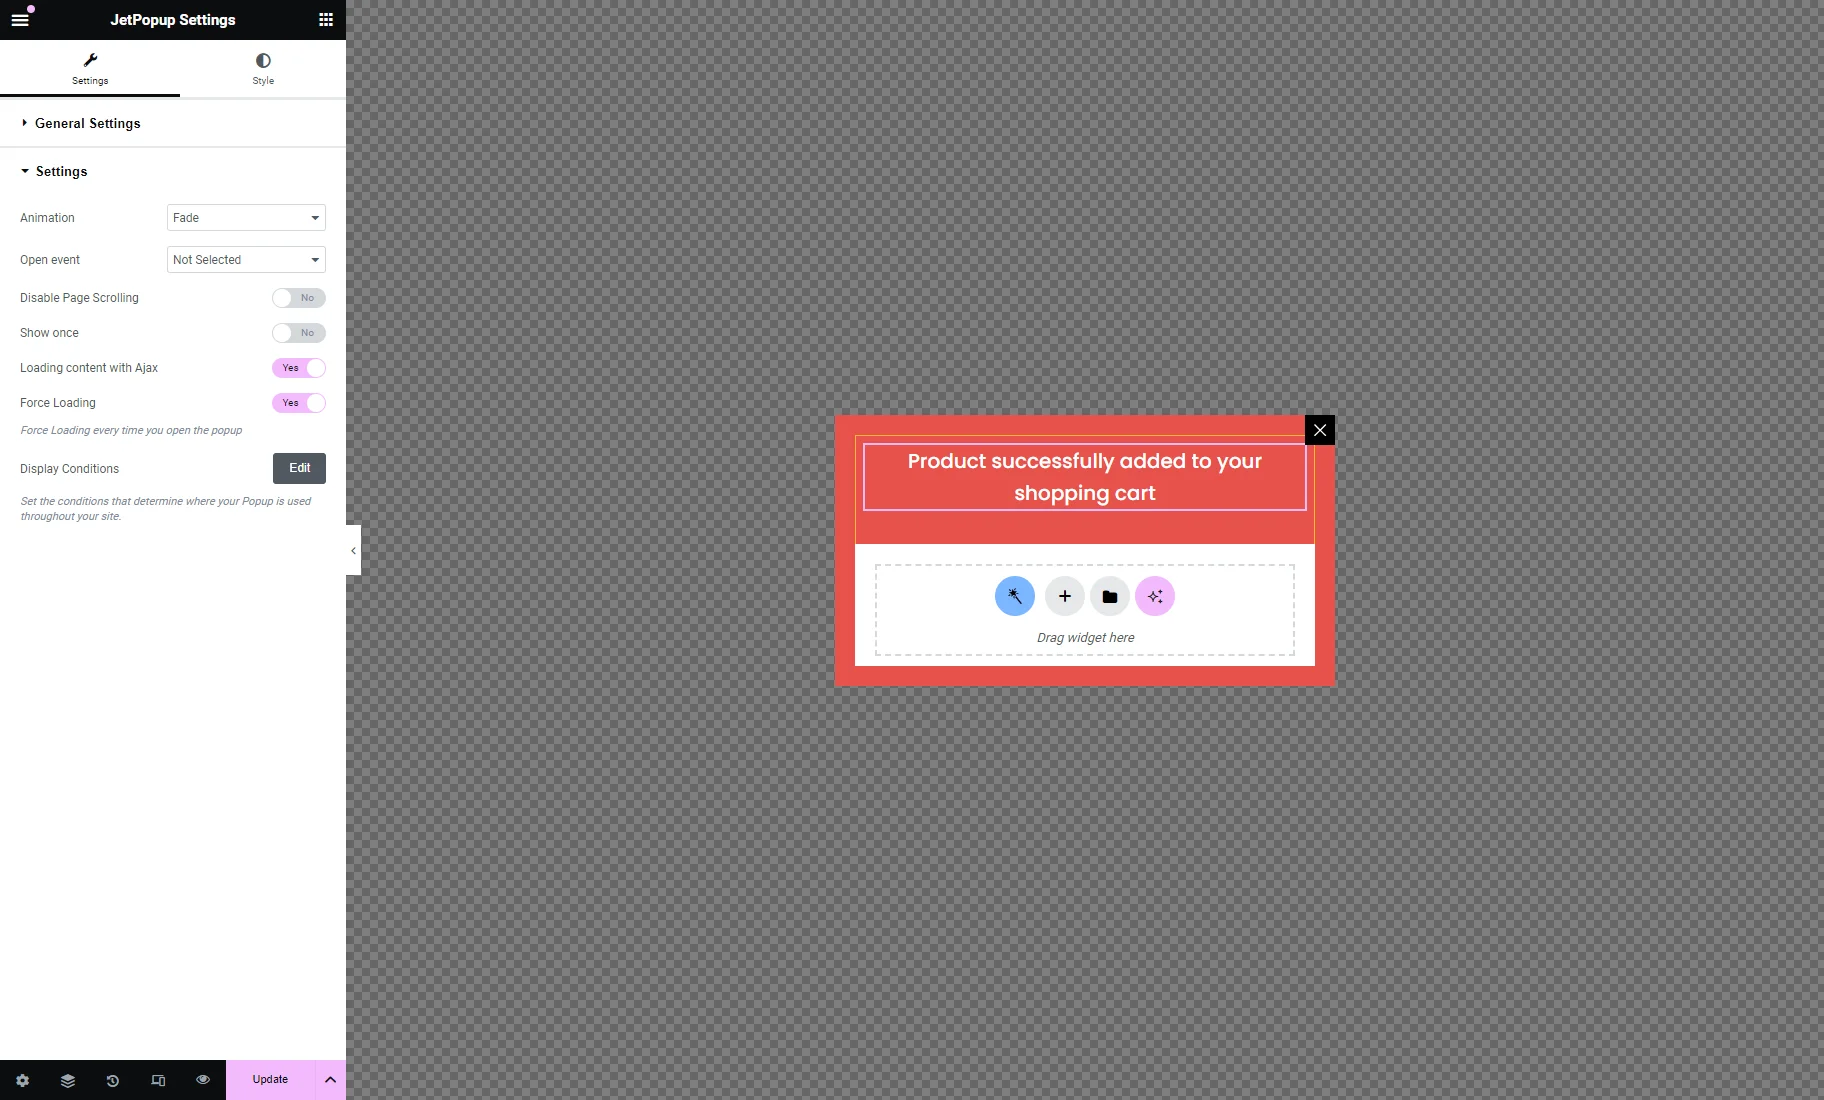
After customizing the pop-up, hit the “Update” button.
After that, you can add conditions to your pop-up. To do it, click the “Edit” button near the Display Conditions field.
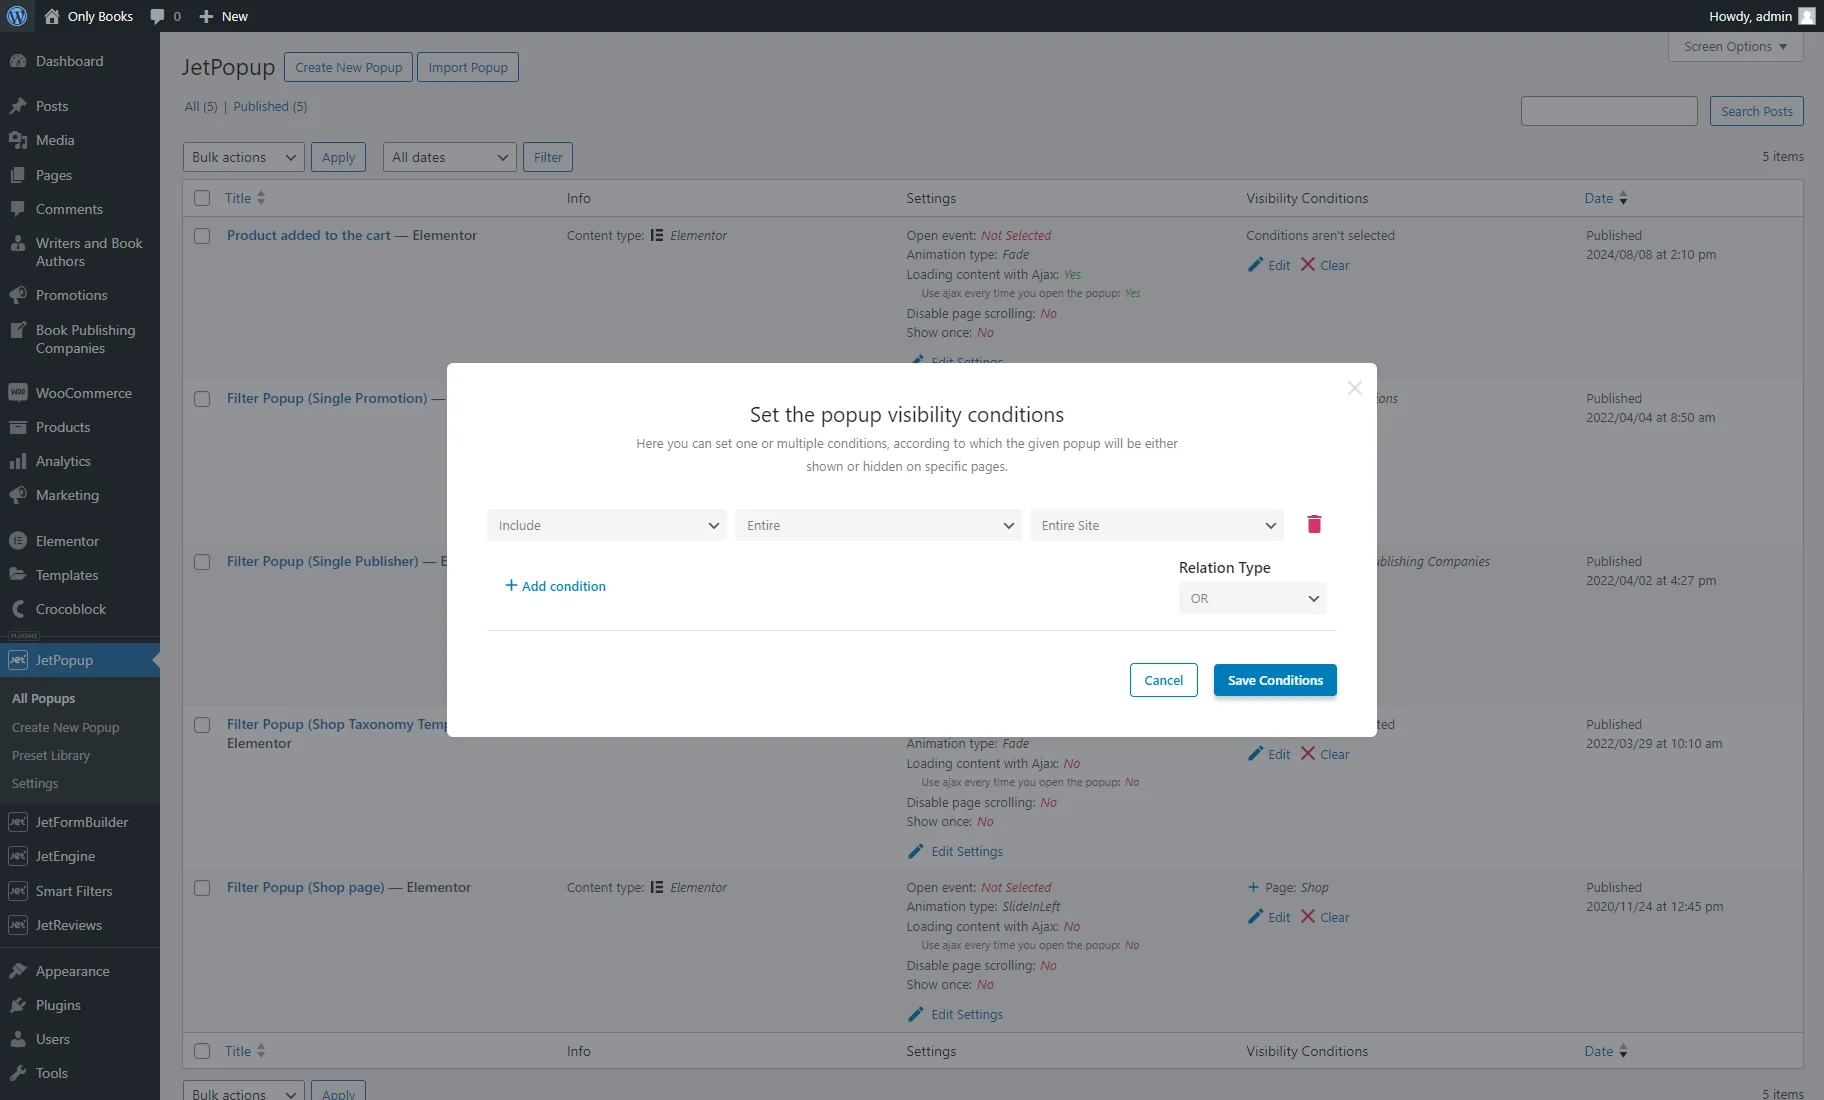
You will be redirected to the WordPress Dashboard > JetPopup > All Popups tab with the opened Set the popup visibility conditions pop-up.
Hit the “+ Add condition” button. For example, we set the “Include,” “Entire,” and “Entire Site” options and hit the “Save Conditions” button.
Add the Pop-up to a Widget
You can add a pop-up to the Products Grid, Products List, or Archive Add to Cart widgets. Open a page or template in the Elementor editor where you want to place a product gallery with a pop-up notification and drag the necessary widget to it. For example, we put the Products Grid widget.
Go to the Advanced section, unroll the JetPopup tab, and enable the JetWooBuilder Purchase Popup option. Then select the pop-up you’ve created in the Purchase Popup drop-down menu.
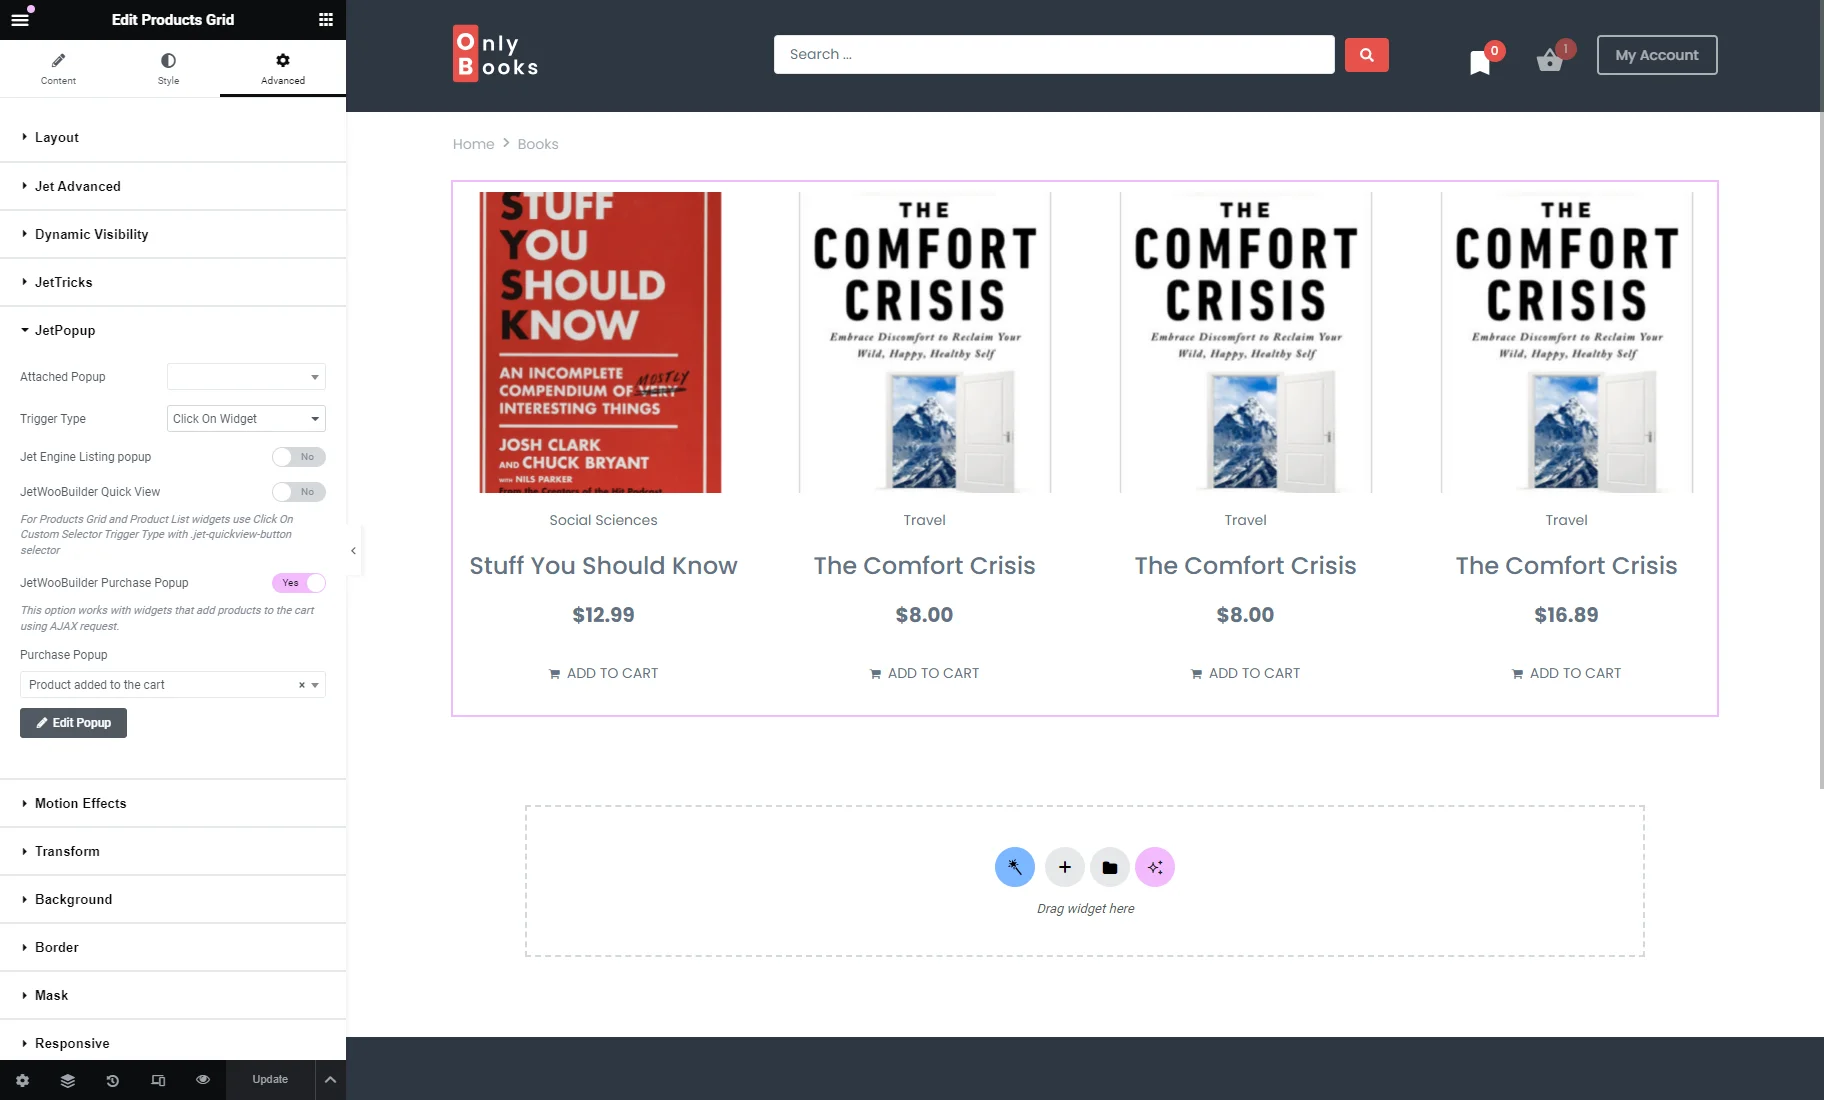
Finish customizing the page, and hit the “Update” button.
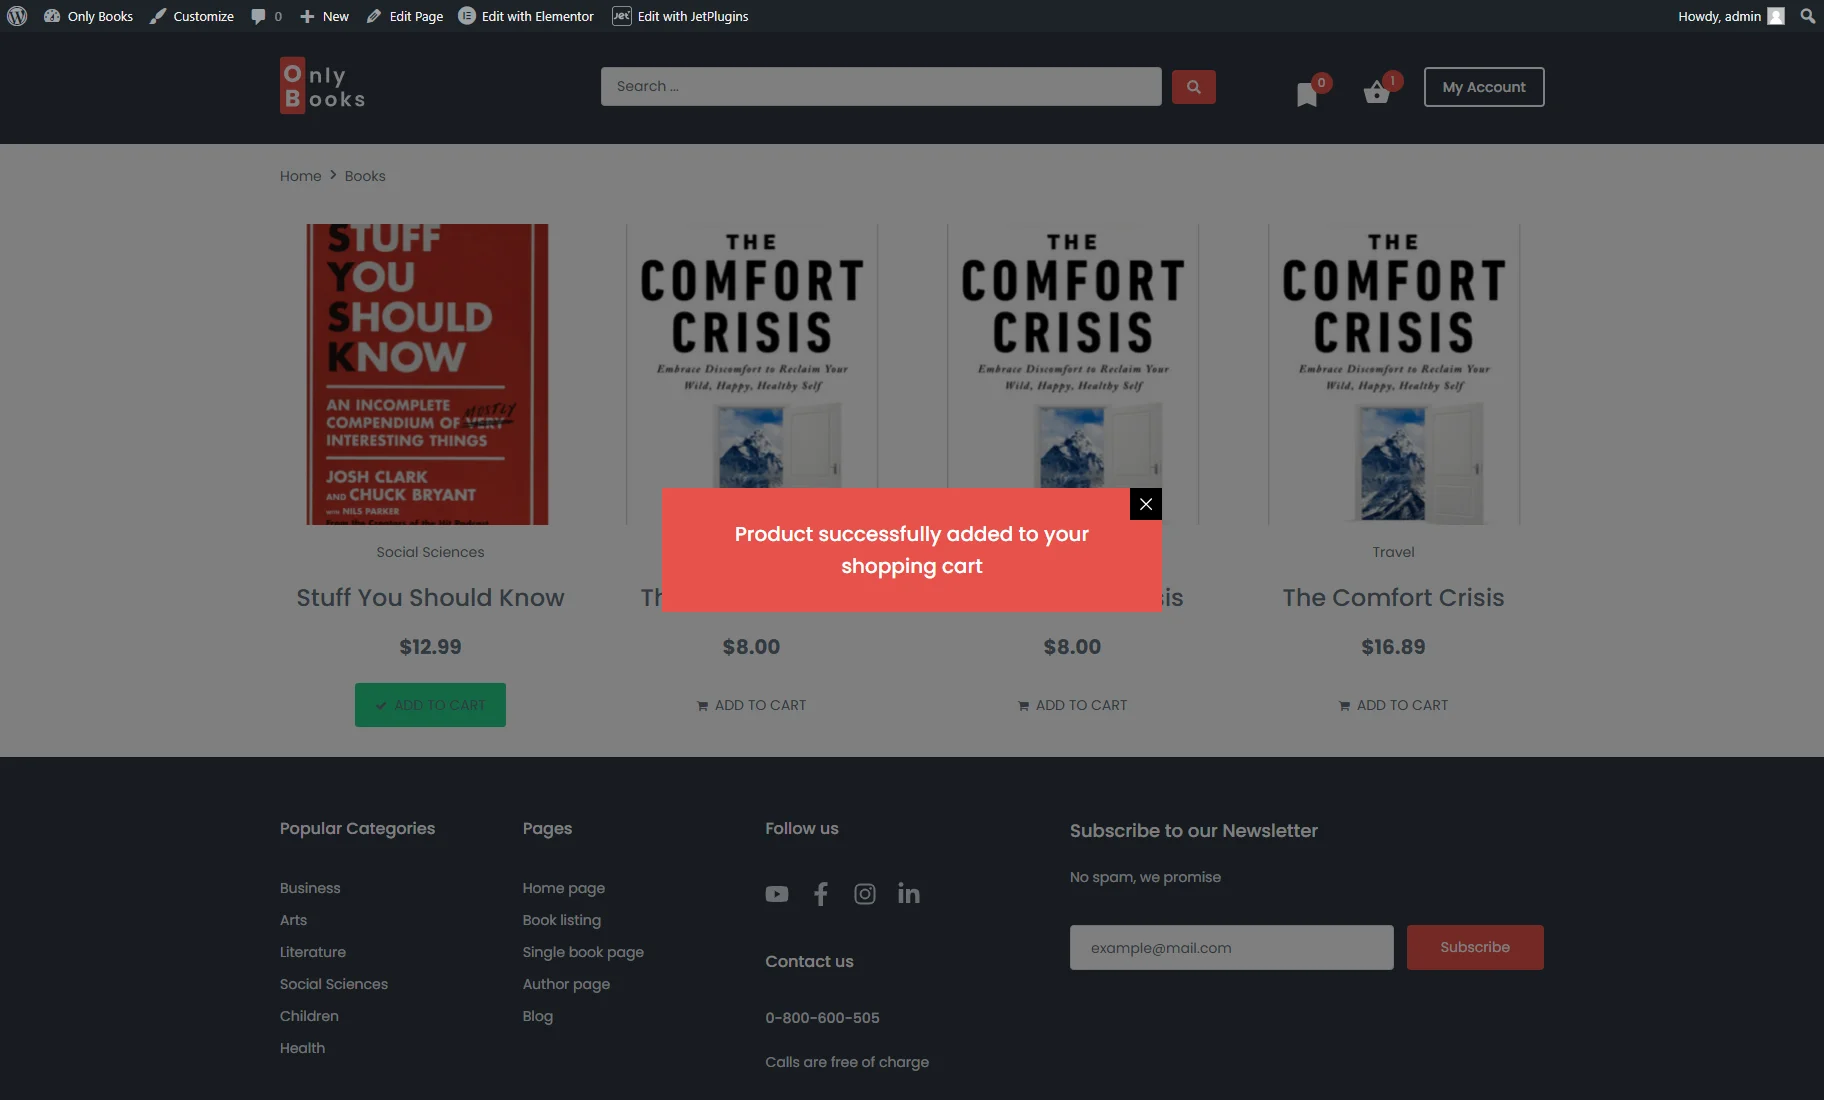
The last step is to check your pop-up in action. Proceed to the front end and add any product to the cart. After that, the purchase pop-up will appear.
To learn how to display dynamic sale notifications with the JetEngine plugin (e.g., the last completed order), proceed to the How to Create Dynamic Sale Notifications for WooCommerce SQL Query with Open AI tutorial.
Now you know how to display different content that can appear in the pop-up with the help of the JetWooBuilder and JetPopup plugins.