
How to Showcase Product Images within the Grid Layout
From this tutorial, you will learn how to display product images gallery within the grid layout using JetProductGallery Gallery Grid widget.
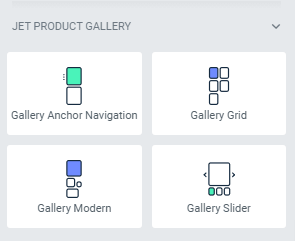
The JetProductGallery plugin provides some widgets for showing product images in the form of a convenient gallery. You will be able to demonstrate WooCommerce products from all sides and let visitors decide upon their purchases. Organize the gallery with product images within the grid layout for a better presentation of the product.
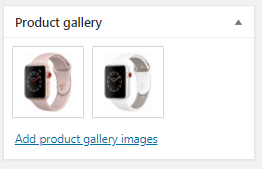
Add Product Gallery Images to the Product Page
Beforehand, make sure there are images in the Product Gallery block on the appropriate product page.
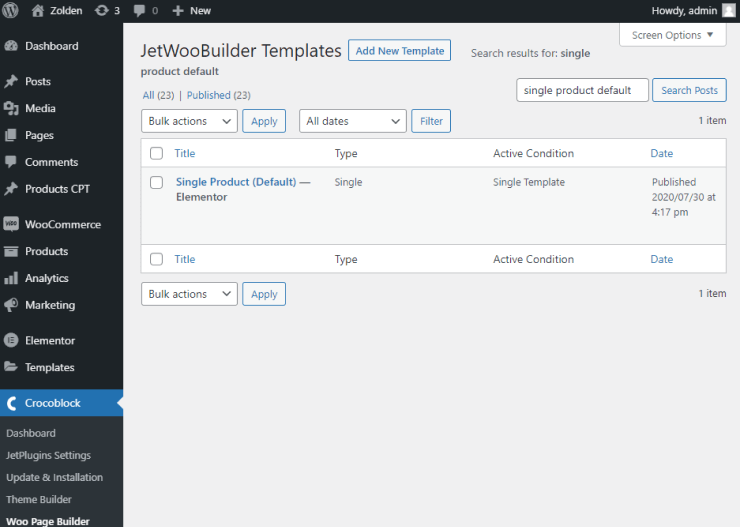
Create a new Single Product Page Template
Then, in the WordPress dashboard navigate to WooCommerce > Woo Page Builder block and create a new Single Product page template clicking Add New Template button.
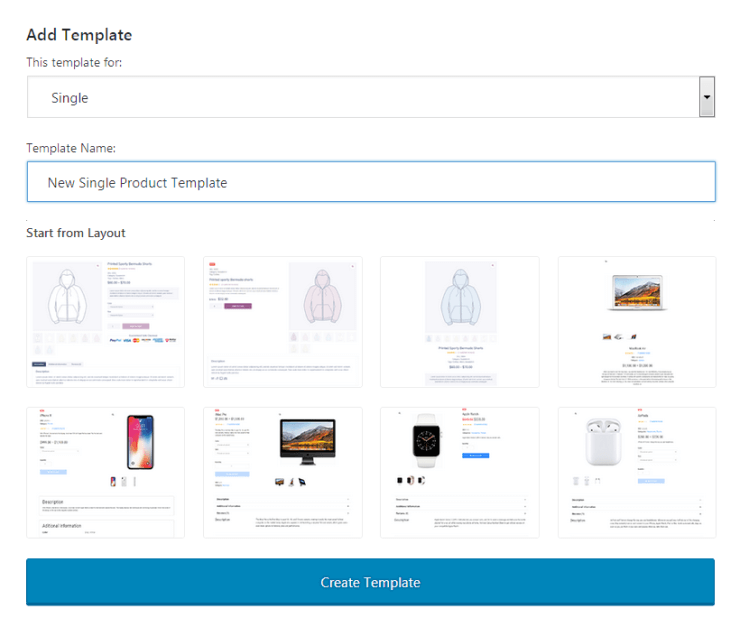
When you have filled all necessary fields in the appeared popup window, such as This template for and Template Name, you need to push the Create Template button below to proceed to Elementor editor.
Customize the Template with Single Product Widgets
You can customize the product template setting a page structure and enriching the content with varied widgets, which are available in the Elements block. There are a lot of JetWooBuilder Single Product widgets for displaying information about the product.
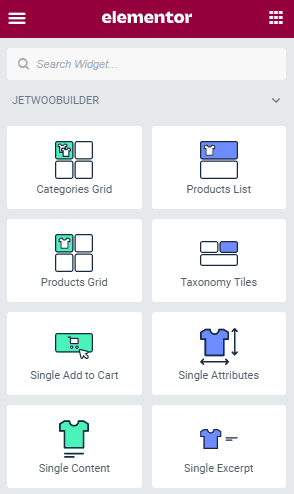
Add the Gallery Grid
To display the product gallery with grid layout you need to scroll to the JetProductGallery section in the Elements list and drag the Gallery Grid widget to a certain section on the page.
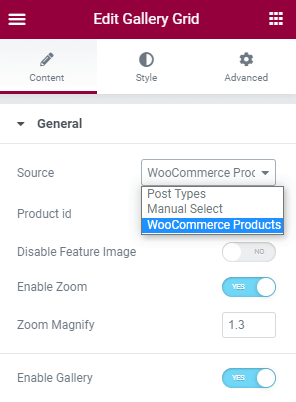
Choose the Needed Source in the General Settings
After that, you can see the settings window of the Gallery Grid widget on the left. Here in the Content > General section, you need to choose where to get images of the products from in the Source field. You can choose one of three sources, such as “Post Types”, “Manual Select”, and “WooCommerce Products”. Check the General Settings Overview tutorial to find out more.
Afterward, you’ll need to enable the gallery option.
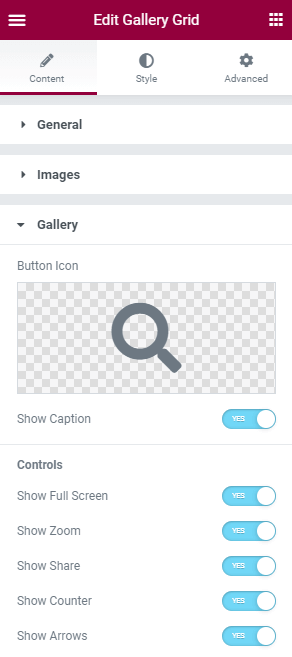
Discover Gallery Section Settings
Now go to the Gallery section and adjust the needed settings. You can enable showing caption, zoom, arrows in the product gallery.
When you’re done click on the Publish button at the bottom of the panel.
Preview the Result
Navigate to the Shop page and click on any product to open a Single Product Page, which we’ve set in previous steps.

You will see Product images in the form of Gallery Grid.

Hope, this tutorial was useful for you by creating product images within the grid layout in the JetWooBuilder Single Product template.