How to Create Variable Products in WooCommerce
Learn more about managing WooCommerce functionality on your WordPress site. This tutorial will explain variable products and how to add them to your WooCommerce shop.
Before you start, check the tutorial requirements:
- WooCommerce plugin installed and activated
With WooCommerce, you can build different types of products: simple, grouped, external/affiliate, and variable.
You can use the “Variable Products” option if you need to show different sets of one product on your WooCommerce site and enable the customer to choose the product in a certain color or complexity.
Also, check how to add external products.
For example, you have one type of dress in various sizes and colors. Here is where the “Variable Products” option comes into play. From this tutorial, you’ll learn how to use it.
Creating Variable Product
First, navigate to the Products > Add New screen on your WordPress Dashboard. Here, you can create a new product. Type in the Product name and add all the necessary content as you usually do.

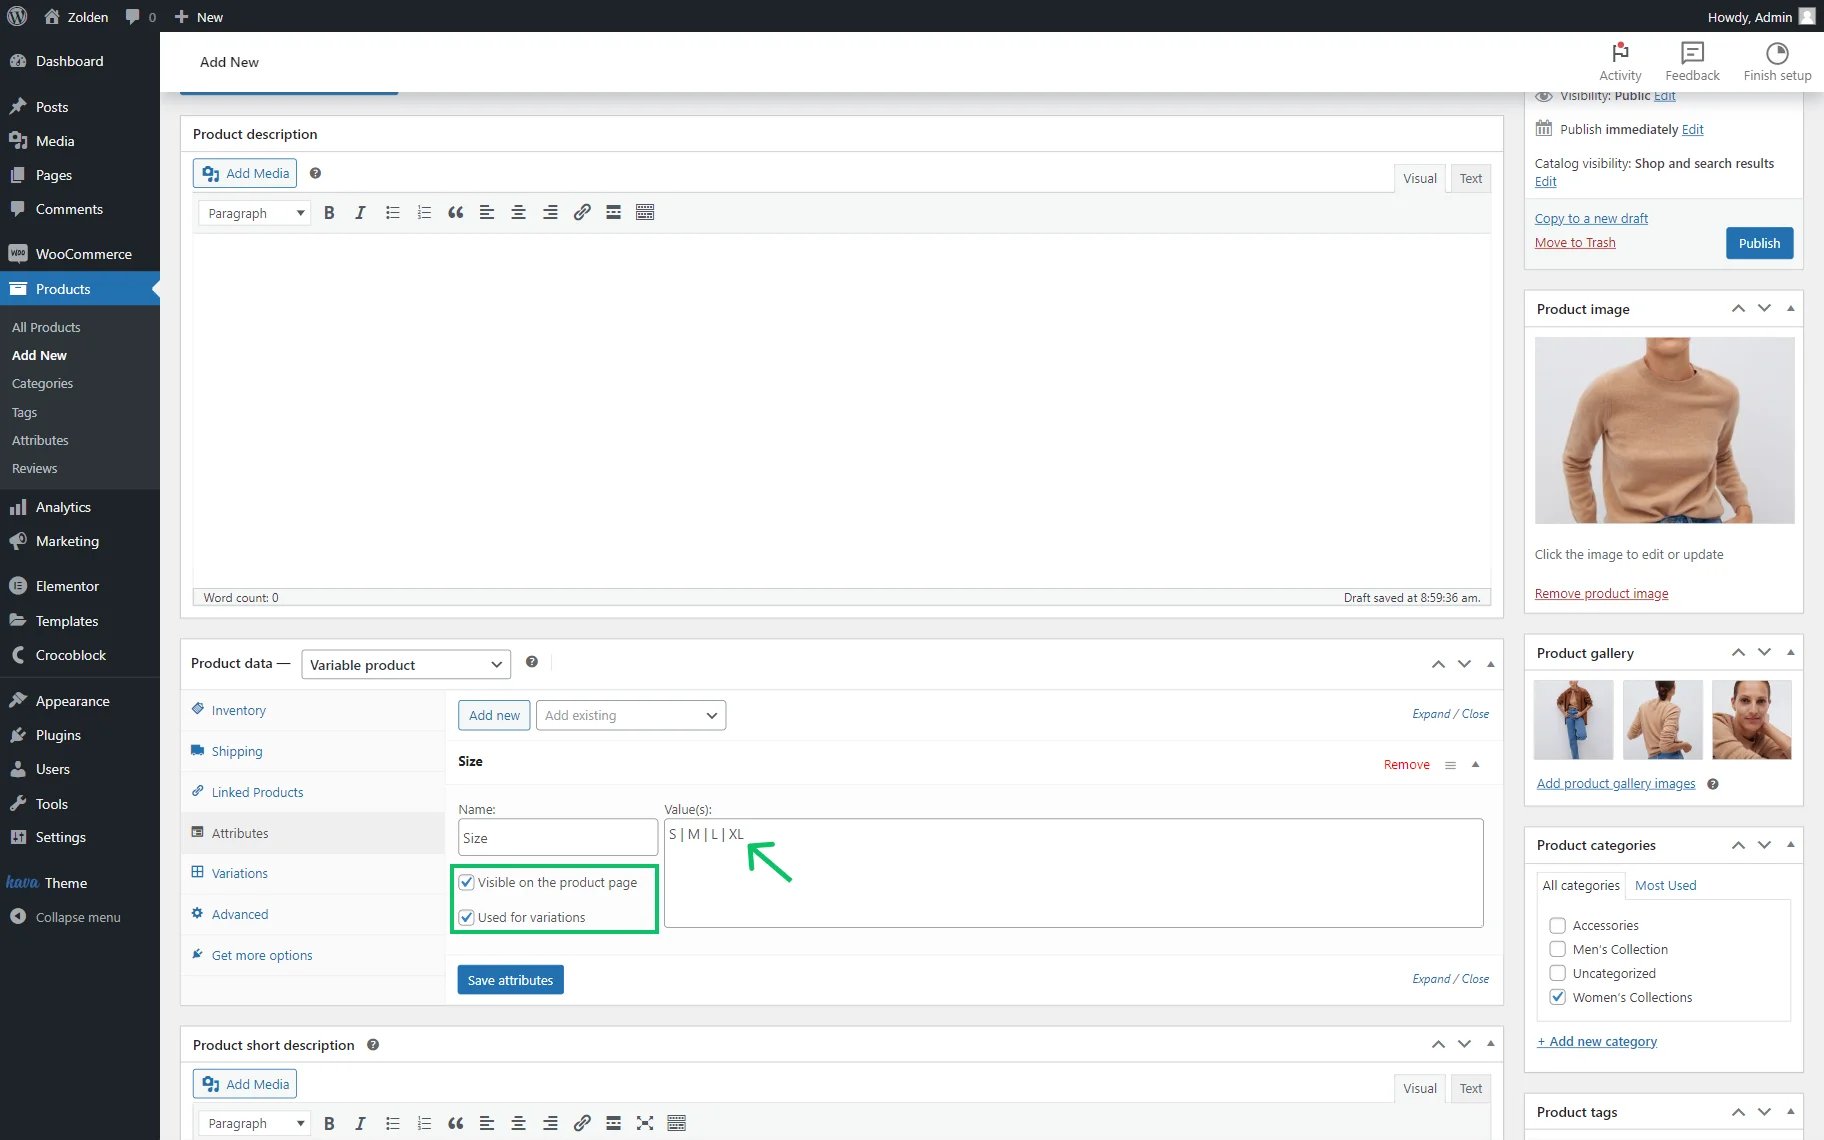
In the Product data block, select the “Variable product” option in the drop-down list.
In the Name field, type in the attribute’s name (e.g., “Size”) and fill in the attribute Value(s) (e.g., “S,” “M,” “L,” “XL”). Please use the “|” separator to separate attribute values.
Leave the Visible on the product page option checked on the product page option to make the attributes shown on the product page.
Also, leave the Used for variations option checked to use the attribute for product variations.
Now, let’s add one more attribute by clicking the “Add new” button. In our case, it will be “Color” with the following options: “Heather Grey,” “Medium Brown,” “Pastel Grey,” and “Pink.”
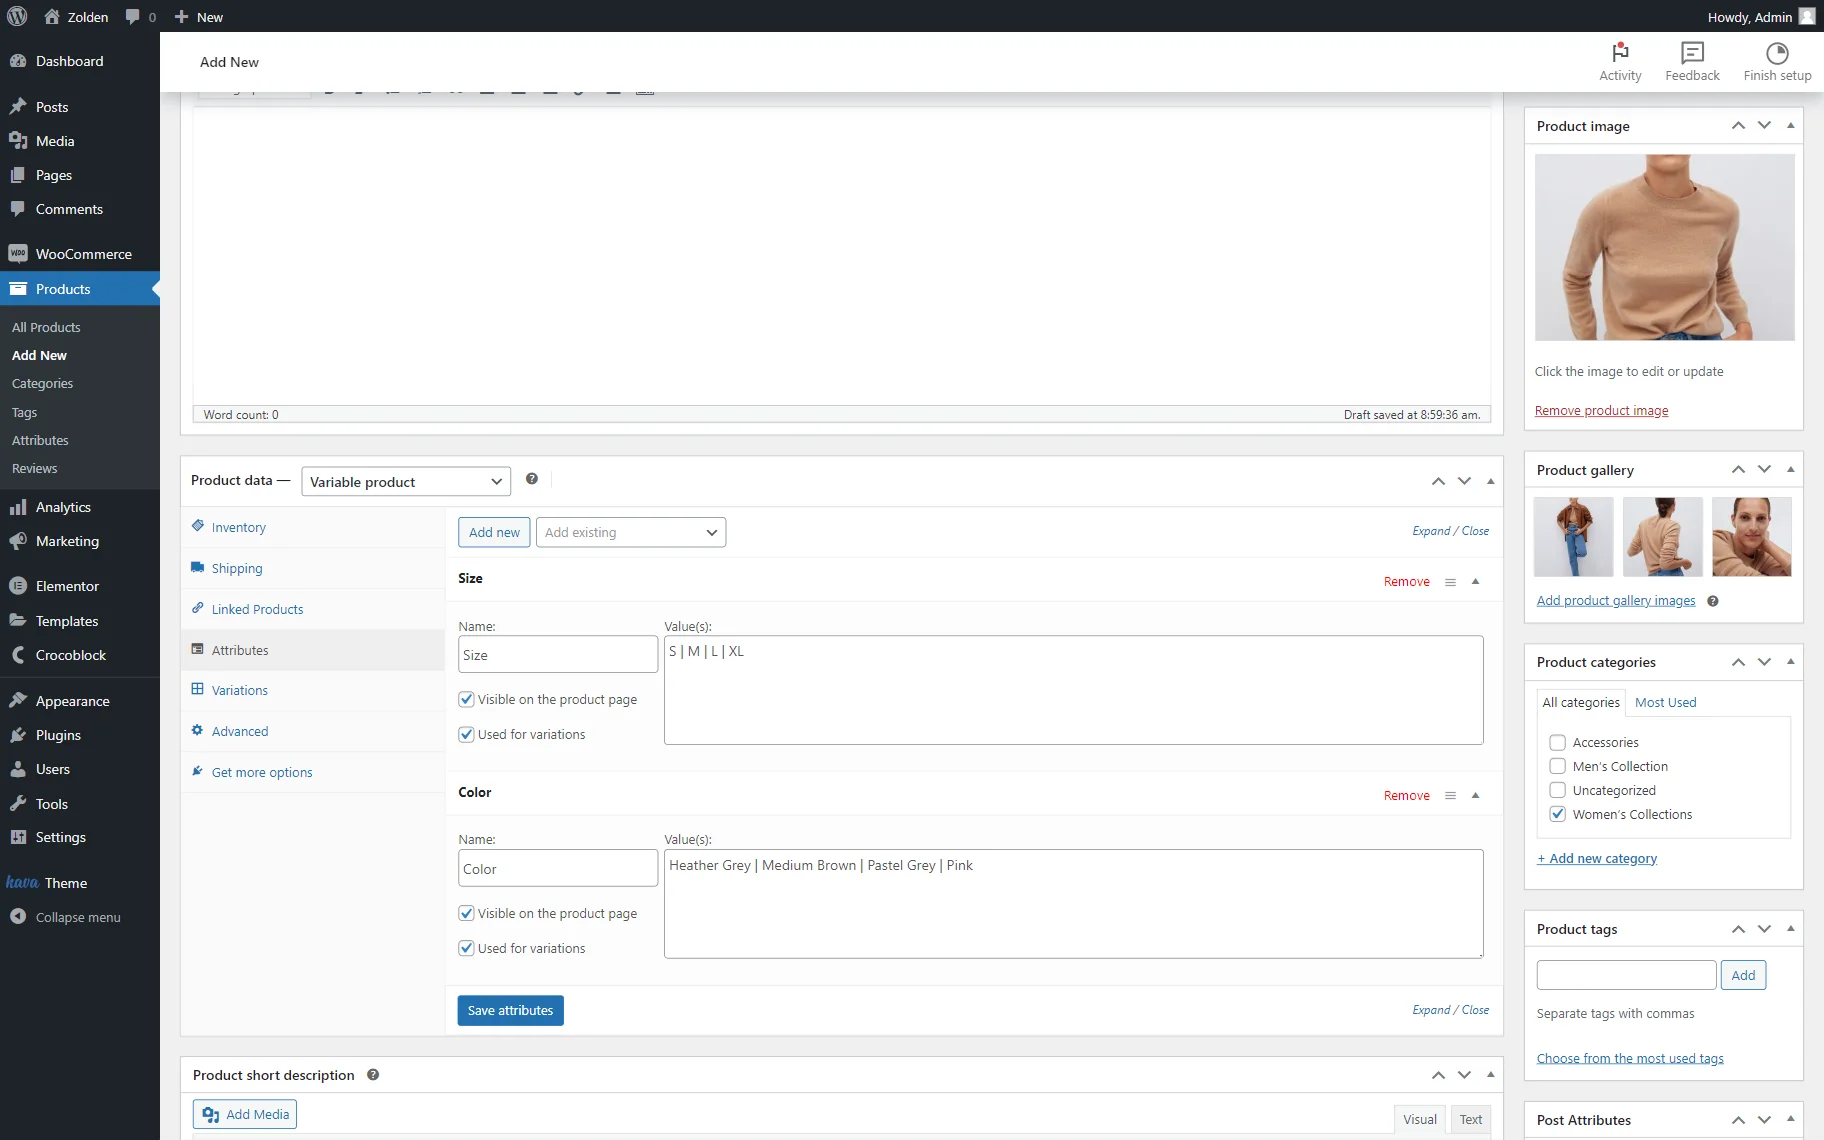
After everything is done, click the “Save attributes” button to save the changes.
Now, let’s proceed to the Variations tab. Here, you can add variations to the product.
Click the “Generate variations” button to create variations from all the added attributes, or press the “Add manually” button to create variations manually.
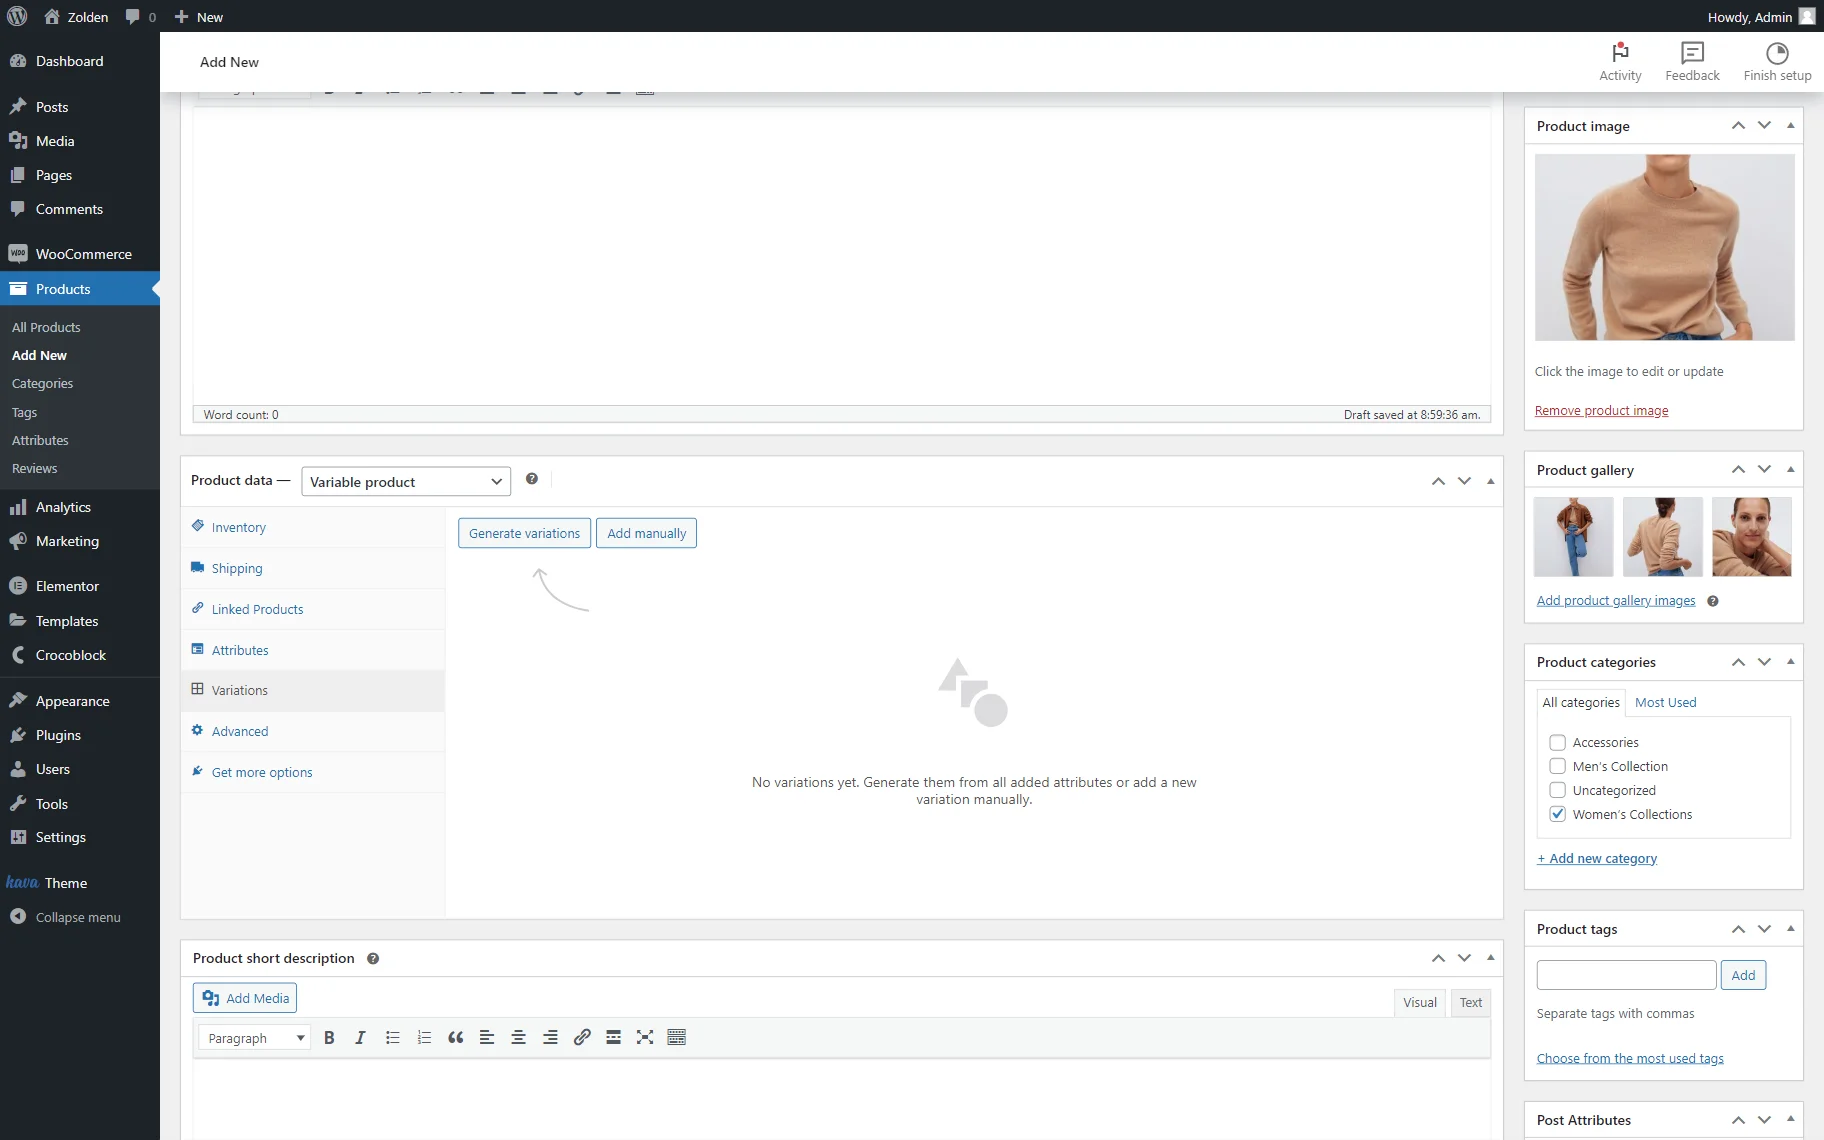
When the “Do you want to generate all variations?” notice appears, click the “OK” button.
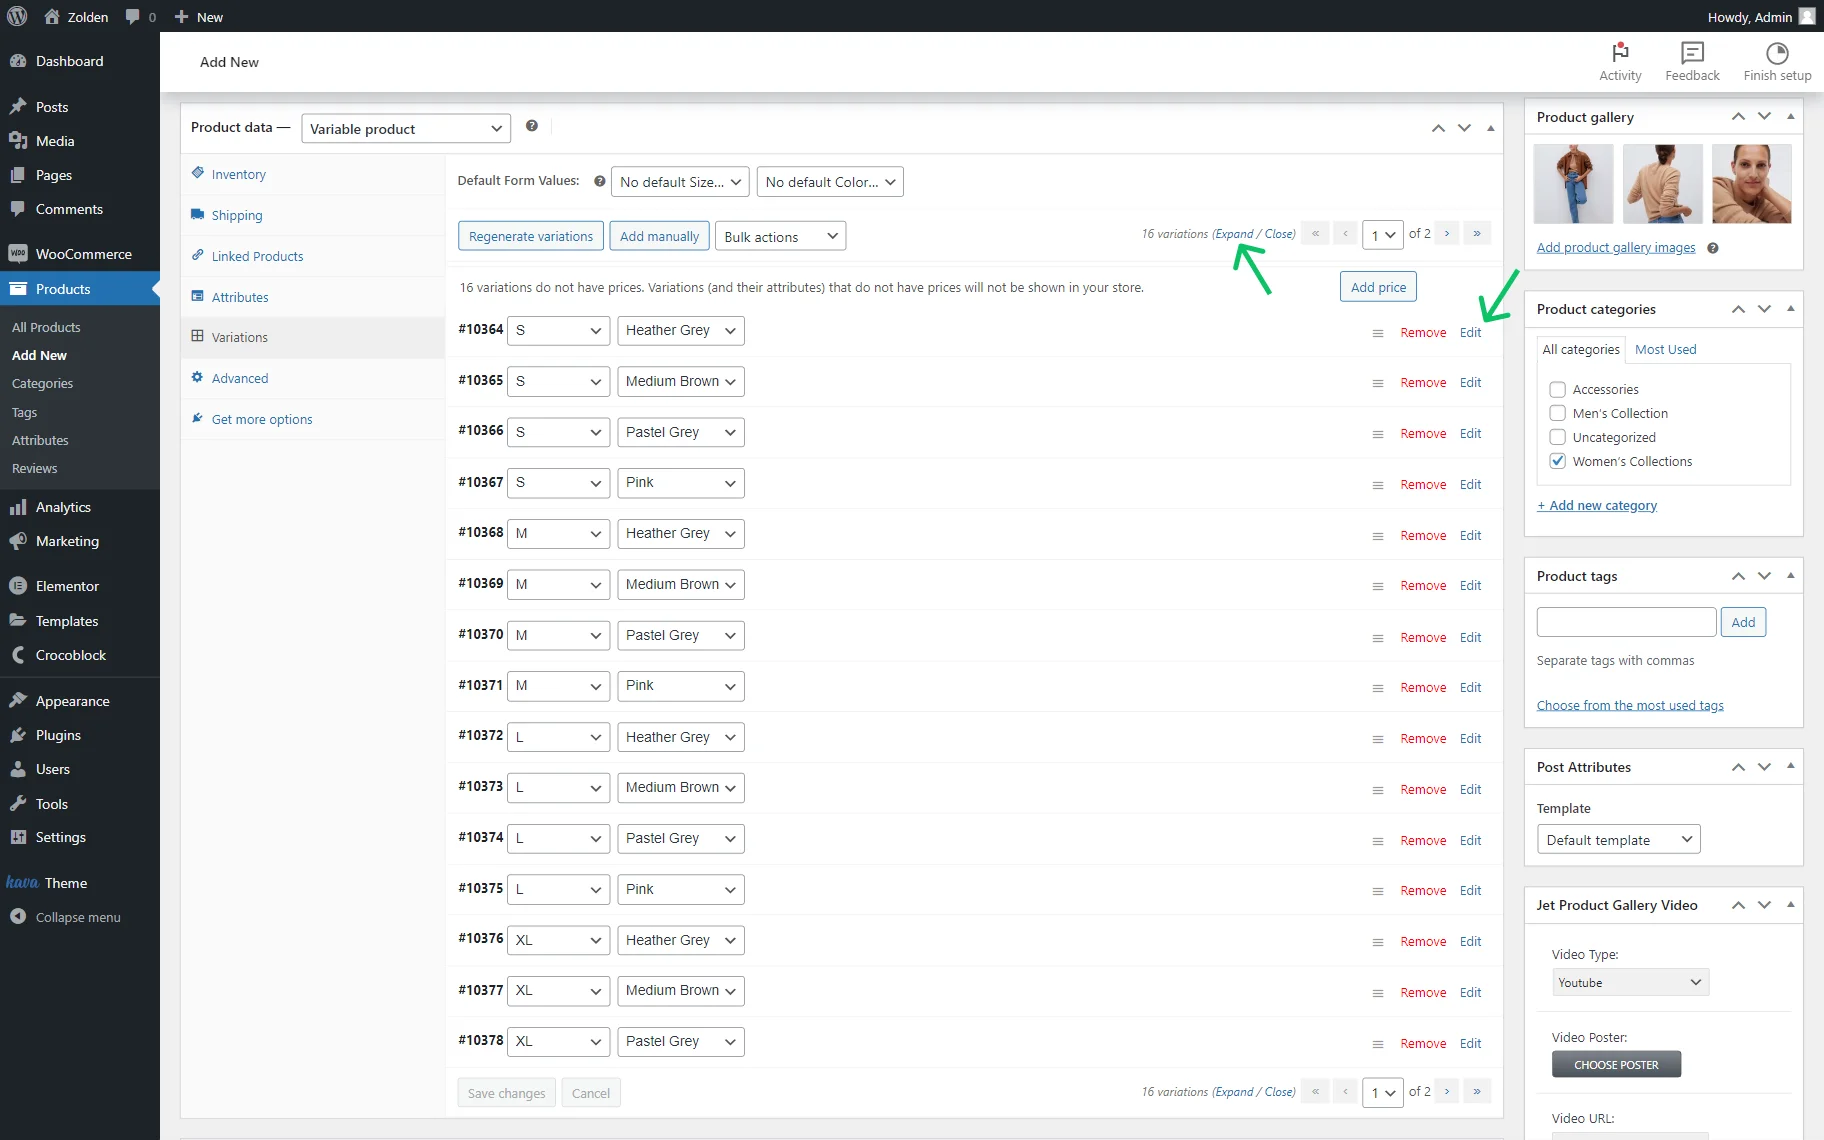
After that, you’ll see different variations according to the attributes you’ve created.
You can select the Default Form Values displayed once the product is opened.
The next step is to click the “Edit” button next to each variation. A new section with the settings of the selected product will expand.
Or, press the “Expand” button to open all the variations settings at once.
You can also press the “Remove” button to delete the variation if needed.
Here, you can add an SKU (short for the “stock-keeping unit” — the product code that allows you to track a product for different purposes) to the variation, upload an image to show the variation to customers, change the product variation’s regular price or sale price, select its stock status, weight, and dimensions, pick a shipping class, and fill in the variation description.
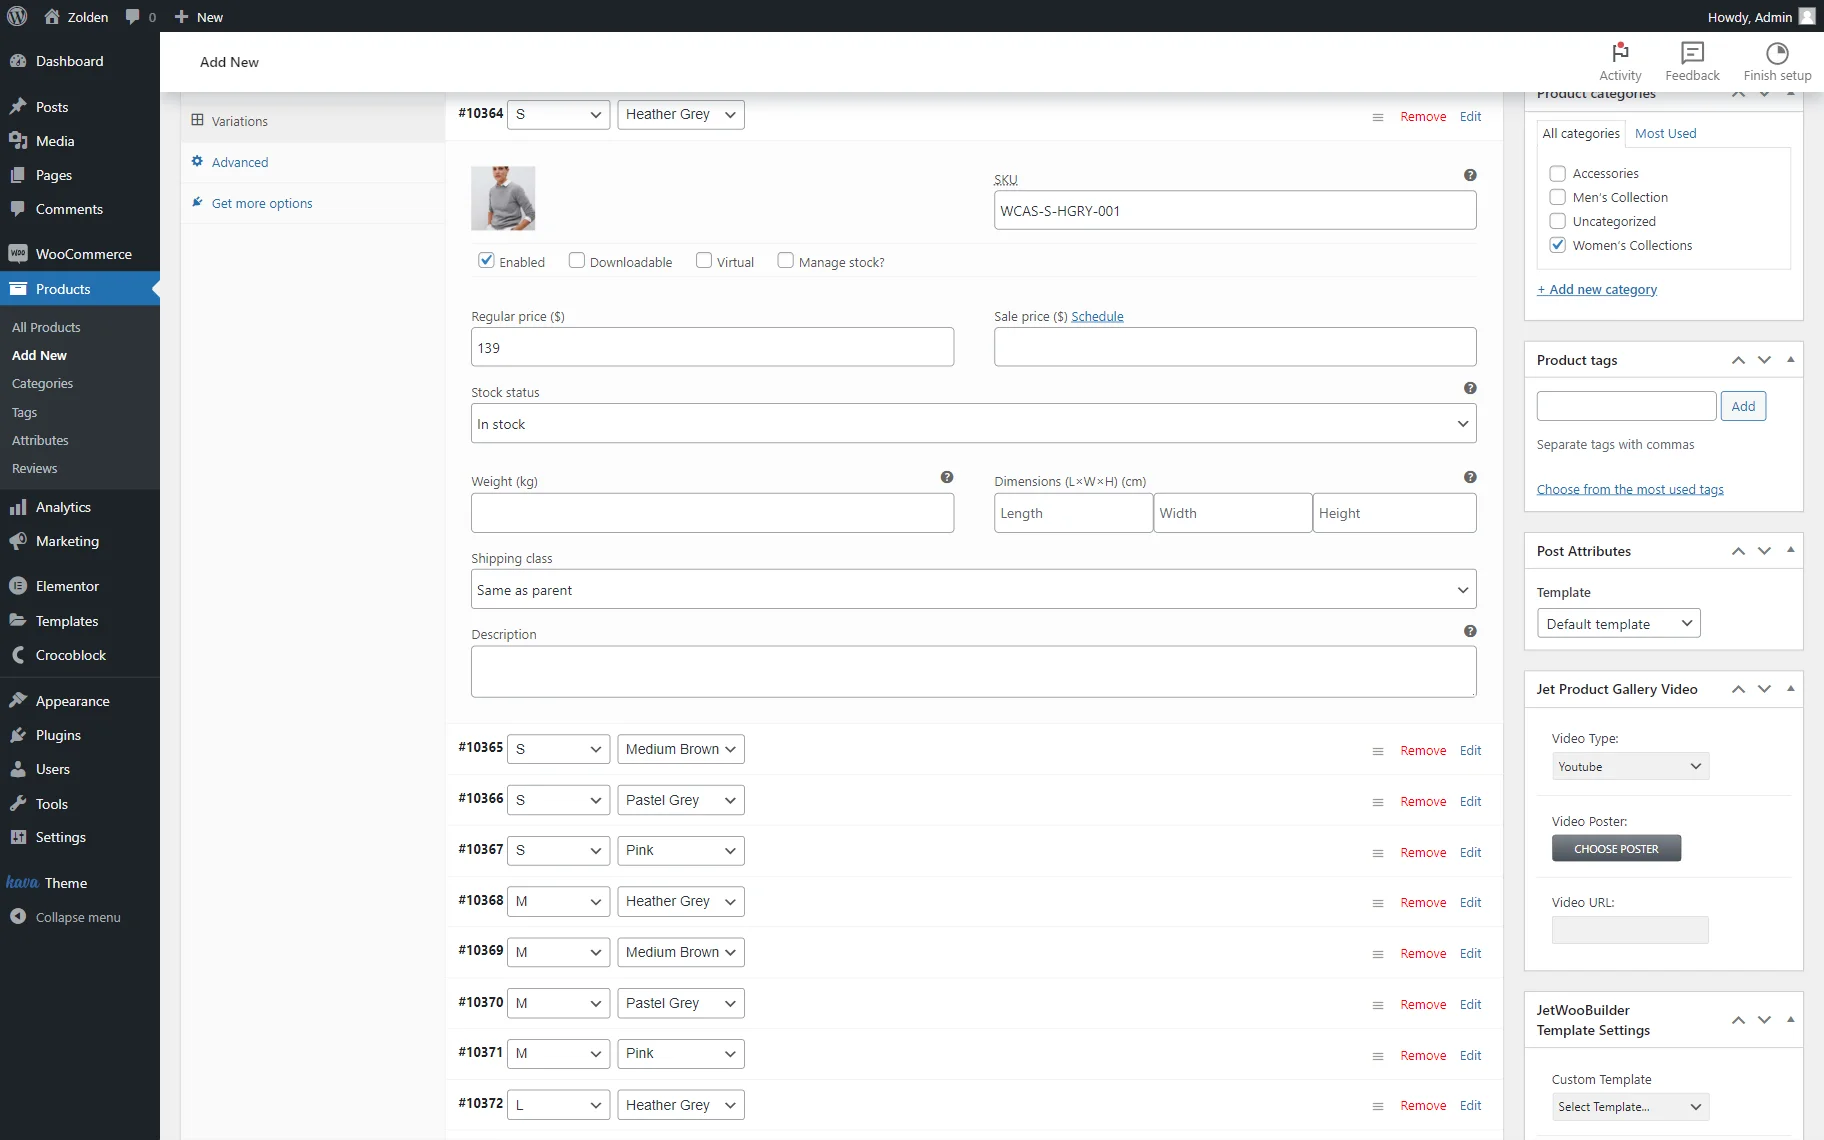
Note that if you don’t fill in the Regular price field for each variation, the uncompleted variations will not be shown in your store.
However, it doesn’t mean you need to enter prices for each product manually. If you want to set the same price for all variations, you can click on the “Add price” button to set regular prices for all the products with the unfilled Regular price field.

Lastly, click the “Save changes” button.
Once you finish editing the product, press the “Publish” button.
That’s all; now you know how to create product variations for your WooCommerce store built with WordPress.