Compare Widgets Overview
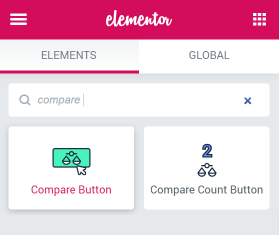
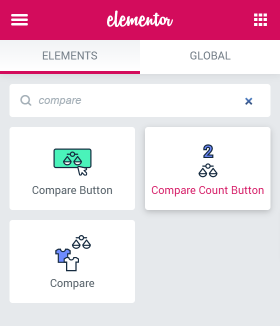
This overview reveals functions and describes the settings of all three comparison widgets of the JetCompareWishlist plugin: Compare Button, Compare Count Button, and Compare.
The JetCompareWishlist plugin allows you to create a comparison list that illustrates the features of the selected products, so the visitor can compare the products and make his choice. This overview will show all the details of the comparison widgets customization.
Before starting to work with any of the comparison widgets, you have to enable comparison functionality. Read this tutorial to know how exactly to do that.
Compare Button Widget
This widget creates a button attached to some products. When the user clicks that button, the attached product is added to the comparison list. It is better to add this widget to Single and Archive product templates.
First of all, the Content tab of this widget has a switcher between “Normal” to “Added” appearance settings. You can customize it according to your needs.
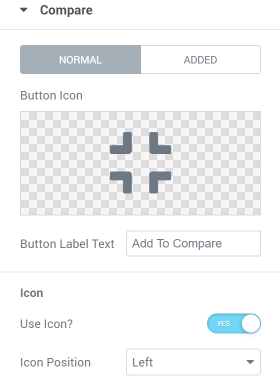
- Button Icon field allows you to choose the icon that will be displayed on the button. It could be both the icon from the library or a downloaded SVG file;
- In the Button Label Text field, you can change the text that is shown on the button;
- If you don’t want any icons on the Compare Button, then turn the Use Icon toggle off.
- And if you do use the icon for the button, then the Icon Position dropdown menu can help you to choose its position.
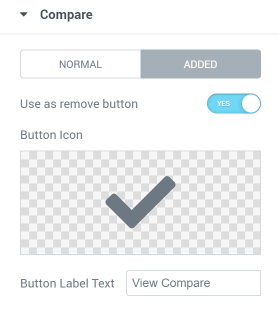
In the Added tab, you can also choose to use this same button to exclude the added product from the comparison table. In this case, you just have to turn the Use as remove button toggle on.
In the Style tab, you will have the opportunity to set the specific view for the Normal, Hover, and Added appearance of the Compare Button widget, including the typography style, color, and icon settings.
Compare Count Button Widget
This widget creates a button with a counter. When the user clicks it, it opens the page with the comparison table. It also shows the number of products that were already added to the comparison list. The Compare Count Button can be added to any section you want to, either the header or footer.
All the general settings are placed in the Content menu section. Let’s take a closer look at them.
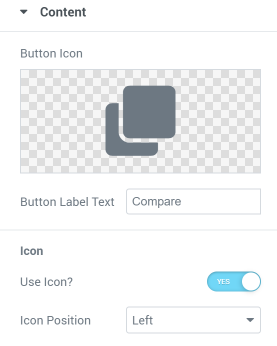
- You can specify the icon you want to be displayed in the count button in the Button Icon field;
- In the Button Label Text field, you can choose how to name your button;
- If you turn the Use Icon toggle on, you allow showing the icon on the button. In that case, you will be able to choose the position for the button from the default options in the Icon Position dropdown.
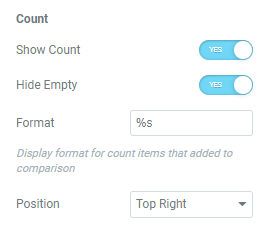
- If you want the counter to be shown on the button – turn the Show Count toggle on;
- Hide the quantity of products if it equals 0 by enabling the Hide Empty option;
- You can specify the parameter settings with the help of the %s macros in the Format field. It allows you to set the format more specifically for the count items added to the comparison list;
- The Position dropdown menu allows you to choose the position of the counter.
Compare Widget
With the help of this widget, you can display the comparison table on the chosen page to illustrate the comparison of the selected products.
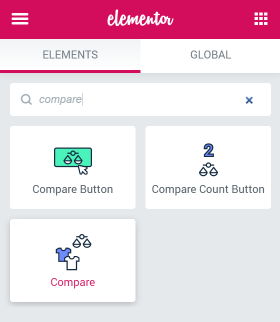
The Content settings tab of this widget has two sections – “Content” and “Settings”. Let’s dive deeper into the features.
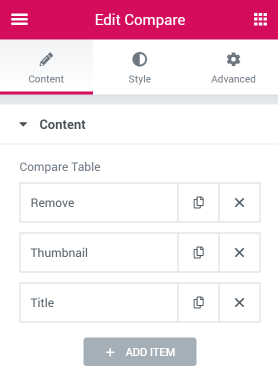
In the Content settings section, you can choose the type of data that will be displayed in the comparison table. You can either change the default items or add a new one by clicking the “Add Item” button.
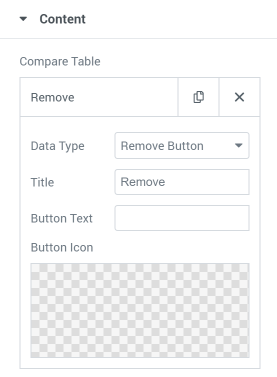
When you create a new item, the first thing you have to choose is Data Type. Each of the options opens its own settings submenu. Let’s look at some of the default types.
- If you’ve chosen the Remove Button data type, you should specify the Title of the item and Button Text. Also, you can select the icon of the button in the Button Icon field.
- If you’ve selected the Thumbnail data type, you’ll have to specify the Image Size.
- If you’ve chosen the Title data type, you will be offered to define the Title HTML tag.
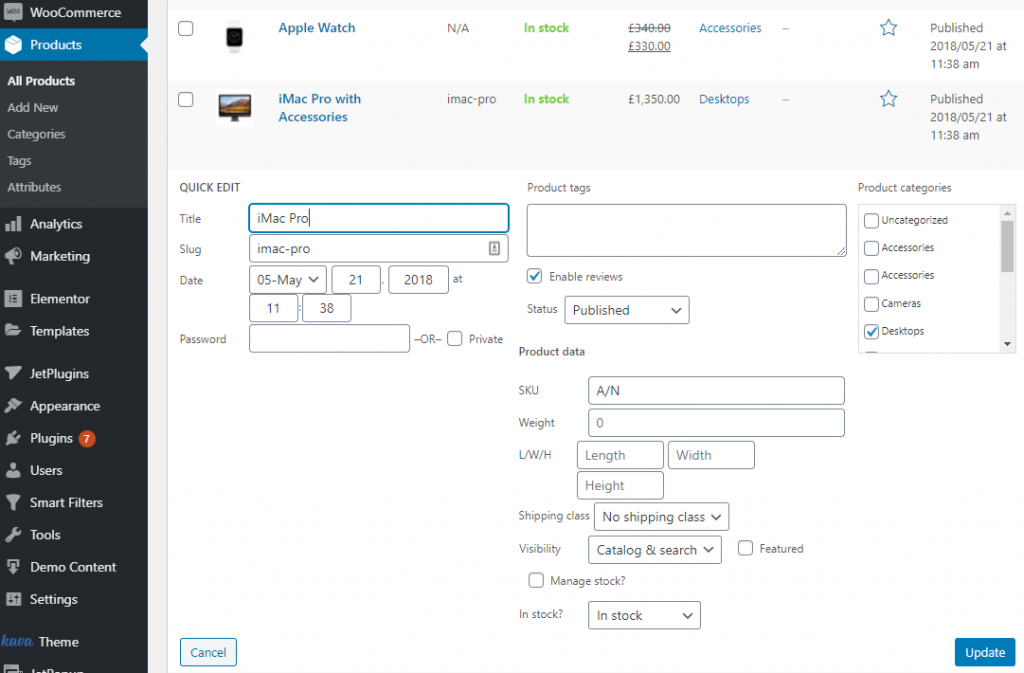
Besides that, you can select any other option that you want: the Price, rating, Description, Short Description, SKU (Stock Keeping Unit), etc. These options will be taken from the Product data block. To find and change it, you should go to WP Dashboard > Products > All Products and click the “Quick Edit” button of the desired product.
The Categories and Tags data type values will be taken from the Custom Taxonomies lists.
The Settings section provides a few more options.
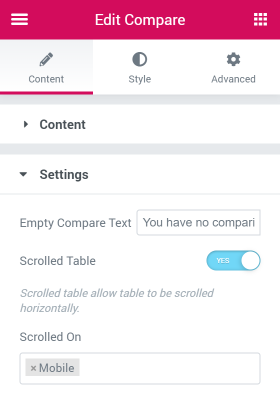
- In the Empty Compare Text field, you should insert the text which will appear if there are no comparison lists;
- The Scrolled Table option allows the table to be scrolled horizontally;
- In the Scrolled On field, you should choose devices where the scroll works. In our case, it is a Mobile device.
That’s all. You now know everything about JetCompareWishlist plugin widgets settings.