Vertical Mega Menu Overview
This guide describes the Vertical Mega Menu widget settings available with the JetMenu plugin for WordPress
The Vertical Mega Menu widget is part of the JetMenu plugin that allows one to display the WordPress menu vertically with subitems in a slide-out.
This overview contains all the needed information about the Vertical Mega Menu widget settings in Elementor.
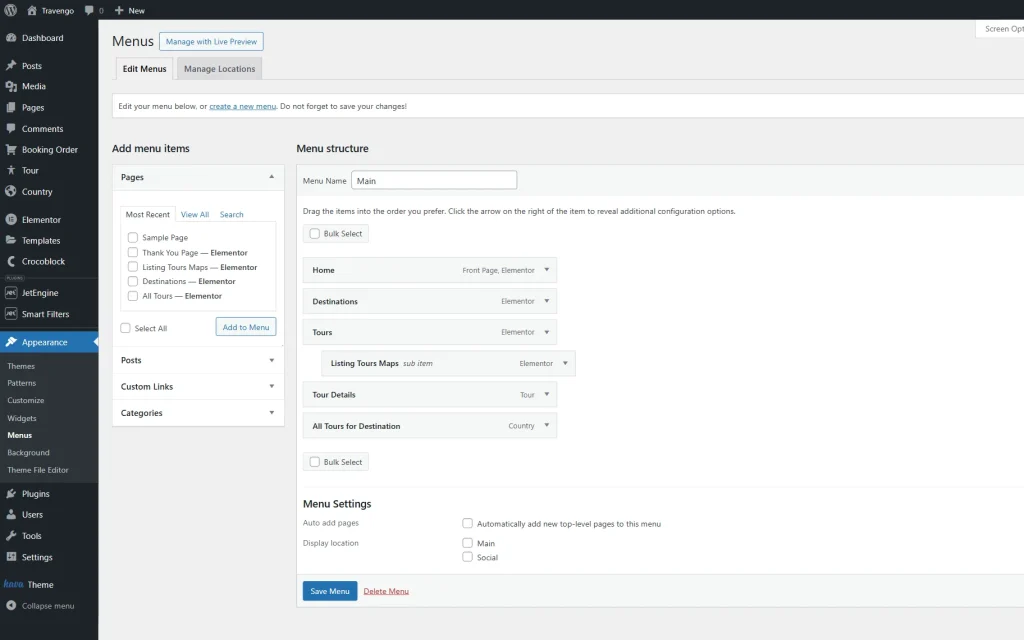
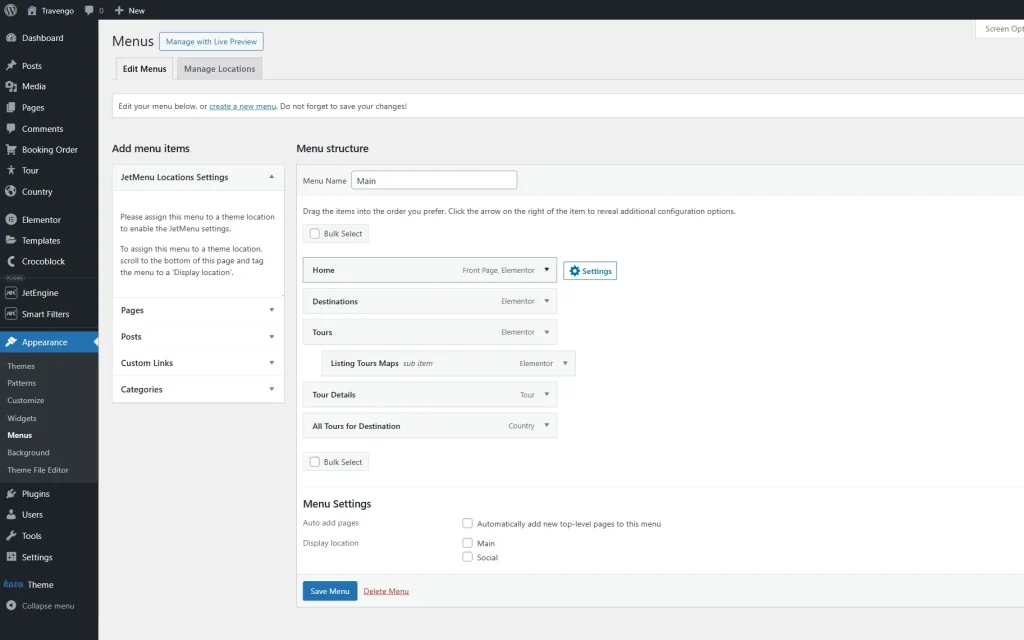
Menu Dashboard Settings
Vertical Mega Menu Widget Content Settings
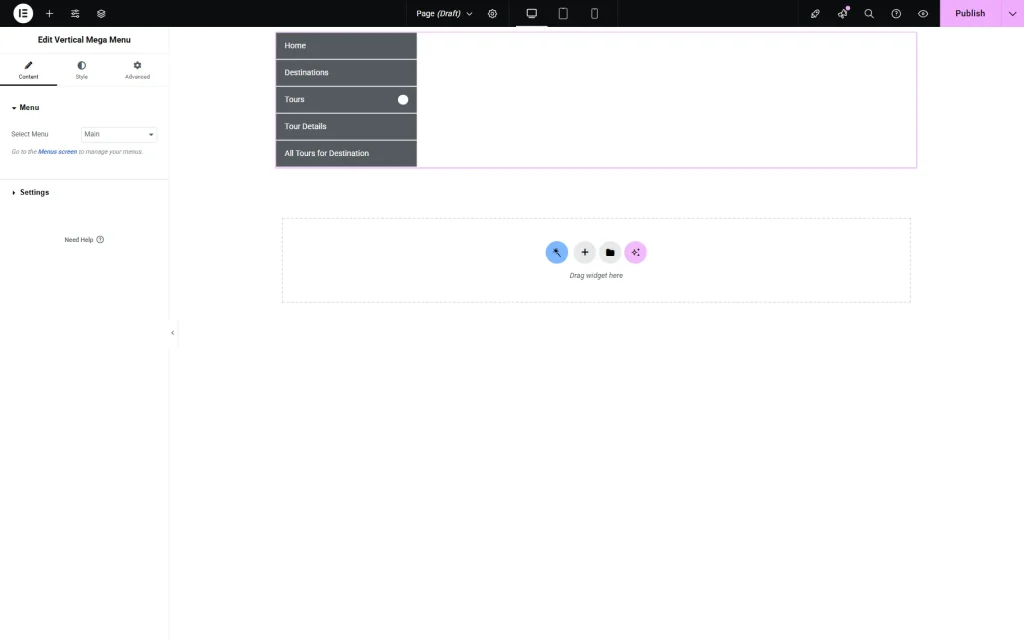
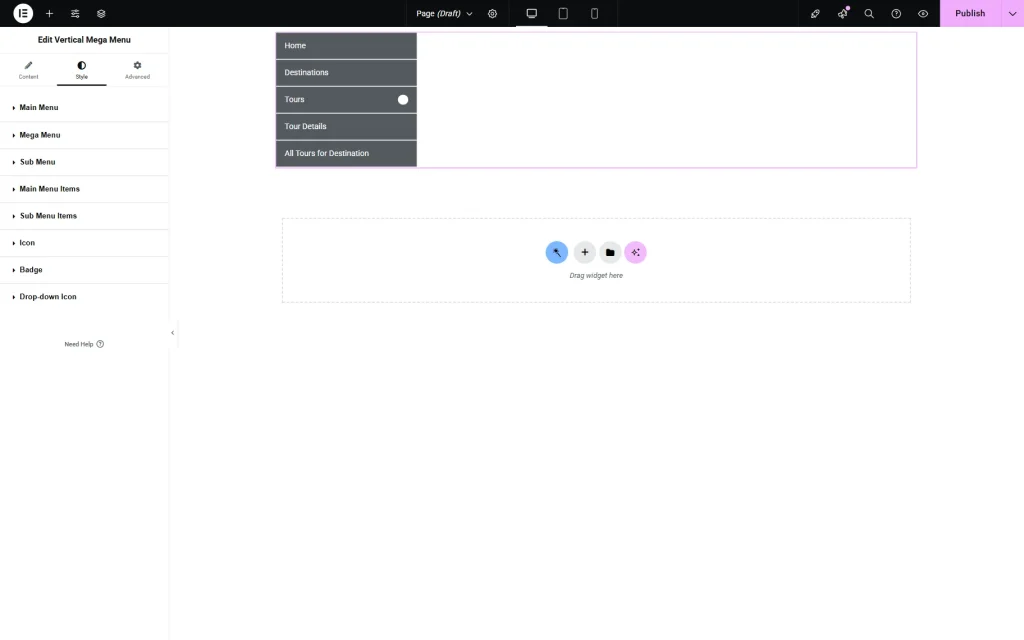
Once the page/template is opened in the page builder, the Vertical Mega Menu widget should be placed on it.
In the Menu tab of the Content settings, the Select Menu field is presented. The menu created beforehand can be picked in the corresponding drop-down selector.
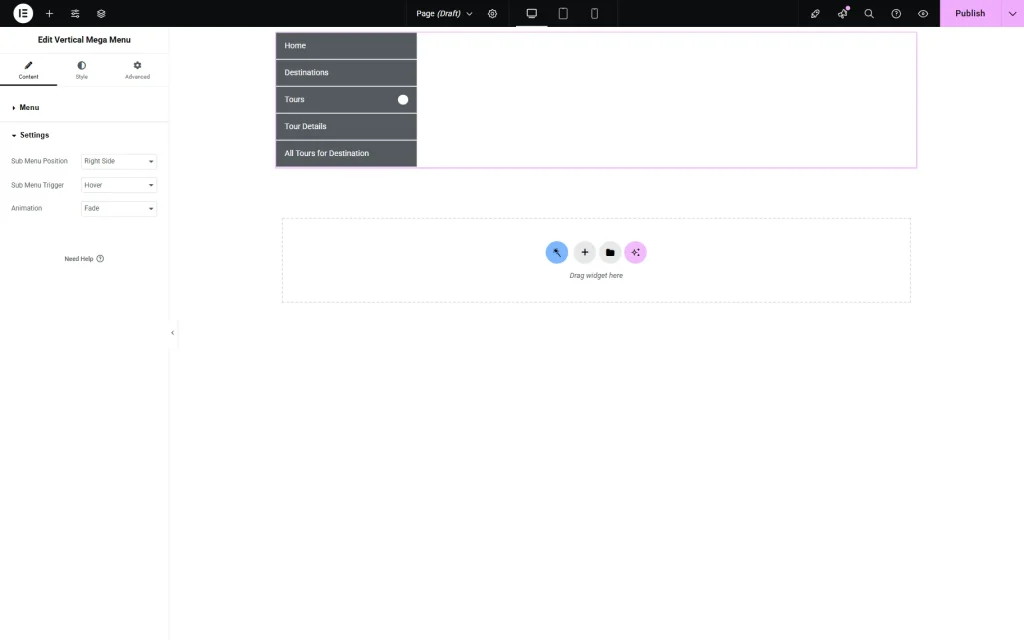
The following Settings tab displays three fields.
In the Sub Menu Position, there are two options for selection, “Right Side” and “Left Side,” that display submenu items on the right side to the main menu or the left one accordingly.
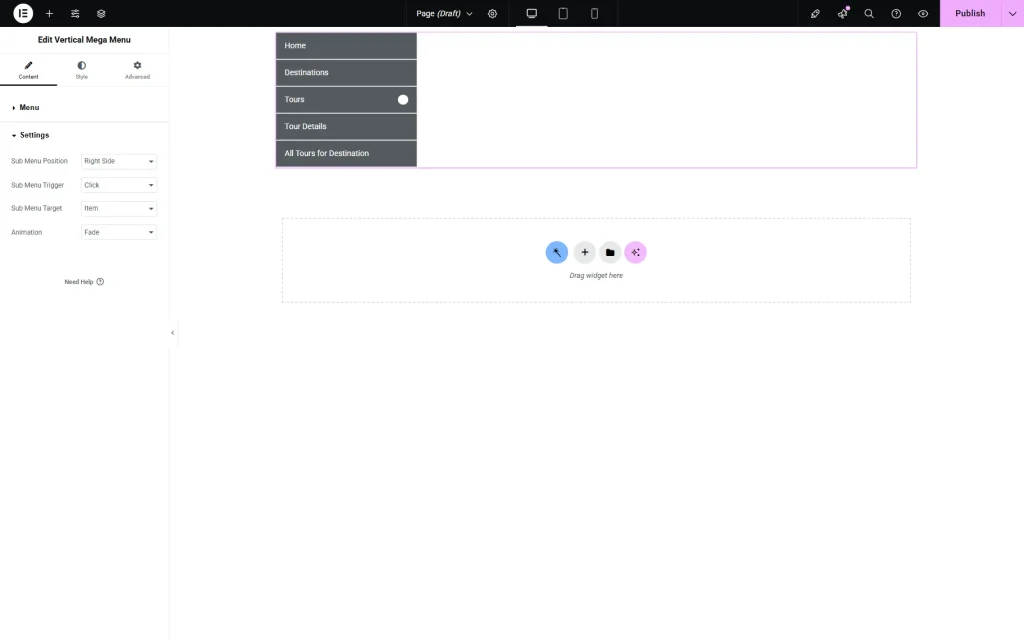
The following Sub Menu Trigger field includes two options for selection: “Hover” and “Click”. By default, the submenu opens when hovering.
When the “Click” option is activated, the Sub Menu Target field appears. It allows selecting which option should be clicked in order to open the submenu, “Item” or “Sub Icon.”
The following Animation field is intended to choose the opening animation for the submenu items. Several options for selection can be checked while hovering on the menu item that covers the submenu. Among the options are: “None,” “Fade,” “Move Up,” “Move Down,” “Move Left,” and “Move Right.”
Vertical Mega Menu Widget Style Settings
The following section is the Style settings. Here, the menu can be customized according to style preferences.
The presented sections contain Main Menu, Mega Menu, Sub Menu, Main Menu Items, Sub Menu Items, Icon, Badge, and Drop-down Icon settings for customization of every widget component.
Once the customization is done, the changes can be saved by pushing the “Publish” button.
That’s all about the Vertical Mega Menu widget and its settings, which are available with the JetMenu plugin for your WordPress website.
