JetThemeCore Dashboard Overview
This tutorial describes available settings in the revamped JetThemeCore plugin dashboard.
After JetThemeCore installation, a new submenu appears in the dashboard. After all the steps of the JetThemeCore plugin setup are completed, one accesses the Theme Builder submenu, where one can create page templates and assign particular theme parts whenever they are needed on the website. In this overview, a detailed description of each setting and functionality is presented.
Theme Builder
First, one should proceed to WordPress Dashboard > Crocoblock > Theme Builder.
Once opened, the notice appears that offers converting legacy conditions to new ones. So, at first, the “Convert Now” button in the banner should be clicked.
The first view to be seen is the “Tree view,” which can be switched to the “Grid view” if needed.
Tree view
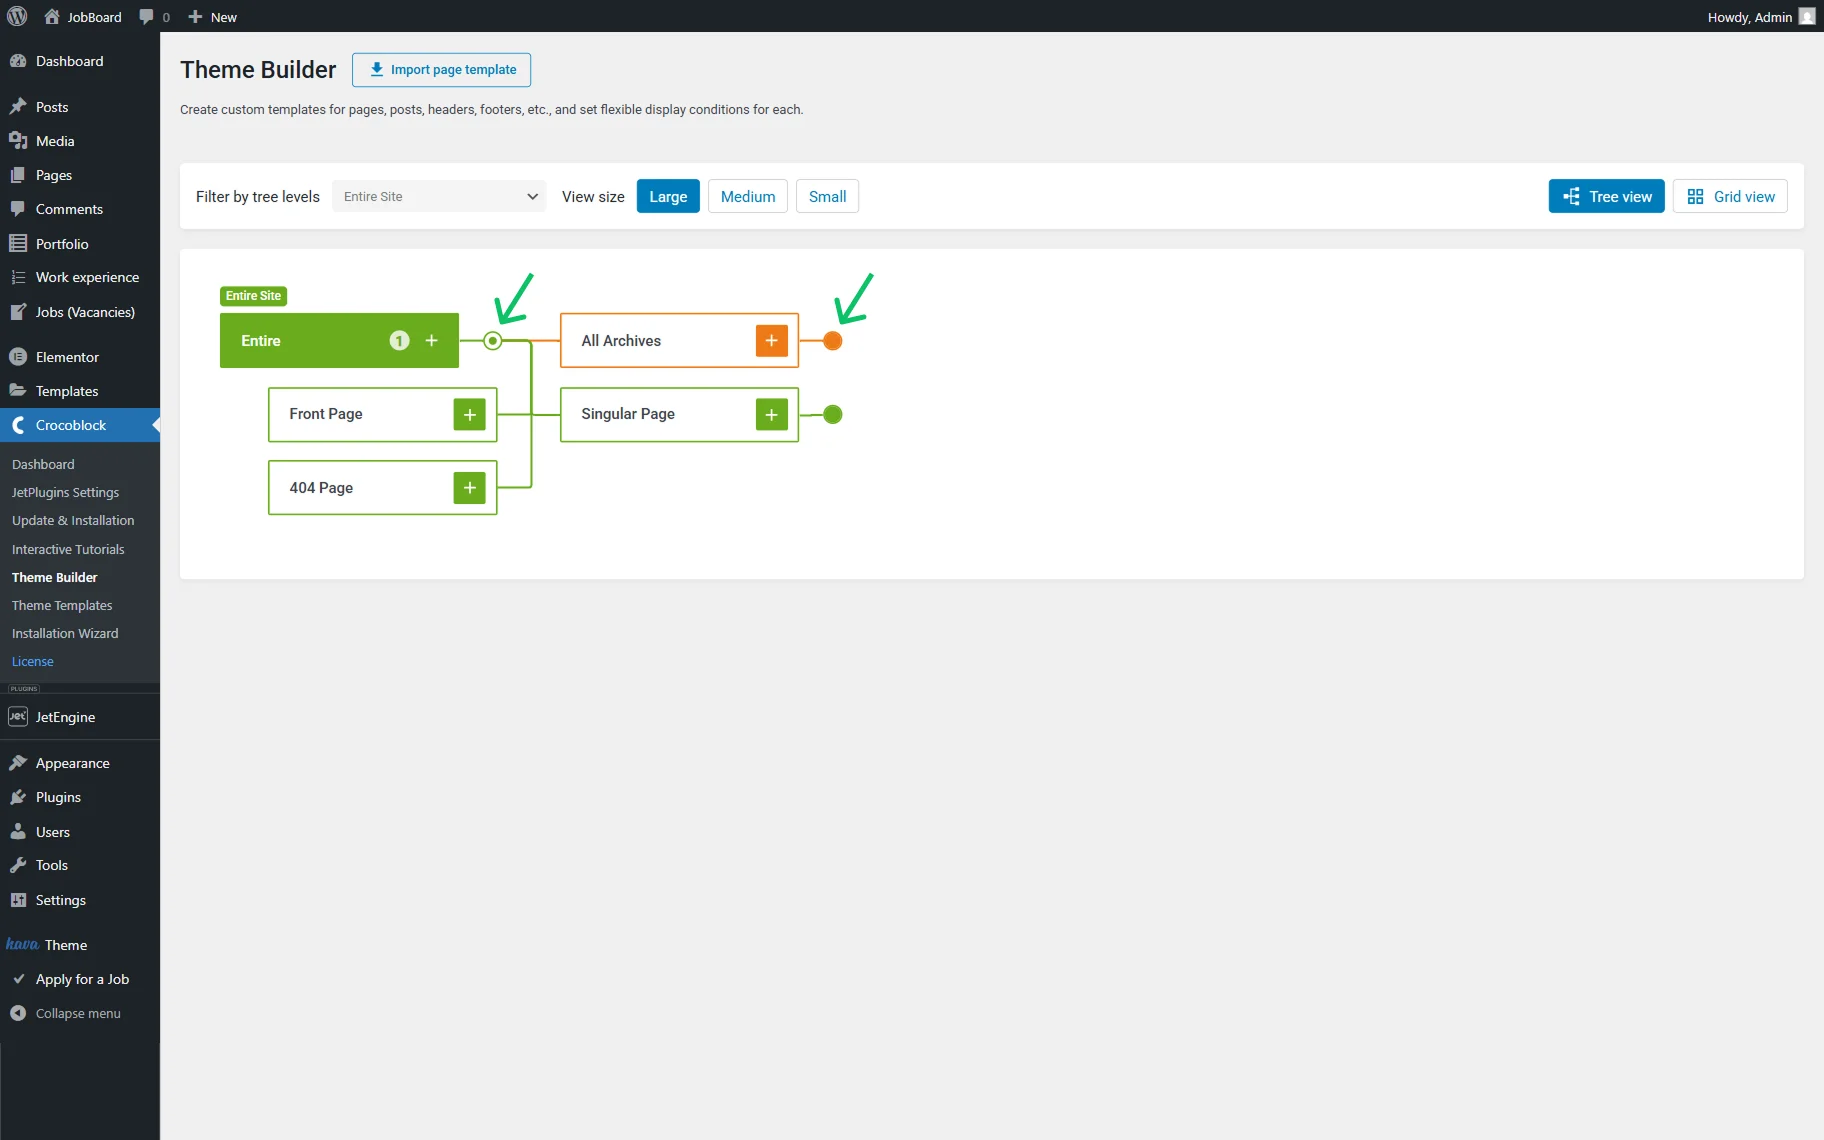
With this type of view, one can see the condition nodes displaying the website structure hierarchy.
One can also access the particular built templates by clicking the number next to the needed condition.

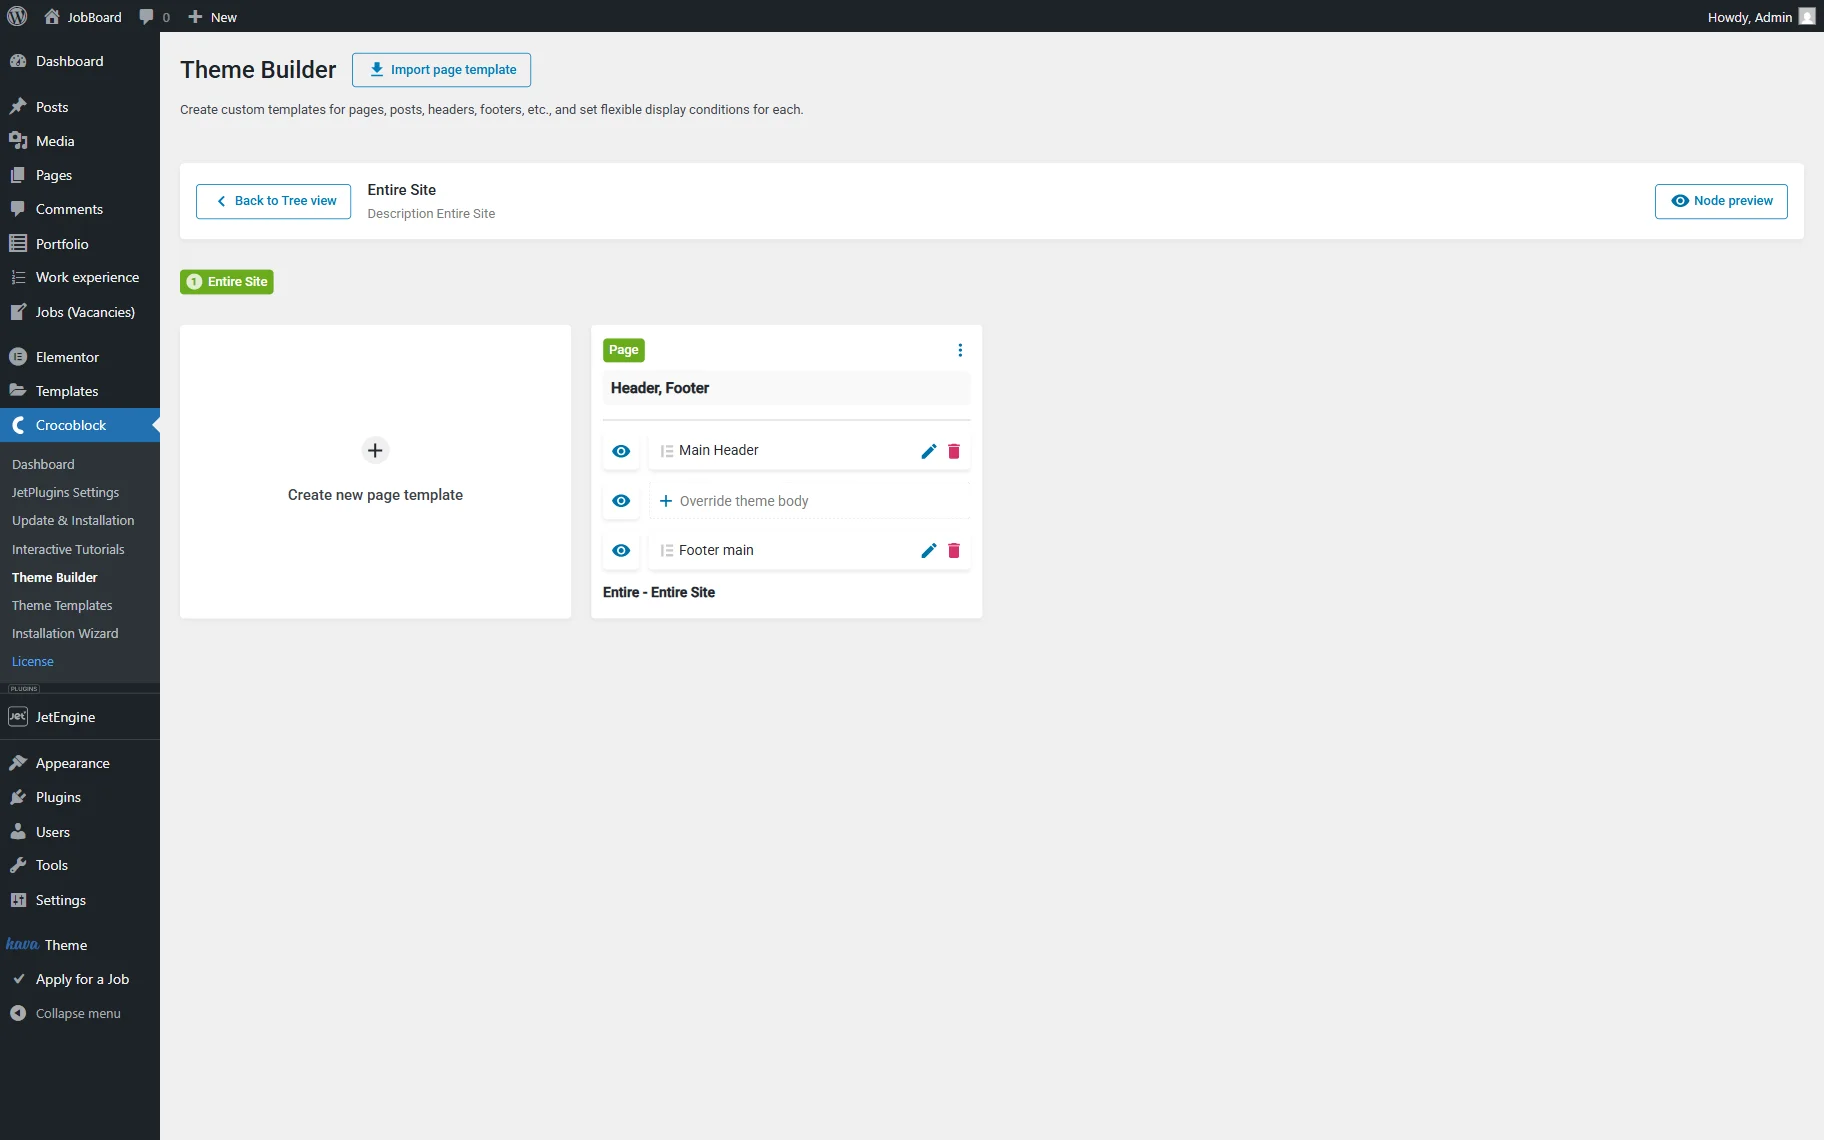
Once clicked, the templates with the corresponding condition are shown. Here, the already built page templates can be altered, and new ones can be created.
For instance, we have clicked “1” next to the “Entire” condition and now can see the templates that have this condition for displaying.
Here, the “Node preview” button can also be clicked to see the preview of the node.
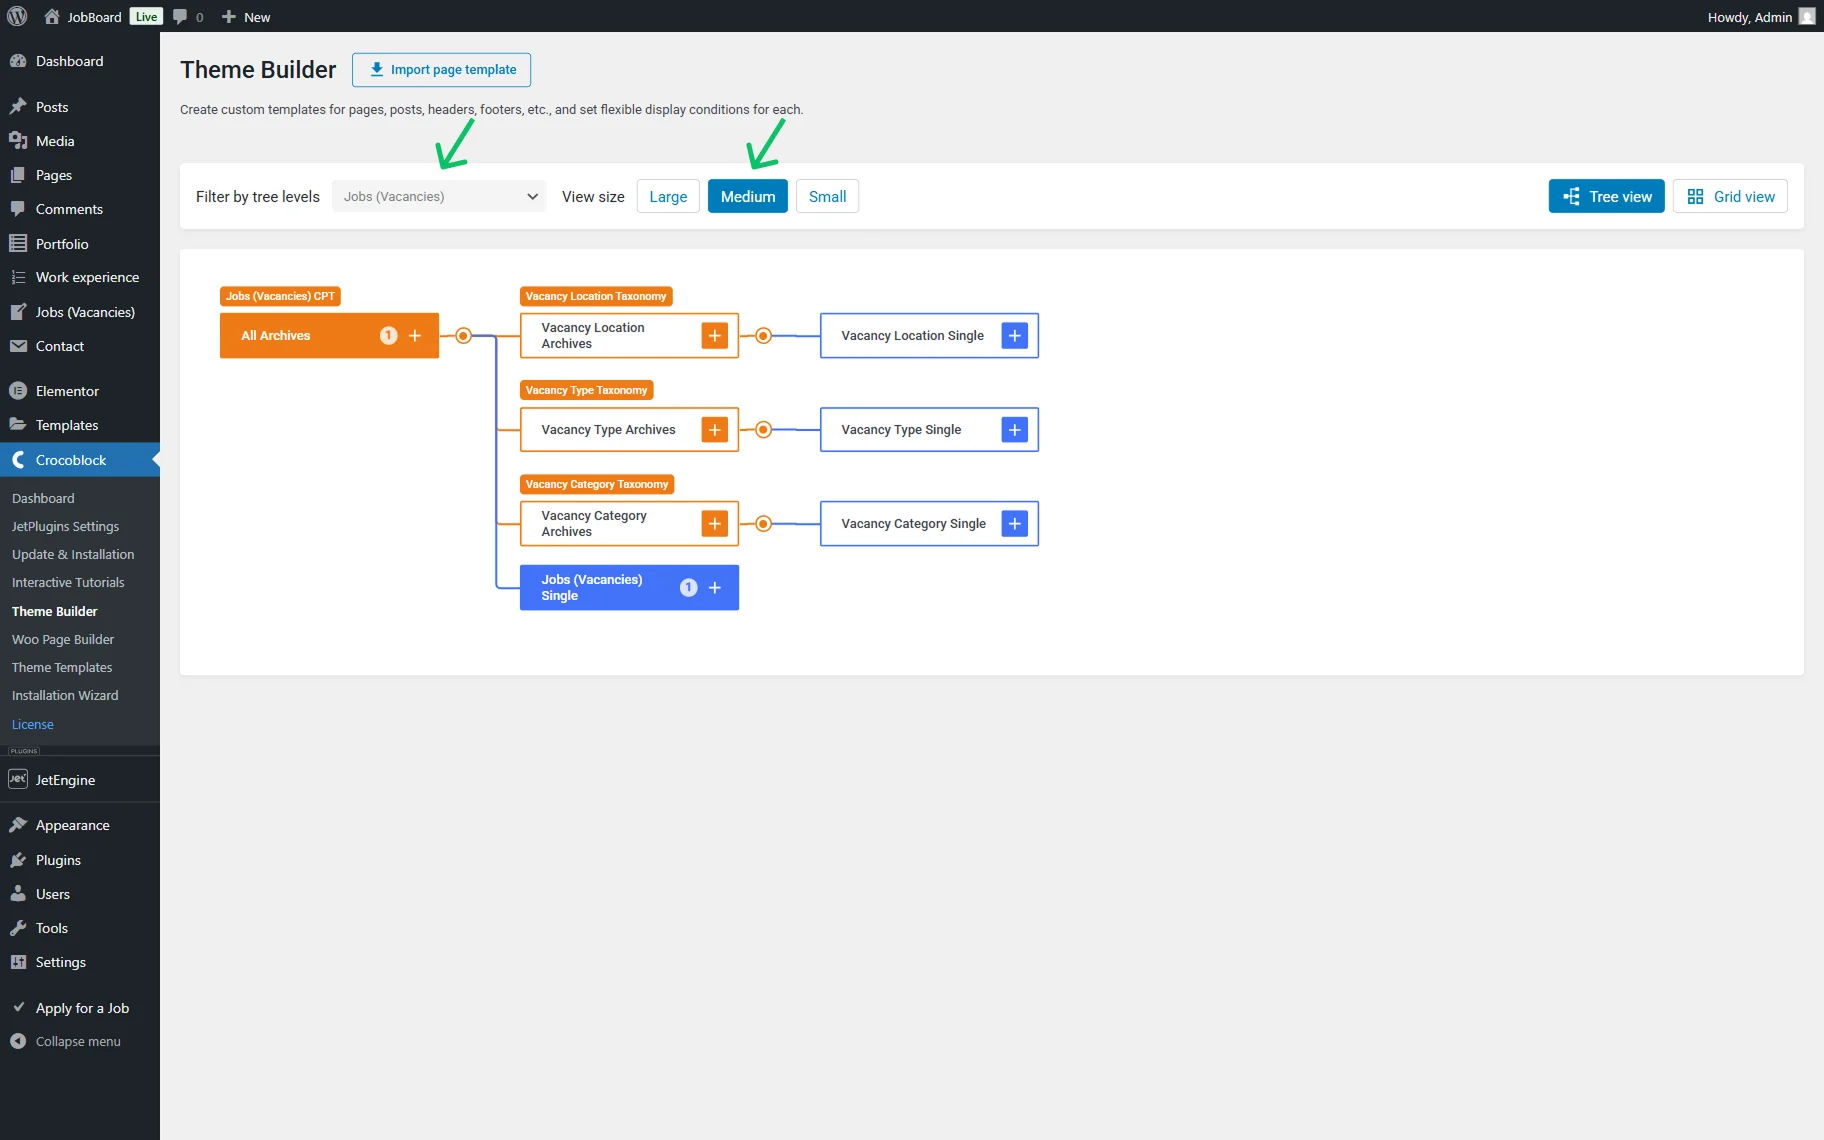
Returning to the “Tree view” directory (by clicking the “Back to Tree view” button), one can also filter the tree by selecting the needed option in the Filter by tree levels dropdown and change the View size if desired.
Also, if one presses the “plus” button next to any of the items in the tree, one can build a new template under this condition.
For user convenience, one can also expand and collapse the tree levels by clicking on the “dots” next to the needed levels.
Grid view
When the “Gird view” is selected, one can create and organize Page Templates and identify the pages on which these templates will be rendered.
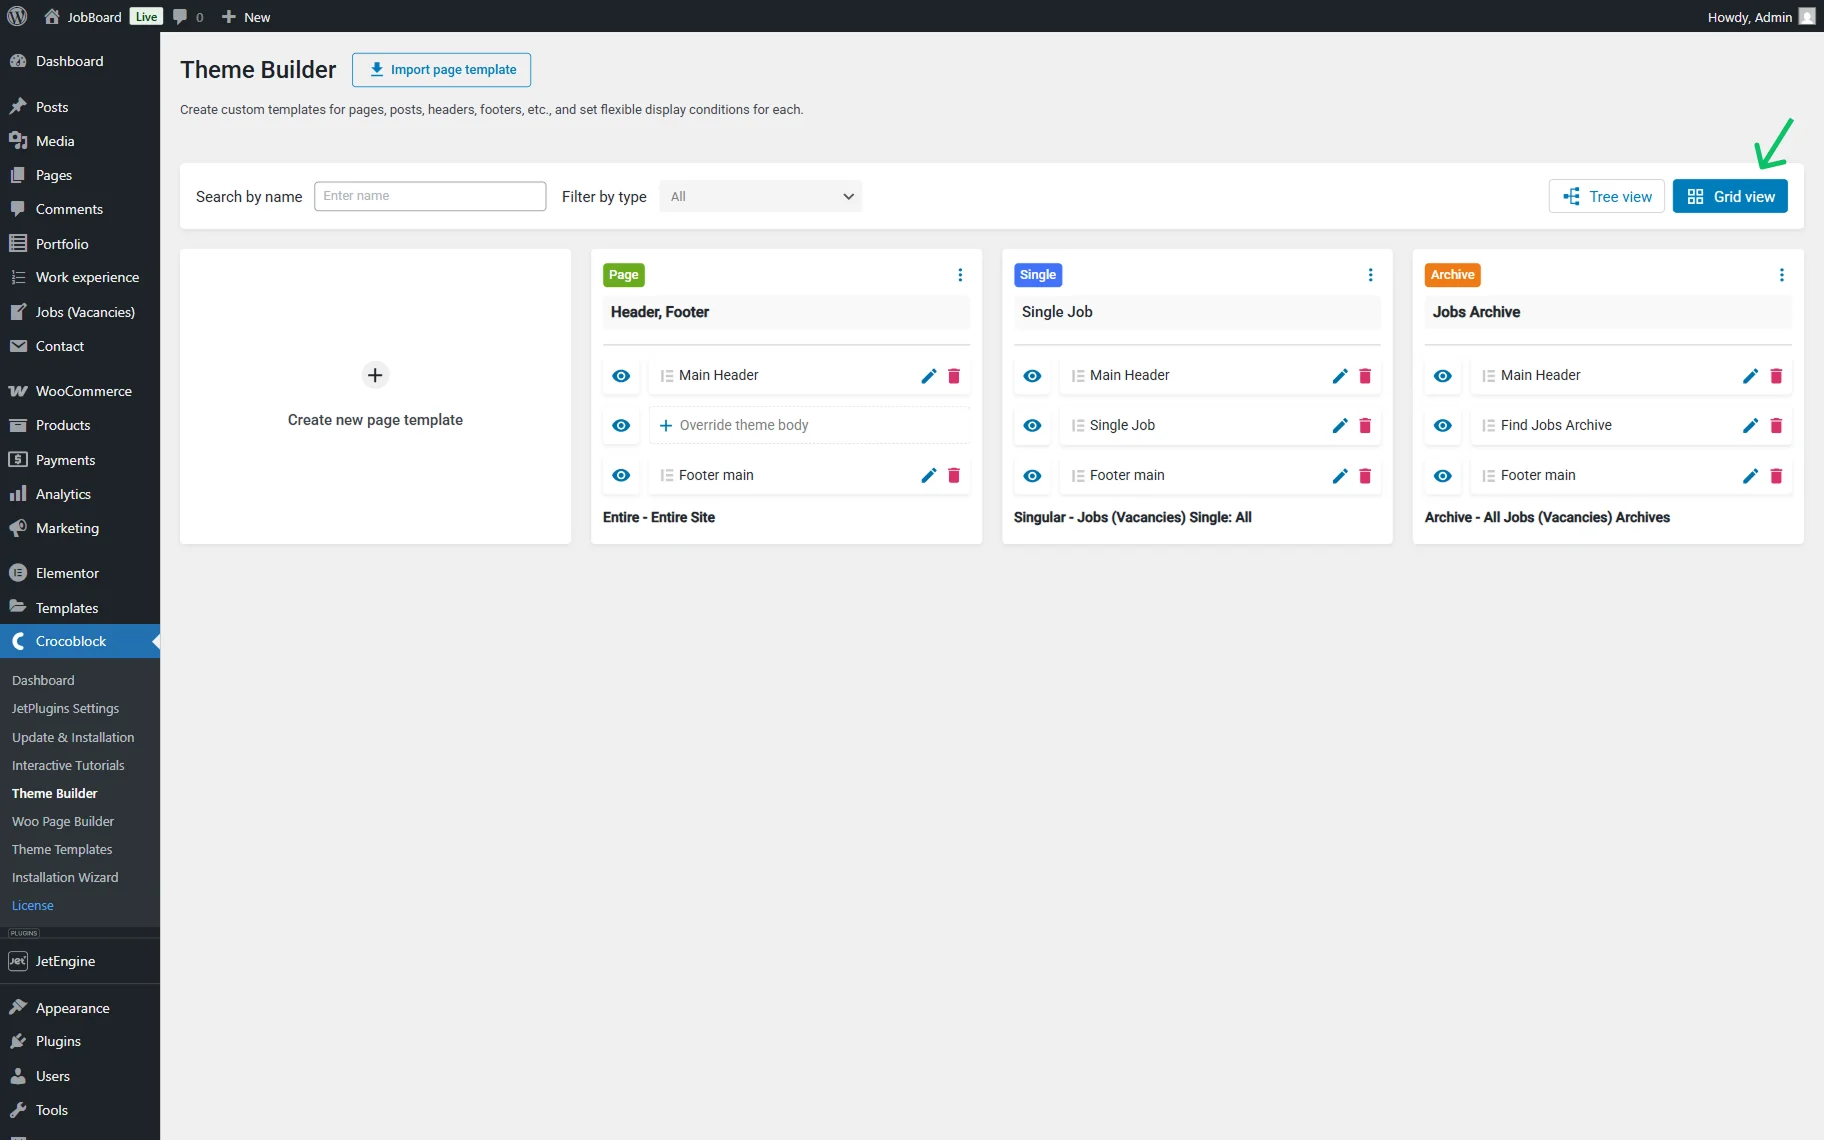
- Create new page template — a button with the help of which one can assign the templates to particular pages and specify where the templates shouldn’t be displayed by using multiple conditions;
- When the rendering conditions are specified, the page template automatically defines the template type for the body structure. There are three types at the moment: “Page,” “Single,” and “Archive”;
- Search by name — this bar allows finding a particular template by putting its name here;
- Filter by type — a filter for the templates by a specific type;
- Import page template — a button that opens the Import page template pop-up. There, one can browse a template on the device and import it.
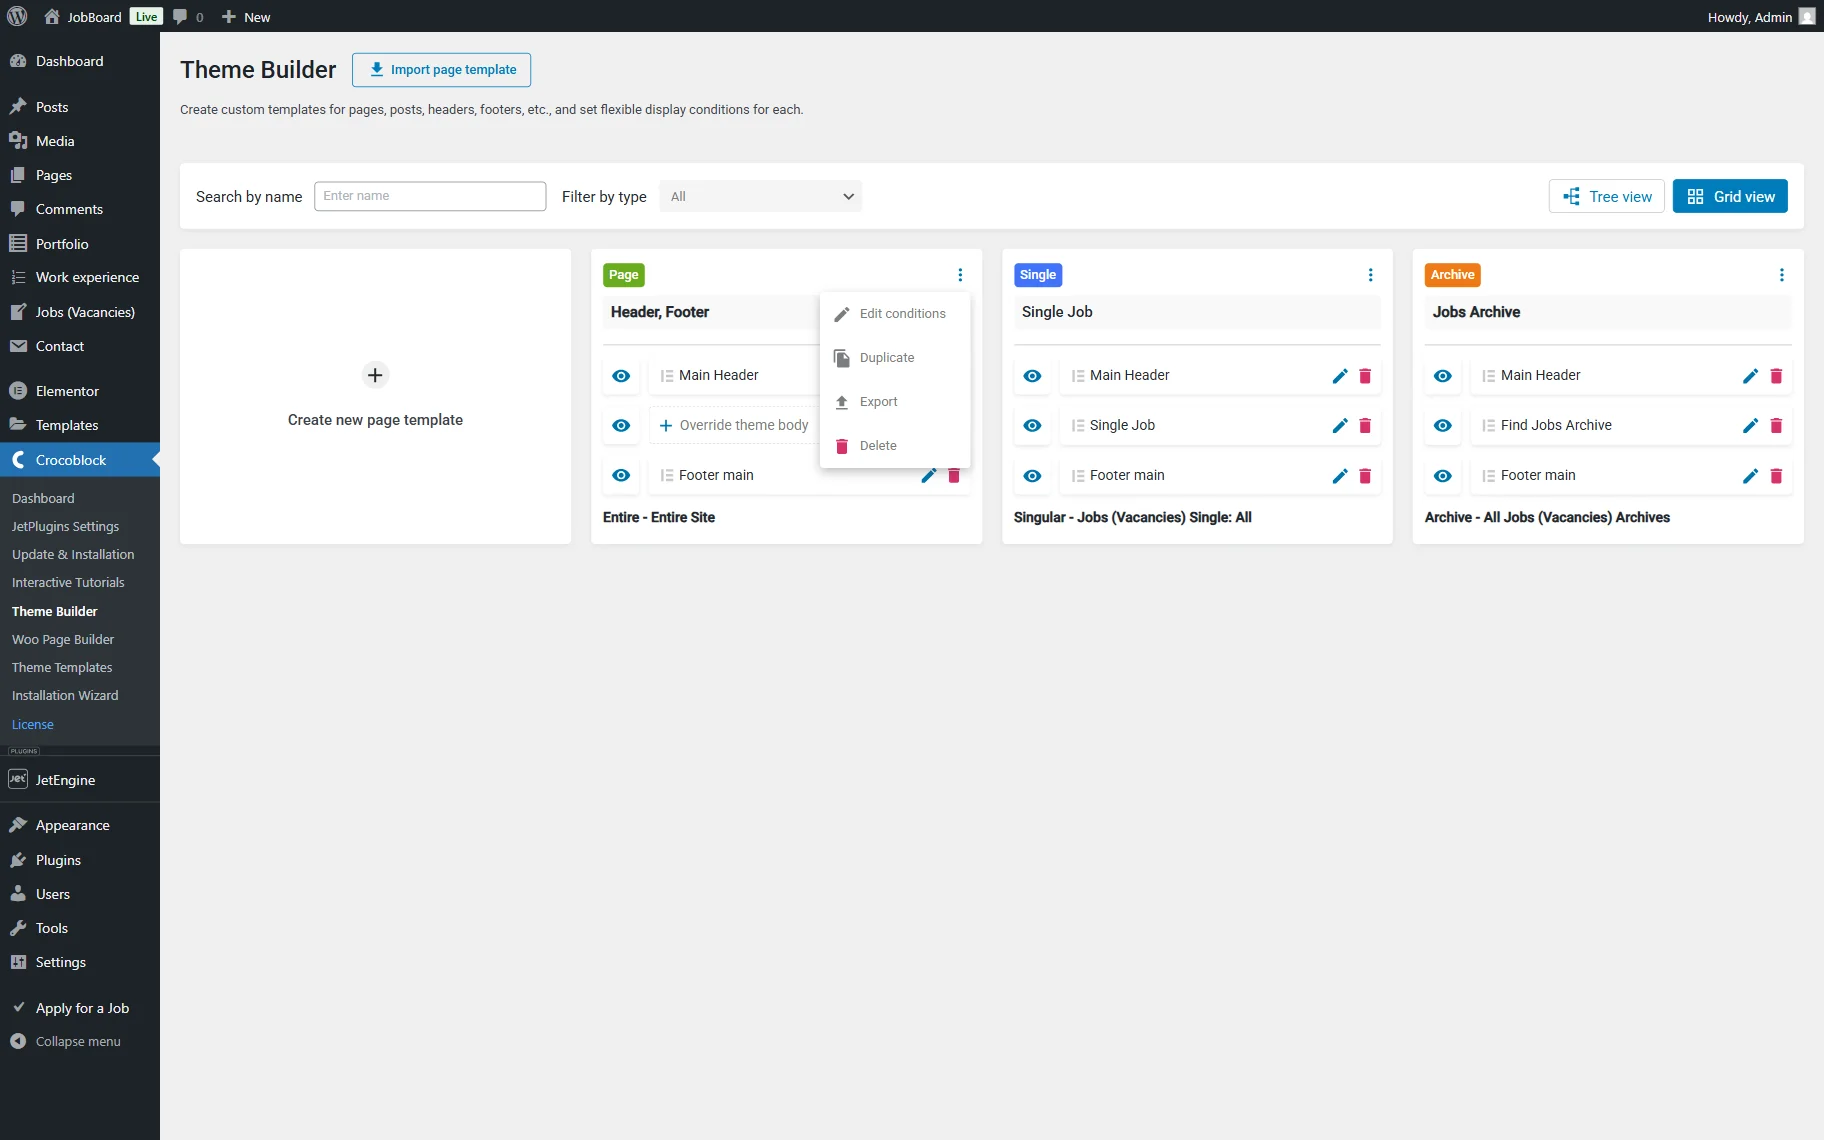
When the three dots in the upper right corner of the template section are clicked, the following options in the dropdown menu appear:
- Edit conditions — allows adjusting the conditions set previously;
- Duplicate — allows copying an existing template;
- Export — exports the page template in JSON format;
- Delete — removes the template from the dashboard.
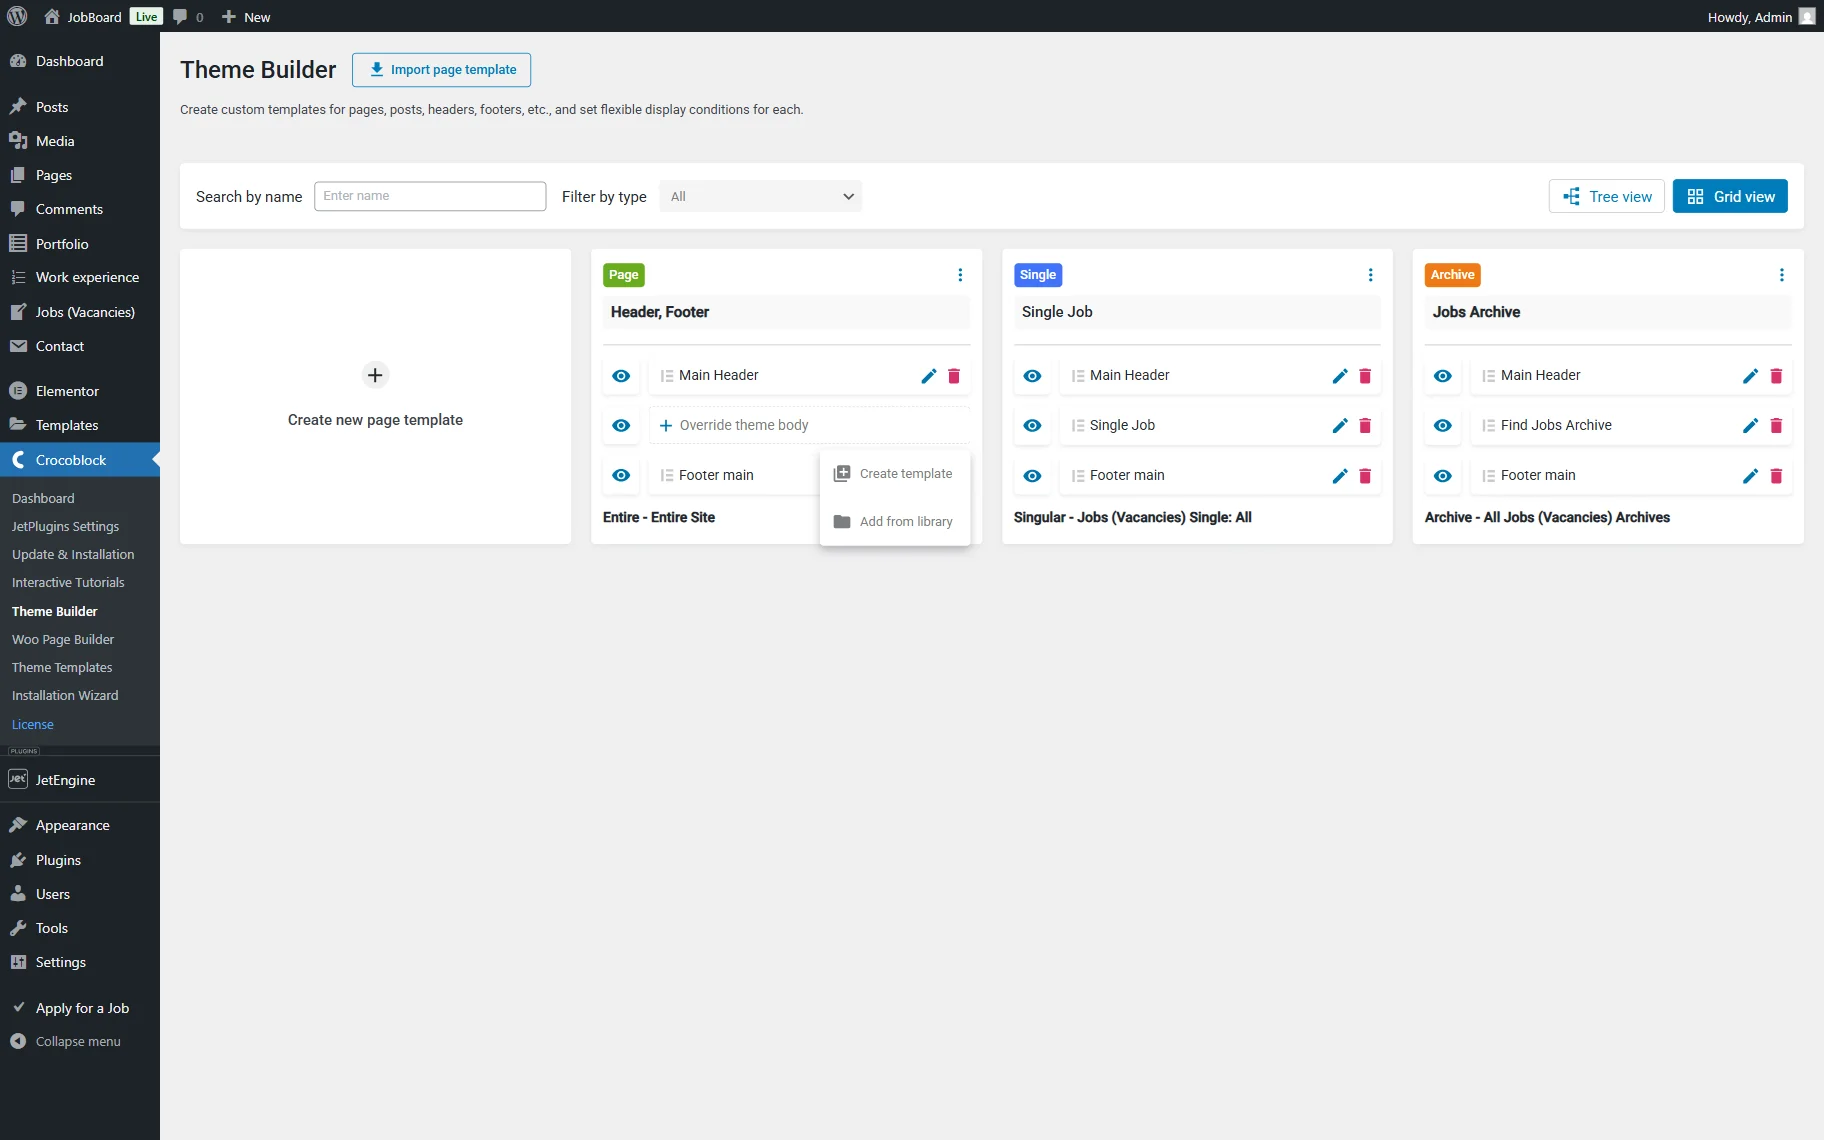
The Override theme header, Override theme body, and Override theme footer options allow one to create the corresponding template parts and organize their structure. When any of them are clicked, the “Create template” and “Add from library” buttons are displayed.
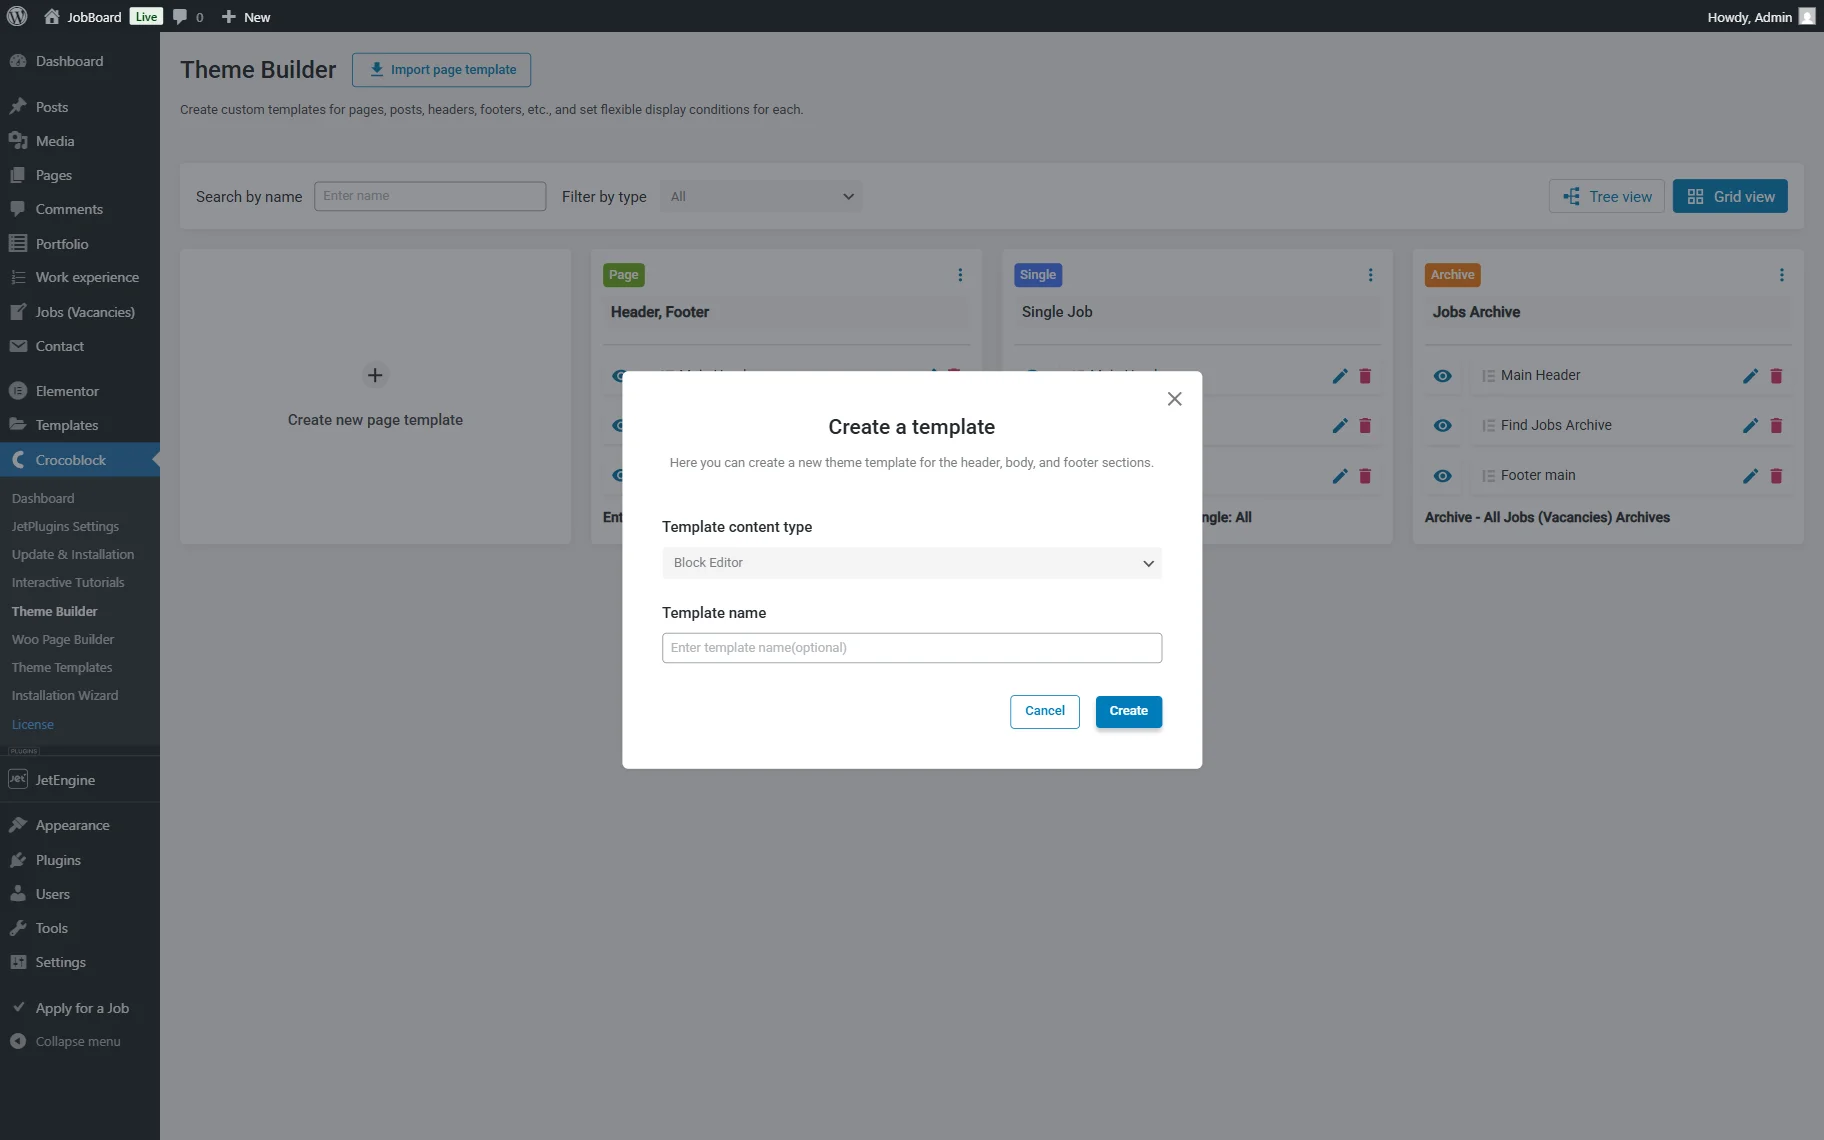
After clicking the “Create template” button, the pop-up appears, where it is possible to choose the Template content type and name the template.
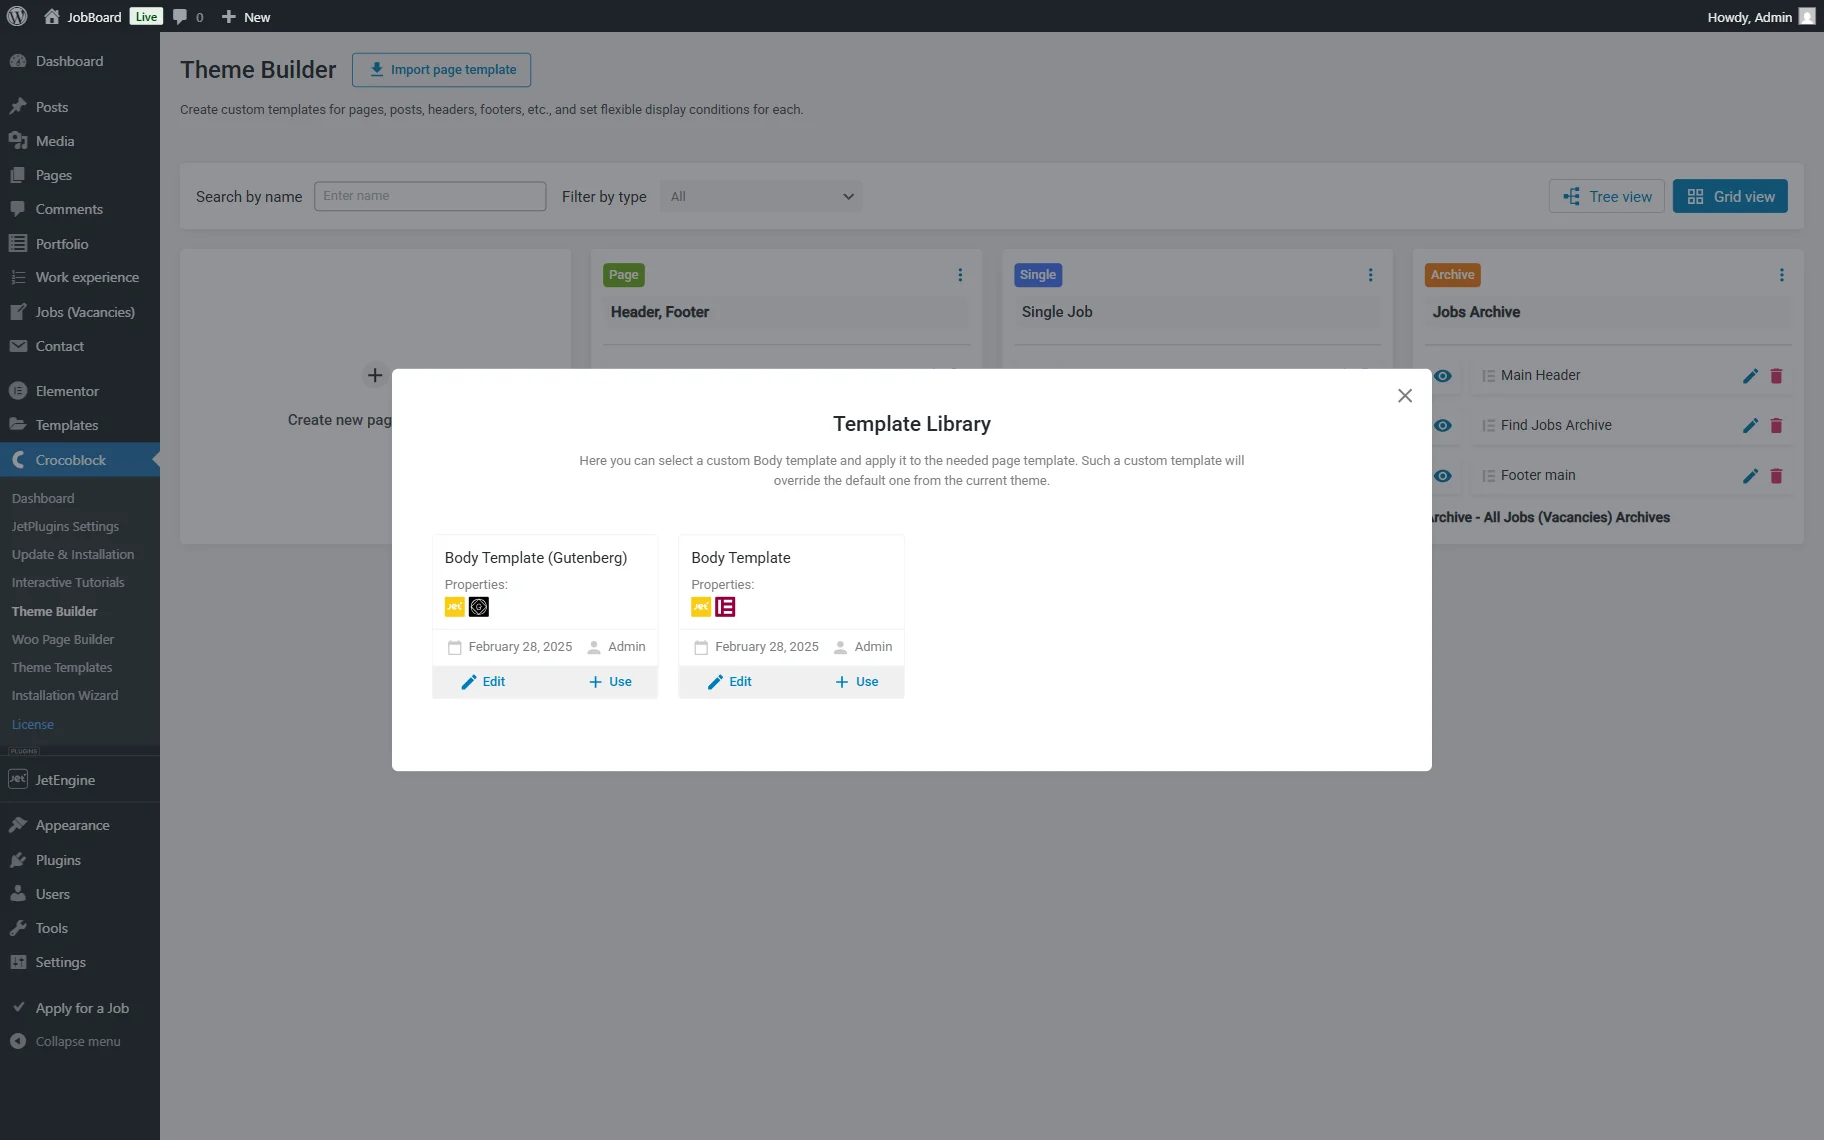
The “Add from library” option opens the library containing all the templates created before. Here, the most appropriate one should be selected by clicking the “Use” button or editing it first and then using it.
The icons under the Properties will indicate which plugin was used to create the chosen template. One can also hover over the icon to see a tooltip for the plugin’s name.
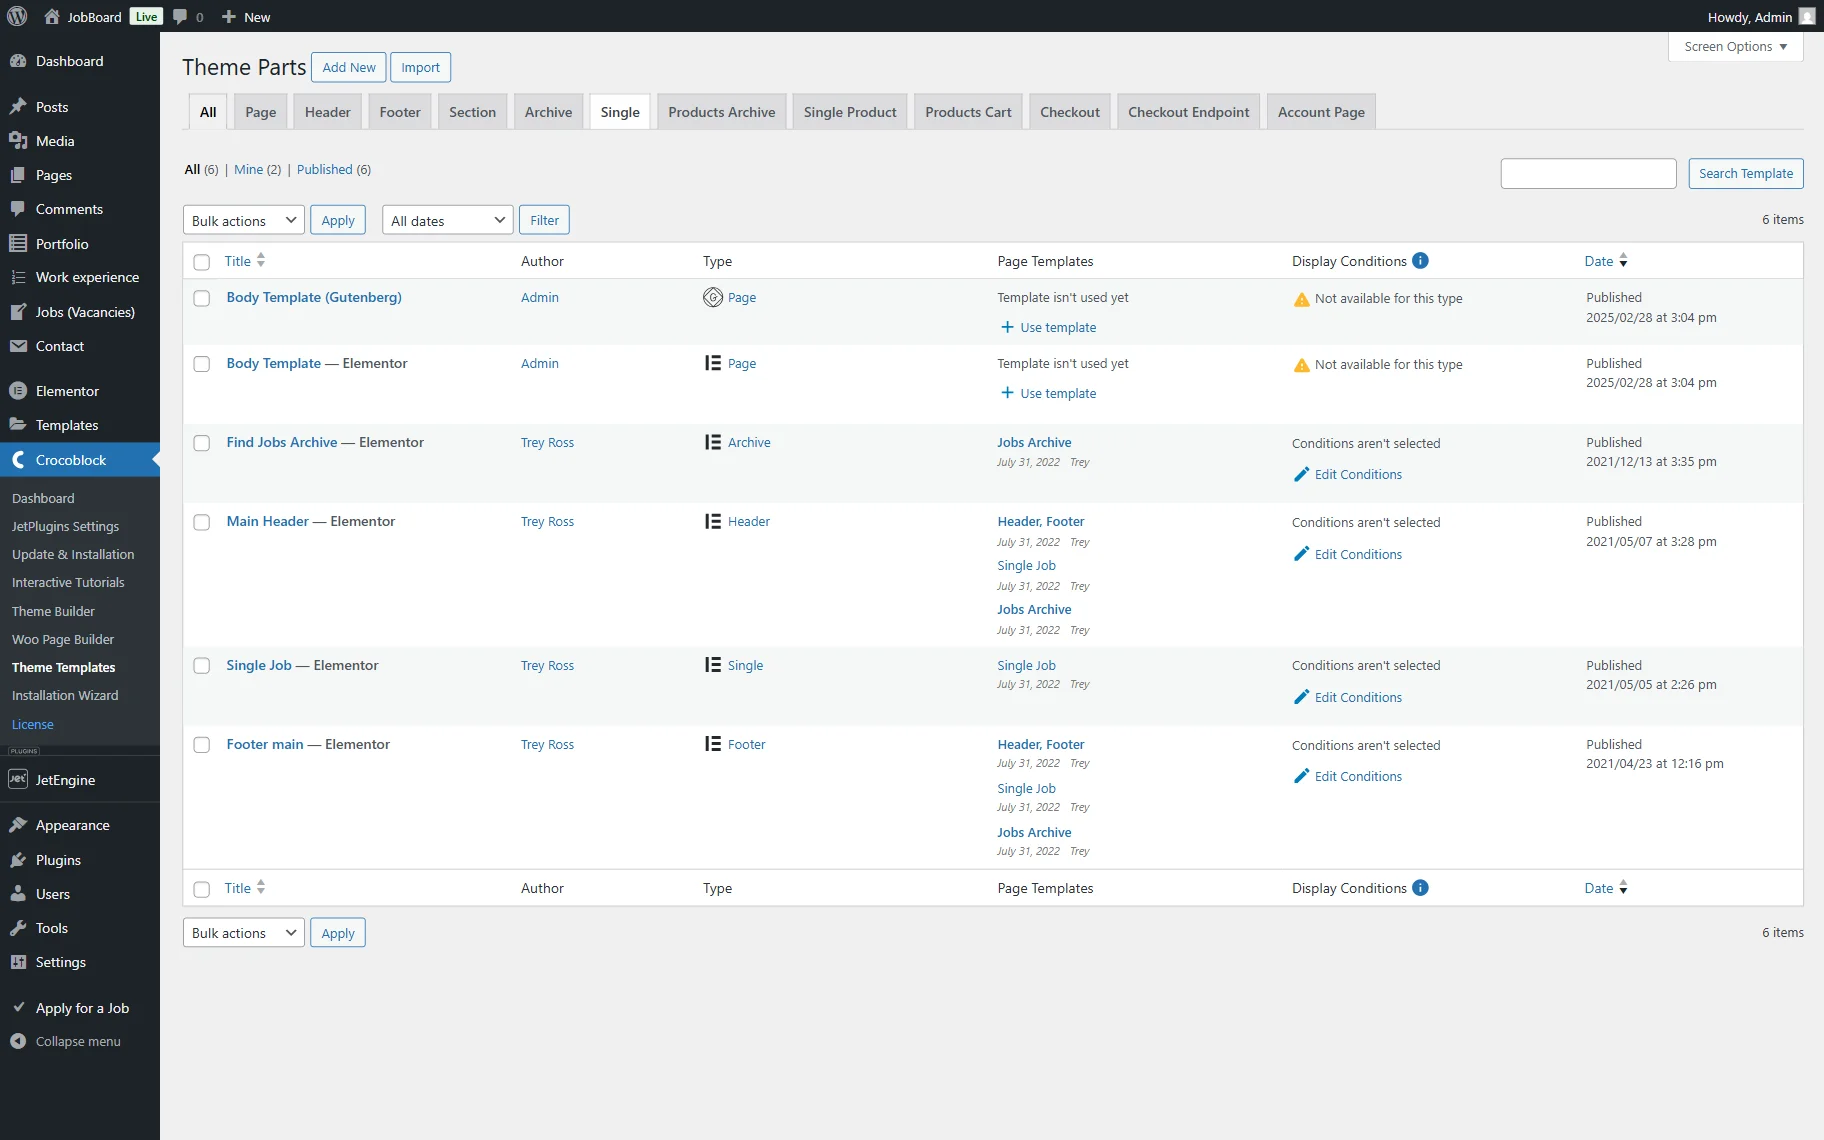
Theme Templates
One can also proceed to WordPress Dashboard > Crocoblock > Theme Templates to open and review the added templates.
Each template is marked with an Elementor or Gutenberg icon under the Type column.
Here one can also see all the instances with checkmarks or exclamation marks, showing whether the conditions are set.
This is it. Now you know all the settings and functionality of JetThemeCore for creating and organizing templates for your WordPress website.