How to Set Up Two-Way Appointment Sync with Google Calendar
In this guide, you will learn how to set up the two-way appointment synchronization between Google Calendar and the JetAppointment plugin for WordPress.
Before you start, check the tutorial requirements:
- JetAppointment plugin installed and activated
- JetEngine plugin installed and activated
- Google Account
Step by step, we will set up the integration between Google Calendar and JetAppointment, review the local post settings, and test how the integration works.
Adjust Google Calendar Integration
First, we should build a new Google Cloud project.
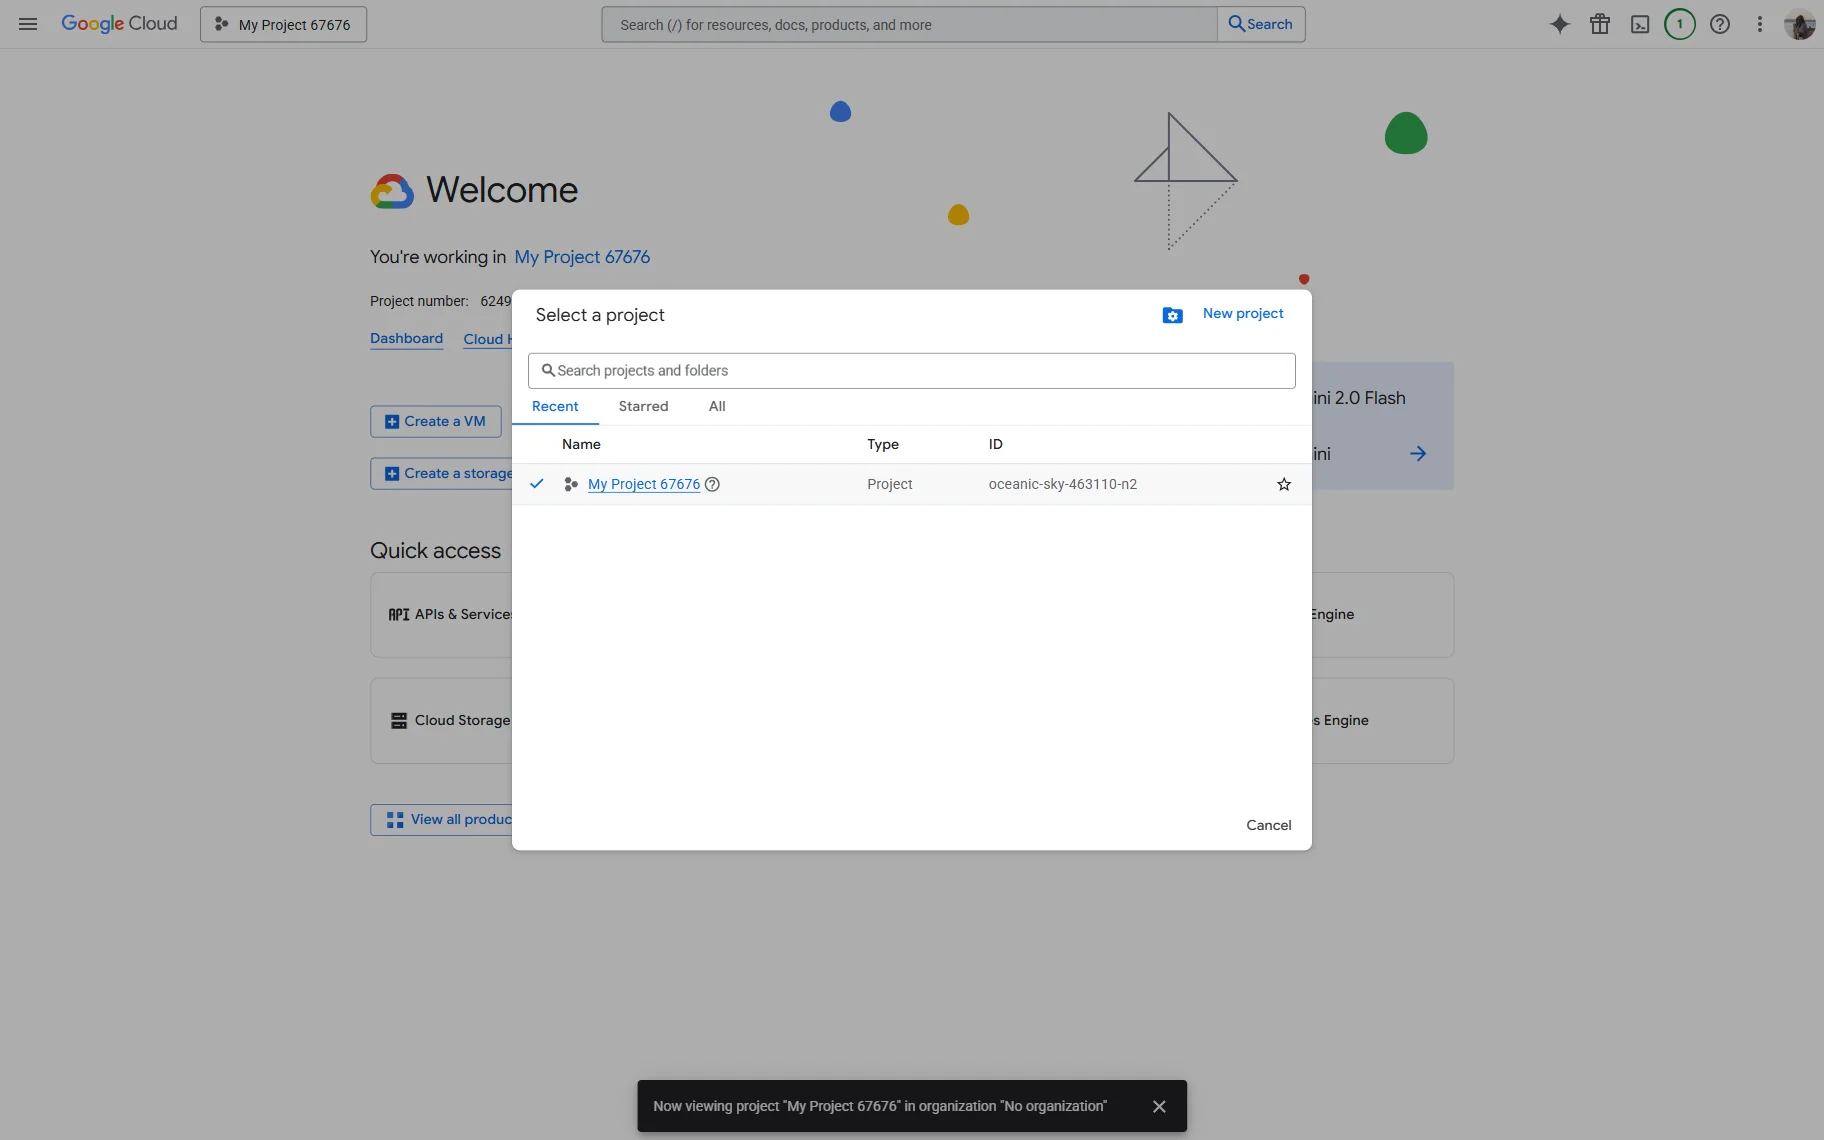
To do so, proceed to your Google Cloud account and press the name of the current project in the upper left corner. Press “My First Project” if you haven’t built any projects before.
In the opened Select a project pop-up, press the “Select a project” button.
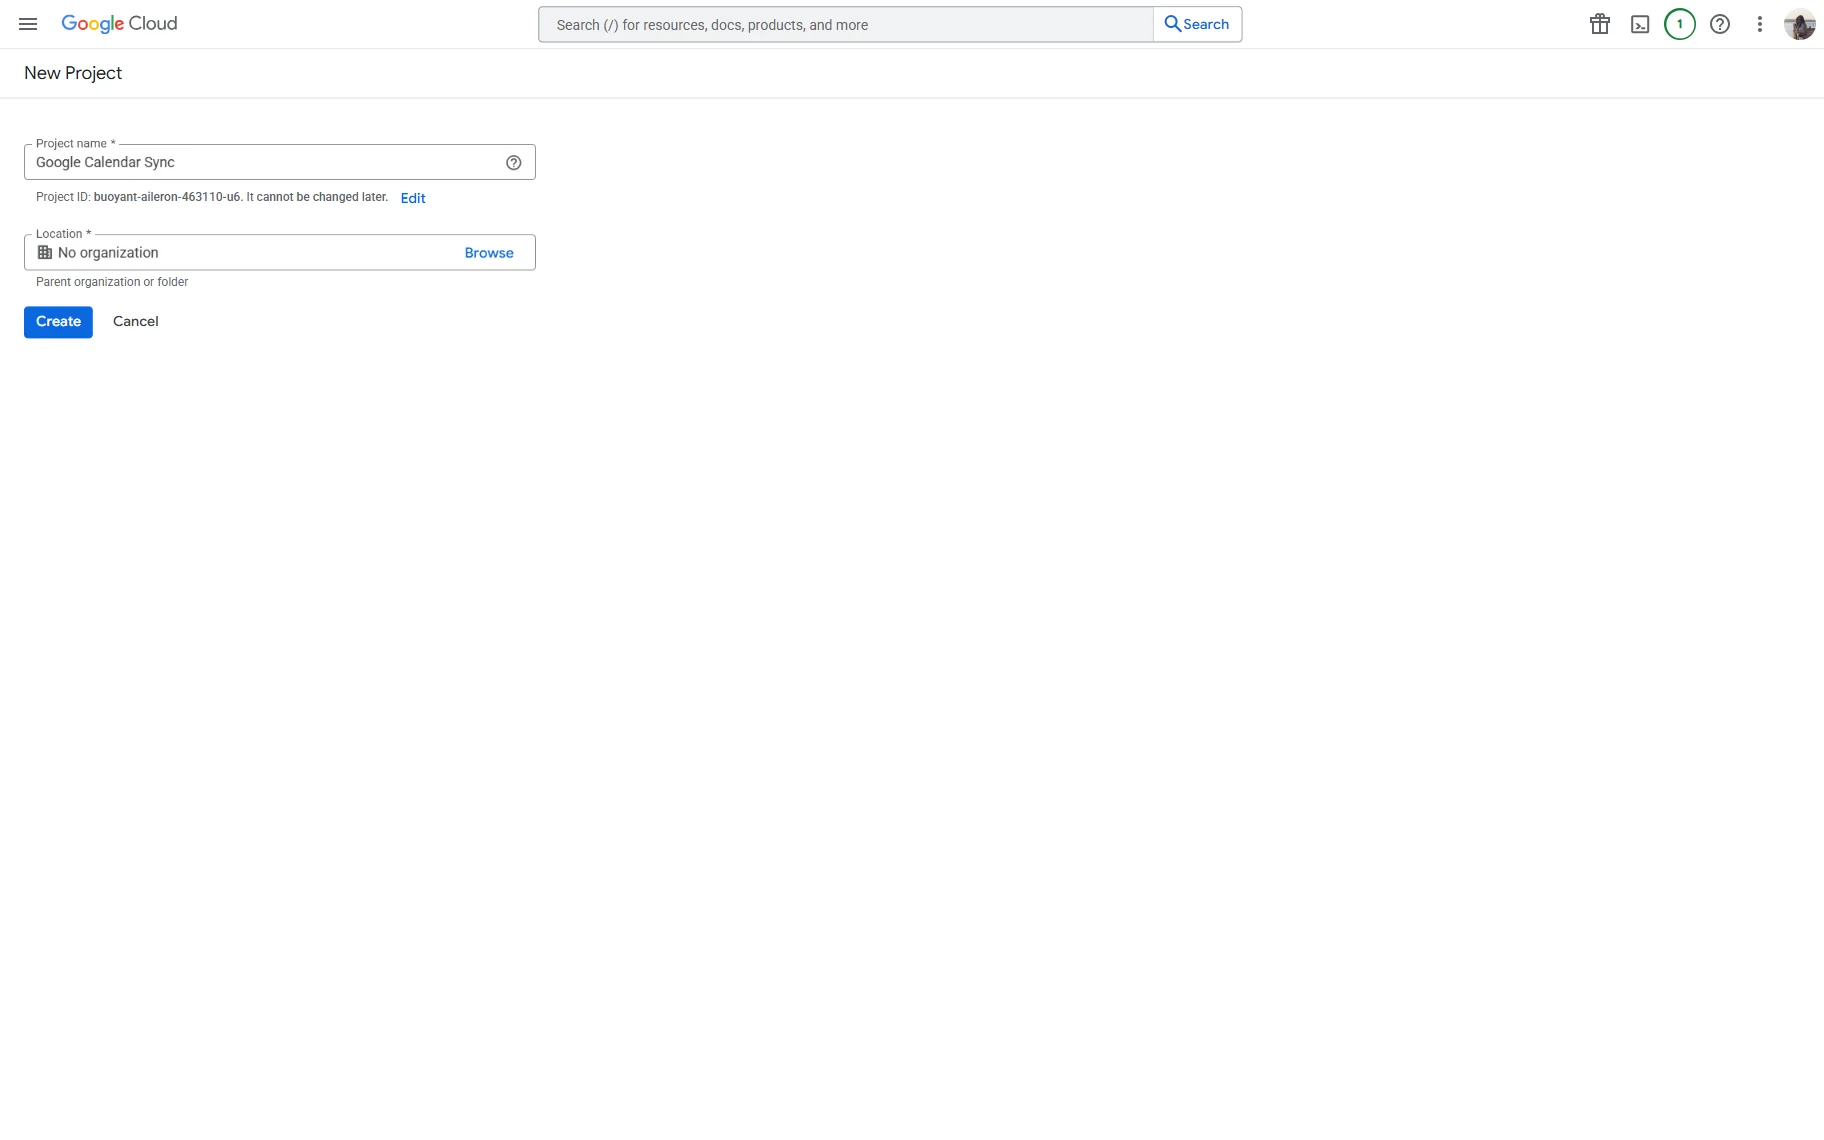
Complete the Project name and pick its Location, then hit the “Create” button.
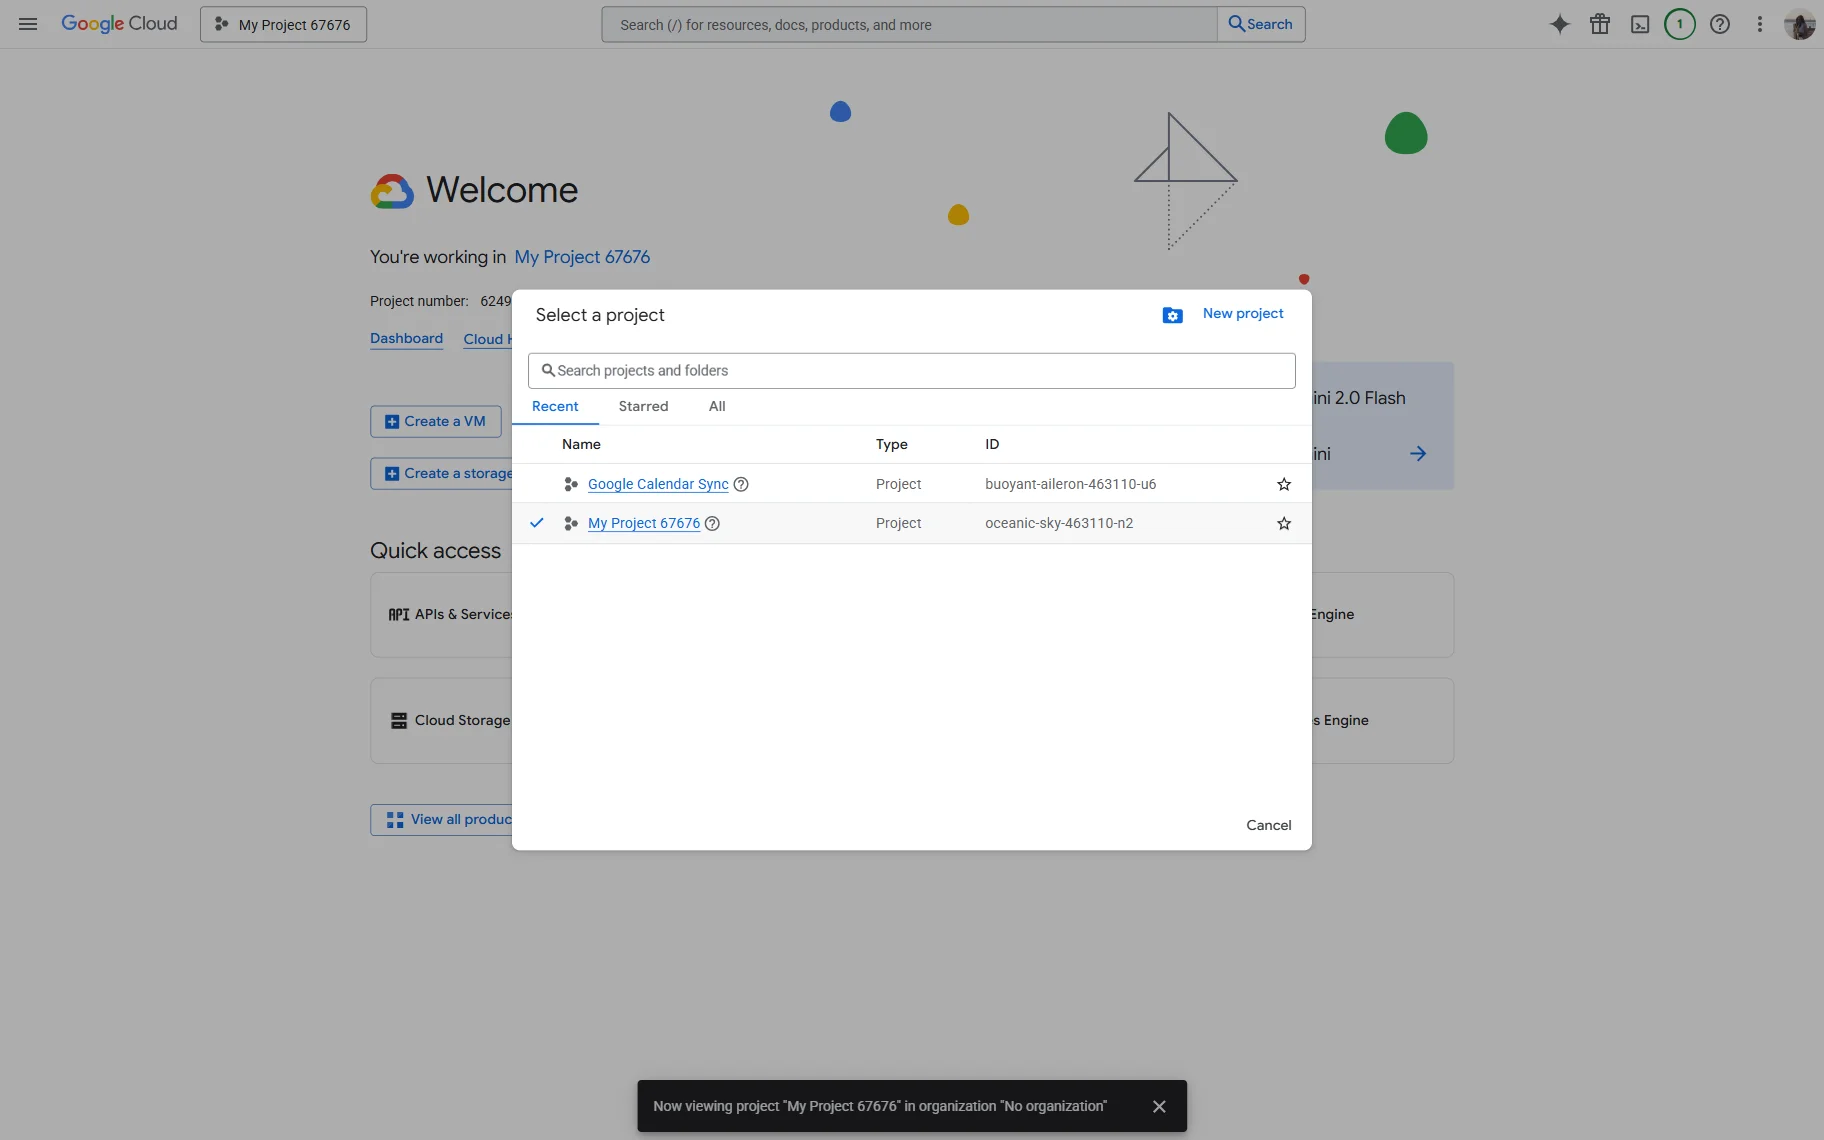
Now, return to the list of projects and click on the one you have just created to edit it.
On the opened page, find and click the Library tab. You will be redirected to the API Library.
Here, search for the “Google Calendar API” in the search bar located in the middle of the screen.
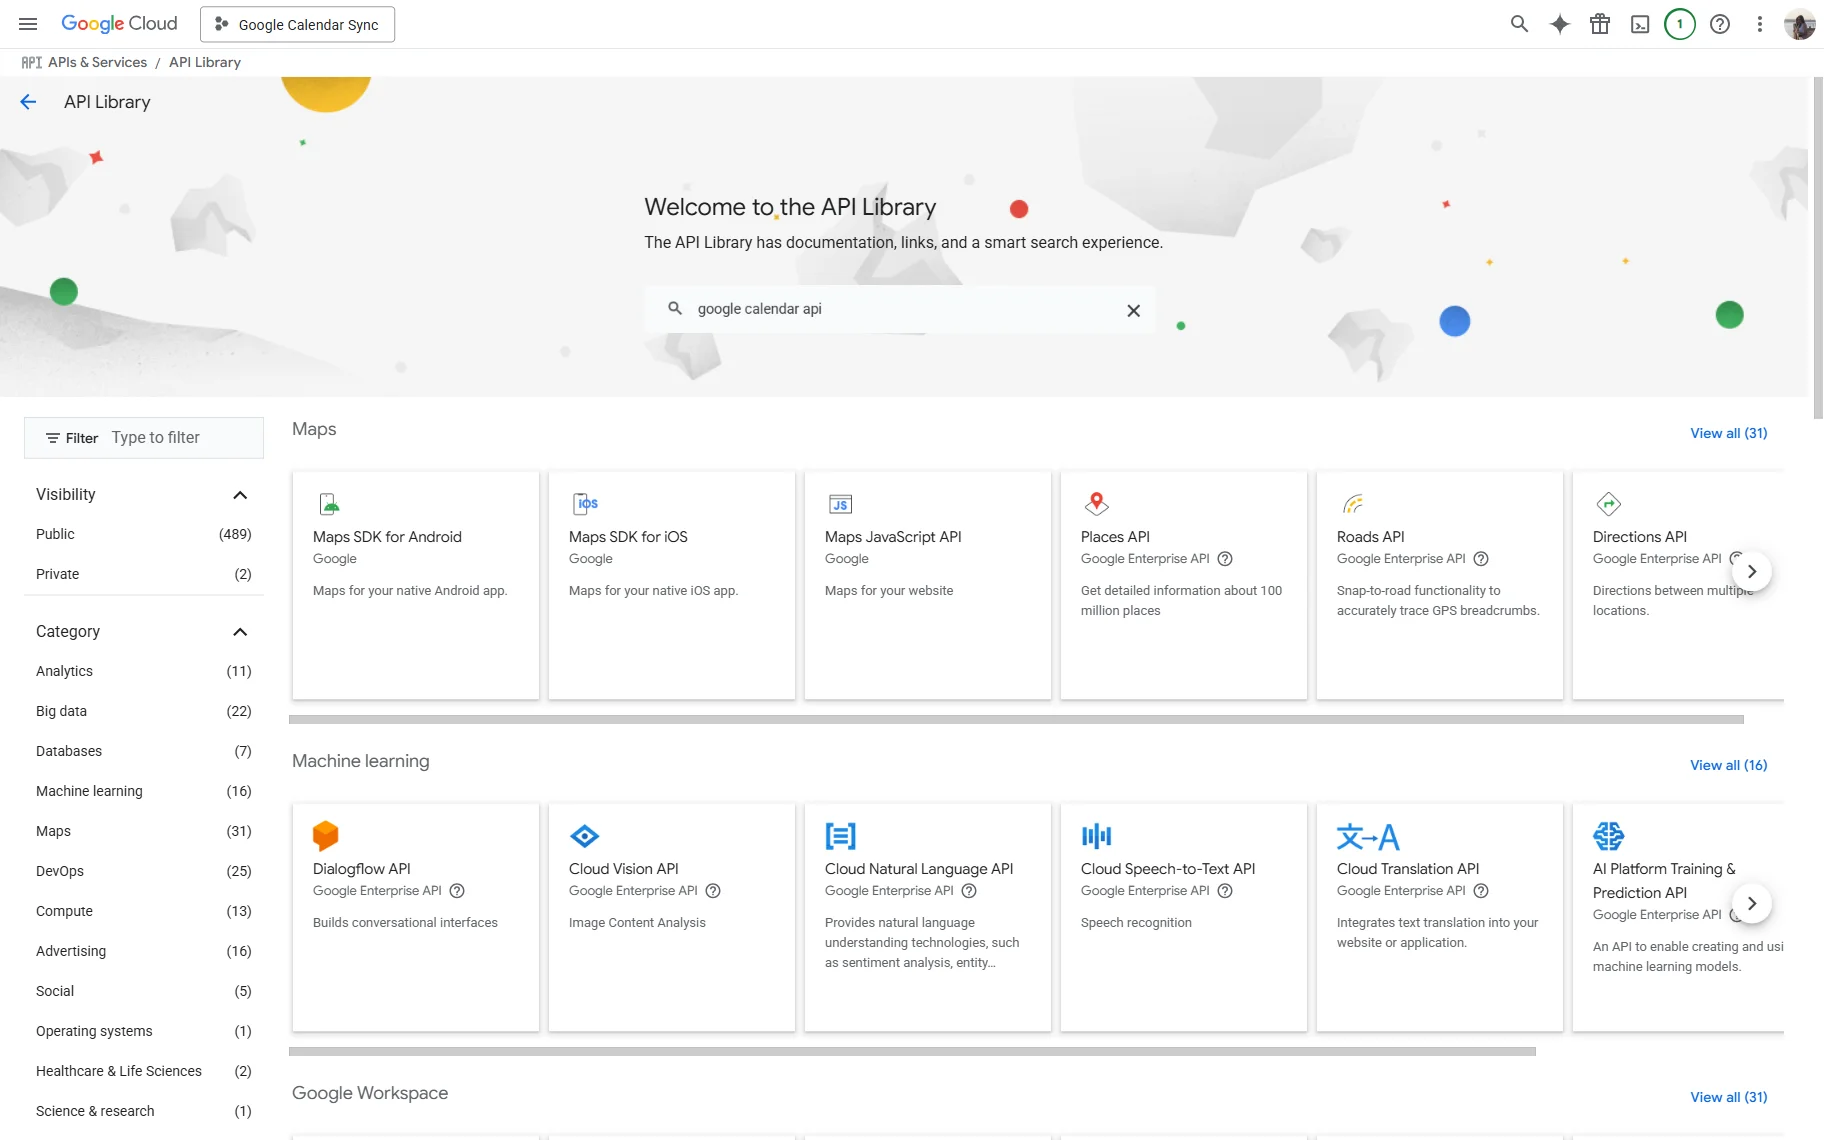
You will be redirected to the Product details page of the Google Calendar API.
Press the “Enable” button.
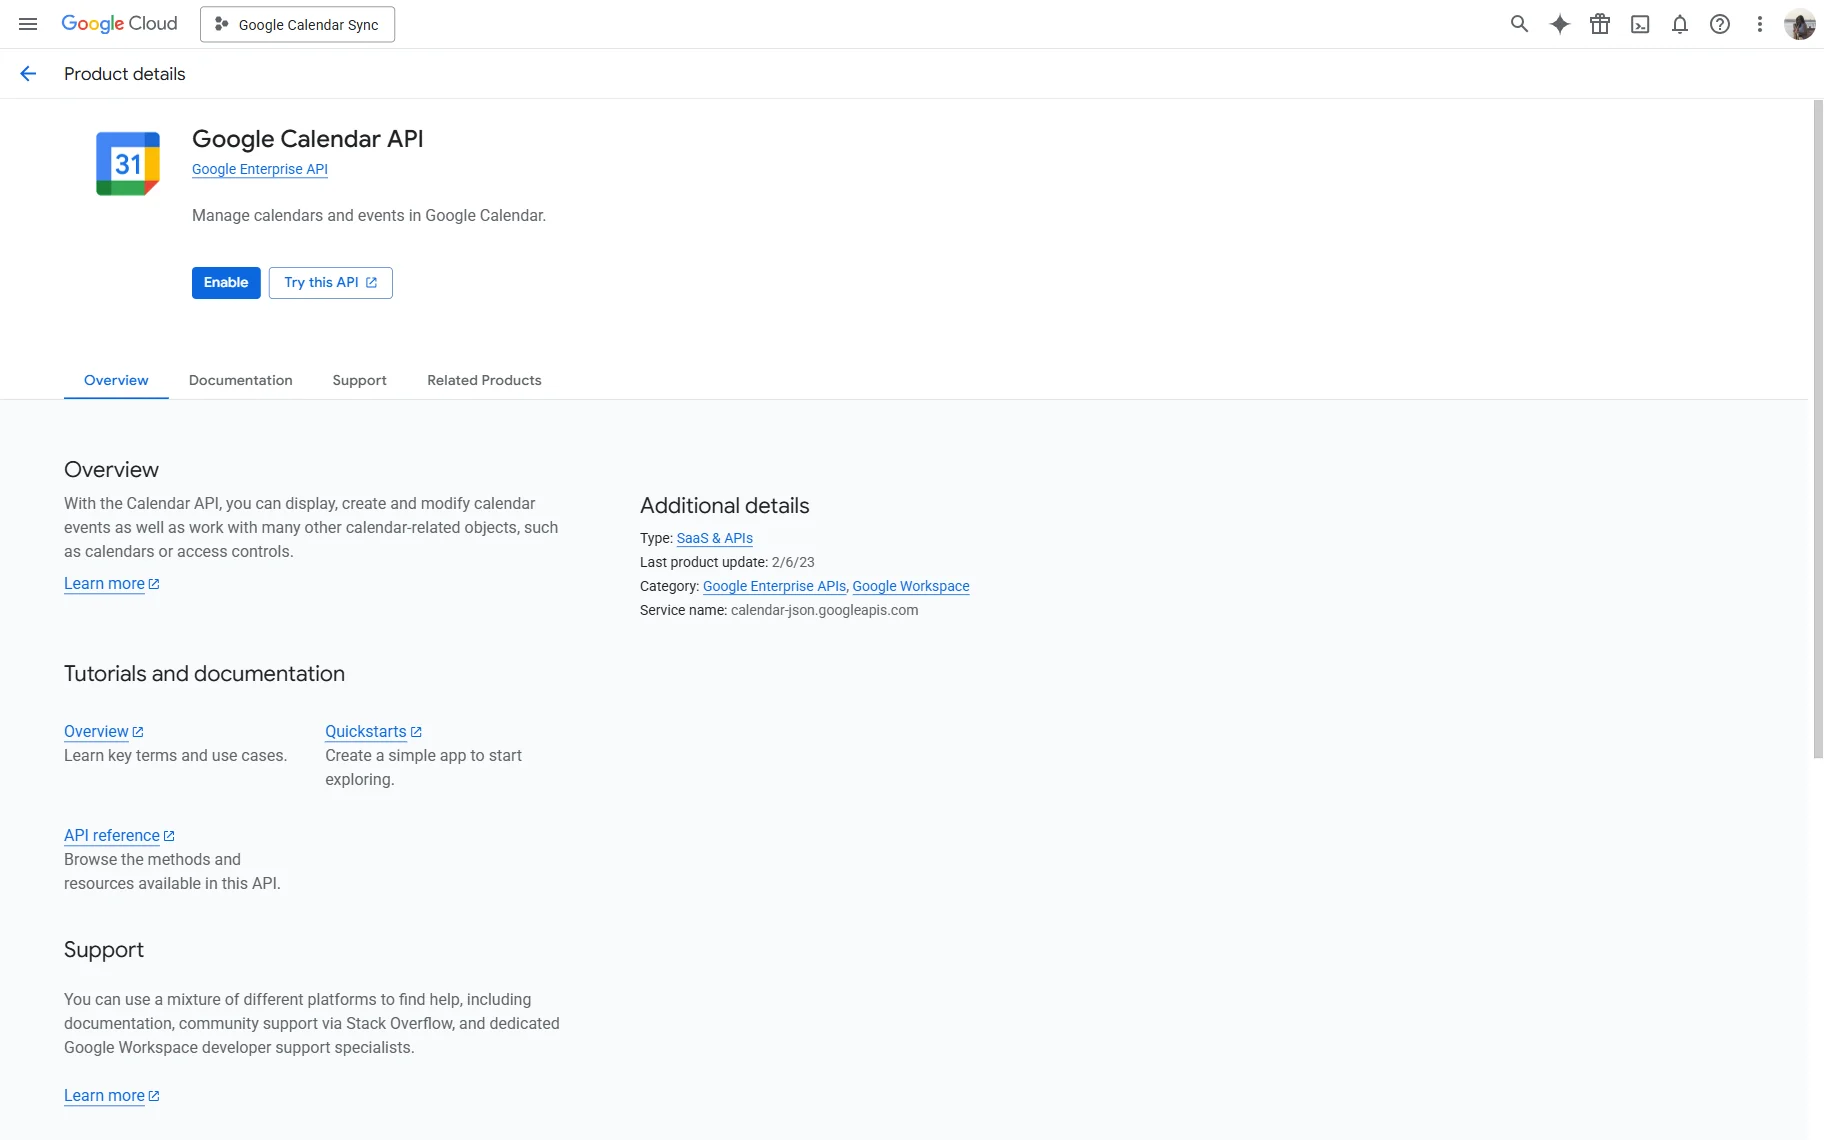
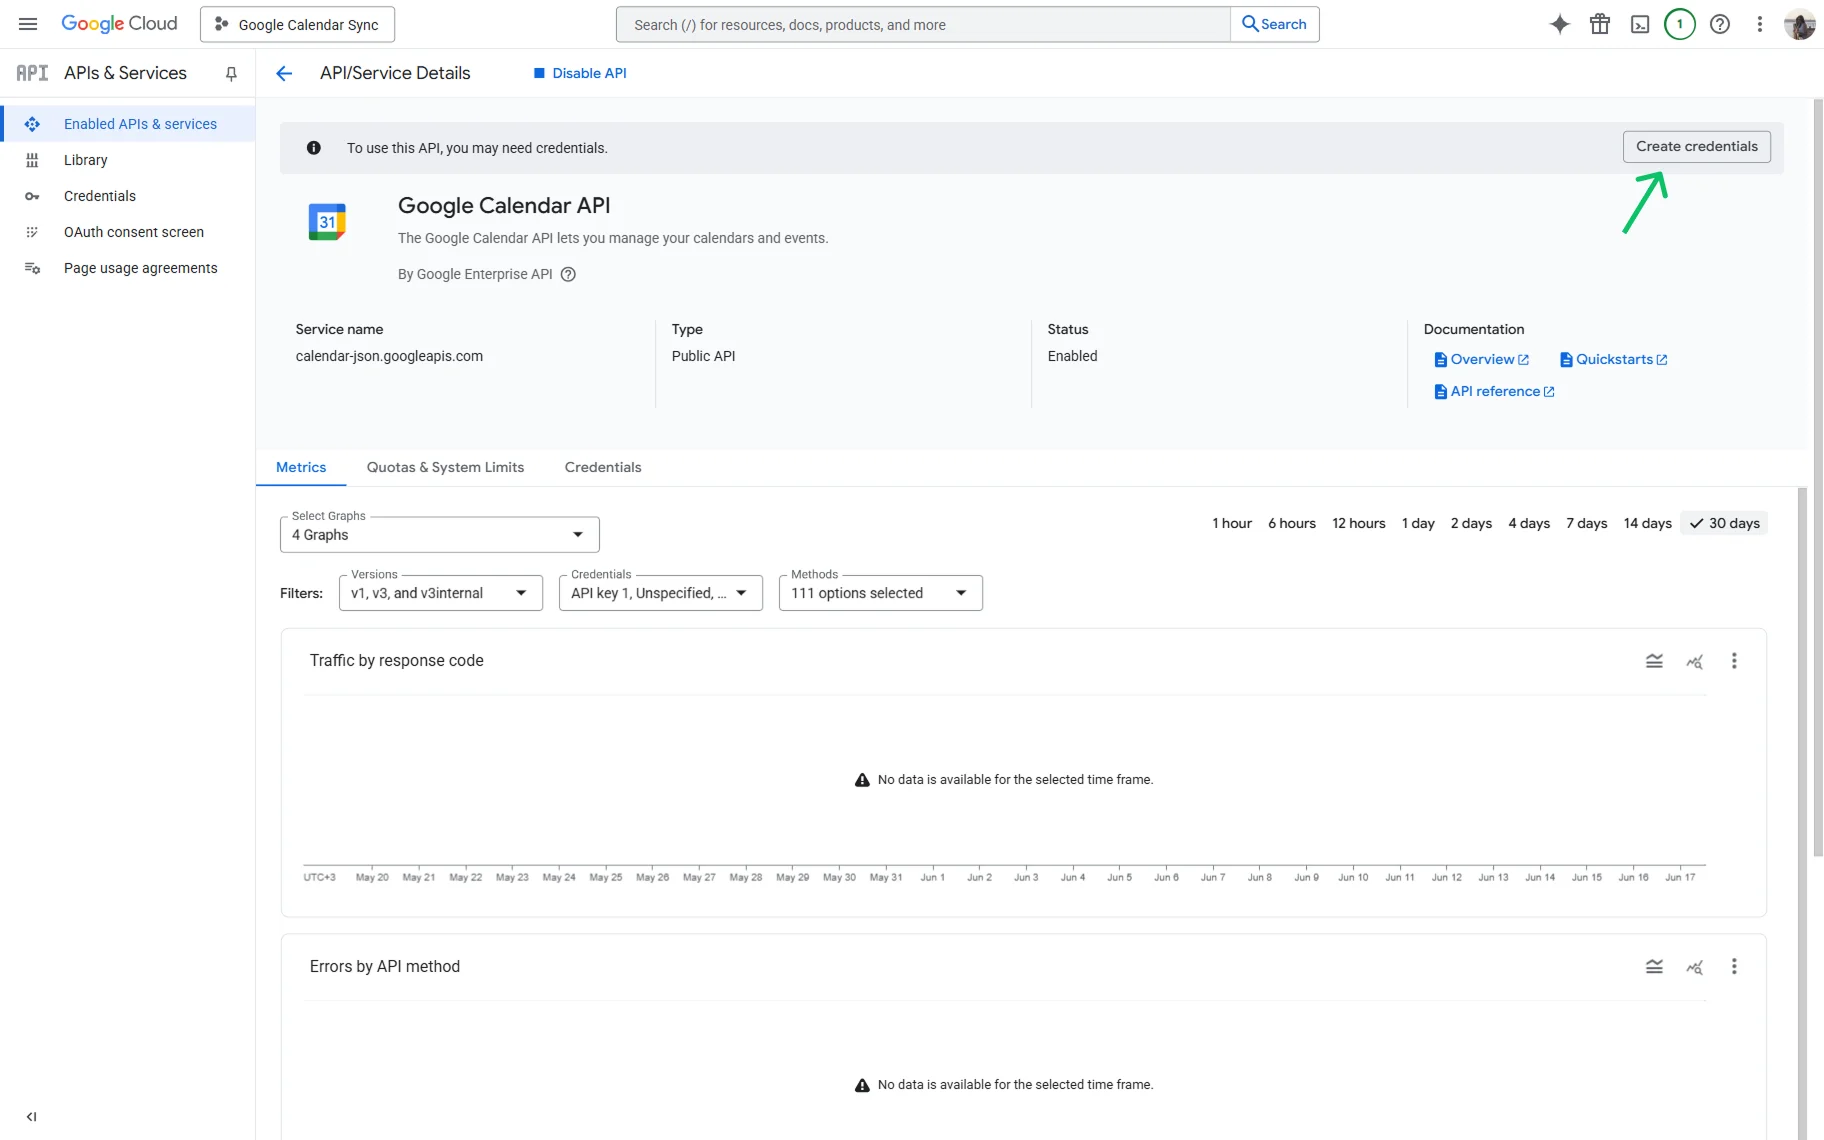
When the API is activated, you will be redirected to the API/Service Details page.
Above the Google Calendar API name, you will see the notification highlighting that you have to create credentials to use this API. So, press the “Create credentials” button to proceed to the Credentials creation page.
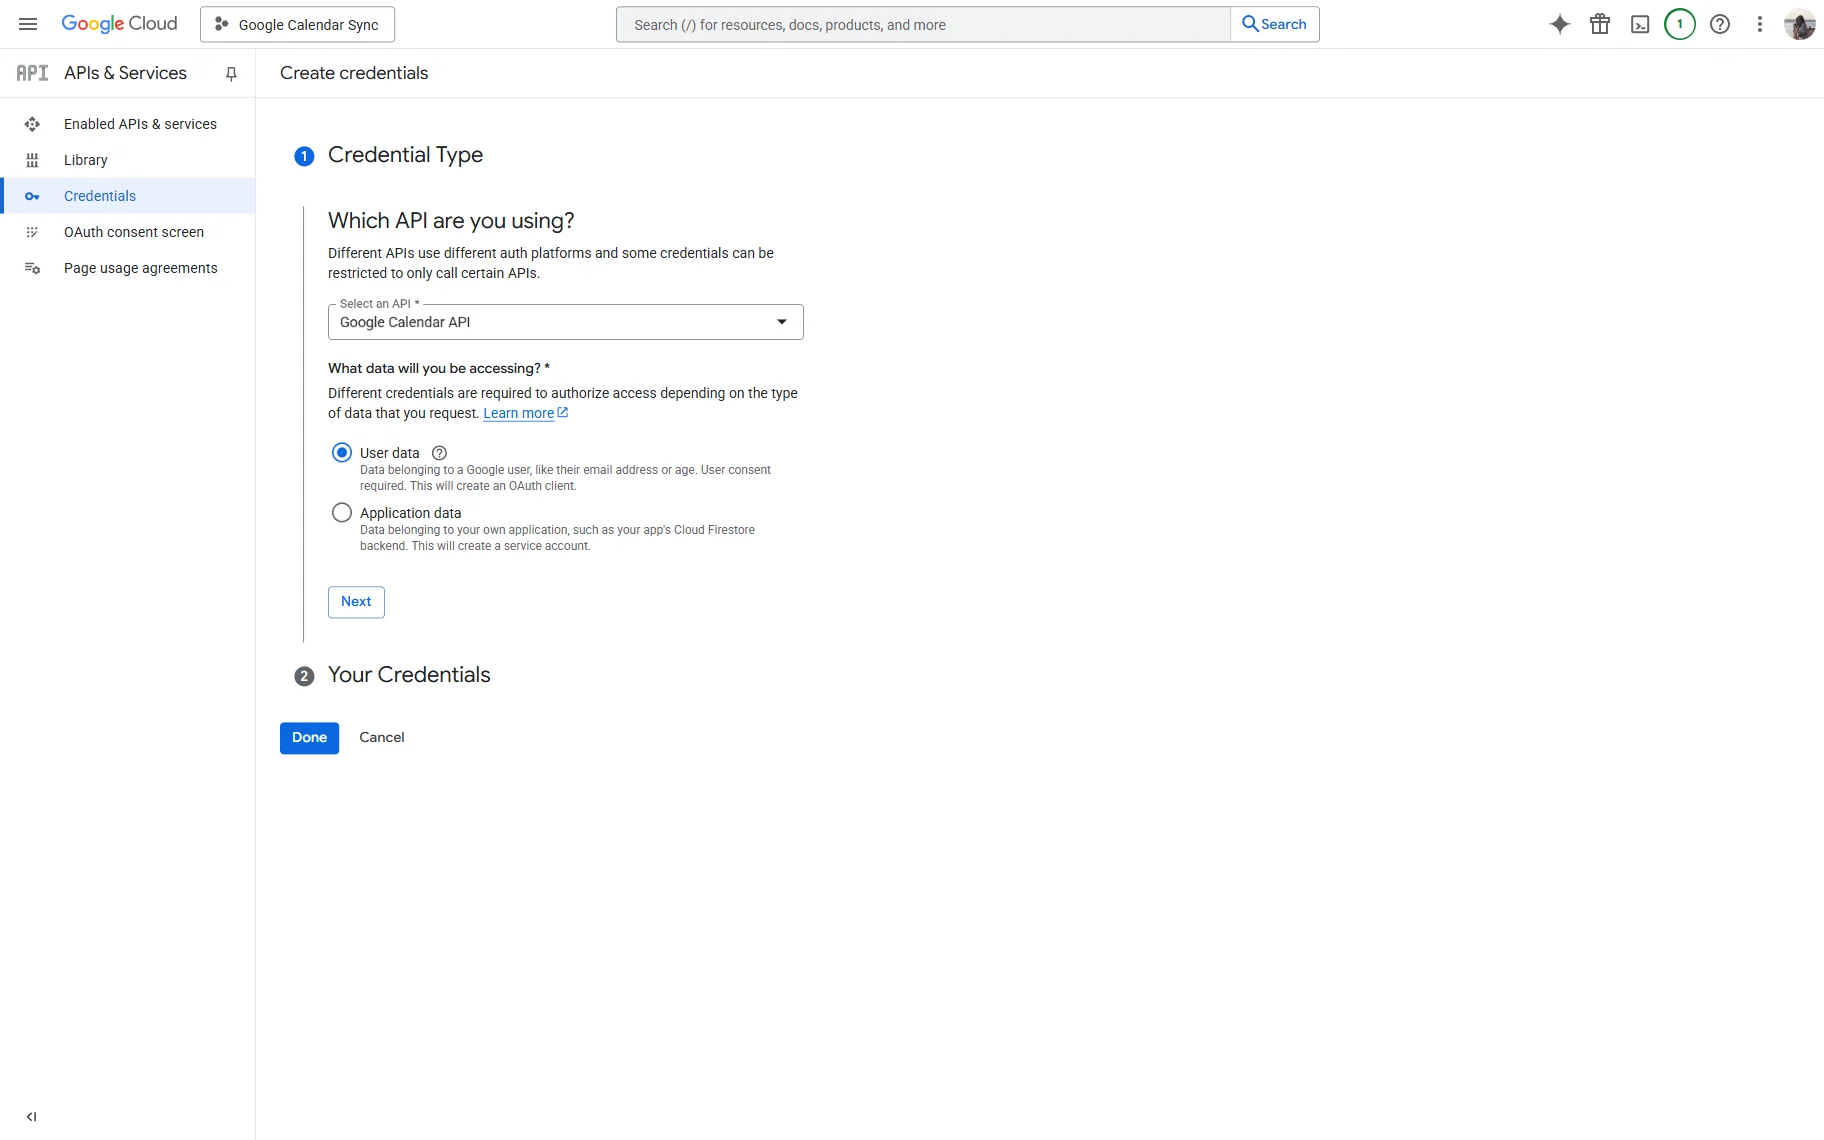
In the first Credential Type section, pick the “Google Calendar API” option in the Select an API dropdown.
Also, select the “User data” in the following radio filter. It is necessary to enable the synchronization between the website and the individual user’s Google Account.
Hit “Next” to move to the next customization section.
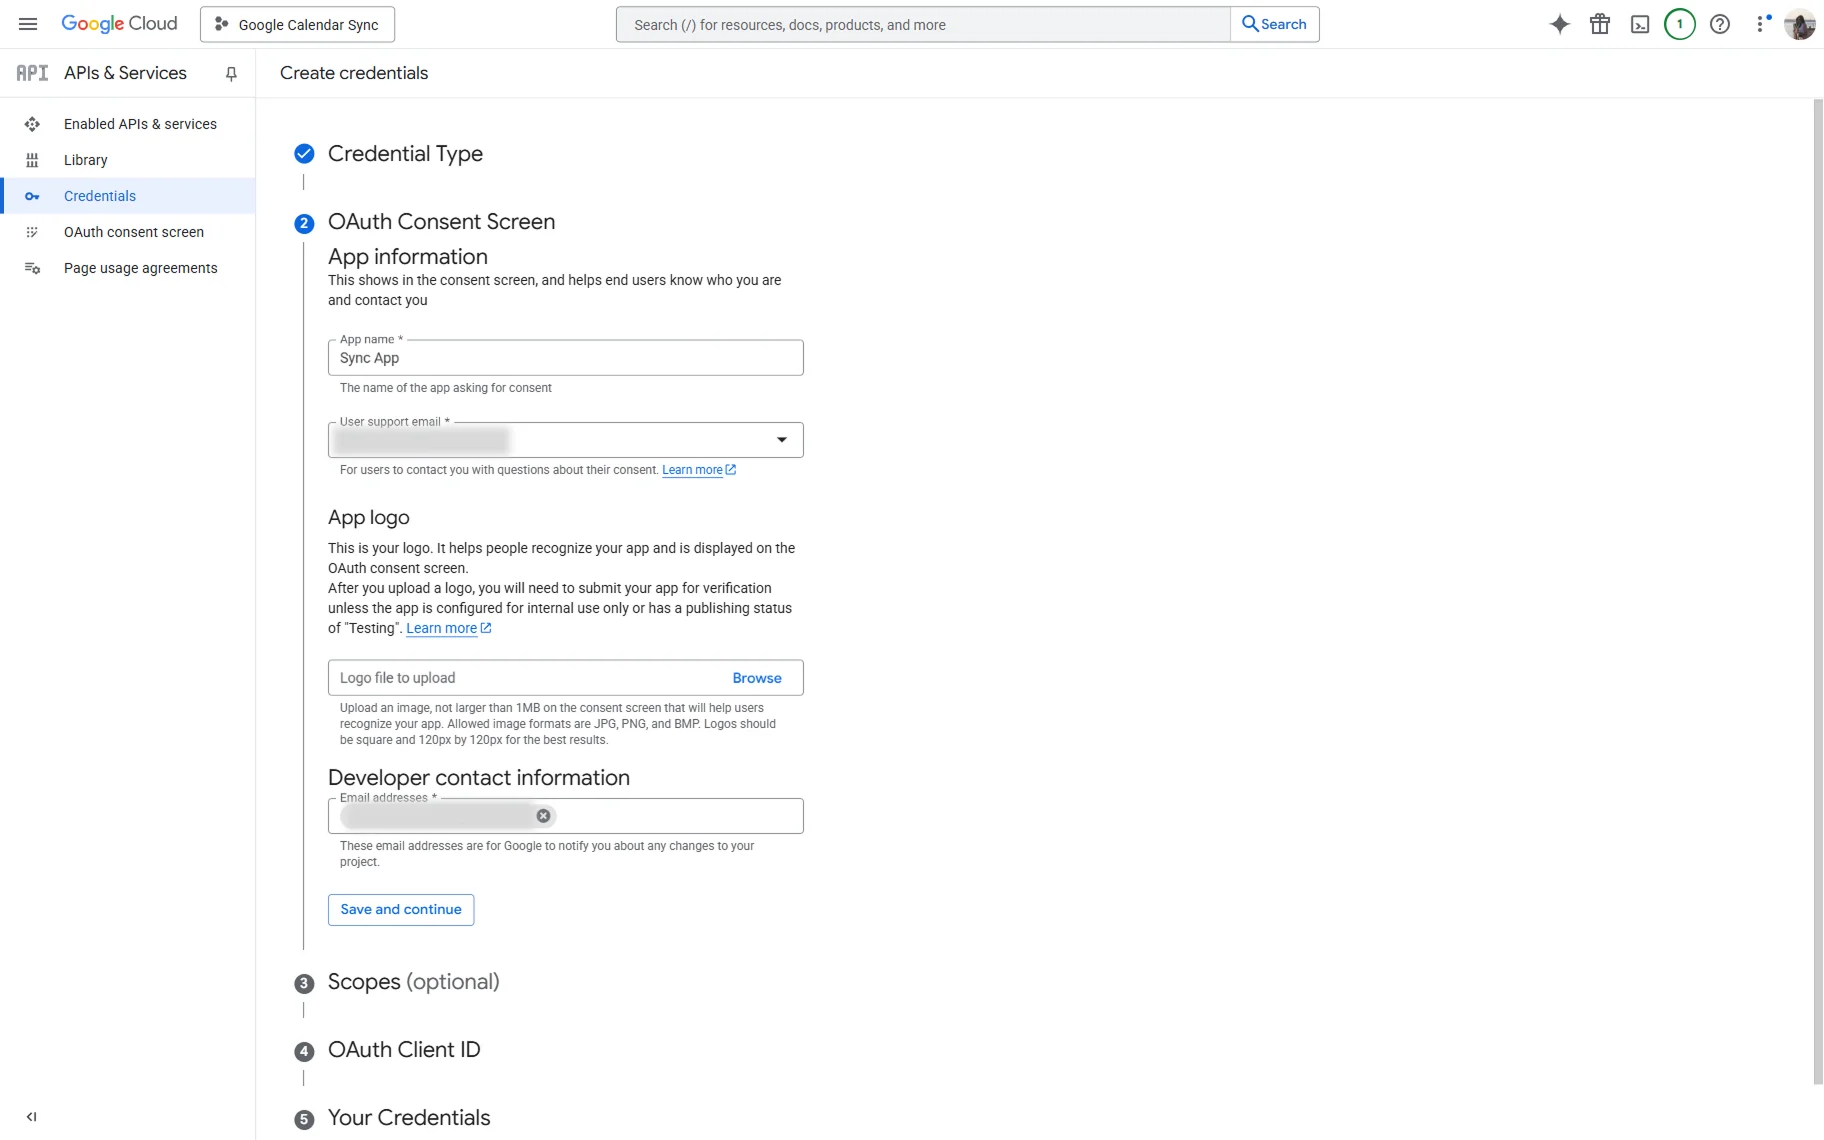
In the OAuth Consent Screen section, complete the App name and select the User support email.
Also, mind completing the Developer contact information, the Email address specifically.
Once done, press the “Save and continue” button.
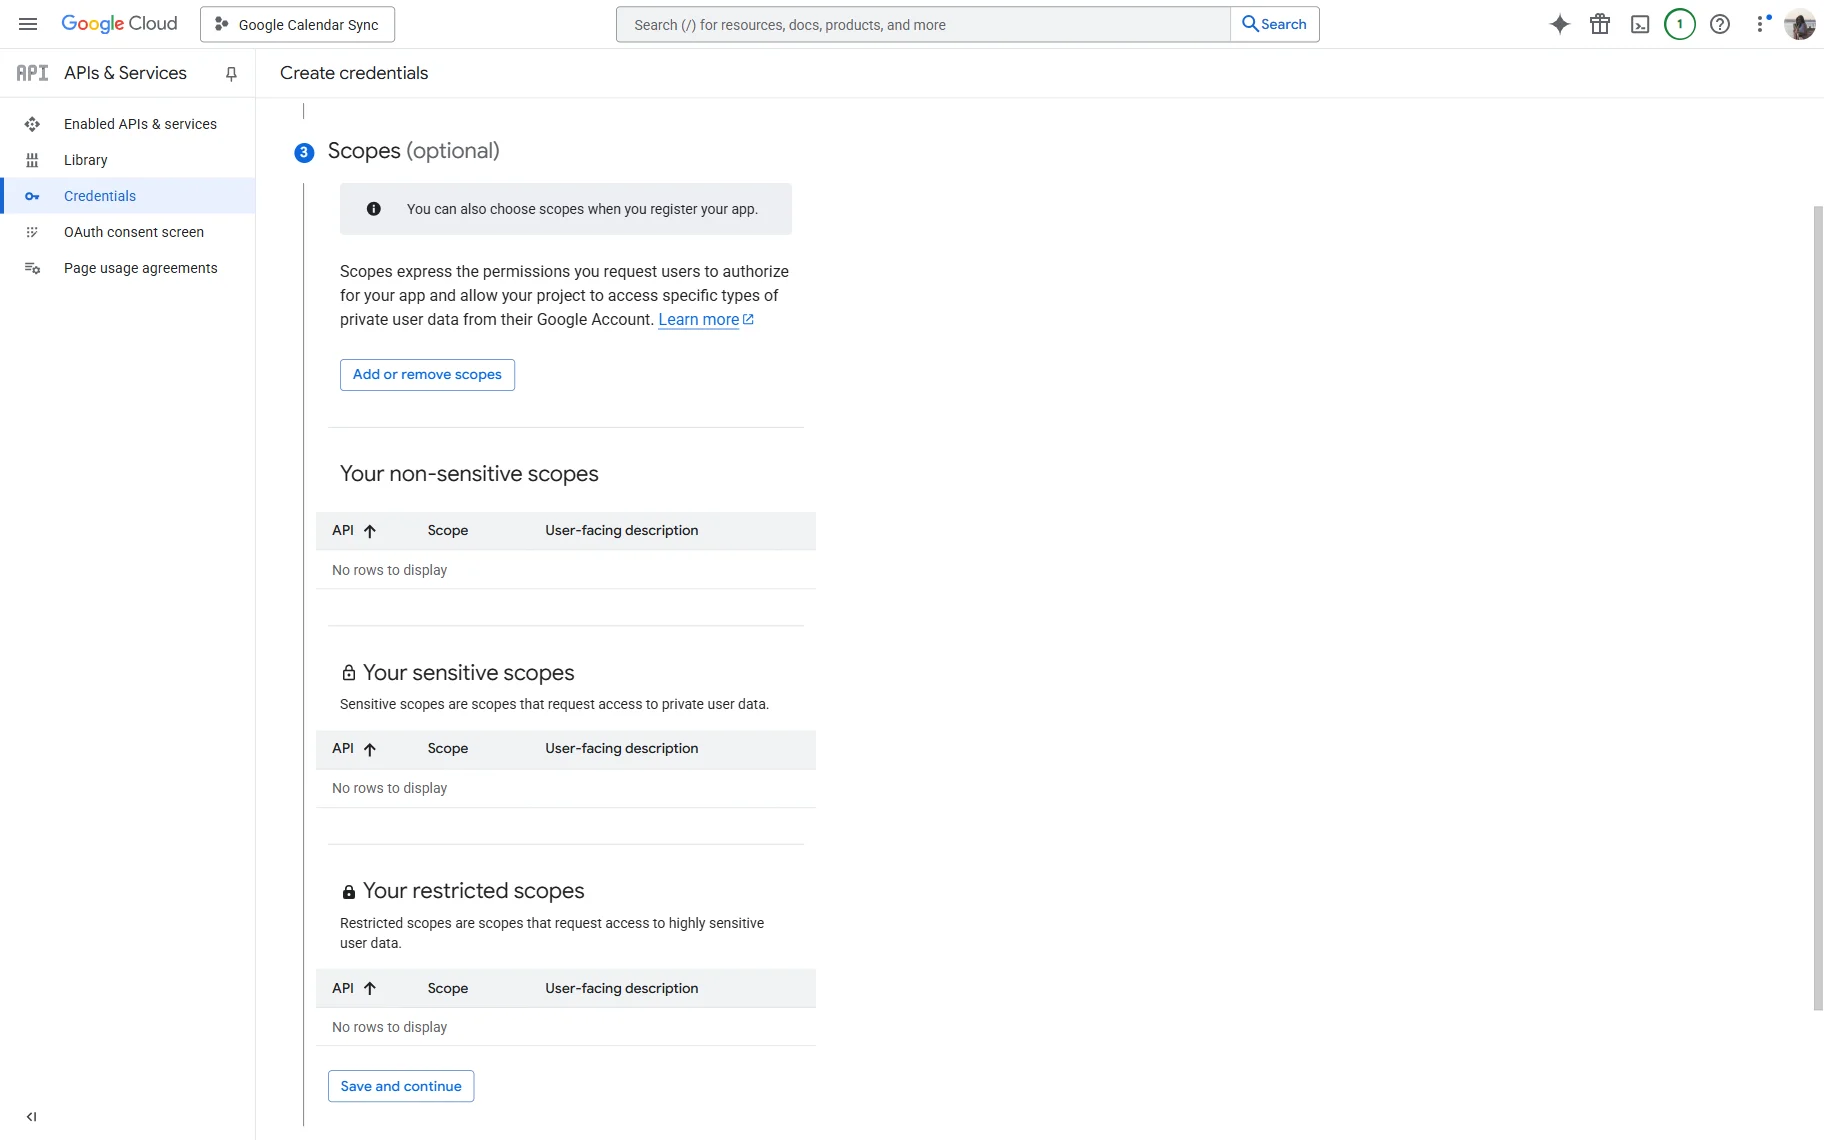
The Scopes section is optional for completion, so we skip it by pressing the “Save and continue” button.
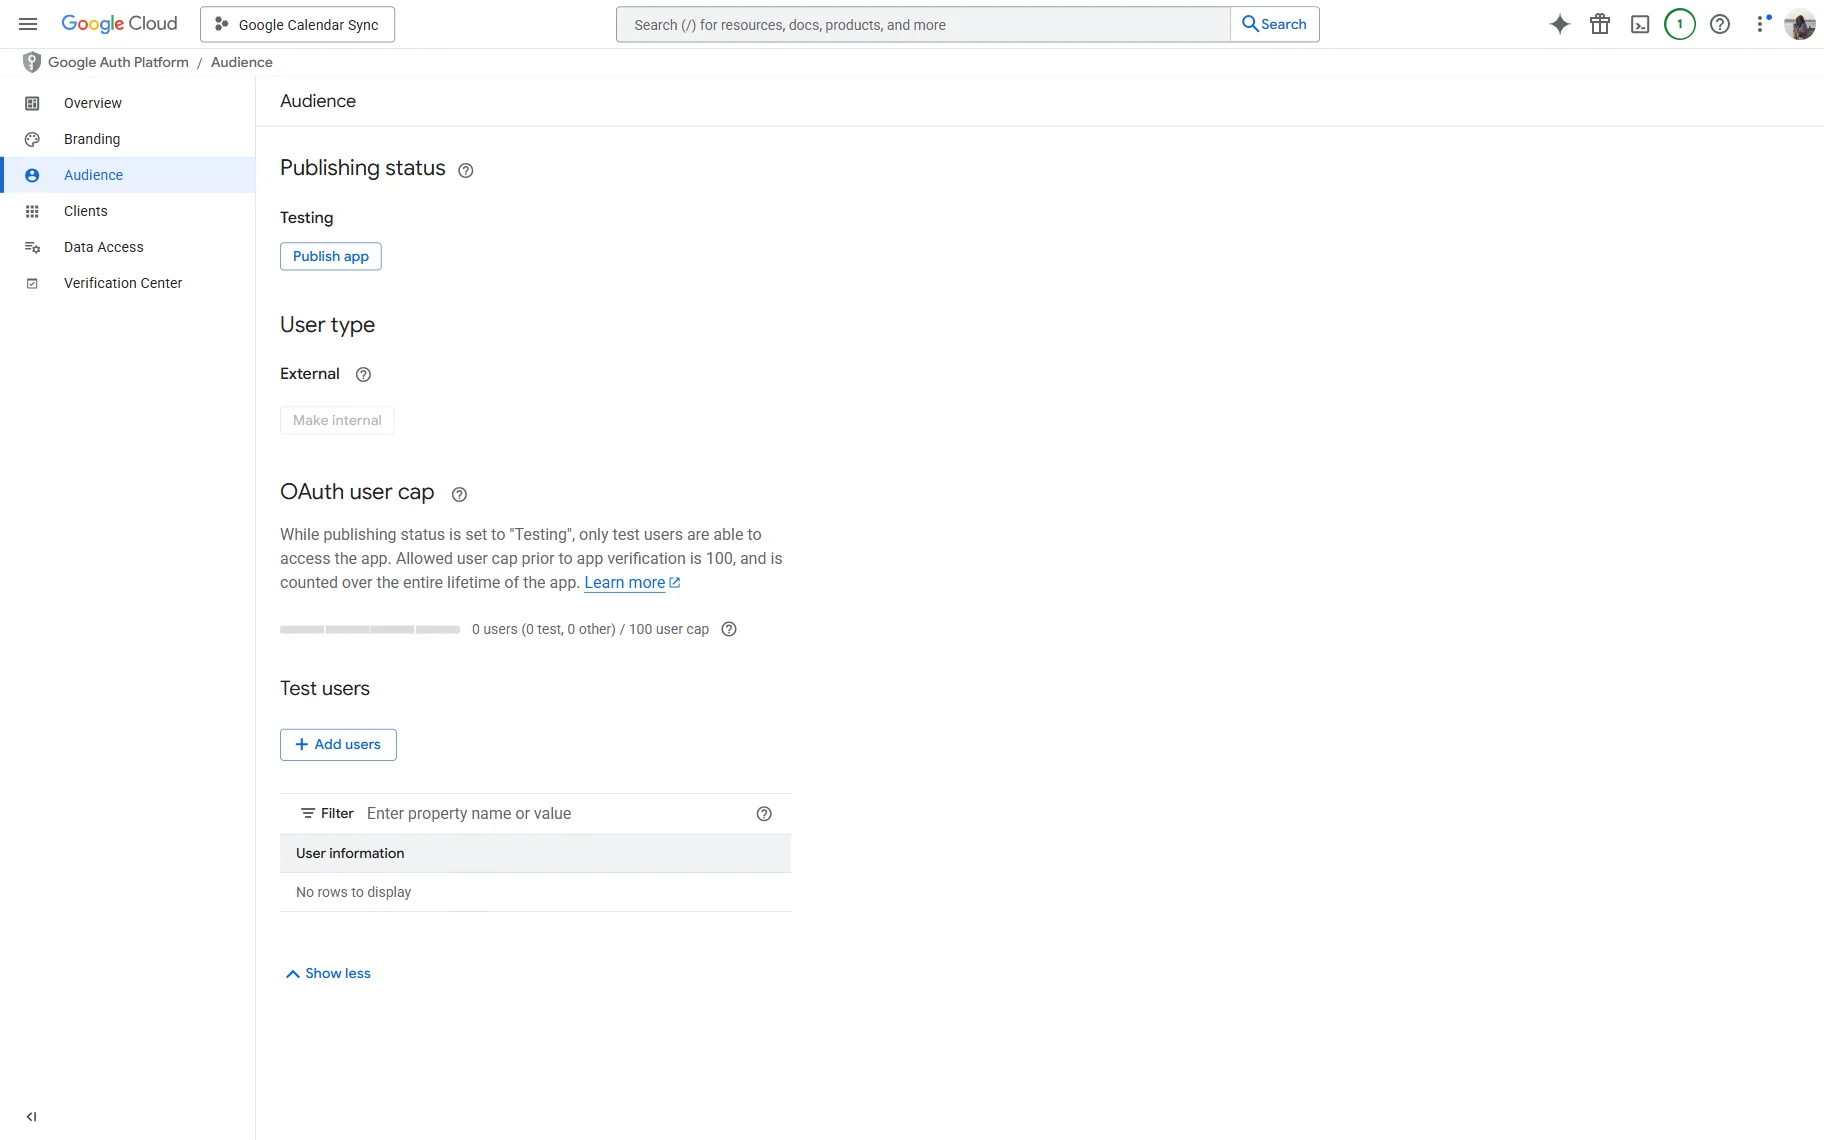
Now, go to the OAuth consent screen tab on the sidebar, and once it opens, open the Audience tab.
Here, press the “Publish app” button under the Testing title. Then, confirm that you want to push an app to production. It will remove the testing restrictions of your app.
Return to the APIs & Services > Credentials tab and click the “Create credentials” button.
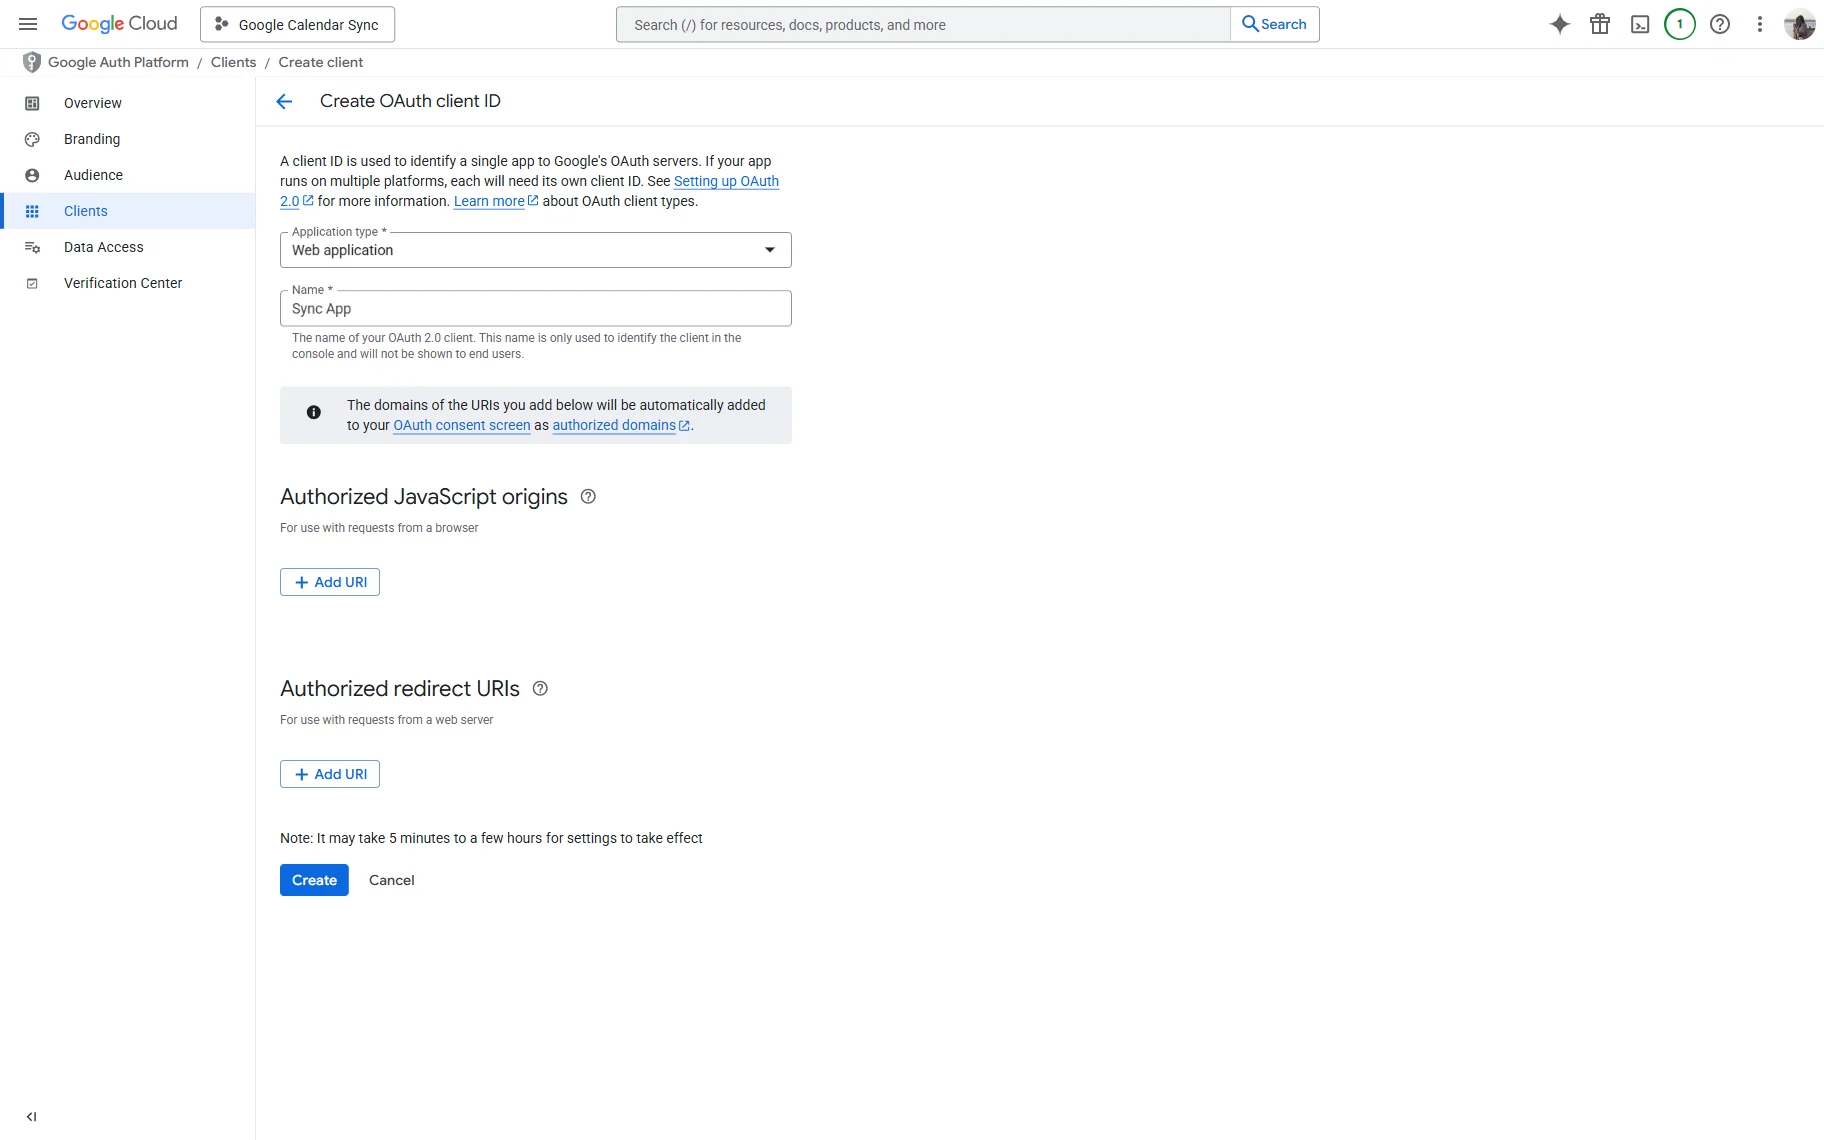
From the dropdown, select the “OAuth client ID” option.
On the opened page, select the “Web application” Application type and give it a Name.
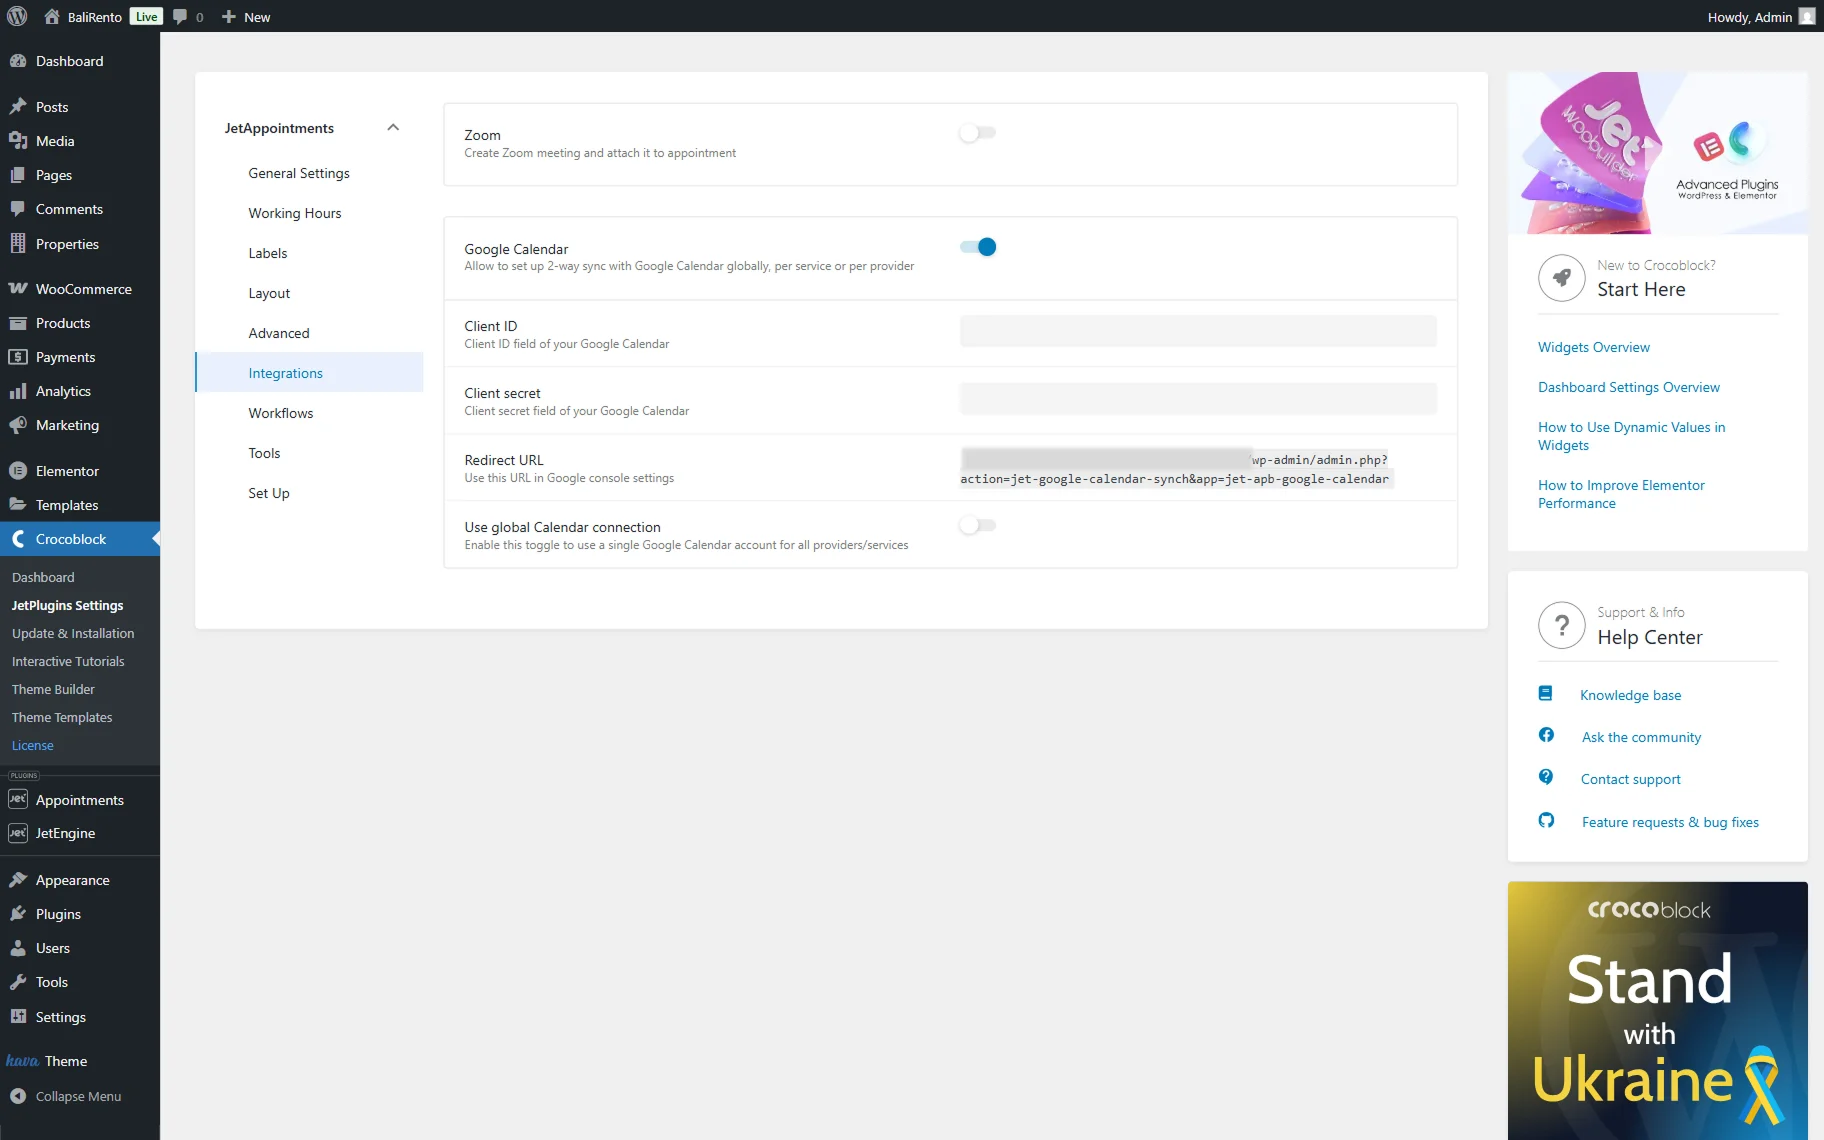
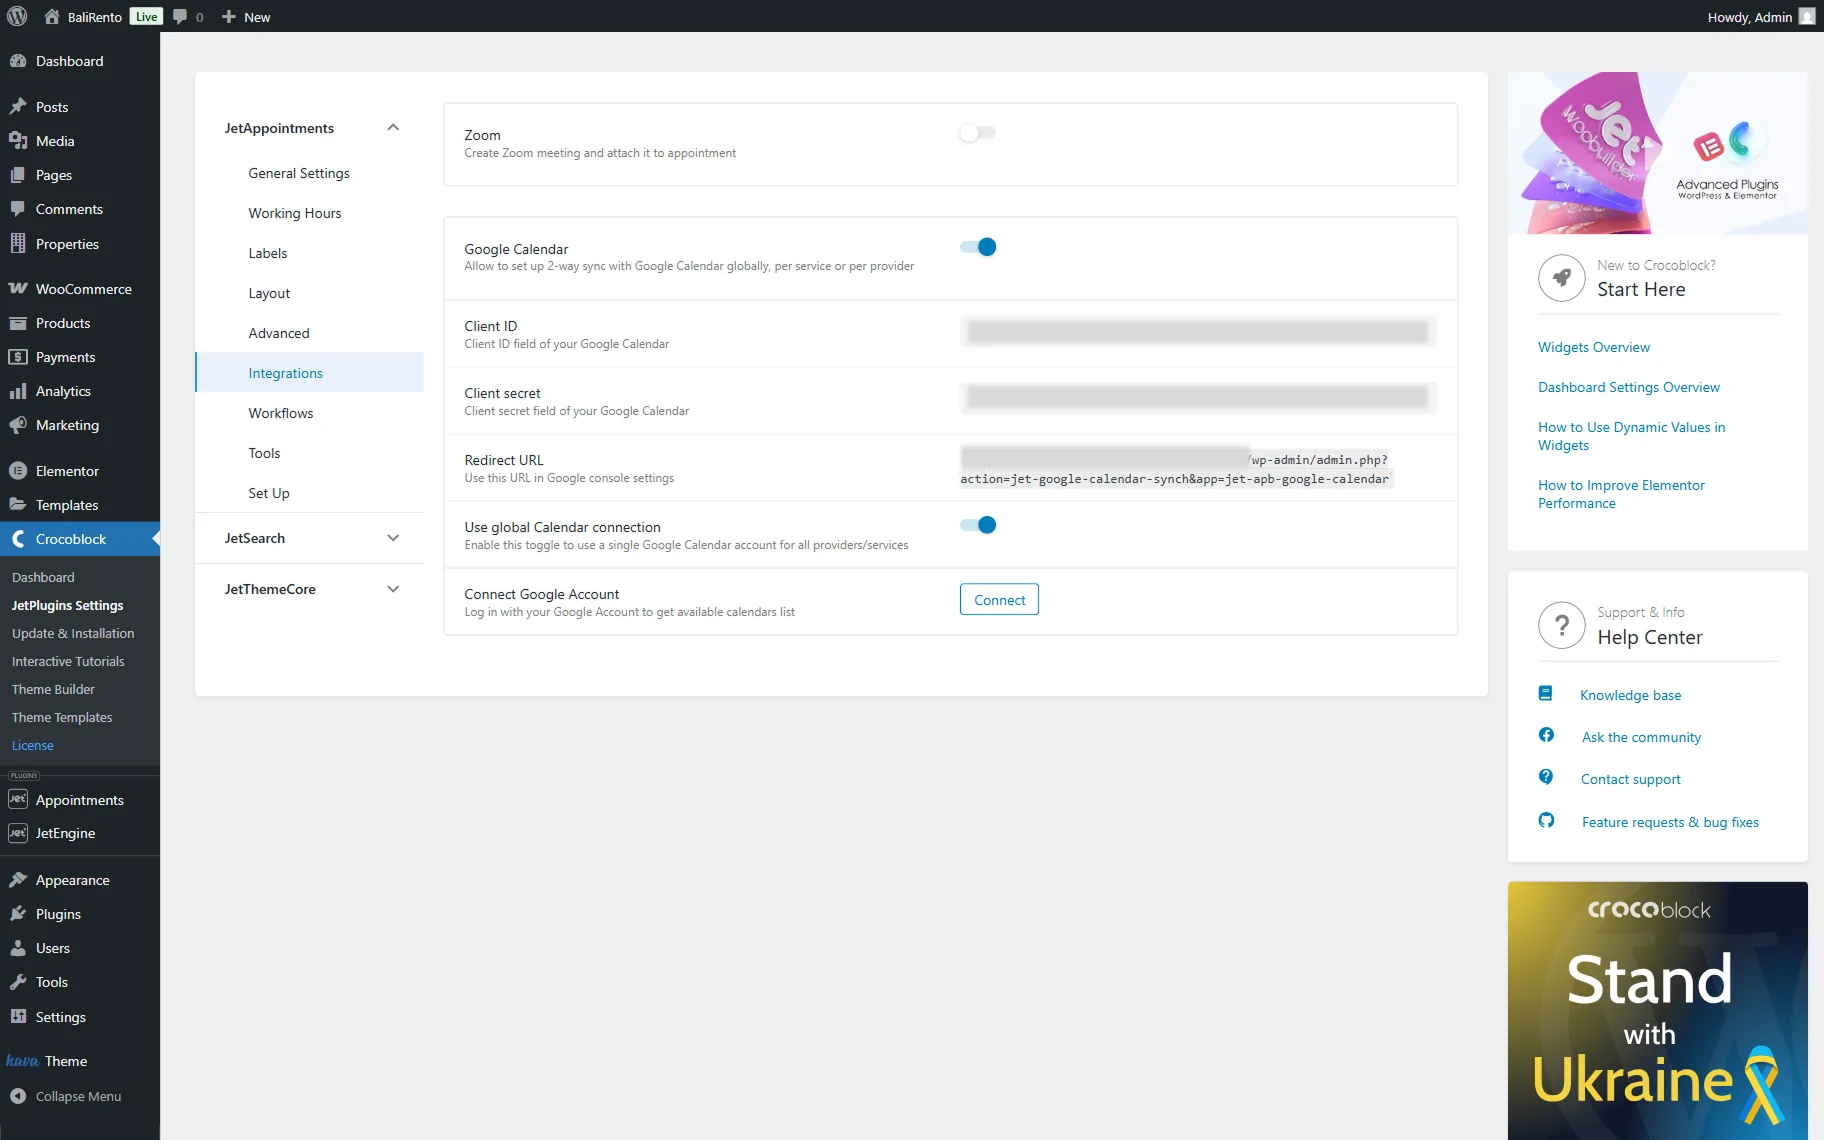
Open your WordPress website in a new tab. Proceed to the WordPress Dashboard > Appointments > Settings directory, open the Integrations tab, and activate the Google Calendar toggle.
Copy the link in the Redirect URL section.
Now, return to the Google Cloud account and press the “Add URI” button in the Authorized redirect URIs section.
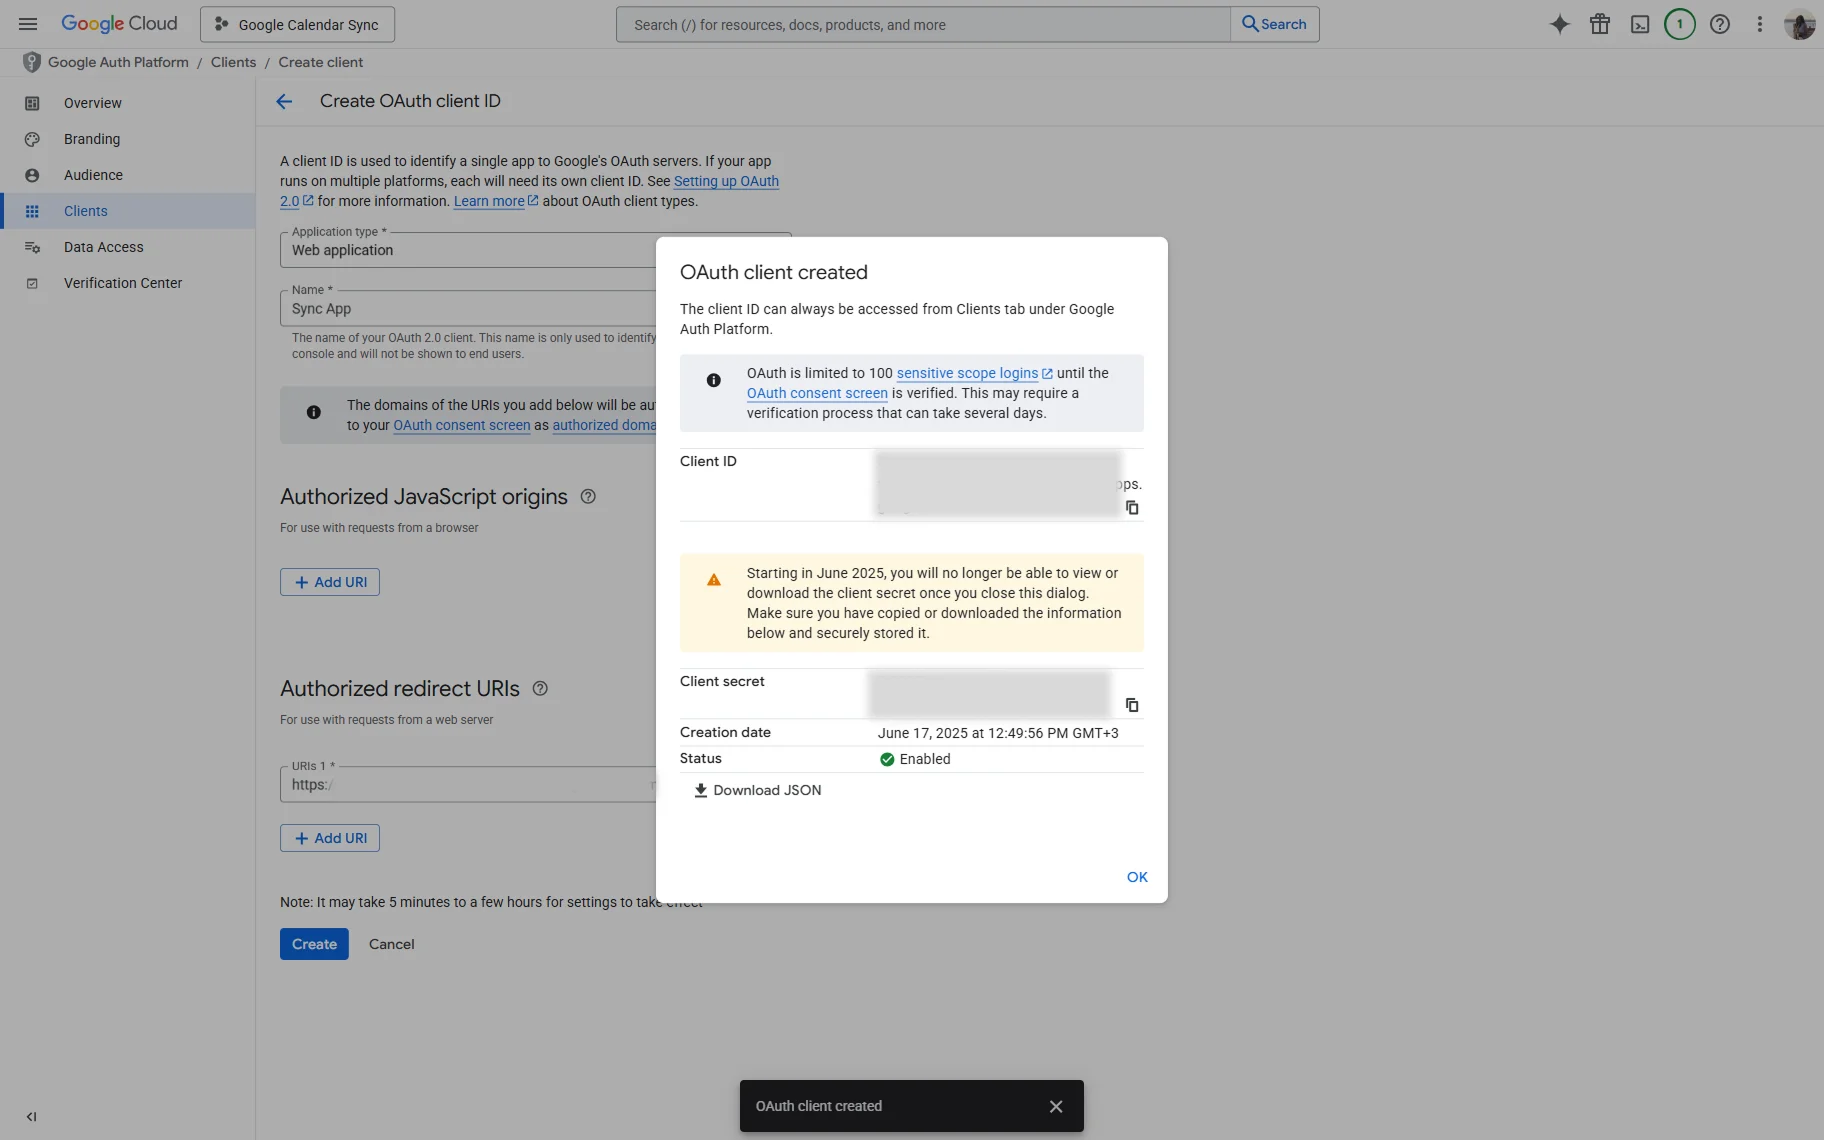
Paste the copied URL in the URIs 1 field. Click the “Create” button.
The OAuth client created pop-up with the needed credentials will appear.
Set Up Integration on Your Website
Come back to your website and paste the copied credentials in the Client ID and Client secret fields accordingly.
Then, activate the Use global Calendar connection toggle and press the “Connect” button to connect your Google Account to the website.
Once you connect your Google Account, you will be redirected back to this page.
Pick the calendar you want to work with in the Select Calendar to sync events with.
Next, you can activate the Create Meet toggle to automatically generate a Google Meet link once the calendar event is created.
After that, you can also enable the Sync events from Google Calendar toggle to sync events from the selected calendar, which helps exclude reserved slots if desired. If the second toggle is activated, you can also specify the Calendar synchronization interval.

Match Time Zone Settings
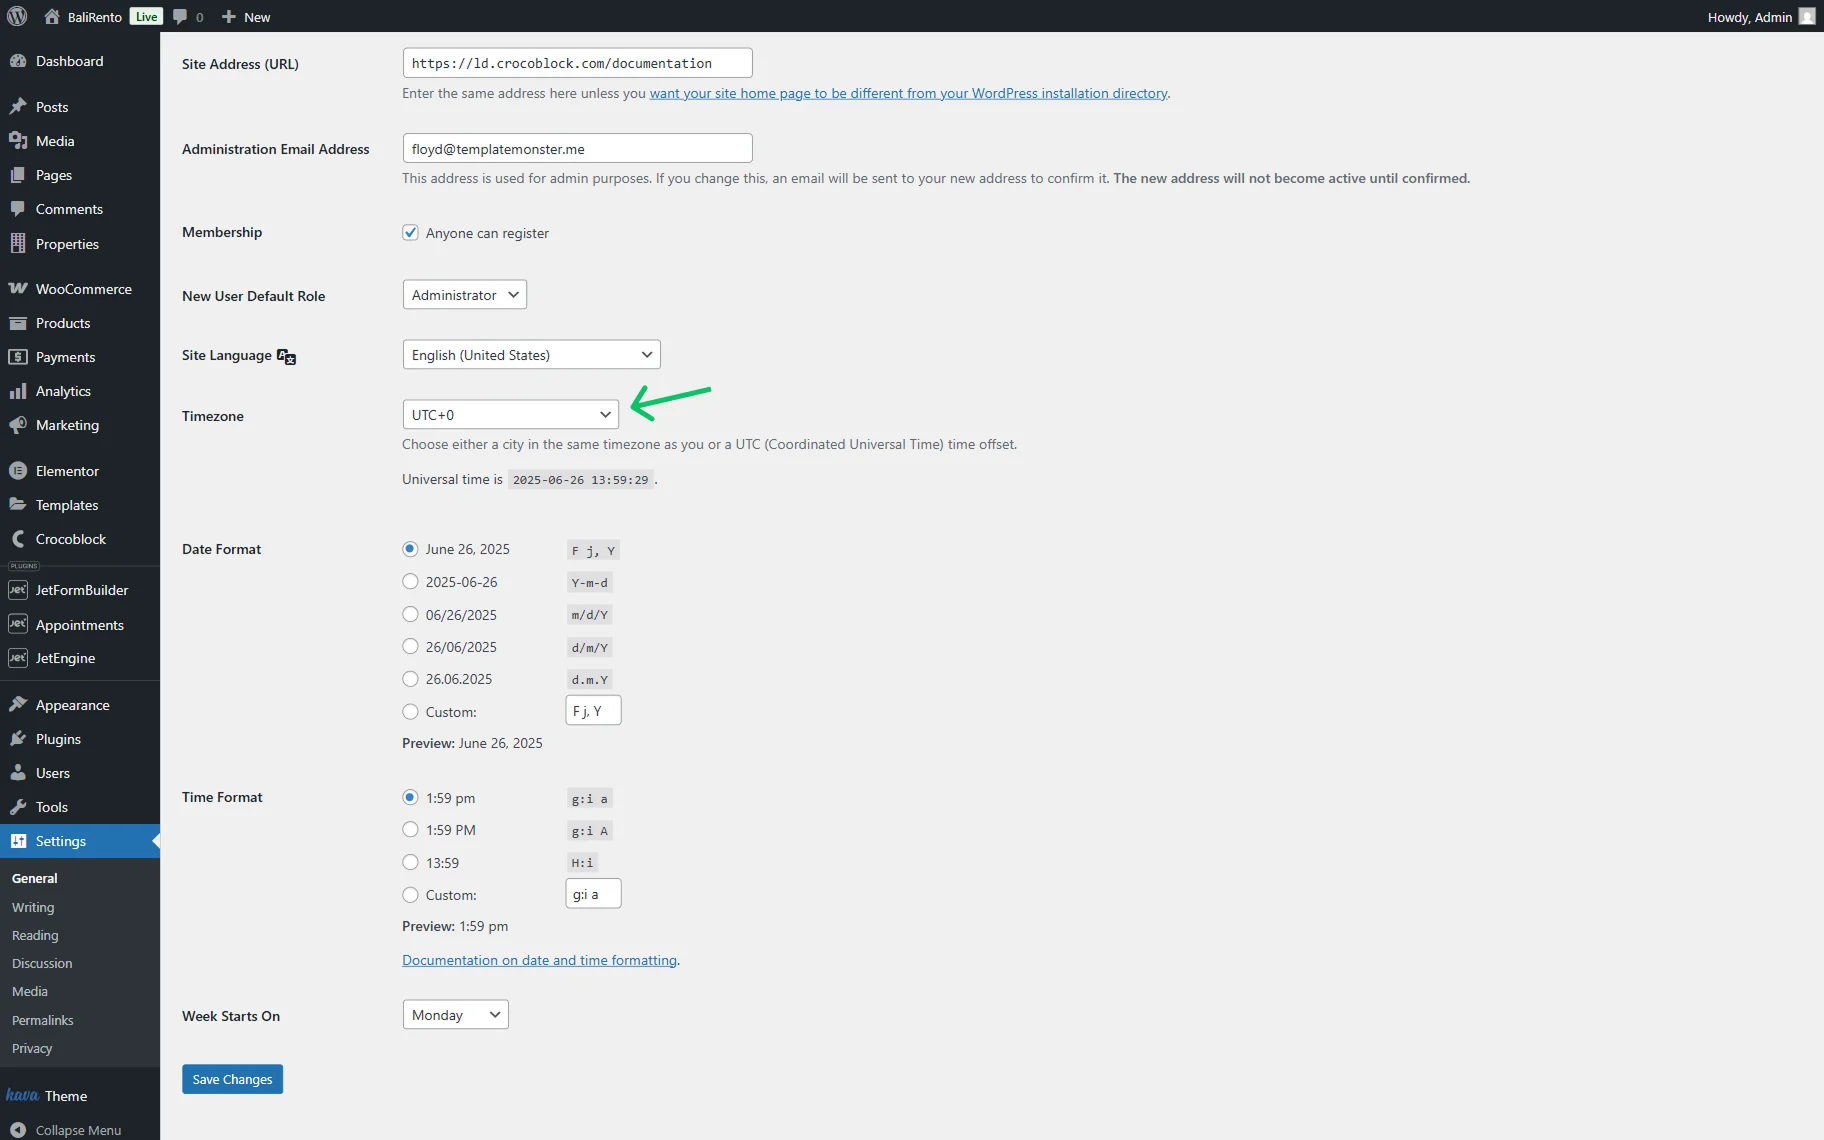
For synchronization to work correctly, ensure that the time zones on your WordPress website and Google Calendar are set to match.
Navigate to the WordPress Dashboard > Settings > General tab and check the Timezone. Change it if needed and press the “Save Changes” button.
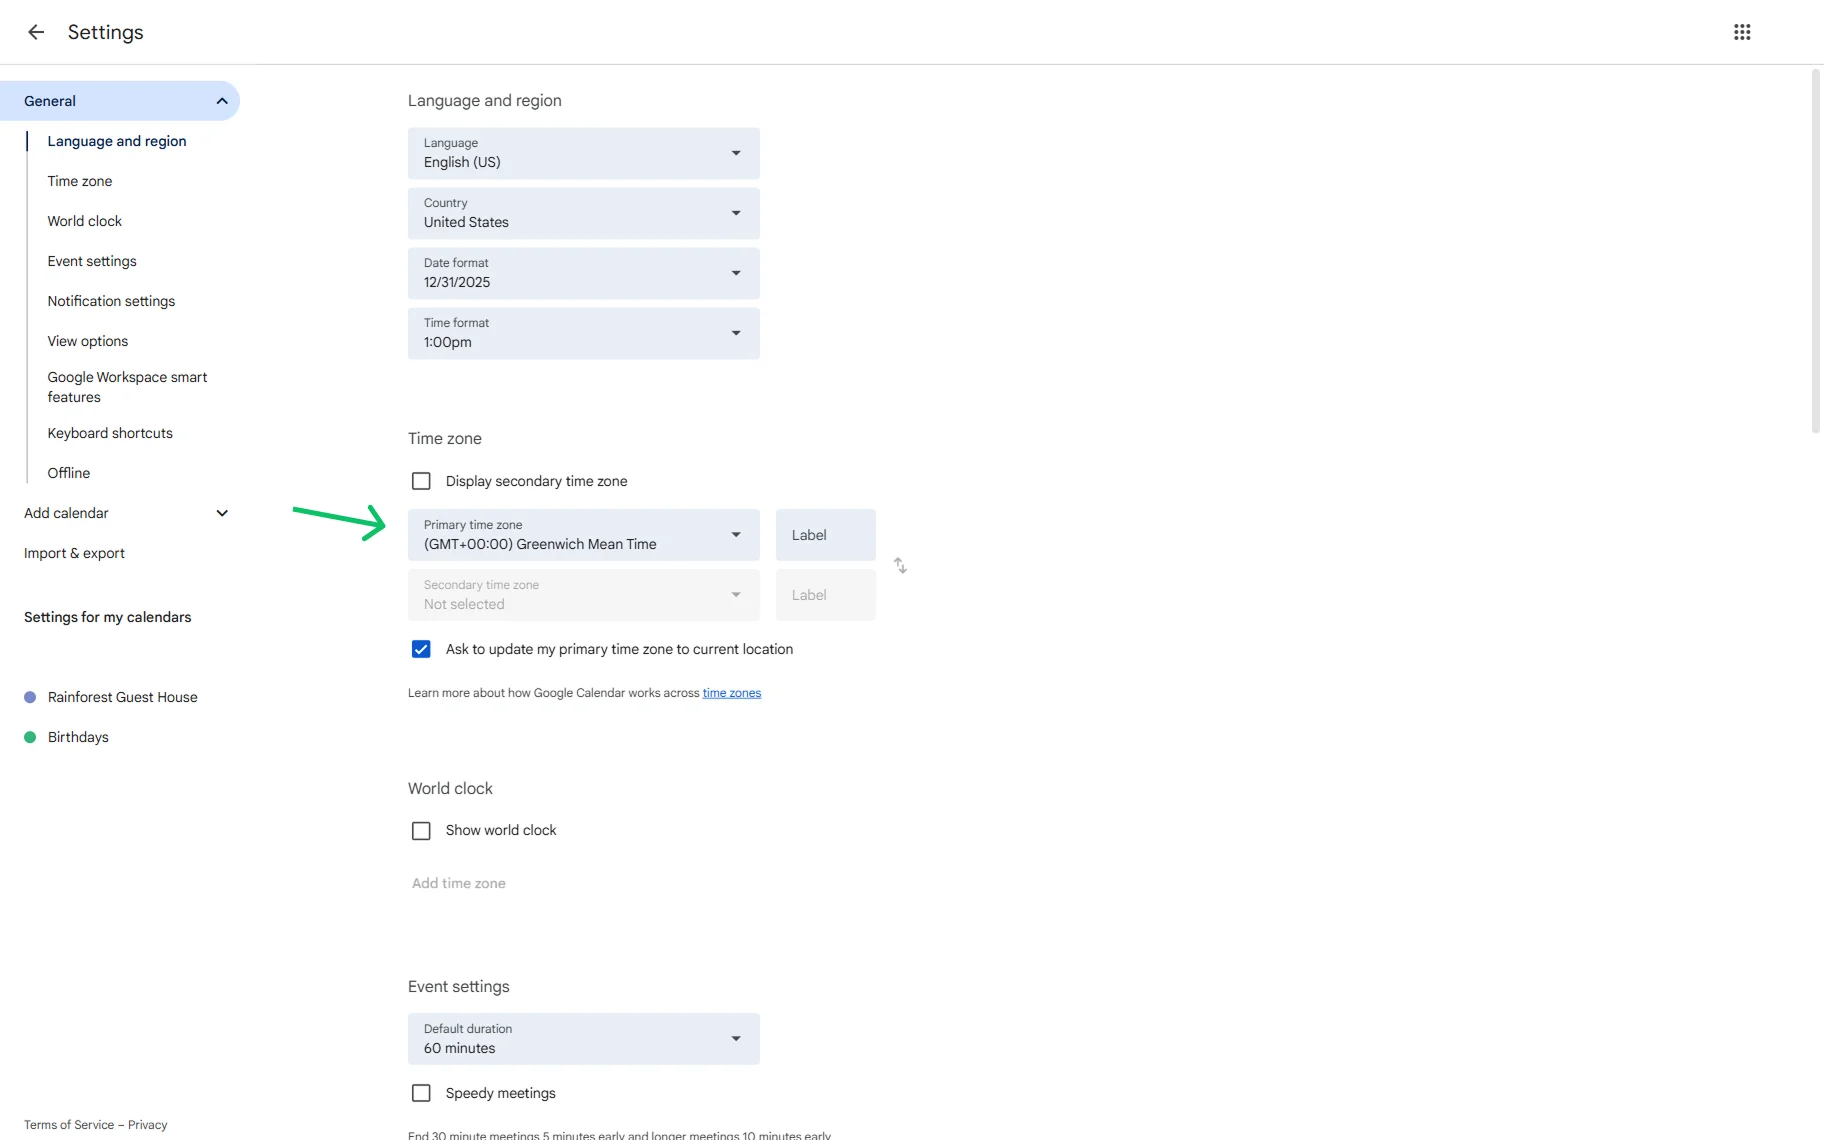
Now, go to your Google Calendar and open its settings.
In the Language and region tab, find the Time zone section and make sure that the time zone matches the one set on the WordPress website.
Check Local Post Settings
Proceed to one of the posts of the post type assigned as “Service” or “Provider” in the JetAppointment settings. In our case, it’s a “Service” post type built with JetEngine, but you can use any post type configured in your settings.
Here, if you scroll down, you will find the Google Calendar Sync section with the following settings:
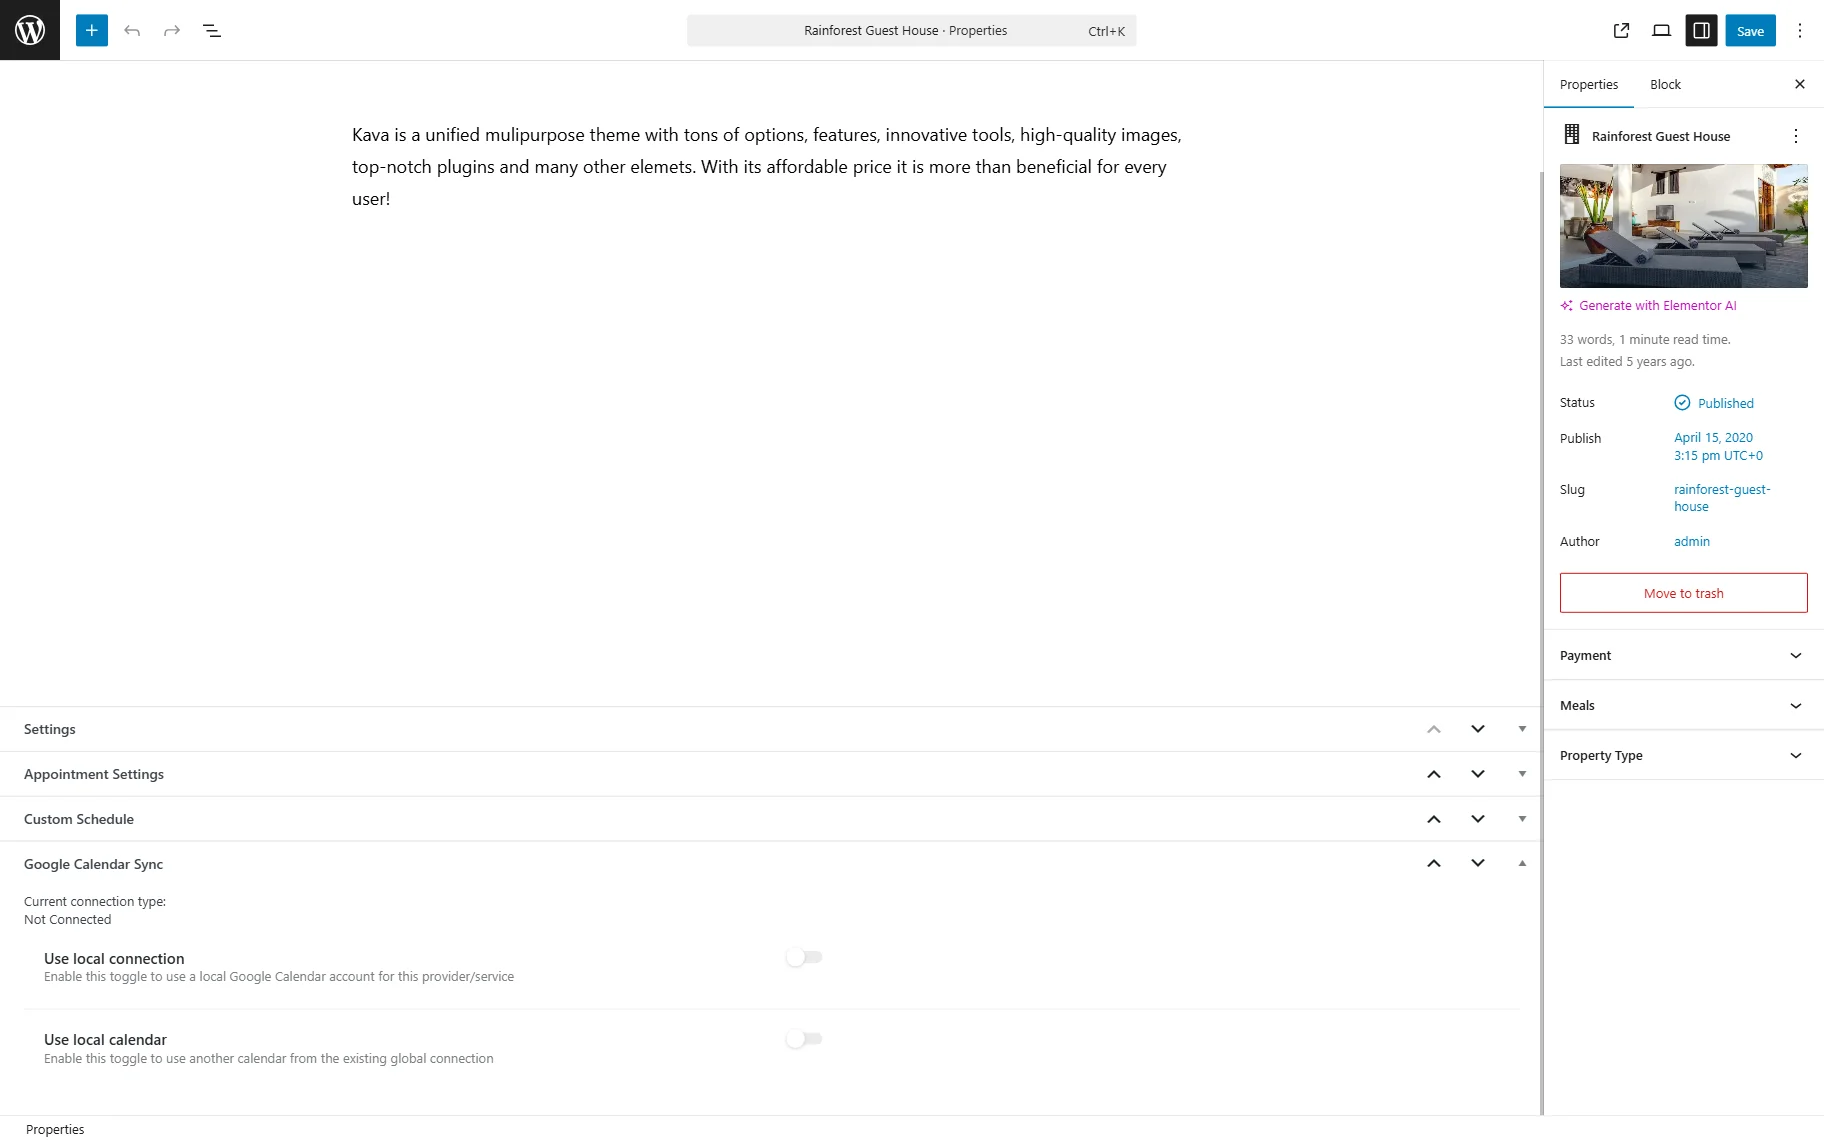
- Use local connection — a toggle that, when activated, uses a specific Google Calendar account for this exact service/provider. If active, it lets you connect to the Google Account to get the available calendars list;
- Use local calendar — a toggle that, when activated, lets you select another calendar from the connection you have set in the global settings.
Check the “Website to Calendar” Customization
Now, if you make a test appointment, head to the Google Calendar of the account you have connected in the settings.
You will now see that the appointment is displayed in the calendar.
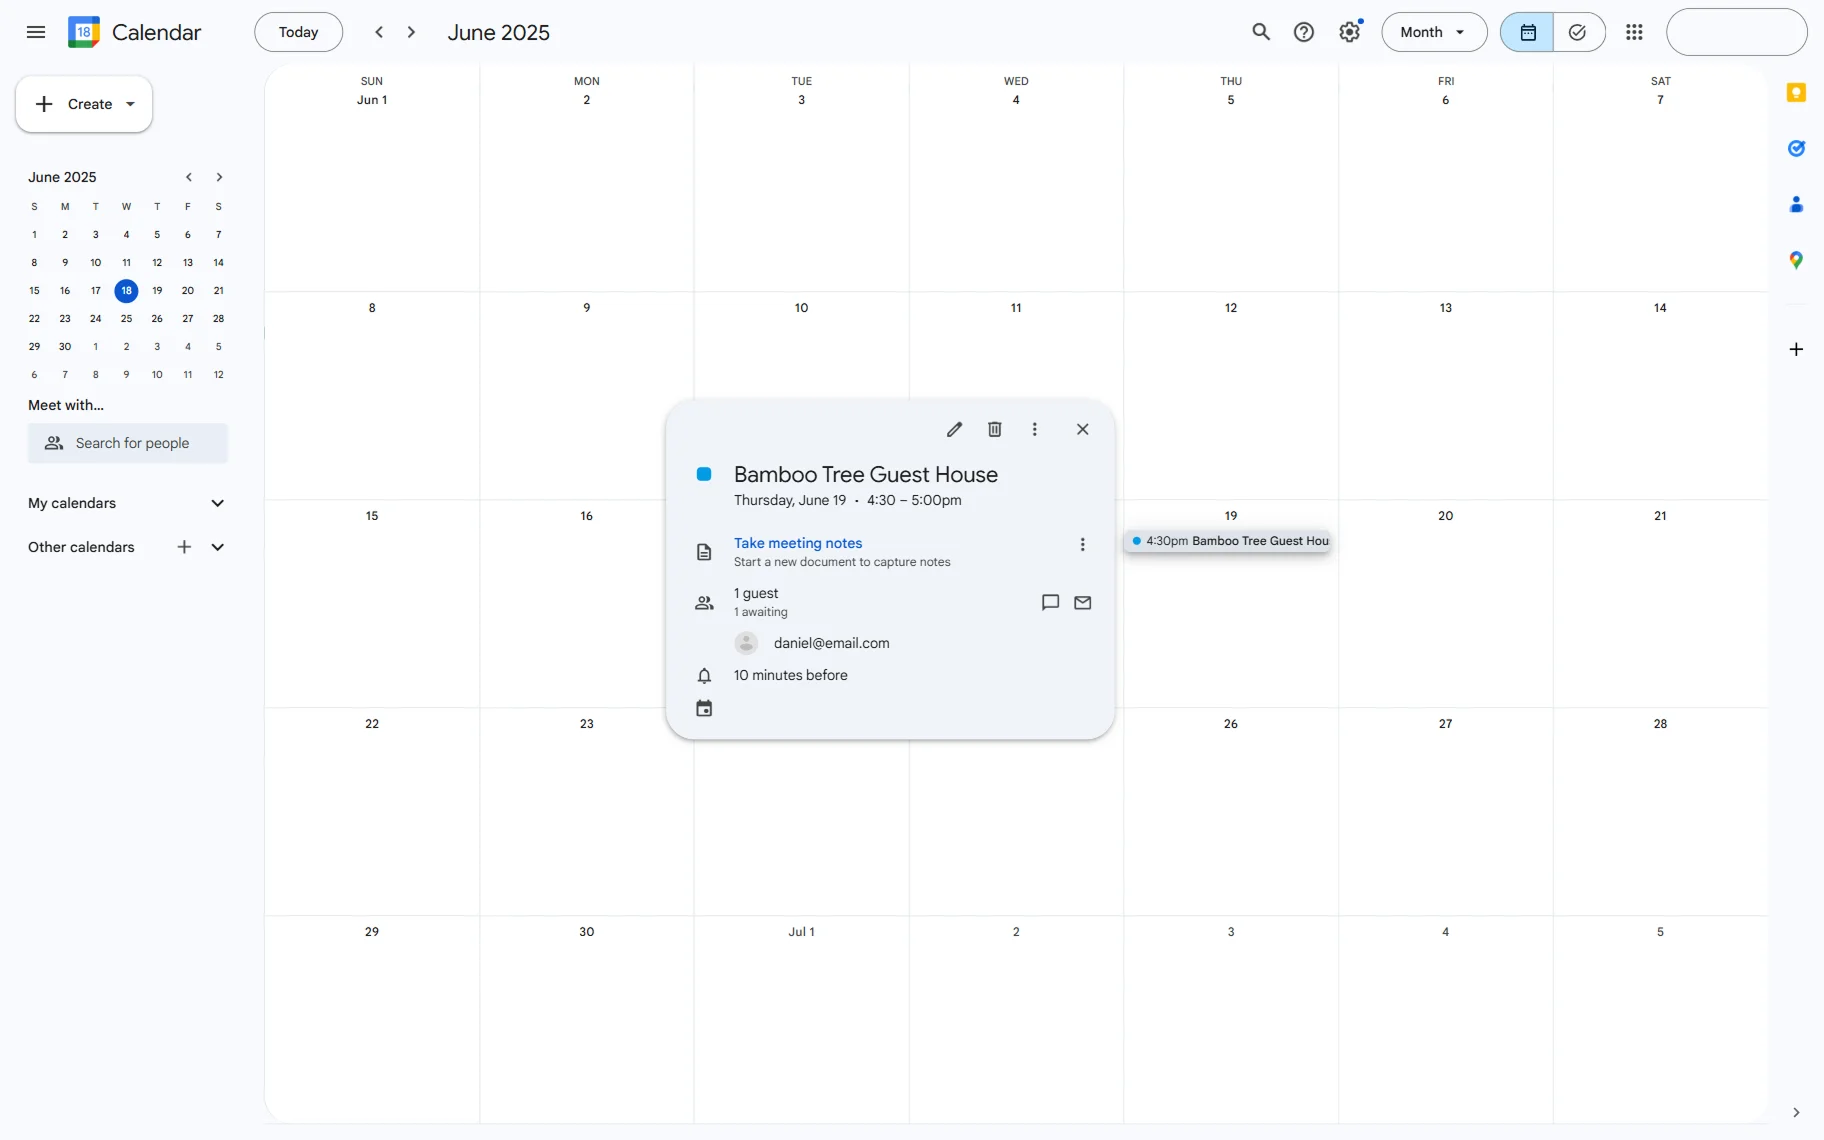
Check the “Calendar to Website” Synchronization
Now, we want to check how the reverse synchronization works, from Google Calendar to the WordPress website.
So, we go to one of the posts (the one for which we will set an appointment) to adjust the local calendar connection.
Here, we activate the Use local calendar toggle and select the calendar we specifically created for this post in the Select Calendar to sync events with selector.
Once done, save the post.

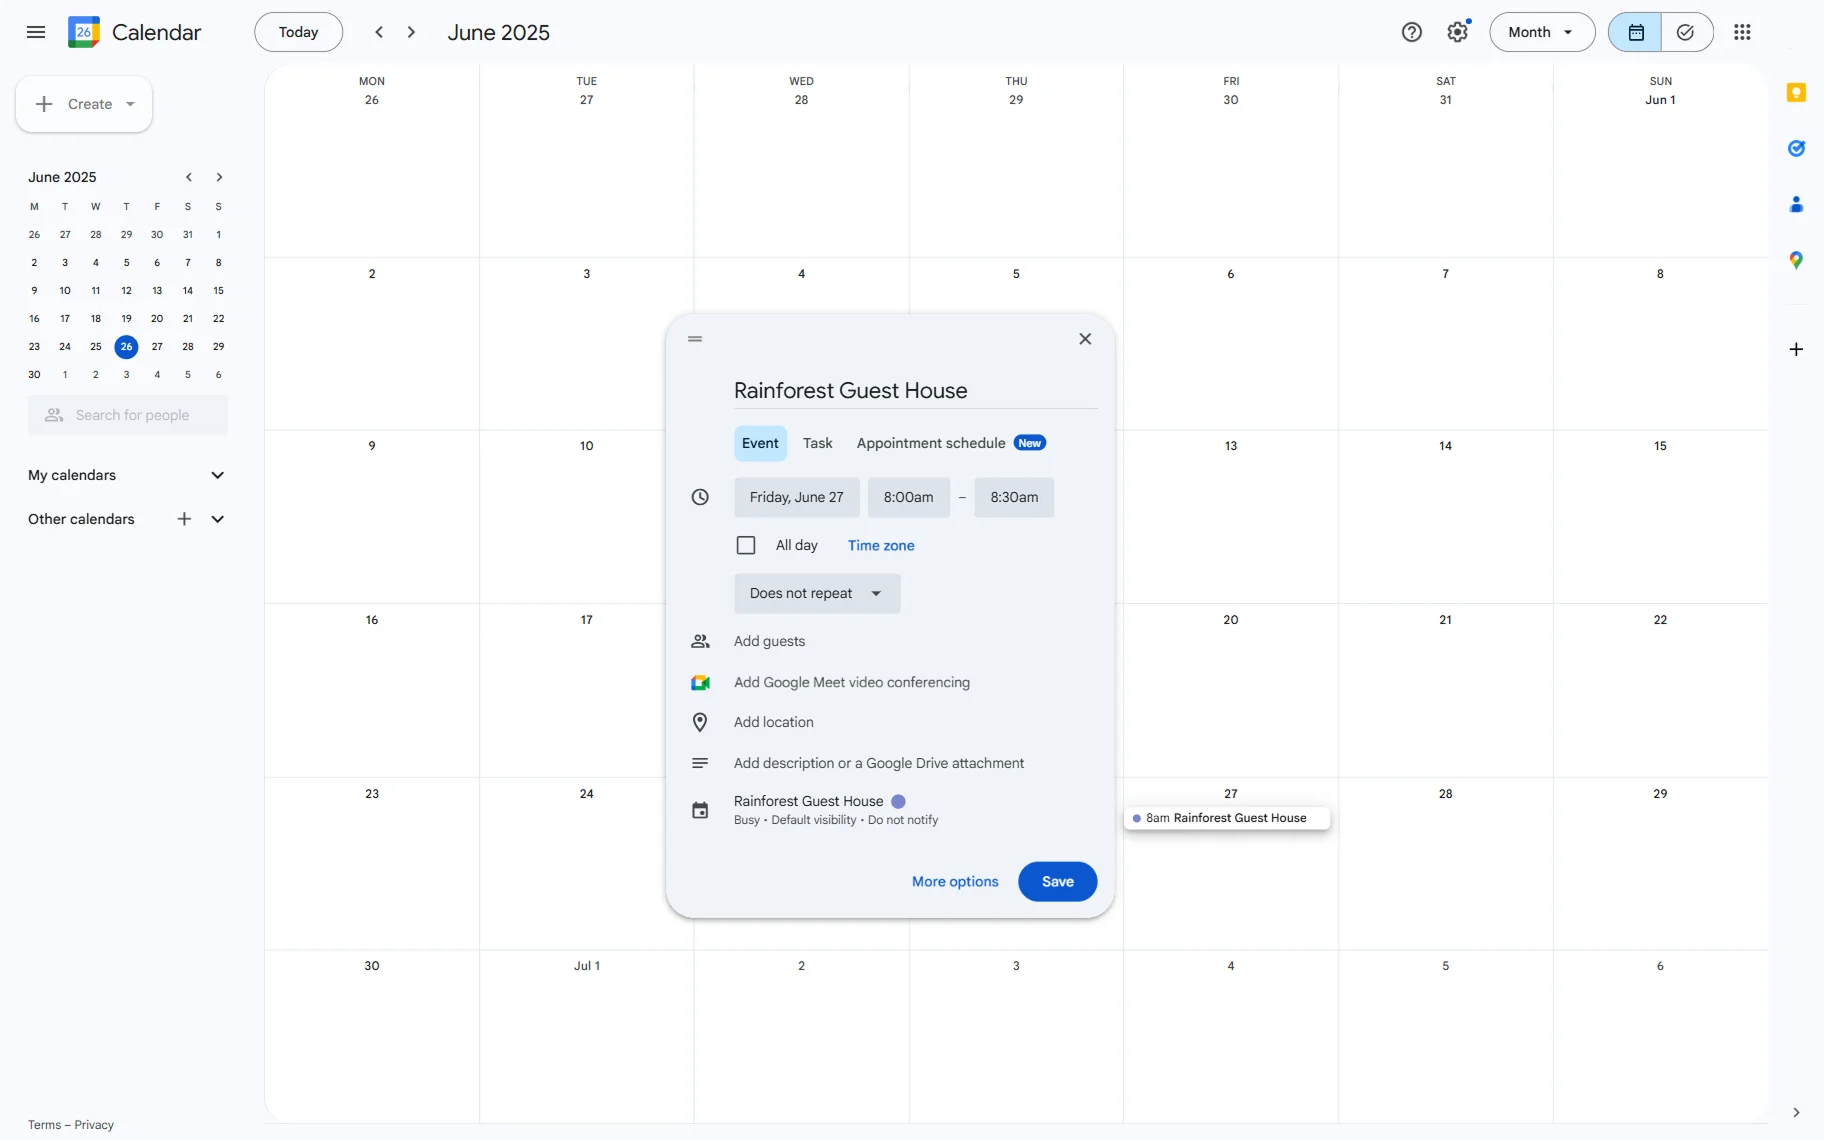
Now, go to your Google Calendar and create an appointment. While creating, complete the event’s name, set the appointment start and end time, and ensure that the calendar selected matches the one chosen in the post that will be booked.
Click the “Save” button to create an event.
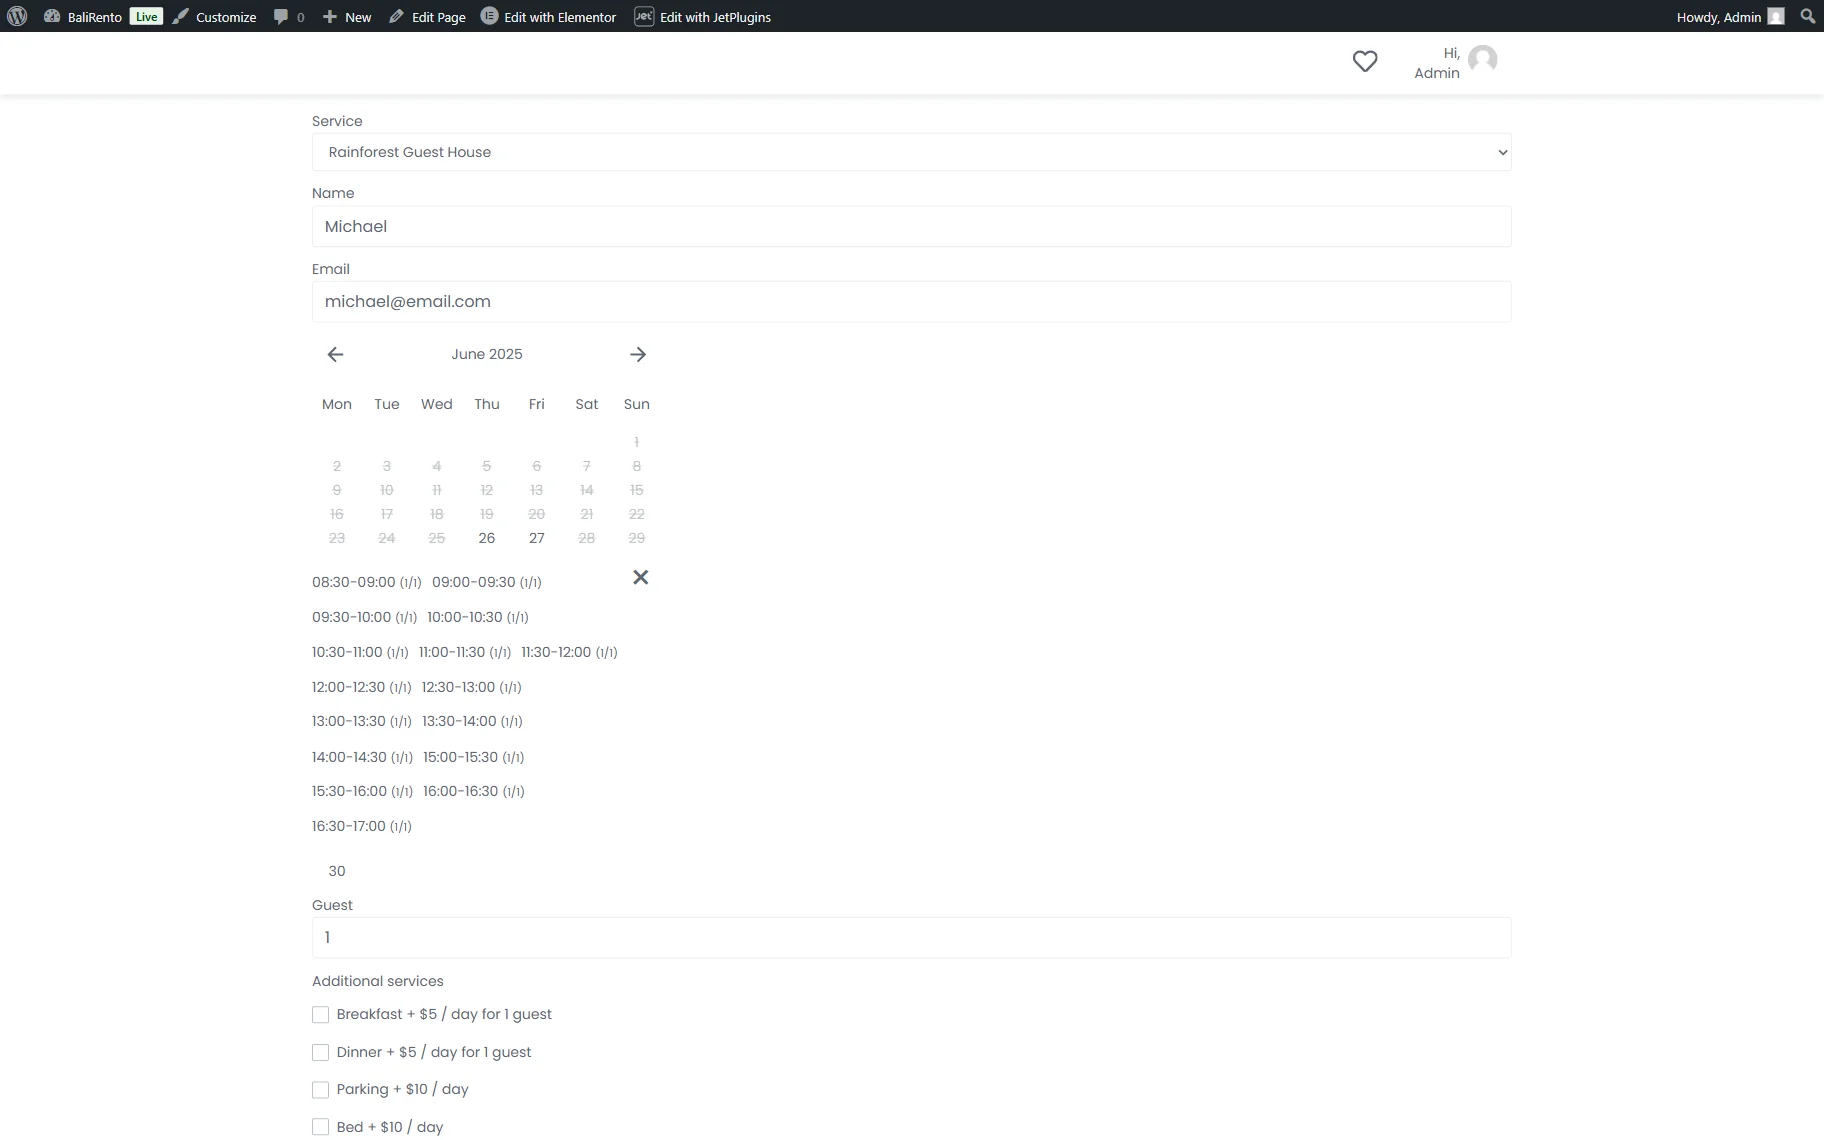
After that, you can open the appointment creation form on the front end to check if the slot you have booked is hidden from the form.
Select the date you have booked to view the available time slots. As we have booked the 8:00 am – 8:30 am slot, it is now excluded from the calendar.
All events are stored in the “jet_appointments_external” table of the database, and when an appointment is updated or deleted, the data in the table is updated accordingly.
That’s all; now, you know how to set up the WordPress two-way appointment sync with Google Calendar by using the JetAppointment plugin.