How to Display User Appointments with the Listing Grid Widget
Learn how to use the JetAppointment and JetEngine plugins for WordPress to create and manage appointment listings and display them according to their status.
Before you start, check the tutorial requirements:
- Elementor (Free version)
- JetAppointment plugin installed and activated
If you have not done it yet, please read this tutorial.
- JetEngine plugin installed and activated
Getting Started
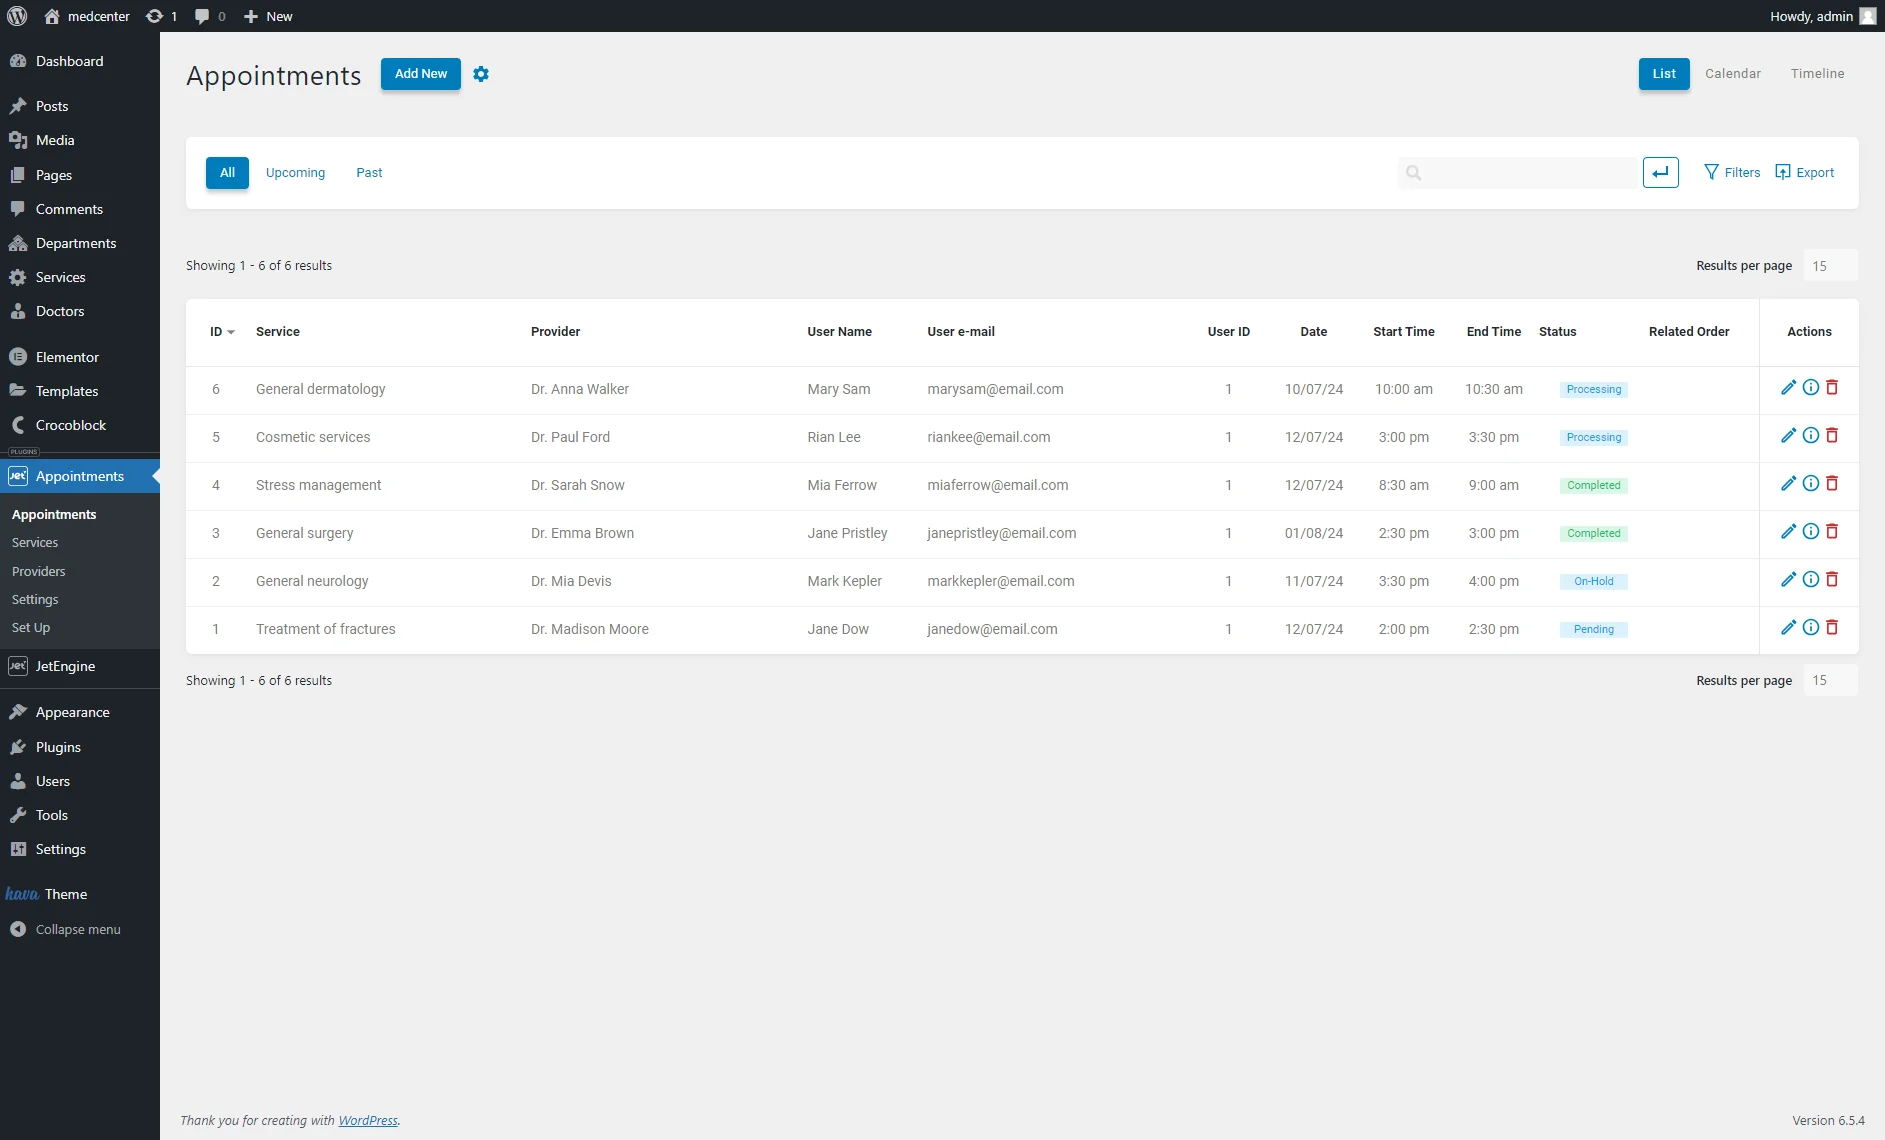
To ensure everything works properly on the front end, pay attention to the back-end preparations. You’ve got to have Appointments set up; if you haven’t done it yet, check out the How to Manage Appointments from the WordPress Dashboard tutorial.
Also, make sure that you have some booked appointments on your website.
Create a Listing for Appointments
Create a new listing item
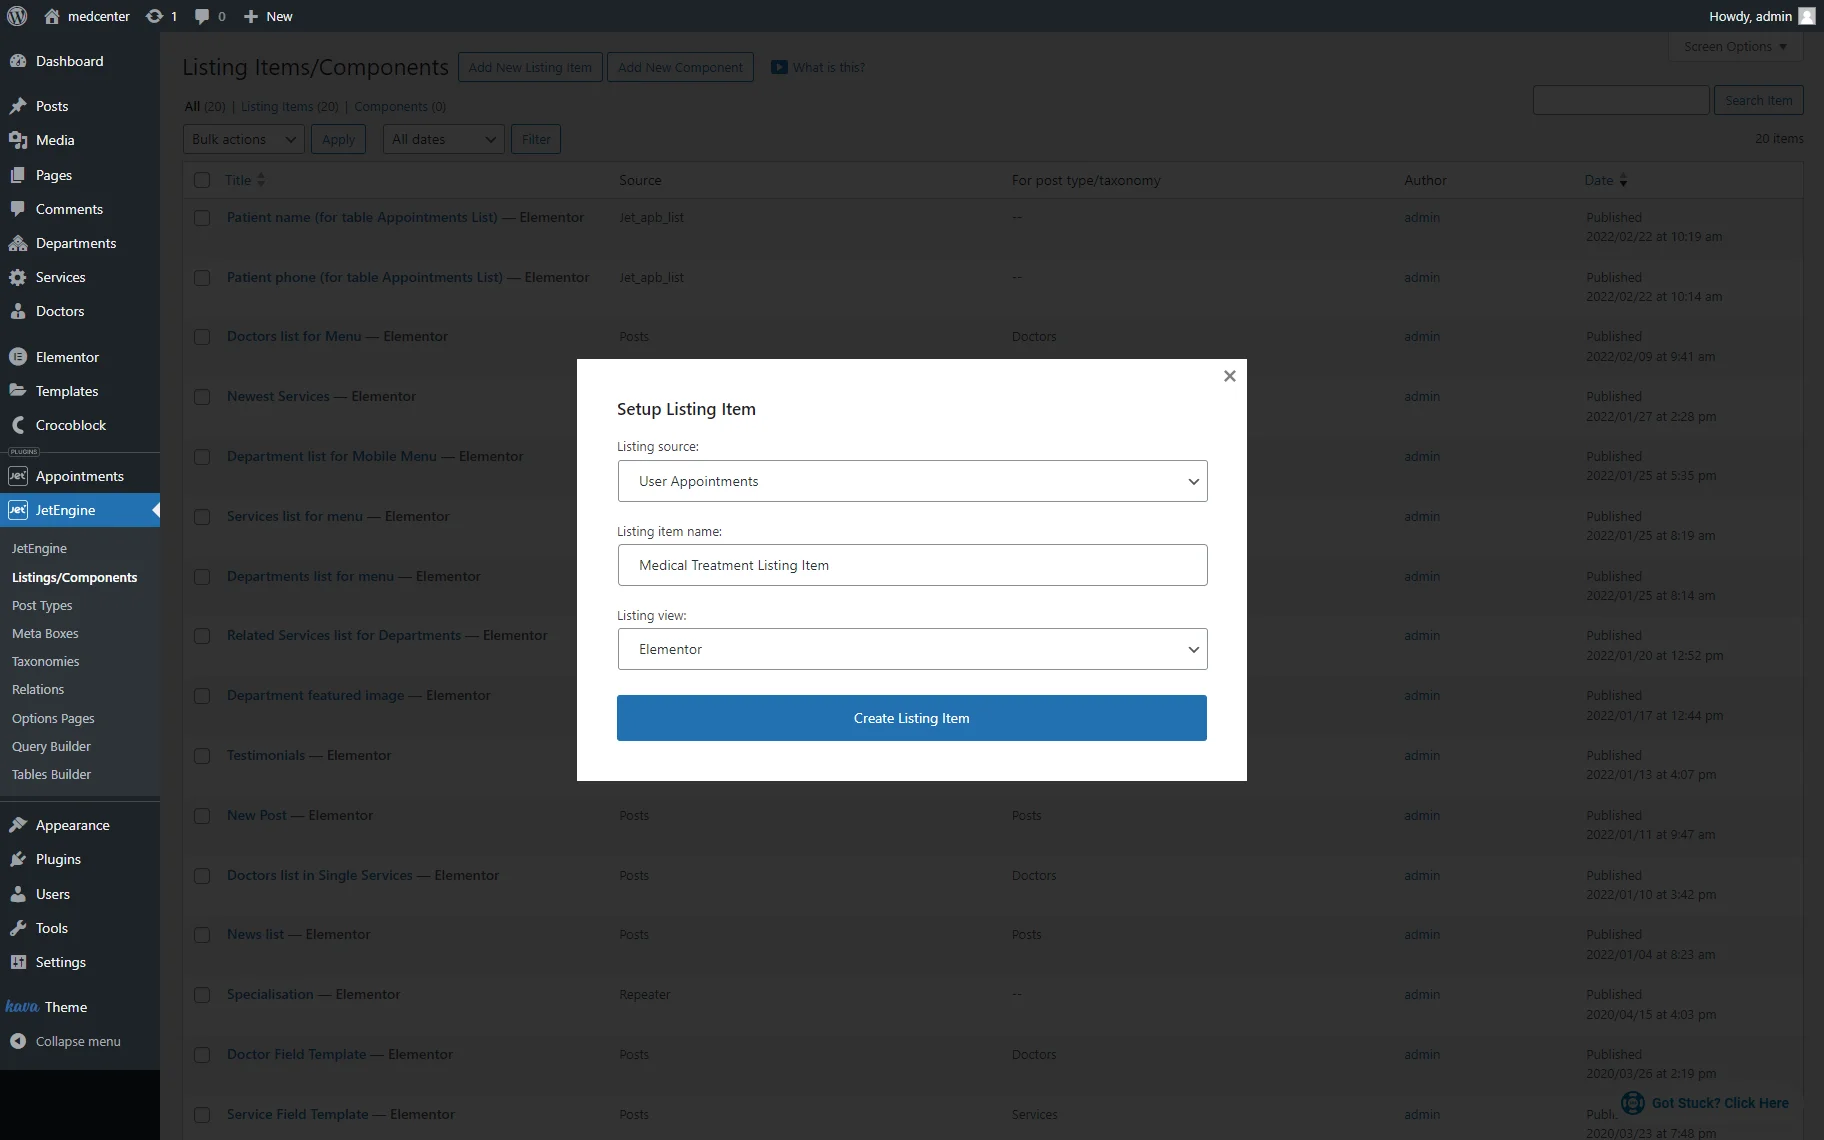
Initially, navigate to the WordPress Dashboard > JetEngine > Listings/Components tab and click the “Add New Listing Item” button to create a new listing. You’ll see a Setup Listing Item pop-up.
Pick the “User Appointments” option as a Listing source. Then, enter the Listing item name of your choice (in the given case, the “Medical Treatment Listing Item”), choose the Listing view (we’re going to use Elementor, but you can opt for Gutenberg blocks or the Bricks theme), and click the “Create Listing Item” button.
Read the Listing Template in Elementor Overview to learn how to create a listing item.
Right afterward, you’ll be redirected to Elementor.
Build the listing in Elementor
Now, search for the Dynamic Field widget.
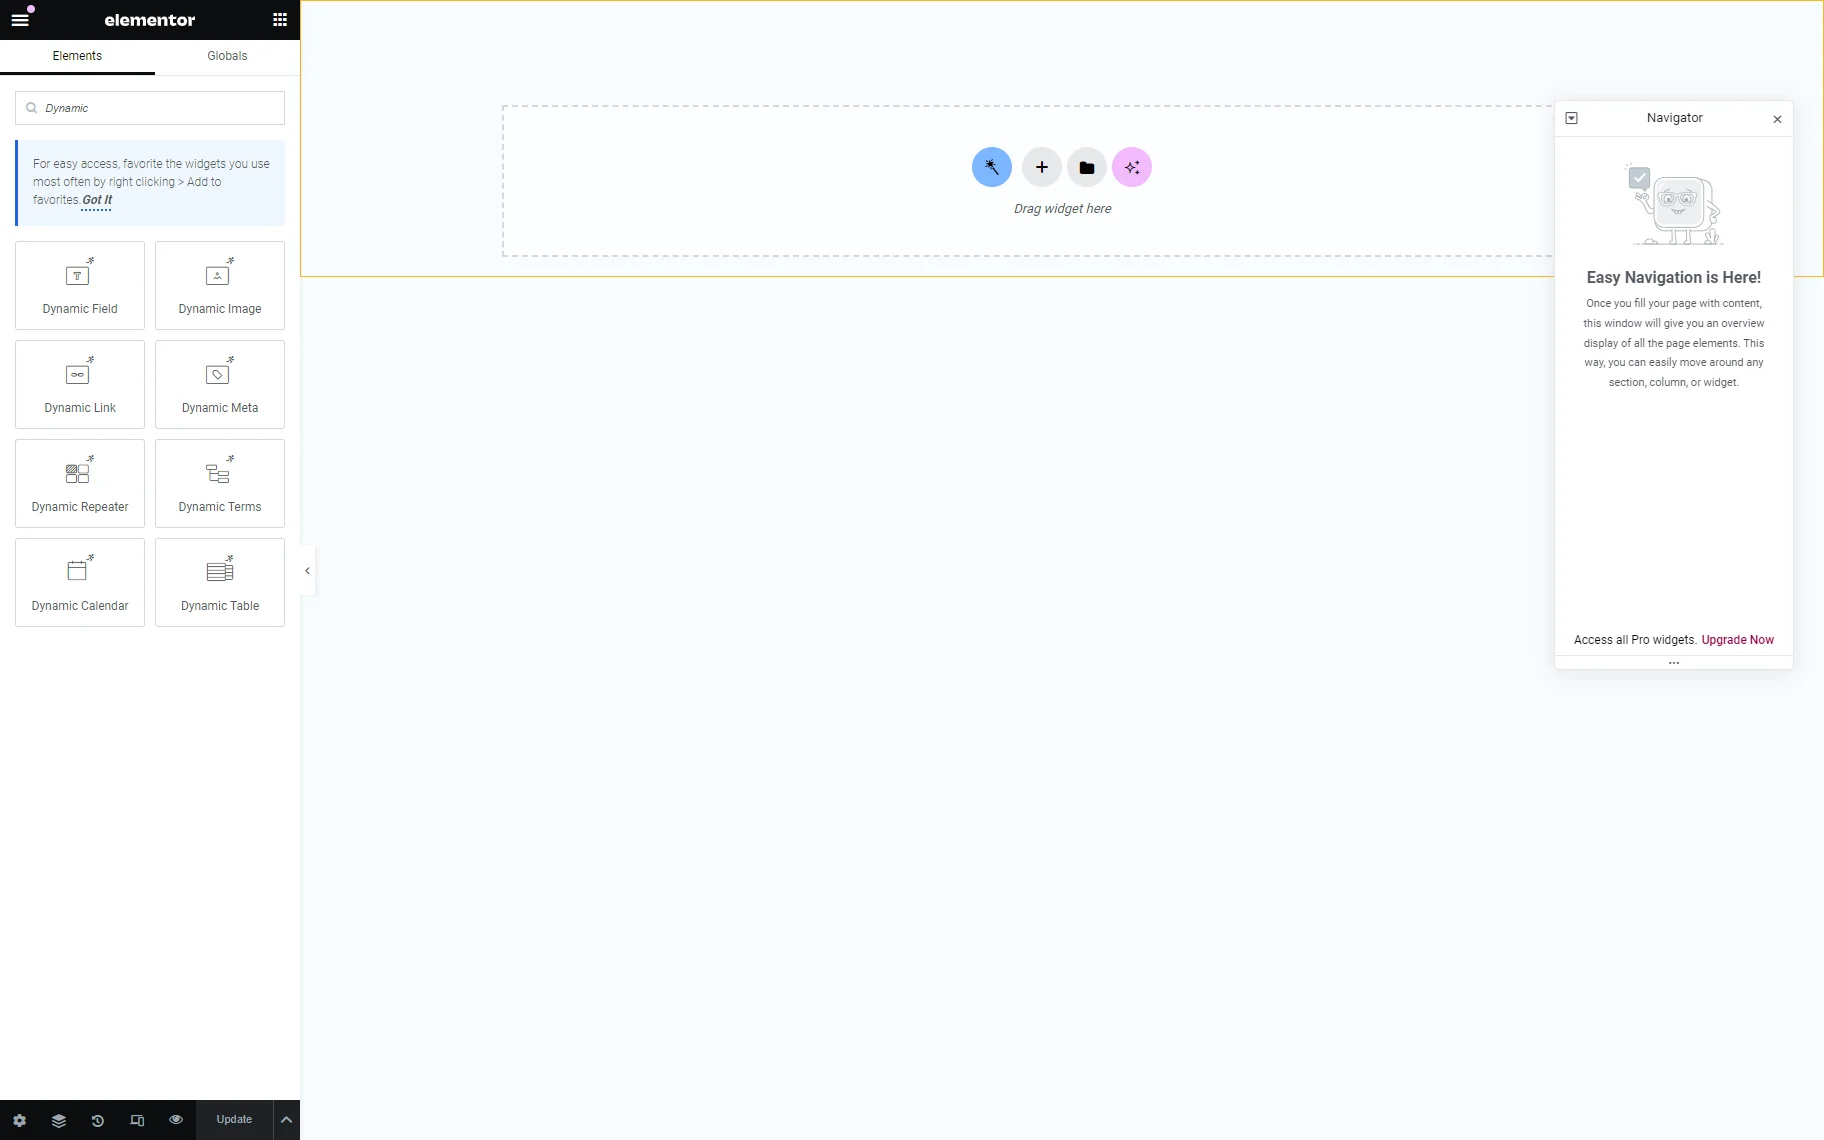
The How to Create Listing Template for Post Types in Elementor tutorial details how to create listing items using the dynamic widgets.
Drag and drop this widget to the working area. Add the needed widgets to create the listing. In the given case, we added the Dynamic Field widgets to display the following fields:
- ID ー the number of a booked appointment from your Appointments list;
- Service ー the type of service that has been booked;
- Provider ー the person who is going to provide the requested service;
- Date ー the preferred date for the service to be provided;
- Slot ー the actual time of the service provision;
- User ー the user who booked the service.
Additionally, you can add:
- slot_end ー the end time of the provided service;
- order_id ー the ID of a WooCommerce order, which will be displayed in case WooCommerce integration is enabled;
- user_id ー the ID of a user who booked your service.
Read the Dynamic Field Widget Overview tutorial to learn how to display different content via the Dynamic Field widget.
Configure the listing output
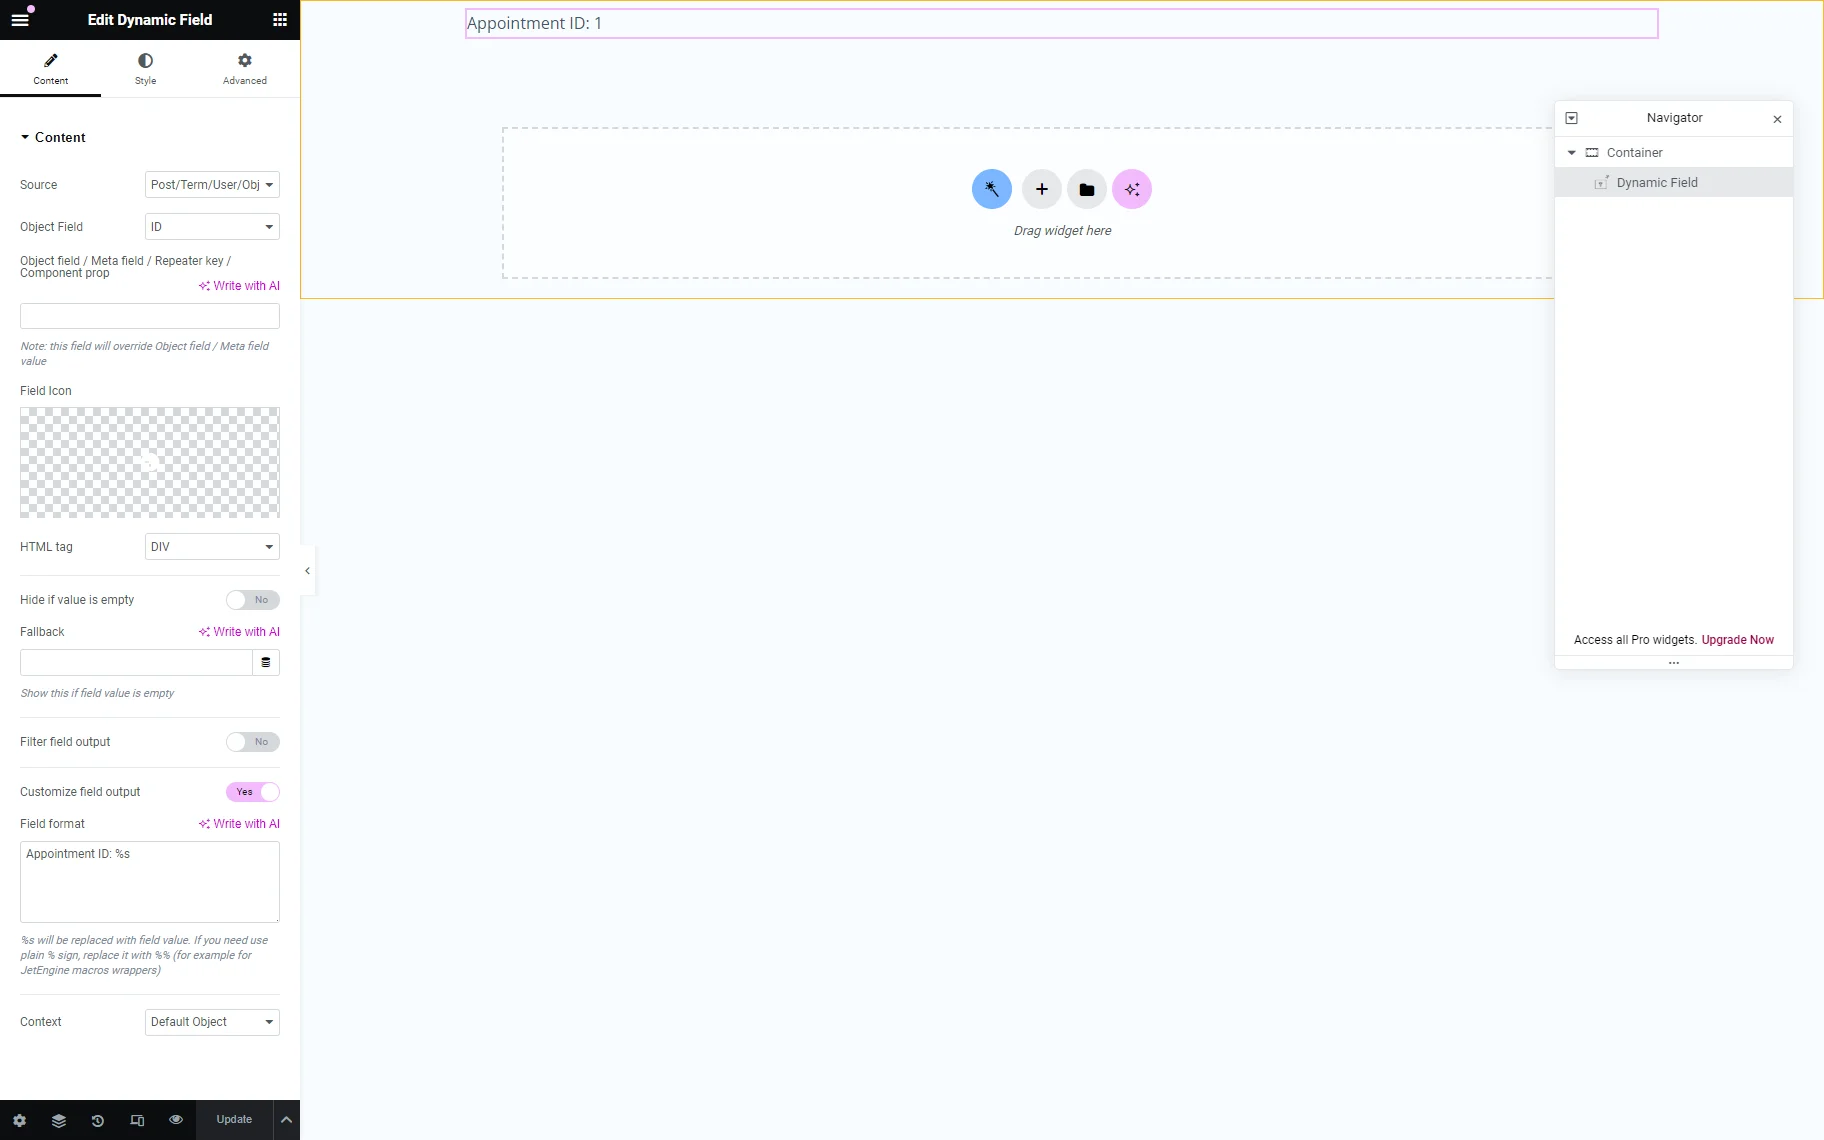
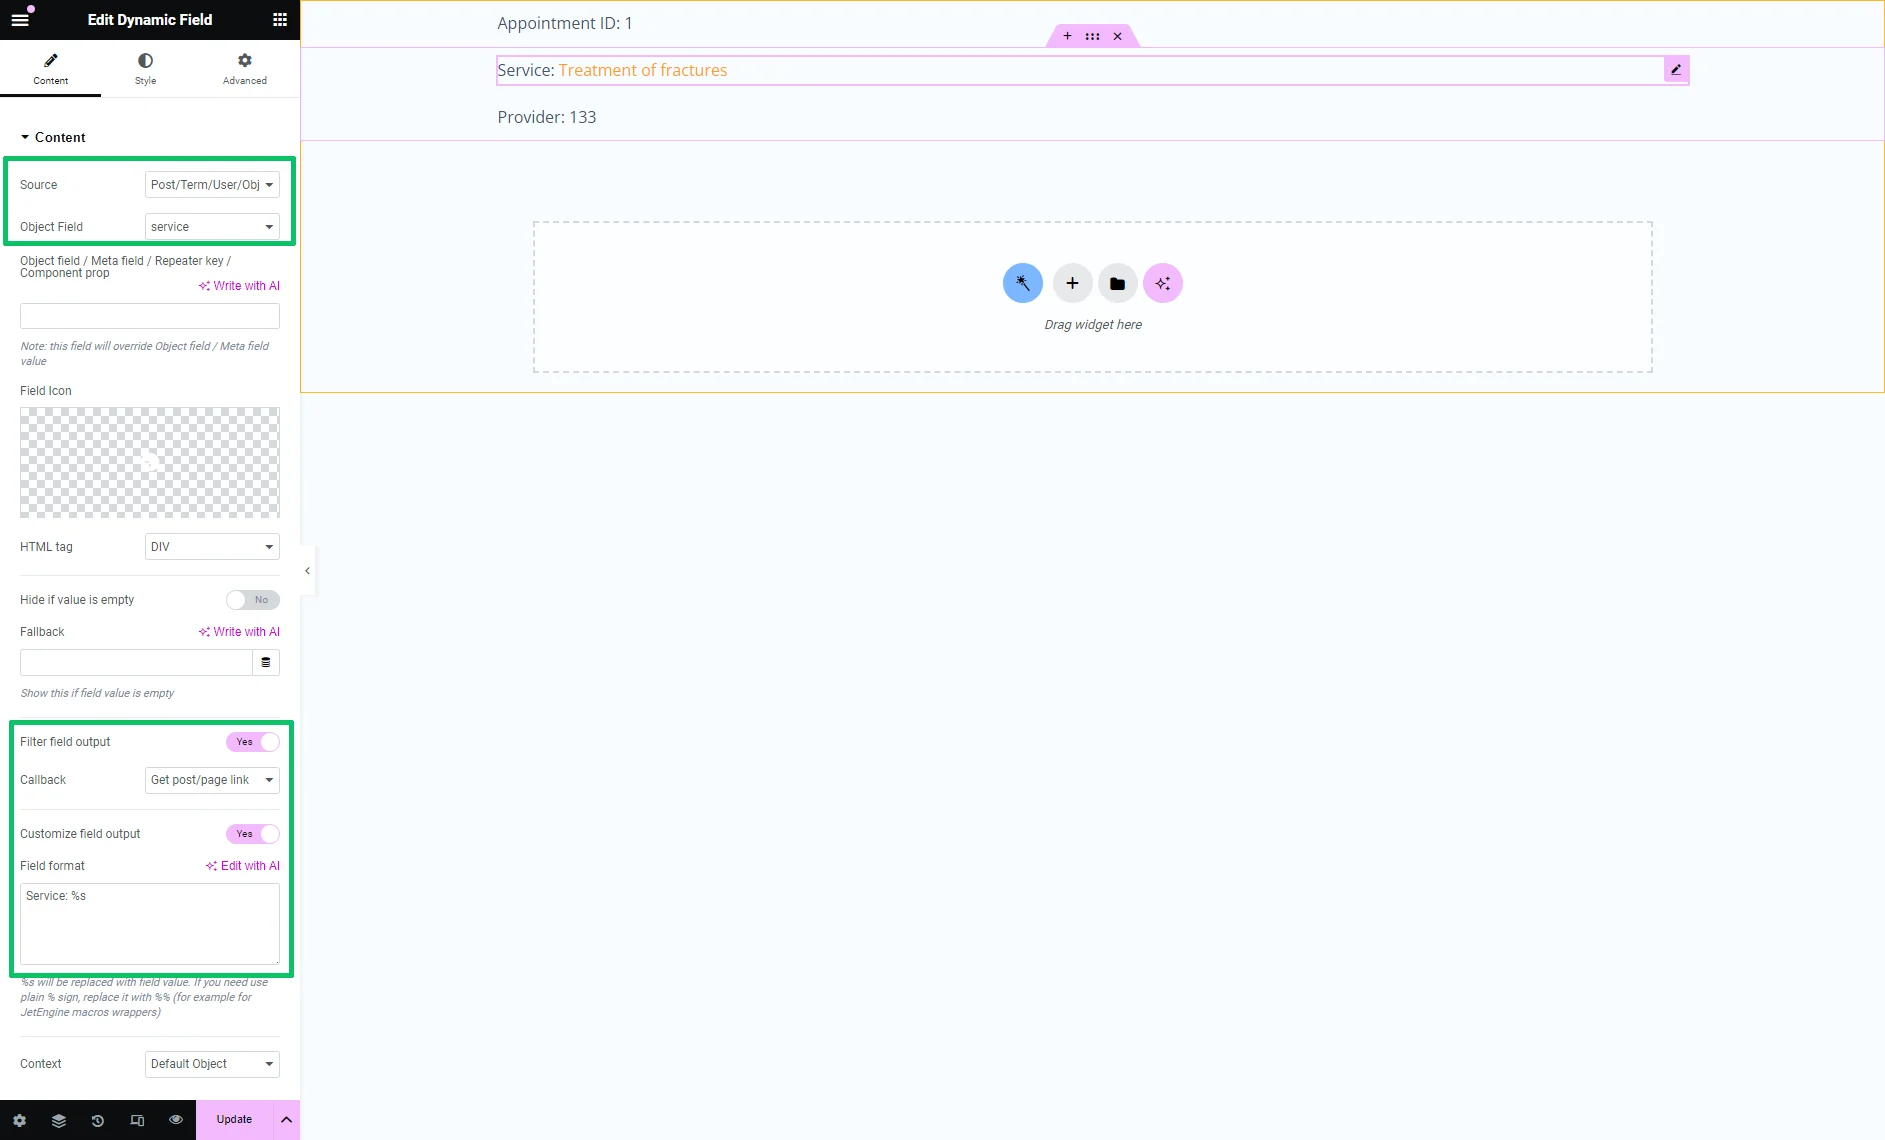
Once the Dynamic Field widget is added, proceed to the left-side toolbar and pick the appointment-related data to be displayed from the Object Field drop-down list.
For instance, to display the ID, select the “ID” option in the Object Field drop-down list, then toggle on Customize field output and specify the desired Field format.
To display the service and provider, we chose the “Service” Object Field and “Provider” Object Field, respectively; then, for both of them, we toggled on Filter field output and, in the newly-appeared Callback field, selected the “Get post/page link (linked title)” option. Afterward, we toggled on Customize field output and specified the desired Field format.
The fourth field will show the date. So, we set the “Date” Object Field, toggled on the Filter field output, and picked the “Format date” option in the newly-appeared Callback field.
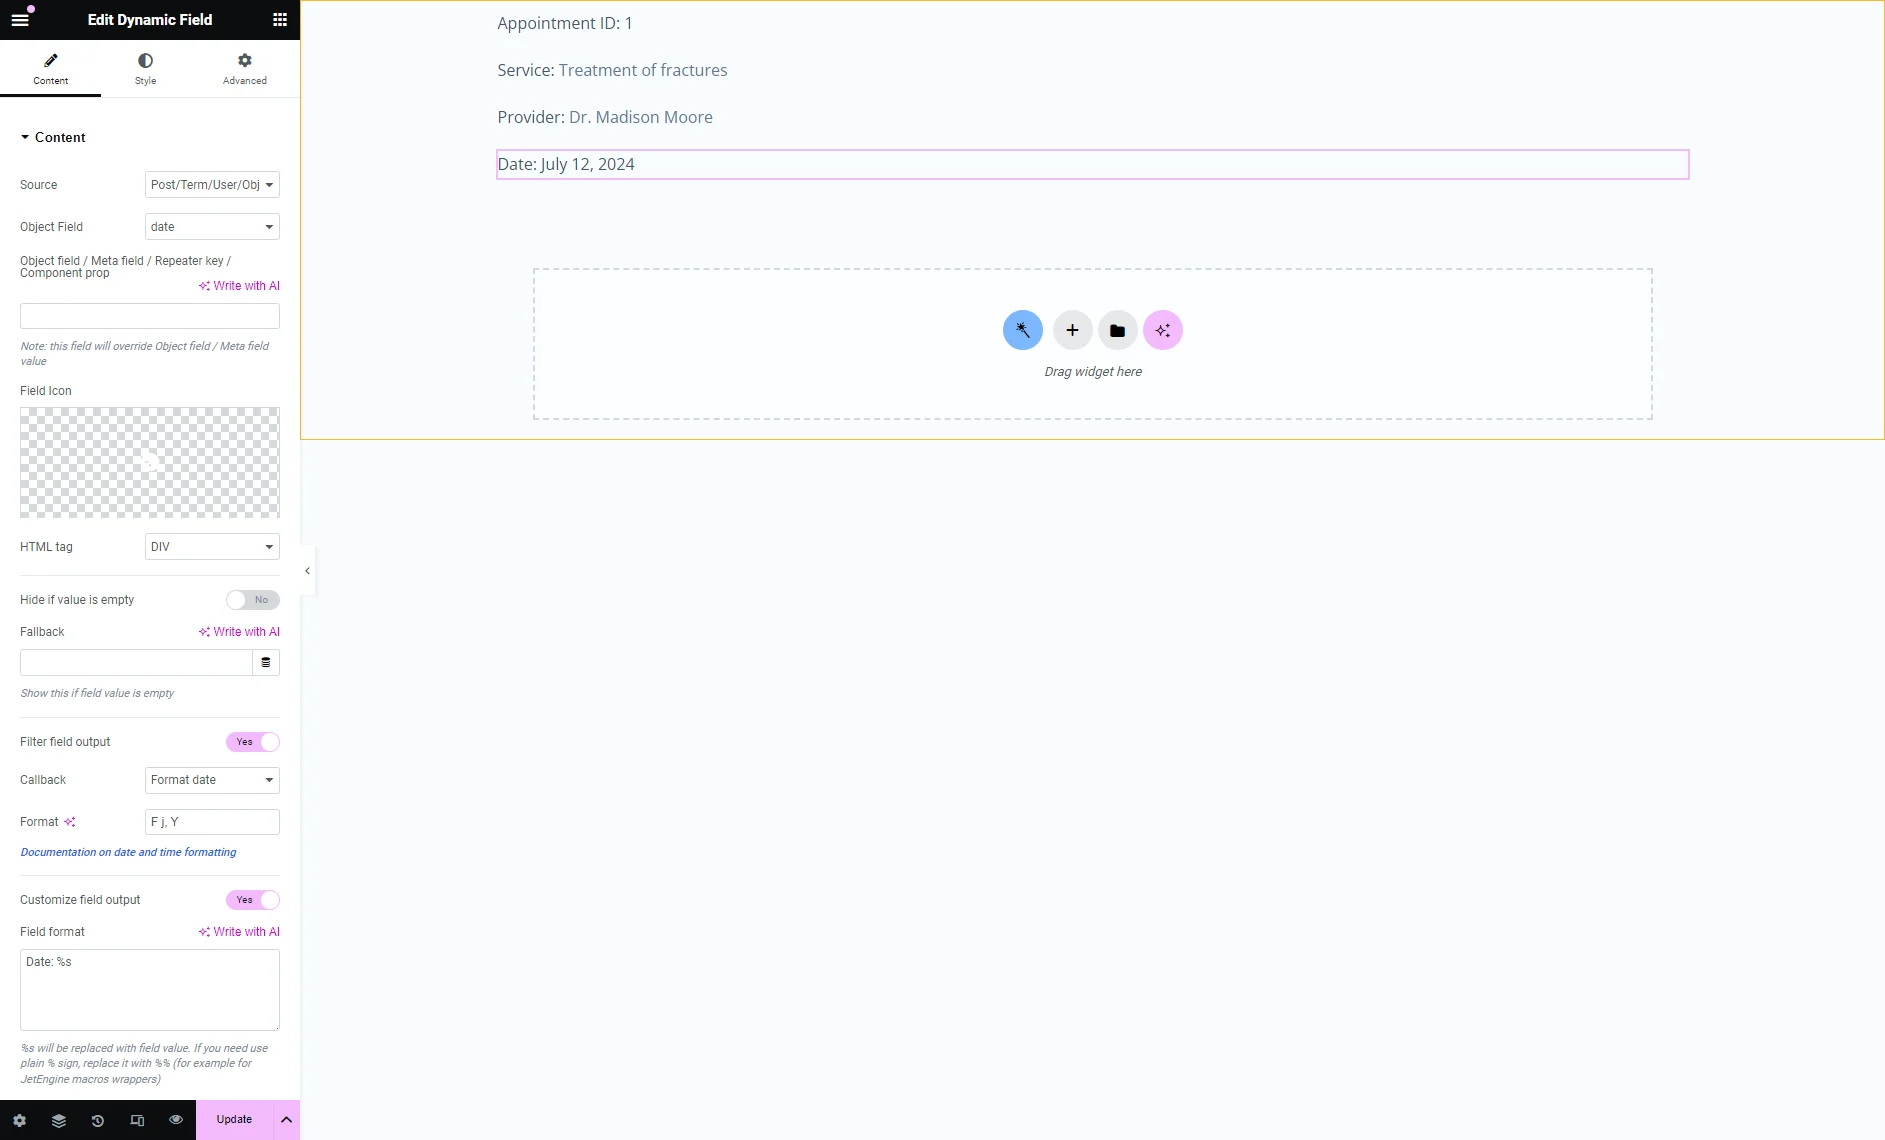
As you can see, the Format field will be adjusted automatically. After that, we toggled on Customize field output and specified the desired Field format.
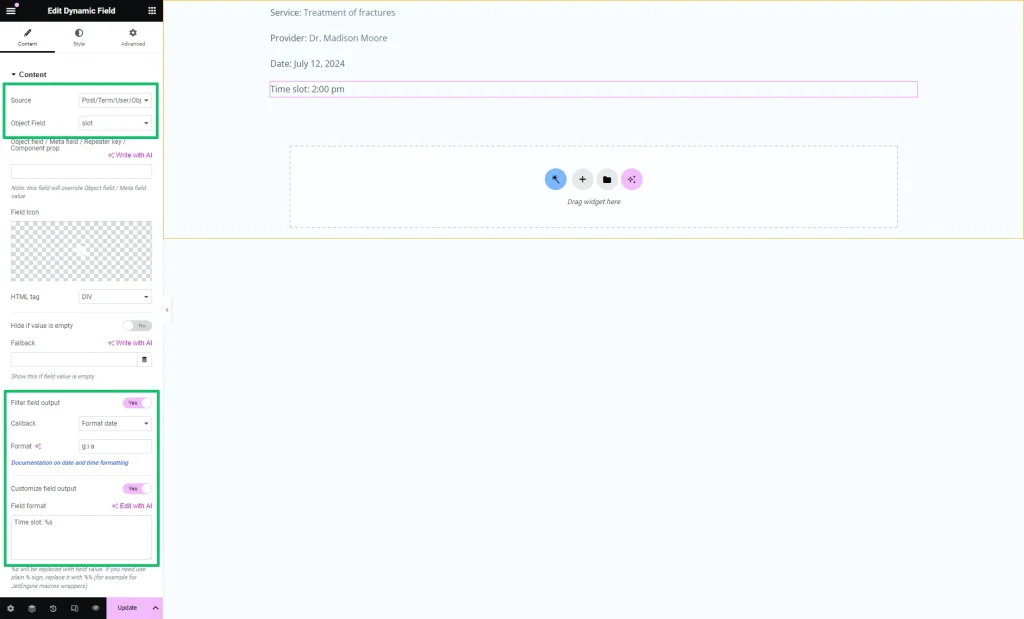
To indicate the time, we set the “slot” Object Field, toggled on the Filter field output, and picked the “Format date” in the newly-appeared Callback field.
In the Format field, make sure to enter the proper format code. For instance, the “g:i a” text allows displaying hours, minutes, and a.m./p.m. After that, we enabled Customize field output and specified the desired Field format.
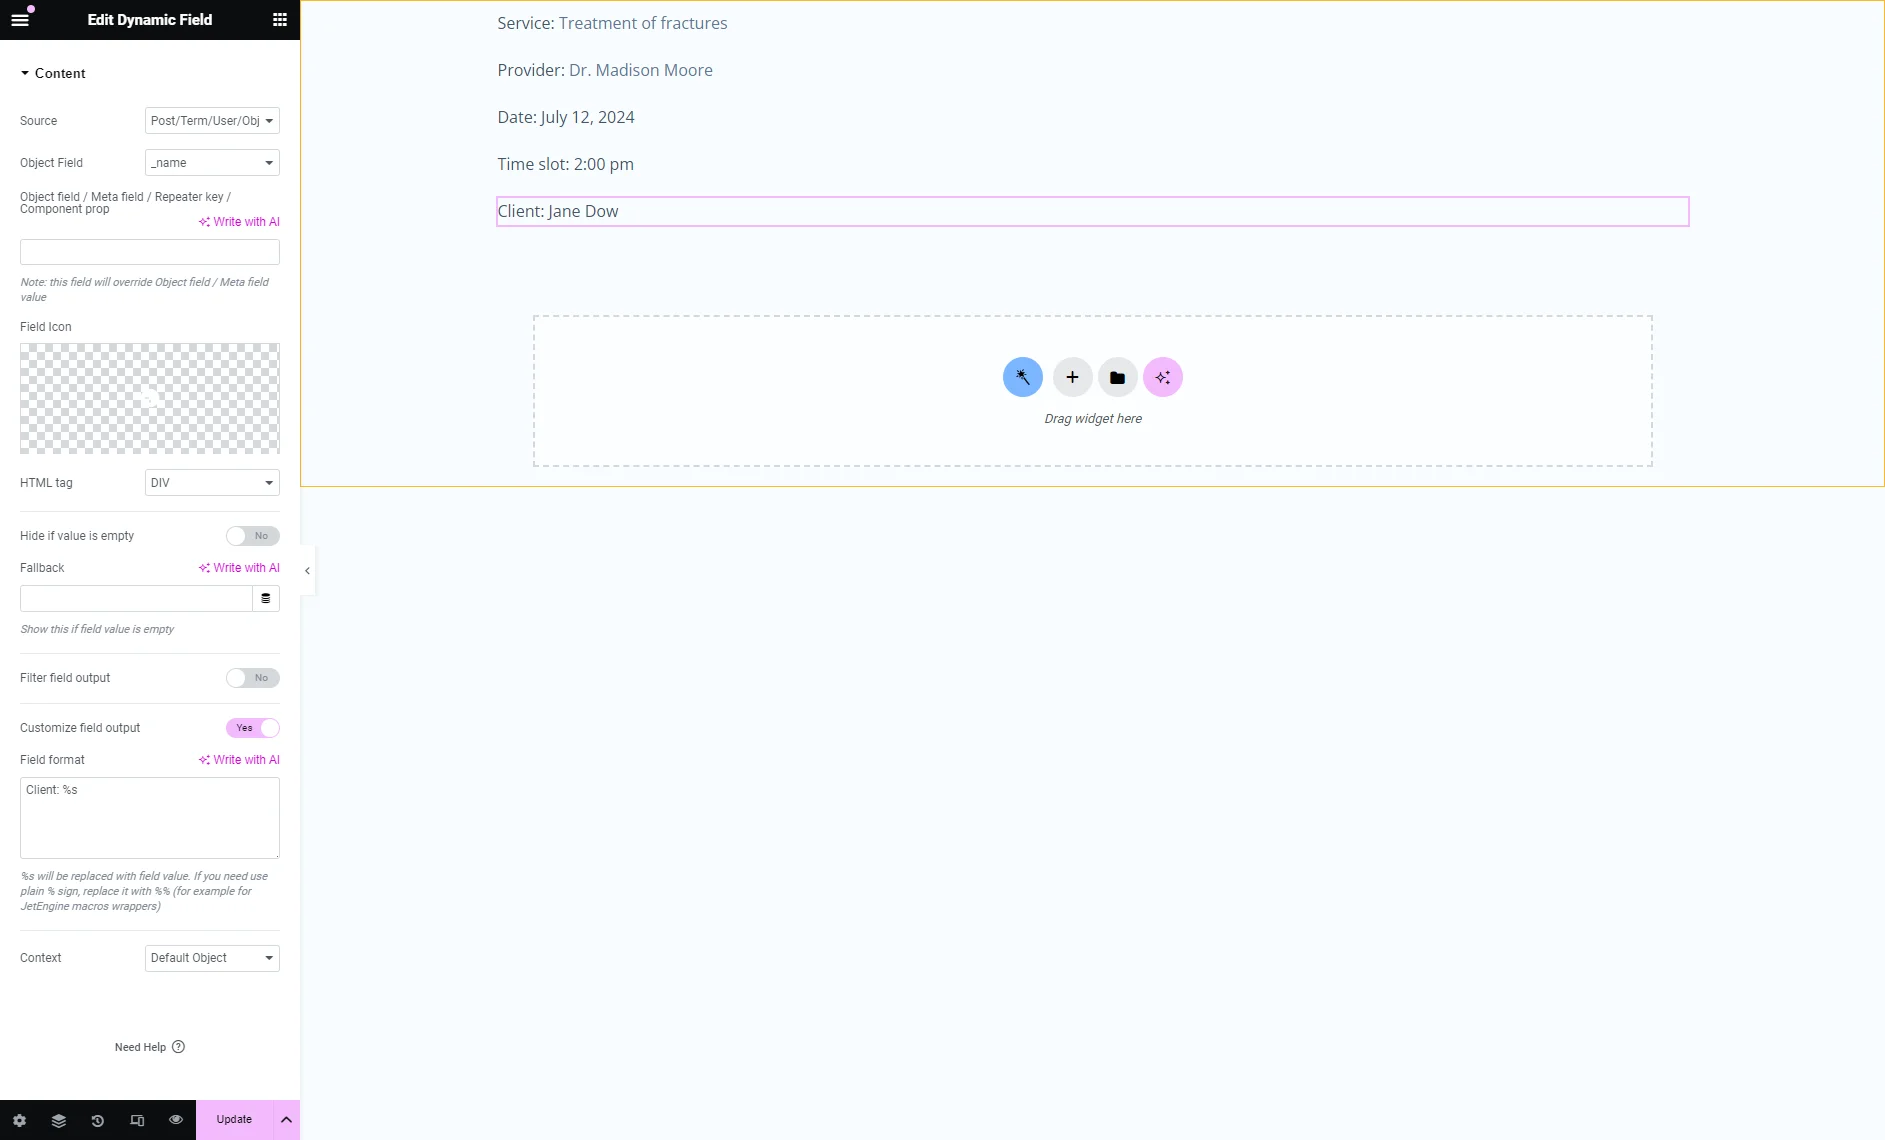
To display the client’s name, we selected the “_name” Object Field, then enabled Customize field output and typed the custom text in the Field format field.
Additionally, you can add other widgets and customize the listing item.
Once you complete your listing item, click the “Update” button.
Displaying the Listing on the Front End
Add the Listing Grid widget to a page
Navigate to the WordPress Dashboard > Pages and add a new page. Click the “Edit with Elementor” button on the newly created page to edit it.
In the newly opened Elementor tab, search for the Listing Grid widget.
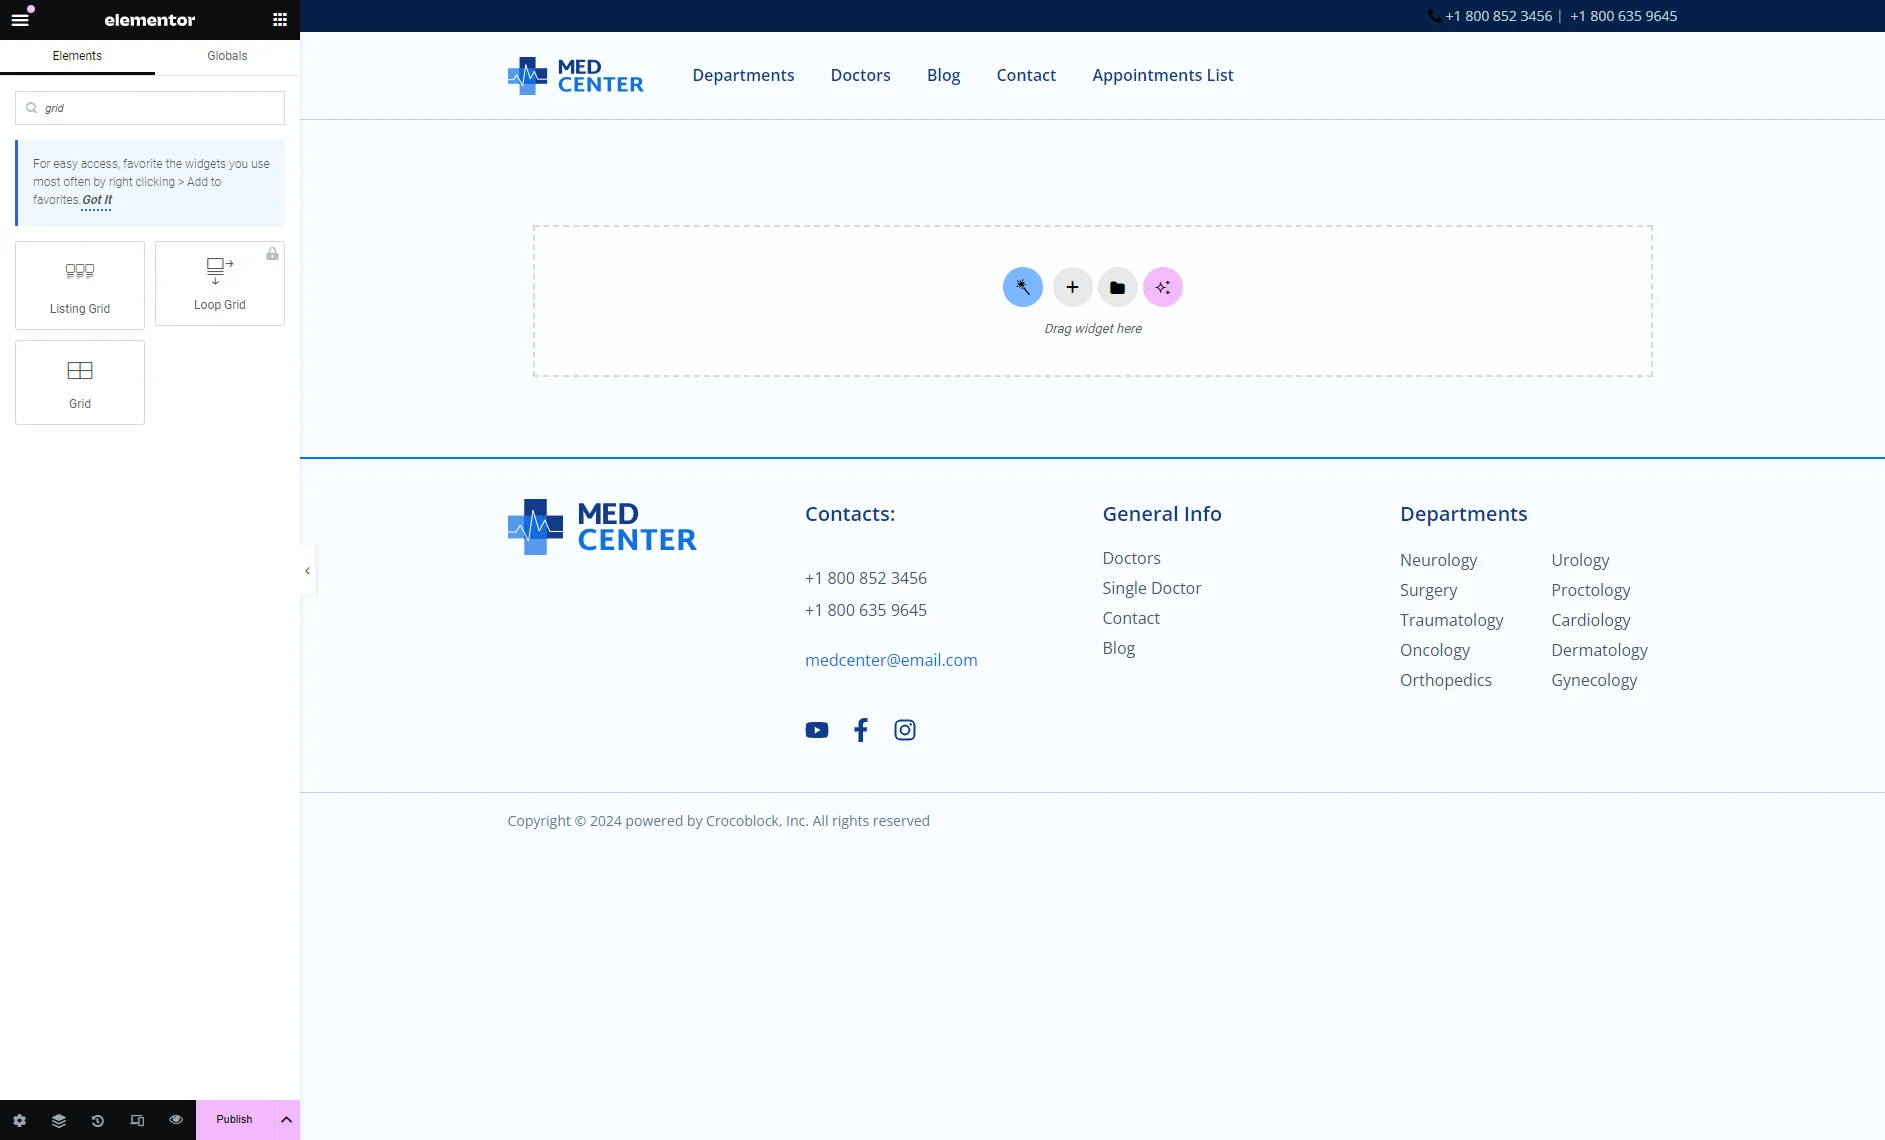
Then, drag and drop it to the desired section of the page.
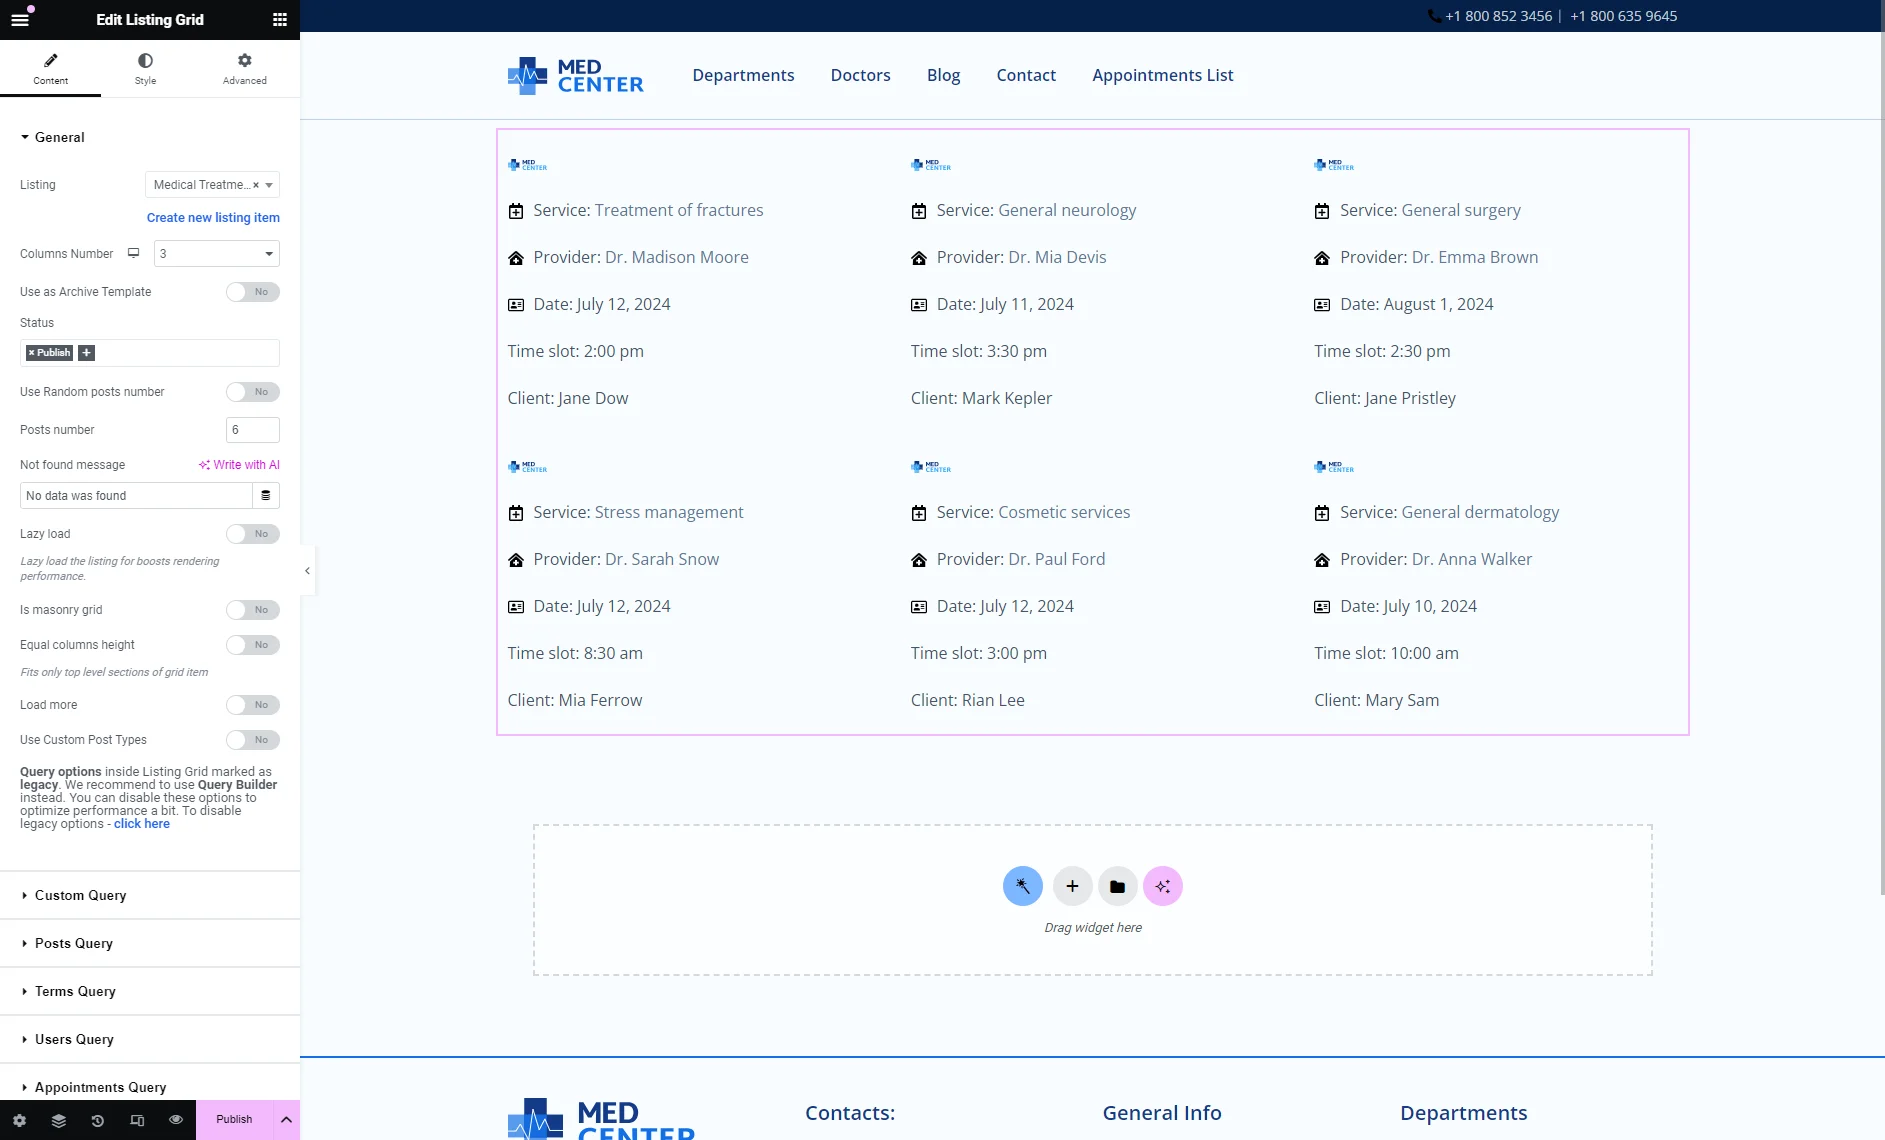
The next step is to select the listing you want to display on this page.
Pick the previously created listing (in the given case, the “Medical Treatment Listing Item”) in the Listing field.
The Listing Grid Widget Overview details how to manage the Listing Grid settings.
Check Appointments Query
To ensure the smooth performance of your listing on the front end, apply the necessary Appointments Query settings. As you can see, there are three drop-down fields there: User, Status, and Date.
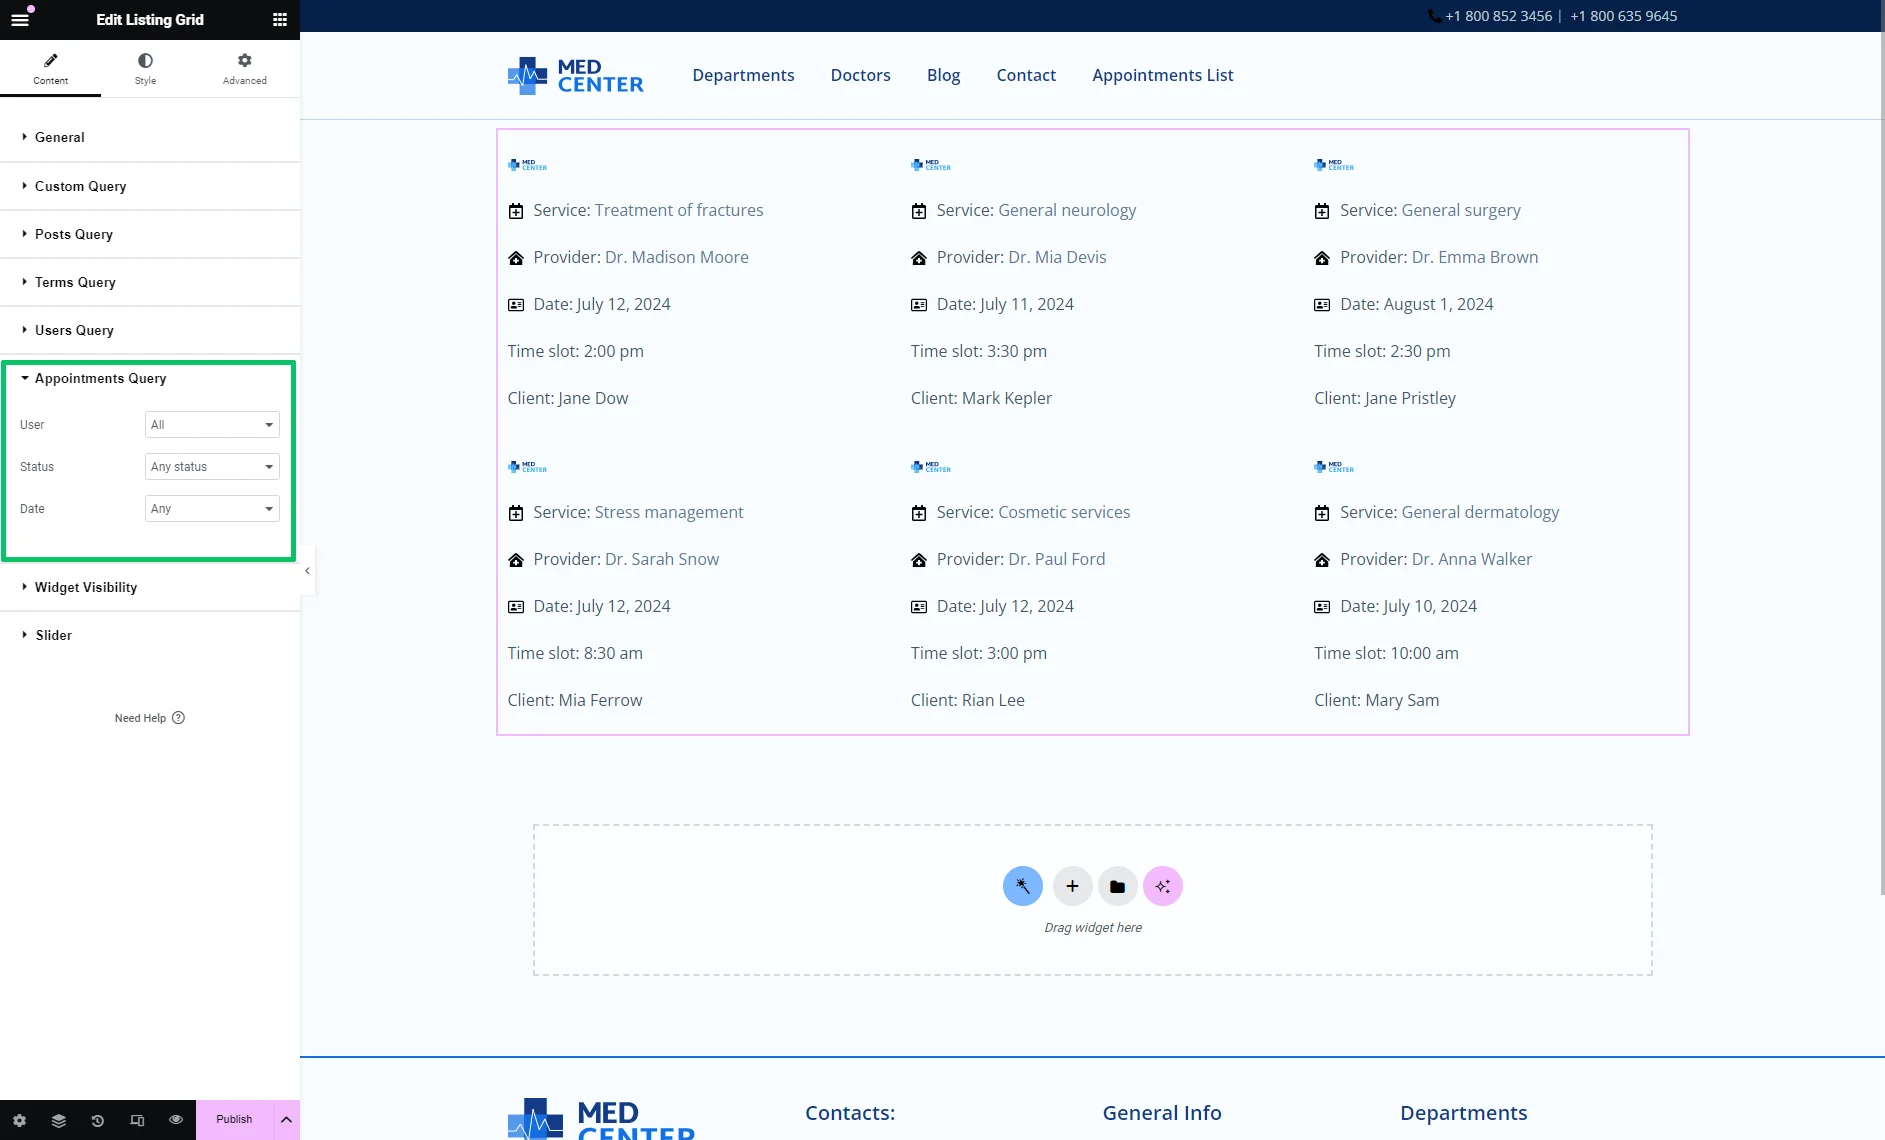
You can pick any field values here, depending on the information you want to showcase on the front end.
For instance, we picked the “Processing” Status.
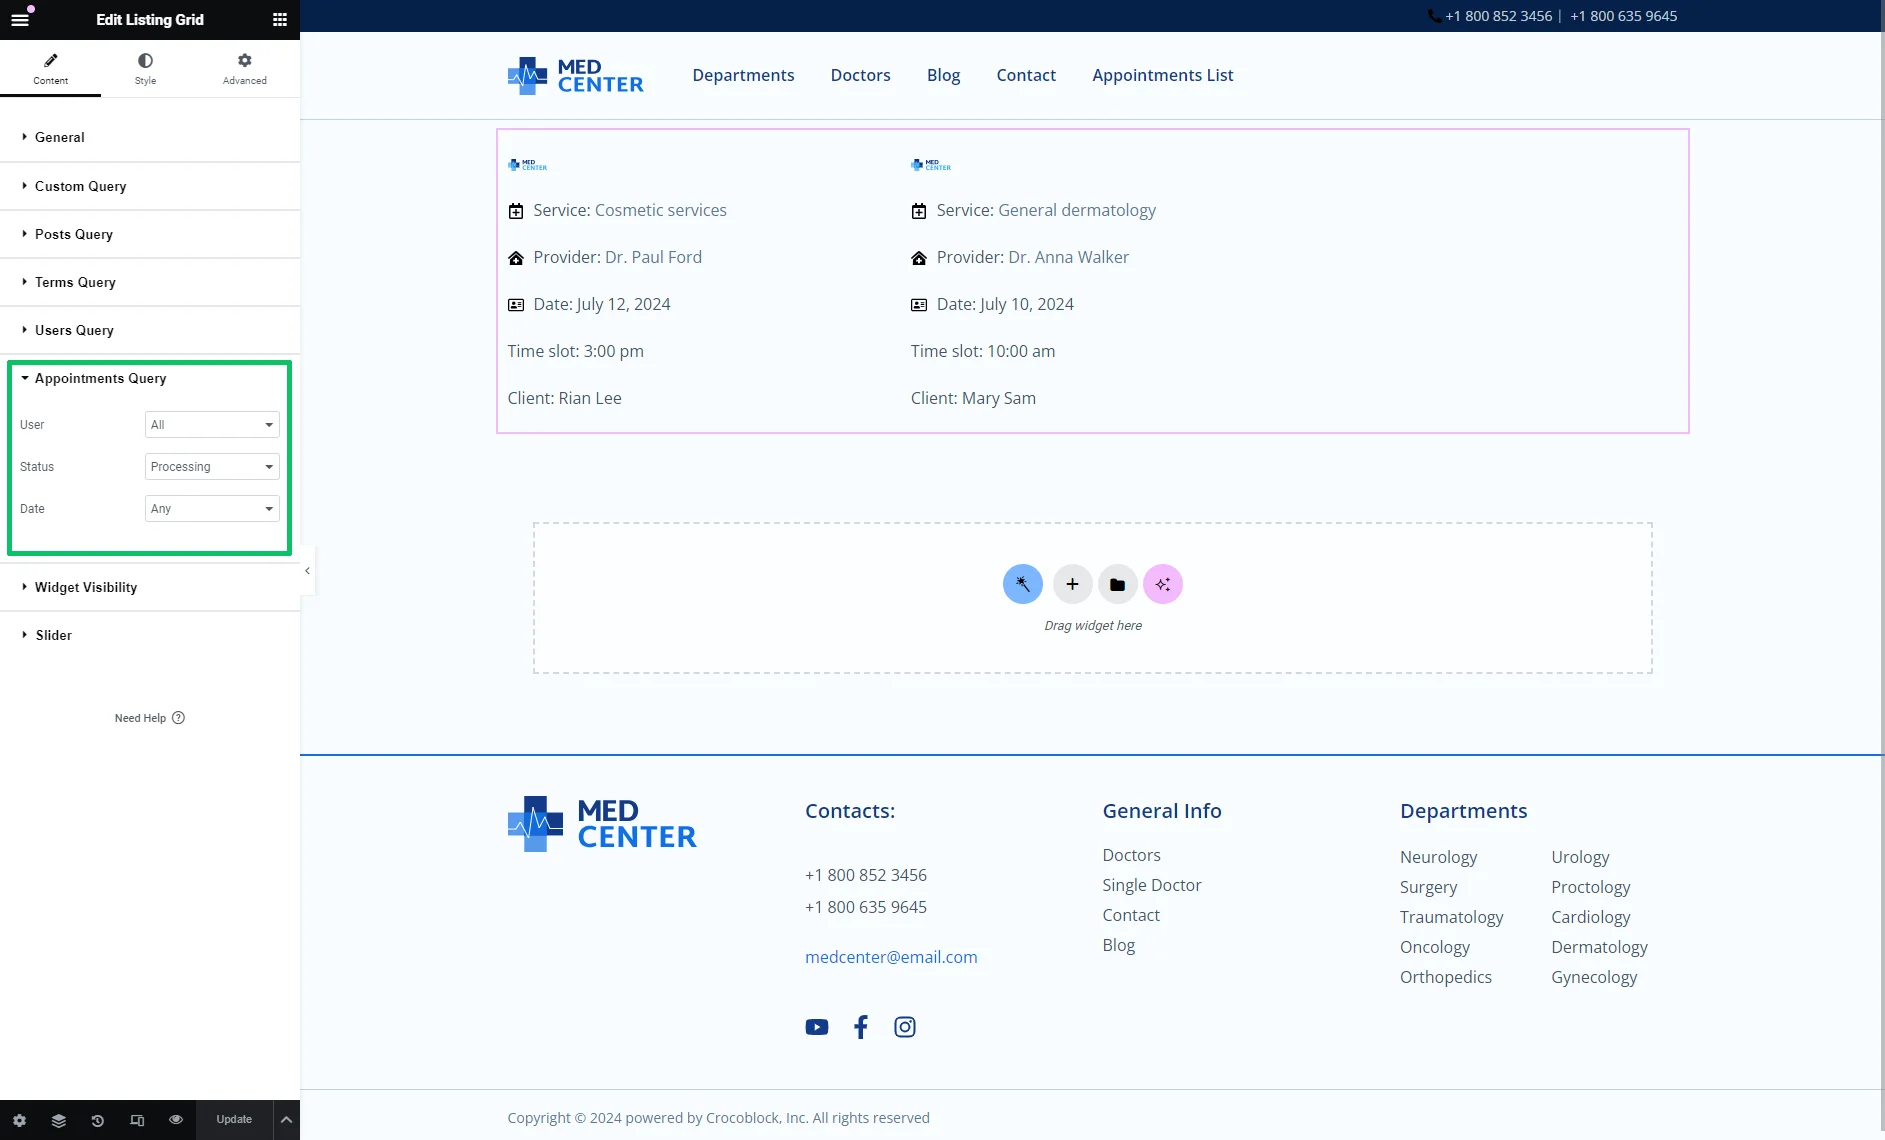
Once you’ve configured the listing in Elementor, click the “Publish/Update” button.
Navigate to the front end and check the result.
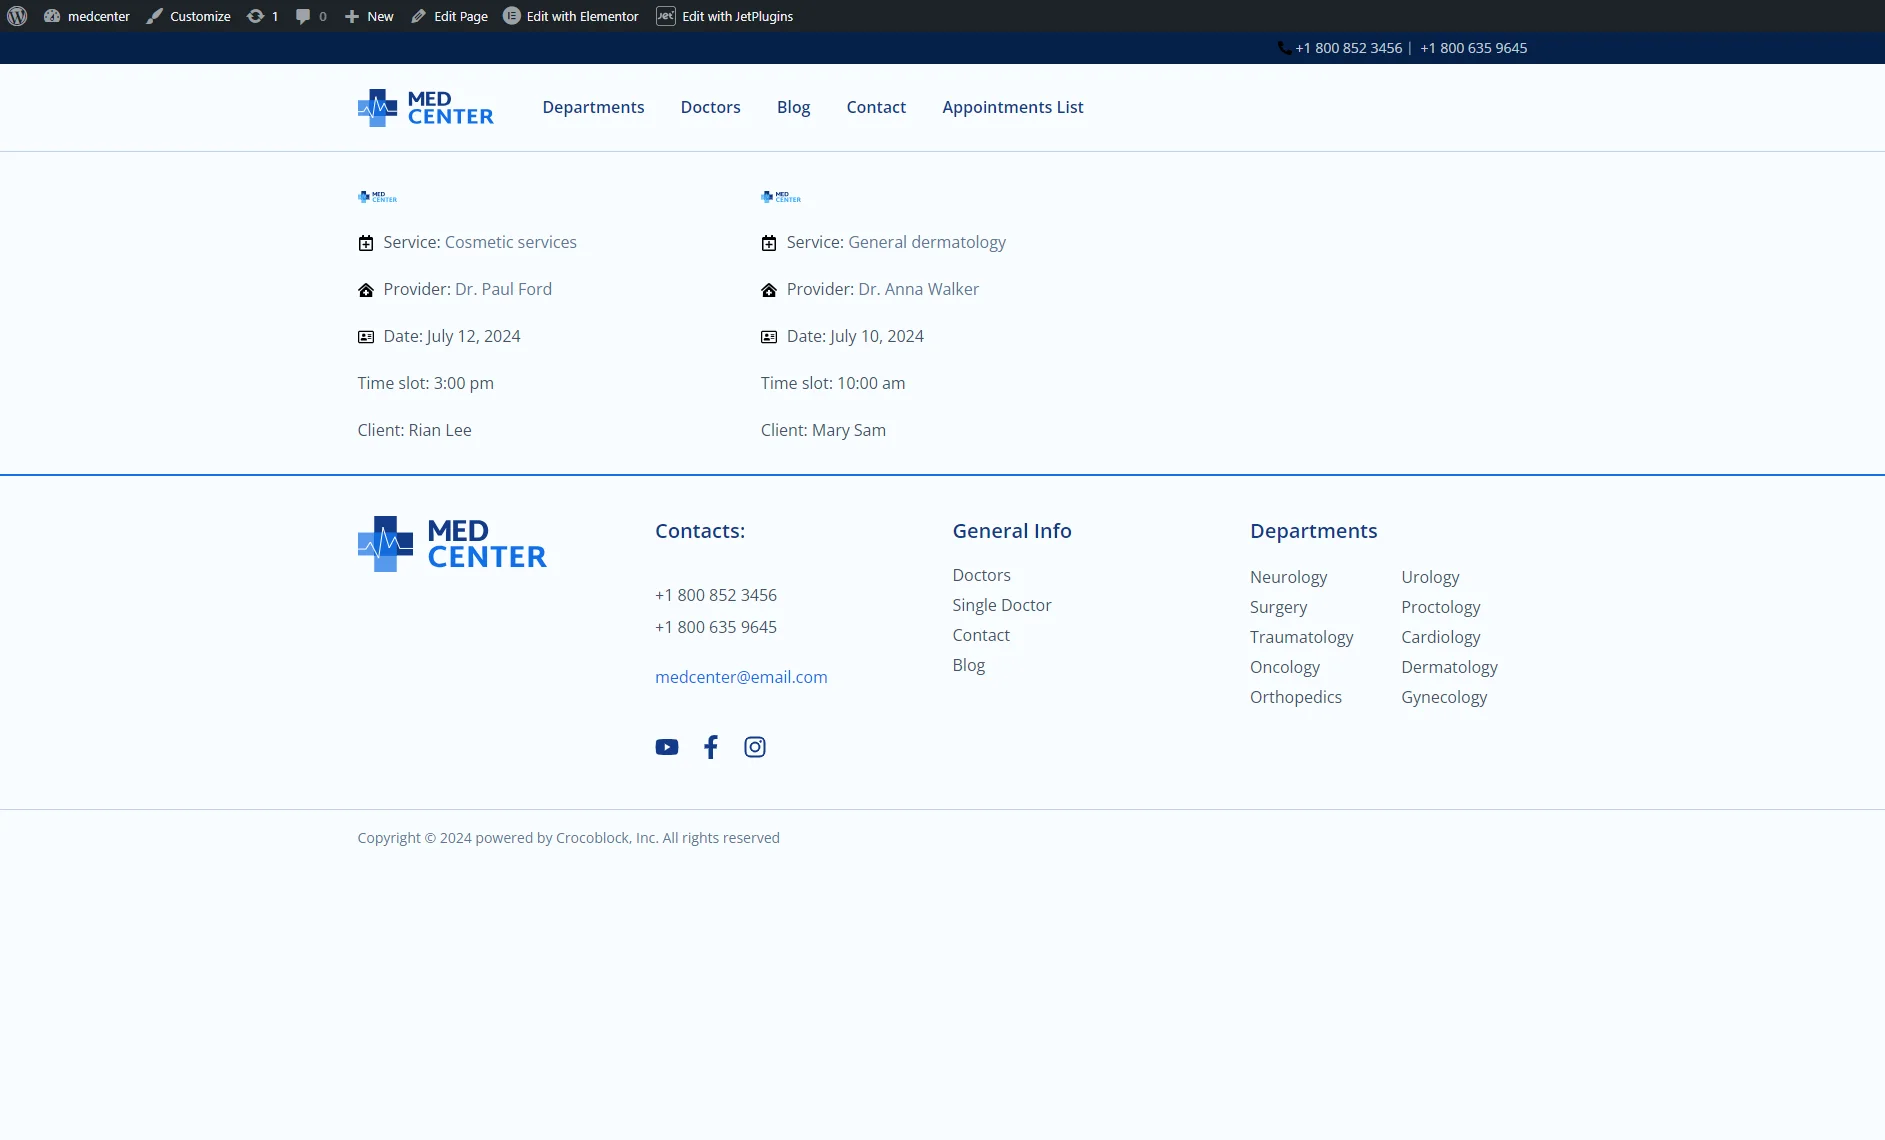
That’s it. Now you know how to use the JetAppointment and JetEngine plugins for WordPress to create and manage listings for appointments and display them according to their status.