Settings Configuration Widget Overview
Discover how to add and set up the Settings Configuration widget from the WordPress JetBooking plugin.
The Settings Configuration widget, part of the JetBooking WordPress plugin, retrieves information from Booking Settings > Configuration and displays it on Elementor, Gutenberg, or Bricks editing pages. Similarly, any adjustments made on the frontend are also applied to the backend setup. This functionality allows providers to manage their service settings without requiring full administrative rights.
Adjust Settings Configuration Widget
The Settings Configuration widget manages booking parameters, such as the allowable booking timeframe, the first and last dates that can be selected, the shortest and longest booking periods, the functionality of the “Clear” button, the month/year selection options, and the ability to display prices on the calendar when making a reservation. This encompasses regular, weekend, and seasonal rates.
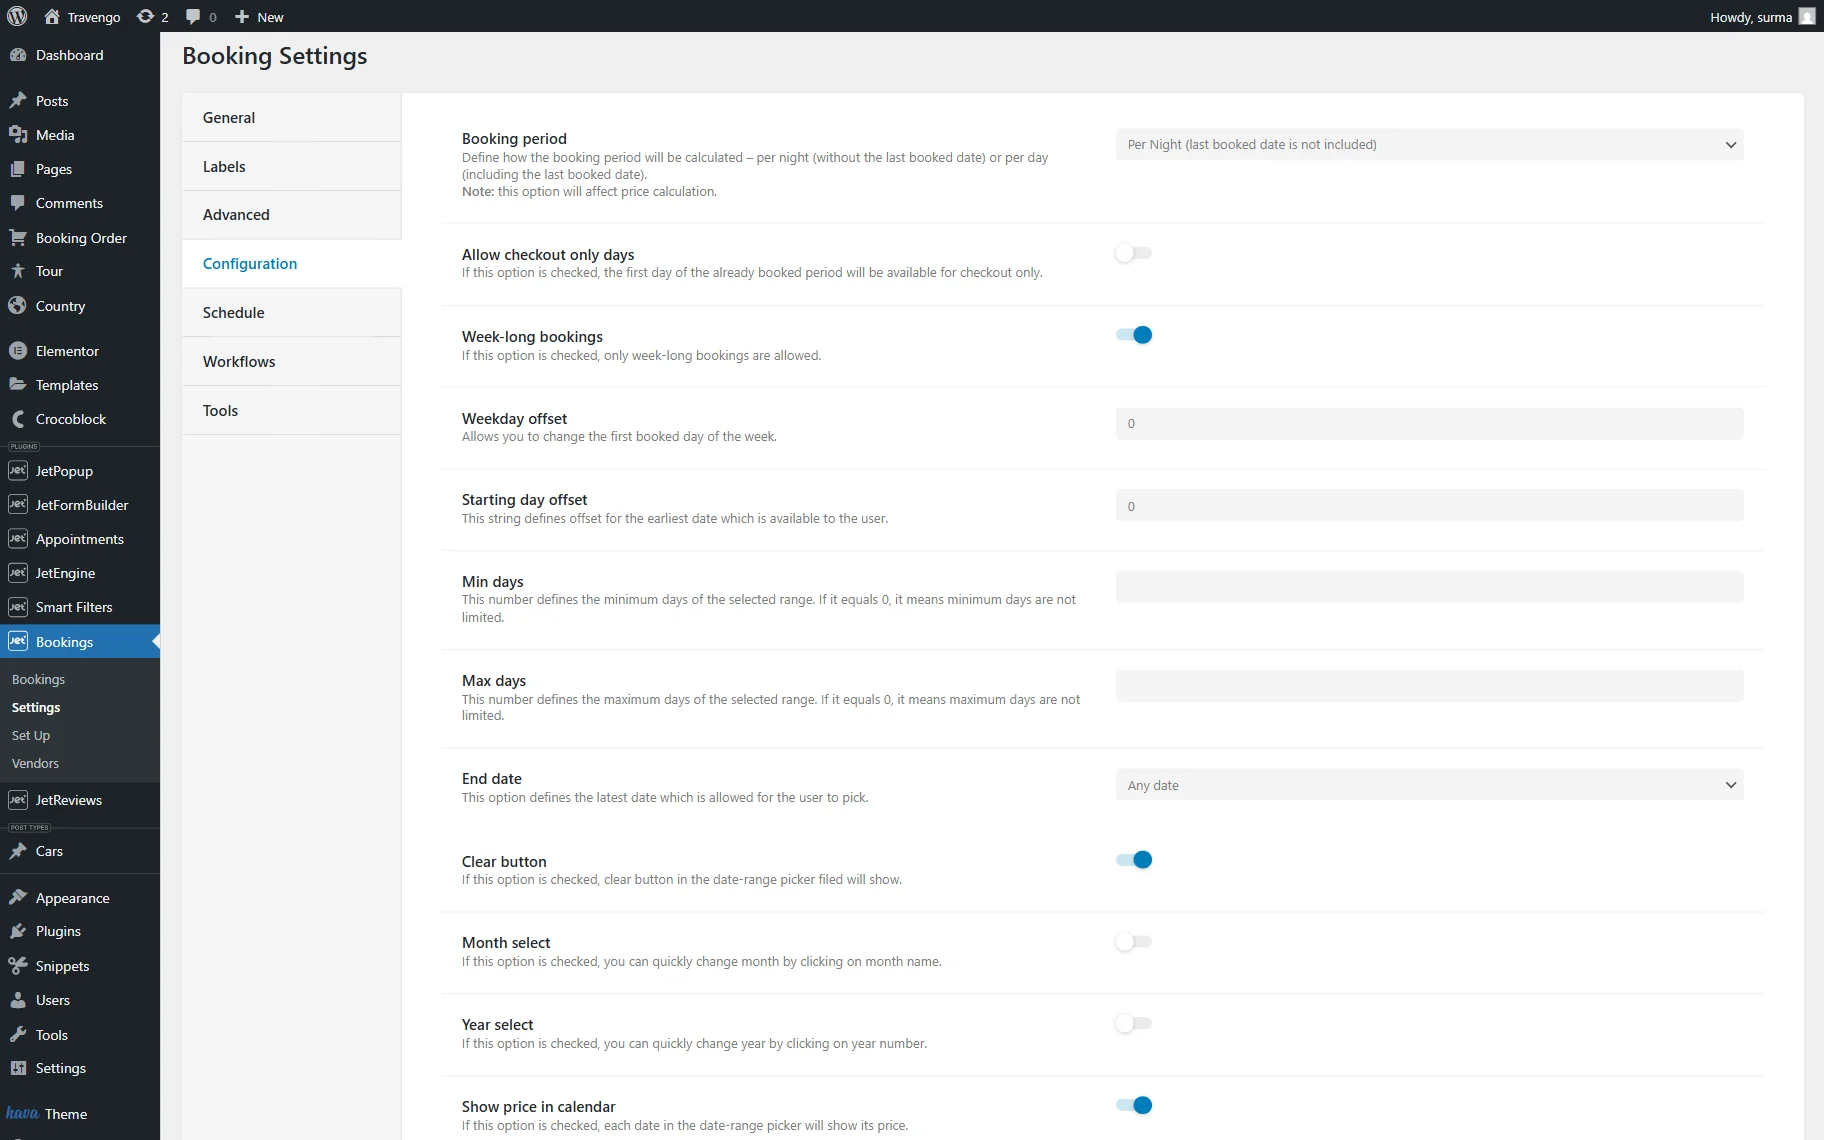
When added to the editing page, the Settings Configuration widget has three settings sections presented:
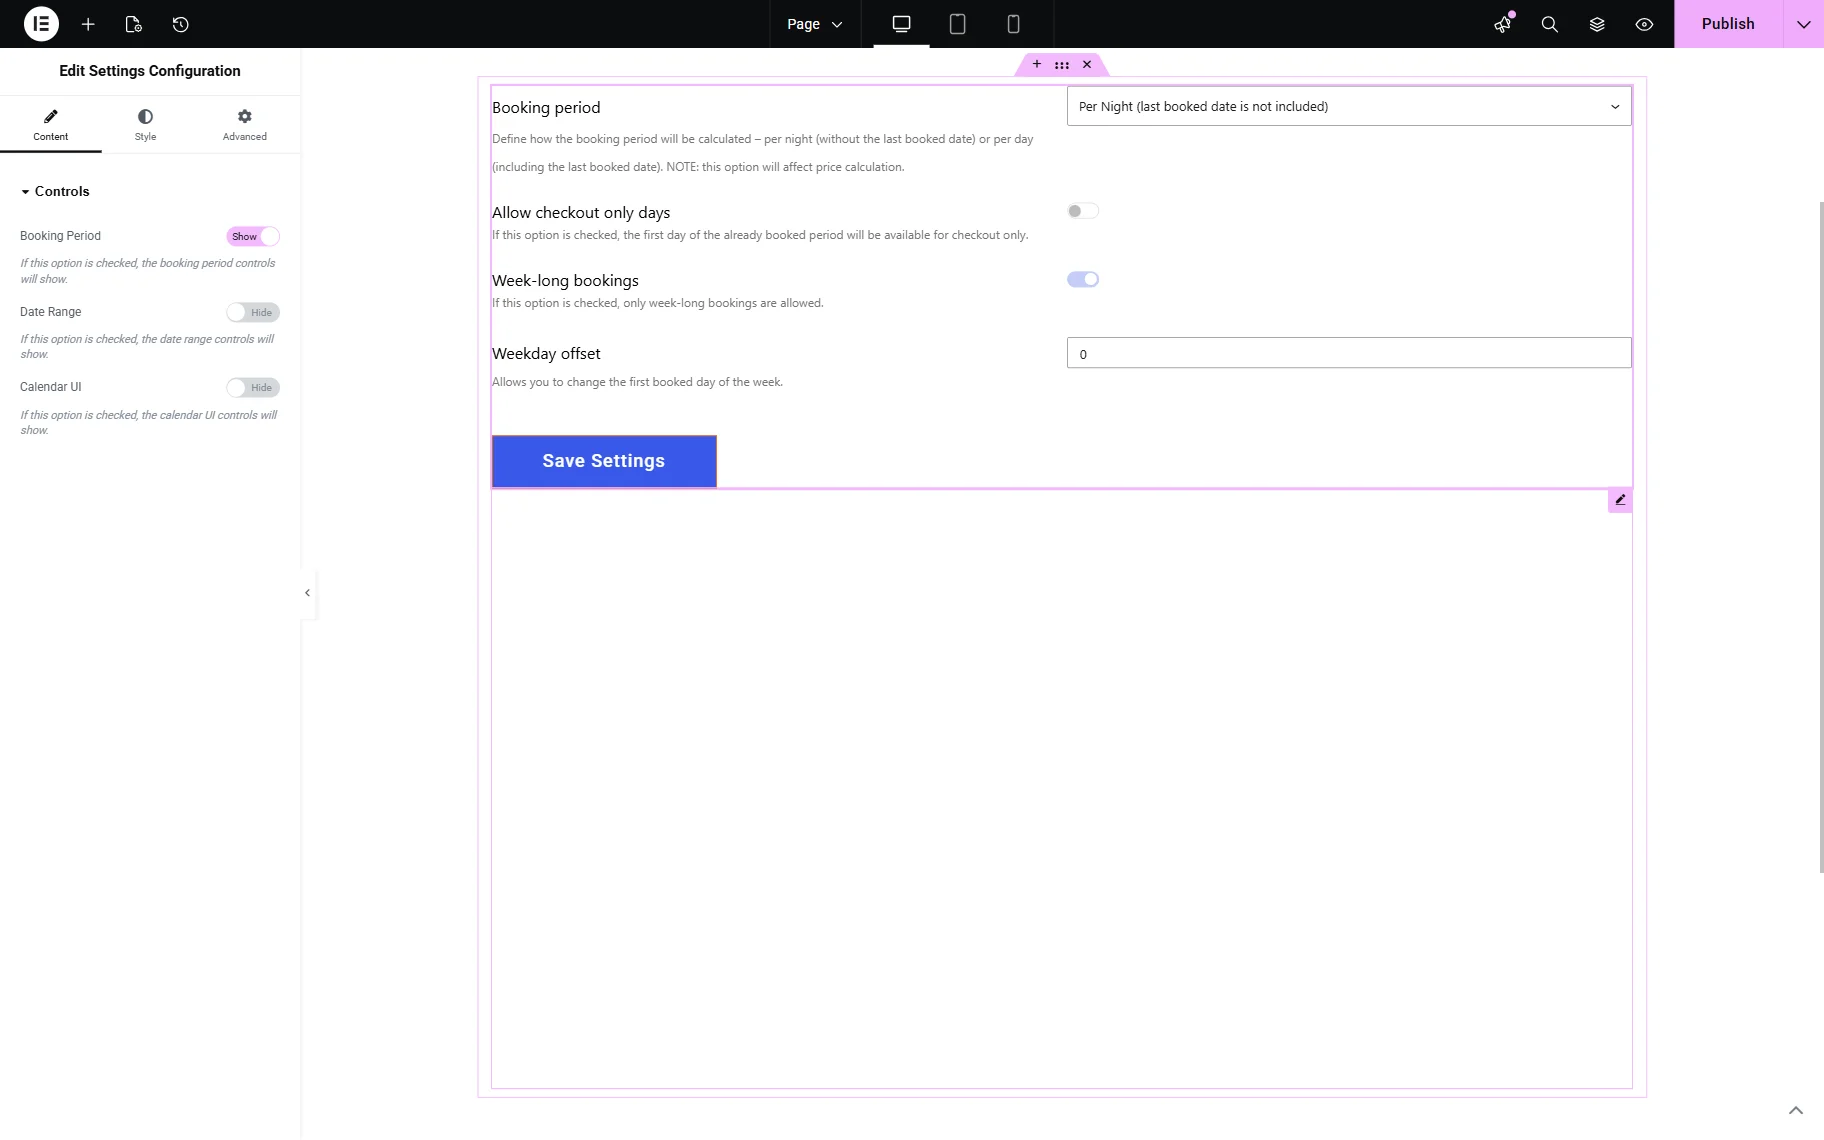
- Booking Period — when the toggle is checked, the following booking period controls will appear for the widget settings:
- Allow checkout only days — this option is available when the “Per Night” Booking period is selected. If enabled, the first day of the already booked period is available for check-out only;
- Week-long bookings — if enabled, it allows only full-week bookings and turns on the Weekday offset field, allowing changing the first booked day of the week;
- Weekday offset — determines the earliest possible date presented to the user;
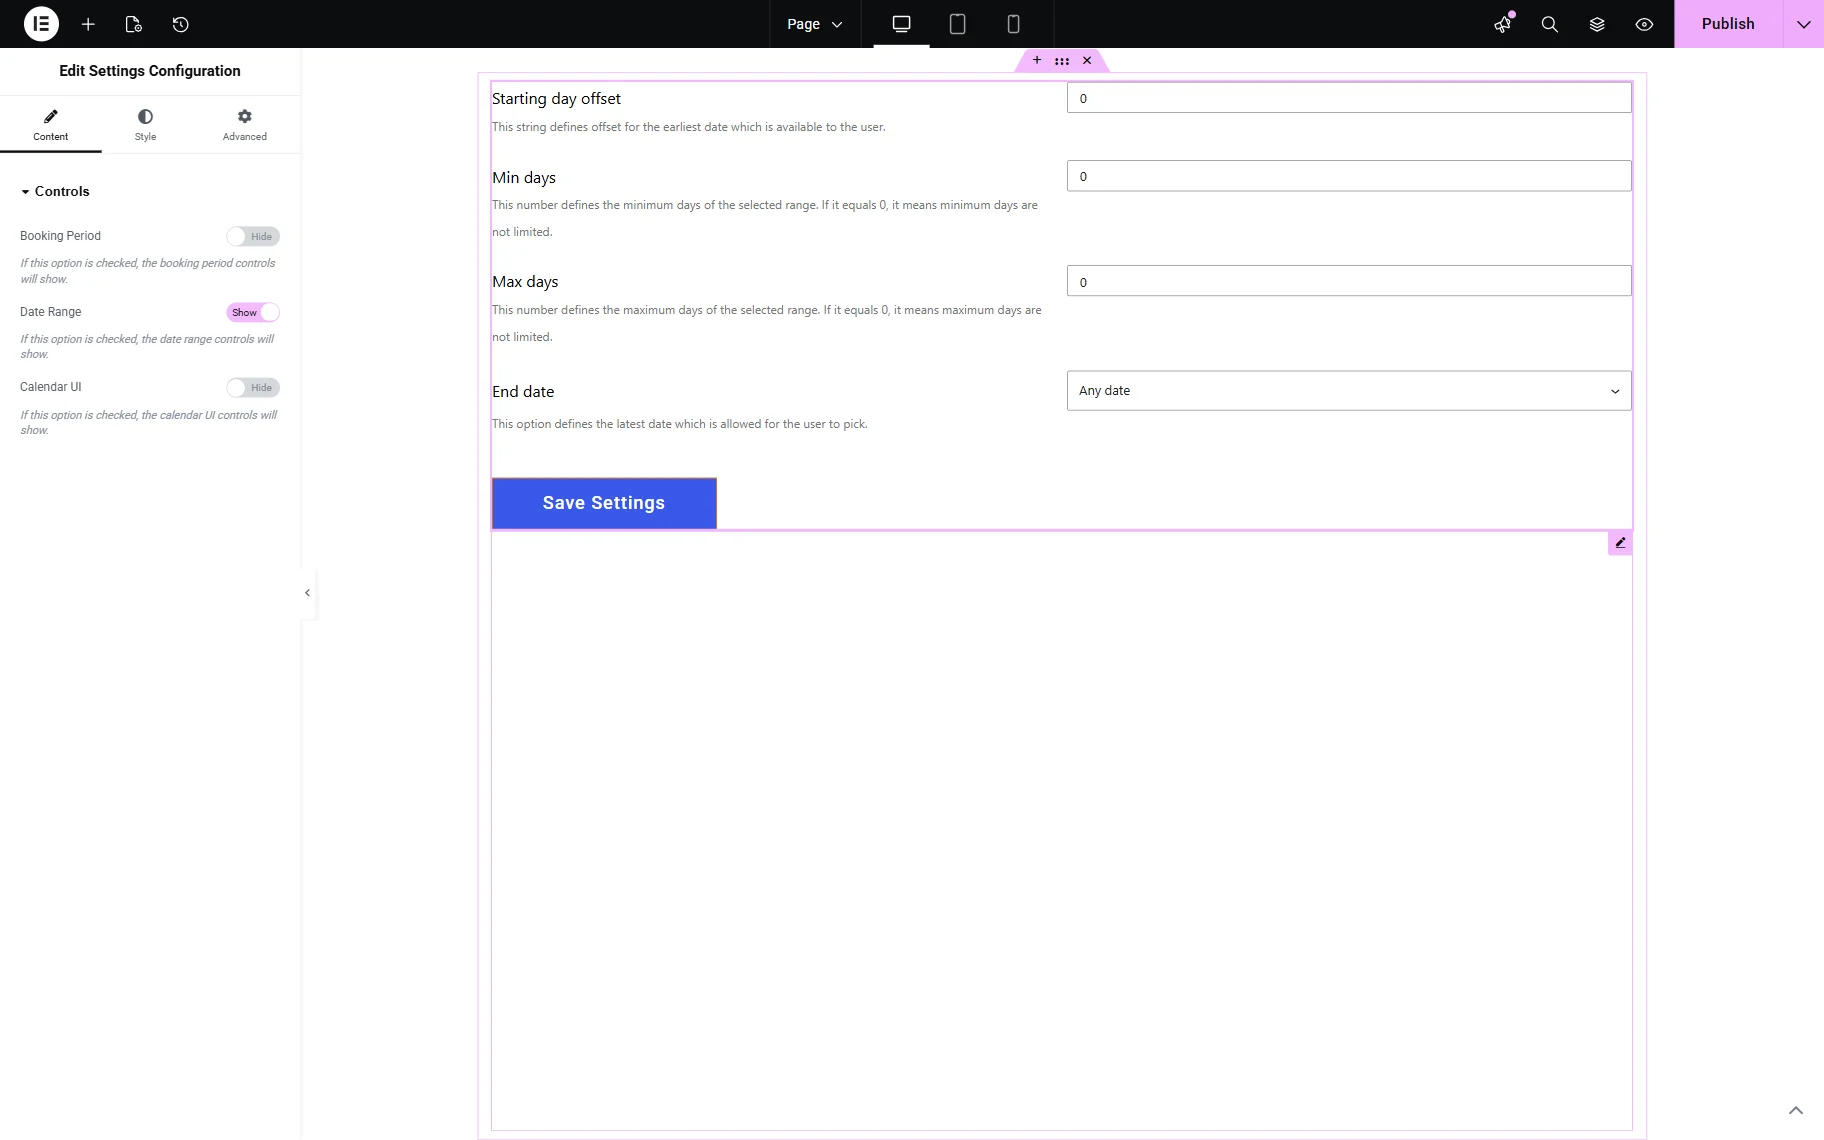
- Date Range — when enabled, the toggle turns on the following date range controls in the widget:
- Starting day offset — defines the offset for the earliest date available to the user;
- Min/Max days — defines the minimum and maximum days available for one booking;
- End date — defines the latest date that the user is allowed to pick. If the “Any date” option is selected, there are no limits. The “Limited range” option activates the number field and drop-down menu with the “Day(s),” “Month(s),” and “Year(s)” options. For example, if the “1” and “Year(s)” values are set, customers can select booking dates within a year.
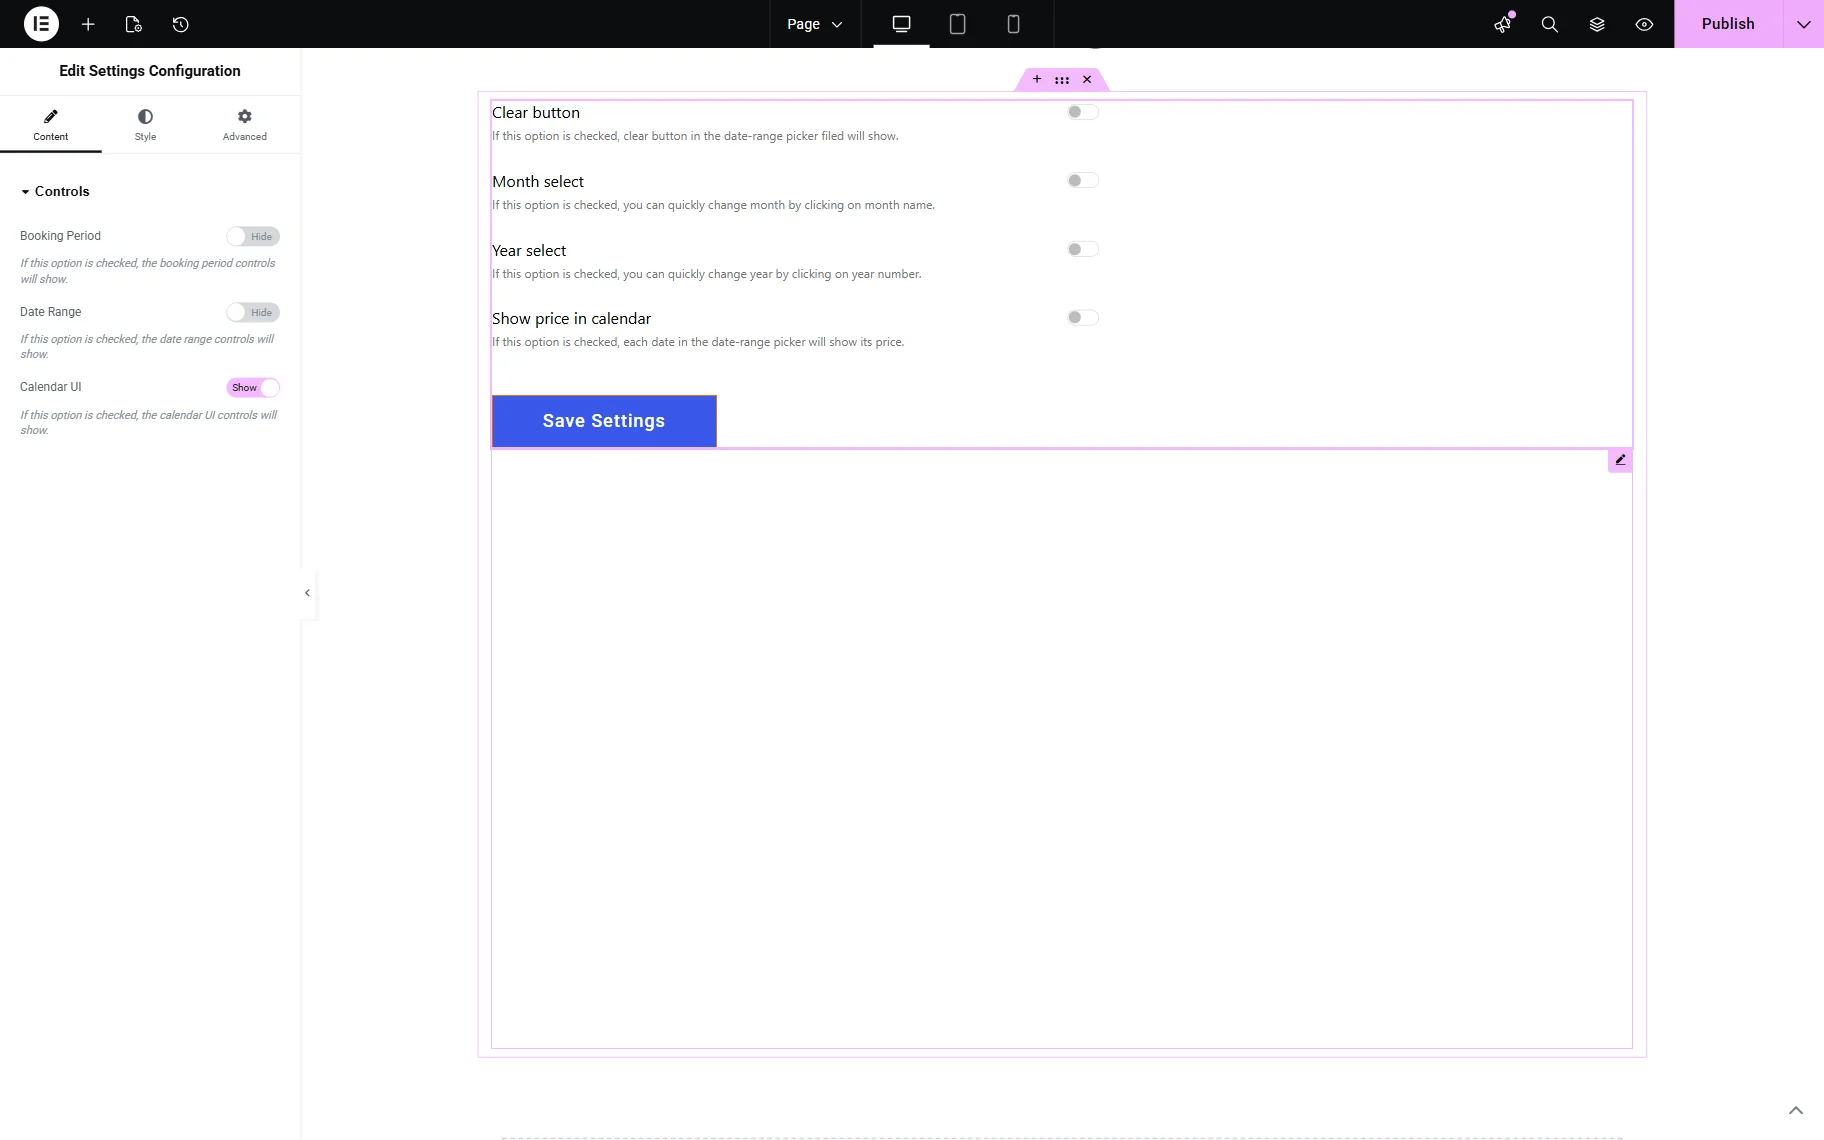
- Calendar UI — if the option is checked, the following calendar UI controls will become available for the widget:
- Clear button — if activated, it enables a “Clear” button in the date-range picker field. The text of the button can be customized in the Labels tab in the `Clear` text field;
- Month select — if activated, it allows selecting a month directly from the booking datepicker;
- Year select — if activated, it allows selecting a year directly from the booking datepicker;
- Show price in calendar — if enabled, each date in the Check-in/Check-out dates field of the bookings form will display the corresponding price for the booking item (apartment). This option allows users to see different prices for different days, such as weekends or seasonal rates, during the booking process. More information is provided in the How to Set Up the Seasonal Prices and How to Configure the Weekend Pricing tutorials.
Once the adjustments are made on the frontend, the “Save Settings” button should be clicked.
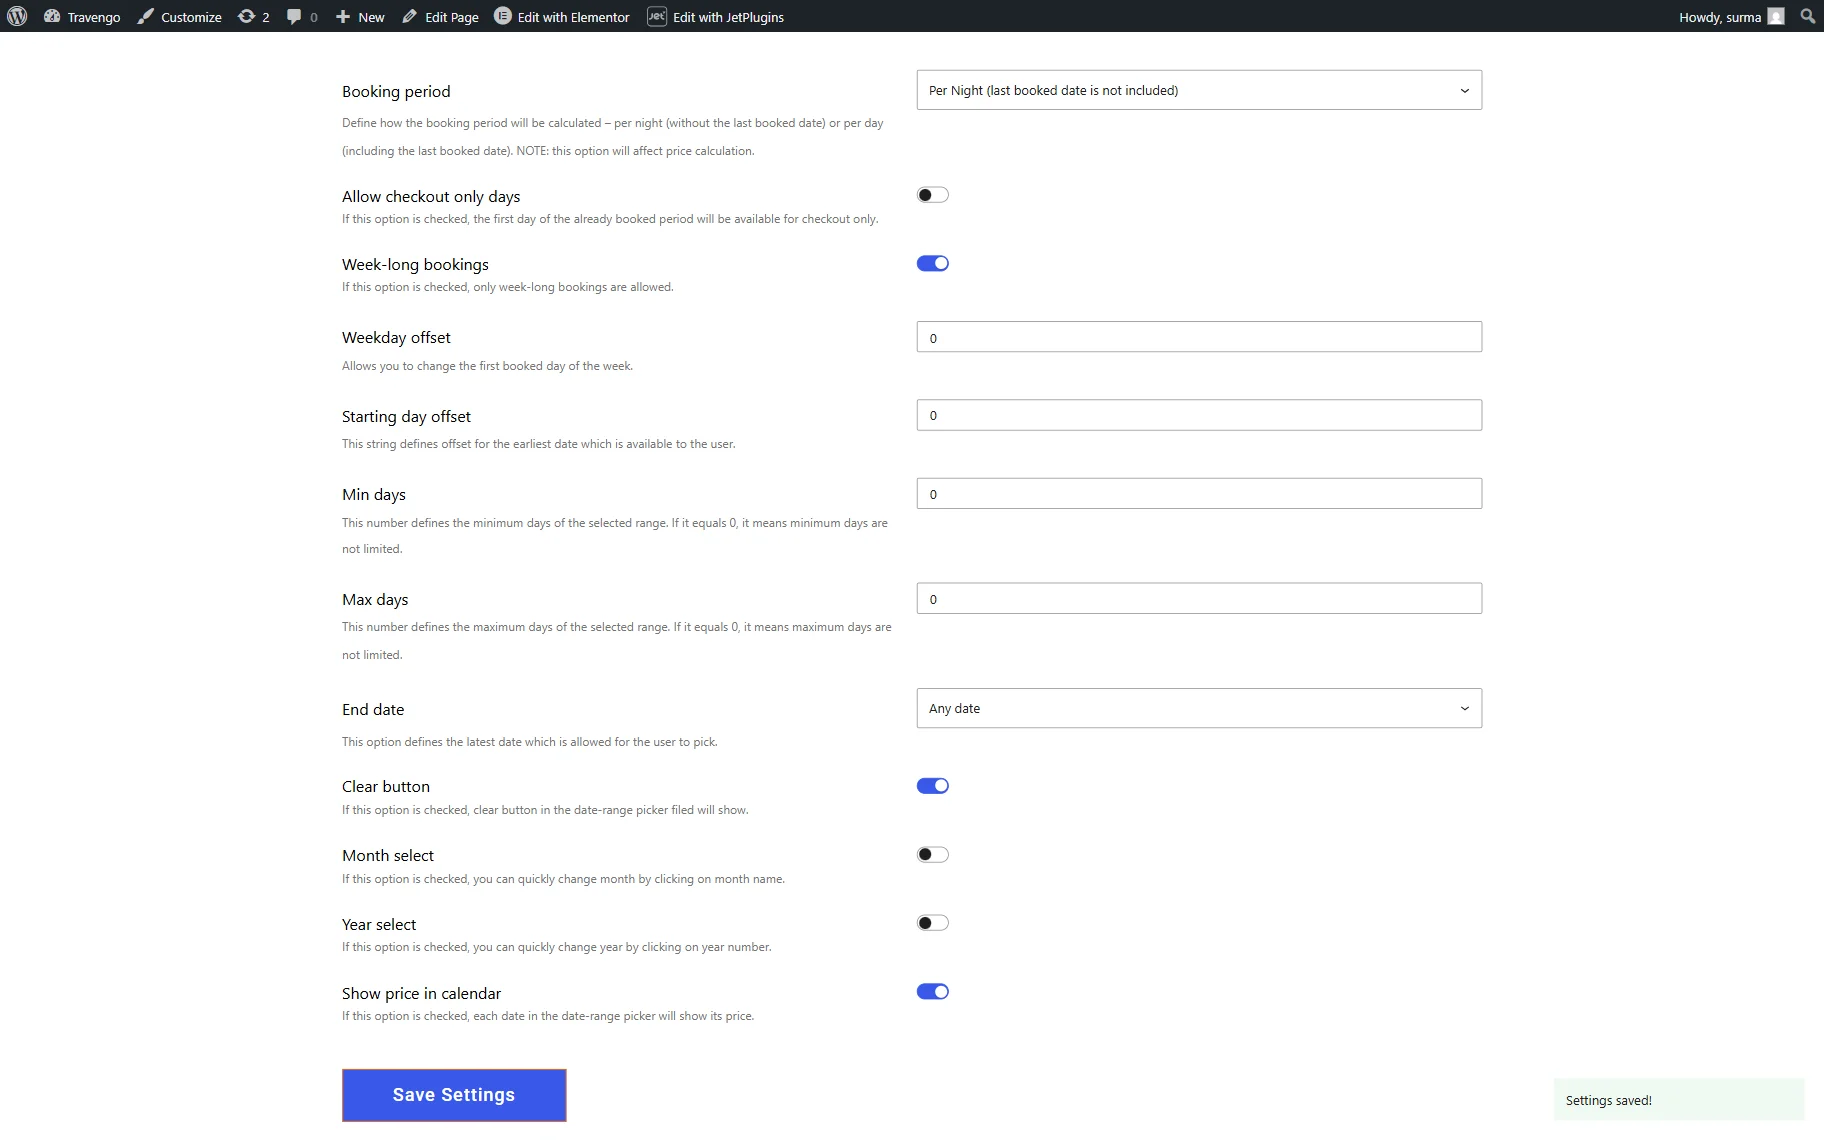
Any settings applied on the frontend are reflected in the backend’s arrangement.
That’s it. Now you know how to set up and use the Settings Configuration widget for the JetBooking WordPress plugin.