JetElements Dashboard Settings Overview
This overview goes through all the features of the JetElements Settings block in the WP Dashboard.
You can find the Jet Elements plugin’s customization tools in the JetPlugins > JetElements Settings block in the WP Dashboard. There are a lot of options, which will make working with the JetElements plugin easier. Let’s take a closer look at them.
General Settings
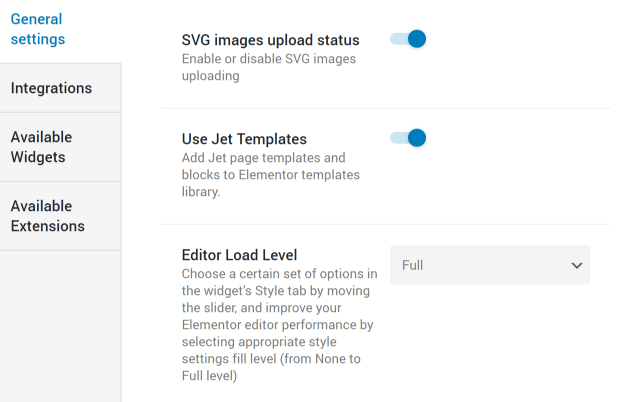
Here you can enable or disable SVG images upload status and allow to Use Jet templates in the Elementor templates library. Moreover, you can choose a certain set of options, which will be available in the widget’s Style tab (Low, Medium, Advanced, Full) in the Editor Load Level field.
Integrations
Google Maps
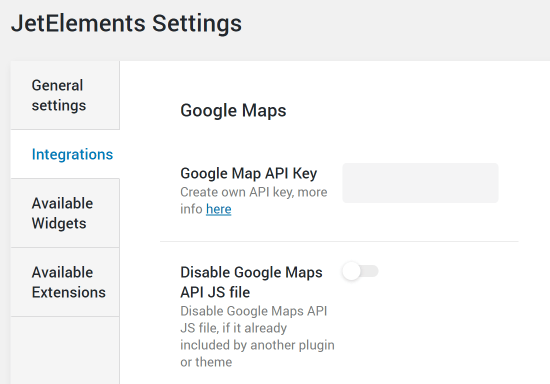
In the Google Map block, you need to insert the Google Map API key for displaying the data in the Advanced Map widget correctly. Also, you can disable Google Maps API JS file, if it is already included in another plugin or theme.
MailChimp
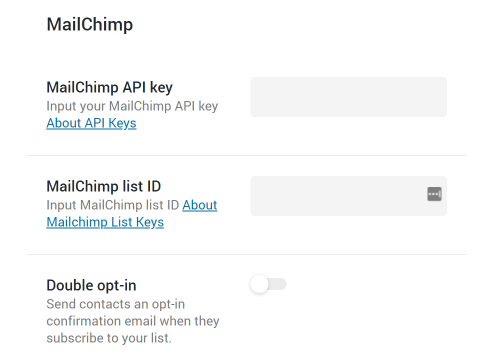
This section is dedicated to MailChimp integration using the Subscribe Form widget. Here you need to input your MailChimp API key and MailChimp list ID. The Double opt-in option allows sending contacts an opt-in confirmation email when they subscribe to your list.
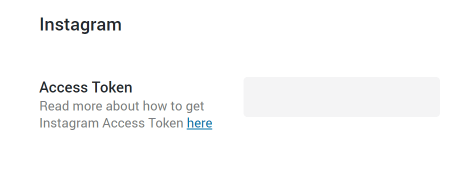
In this section, you need to input the Instagram Access Token for the correct work of the Instagram widget.
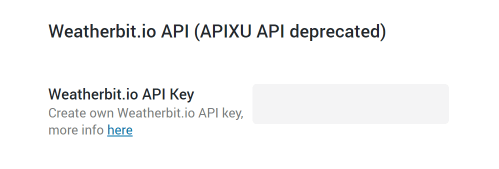
APIXU Weather
Here you need to embed the Weatherbit.io API key for displaying correct weather data from the weatherbit.io website in the Weather widget.
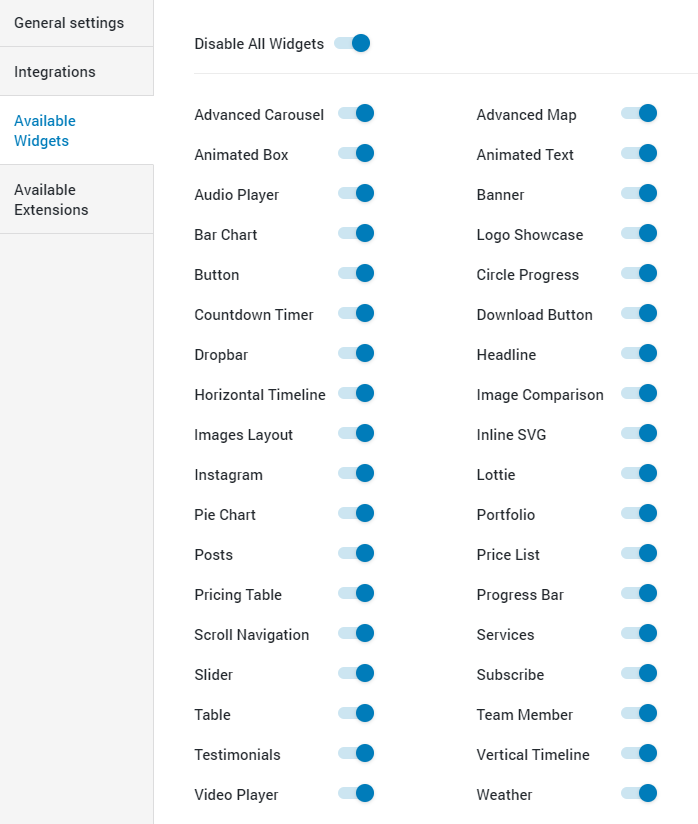
Available Widgets
Here you can enable or disable some of JetElements widgets, which will be available in Elementor panel by editing pages.
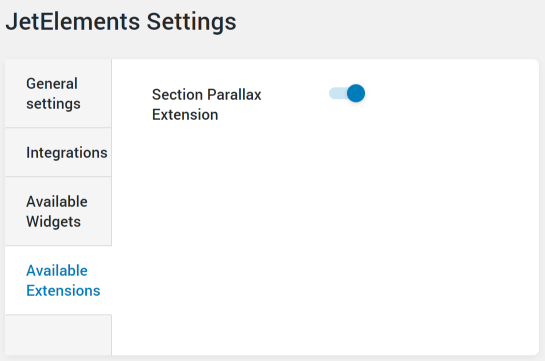
Available Extensions
In this section, there are all available JetElements extensions, which can be enabled or disabled and will be displayed when you edit pages.
Now you know where you can adjust appropriate settings for the correct work of JetElements widgets. Set needed adjustments for the JetElements plugin in the WP Dashboard easily and quickly.