Appointments Query in the Query Builder Overview
This overview reveals detailed information about all the settings of the “Jet Appointments Booking Query” Query Type, available with the JetEngine and JetAppointment plugins.
With the Query Builder functionality, available with the JetEngine plugin, the displayed items can be sorted by the specific adjusted parameters.
Also, watch the JetEngine Query Builder – 25 Features You Must Know video to get more information on the different types of queries to be developed.
The “Jet Appointments Booking Query” Query Type appears only if the JetAppointment plugin is installed and activated, and queries bookings accordingly.
General Settings
The General Settings is the first block of the query settings, the fields of which are common for all query types:
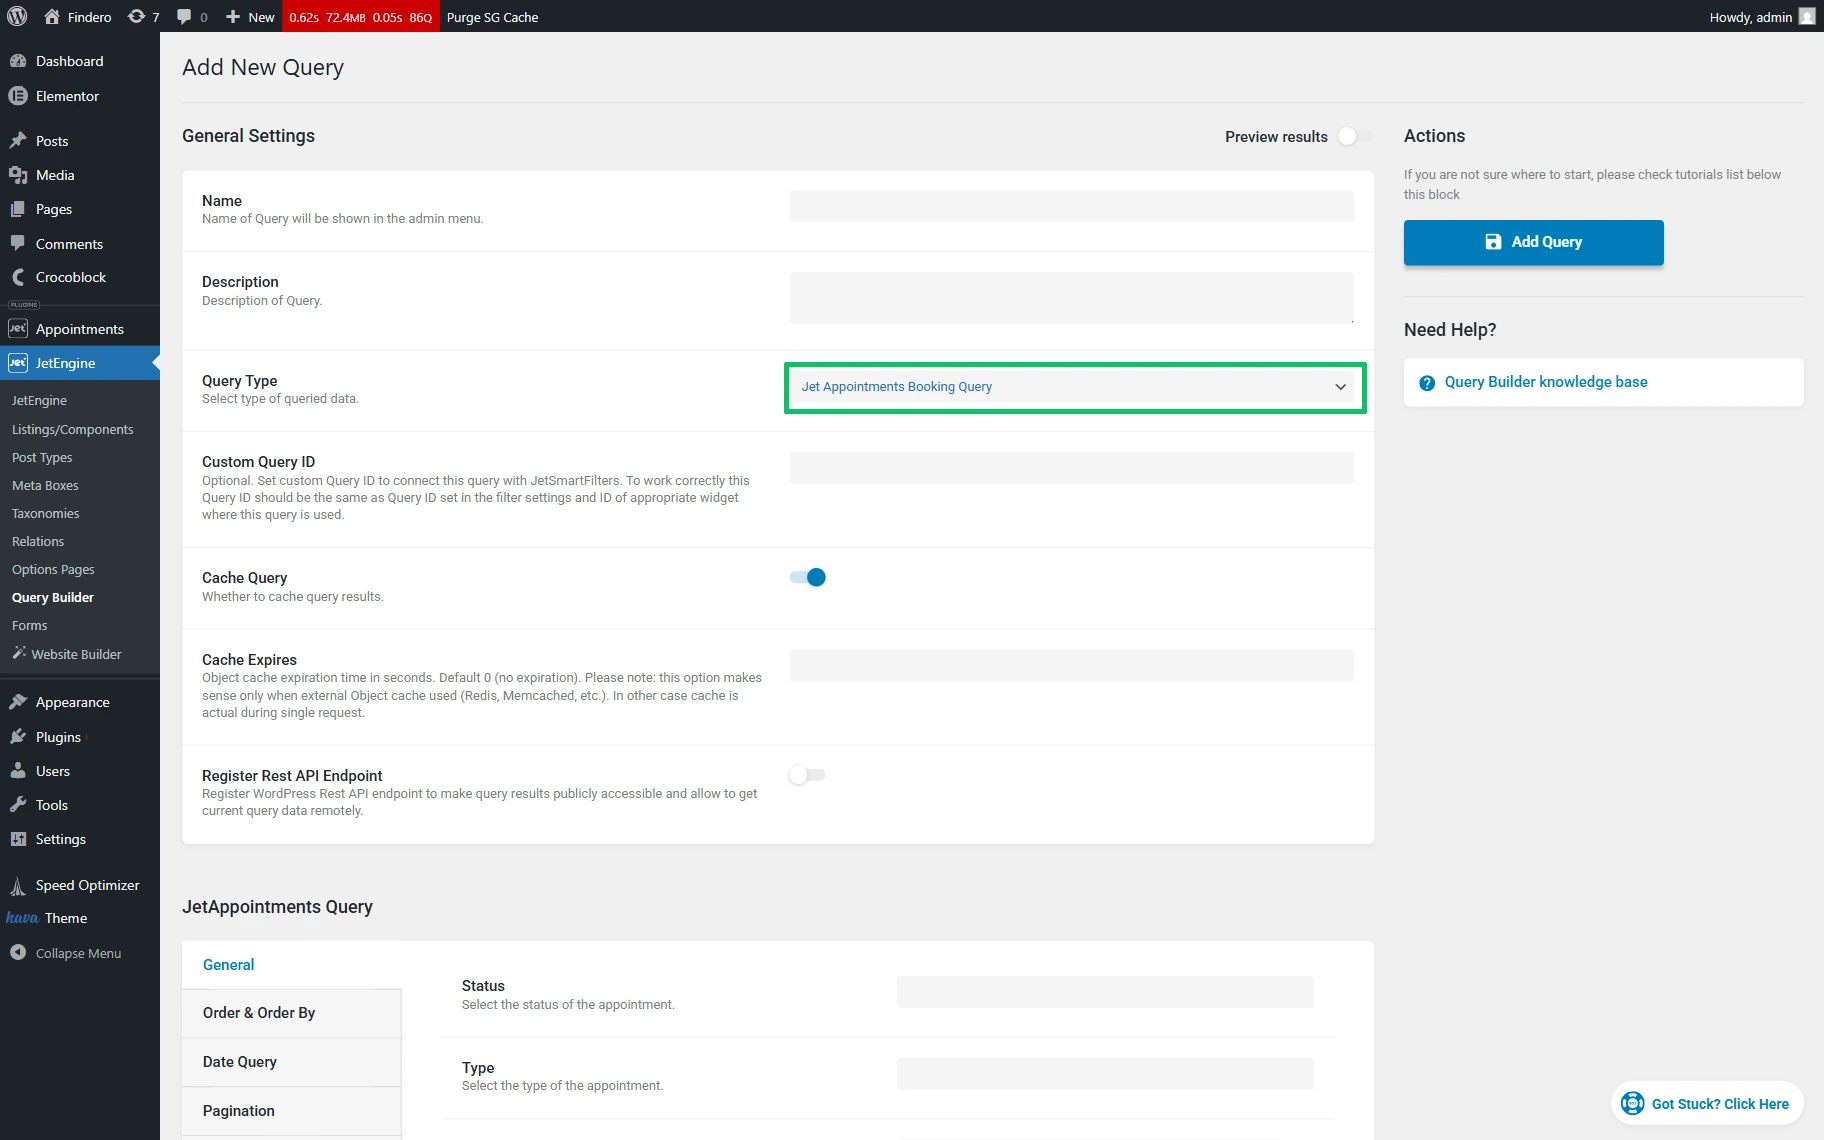
- Name — a text field for inserting the query’s name;
- Description — a text field for a short description of the query features that can be added for easy navigation in the list among the built queries;
- Query Type — a drop-down list to specify the needed type of query. In the given case, the “Jet Appointments Booking Query” option should be picked to query appointments. Once set, the “Jet Appointments Booking Query” option activates the JetAppointments Query settings block;
- Custom Query ID — an optional field to connect a query to the JetSmartFilters plugin. The value set here should be identical to the one used in the filter;
- Cache Query — a toggle activated by default, intended to cache the current query. Also, it can be deactivated in case of incorrect query results. If this toggle is enabled, the Cache Expires text field will appear to set a cache expiration time in seconds for an external object cache used (Redis, Memcached, etc.). In the other case, the cache is actual during a single request;
- Register REST API Endpoint — a toggle that is disabled by default, which, if enabled, makes the query results publicly accessible and allows getting the current query data remotely. Once activated, the following fields will be displayed:
- Endpoint Namespace — a text field to insert the endpoint’s first URL segment after the core prefix ‘wp-json’;
- Endpoint Path — a text field to insert the base part of the URL for the endpoint that goes after the namespace;
- Rest API Endpoint URL — a field that shows the generated endpoint URL;
- Restrict Access — a drop-down list to set who can access this endpoint (e.g., “Is public,” “No restrictions,” “Users with selected capabilities,” or “Users with selected roles”);
- Query Arguments — a set of fields (QUERY ARGUMENT NAME and DEFAULT VALUE fields) that allows adding arguments to register them as allowed arguments for the given Rest API endpoint.
JetAppointments Query
This block of settings is available if the “Jet Appointments Booking Query” Query Type is set. The following tabs are included: General, Order & Order By, Date Query, Pagination, and Columns Query.
General
This setting tab contains the following fields:
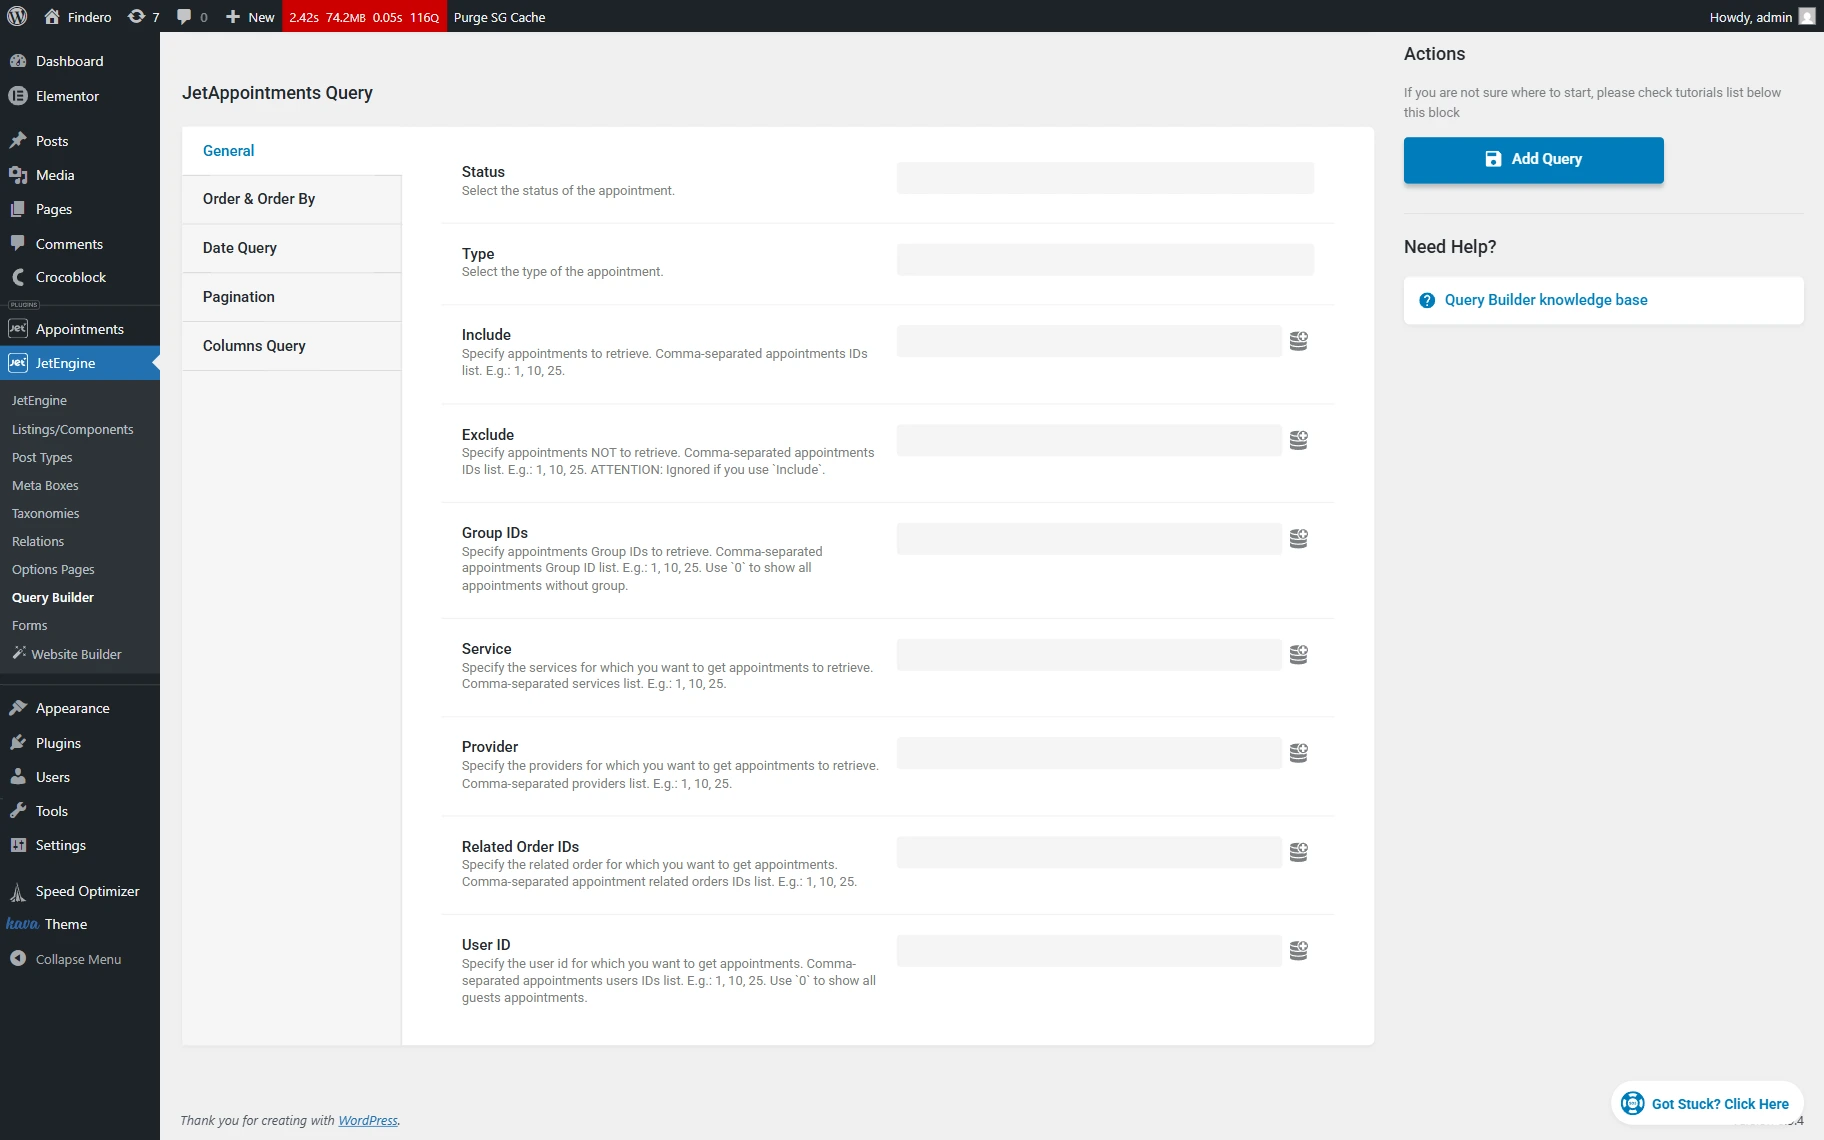
- Status — a drop-down list to set the appointment statuses (e.g., “Pending payment,” “Processing,” “On hold,” “Completed,” “Cancelled,” Refunded, “ and “Failed”;
- Type — a drop-down list to select the type of appointment as “Slot,” “Time Picker,” or “Recurring”;
- Include — a field for appointment item ID(s) that will be retrieved;
- Exclude — a field for appointment item ID(s) that will not be retrieved;
- Group IDs — a field for appointment group IDs that will be retrieved;
- Service — a field for services for which the appointments should be retrieved;
- Provider — a field for providers for which the appointments should be retrieved;
- Related Order IDs — a field for a related order ID(s) for the appointments;
- User ID — a field for user ID(s) for which the appointments should be retrieved.
Order & Order By
The Order & Order By tab is intended to set a specific order for every needed table column. Initially, there are no settings displayed.
To create a new order parameter, the “Add new” button should be pressed.
Once clicked, the settings appear:
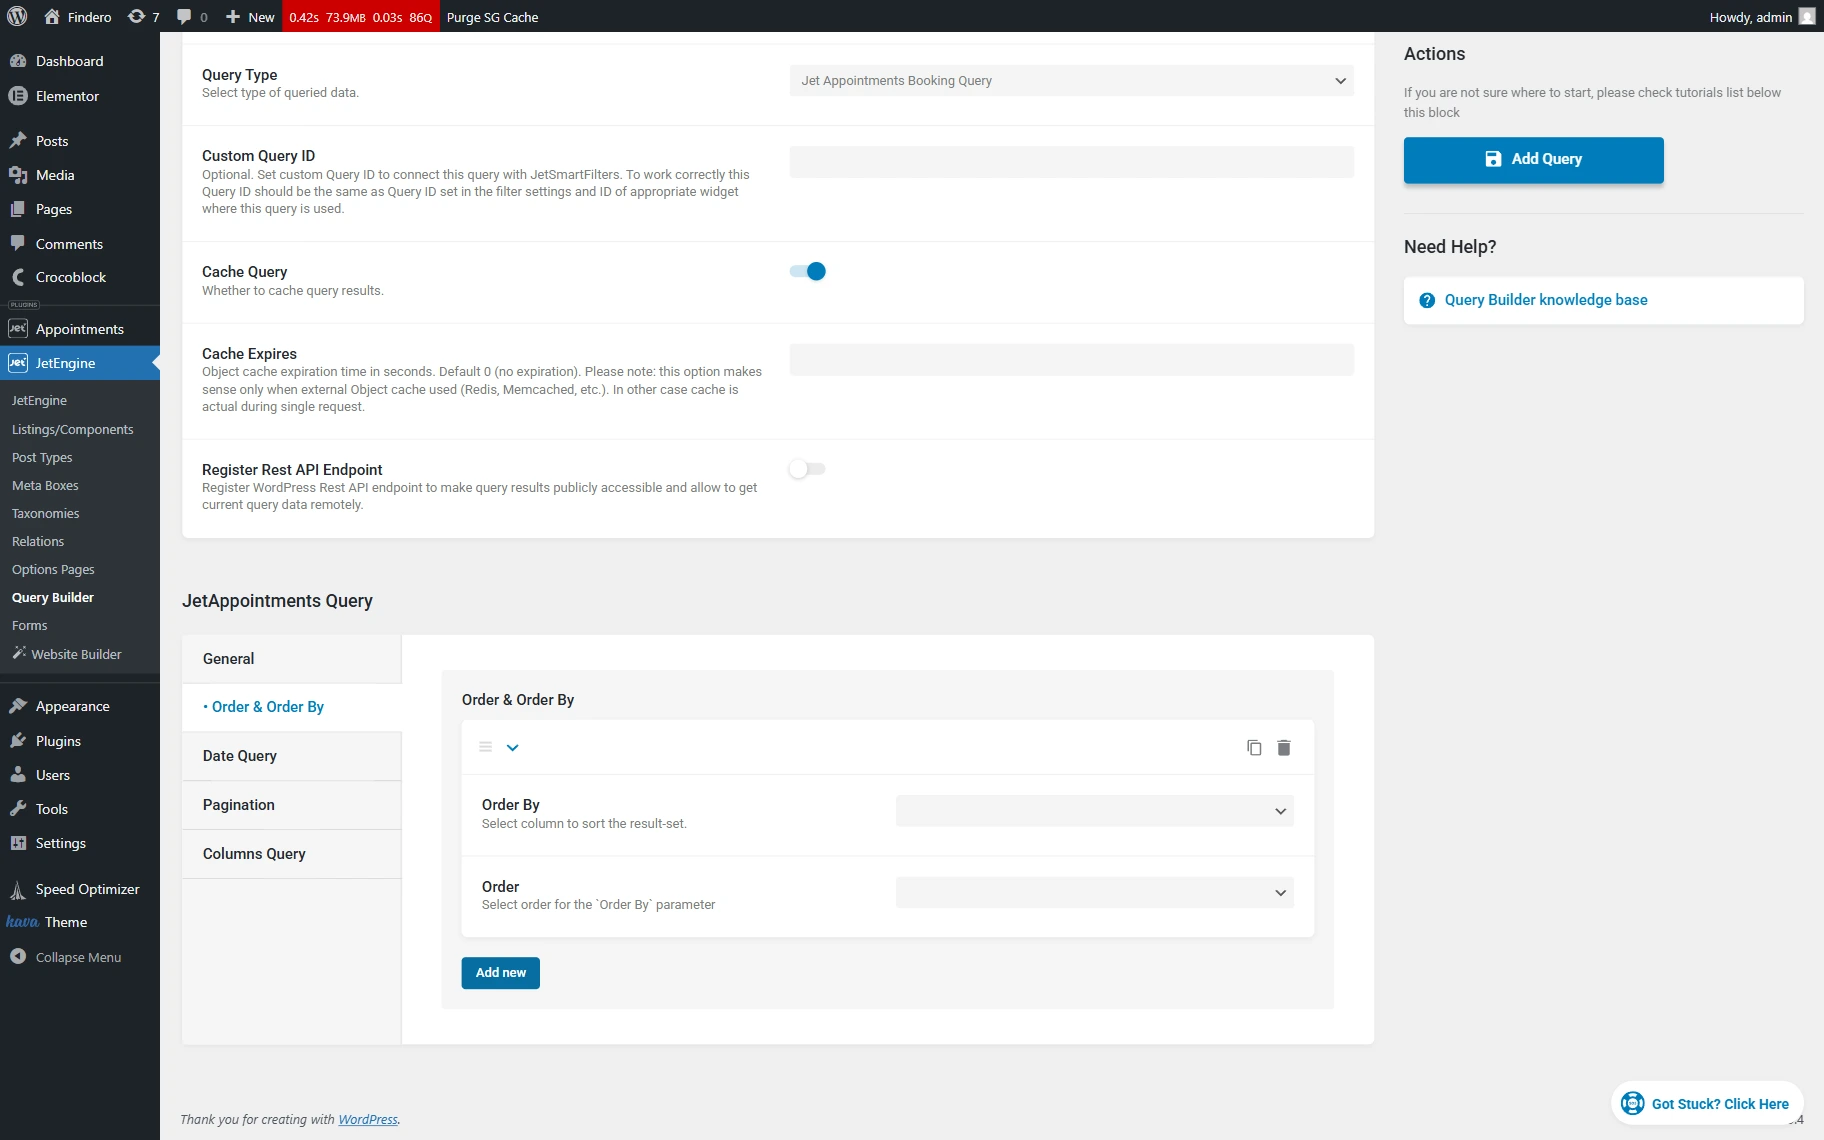
- Order By — a drop-down list with table column names;
- Order — a drop-down list where either ascending or descending order can be picked.
The “Add new” button can be clicked whenever more order parameters are needed.
Date Query
The Date Query tab can be used to display appointments by specific dates.
Like in the previous Order & Order By tab, the “Add new” button should be pushed to create a date parameter.
When the button is pressed, further settings adjustments can be made:
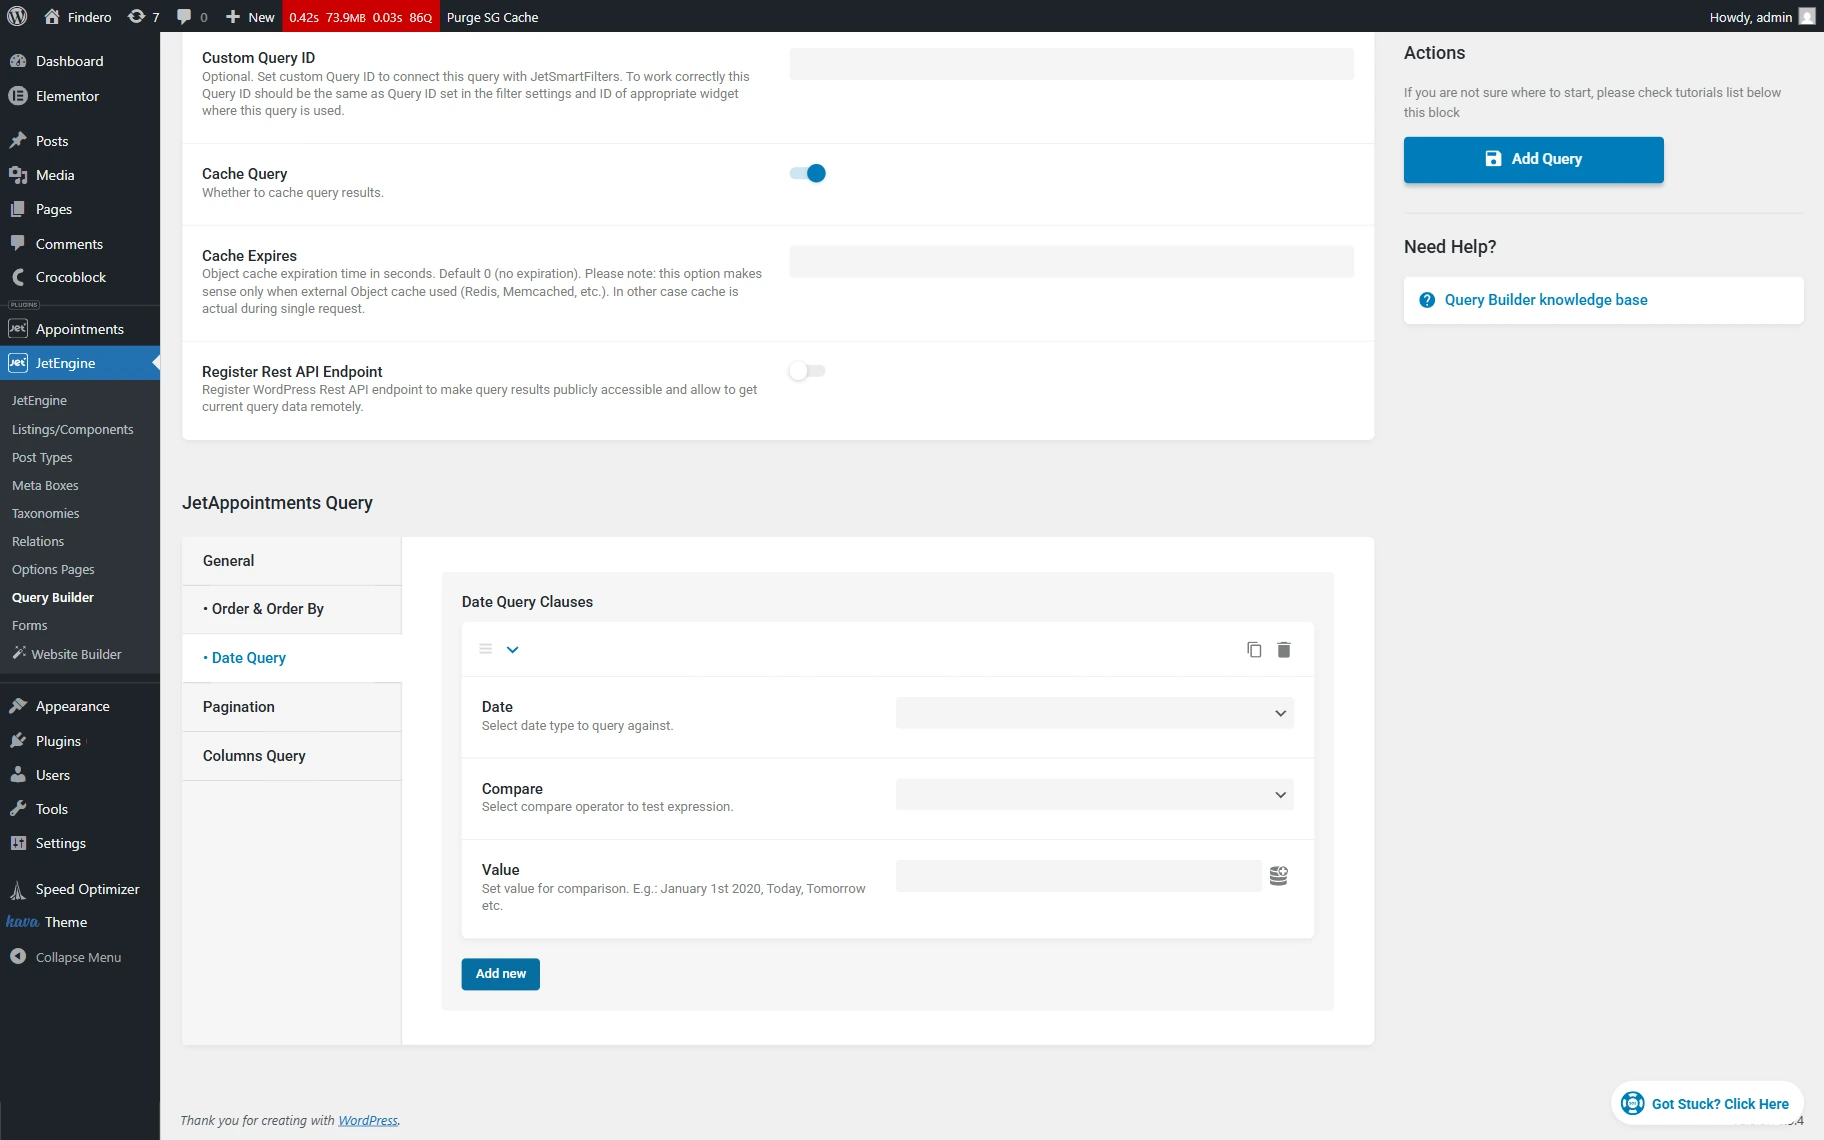
- Date — a drop-down list where either “Appointment Date,” “Appointment Start,” or “Appointment End” can be chosen to query appointments;
- Compare — a drop-down list to specify a compare operator (e.g., “Equal,” “Not Equal,” “Greater than,” and more);
- Value — a text field to insert a value for comparison.
One more parameter can be added by clicking the “Add new” button.
Pagination
The Pagination setting tab is intended to specify the number of items to be displayed on the page:
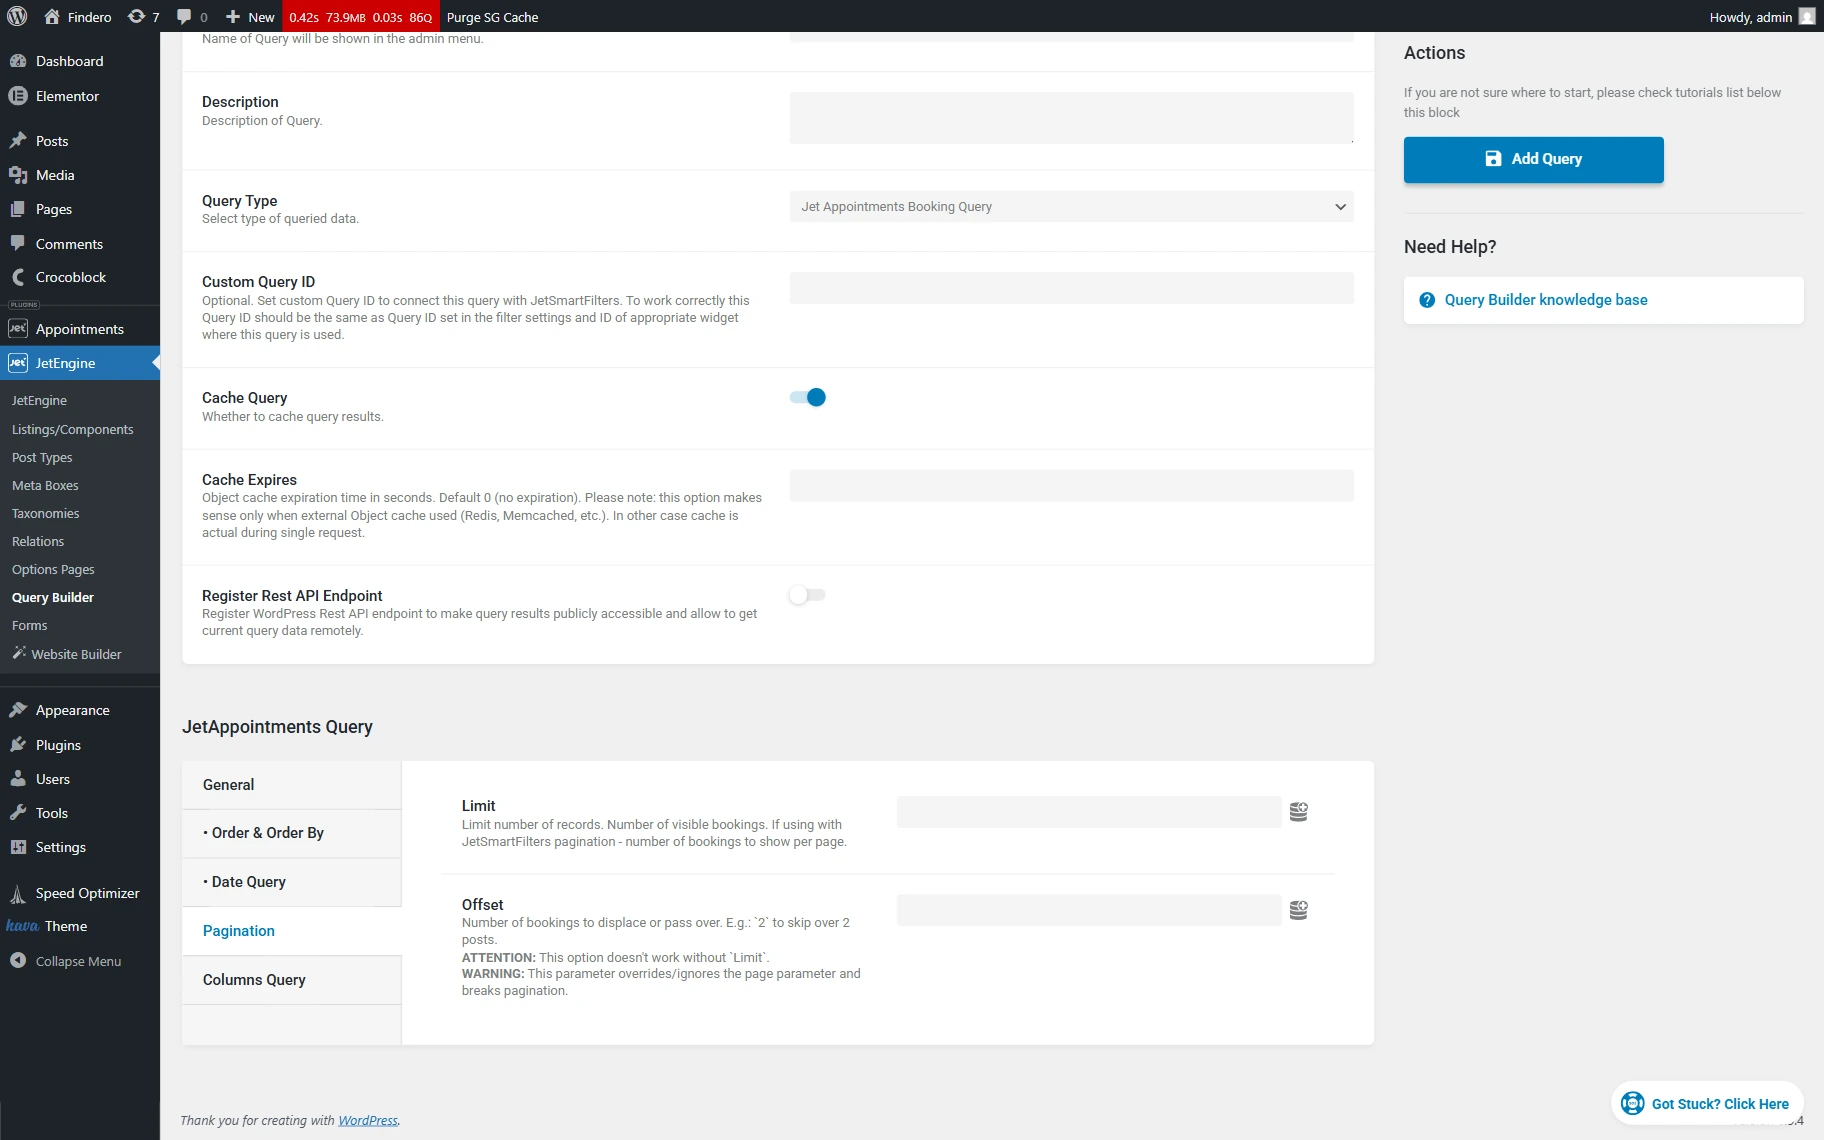
- Limit — a field to insert a number of visible appointments on the page;
- Offset — a field to insert the number of the first appointment that will not be added to the queried result. For the correct operation of this option, breaking pagination and overriding the parameters set by the page builders, the Limit field should be set.
Columns Query
Items will be displayed in this tab if the additional table columns are added. If there are no columns, a message will be displayed informing that there are no additional columns.

Once the custom columns are created in the WordPress Dashboard > JetPlugins Settings > Appointments > Tools tab, the corresponding changes will be displayed in the Columns Query tab.
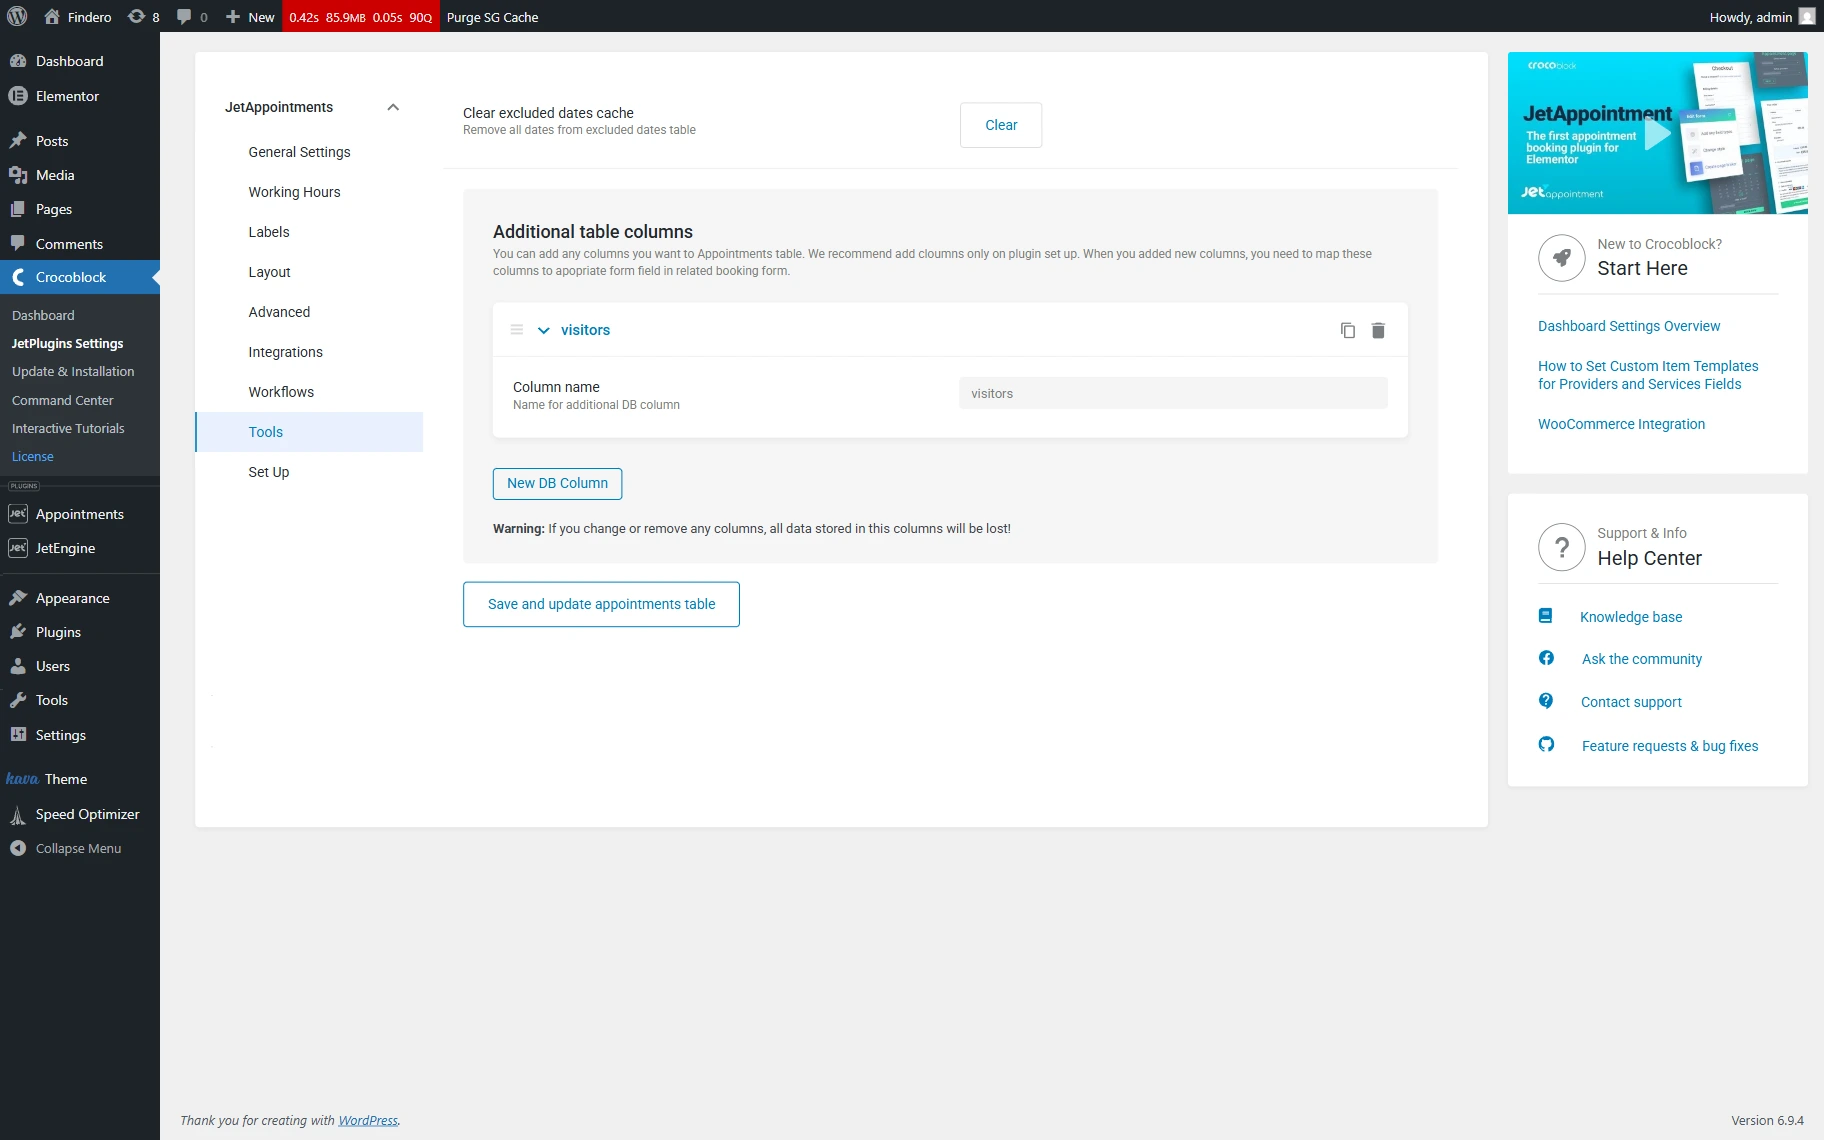
In particular, the “Add new” button will be displayed to insert the Columns Query Classes block of fields. Pressing the “Add new” button provides customization of the following fields:
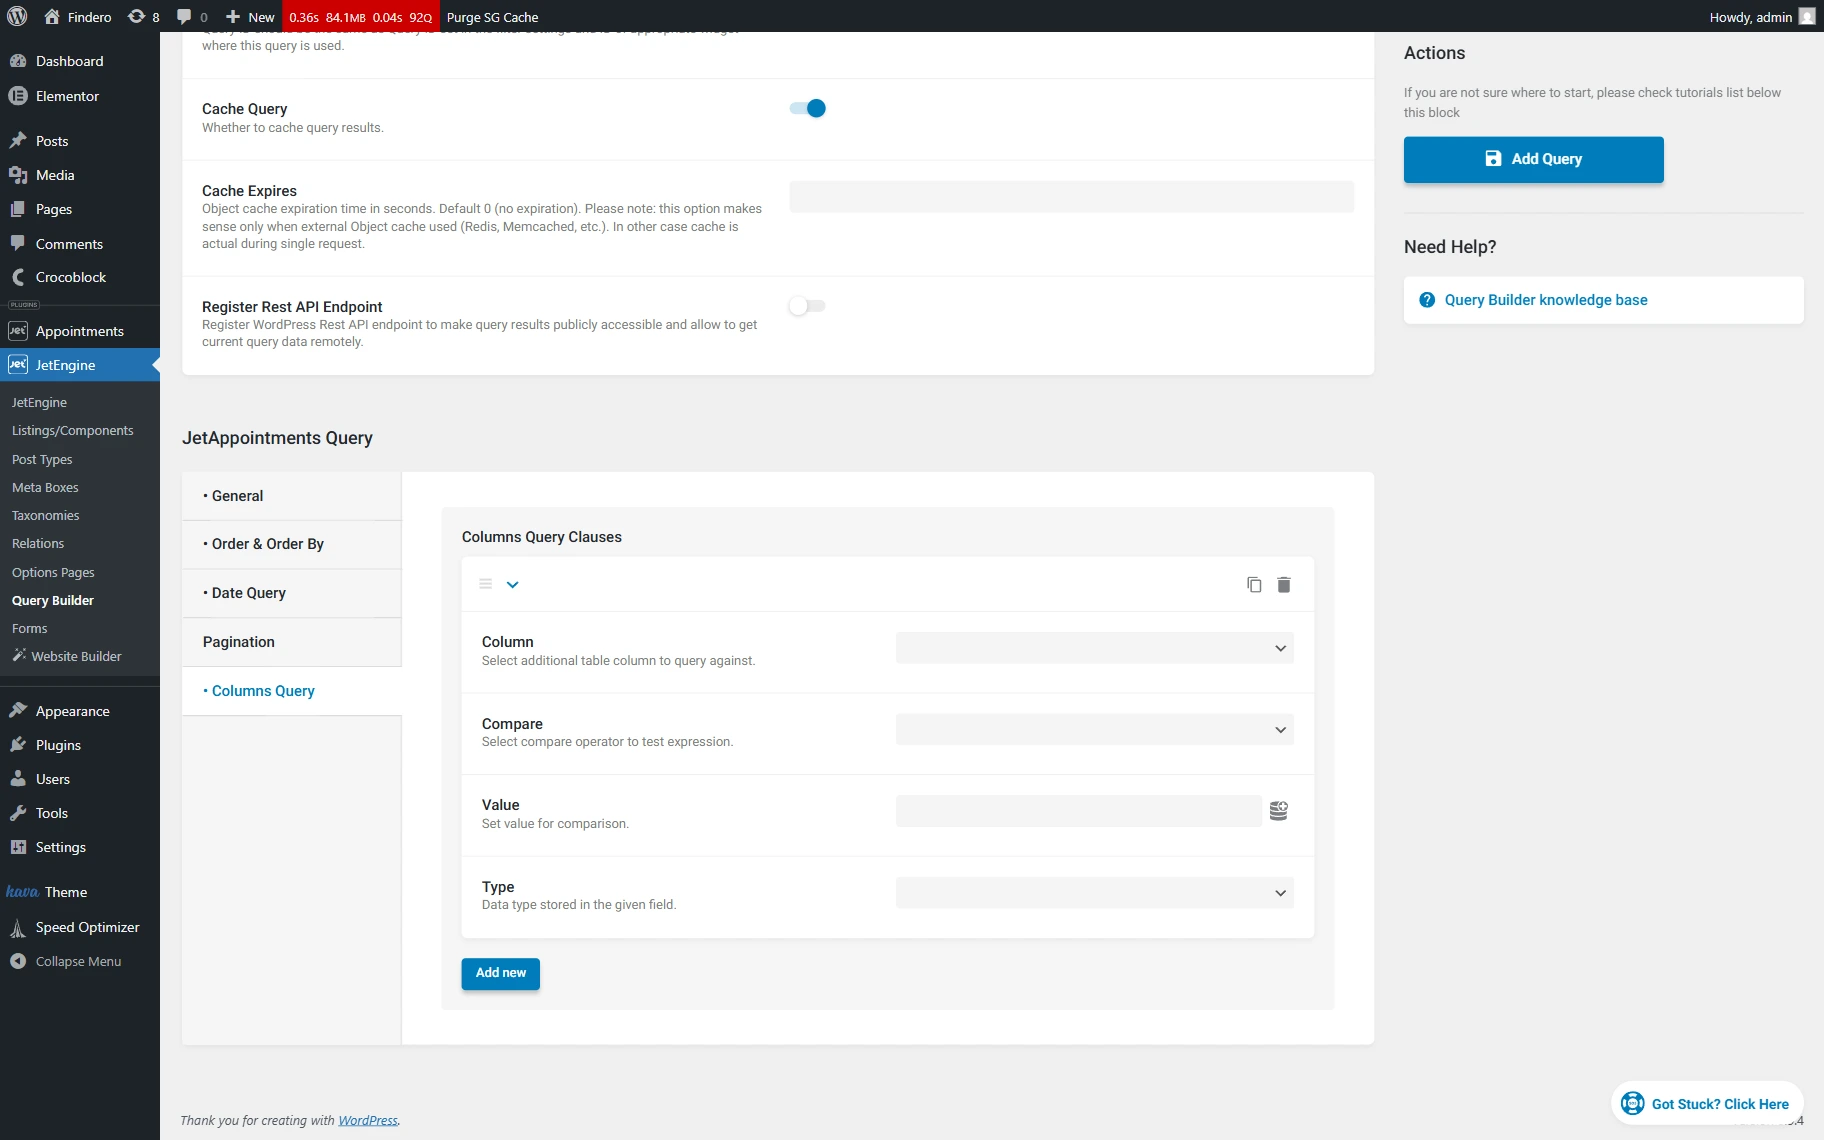
- Column — a drop-down list of the available additional table columns;
- Compare — a drop-down list to select a compare operator between the Column and the Value;
- Value — a field to insert or select a value for comparison;
- Type — a drop-down list to choose a data type stored in the given field.
That’s all about the “JetAppointments Booking Query” Query Type based on the Query Builder functionality from JetEngine and bookings from JetBooking for your WordPress website.