How to Create a Query Builder Listing Template
This guide explains how to create a Listing Template based on a custom query built with JetEngine Query Builder and display it using Listing Grid.
Before you start, check the tutorial requirements:
- WooCommerce plugin (Free version) installed and activated
- JetEngine plugin installed and activated
In this tutorial, we will create a Listing template that displays published posts filtered by a specific taxonomy term.
We will use the “Posts Query” Query Type to display the Custom Post Type (CPT) data in the listing, but the same workflow applies to any other supported Query Type in Query Builder.
Create a Query with the Query Builder
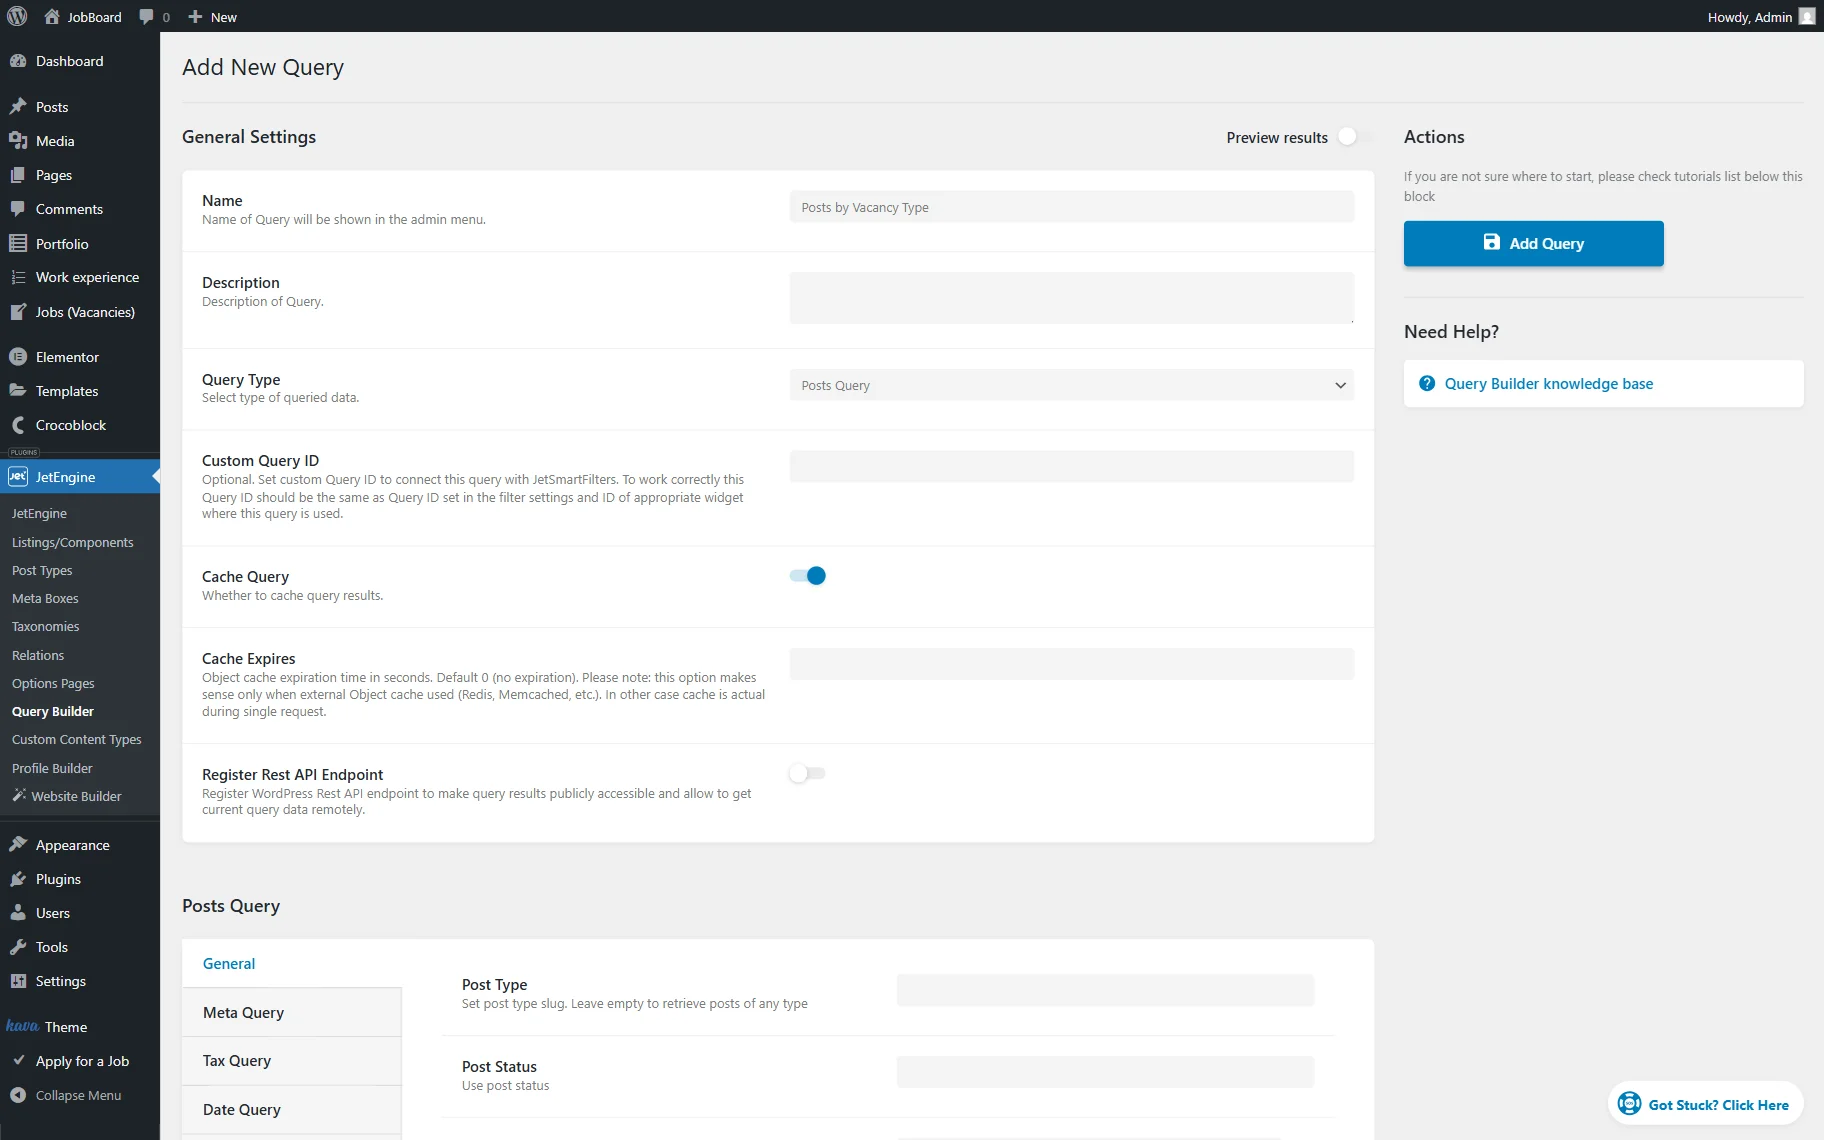
Navigate to WordPress Dashboard > JetEngine > Query Builder and press “Add New.”
Enter the descriptive Name (here, “Posts by Vacancy Type”) and set the desired Query Type to retrieve the needed type of data. For example, we select the “Posts Query” option.
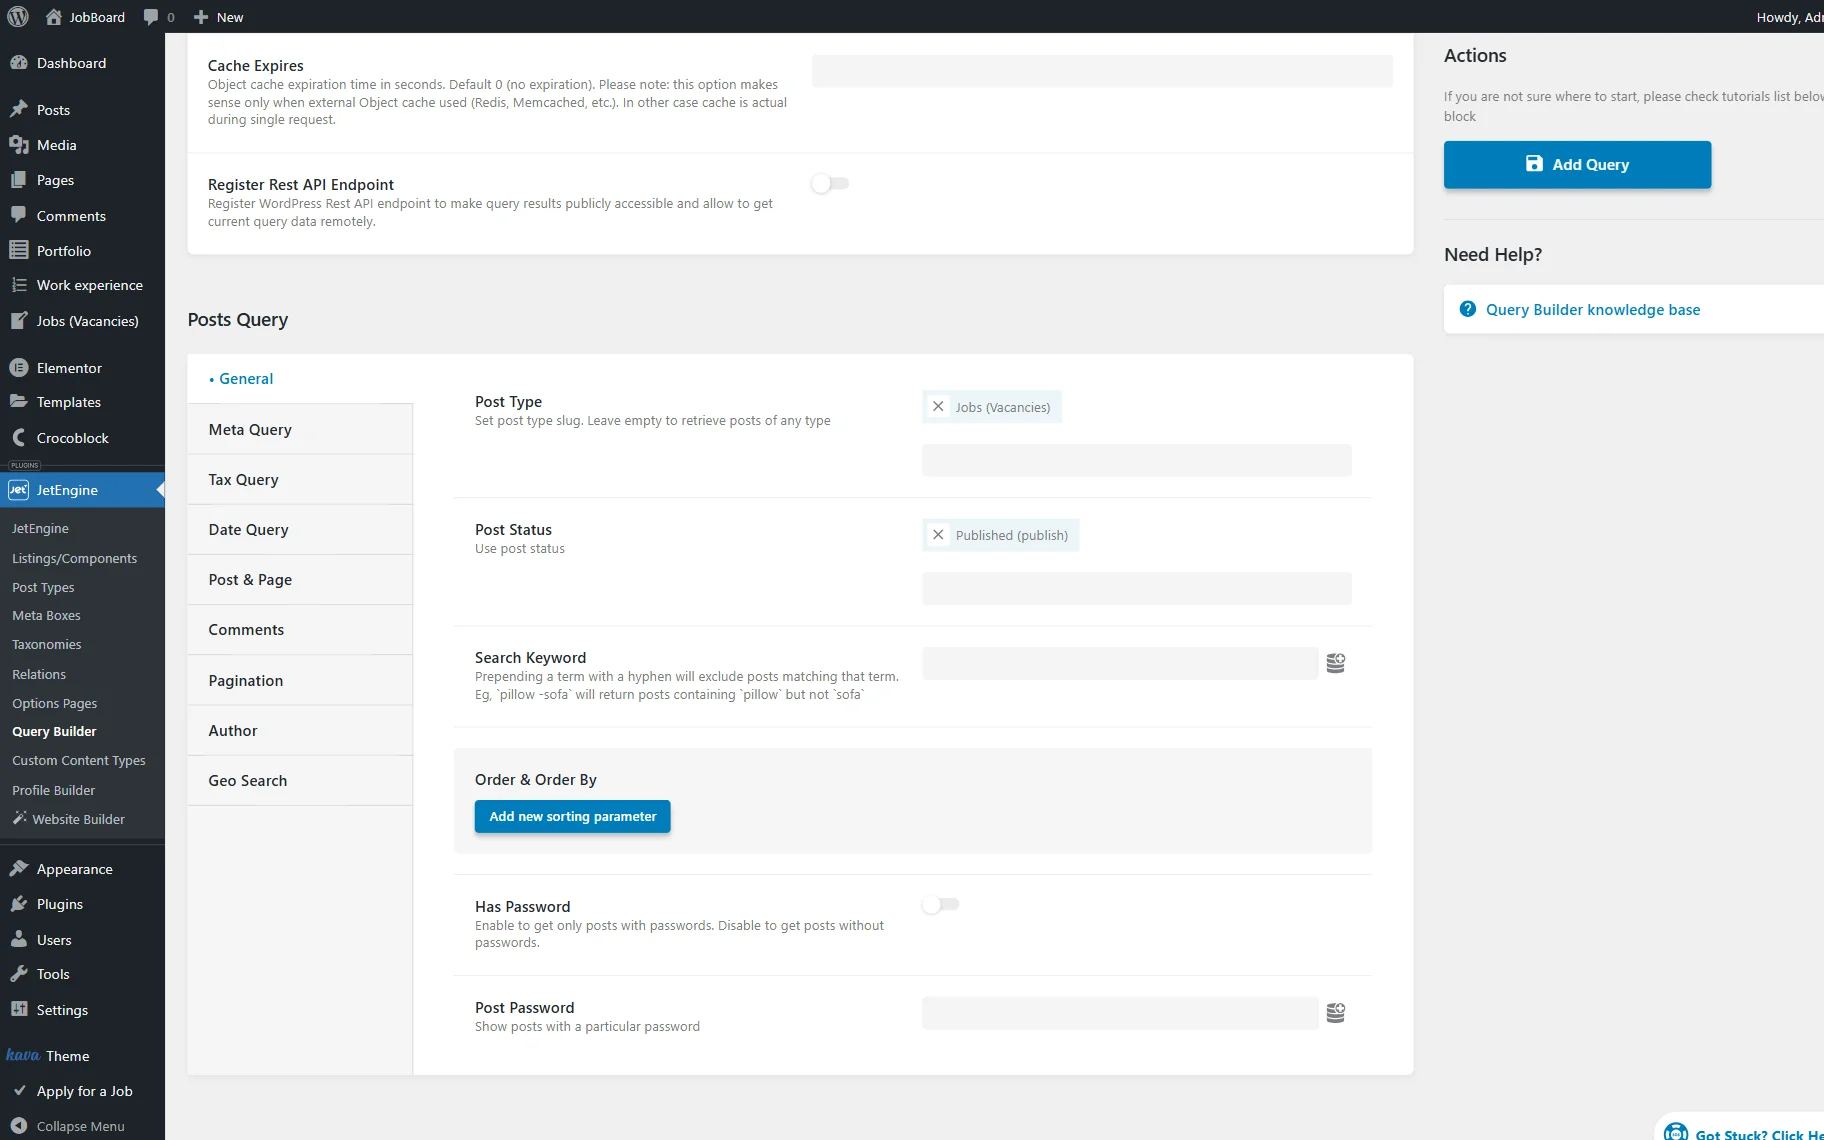
Next, we pick the “Jobs (Vacancies)” Post Type (the CPT created beforehand) and the “Published (publish)” Post Status in the General tab of the query settings.
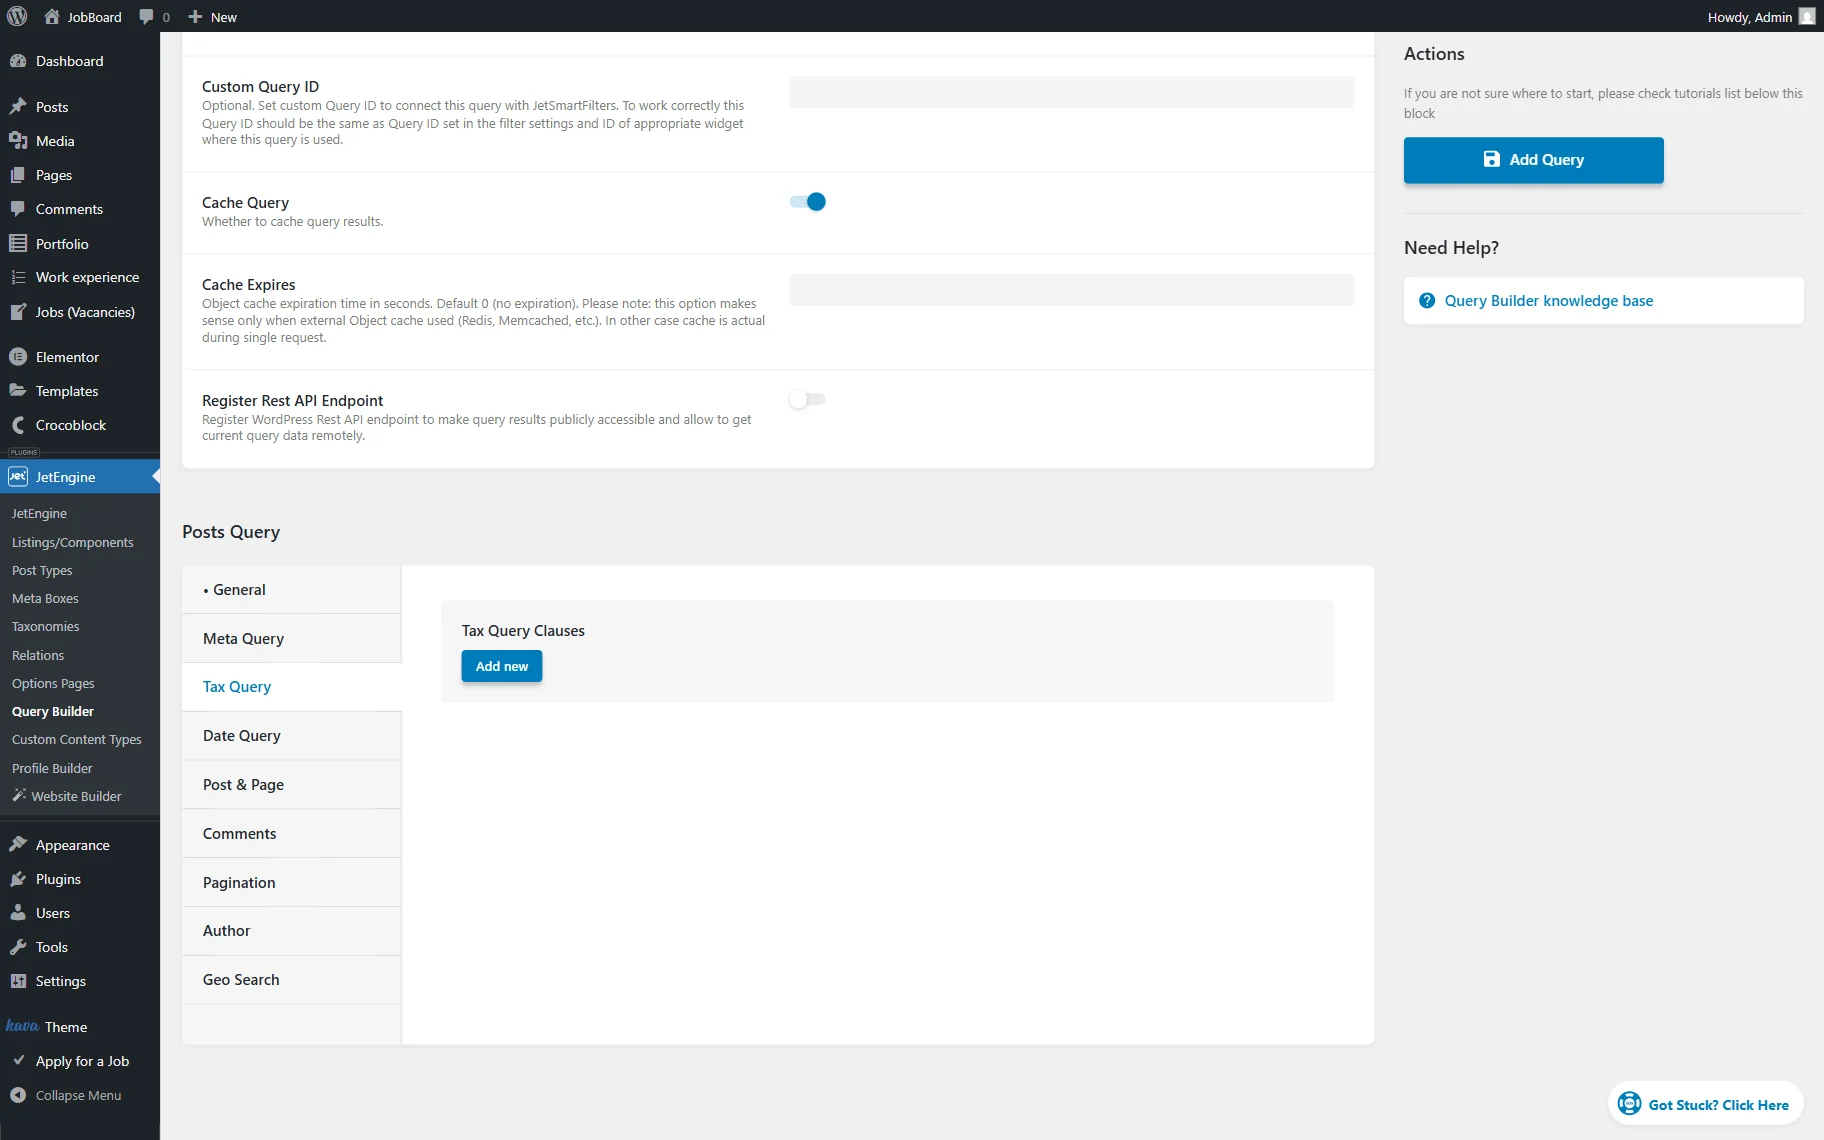
After that, we switch to the Tax Query tab and press the “Add new” button.
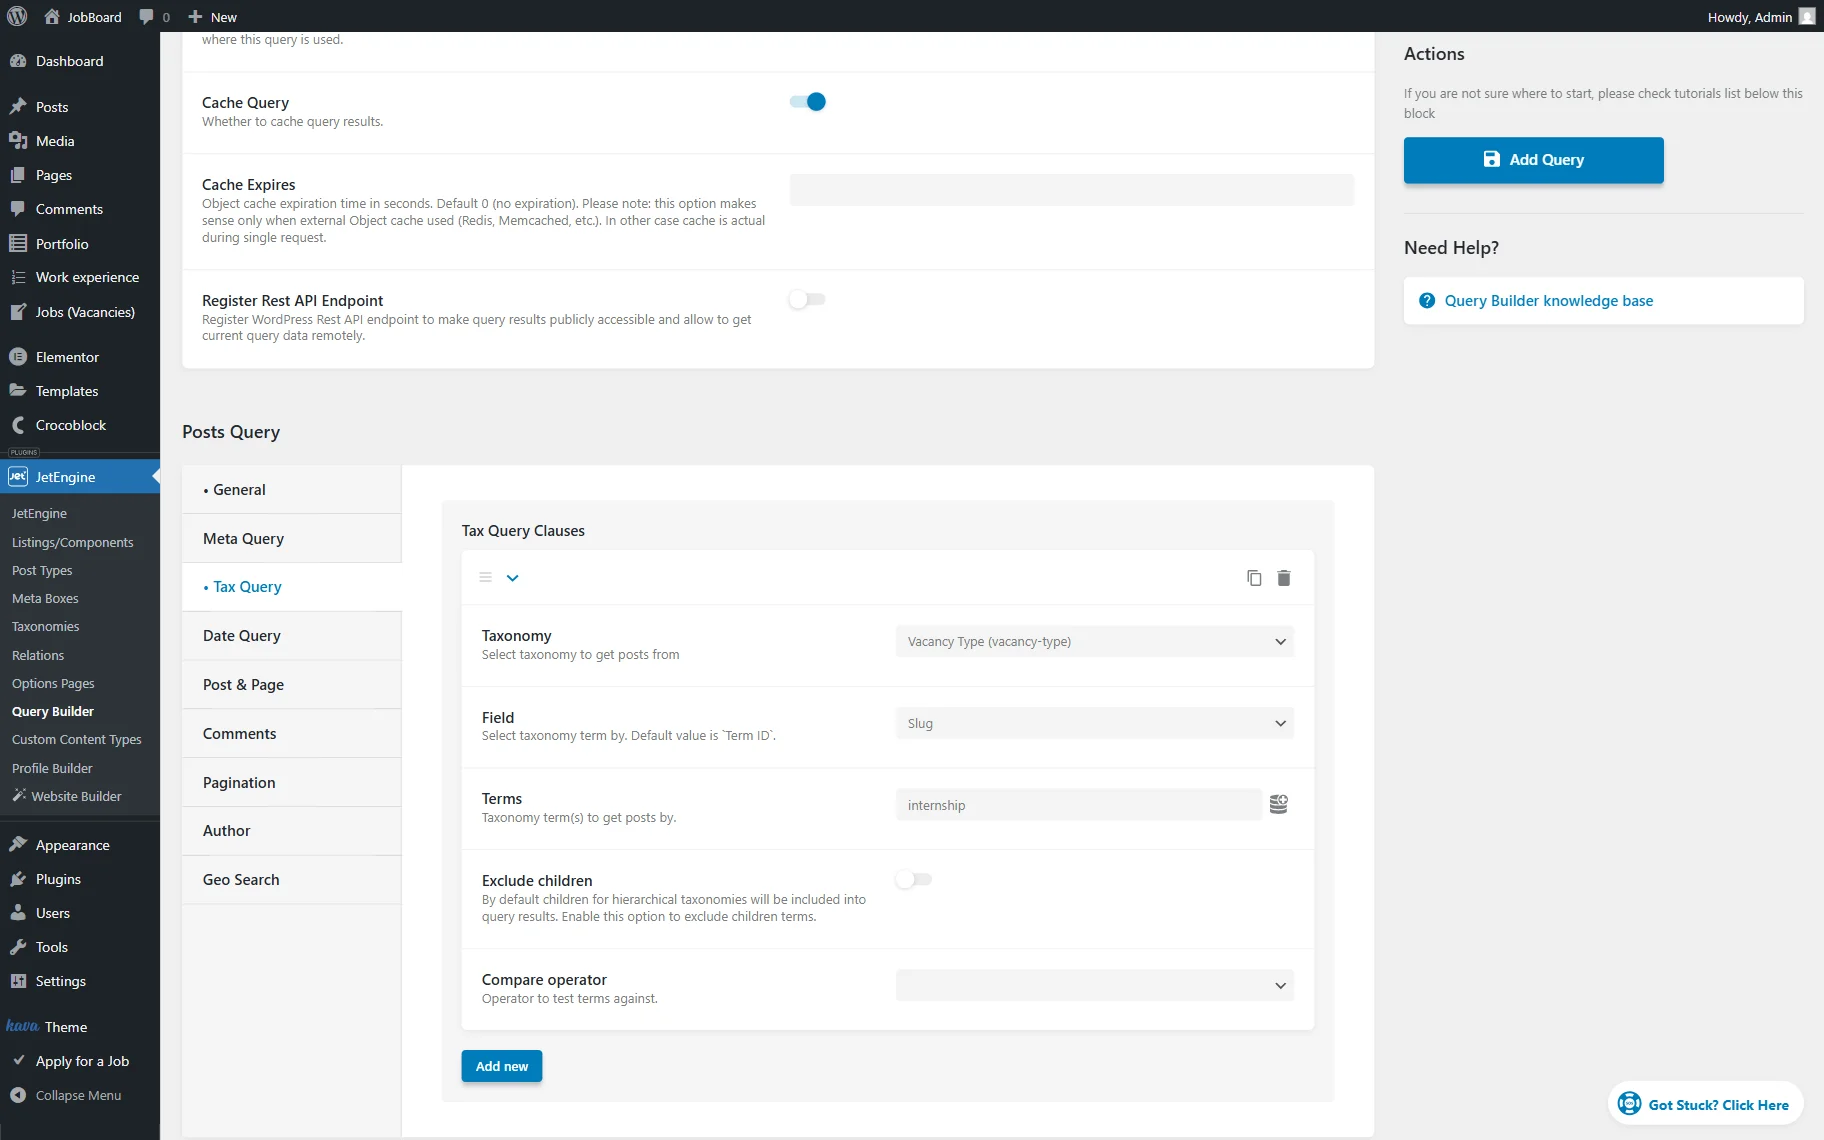
In the Tax Query Clauses section, we select the “Vacancy Type” Taxonomy, a custom taxonomy previously built. Then we set the Field to “Slug” and specify the Terms we want to display. In this tutorial, it’s “internship,” which is the slug of the needed term.
This way, the query will retrieve only published posts from the selected term.
The basic setup for the query is done.
Once you are ready with your query, click the “Add Query” button to save the changes.
Build a Listing Template with Query Builder Source
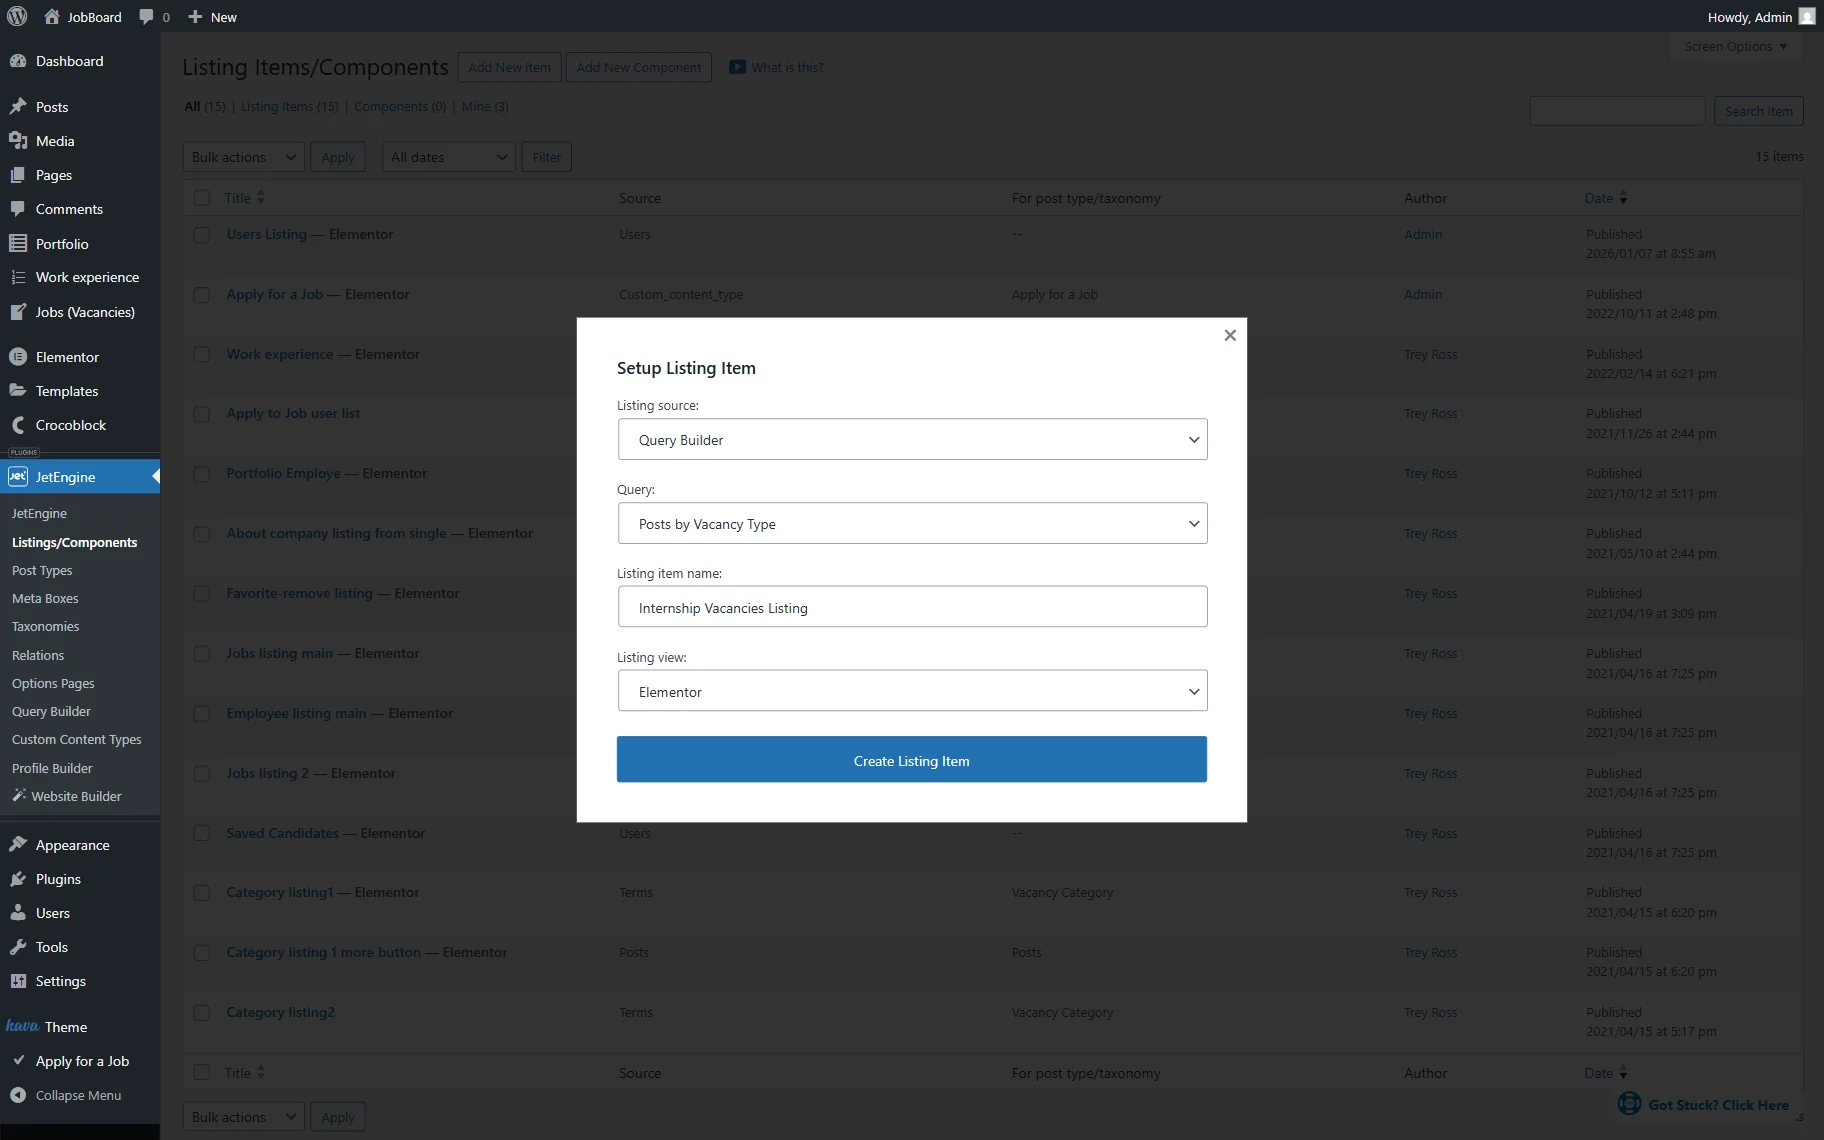
Let’s build a Listing template. To do it, head to WordPress Dashboard > JetEngine > Listings/Components and press the “Add New Item” button.
In the opened pop-up, select the “Query Builder” Listing source and pick the just-built Query.
Then, set the Listing item name (for example, “Posts by Vacancy Type”) and select the preferred page builder in the Listing view field. In this tutorial, we select “Elementor.”
Push the “Create Listing Item” button to proceed to the editor.
Now you can design the listing layout and dynamically output the post data.
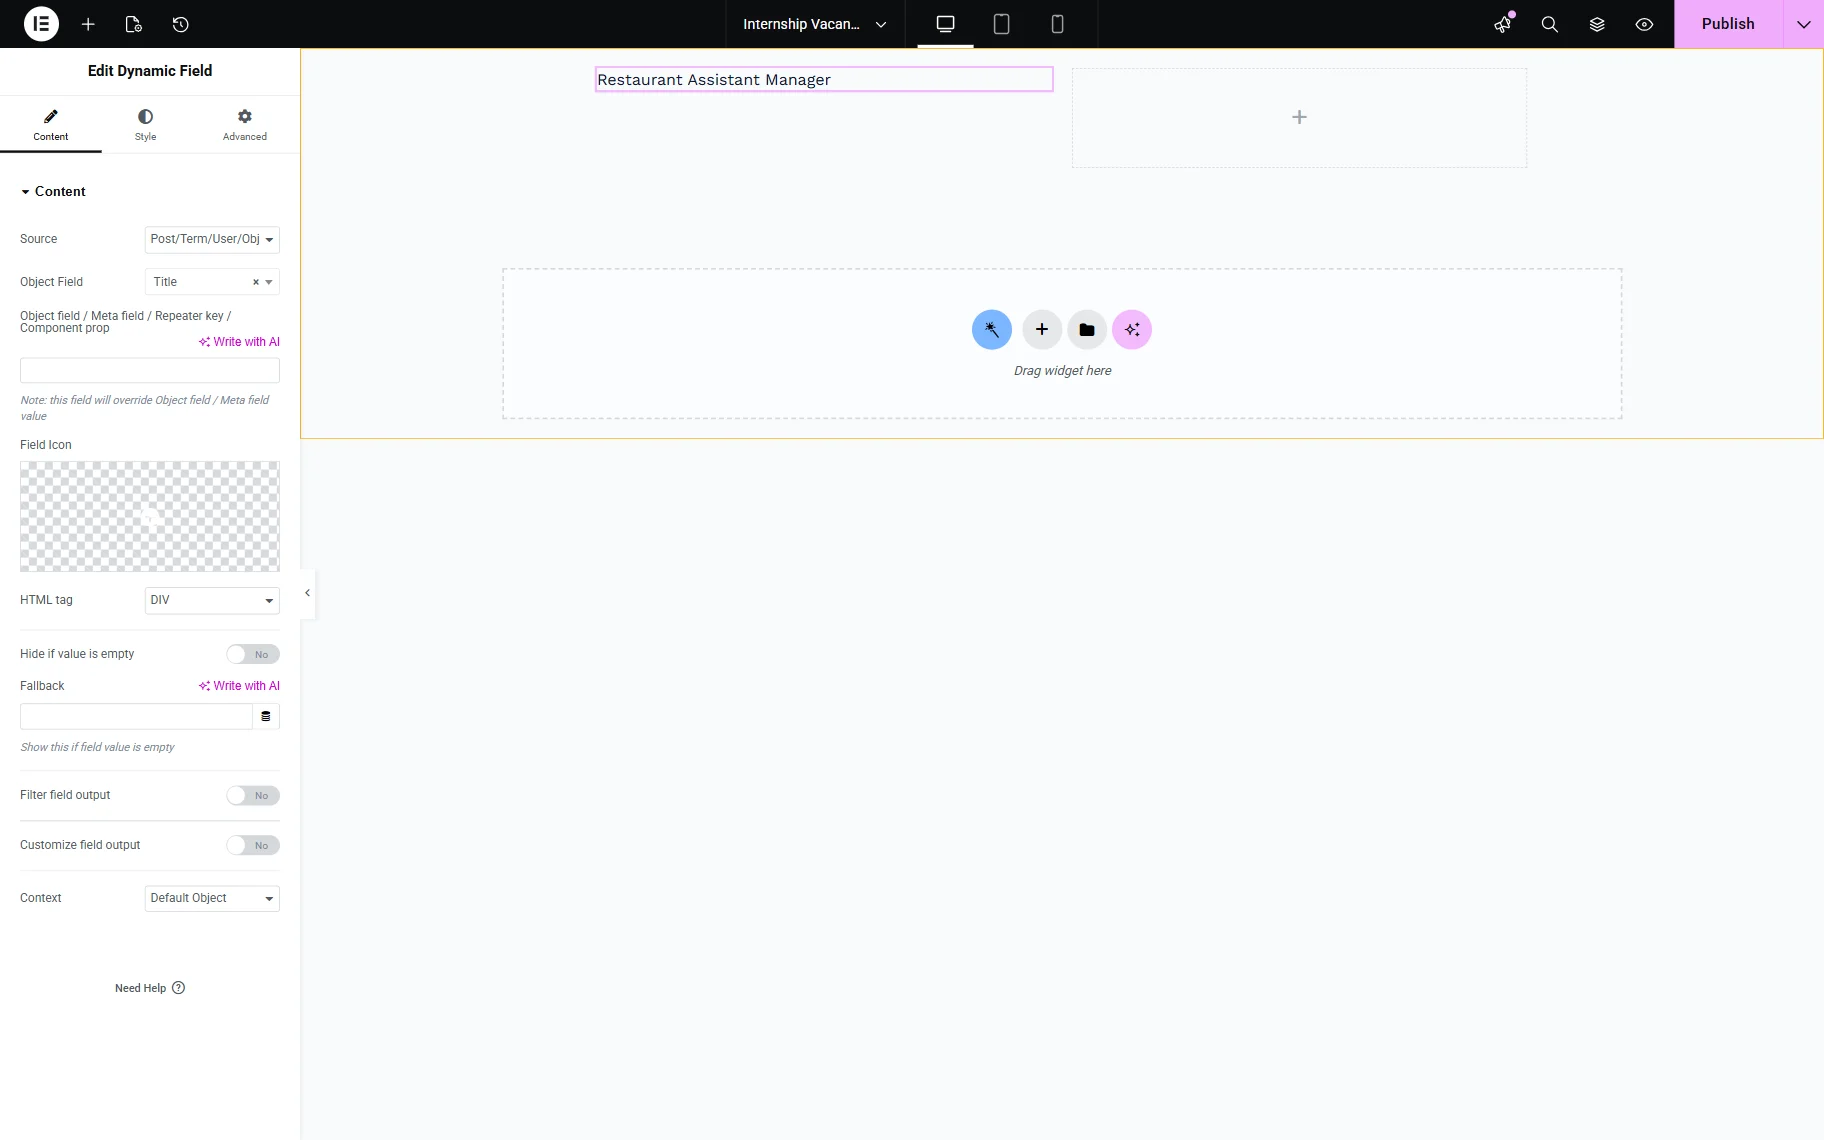
Initially, we will add two columns. In the first column, we will display the post title. To do this, we add a Dynamic Field widget, set the Source to “Post/Term/User/Object Data” and Object Field to “Title.”
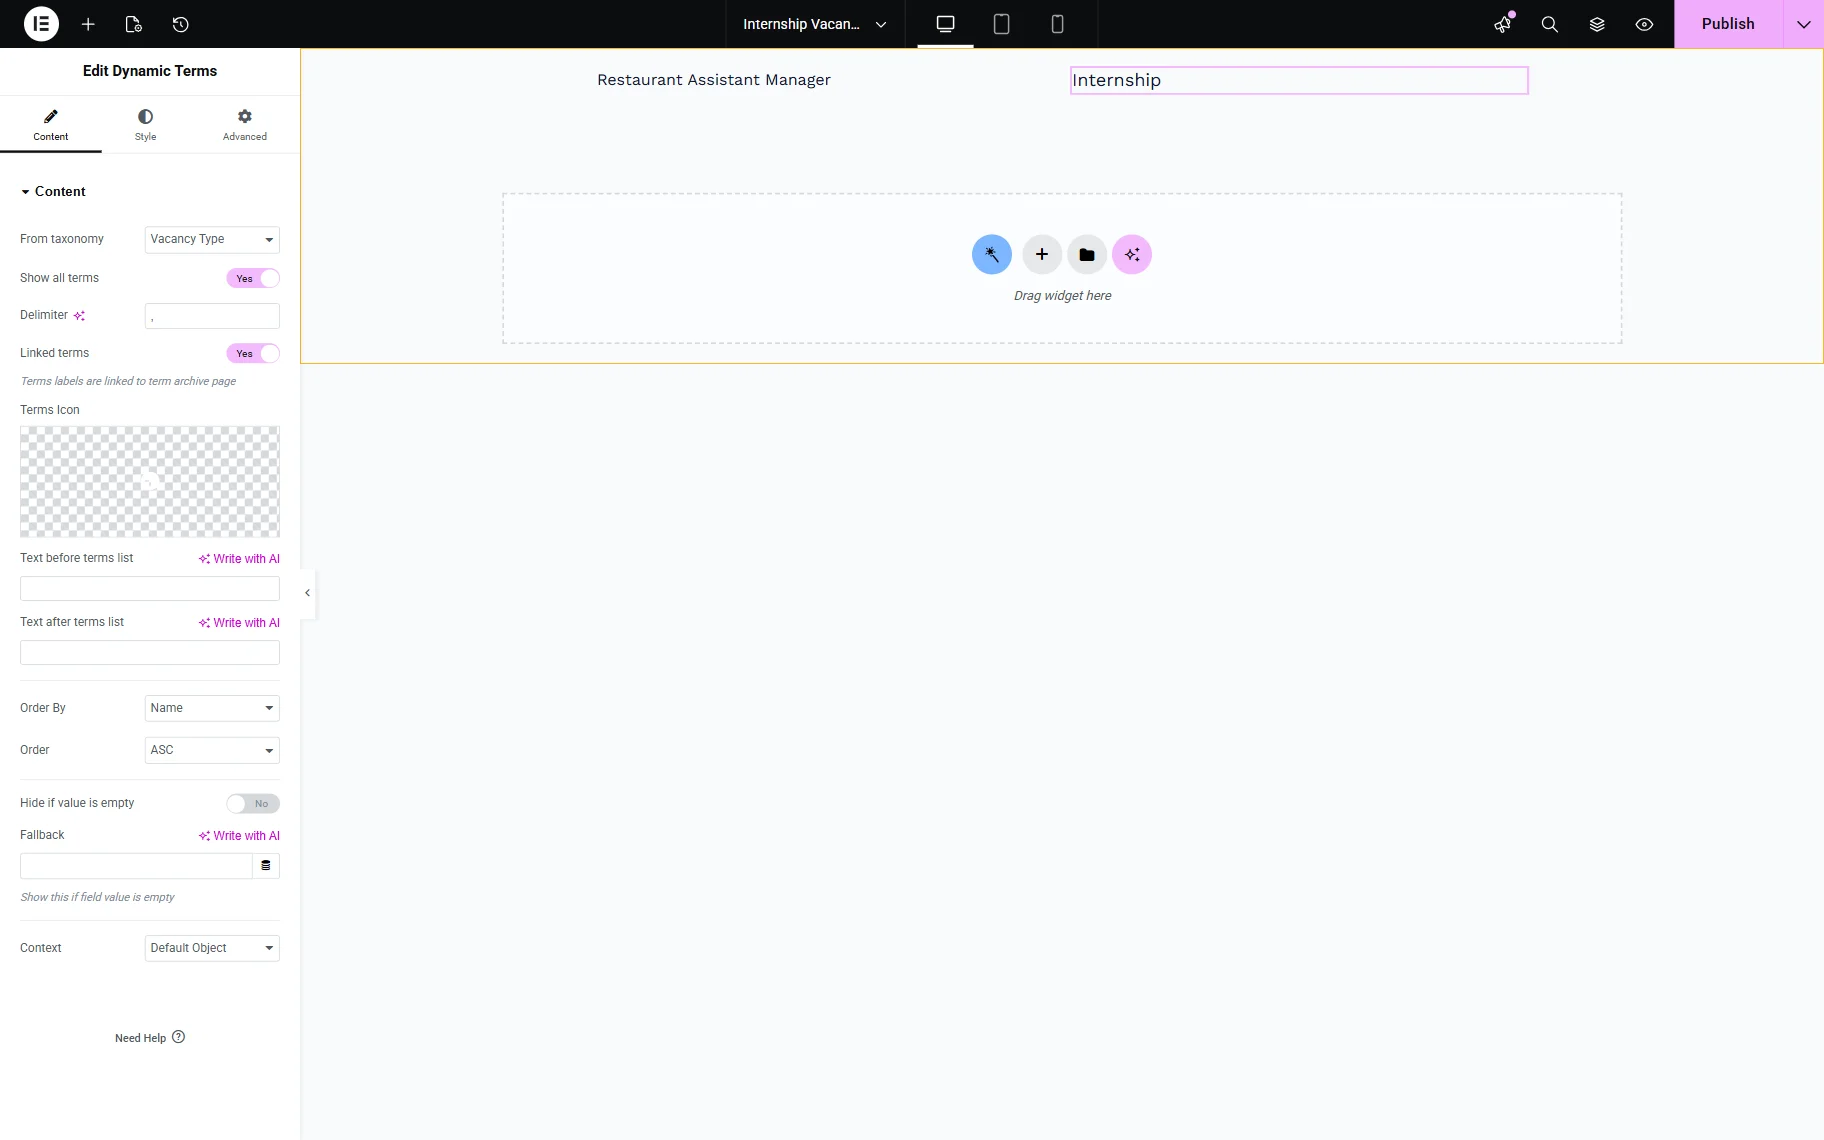
In the second column, we add the Dynamic Terms widget and select the “Vacancy Type” option in the From taxonomy dropdown list. This way, the vacancy type will be displayed next to the title.
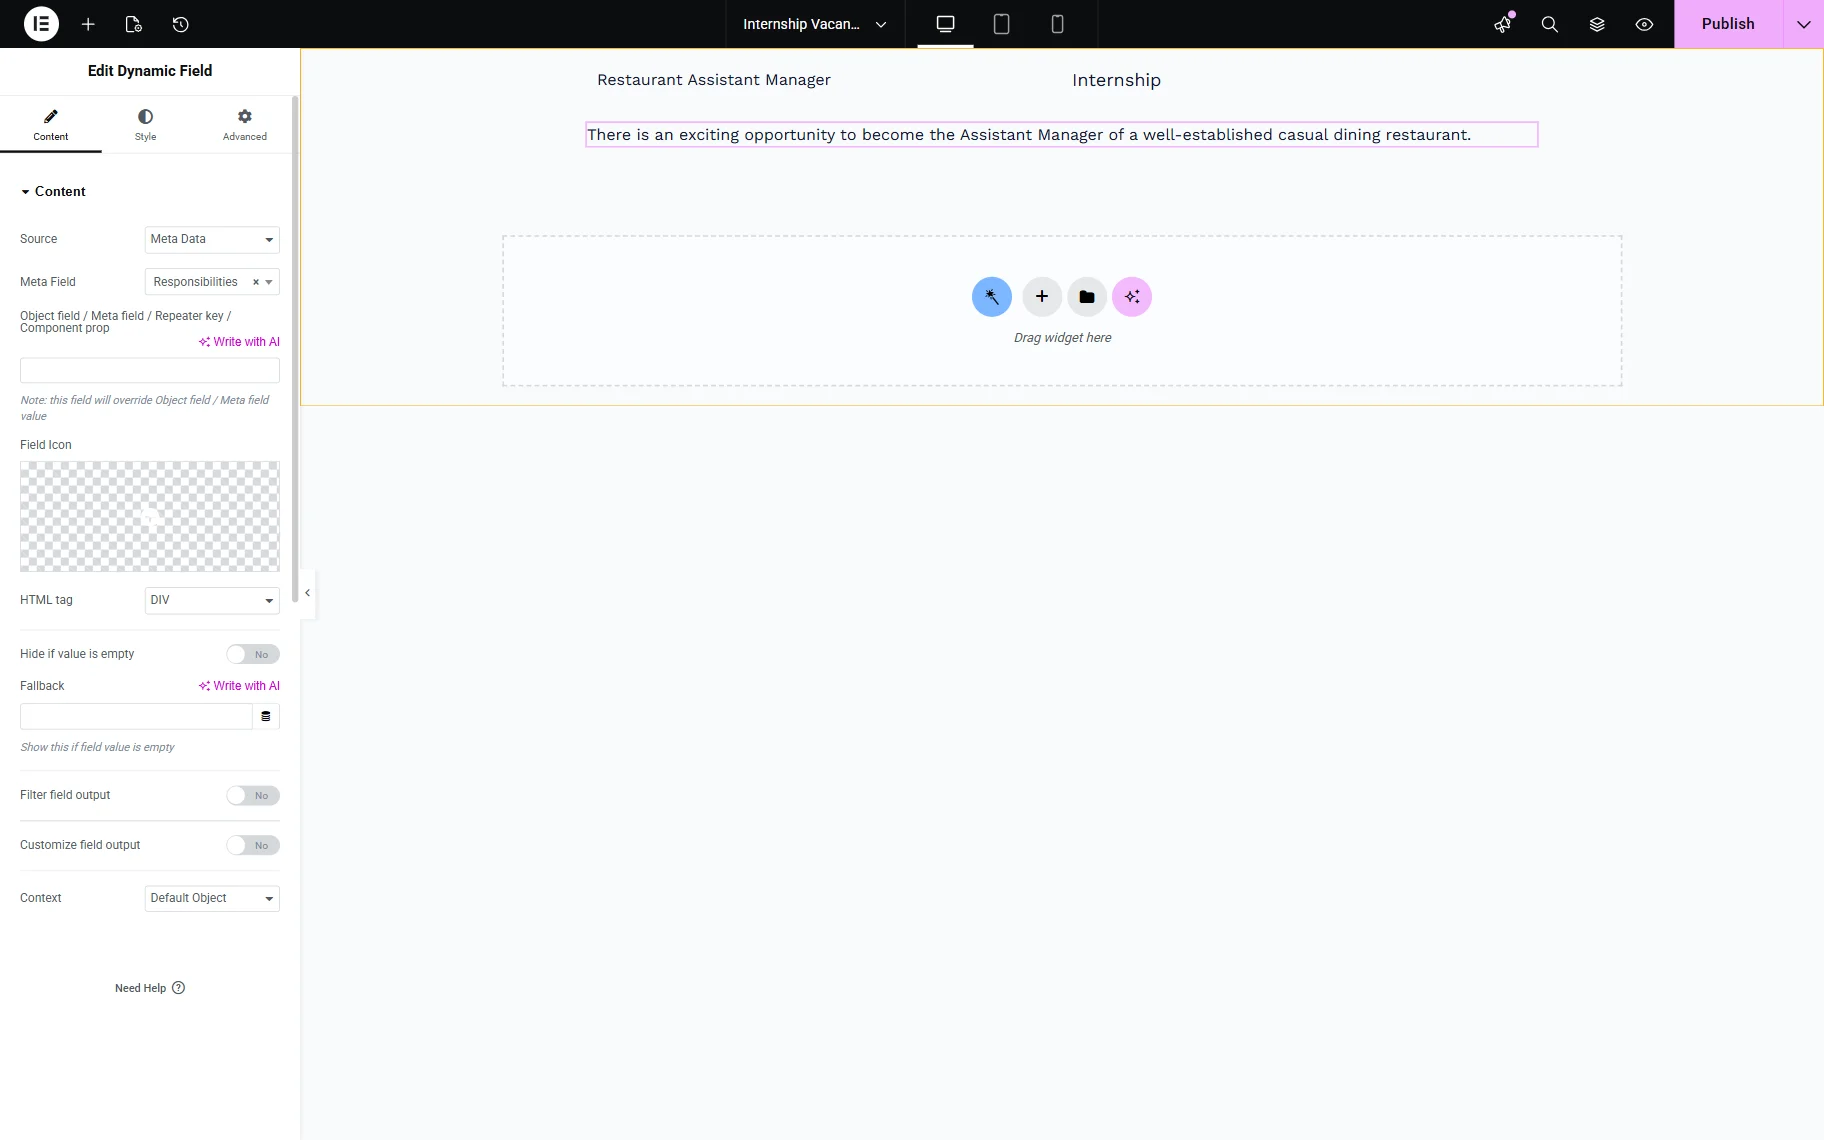
After that, we want to display the vacancy responsibilities stored in the CPT’s meta field.
So, we add a Dynamic Field widget in the new section below the one with two columns. In its Content settings, we set the Source to “Meta Data” and select the required Meta Field (in our case, “Responsibilities”). We built and completed the corresponding meta field in the posts beforehand.
Also, we add a Divider to the listing for styling purposes.
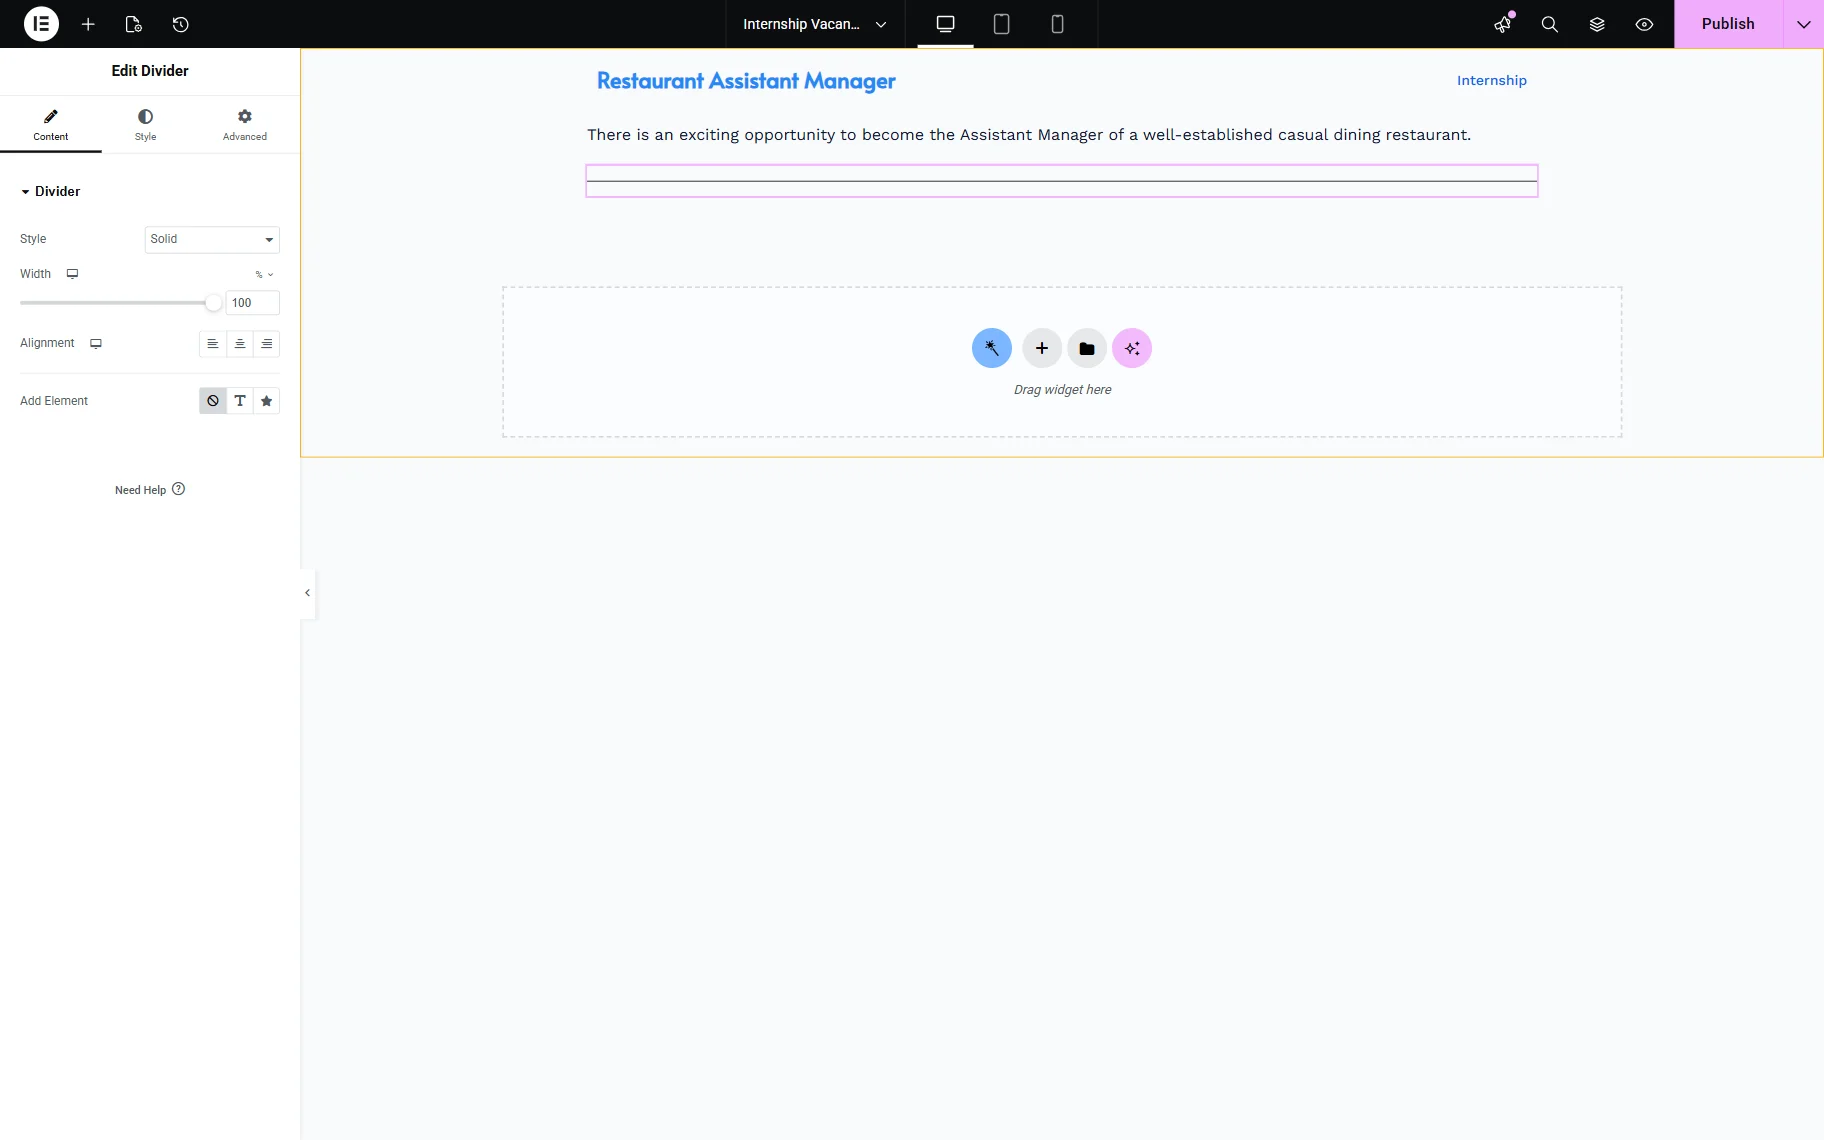
Add the necessary content to the listing and style it. Publish the listing template when it’s ready.
Display the Template with Listing Grid
The Listing Template is completed. Now we can output it on a needed page or template using the Listing Grid widget.
We go to the WordPress Dashboard > Pages and click the “Add New” button to build a new page.
Add a Listing Grid to the page and select the just-built Listing.
We also change the Columns Number to “1”.
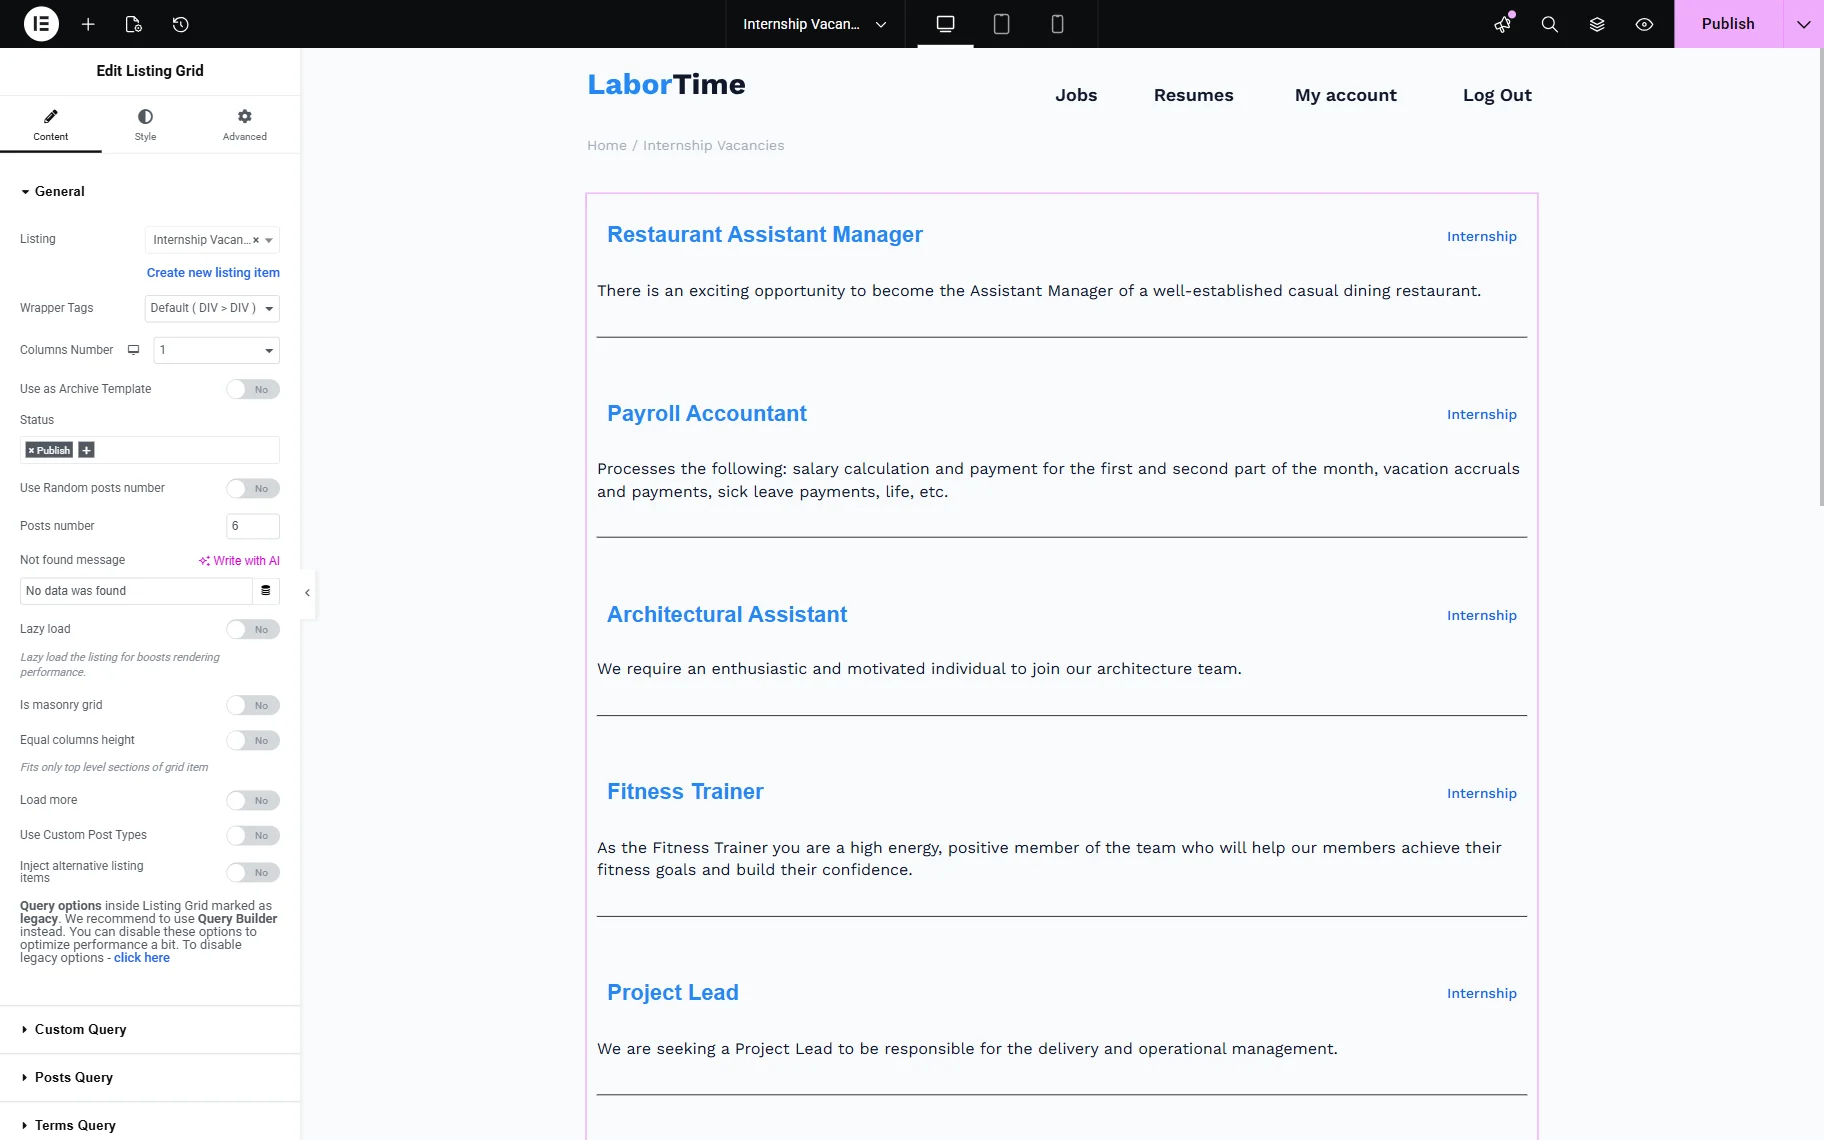
Work on other Listing Grid settings if needed and, when ready, press the “Publish” button.
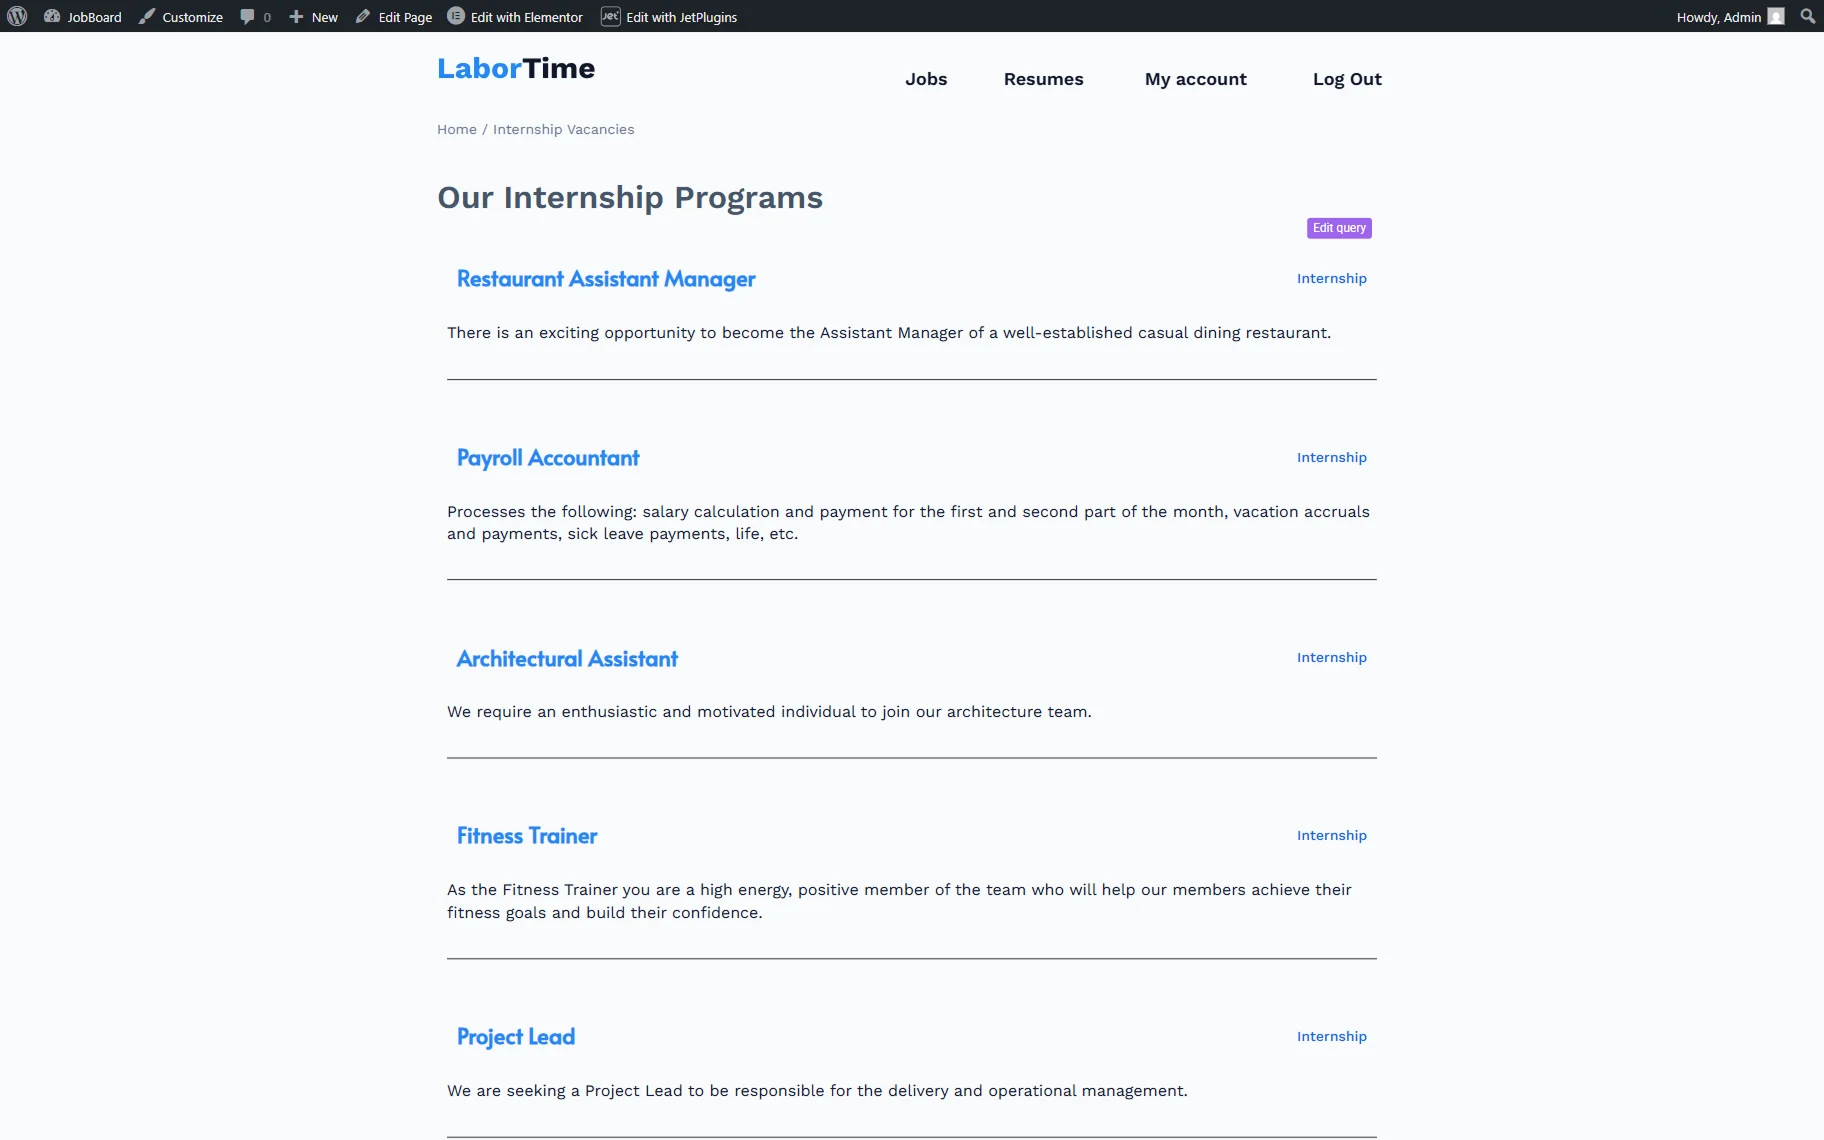
Check the Result
Open the built page on the front end. Now the Listing Grid shows posts retrieved by the custom Query Builder query, using a Listing template.
Also, check our How to Build a Listing for WooCommerce Product Review guide.
That’s all; now you know how to create a Listing Template based on the Query Builder from the JetEngine plugin functionality for your WordPress website.