How to Combine Results of Multiple Custom Queries into One Custom Query
This tutorial covers the topic of using Query Builder to show results from more than one query in just one Listing Grid.
Before you start, check the tutorial requirements:
- Elementor (Free version) or WordPress Block editor (Gutenberg)
- JetEngine plugin installed and activated
Let us clarify which results you can get via this approach.
There is a case when you need to show, e.g., Bestseller Woocommerce products first, and then other products by certain product categories in just one Listing Grid widget.
Another use case is when the posts from different JetEngine Data Stores need to be displayed in one Listing Grid.
There is also a case when the posts or users need to be queried by the Switcher meta field. Firstly you may need to show the items that have the Switcher in the enabled state and, after them, the items that have the Switcher in the deactivated state. We will see how this case can be implemented in the instructions below.
To sum up, the general idea is to provide different orders/queries for different parts of the Listing Grid since such a request exceeds the opportunities of just one custom query.
Add a Meta Field into the Meta Box Used in the Query
Before you start, ensure to create a Meta Box for users in the JetEngine > Meta Boxes tab. More details can be found in the How to Apply Meta Boxes to Users tutorial.
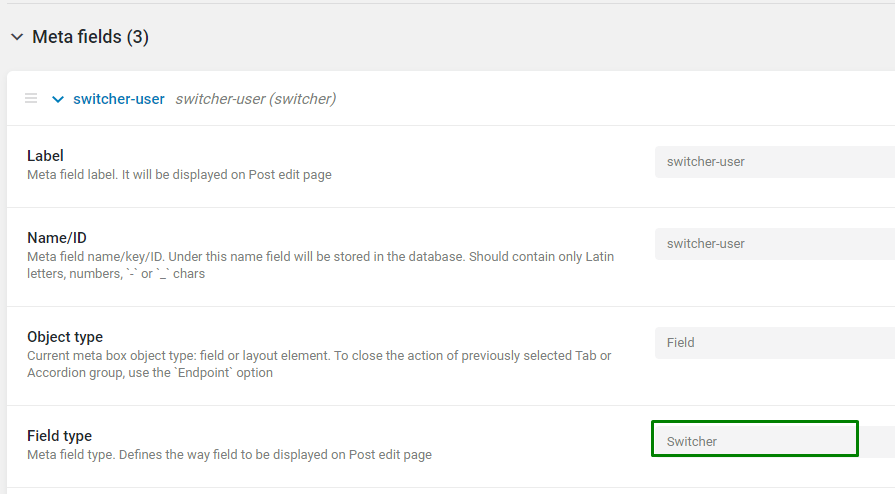
Let us add the Switcher meta field to the Meta Box to query the users by this field later. Save the changes by clicking the “Update Meta Box” button afterward.
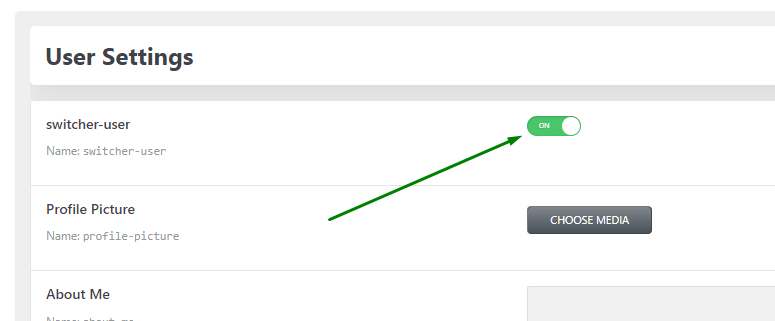
Also, make sure to go to the Users tab in the admin panel, enable the Switcher for needed users on the user editing page, and save it.
Create a Custom Query with One Set of Query Clauses
Next, we need to go to JetEngine > Query Builder and hit the “Add New” button.
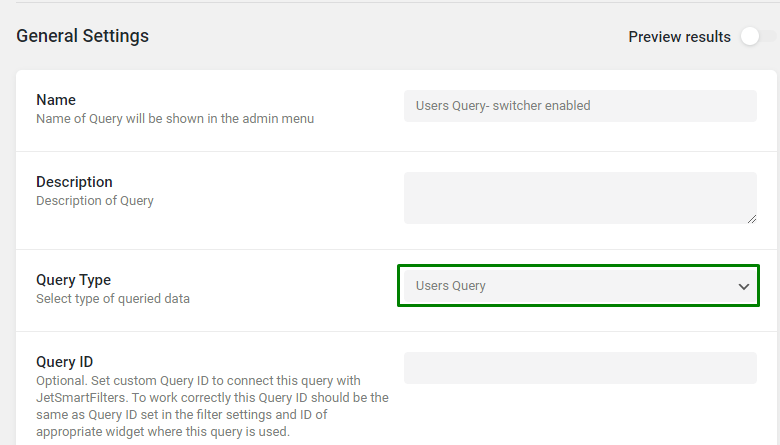
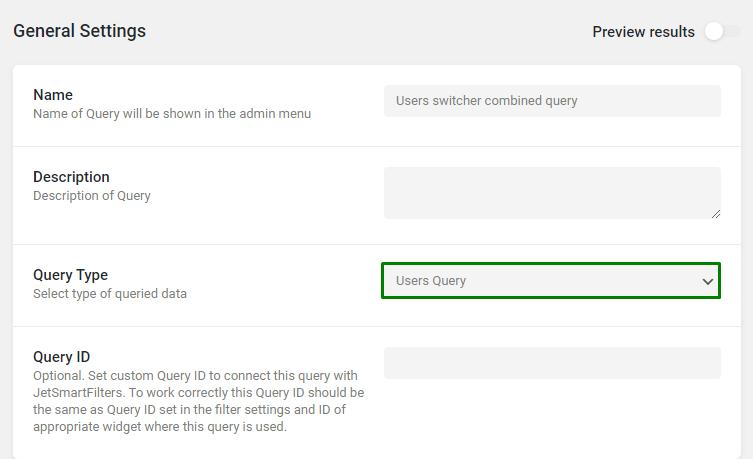
Type the Name. The Query Type should be “Users Query” since the Switcher meta field has been created for users.
Next, open the Meta Query tab, and press the “Add New” button to add a Meta Query Clause.
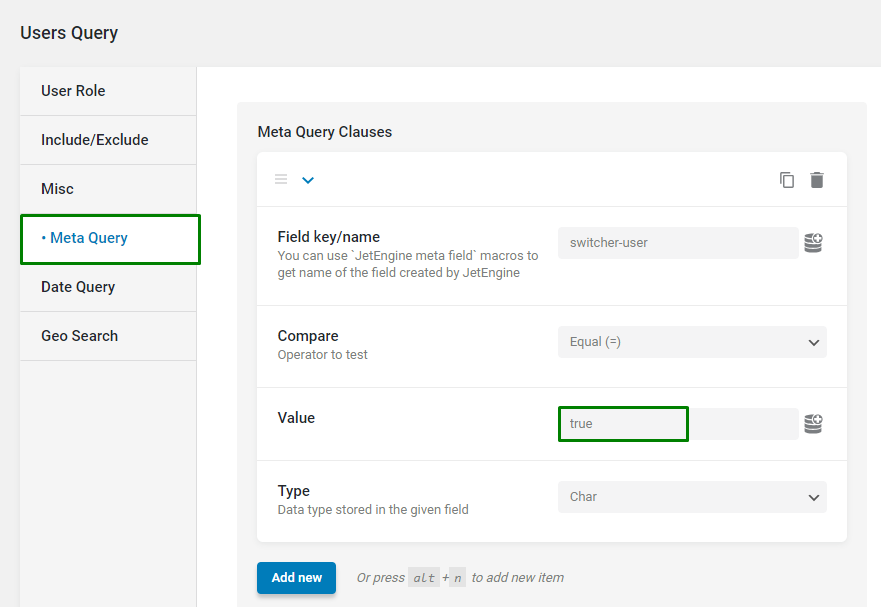
Enter the Switcher Field key/name, select the “Equal (=)” option in the Compare field, enter the “true” Value, and pick the “Char” Type.
The Switcher has a “true” Value when enabled and a “false” Value when disabled. This clause means that the users with enabled switcher are pulled.
Now, you can click the “Add Query” button to save this custom query.
Create a Custom Query with Another Set of Query Clauses
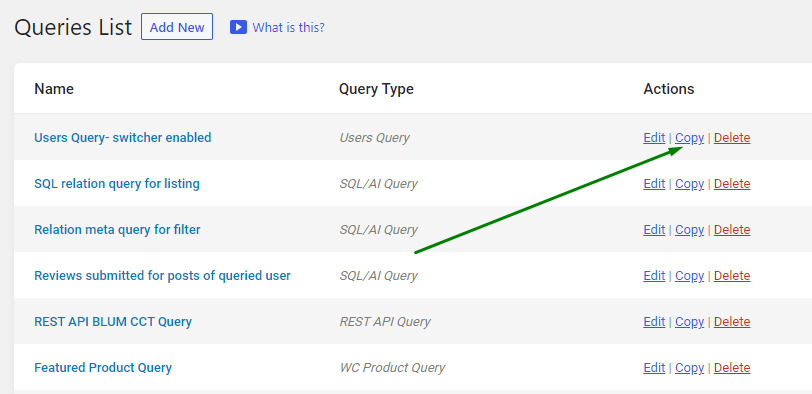
The next custom query is for pulling users with the disabled state of the Switcher meta field. You can copy the custom query created in the previous step and add the needed changes to the duplicated query.
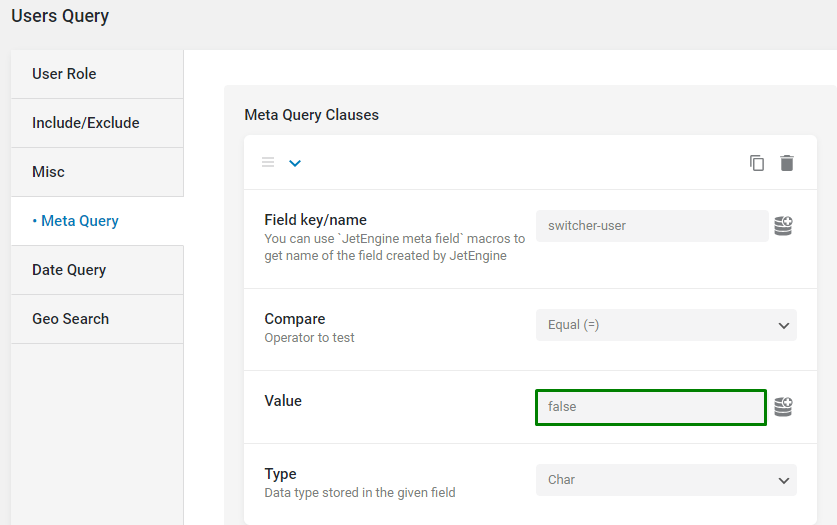
We renamed the new custom query, went to the Meta Query tab, and edited the Value for the Meta Query Clause by Switcher to “false.” After that, the custom query can be saved.
Create a SQL Query to Combine Two Custom Queries
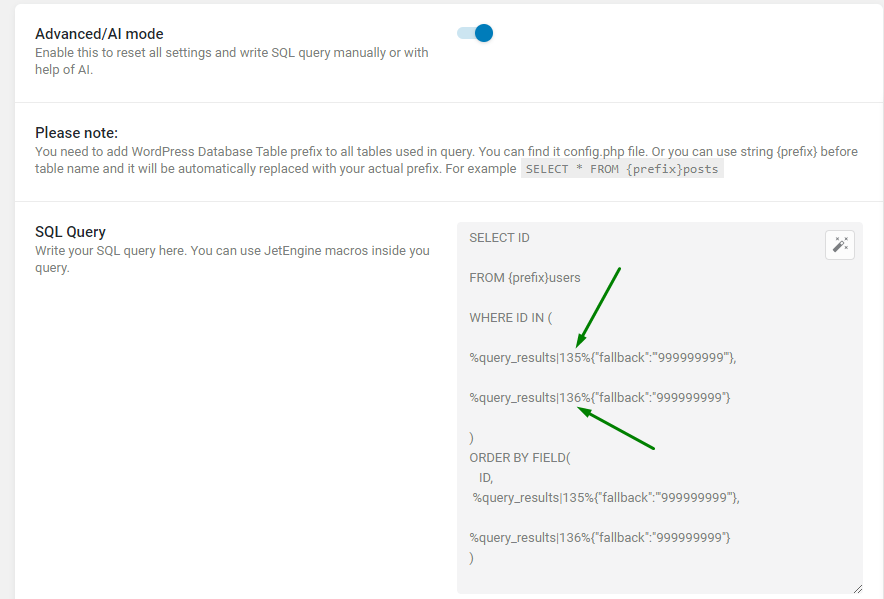
The next custom query will combine the previous two queries. Create a new query, Name it, and select the “SQL/AI Query” Type. Then, enable the Advanced/AI mode toggle.

In the SQL Query field, add the SQL snippet provided below. This SQL query combines items from two other queries. This way, users with the enabled Switcher are displayed first, and users with the disabled Switcher are shown second.
SELECT ID

FROM {prefix}users

WHERE ID IN (

%query_results|135%{"fallback":"'999999999'"},

%query_results|136%{"fallback":"999999999"}

)
ORDER BY FIELD(
   ID,
 %query_results|135%{"fallback":"'999999999'"},

 %query_results|136%{"fallback":"999999999"}
)
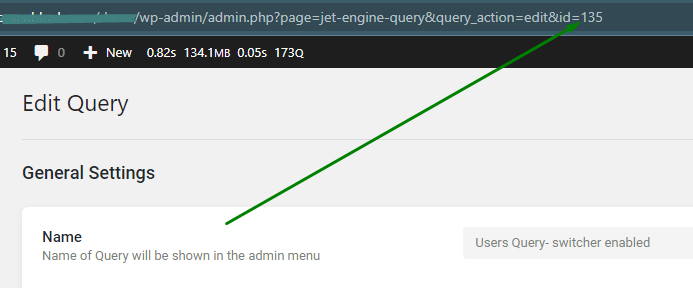
The custom query ID can be found in the URL of the Edit Query page.
The fallback has the ‘999999999’ number because it must be a unique number that is not reserved by some instance, like post ID. If you want to use a fallback with a string value, you also need to add single quotes.
Now the SQL query is completed, and you can hit the “Add/Update Query” button.
SQL query for posts
Let us provide an example of the SQL snippet in case the posts are queried instead of users.
In this case, you need to write the “posts” table in the custom query instead of “users.”
SELECT ID

FROM {prefix}posts

WHERE ID IN (

%query_results|135%{"fallback":"'999999999'"},

%query_results|136%{"fallback":"999999999"}

)
ORDER BY FIELD(
   ID,
 %query_results|135%{"fallback":"'999999999'"},

%query_results|136%{"fallback":"999999999"}
)
Create a Custom Query to Pull Combined Results from the SQL Query
At this stage, we need to create another custom query in the Query Builder.
A Listing Grid that uses the Advanced SQL custom query can not be filtered, so it is important to create another user, posts, etc. query which pulls all combined items from the Advanced SQL query.
Therefore, add a new query, name it and select the “Users Query” Type.
Then, proceed to the Include/Exclude tab, click the coin-stack icon, and add the “Query Results” macro into the Include field.
For the “Query Results” macro, select the Advanced SQL Query built in the previous step. Then pick the “List of selected fields from item object” option in the Return field, and write “ID” into the Comma-separated fields list. Then, push the “Apply” button.
Now, this user query has a list of users combined in the SQL query.

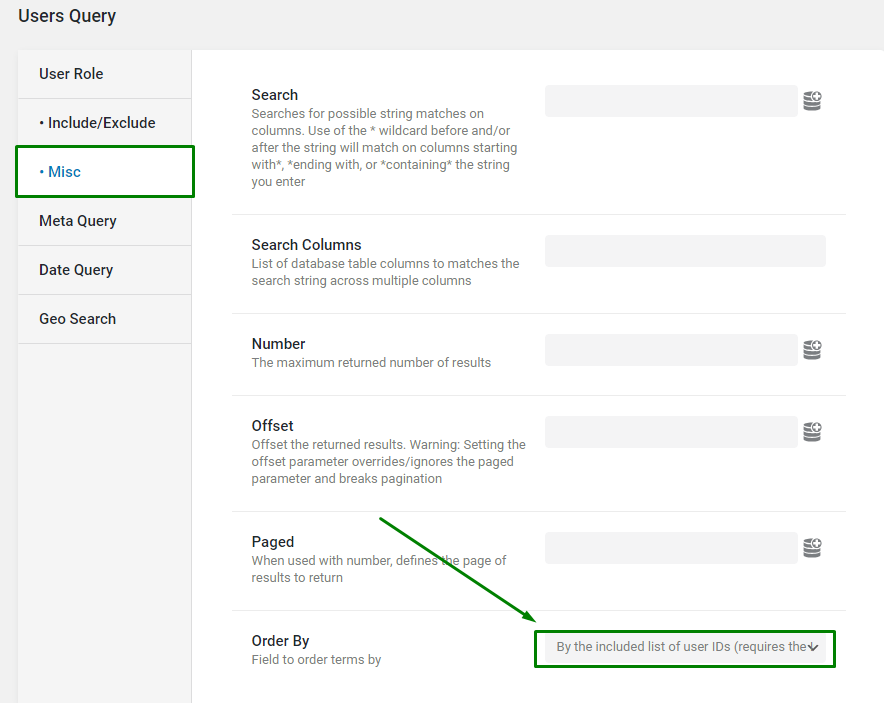
Next, go to the Misc tab, and pick the “By the included list of user IDs (requires the Include parameter)” option in the Order by field. This order will ensure the users with enabled Switcher meta field are displayed first, and users with disabled Switcher are shown afterward.
Now, you can hit the “Add/Update Query” button.
Create a Listing for Users
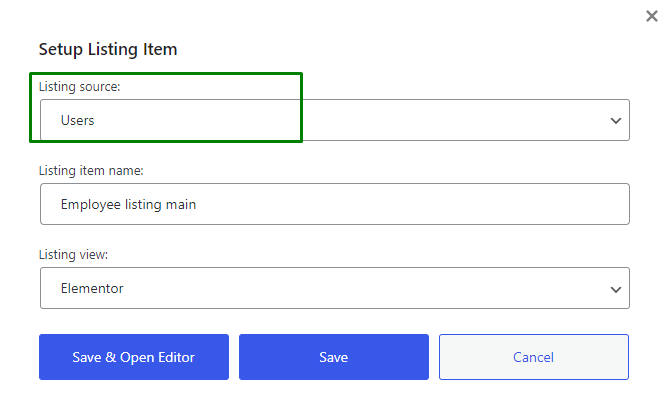
Go to JetEngine > Listings and click the “Add New” button. Select “Users” as the Listing source, enter the Listing item name, and pick the “Elementor” or “Blocks (Gutenberg)” Listing view. Then, click the “Create Listing Item” button.
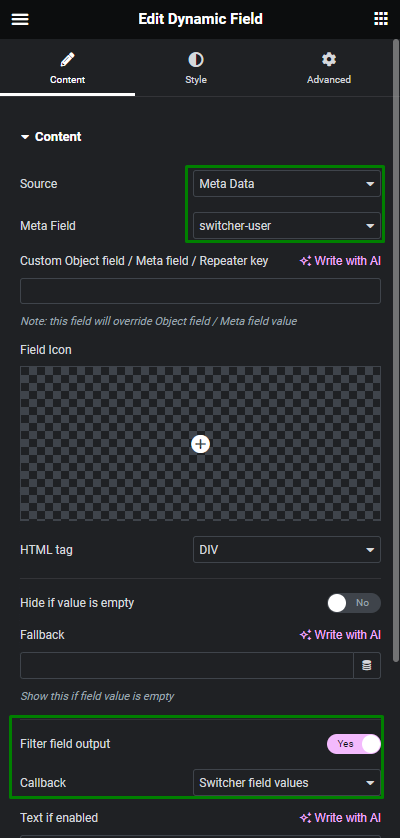
In the Listing template editing page, you can add the Dynamic Field widget or block to show the user data. We added the Dynamic Field to display some text based on the state of the Switcher meta field. Select the “Meta Data” as the Source, and pick the switcher Meta Field from the user Meta Box.
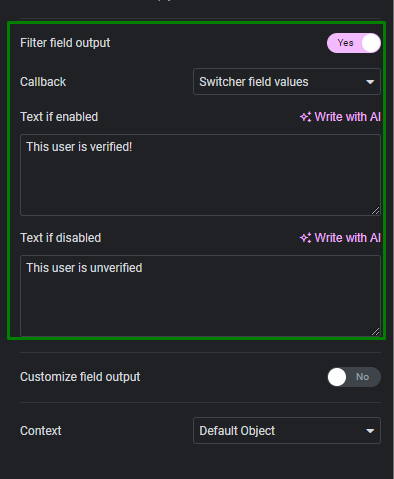
To show the different text based on the value of the Switcher meta field, enable the Filter field output toggle. Select the “Switcher field values” as the Callback.
Then, add a needed text for each state into the Text if enabled and Text is disabled fields. In our case, the “This user is verified!” text will appear when the user has the switcher in the enabled state, and the ’This user is unverified.’ text will be shown when the user has the switcher in the disabled state.
At this point, the Listing template can be saved by clicking the “Update” button.
Output the Listing on the Front End
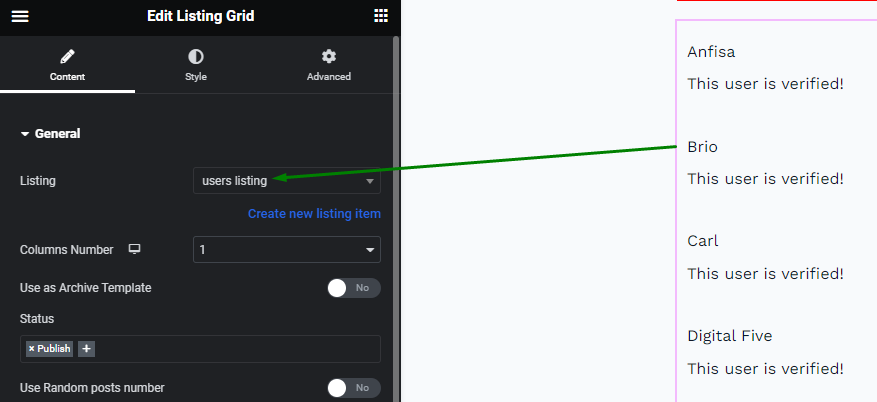
Now, you can add the Listing Grid widget or block to the needed page and select the Listing template for Users that has just been created in the General settings tab.
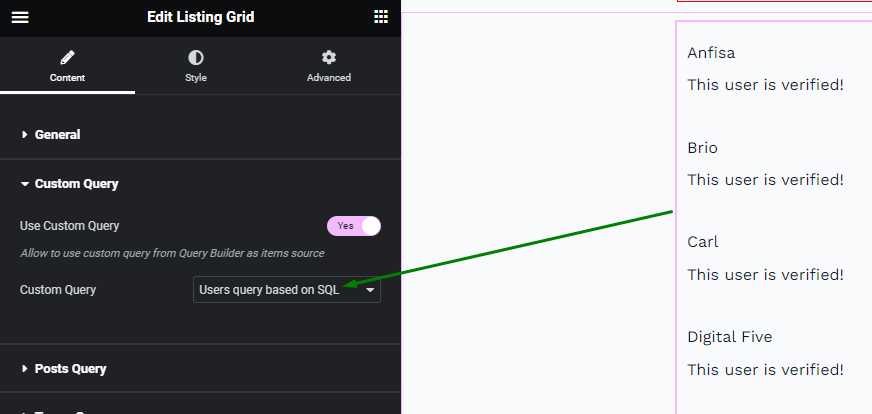
Open the Custom Query tab, enable the Use Custom Query toggle, and select the lastly created Custom Query to keep the Users in the desired order.
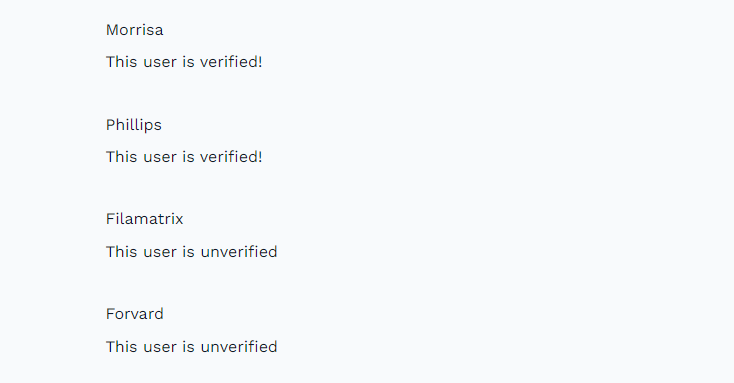
Let us save the page by clicking the “Update” button and check the result on the front end.
We can see the desired result is achieved. Firstly, the users with the enabled switcher are displayed, and then the users with the disabled switcher.
That is all. Now you know how to combine multiple custom queries into one to arrange an advanced order in the Listing Grid widget or block with the JetEngine WordPress plugin.