Data Stores Overview
This tutorial overviews the Data Store settings, its main features, storage methods, and functionality.
Data Stores Module Activation
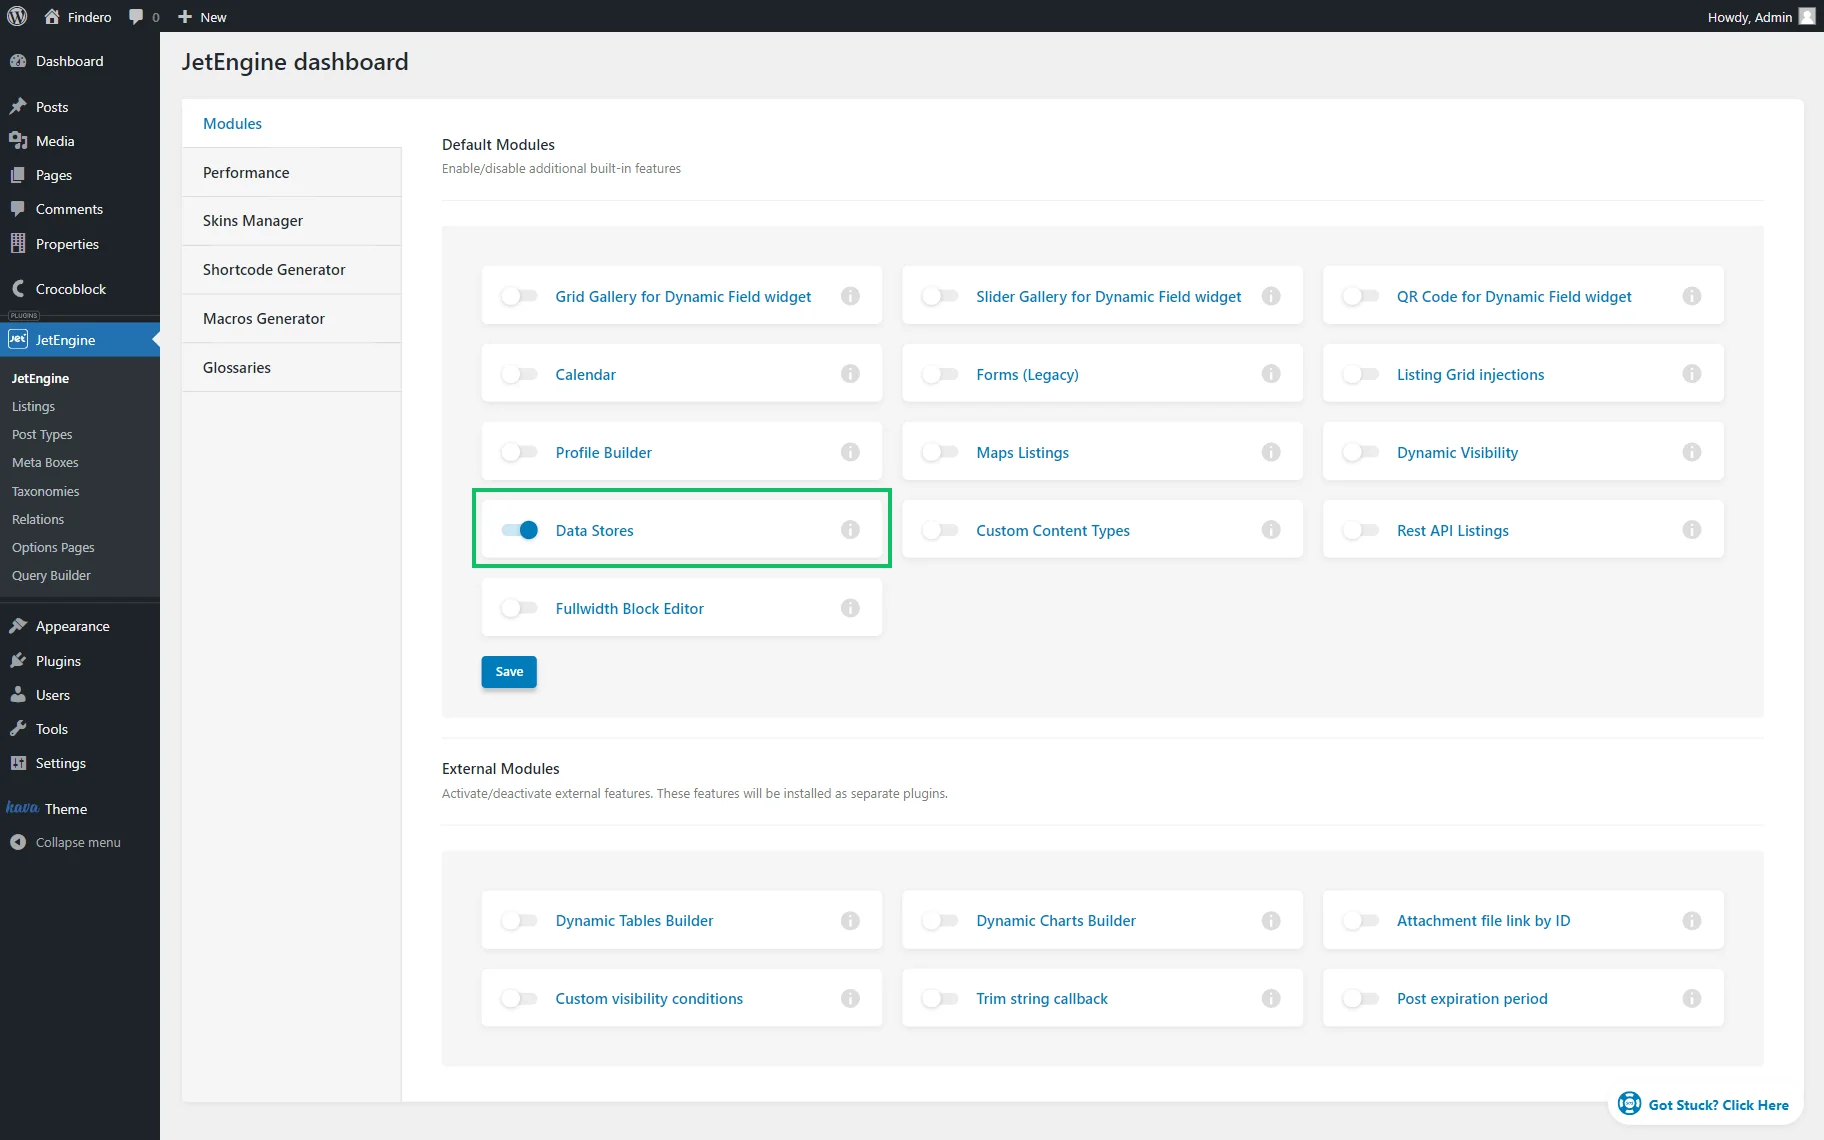
To activate the Data Stores module of the JetEngine plugin, one should navigate to the WordPress Dashboard > JetEngine > JetEngine directory.
The Data Store feature can be enabled by clicking the corresponding toggle in the opened Modules tab. This toggle adds the Data Stores tab to the JetEngine dashboard if enabled.
Once done, the settings should be activated by pressing the “Save” button.
Data Stores Settings
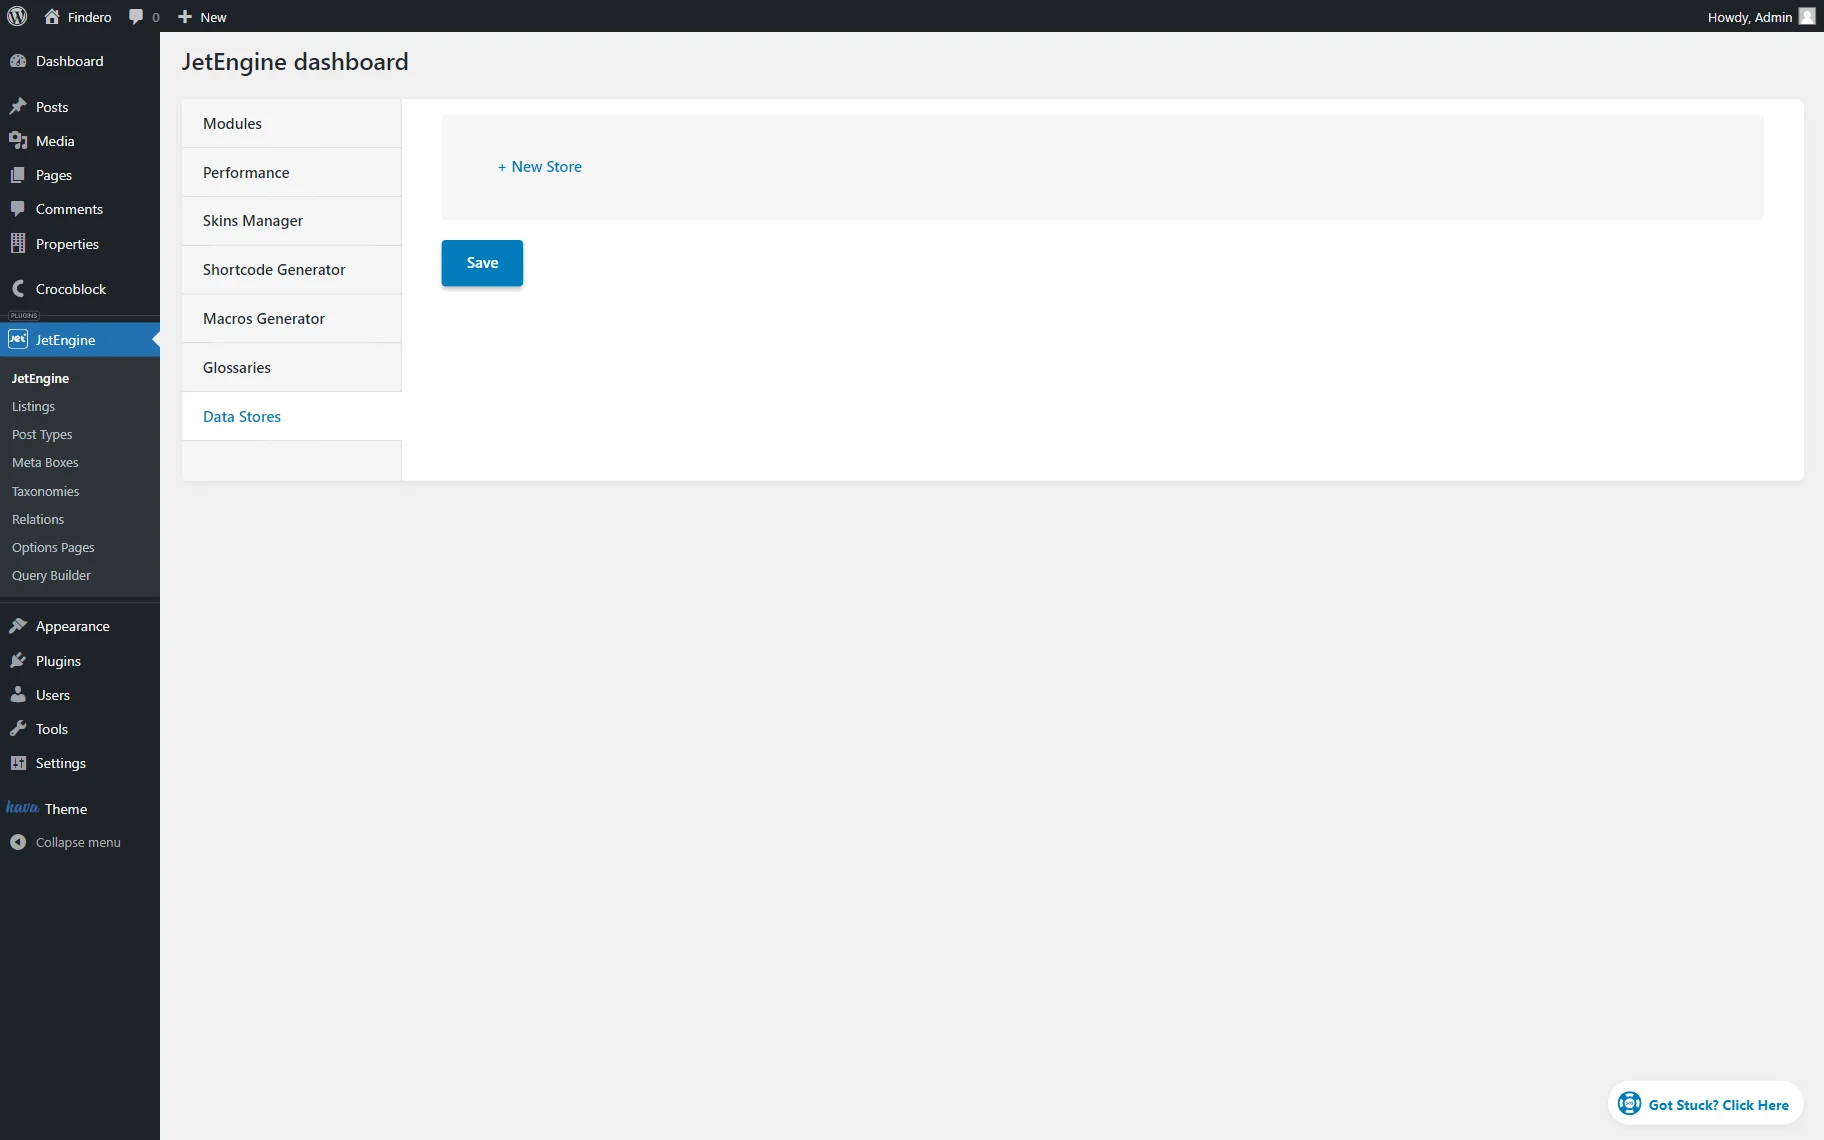
The new Data Stores tab is now added to the JetEngine dashboard settings list.
So, after this tab is opened, one should press the “New Store” button to open the data store customization settings.
The Data Stores tab has the following settings:
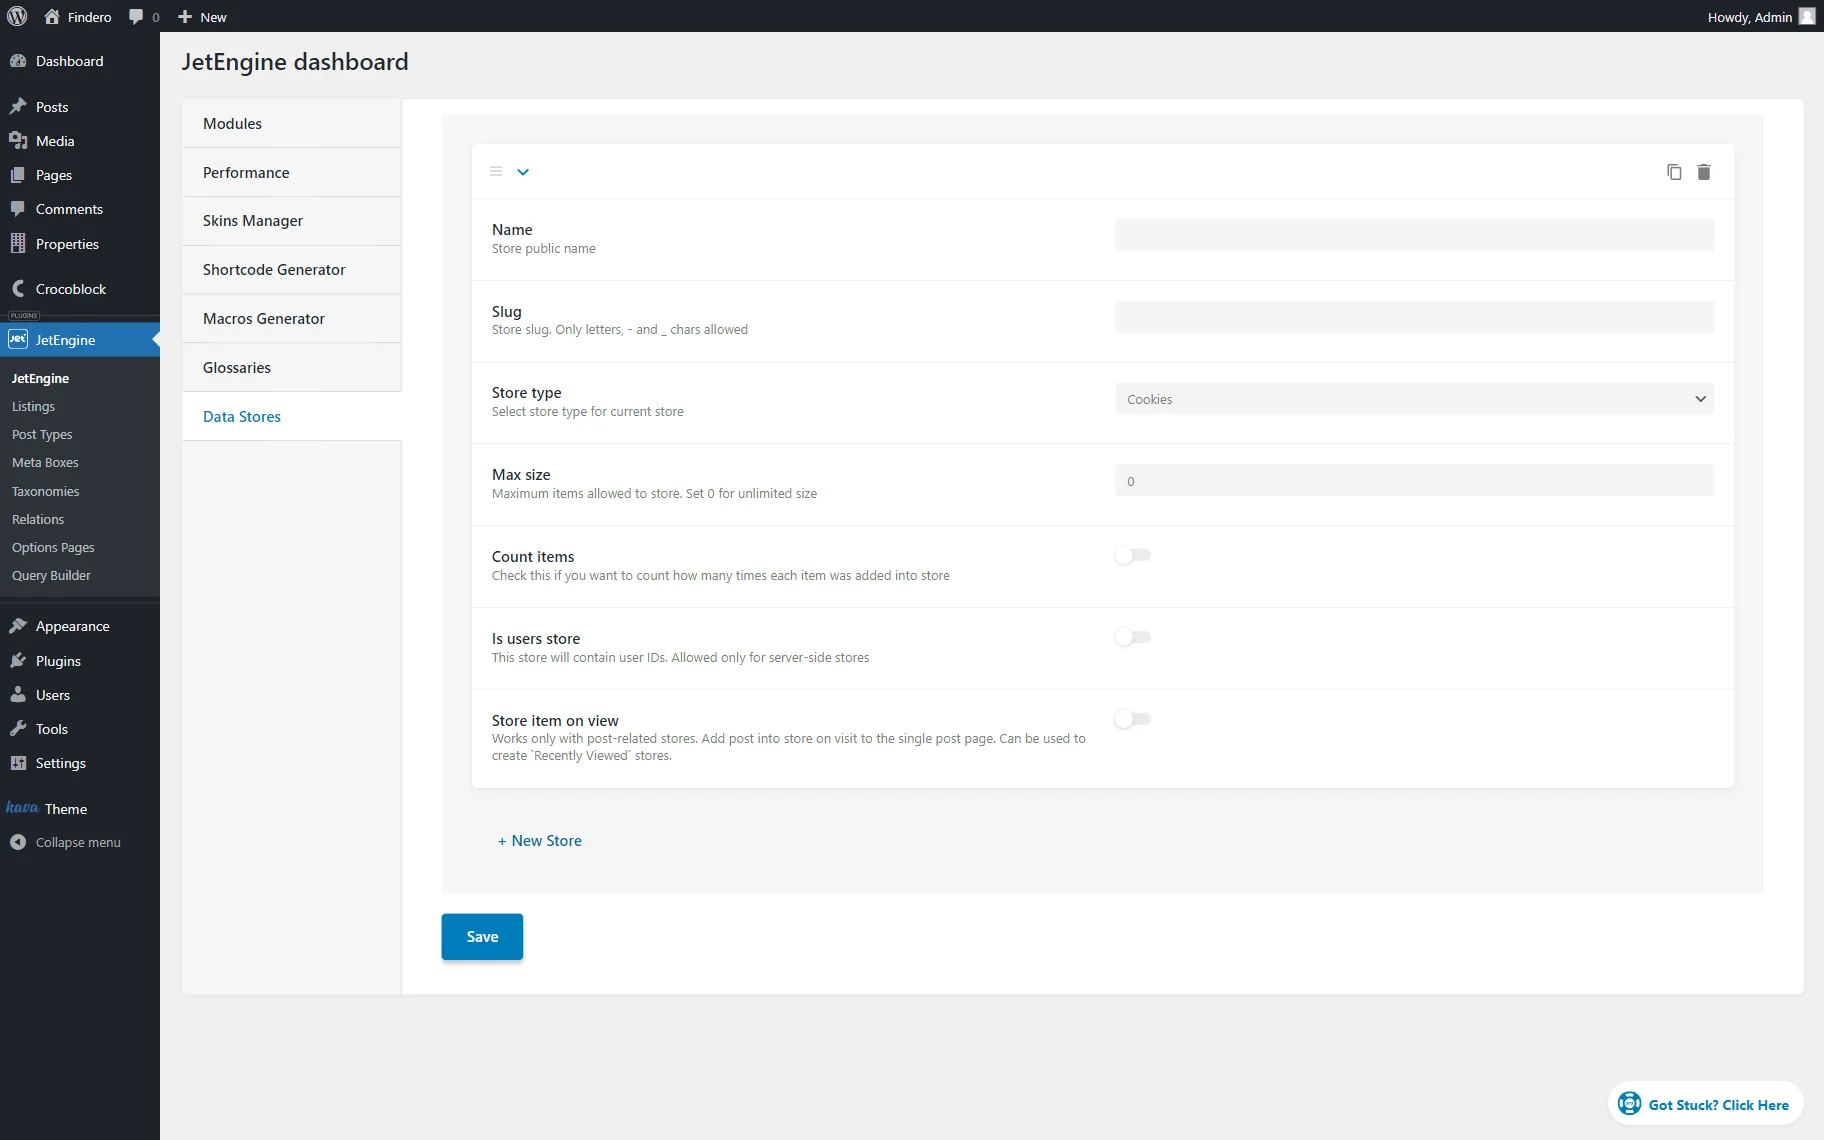
- Name — a field for typing the data store name. This name will be shown on a page created to place the data store;
- Slug — a field for typing the name of the data store that is displayed in the database. This field automatically displays the hyphenated words from the Name field, but users can change it. The Slug field has the restrictions common for all slugs: only Latin letters, numbers, dashes, and underscore symbols;
- Store type — a drop-down menu that allows choosing a method for temporary or permanent WordPress data storage as:
- Cookies — allows users to store their data temporarily until cleaning the cache data;
- Session — allows storage of user data temporarily until their session on service is active;
- User Metadata — allows saving authorized user’s metadata in the site’s database;
- Local Storage — allows keeping the user’s data temporarily until the users clean their browser cache data;
- User IP — allows keeping information based on the user IP, which is securely stored in the database with the “store_id” and “store_item” values;
- Max size — a field that allows typing the number of items the user can store. That is the quantity of liked posts by a user or the number of posts added to the favorites list, etc.; the “0” value allows saving an unlimited number of items;
- Count items — a toggle that, if enabled, allows the data store to track the number of times users can add items. For example, this number of posts can be displayed on the front end;
- Is users store — a toggle that, if enabled, creates a store with the user IDs for the server-side stores. It allows users to save other users’ accounts in this store. It deactivates the Store item on view toggle;
- Store item on view — toggle that works with post-related stores: it allows tracing posts visited by the user and adding them to the store. This toggle is used to create “Recently Viewed” sections. But the number of posts added to such a store will not exceed the number specified in the Max size field: the first items will be deleted, and new ones will be saved instead of deleted.
The Store item on view toggle activates the Watch for post types drop-down menu if enabled:
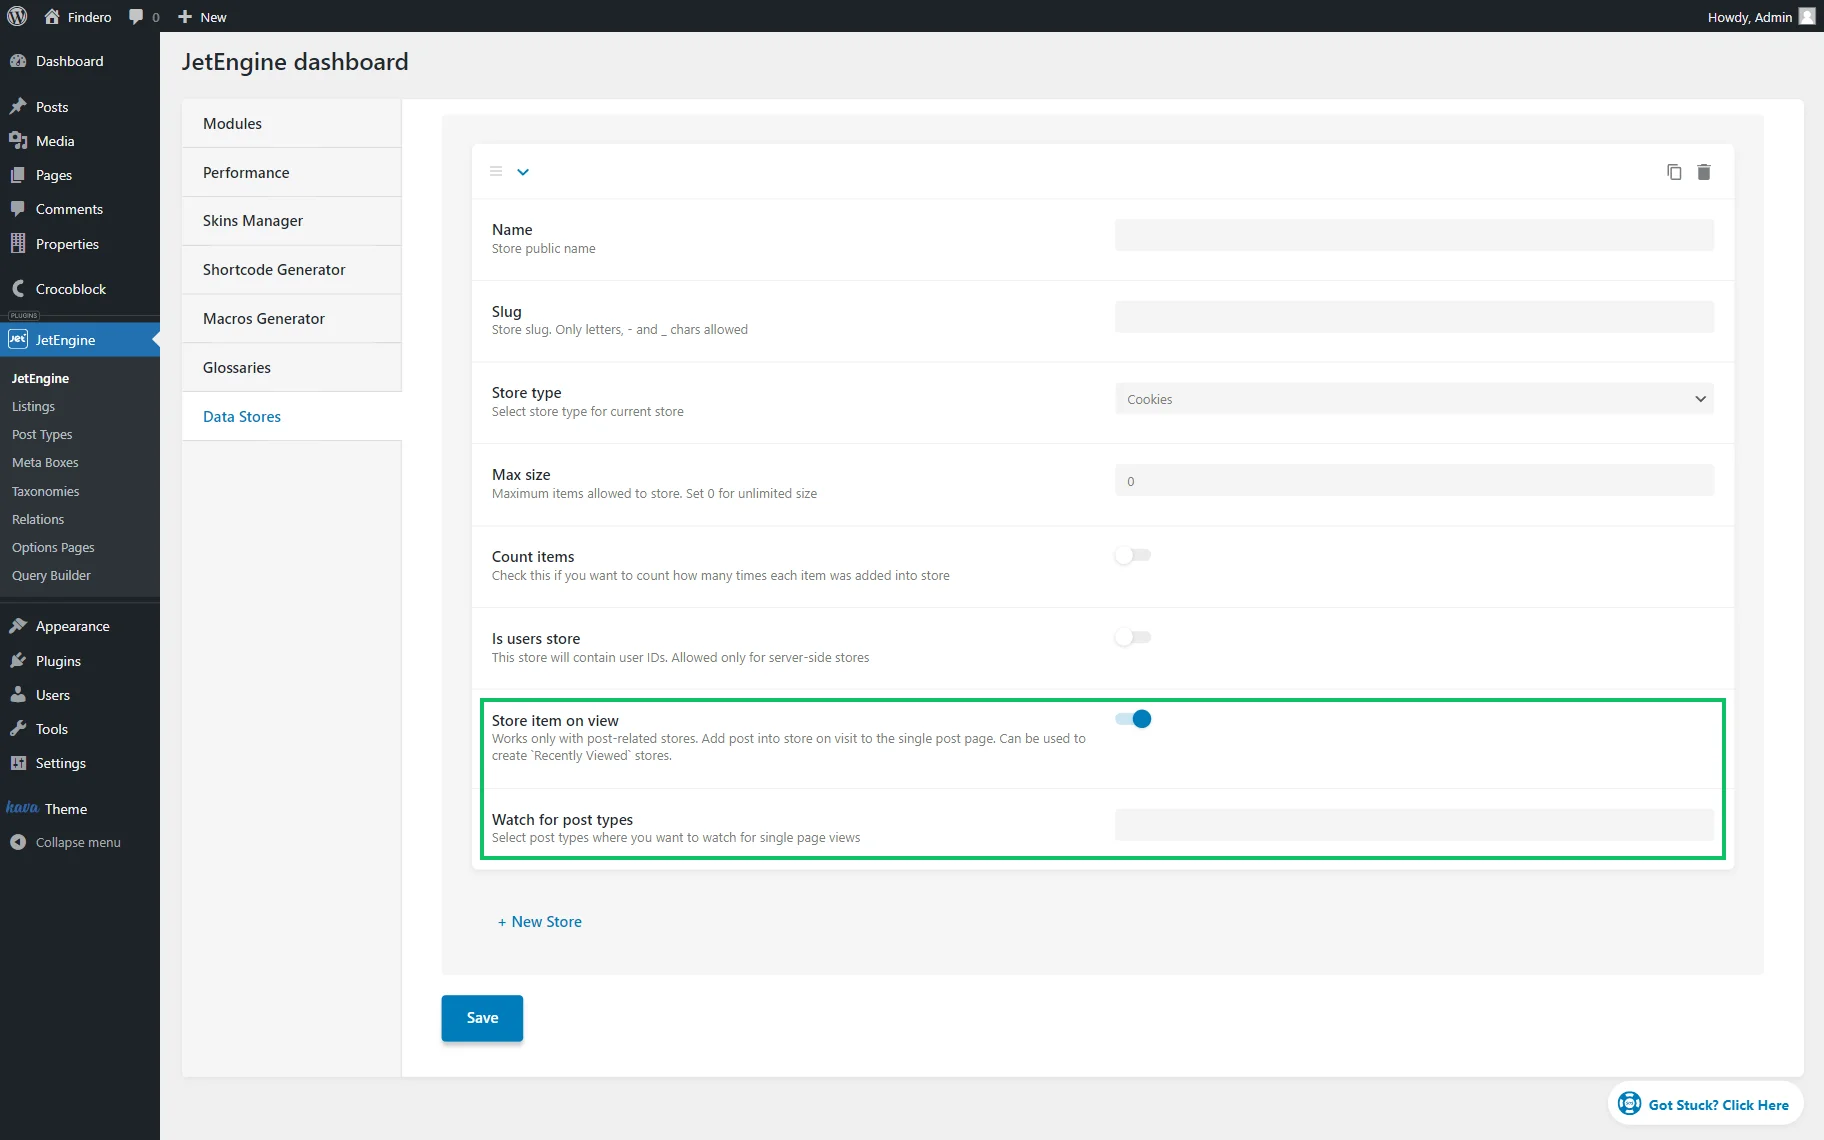
- Watch for post types — a drop-down menu that allows choosing the post types for displaying single page views (i.e., “Posts,” “Pages,” “Media,” “Navigation Menu Items,” CPTs, and more).
That’s all about the Data Stores feature and its settings available with the JetEngine plugin for WordPress websites.