How to Change Layouts in the Listing Grid
Find out how to change the Listing Grid’s layouts with the specific feature available with the JetEngine plugin.
Before you start, check the tutorial requirements:
- Elementor (Free version)
- JetEngine plugin installed and activated with a listing template created
Widget Activation
Navigate to WordPress Dashboard > Plugins > Add New and press the “Upload Plugin” button.
Hit the “Choose File” button and find the needed ZIP file on your computer.
Then, press the “Install Now” button and “Activate Plugin” to make the widget function.
Content Editing
Proceed to the Elementor Page Builder to implement the Layout Switcher.
Open the page where the Listing Grid is located or where it is to be put.
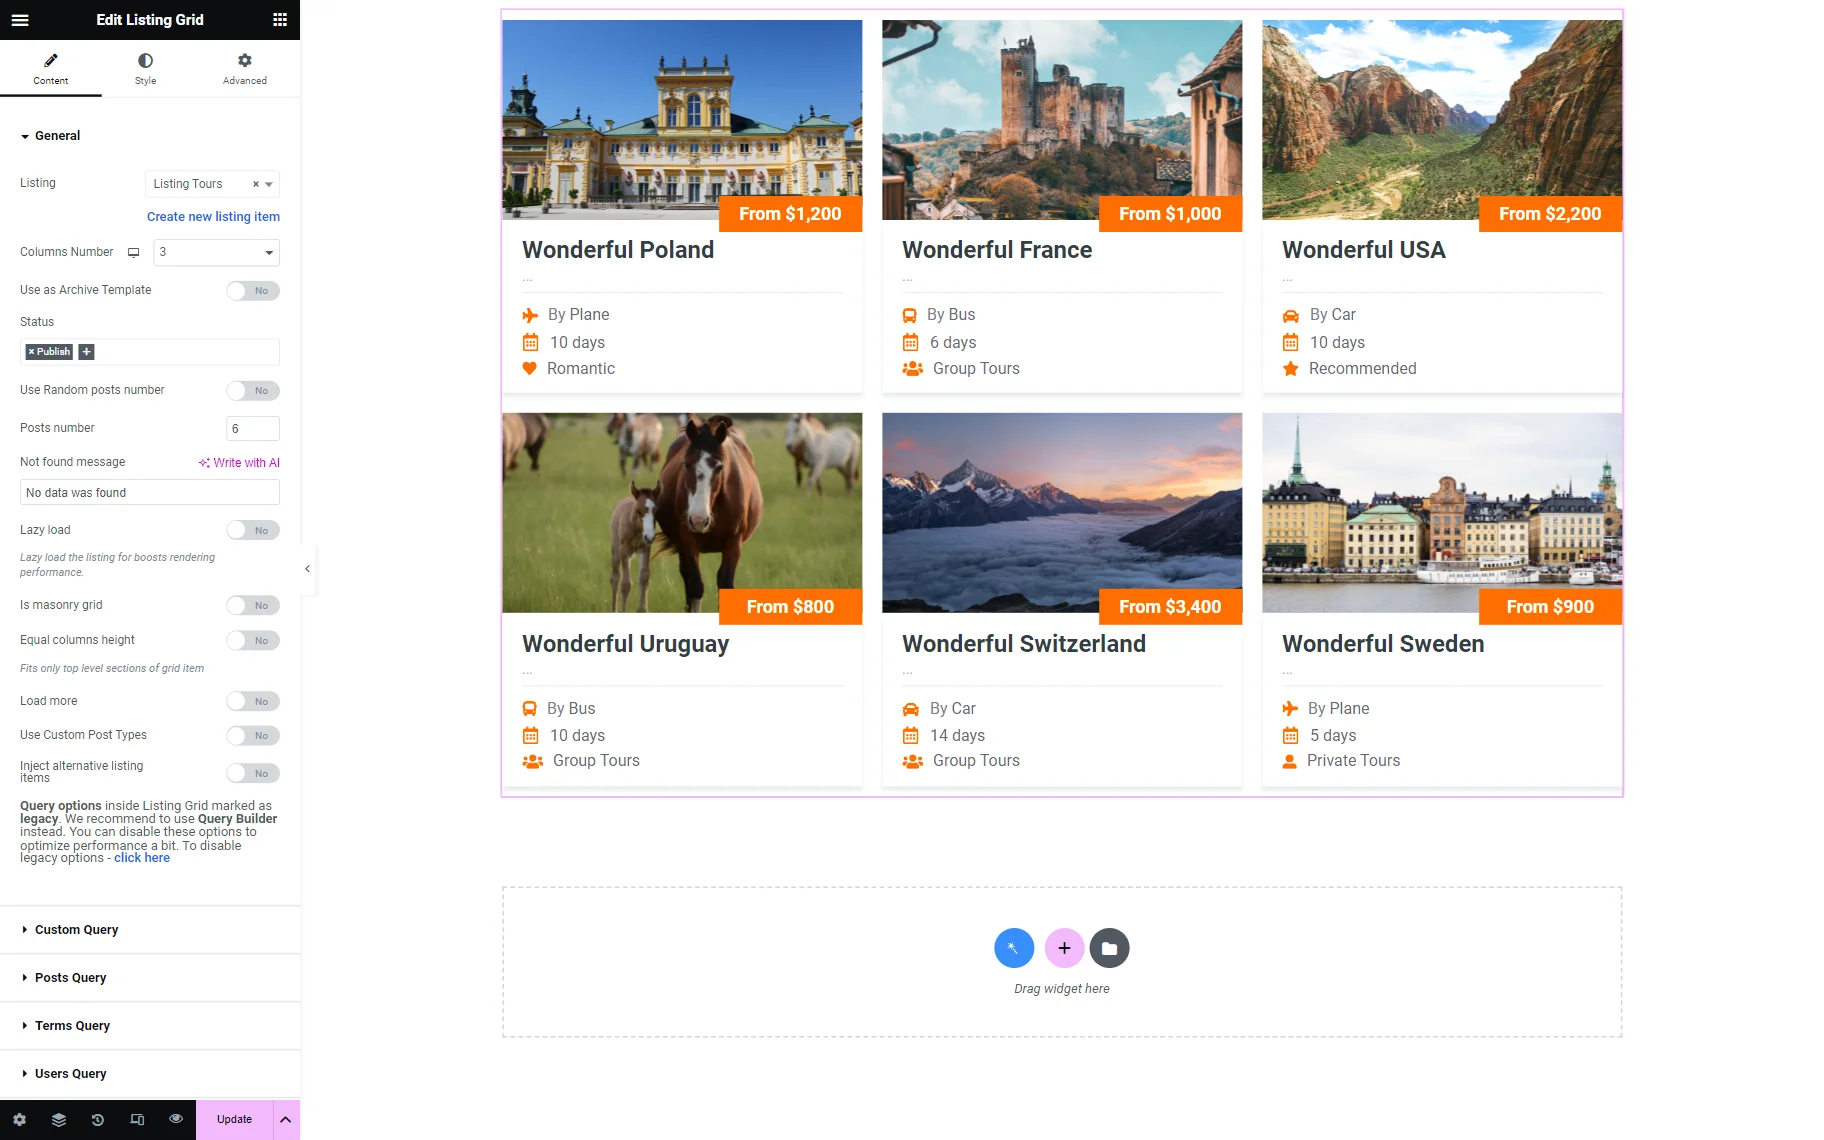
Place the Listing Grid widget on the page and adjust its settings if you haven’t done it before.
Find a Layout Switcher widget and put it on the page as well. Then, proceed to the settings; check their description in the Layout Switcher widget overview.
Pick the listing in the Select a Listing Grid widget field.
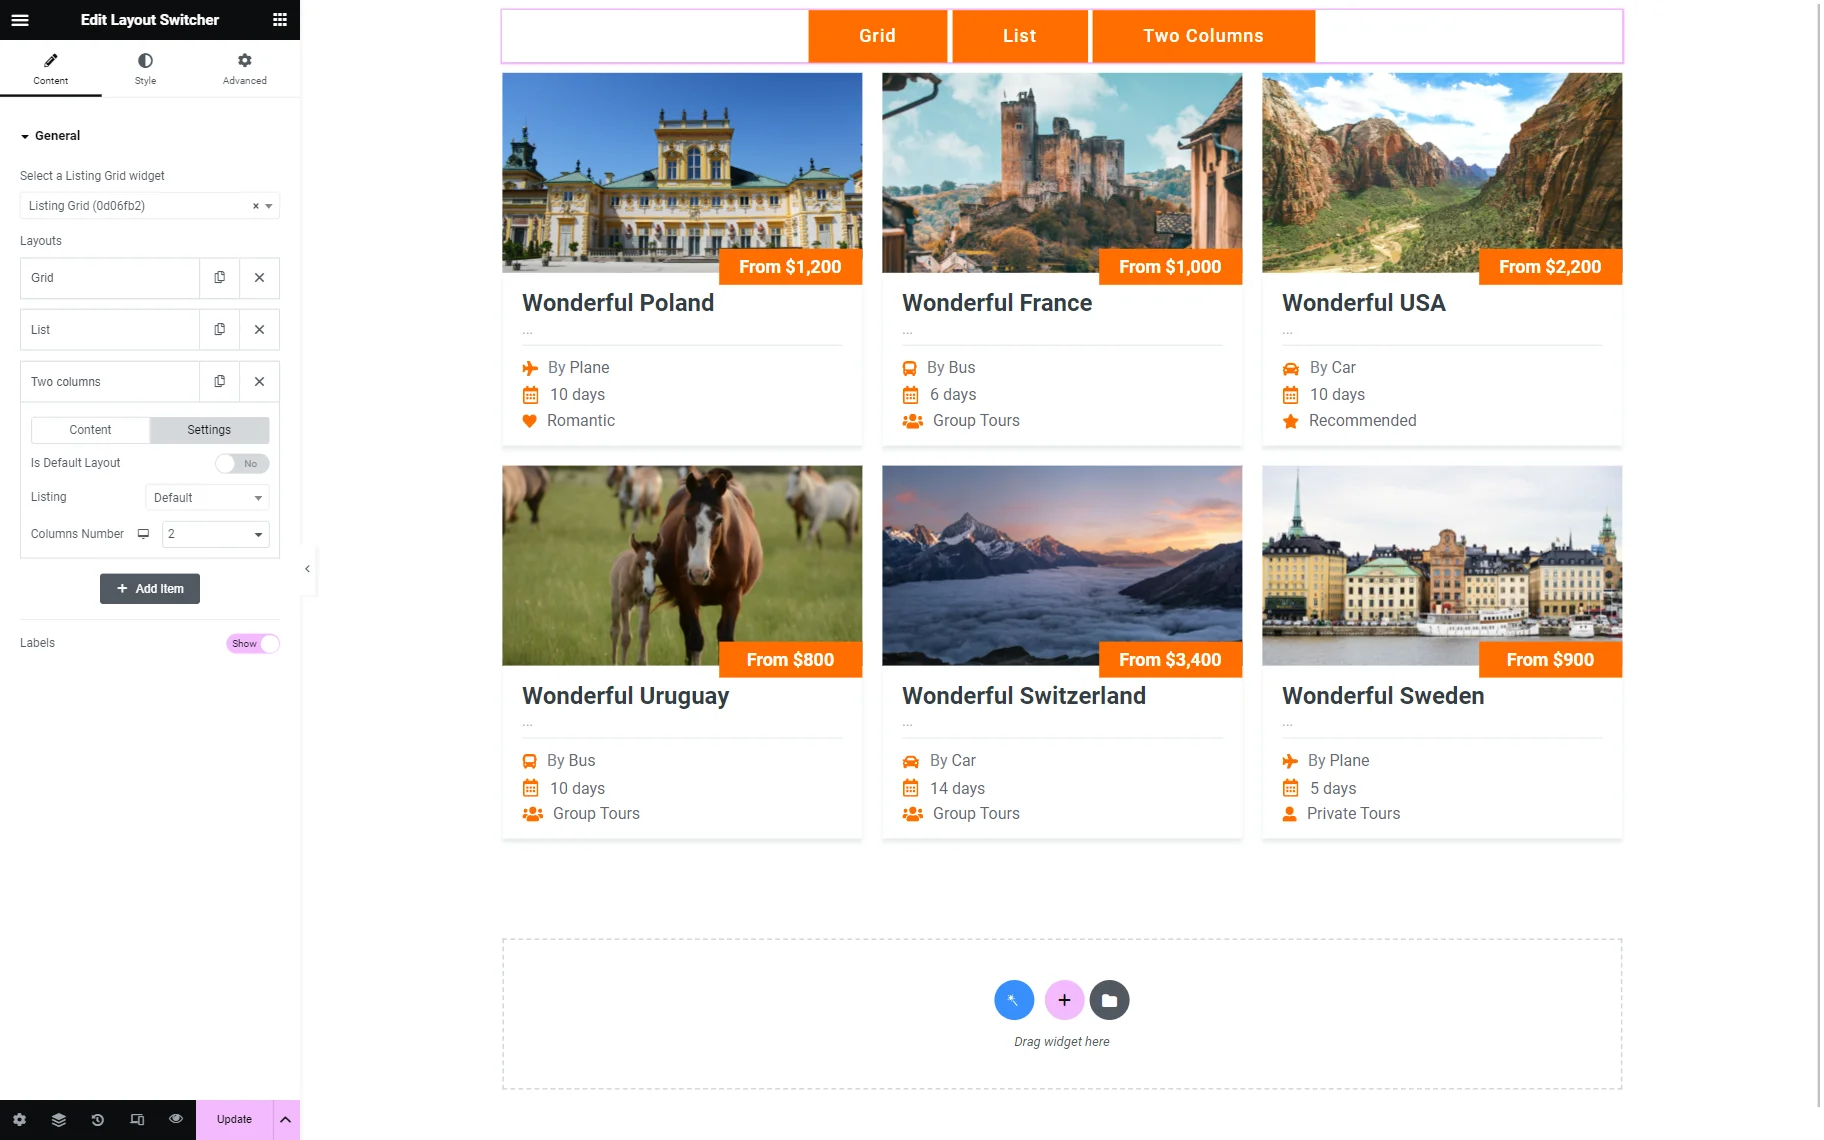
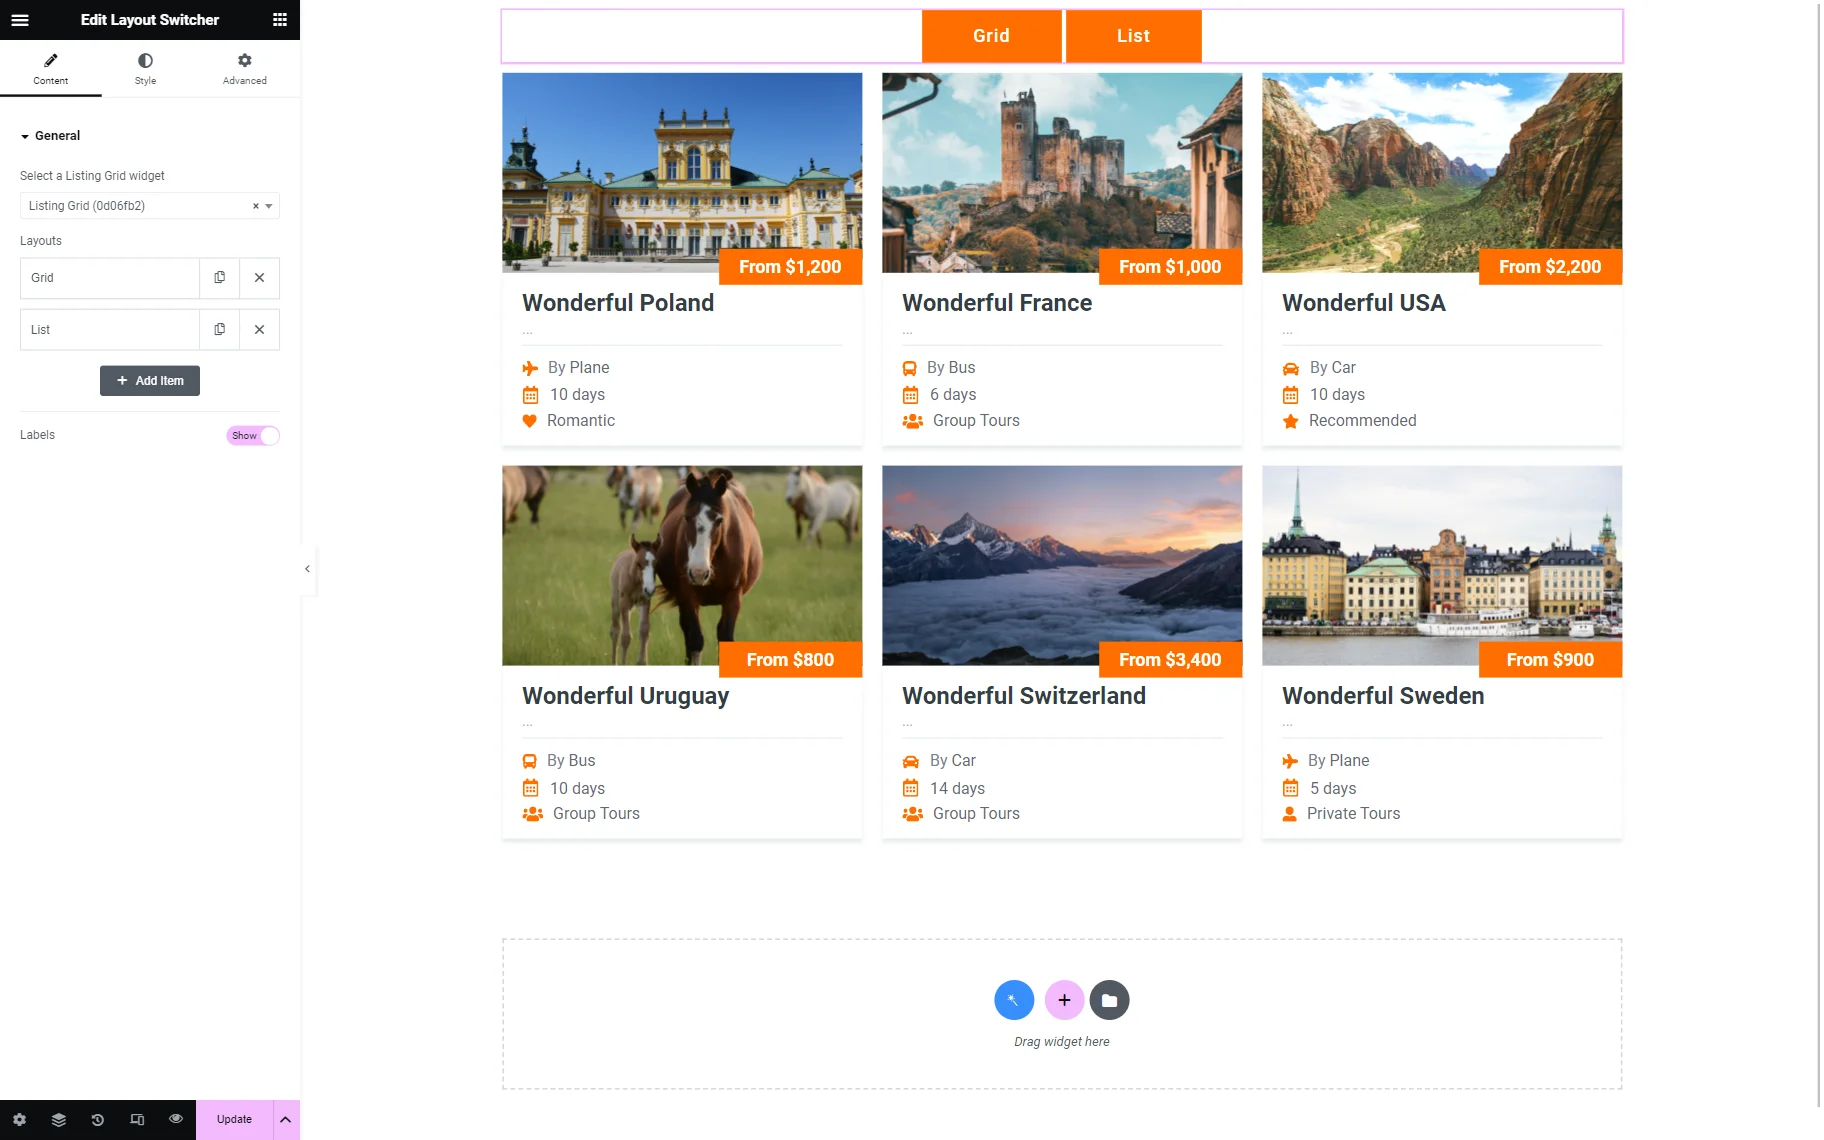
For this tutorial, we left the default “Grid” and “List” options and added several custom layouts by pressing “Add Item.”
We created the “Two Columns” layout by setting the Columns Number value to “2” in the layout Settings tab.
We called the next layout “Just Prices.” It adds another listing, not the one set by default. To enable this functionality, we opened the Settings tab and selected the needed Listing.
We also changed the Columns Number value to “2.”

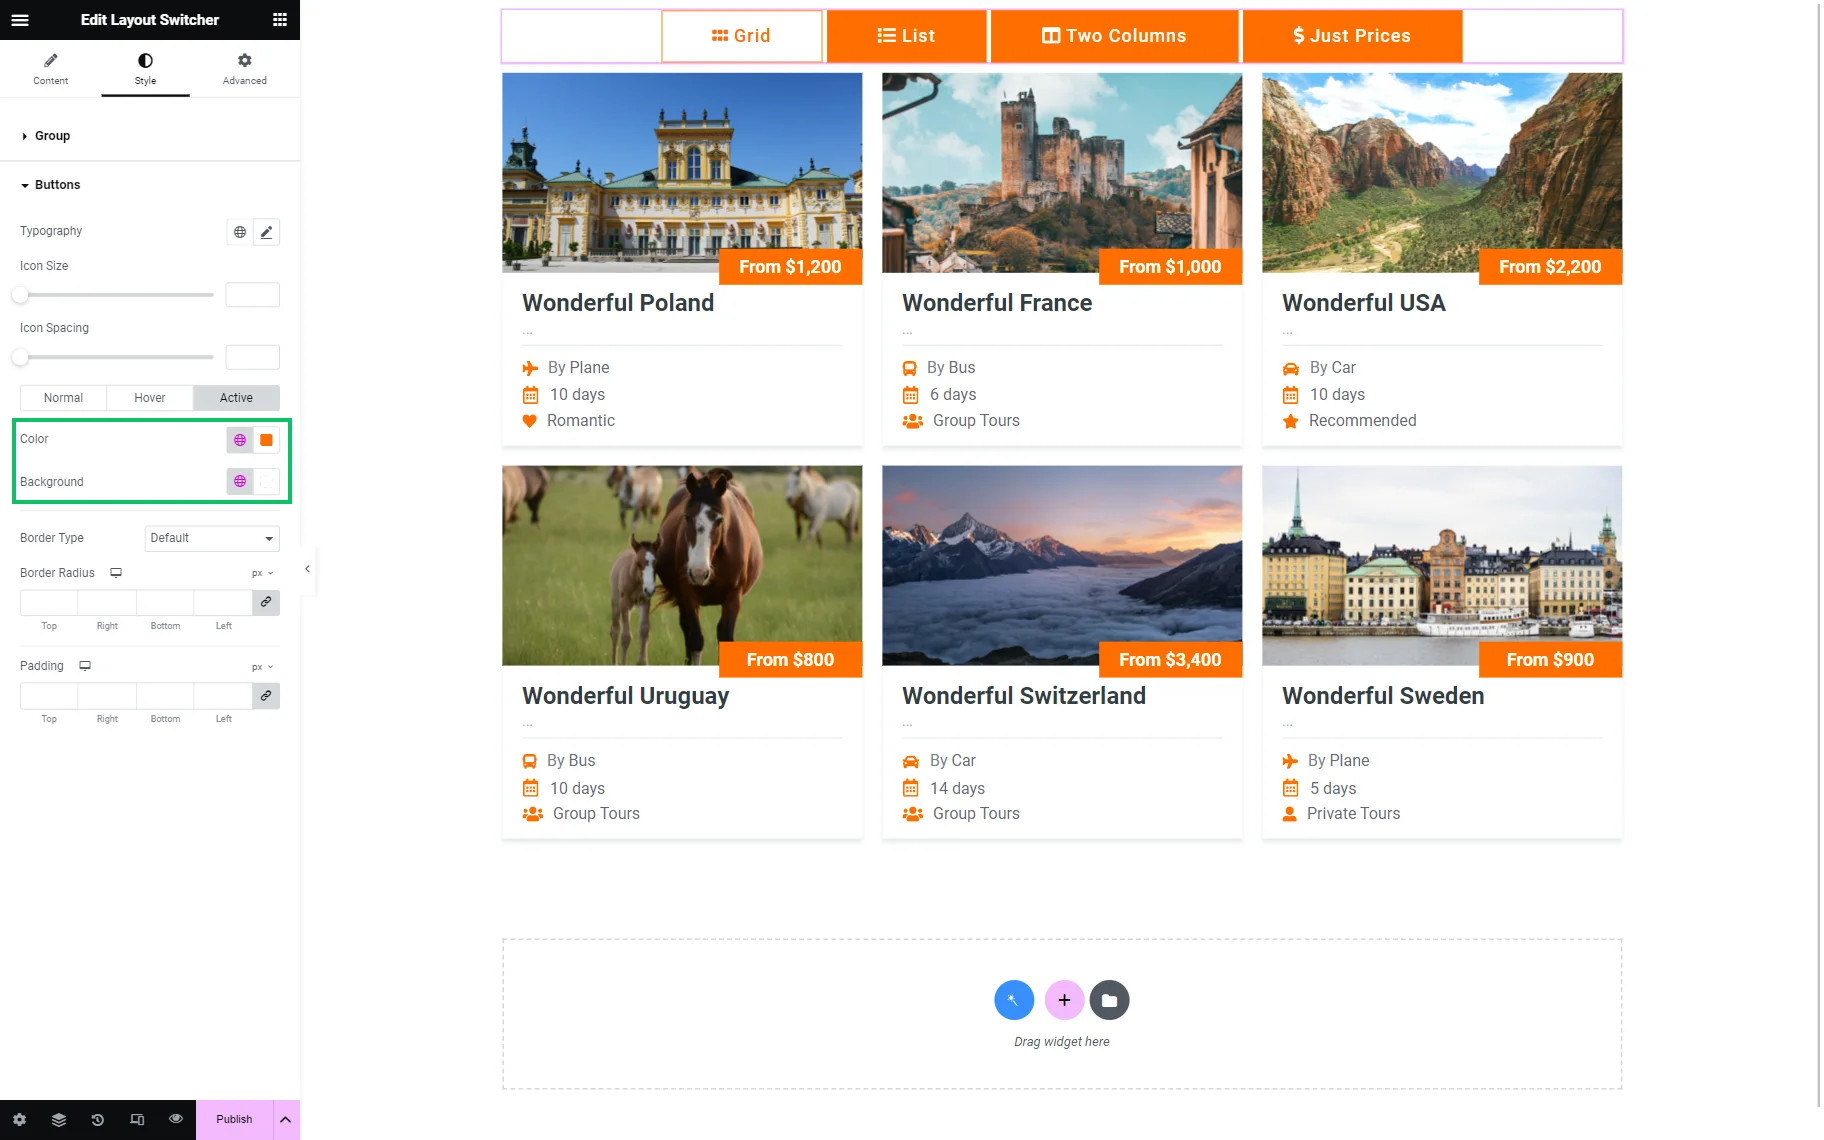
Next, we added an Icon to the labels. The field for attaching the icon is in the Content tab of each layer option.
Now, the icons are displayed next to the items.
We also adjusted the style settings to highlight the enabled layout option. To do this, we changed the Buttons style in the Style > Buttons > Active tab.
However, styling is optional. Once the page was ready, we clicked the “Publish/Update” button.
Check Result
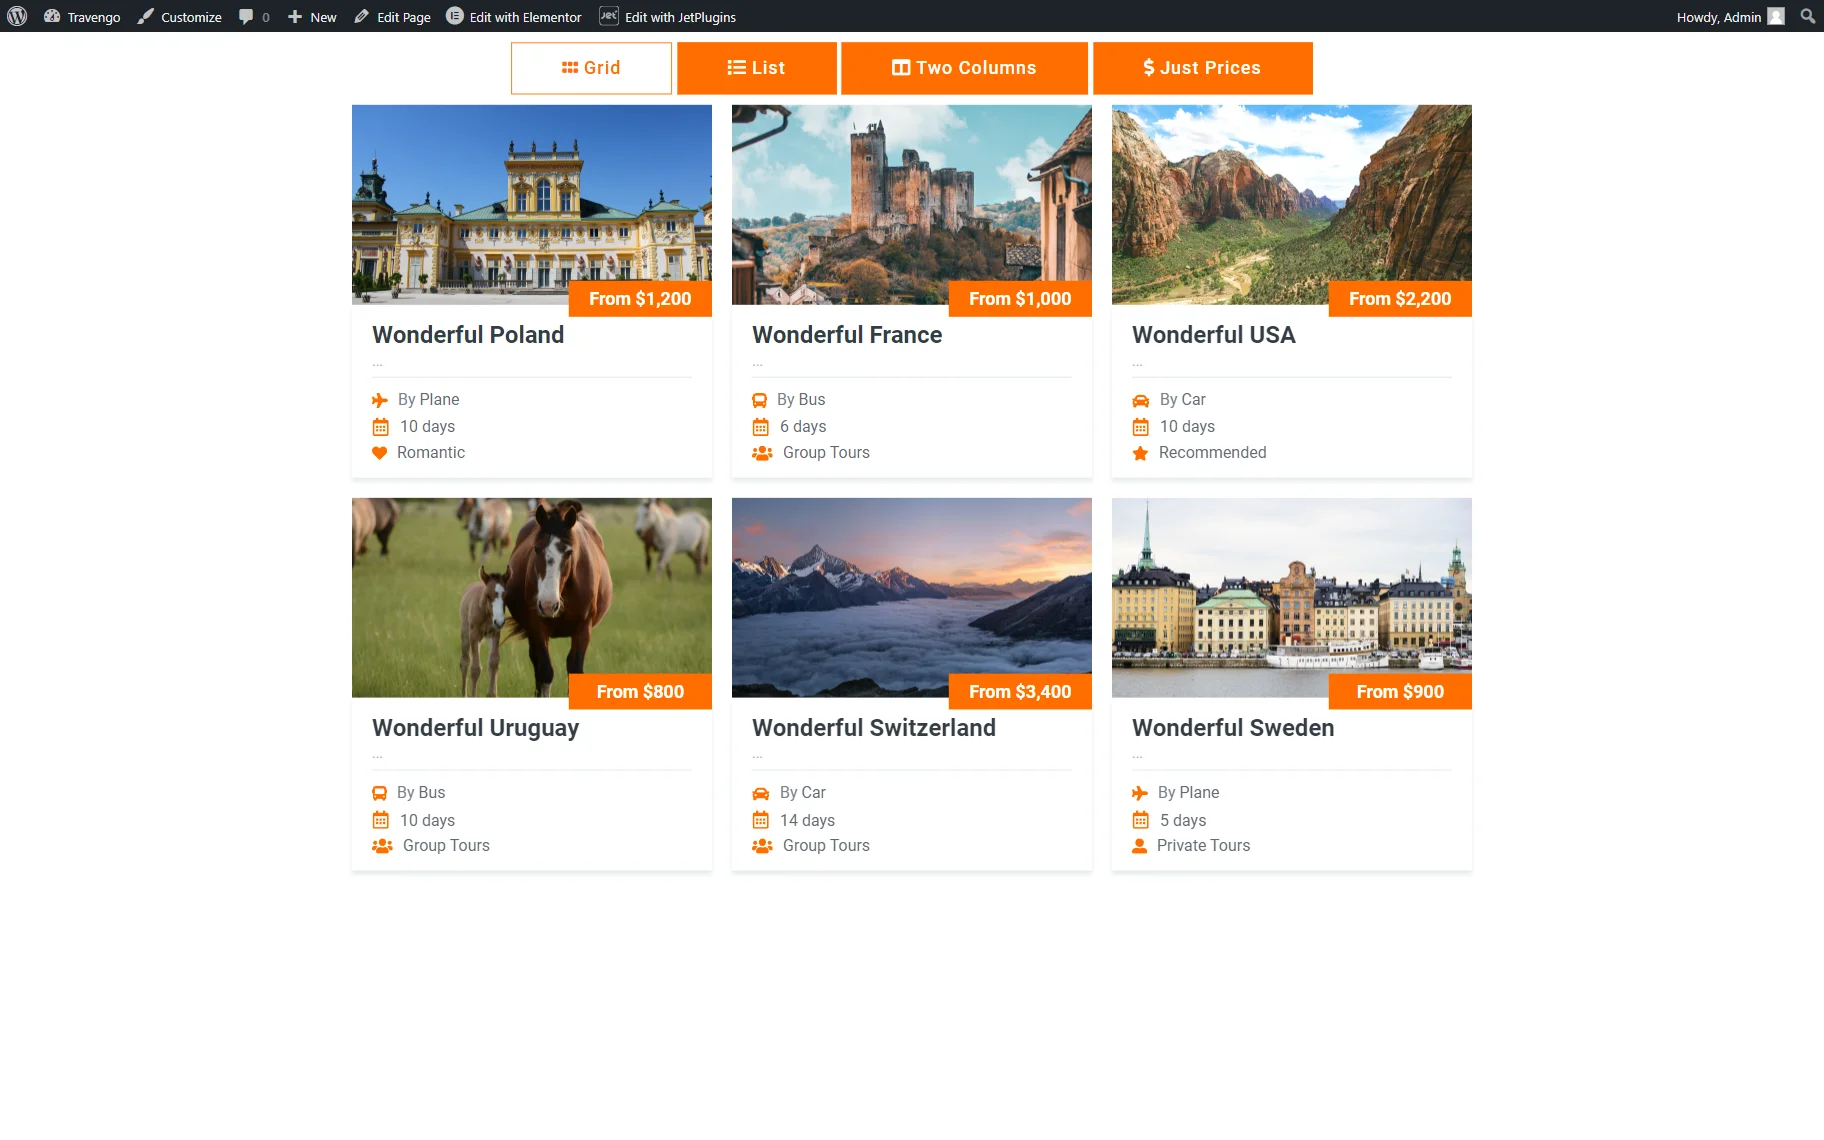
Now, every layout button on the front end can be clicked to see the needed layout.
The “Grid” layout represents the default Listing Grid. It is a three-column content section.
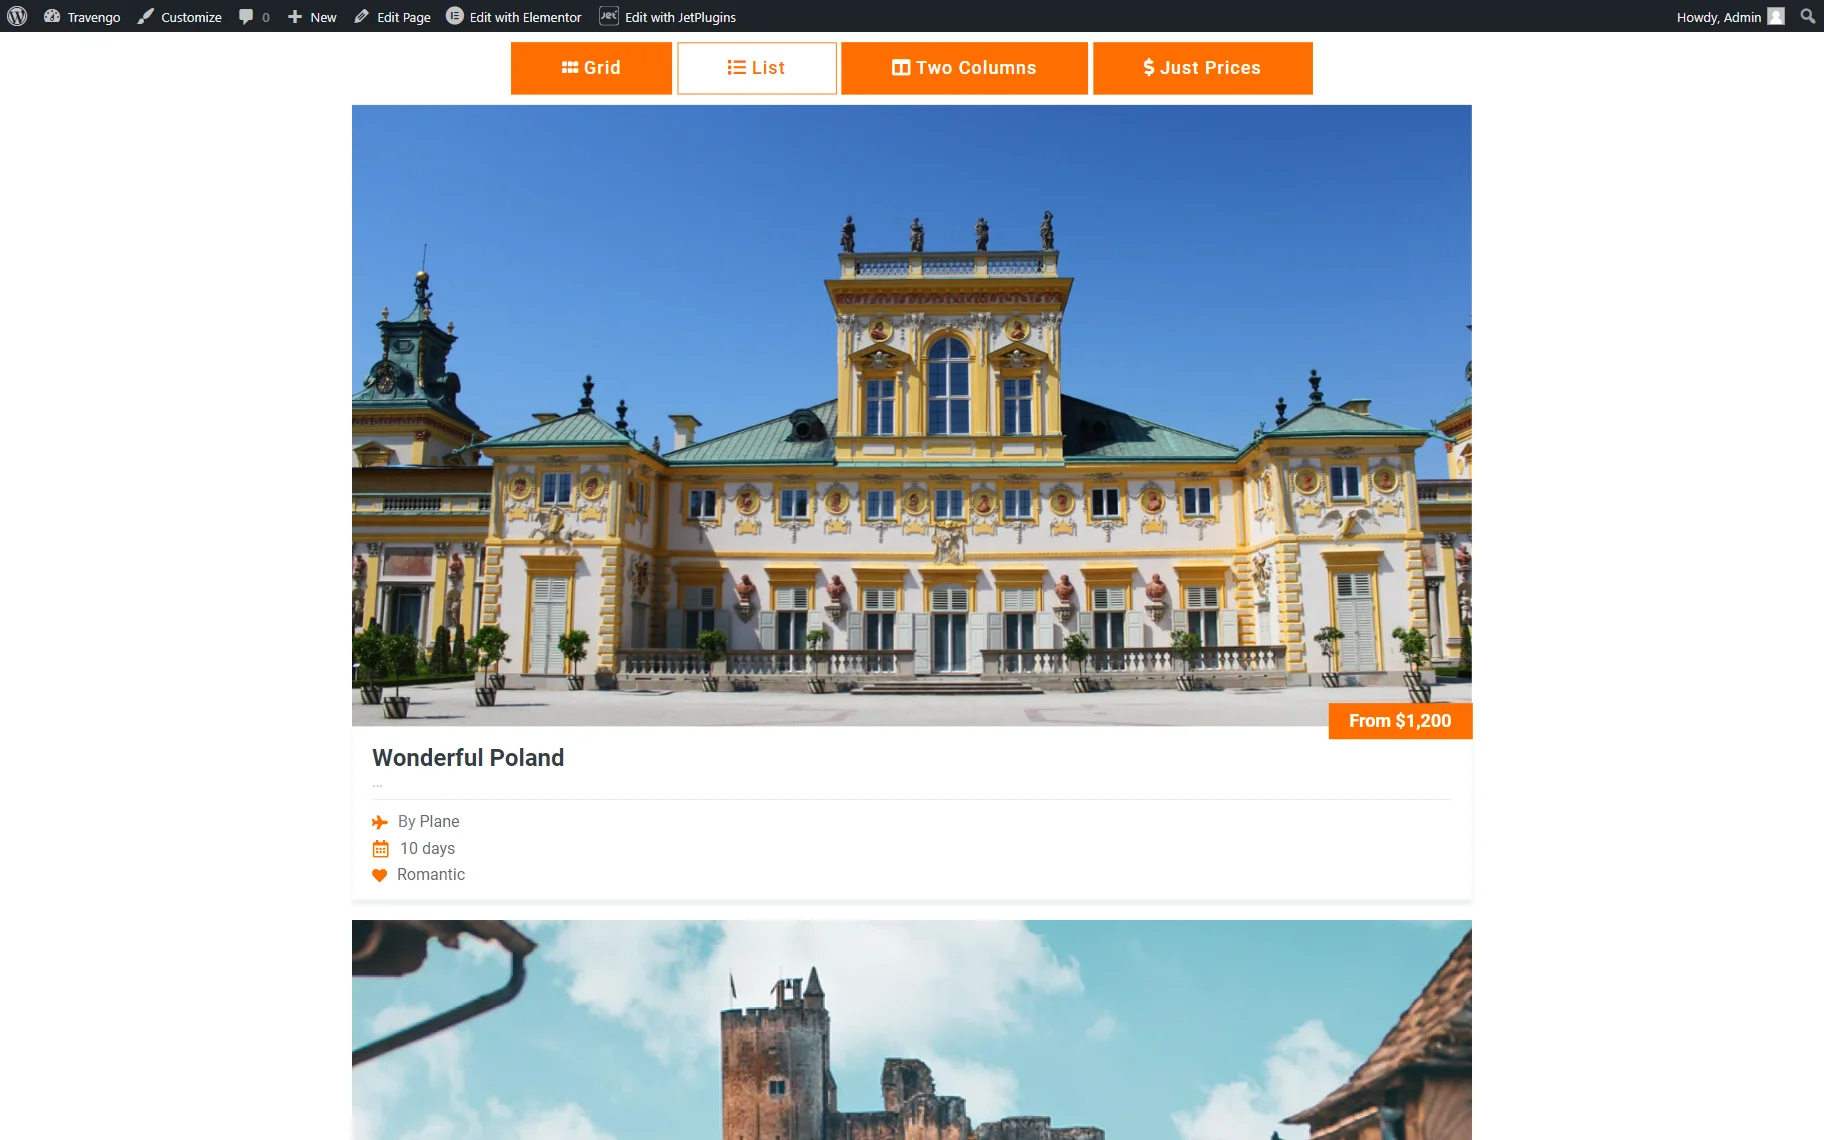
The “List” displays items in one column.
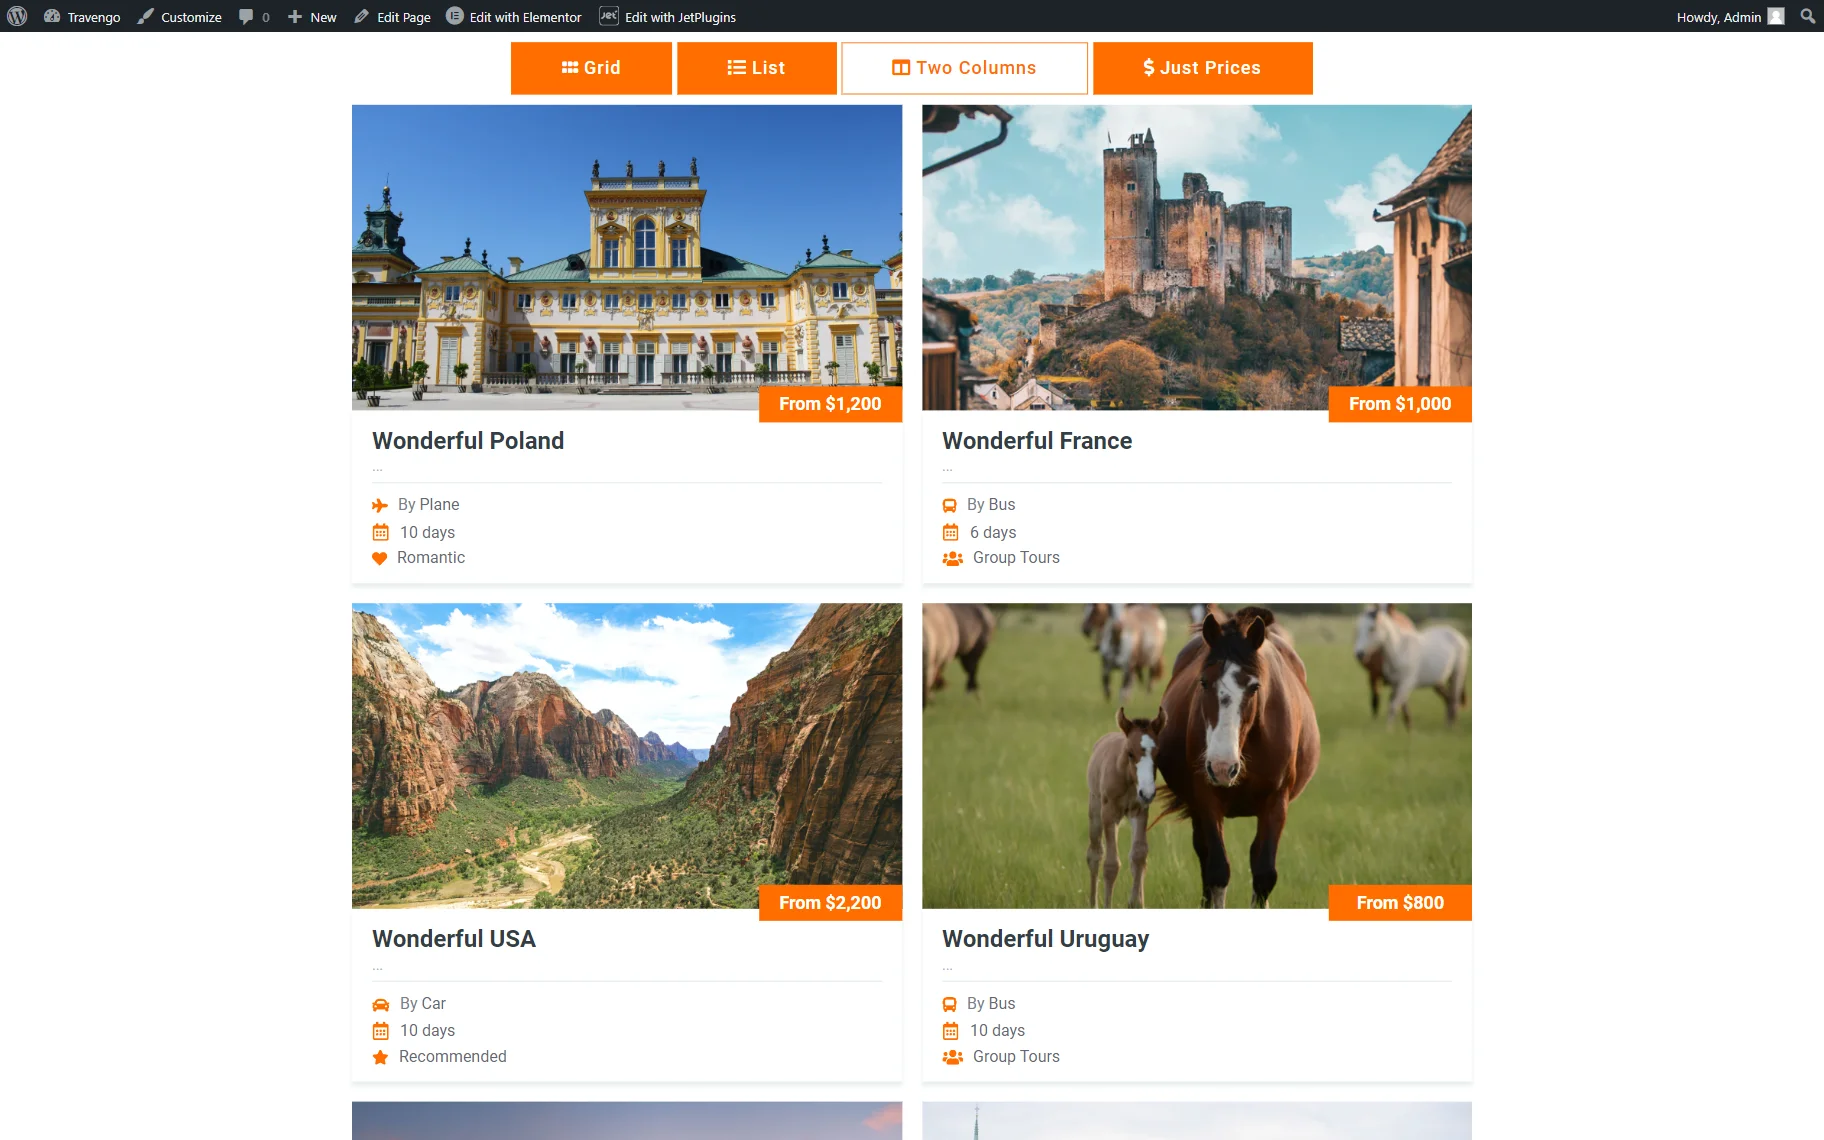
A custom “Two Columns” button enables a two-column layout.
The last button shows a different listing called “Tours.”

Now you know how to change layouts in the Listing Grid widget with the help of the Layout Switcher feature available with the JetEngine plugin.