How to Create Custom Content Type
This tutorial explains how to create a Custom Content Type (CCT) and its settings.
Before you start, check the tutorial requirements:
- JetEngine plugin installed and activated
Enable the CCT Module
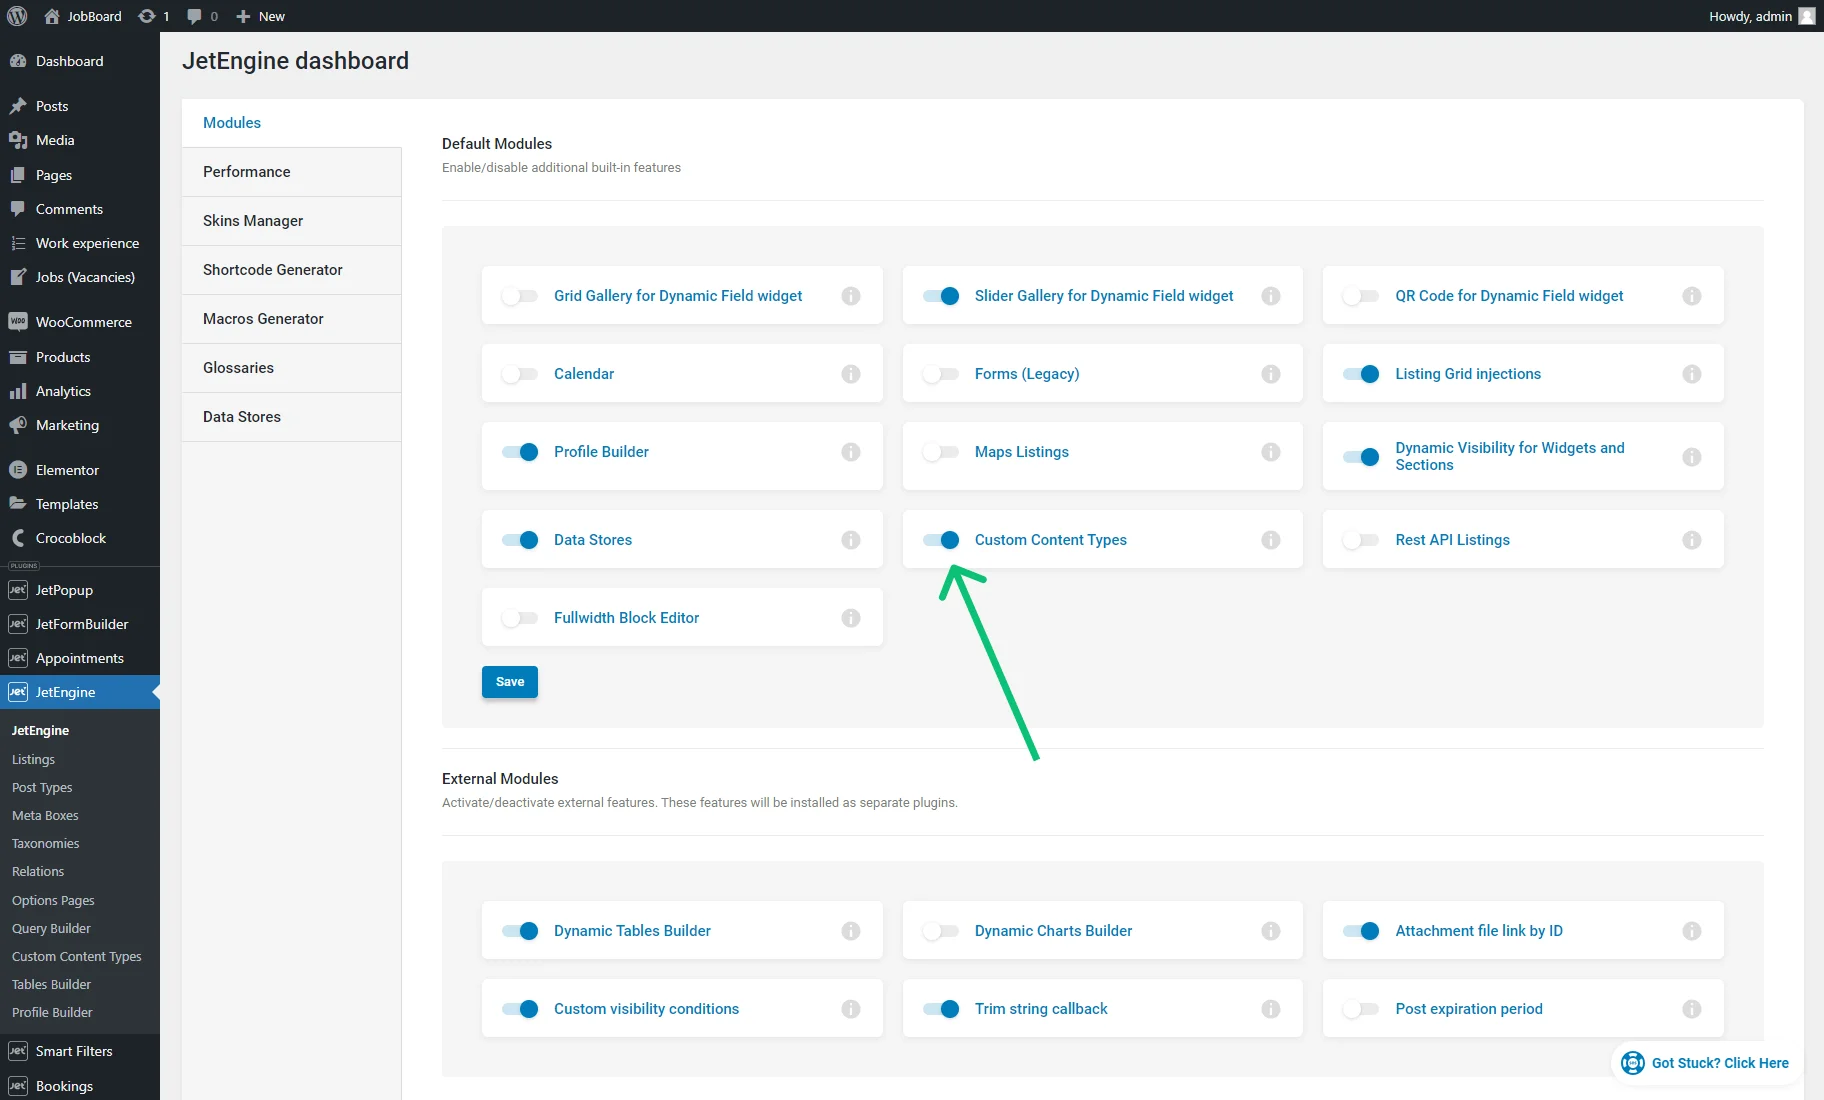
Let us start with activating the Custom Content Type module.
Go to the JetEngine > JetEngine > Modules tab, and enable the Custom Content Types toggle. This will provide access to the CCT creation.
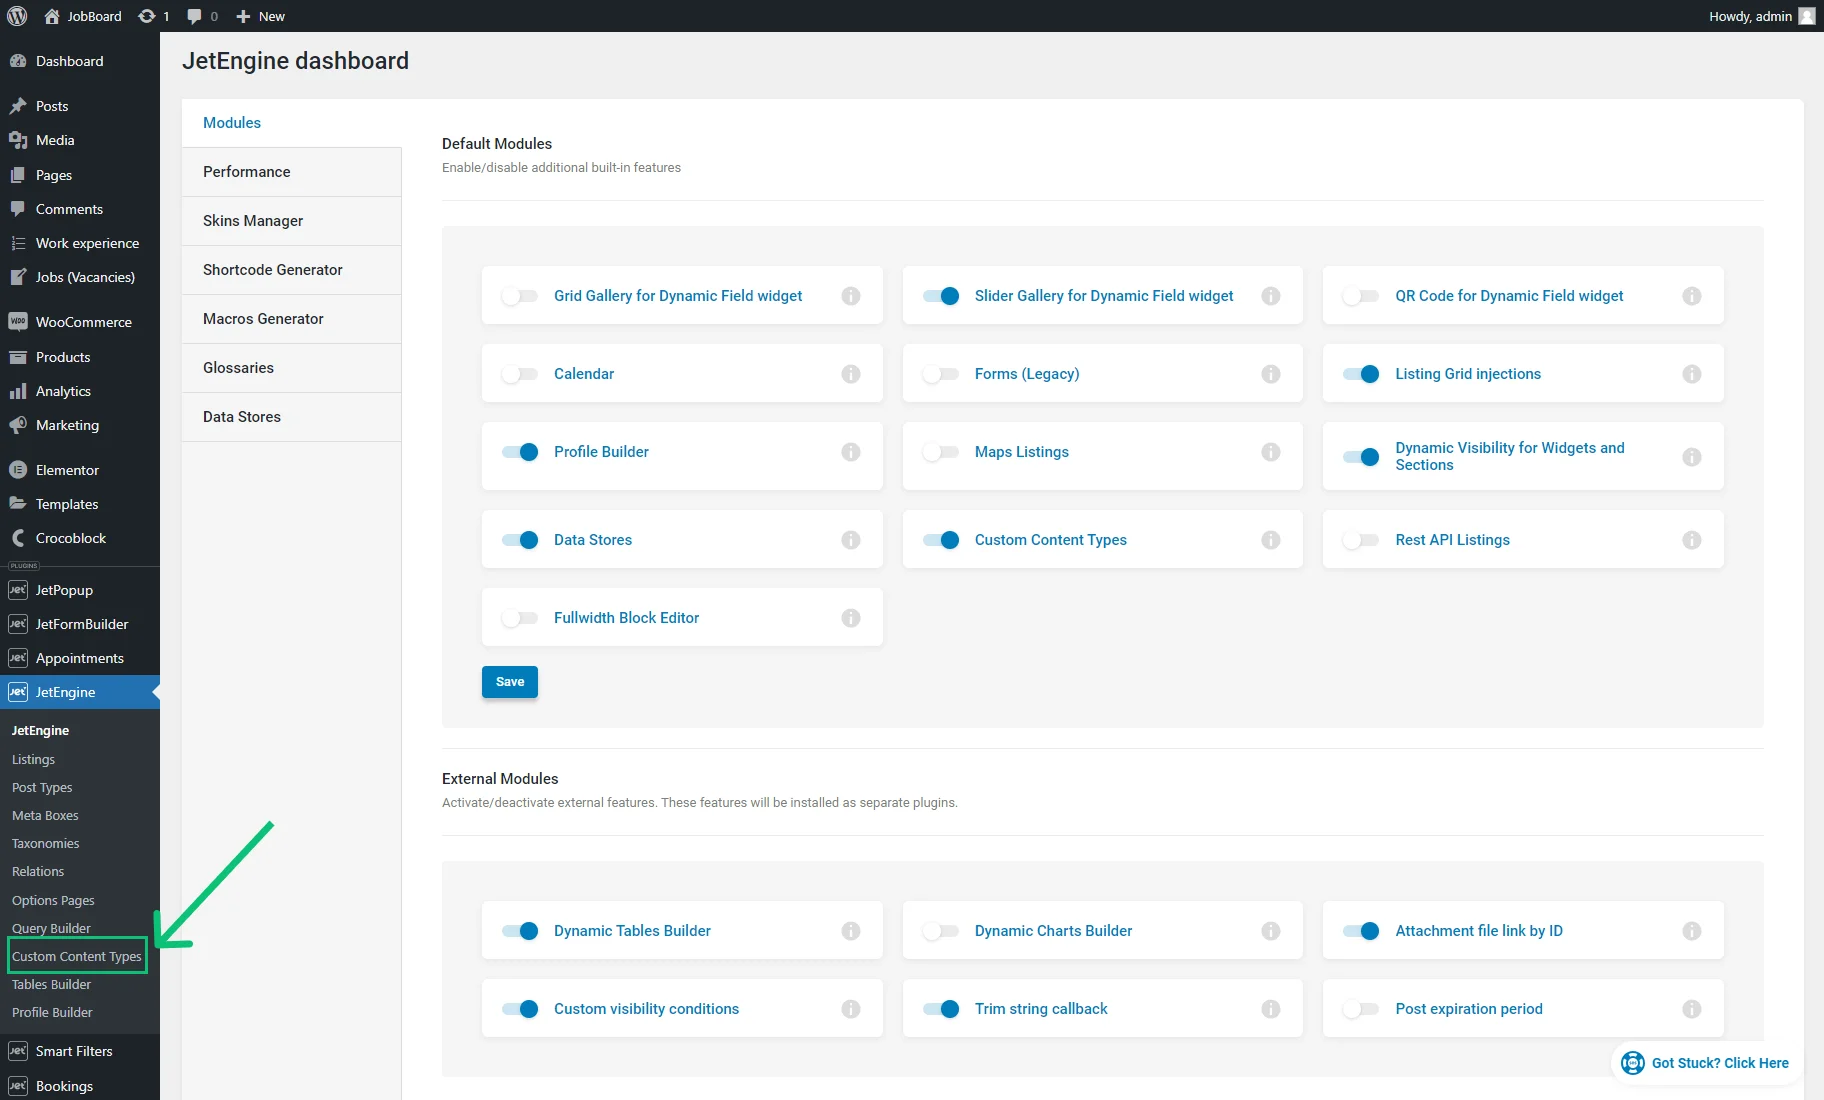
After the page is reloaded, the Custom Content Types tab is available in the admin area.
Create a CCT
Go to the JetEngine > Custom Content Types dashboard and create a new CCT by clicking the “Add New” button.
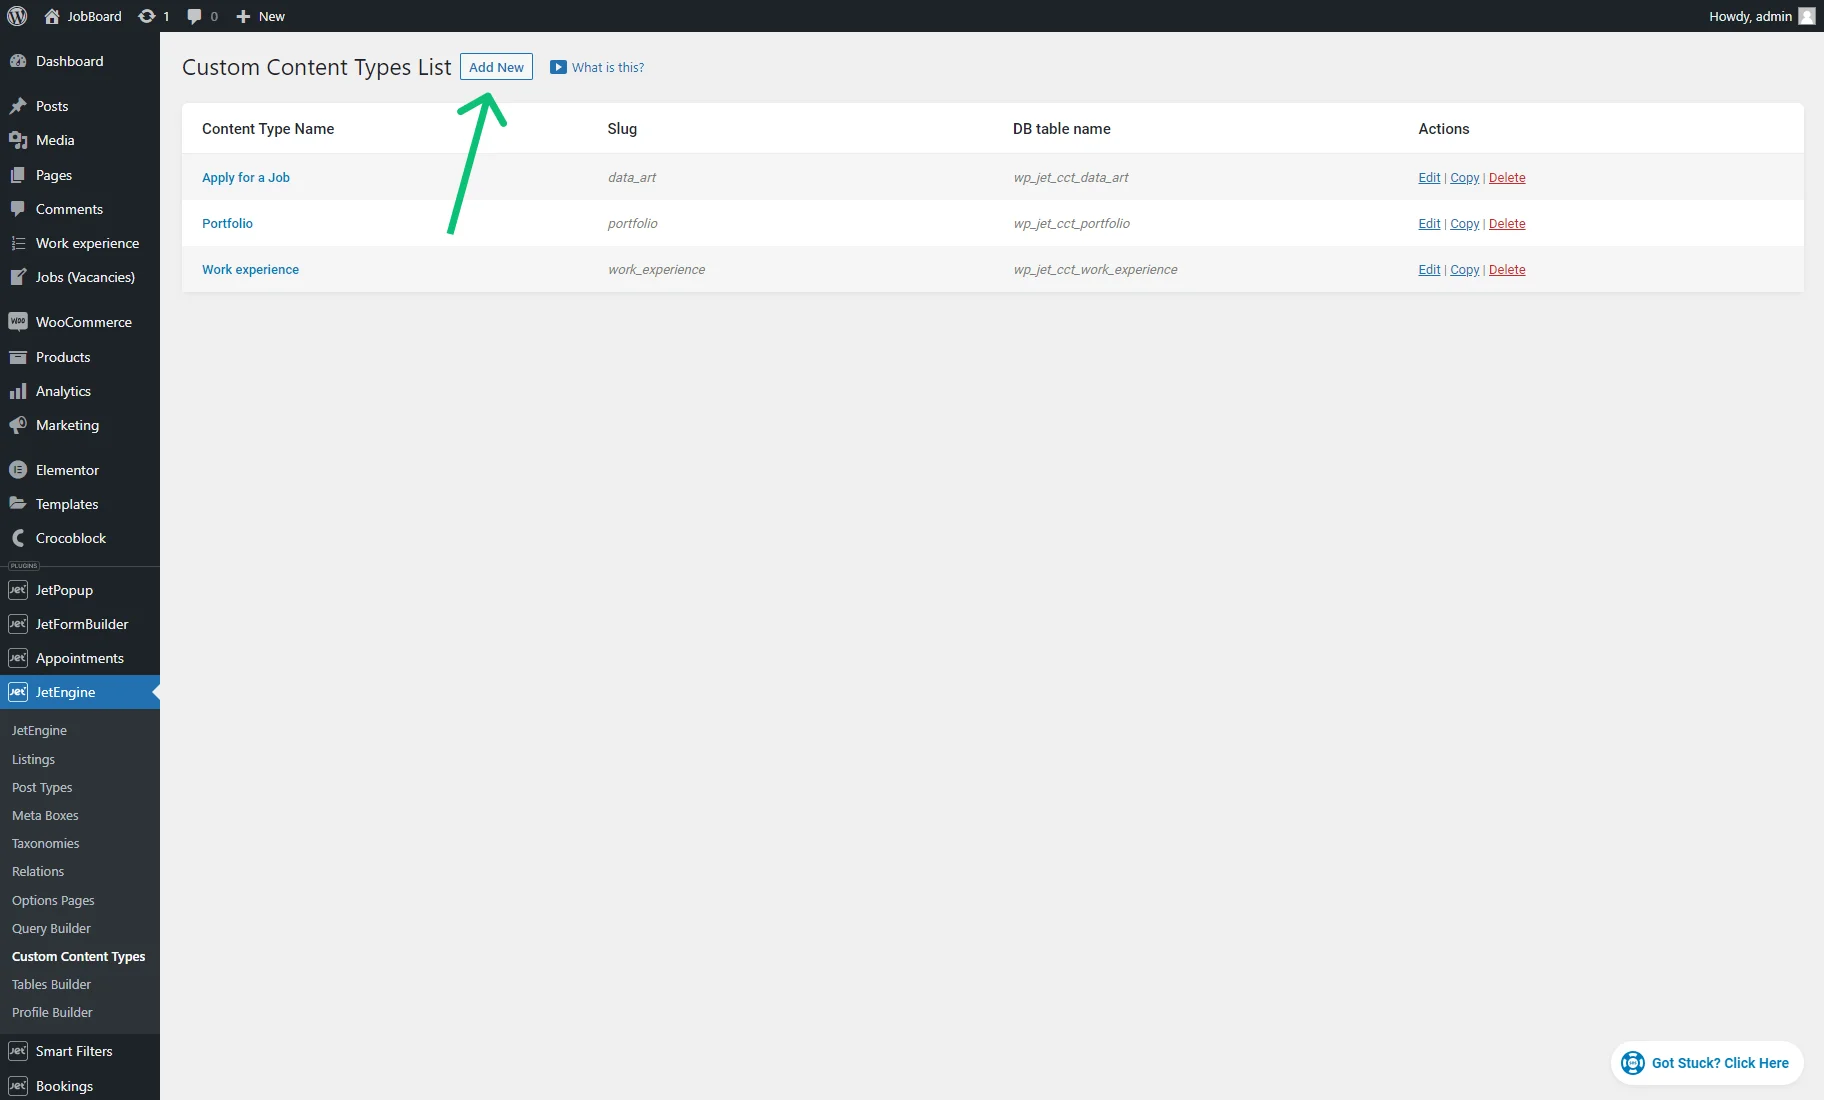
After that, you will be redirected to the Add New Content Type page.
To get the description of all CCT options, proceed to the Custom Content Type (CCT) Overview.
Set the General Settings
In the General Settings, you need to write the CCT Name, which will be displayed in the WordPress admin menu.
The Slug will be appended to the ‘wp_jet_cct_’ to create a unique slug for this CCT DB Table Name. Make sure to use only Latin lowercase letters. Hyphens and underscores are also accepted.
Next, we proceed to the Has Single Page toggle. Activating this toggle is optional and is only needed if a CCT item needs to have a single page according to the idea of your website. By default, there is no single page for a CCT item as per the initial idea of CCT – to store big numbers of data in the website database.
By enabling the toggle, an additional field appears that allows you to select the Related Post Type. In this post type, a new post will be created when a new CCT item is added on the backend or with the front-end form. A post in this post type will serve as a single page for its related CCT item.
You can also specify which CCT fields will fill in the post Title Field and Content Field.
We have already created two text fields in this CCT to select them in the Title Field and Content Field accordingly. You’ll learn how to add meta fields for a CCT later in this tutorial.
The next settings help define the Menu Icon and Menu position in the WordPress admin panel.
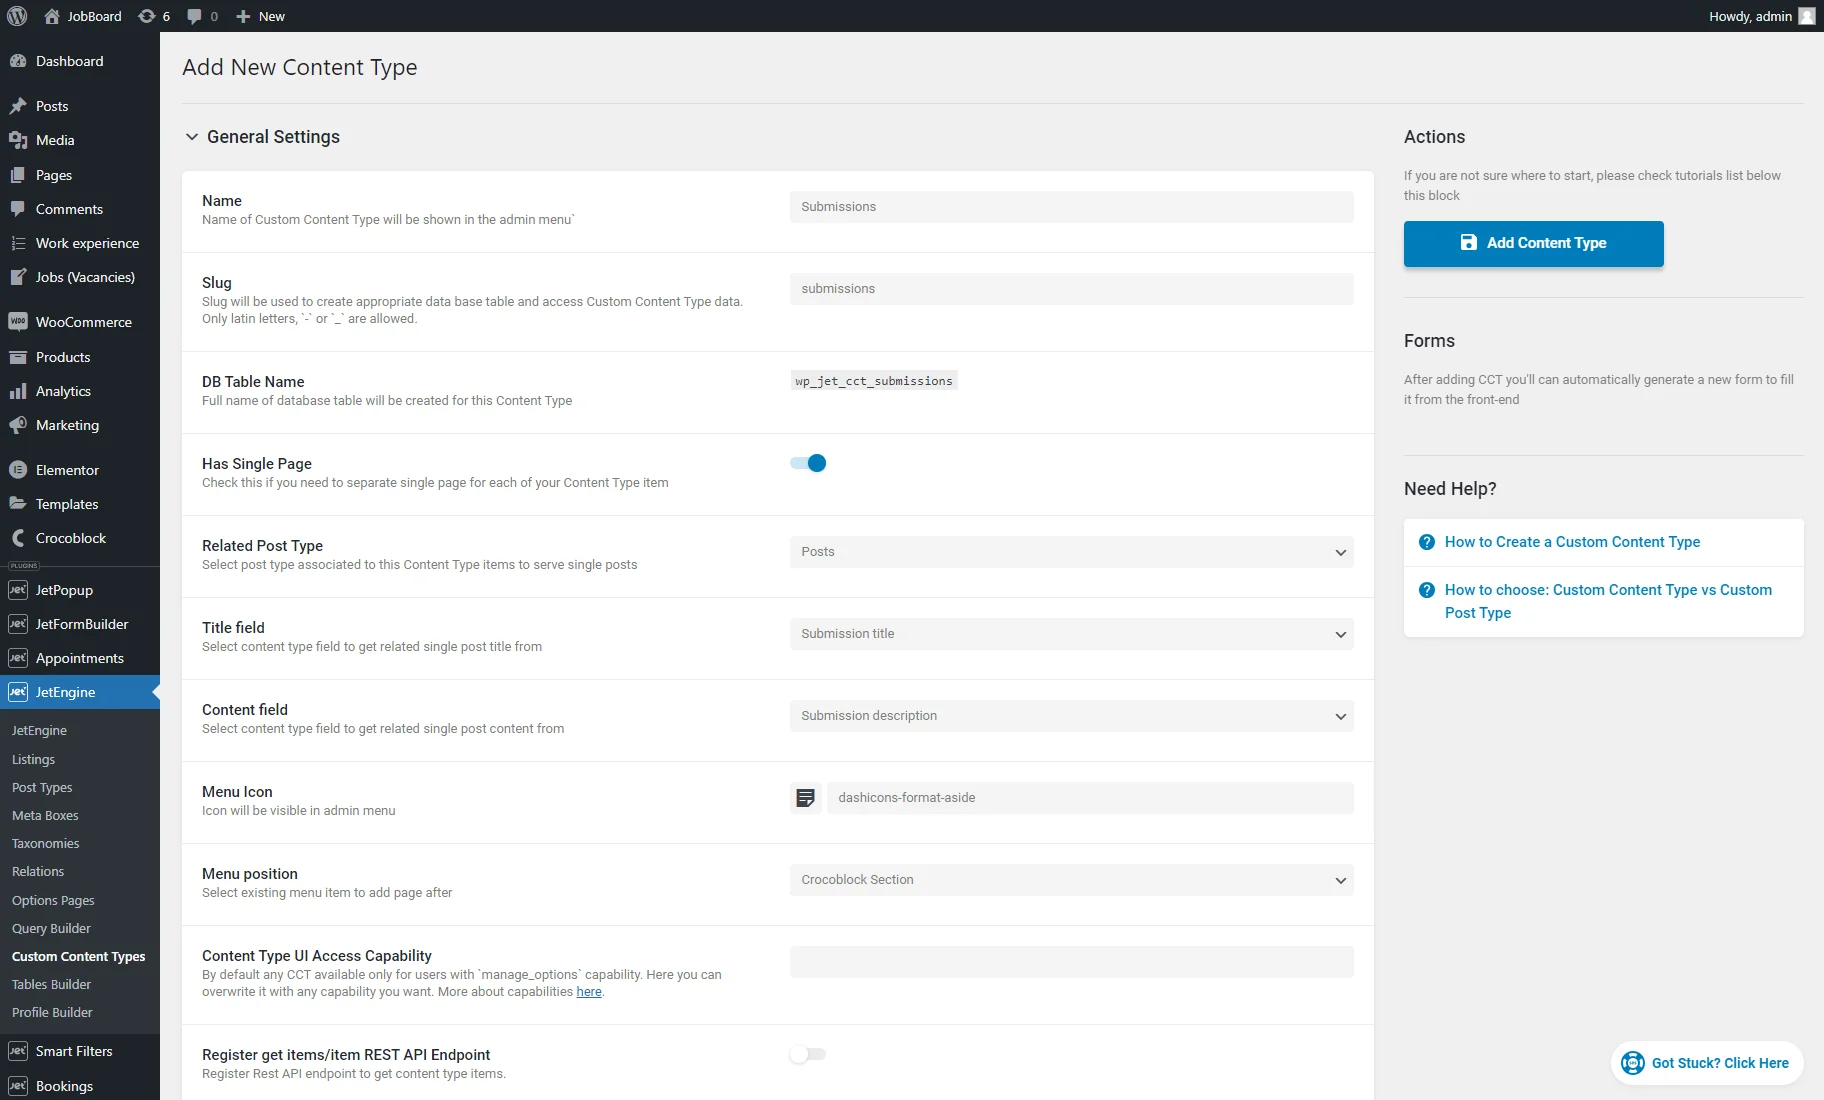
The Menu Icon is the icon on the left from a CCT in the admin area.
And the Menu position defines a part of the WordPress admin menu where the CCT is to be displayed.
Create meta fields
Now let us get to the Fields section of the Custom Content Type.
As was mentioned before, we added two custom fields to the CCT.
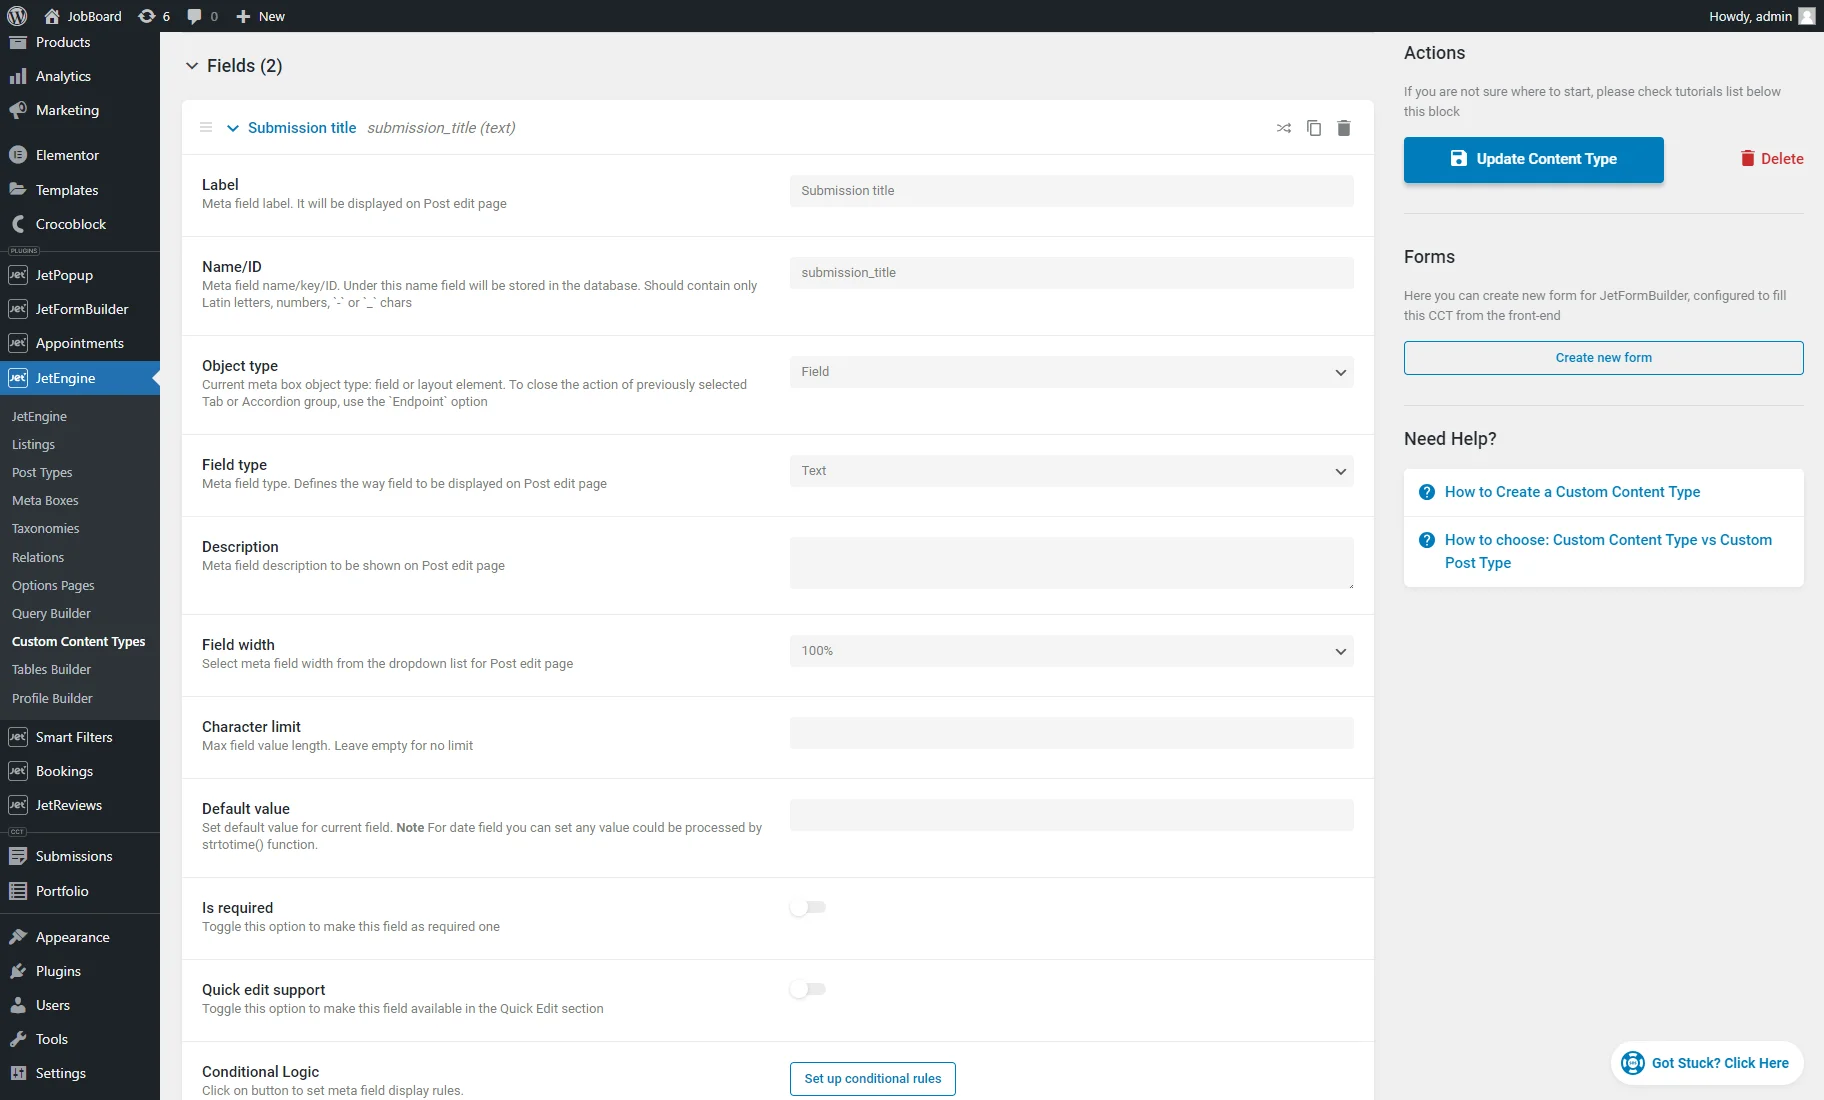
The first field is of a text type and will fill in the title of a single CCT post.
The second field is also a text one and will fill the single post content.
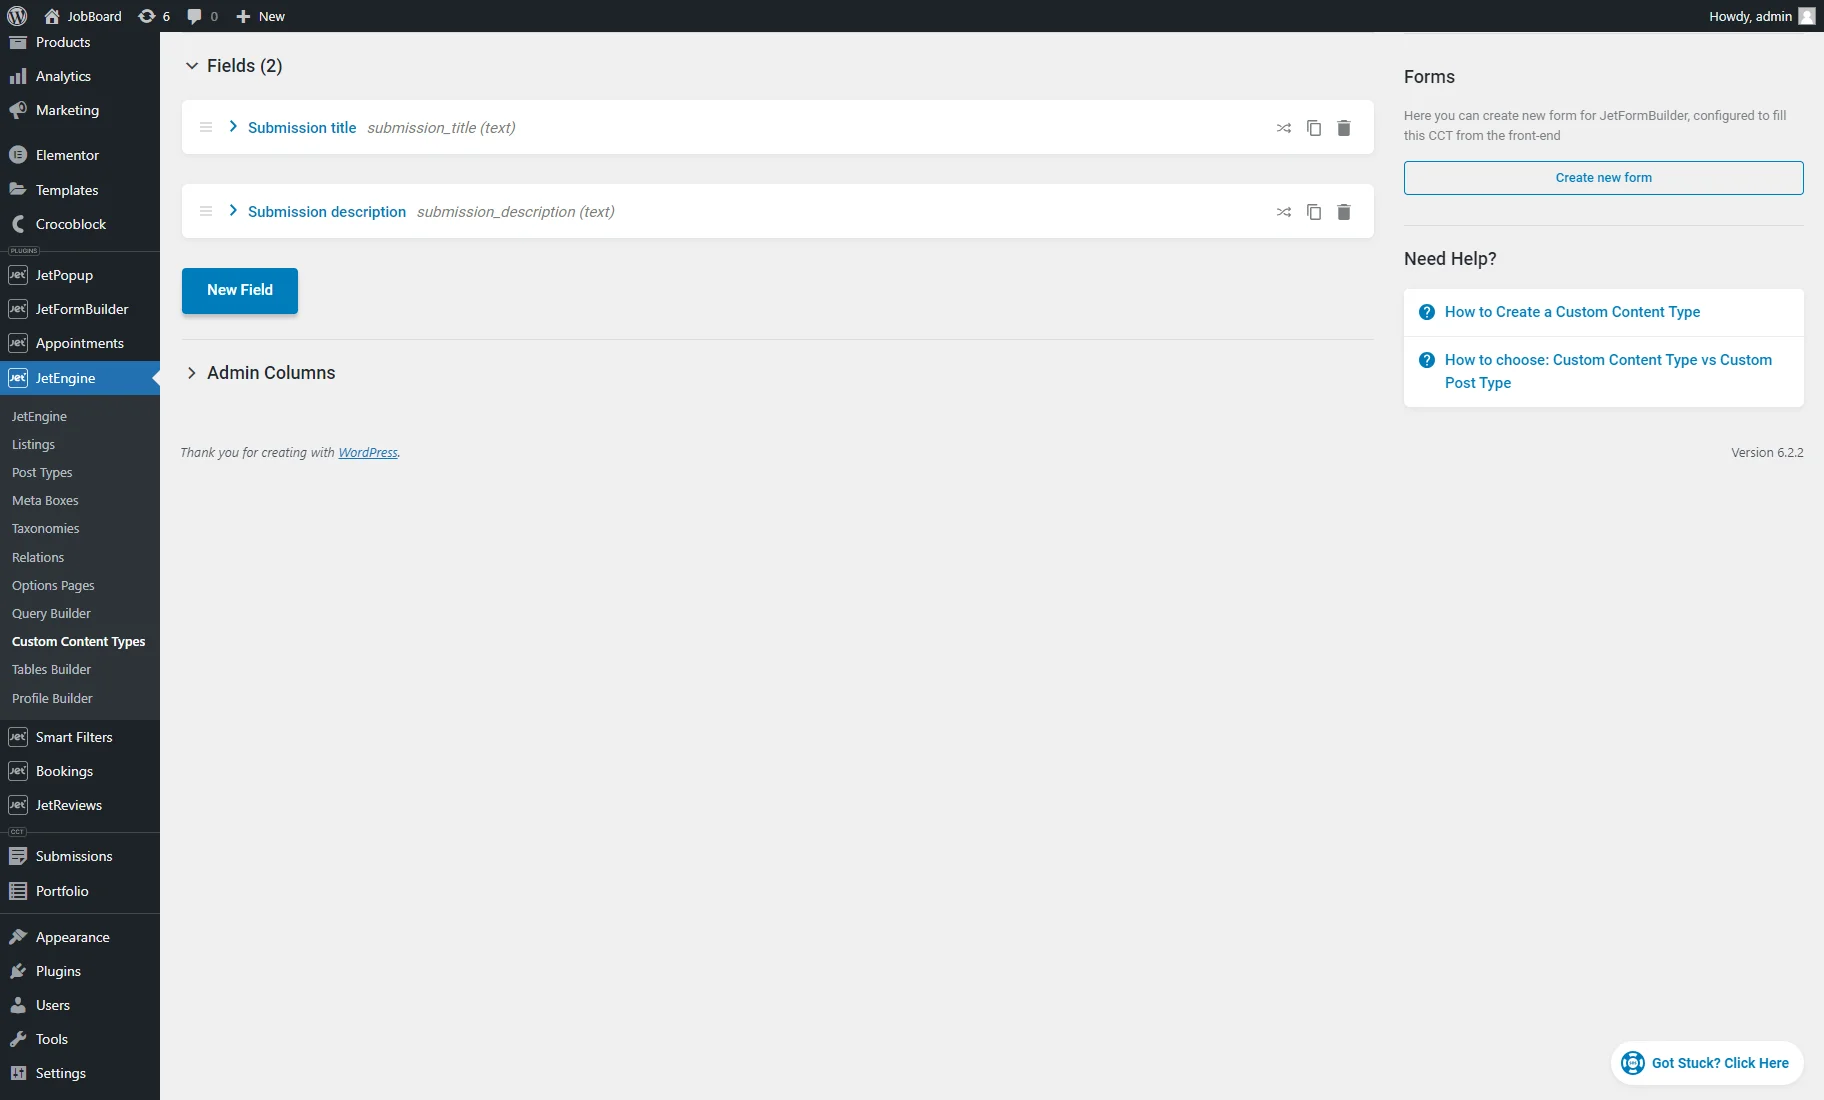
Two meta fields have similar settings:
Add admin columns
The next part of the Custom Content Type settings is Admin Columns. The admin columns help display the data of each CCT item on the Custom Content Type page in the admin area.
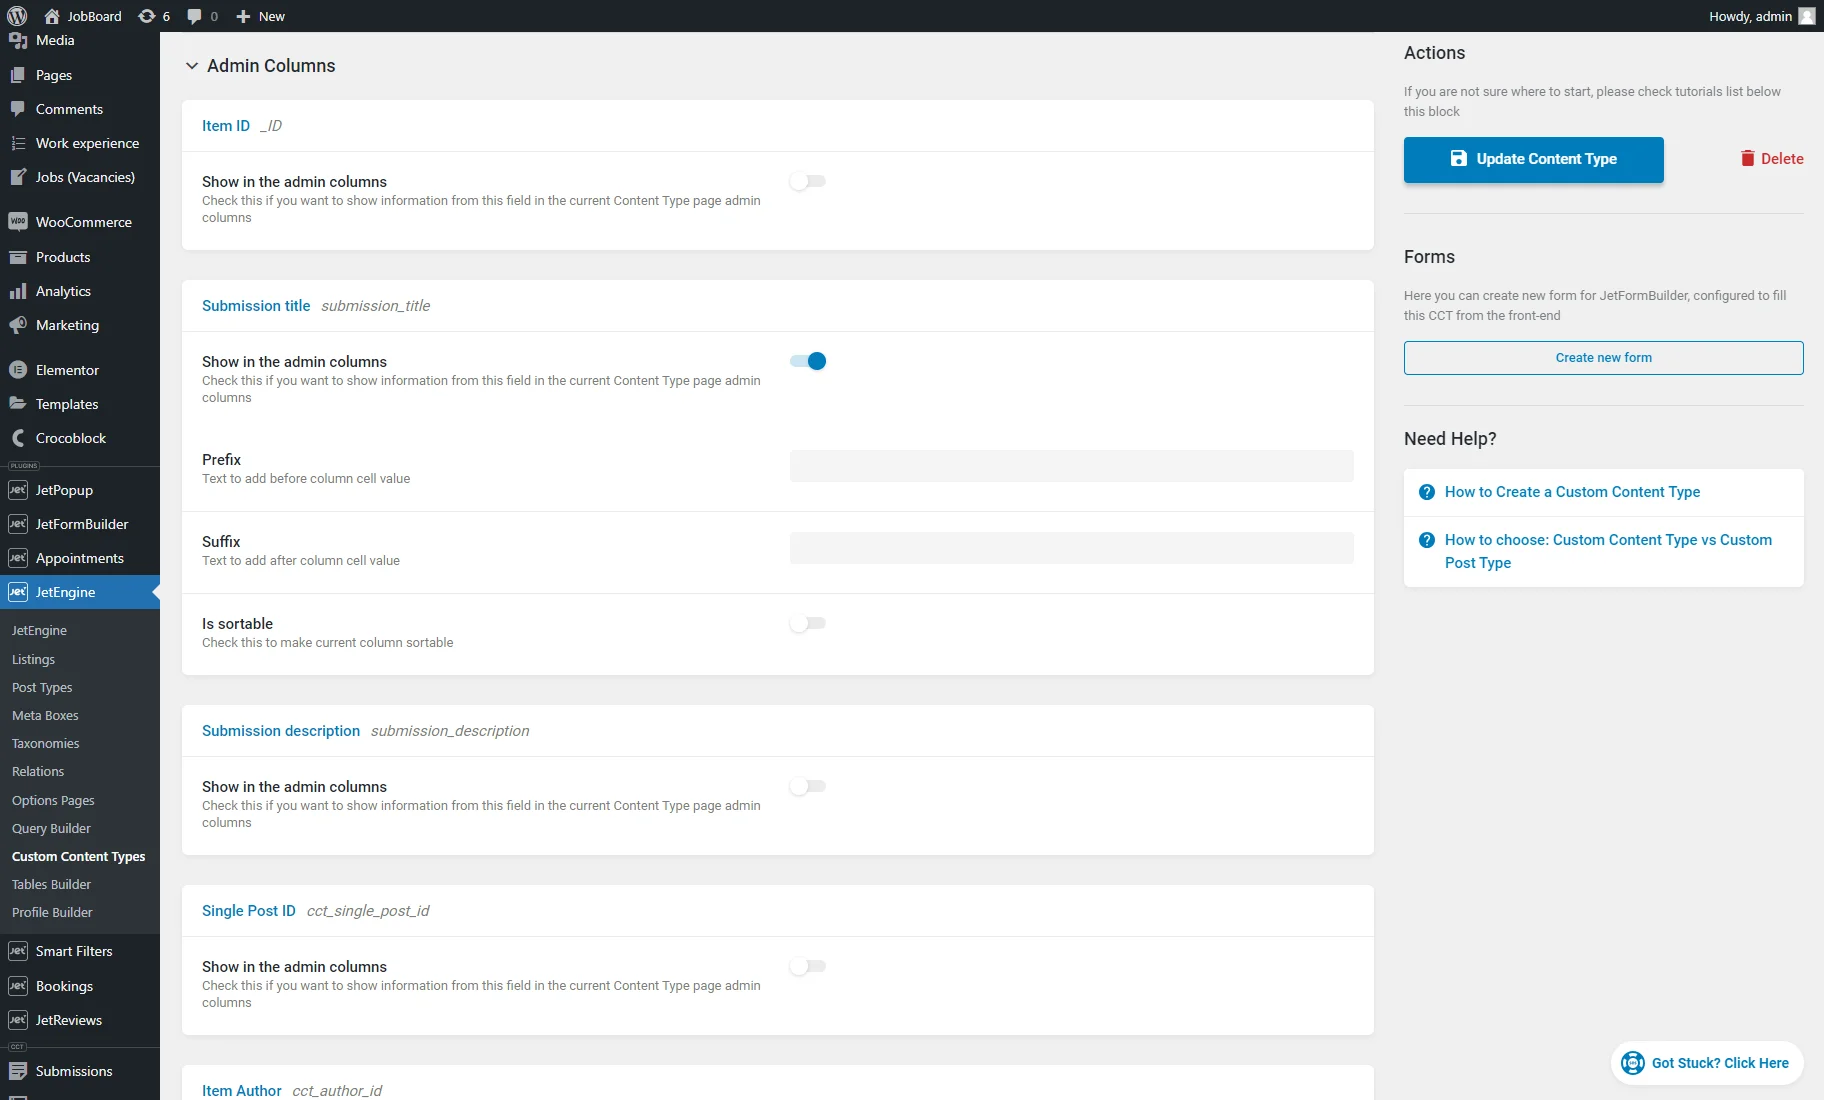
So we enabled toggle in several columns to make them displayed in the Admin Columns on the CCT page on the backend. The result you’ll further.
Finish customizing the CCT and hit the “Add/Update Content Type” button to save changes.
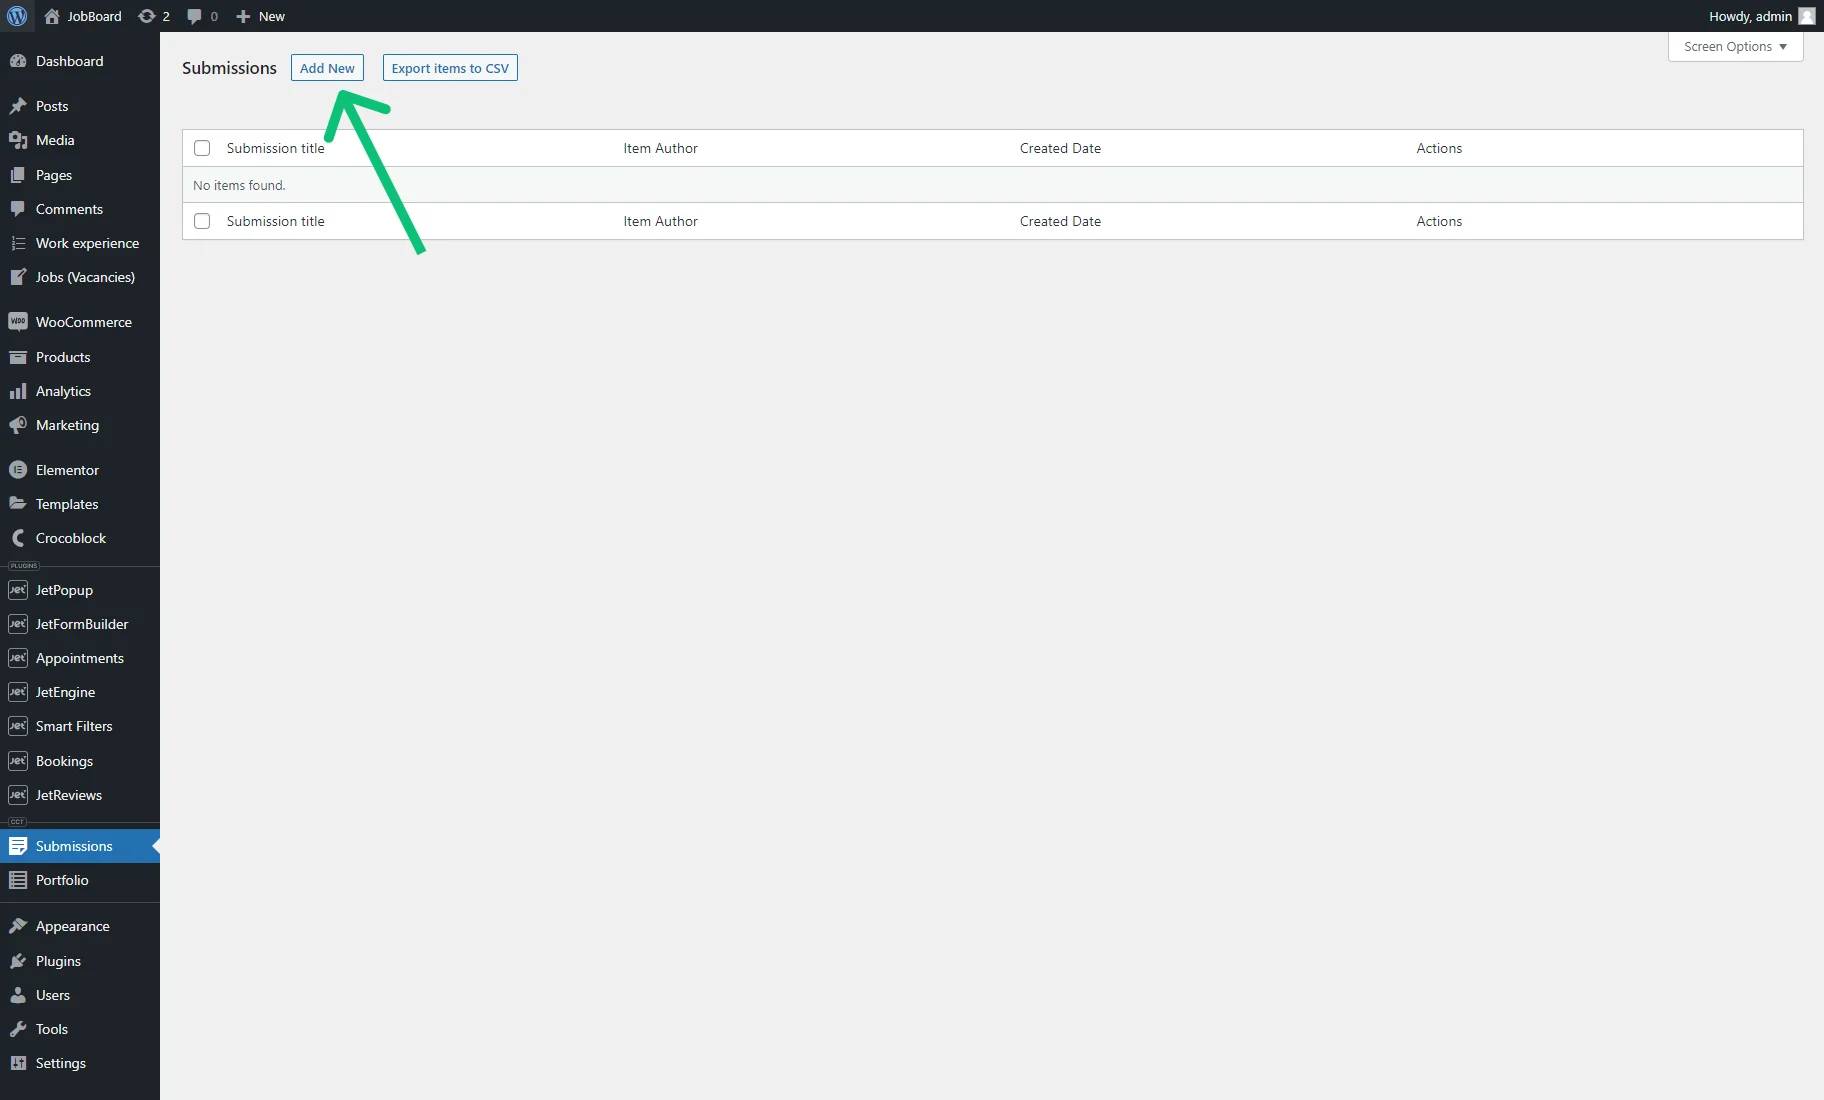
Create CCT Items
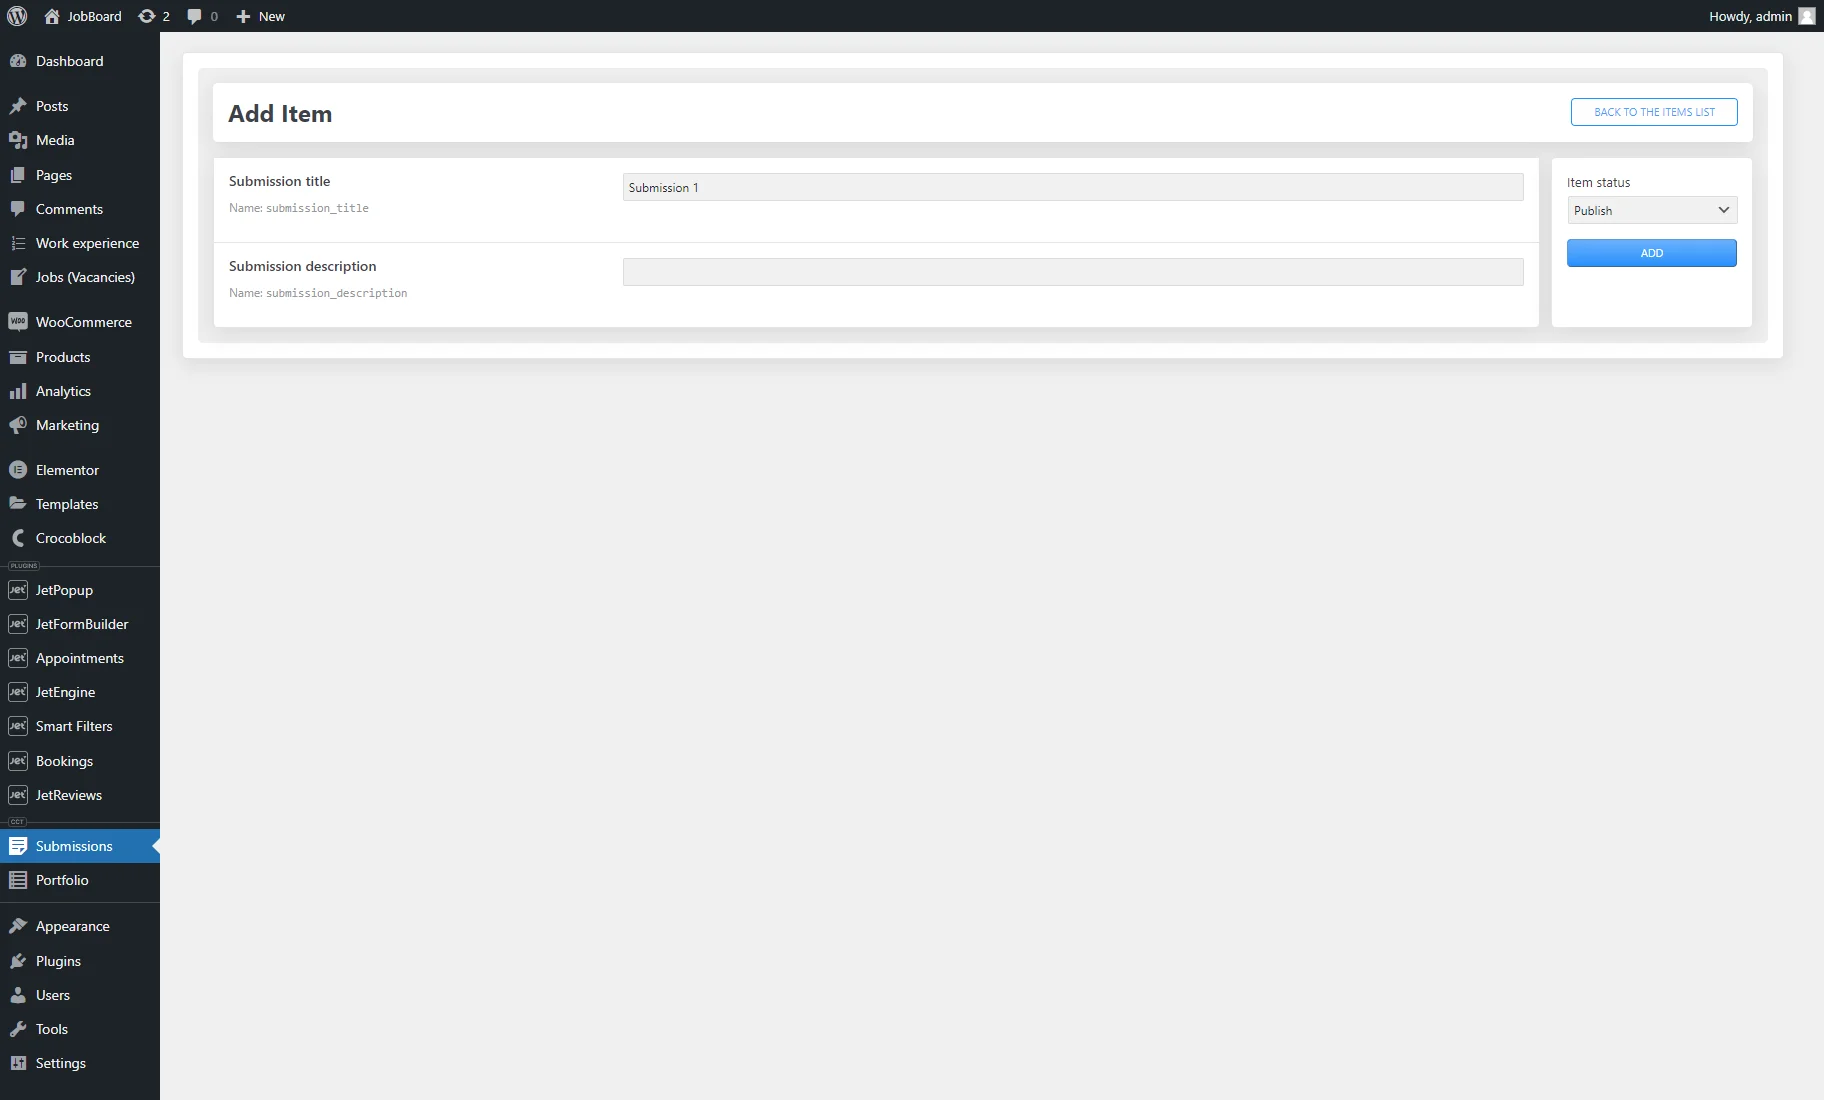
Go to the admin menu tab of the recently created CCT and push the “Add New” button.
Fill in the meta fields and hit the “Add” button.
The CCT item is created. Now, you can edit item details and save the results by hitting the “Save” button, create a new item by pressing the “New Item” button, or go “Back to the items list.”
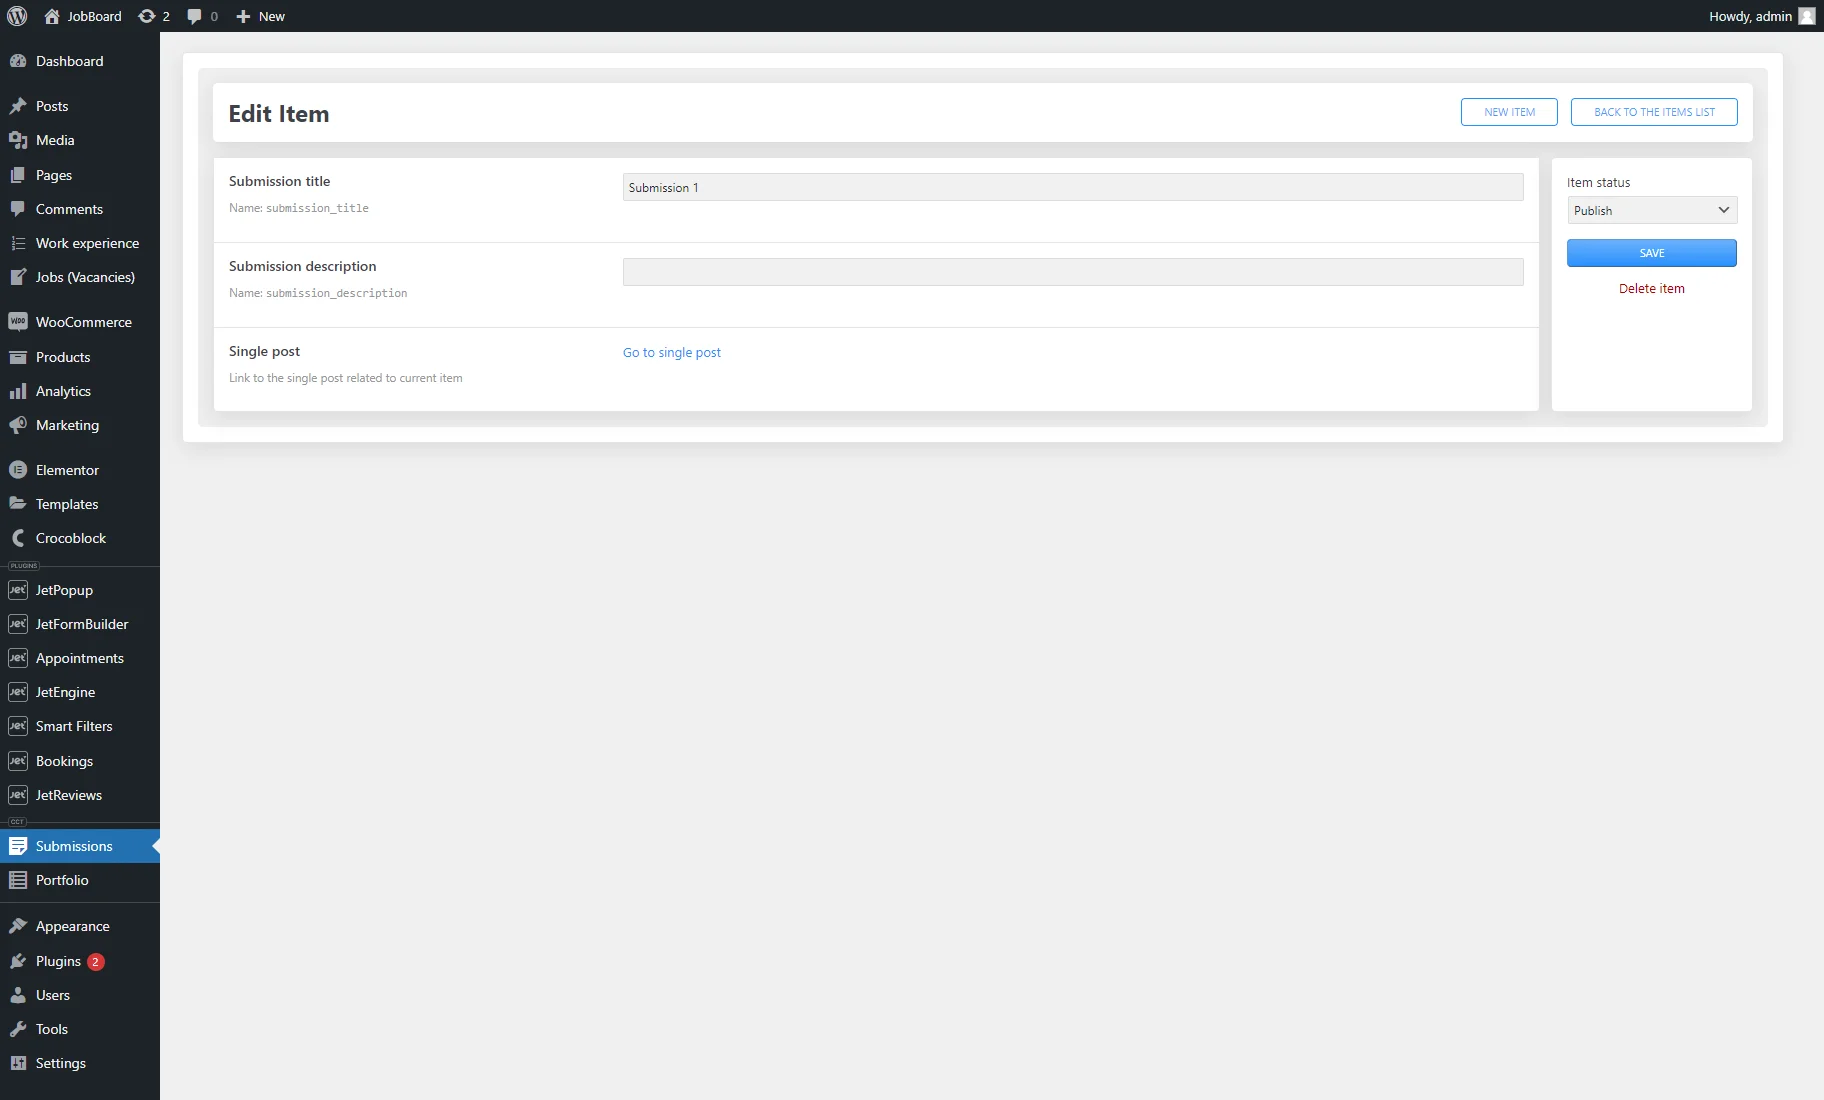
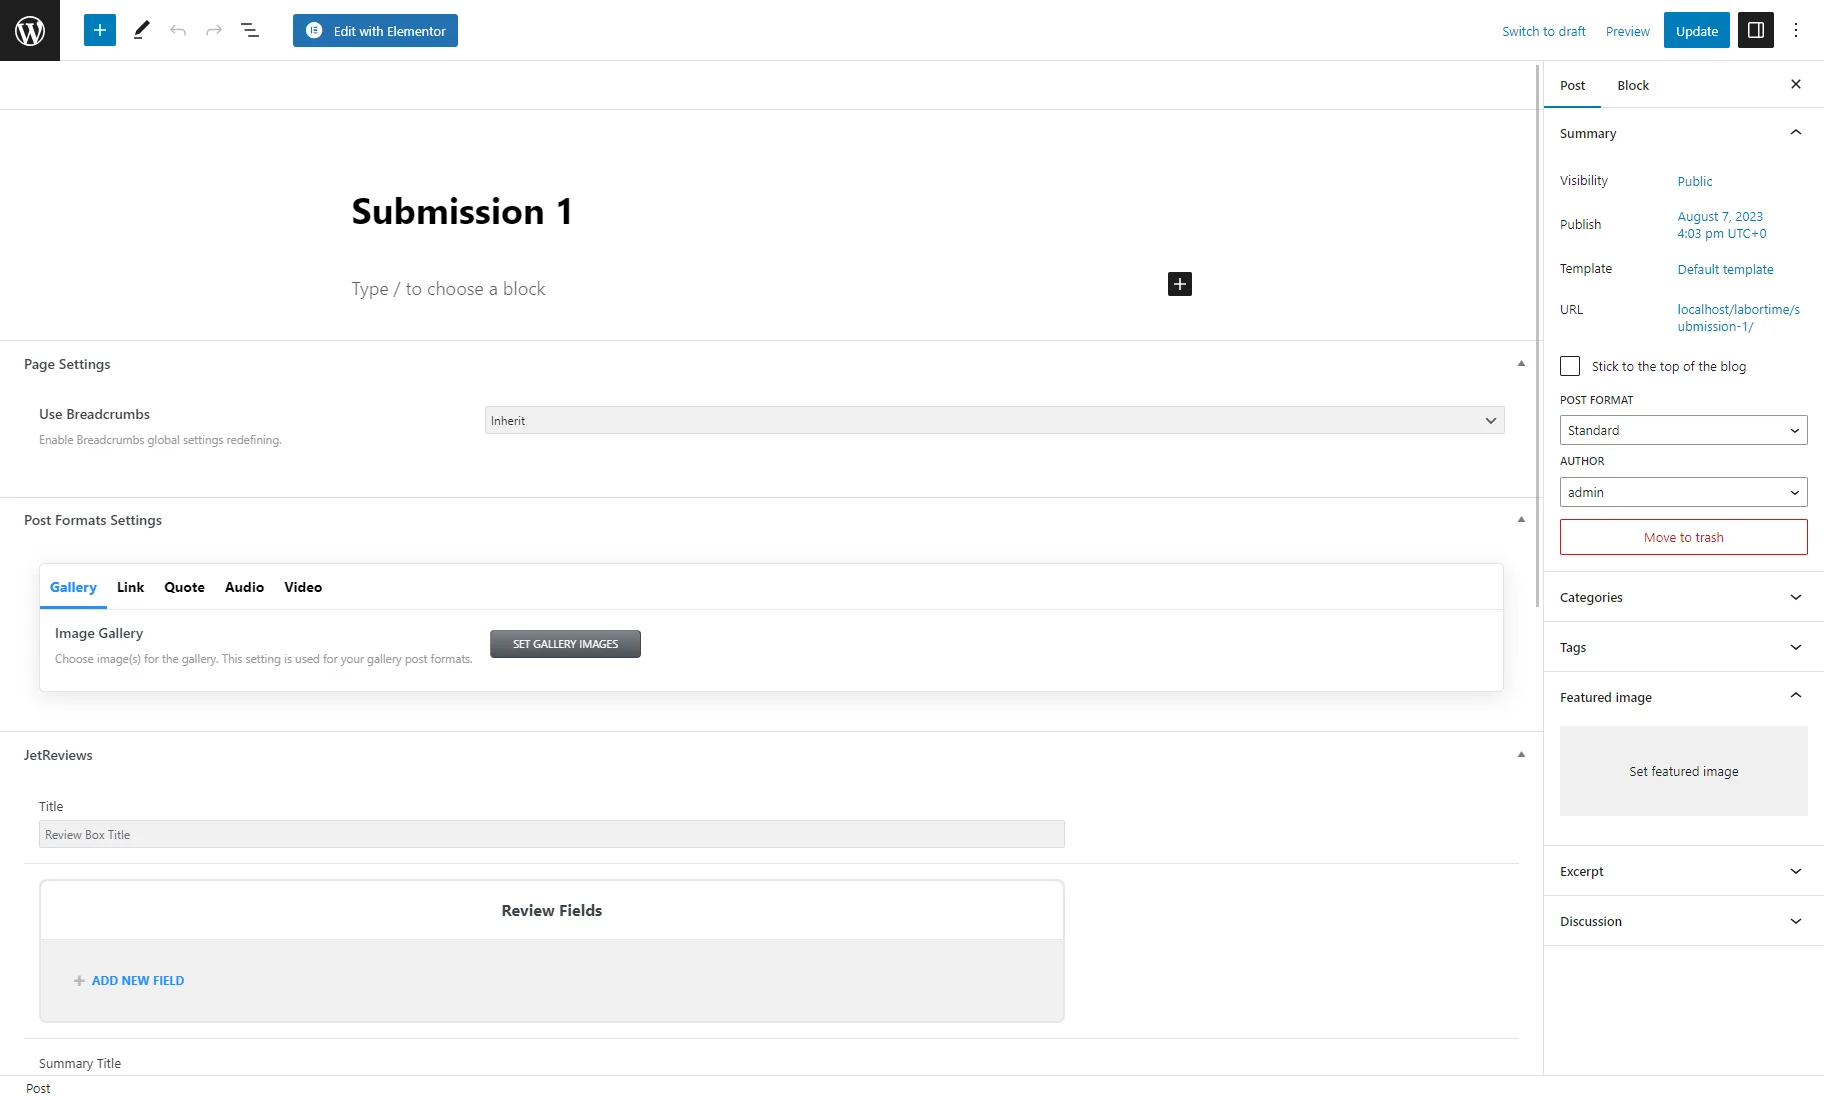
If you have enabled the Has Single Page toggle, the Single post field appears. If you click the “Go to single post” link, you will navigate to the single post editing page.
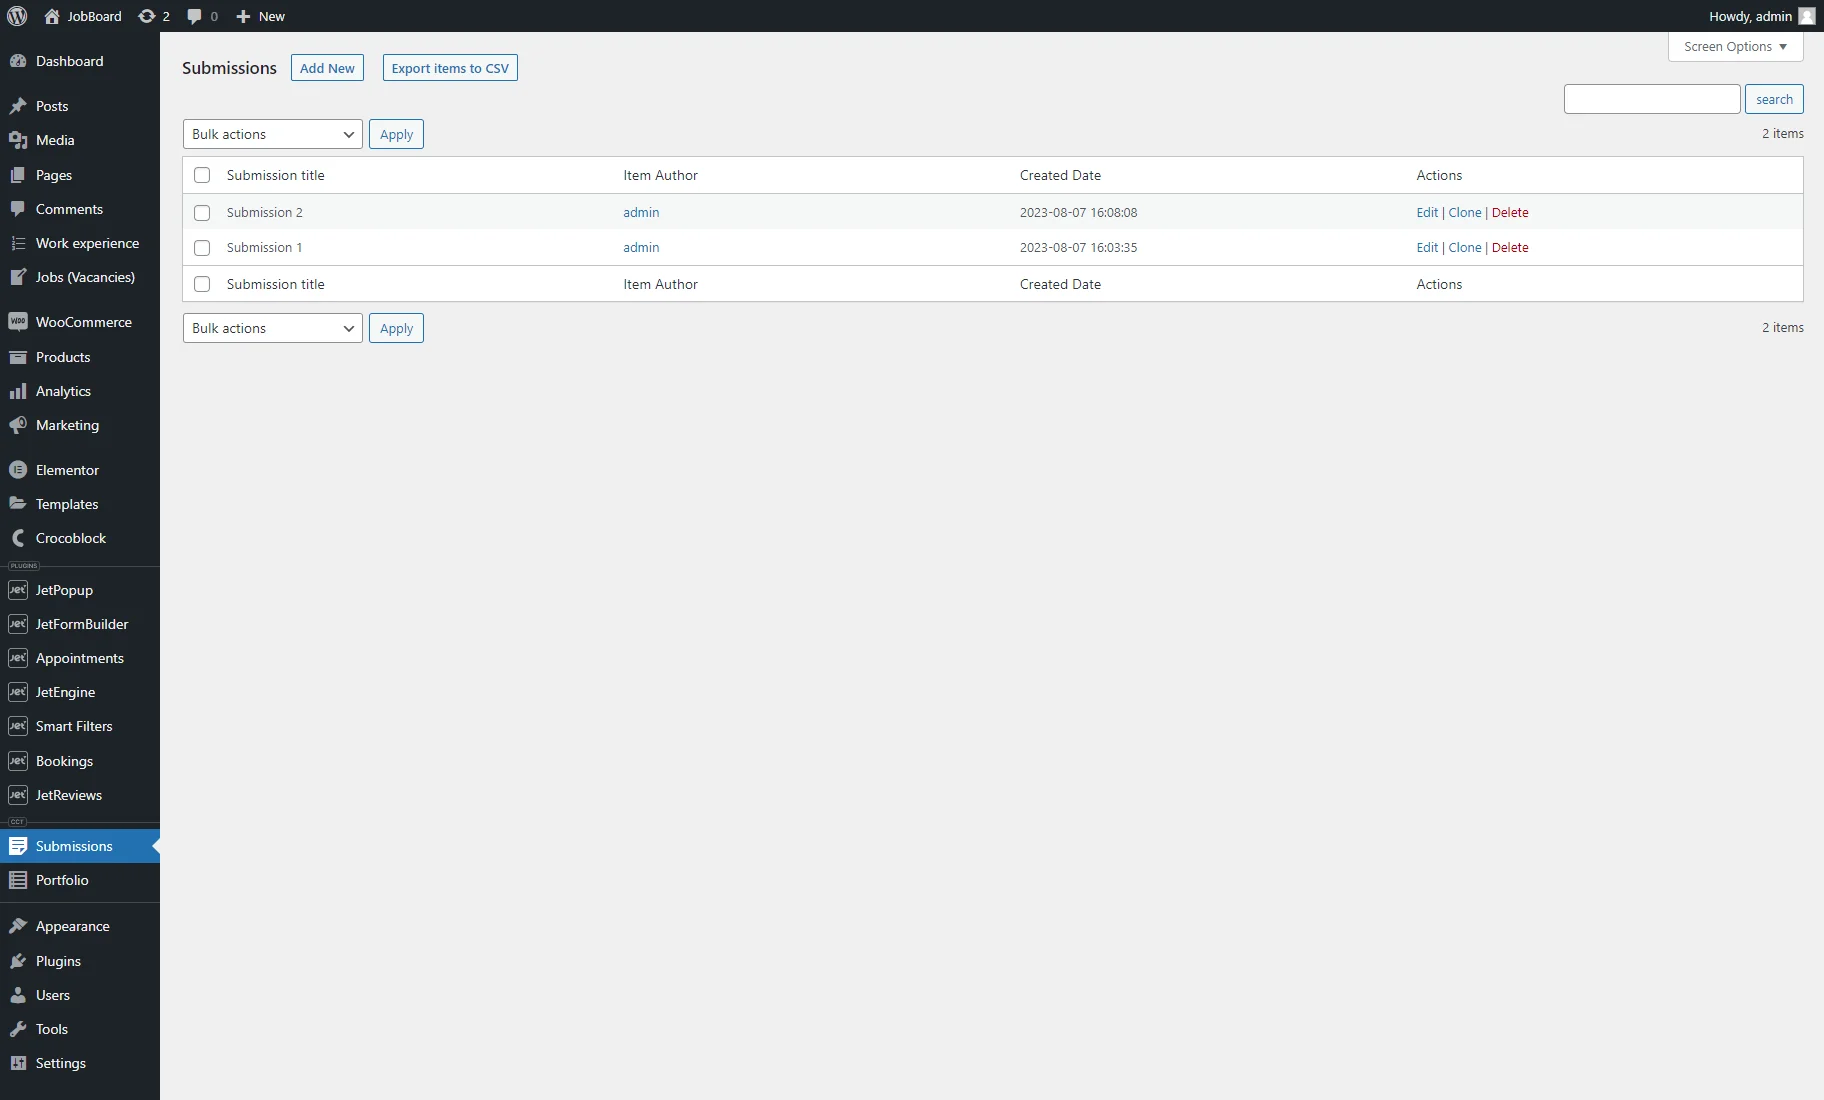
We created another item and returned to the items list. We can see the Submission title (Text meta field), Item Author, and Created Date columns’ values shown.
Output CCT on the Front End
There are the following ways to show the CCT items on the front end.
The first one is creating a Listing template for a Custom Content Type in the JetEngine > Listings tab.
Dynamic widgets like Dynamic Field, Dynamic Image, and Dynamic Link can be used to output the CCT data. The Listing template can be used in the Listing Grid to show the items in a grid. Listing templates can be customized in Elementor, WordPress Block (Gutenberg), and Bricks editors.
Another option is redirecting from the CCT Listing Grid to the single CCT page if the Has single Page toggle is enabled in the CCT settings. This toggle ensures that the data of a specific CCT item can be represented on its single page.
And another way is creating a dynamic popup with the help of the JetPopup plugin, which can be attached to a CCT Listing Grid. Upon clicking on a CCT item in a listing, a popup can appear that dynamically showcases the CCT item’s data. See this tutorial for further details.
That is all. Now you know how to create a Custom Content Type, add CCT items, and output CCT in the front end with the help of the JetEngine WordPress plugin.